GPS software user manual
Every function, explained step by step with the real screen in front of you. Everything here was done by going into the program and checking that it saved.
Getting started
First steps: signing in and understanding the screen
Before creating anything it helps to know two things: how to sign in and what each button on the top bar does. With that you will not get lost on any of the screens that come later. Where it is: Your platform's web address
Where it is Your platform's web address
Before you start
- Have your email and password to hand. They are given to you by whoever sold you the service.
- Use a computer with an up-to-date browser. Everything in this manual looks the same in Chrome, Edge or Firefox.
-
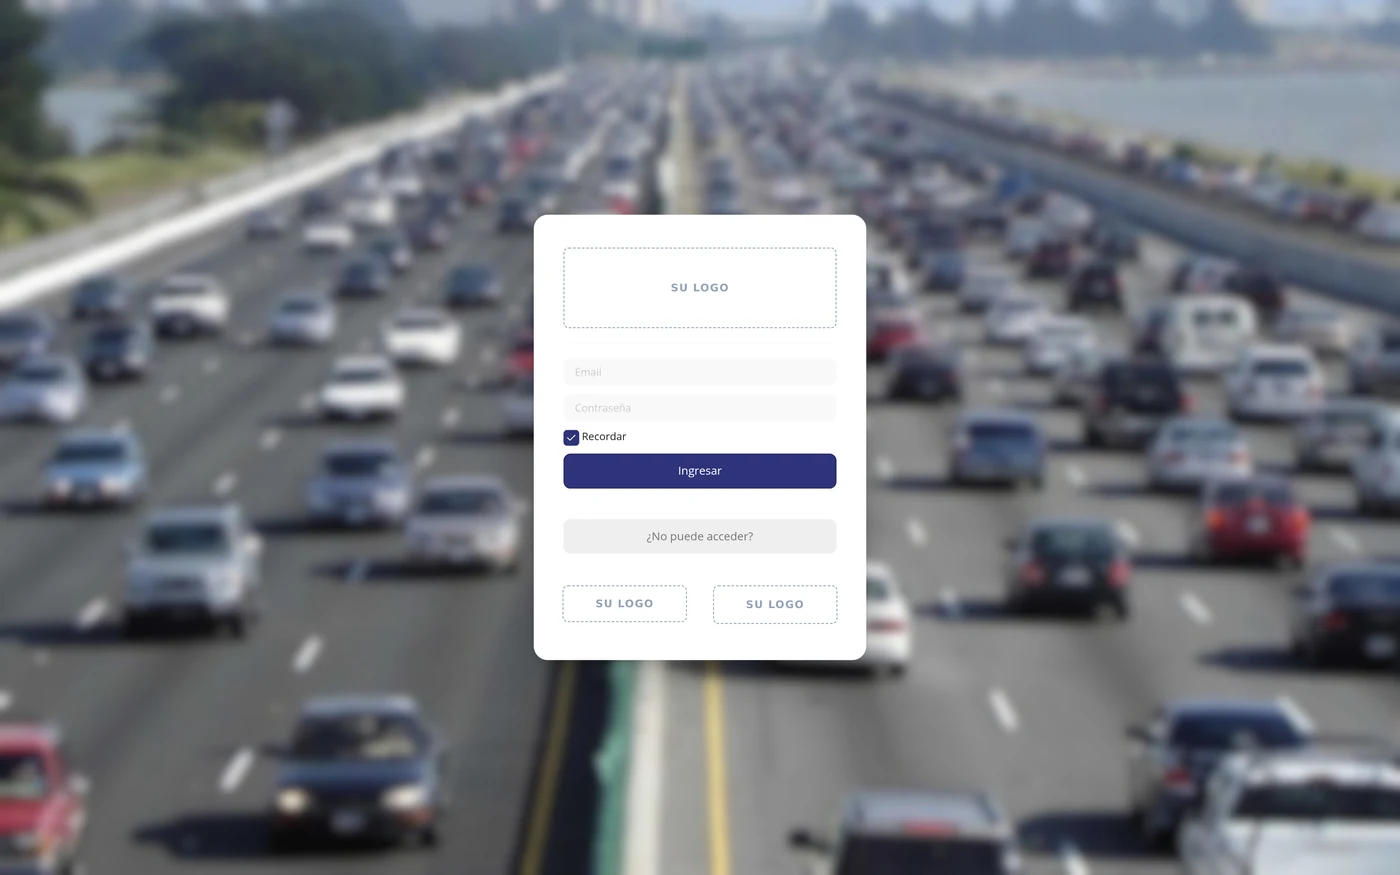
Sign in with your email and your password
Type your email in the first field and your password in the second, and click Sign in. If you tick Remember, the program will not ask for the password again on that same computer. If you cannot remember the password, click Cannot access?
CarefulTick Remember only on a computer you use yourself. On a shared one, anyone could get in and see your fleet.
-
Recognise the three areas of the screen
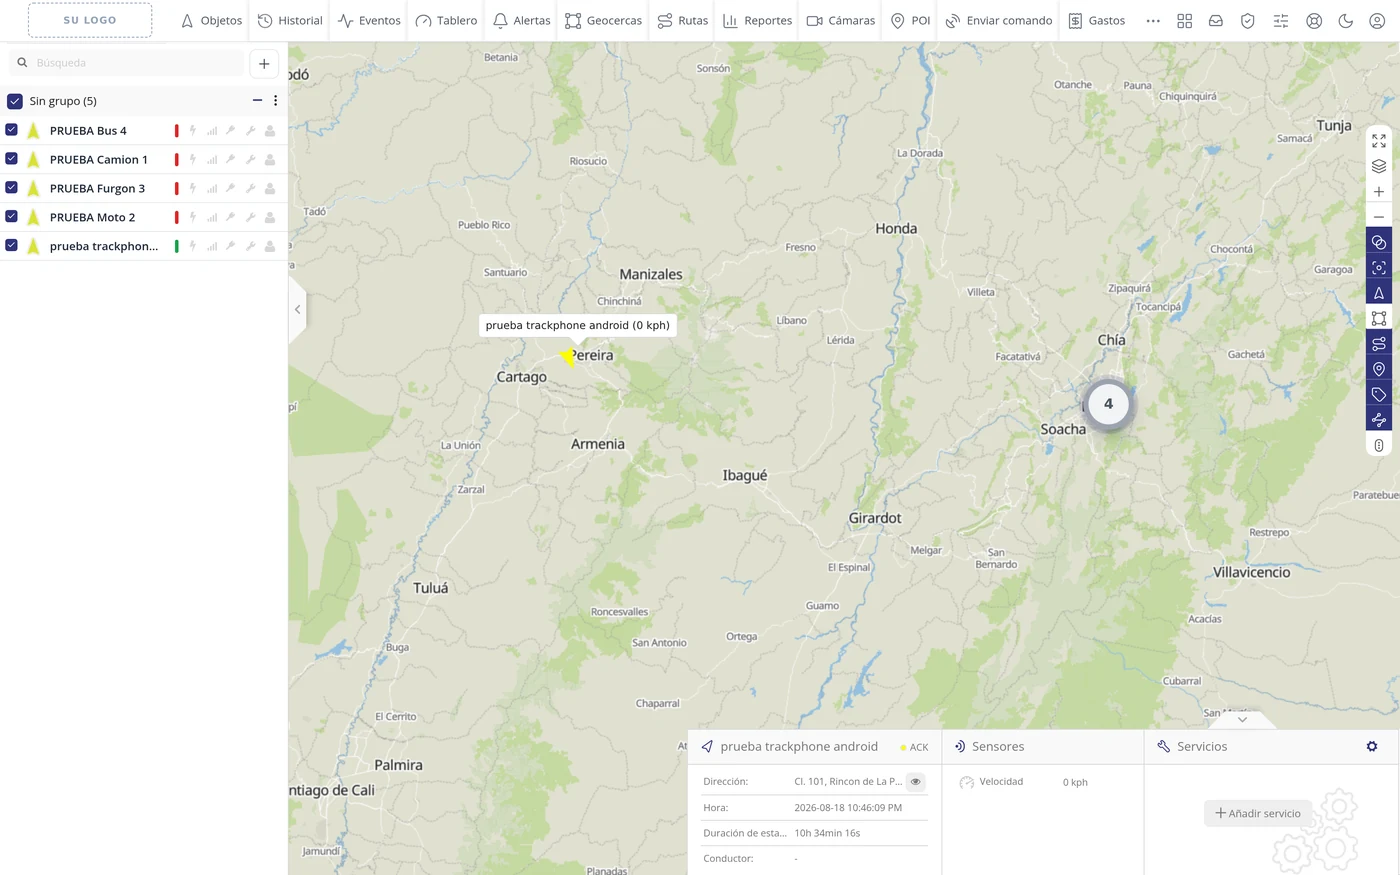
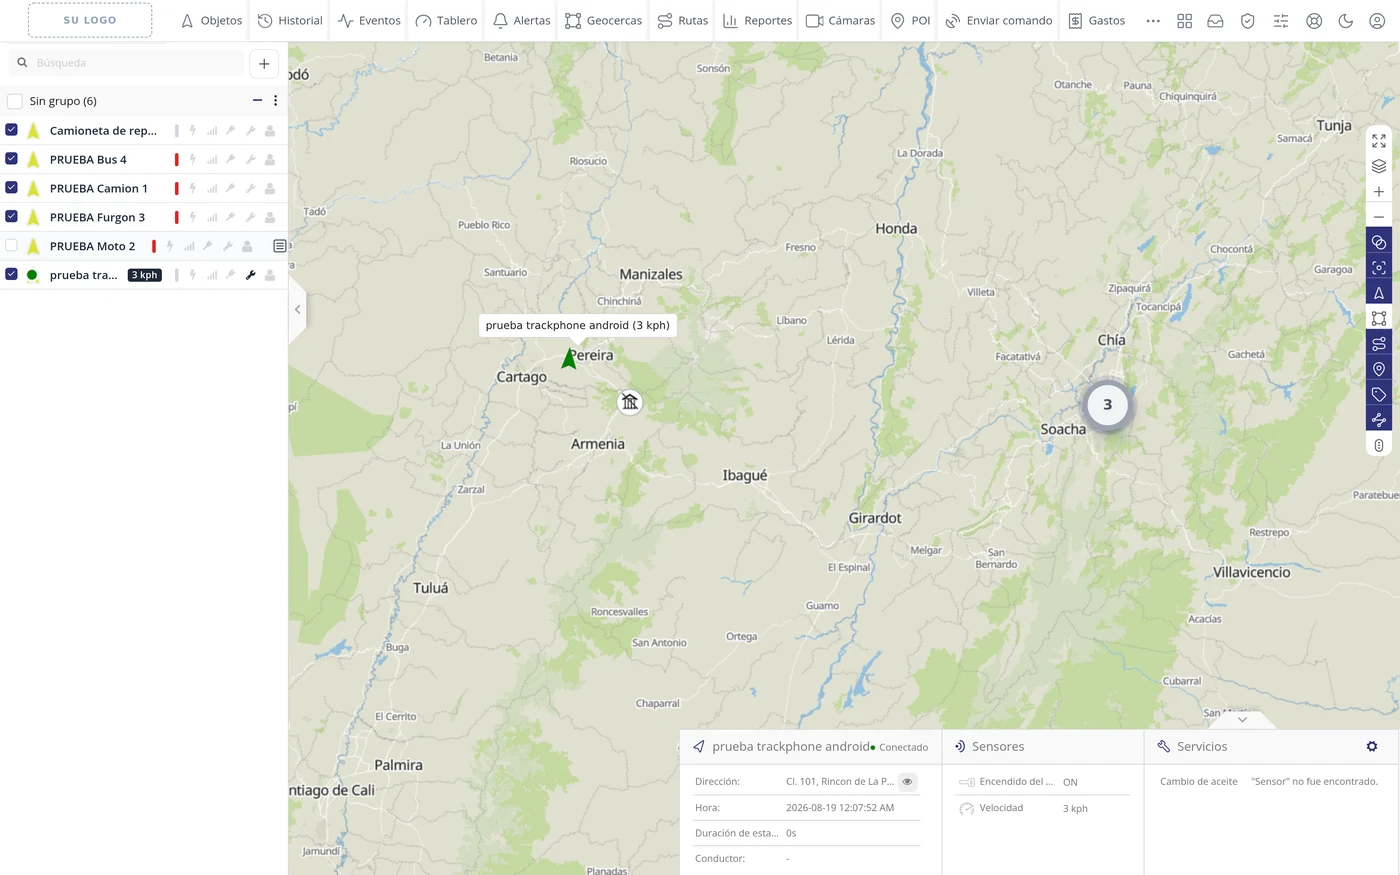
When you sign in you always see the same: at the top the bar with all the buttons; on the left the list of your vehicles; and in the centre the map with each vehicle in its place. At the bottom right the file of the vehicle you have selected appears, with its address, the time of the last message and its sensors.
-
If a button is missing, switch it on in the three dots
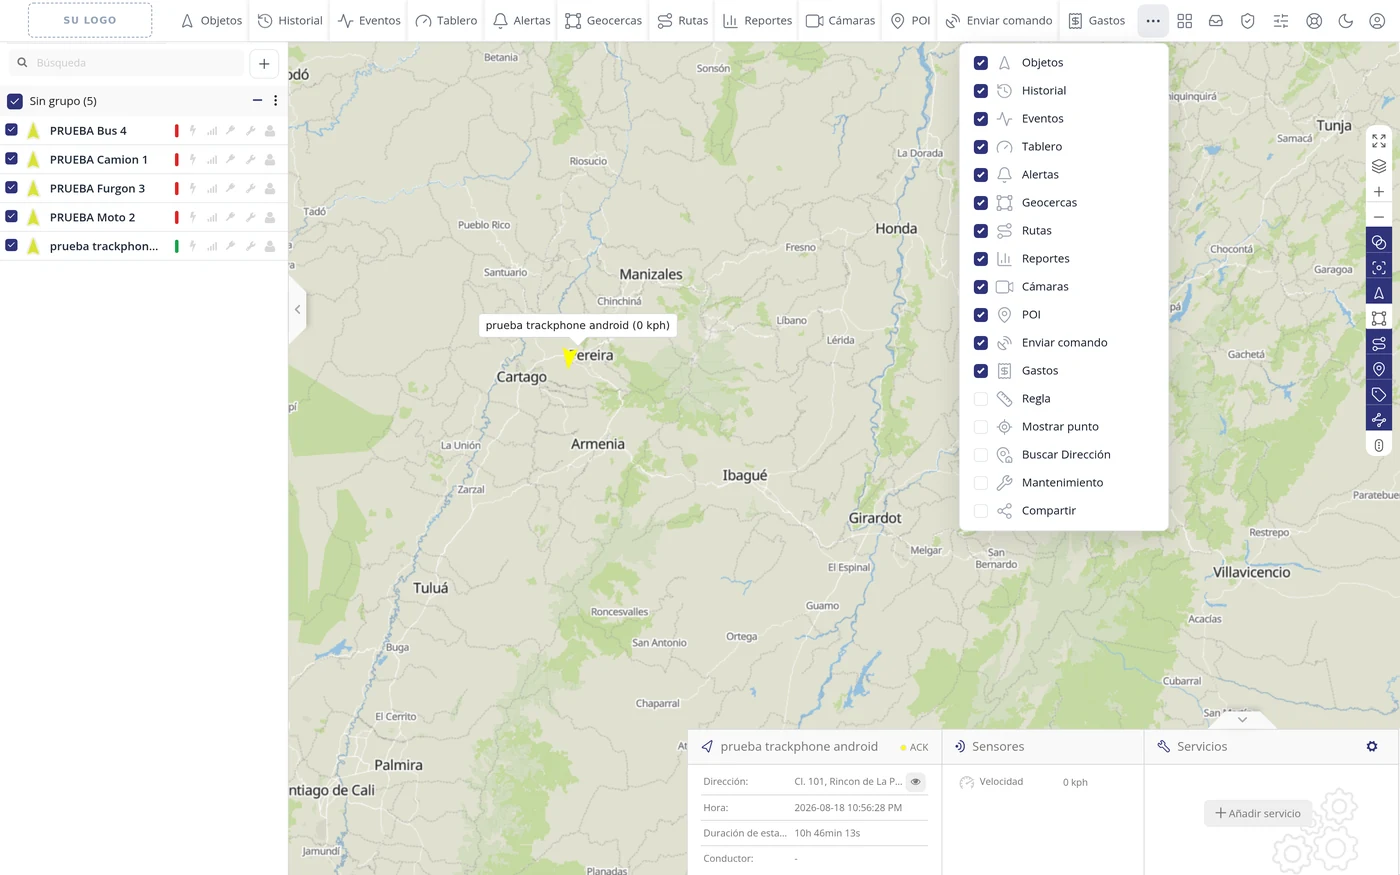
In the top bar, after Expenses, there is a button with three dots. Clicking it opens a list with tick boxes: the ticked ones are the buttons shown in the bar and the empty ones are hidden. Tick the one you are missing and it will appear in the bar.
CarefulThis is the number one cause of someone saying their program has no Maintenance. It does have it: it comes unticked. The same happens with Ruler, Show point, Search Address and Share.
The top-bar buttons, one by one
| Button | What it is for | What it does when clicked | |
|---|---|---|---|
| Objects | The list of your vehicles. It is what you see when you sign in. | Opens the left-hand panel | |
| History | The track a vehicle made between two dates, drawn on the map. | Opens the left-hand panel | |
| Events | The list of things that have happened: ignitions, speedings, entries into a zone. | Opens the left-hand panel | |
| Dashboard | A summary in charts of how many vehicles are connected and moving. | Opens a window | |
| Alerts | The notices you set up so the program warns you when something happens. | Opens a window | |
| Geofences | The areas you draw on the map. | Opens the left-hand panel | |
| Routes | The paths a vehicle should follow. | Opens the left-hand panel | |
| Reports | The reports: kilometres, stops, speeds, engine hours. | Opens a window | |
| Cameras | The images from the vehicles that carry a camera. | Opens a window | |
| POI | Points marked on the map: customers, workshops, service stations. | Opens the left-hand panel | |
| Send command | Sends an order to the vehicle's unit. | Opens a window | |
| Expenses | Records what each vehicle spends. | Opens a window | |
| Ruler | Measures distances on the map. It comes unticked. | Comes hidden | |
| Show point | Takes the map to specific coordinates. It comes unticked. | Comes hidden | |
| Search address | Searches for an address and marks it on the map. It comes unticked. | Comes hidden | |
| Maintenance | The oil-change, tyre and service reminders. It comes unticked. | Comes hidden | |
| Share | Generates a link so another person can see a vehicle without having an account. It comes unticked. | Comes hidden |
How to know it worked
If you see the bar at the top, your list of vehicles on the left and the map in the middle, you are in and everything is working.
The whole software, button by button
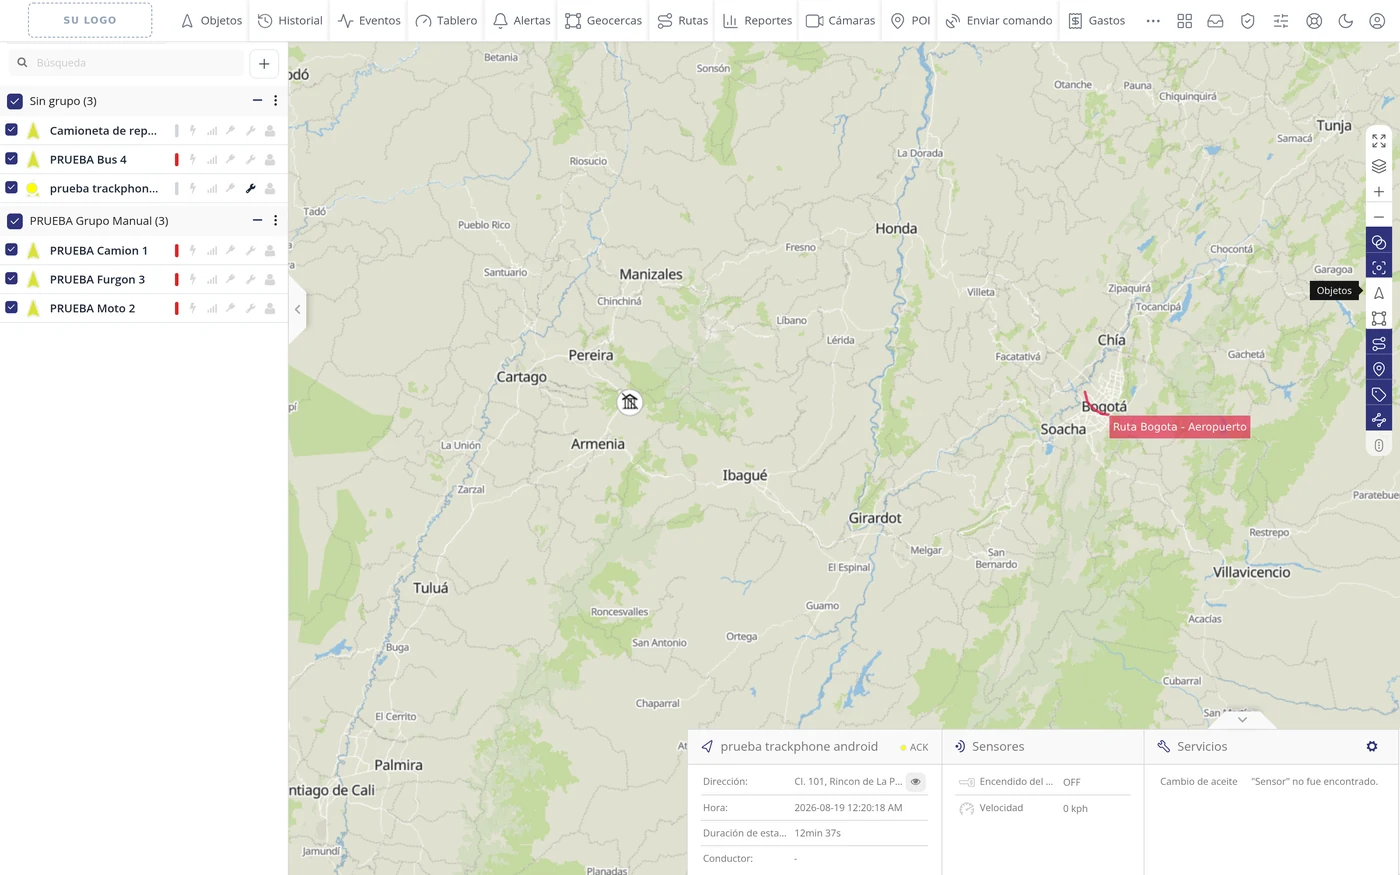
It is the map of the program. If you see an icon and do not know what it does, look it up here: the icons of the three areas of the screen are numbered —the top bar, the left panel and the map controls— and next to each it says what it is and where it leads. Where it is: The main screen, right after signing in
Where it is The main screen, right after signing in
-
The top bar, from left to right
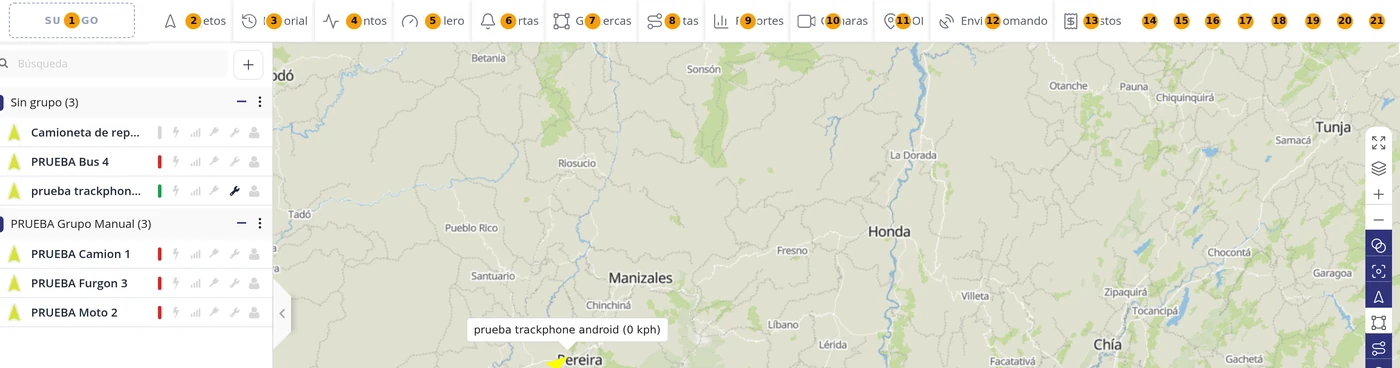
There are 21 buttons. 1 your logo, which goes back to the start. 2 Objects, the list of your vehicles. 3 History, the route between two dates. 4 Events, what has happened. 5 Dashboard, the summary charts. 6 Alerts. 7 Geofences. 8 Routes. 9 Reports. 10 Cameras. 11 POI, the checkpoints. 12 Send command. 13 Expenses. 14 the More button (the three dots), which is not a menu: it is the list of which buttons are shown in the bar. 15 the application launcher. 16 the Notification centre. 17 ADMIN. 18 Settings. 19 Help. 20 Light and dark mode. 21 My account.
CarefulNumber 14, the three dots, is misleading: it looks like a menu of more options and it is really tick boxes to switch bar buttons on or off. Maintenance, Ruler, Show point, Search Address and Share come switched off.
-
The left panel
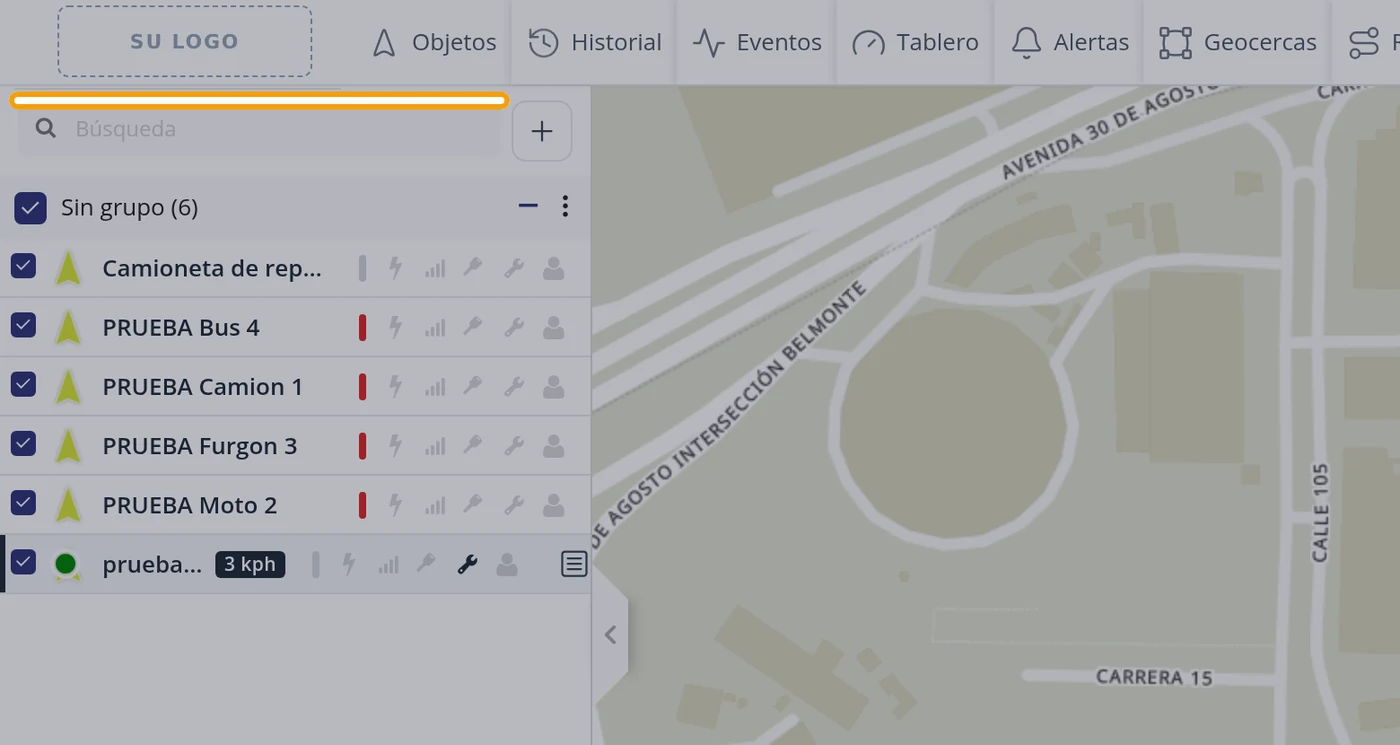
At the top are the Search field and the blue + (Add device) button. Below, your vehicles in groups: each group has its box to show or hide it on the map, the − sign to fold it and a three dots menu with the group actions. And at the far left, the little tab that folds the whole panel away to see more map.
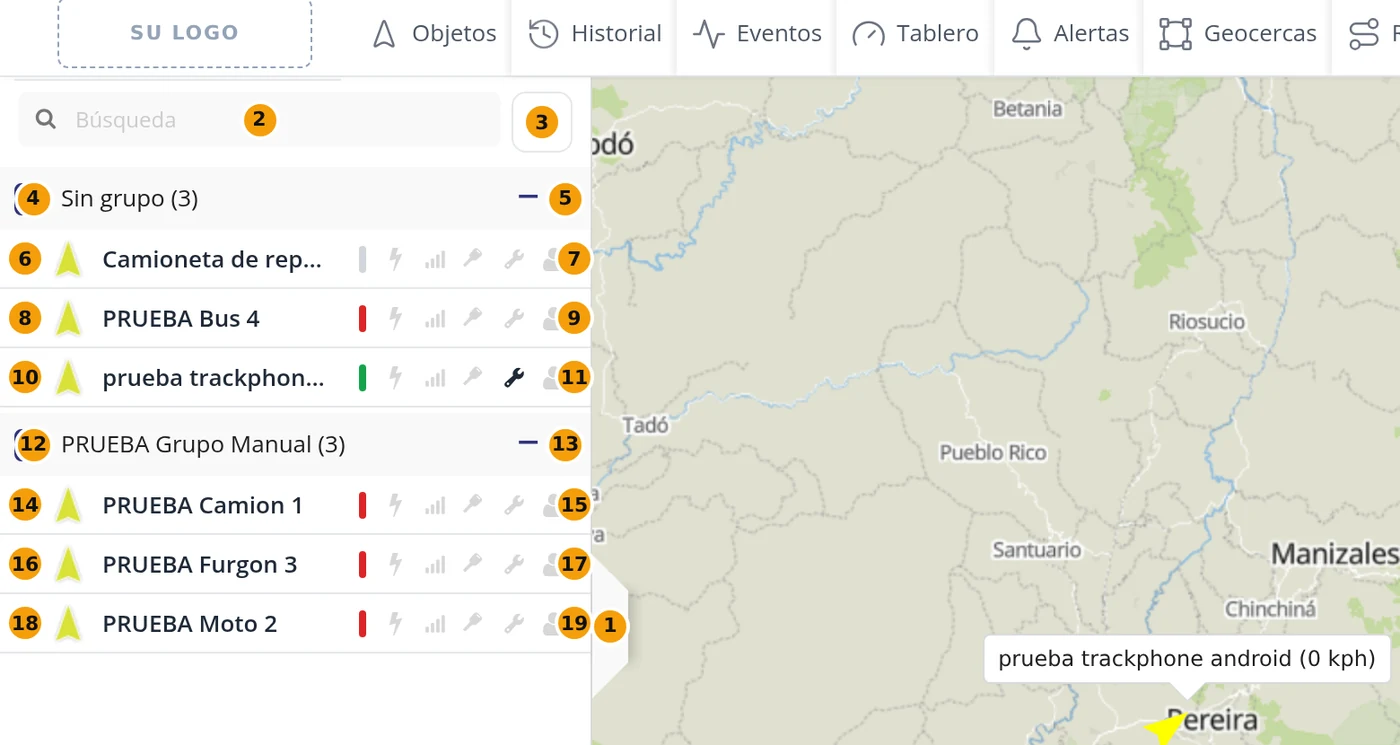
-
The icons of each vehicle, one by one
In the row of each vehicle, to the right of the name, there is a line of small icons. Each has its name when you hover: Last report (when it was last heard from), Battery, GSM signal, Engine, Maintenance and Driver. When there is no data, the icon is dimmed and the name says so: for example «Battery — no data». The last icon of the row opens the vehicle menu: Show history (last hour, today, yesterday), Follow, Send command, Edit, Share, Alerts and Cameras.
Careful«Maintenance up to date» in green means no service is overdue; if one is overdue, that icon changes.
-
The map controls, on the right
There are 13, from top to bottom: 1 Full screen. 2 Maps, to change the background (street, satellite, dark...). 3 Zoom in. 4 Zoom out. 5 Group objects, which joins nearby vehicles into a bubble with the number. 6 Fit objects, which frames the map so all can be seen. 7 Objects, shows or hides the vehicles. 8 Geofences. 9 Routes. 10 POI. 11 Show names, the label with each vehicle name. 12 Show tails, the trail of where it has just been. 13 Live traffic.
CarefulControls 5 to 13 are switches: they stay on or off. If one day you do not see your geofences on the map, it is nearly always that number 8 is off.
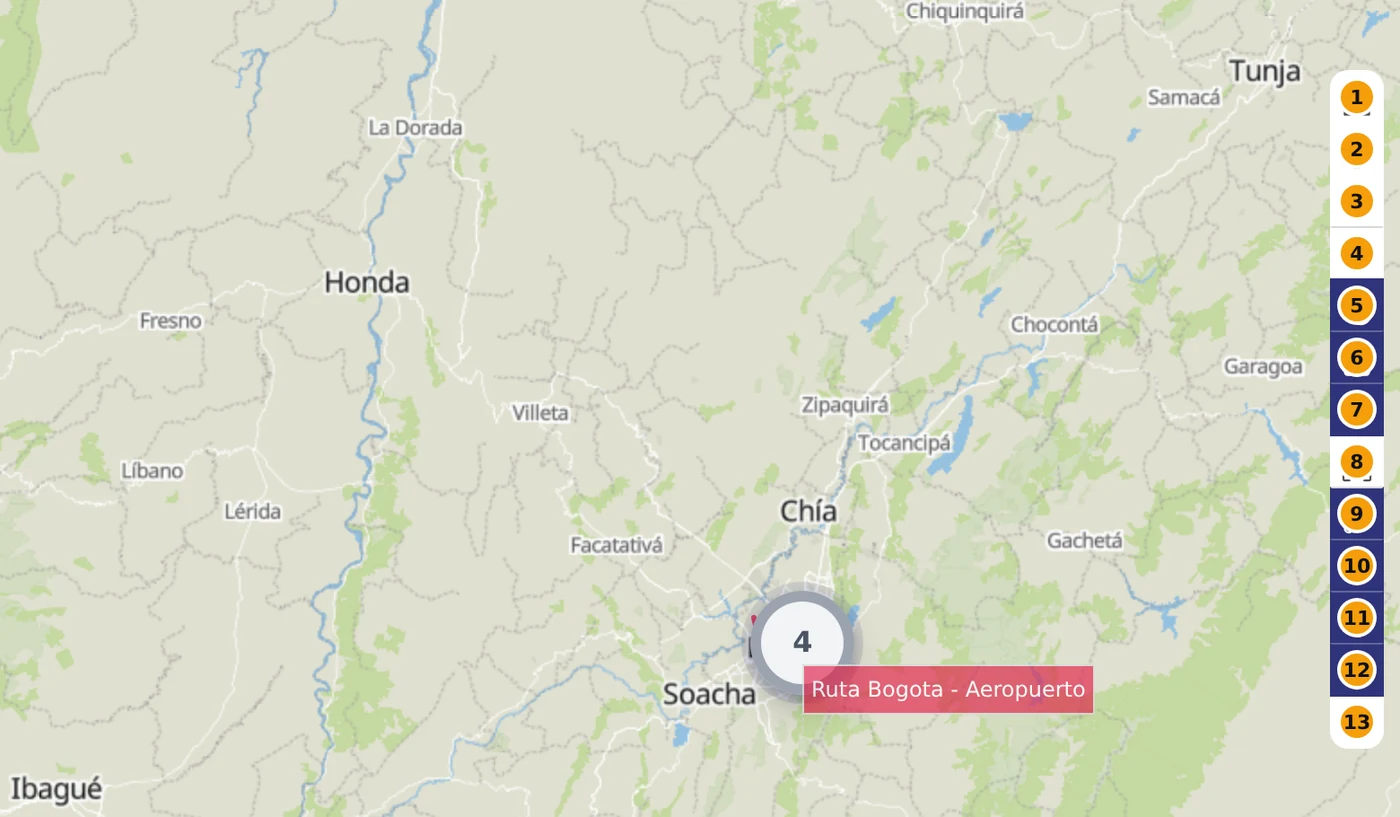
-
Bottom right: the vehicle file
When you click a vehicle, its boxes open at the bottom right: the vehicle one (address, time, parking duration and driver), Sensors and Services. Which boxes appear is chosen in Settings, Widgets tab.
What each field asks for
| As it appears on screen | What it is | |
|---|---|---|
| The «Search» field | Filters the vehicle list by name or plate. It can be left empty. | Can be left empty |
| The «+ (Add device)» button | Registers a new vehicle. It can be left empty. | Can be left empty |
| The «Group objects» button | Joins nearby vehicles into a single numbered bubble. It can be left empty. | Can be left empty |
| The «Fit objects» button | Frames the map so all the vehicles fit. It can be left empty. | Can be left empty |
| The «Show names» button | Shows the label with the name next to each vehicle. It can be left empty. | Can be left empty |
| The «Show tails» button | Draws the trail of the last points. It can be left empty. | Can be left empty |
| The «Live traffic» button | Paints the traffic state over the map. It can be left empty. | Can be left empty |
How to know it worked
Hover the mouse over any icon: the program itself tells you its name. The names in this list are exactly those.
Objects: the list of your vehicles
It is the screen you work with all day. On the left are all your vehicles, in the centre the map with each one in its place, and bottom right the form of the one you have selected. From here you search for a vehicle, remove it from or put it on the map, put it in a group, follow it, see its route and change its details. Where it is: Top bar > Objects. It is the first thing you see when you sign in.
Where it is Top bar > Objects. It is the first thing you see when you sign in.
Before you start
- Have at least one vehicle registered. If the list comes up empty, you first have to register the unit.
- Nothing else. This screen creates nothing: it is for looking at and sorting what you already have.
-
Open Objects in the top bar
Objects is the first button in the bar. Clicking it makes the vehicle list appear in the left panel. No new page opens.
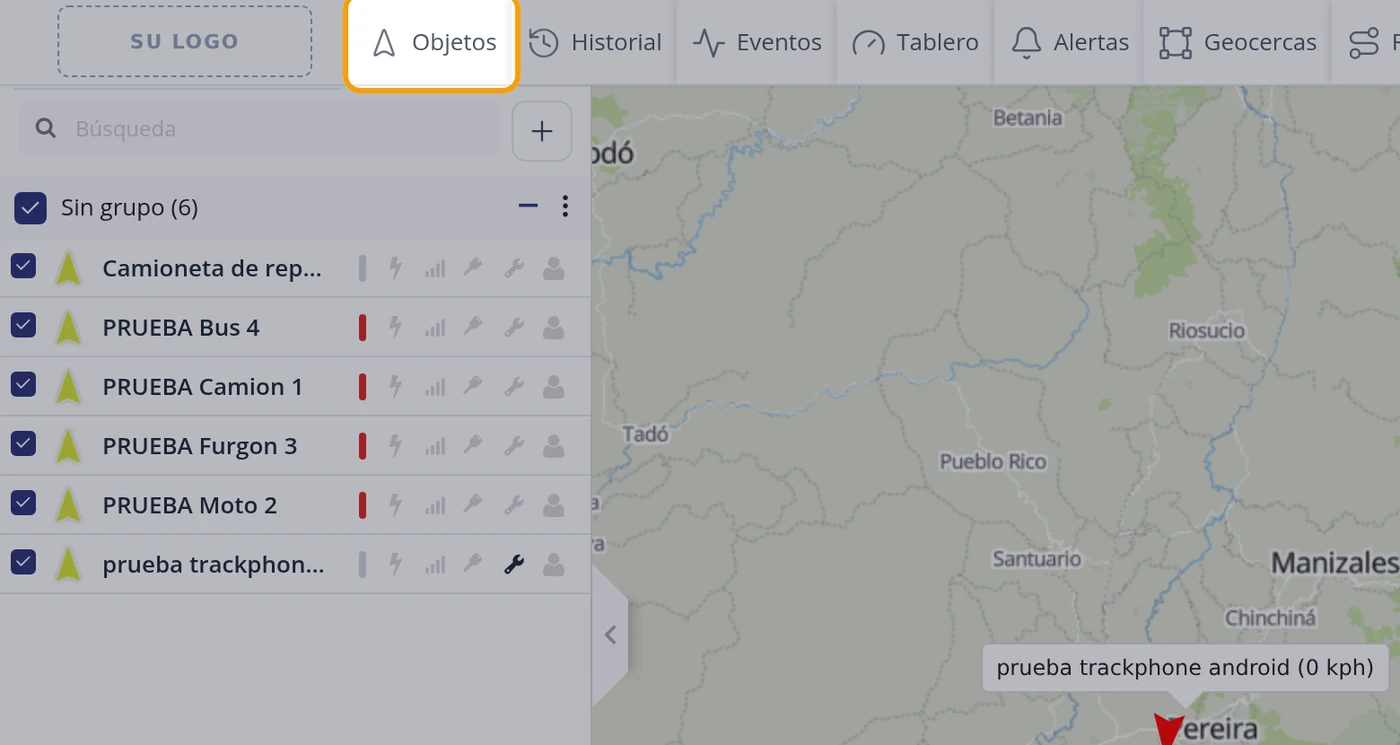
-
Recognise the three parts of the screen
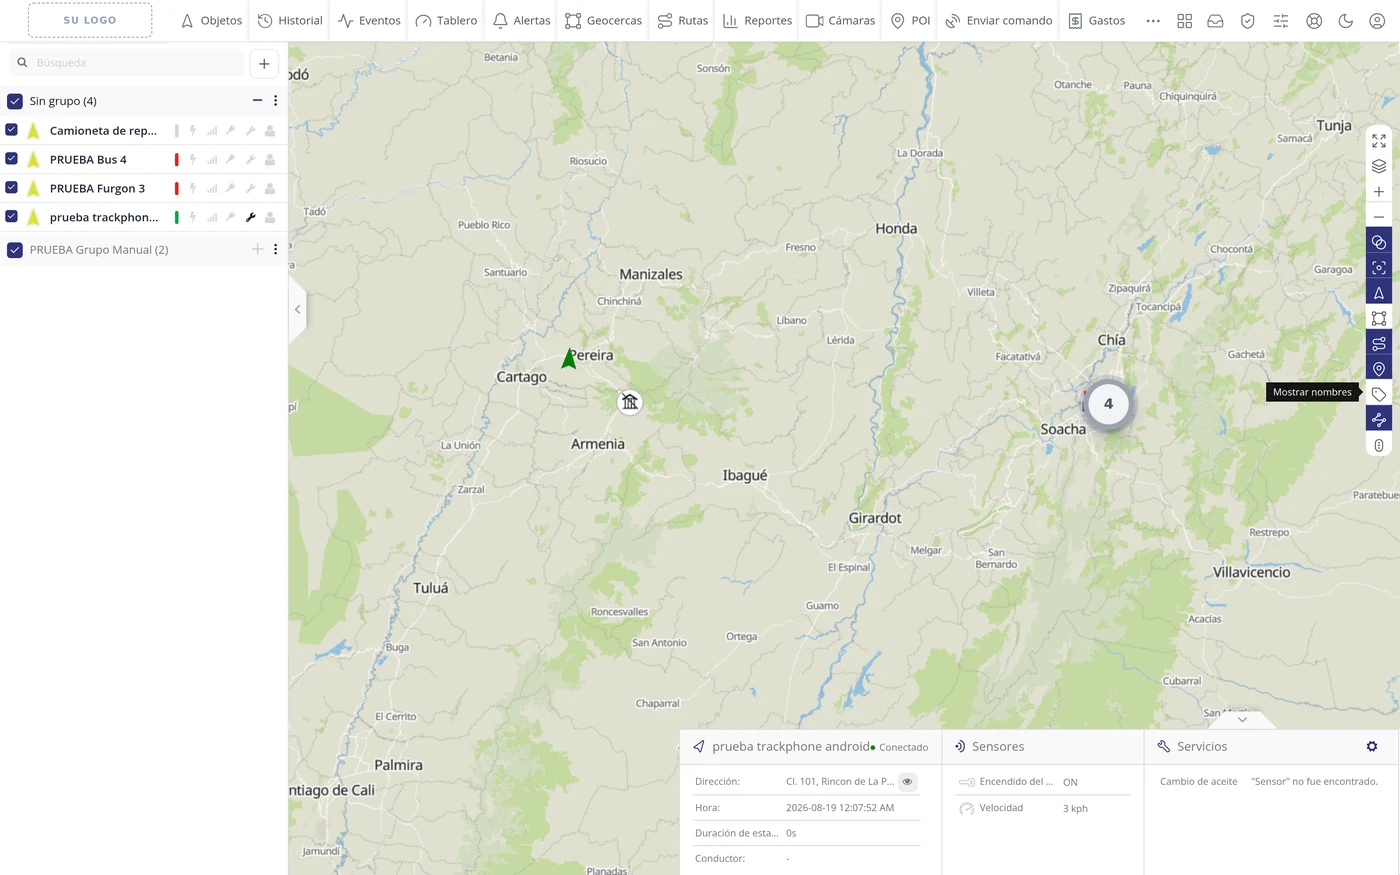
They are always the same: at the top the button bar; on the left the vehicle list with the search field above it; in the centre the map; against the right edge of the map, a column of buttons to handle the map; and at the bottom right the file of the vehicle you have selected, with three boxes: its data, Sensors and Services.
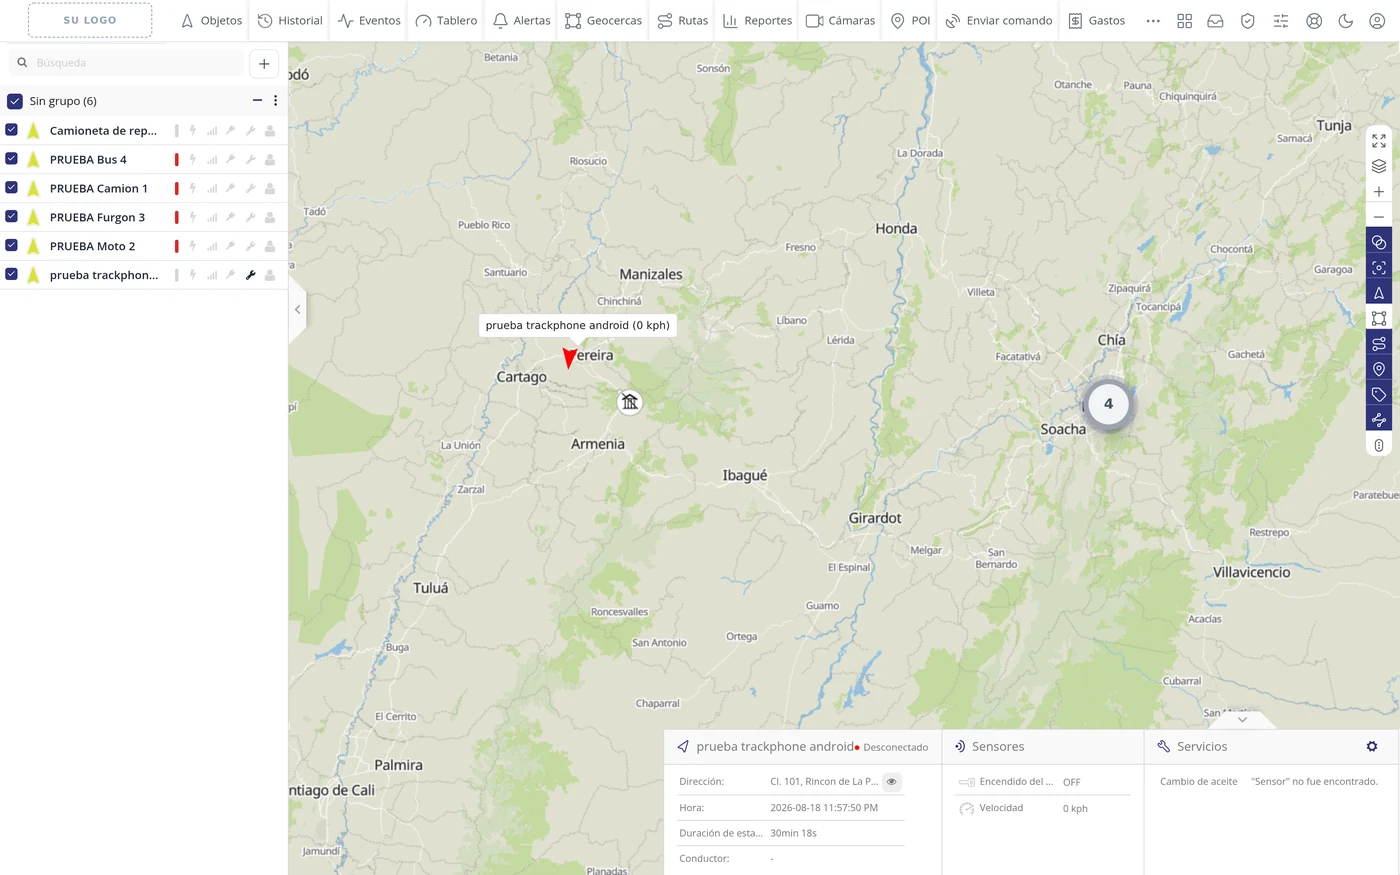
-
Understand the box on the left of each row
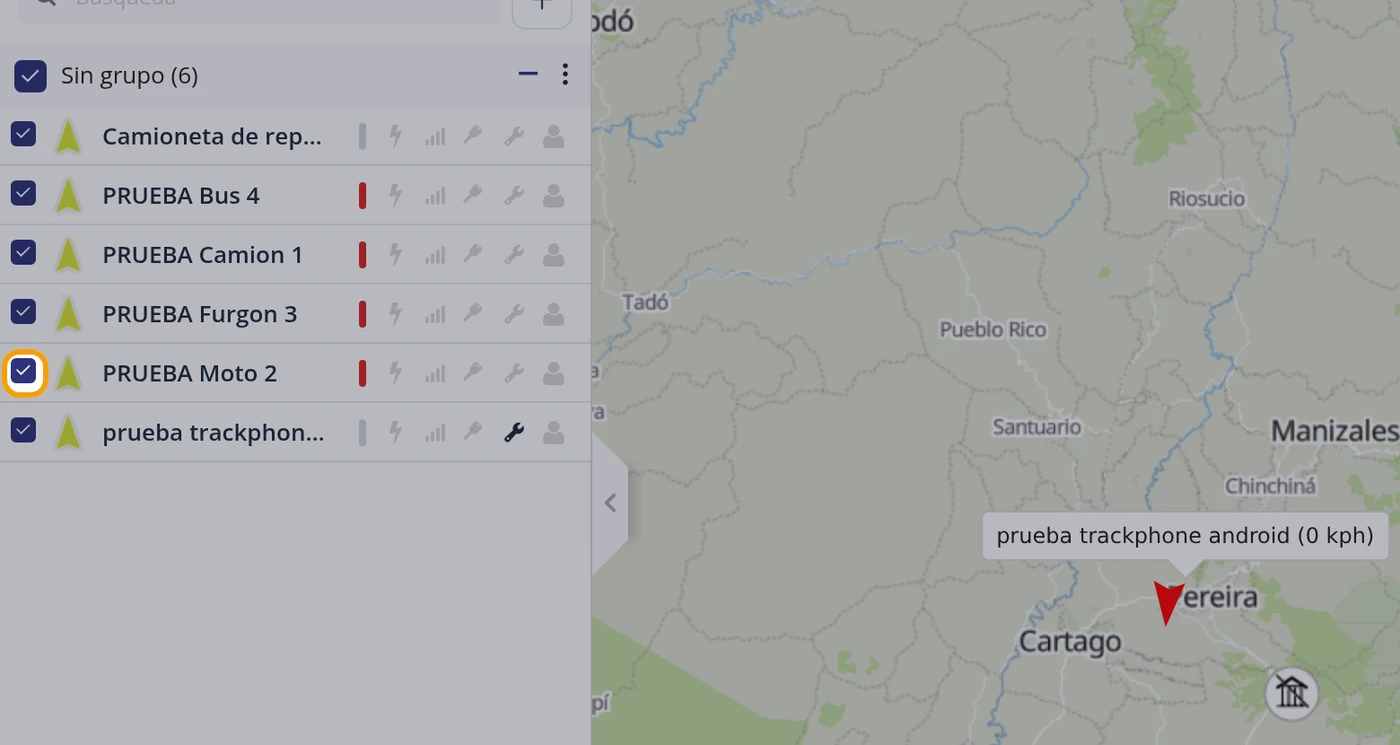
The ticked box means «this vehicle is shown on the map». If you untick it, the vehicle disappears from the map but stays in the list and keeps working. It is for keeping the map clean when you have many vehicles and only want to watch a few.
CarefulThis is NOT temporary: the program stores it in your account. If you untick it and sign out, tomorrow that vehicle will still not appear on the map and you will think you lost it. To see it again, tick the box once more.
-
See the map with the vehicle removed
When you untick PRUEBA Moto 2, its row is left with the box empty and the vehicle is wiped off the map at once. Ticking it again brings it back.
-
Click the name to select a vehicle
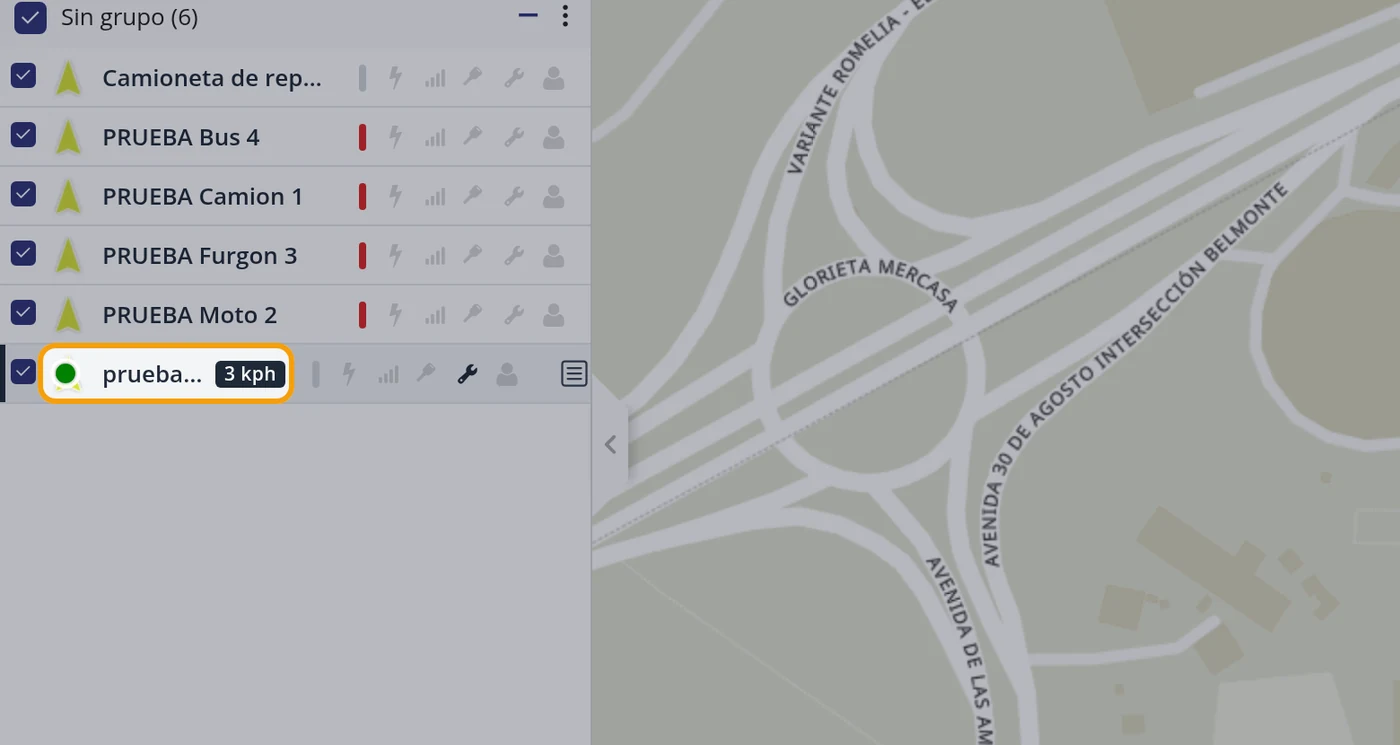
When you click the name, the map goes to that vehicle and at the bottom right its file fills in. The chosen row is marked with a blue bar on the left. To the left of the name is the picture you gave the vehicle (it is changed in Edit, Icons tab).
CarefulIf the vehicle is moving, its row also lights up a coloured circle over the picture and a dark pill with the speed. When it is stopped, they do not appear.
-
Read the row of icons on the right of each row
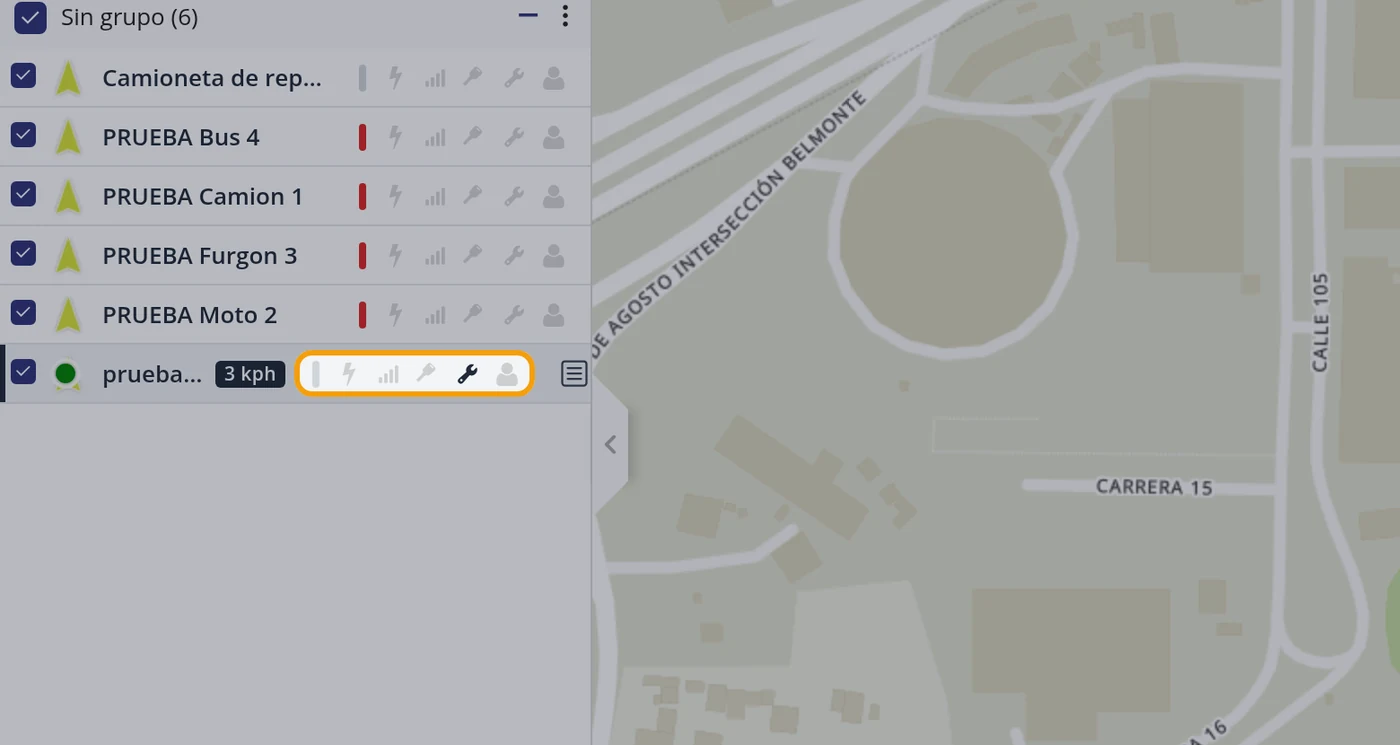
To the right of each name there are six small icons, always in the same order and always in the same column, so the list can be read top to bottom. The first is a coloured bar and the other five are pictures. An icon in light grey means that vehicle has no such data. Hovering over any of them, the program tells you what it is and what value it has. The table below explains the six. They are not buttons: clicking them does nothing; they only inform (checked in the code: none carries an action).
-
Look at a row close up
From left to right: the box, the vehicle picture, the name, the age bar, and then battery, signal, engine, maintenance and driver. At the end of the row, the three dots button with the vehicle actions.

-
Search for a vehicle with the field above
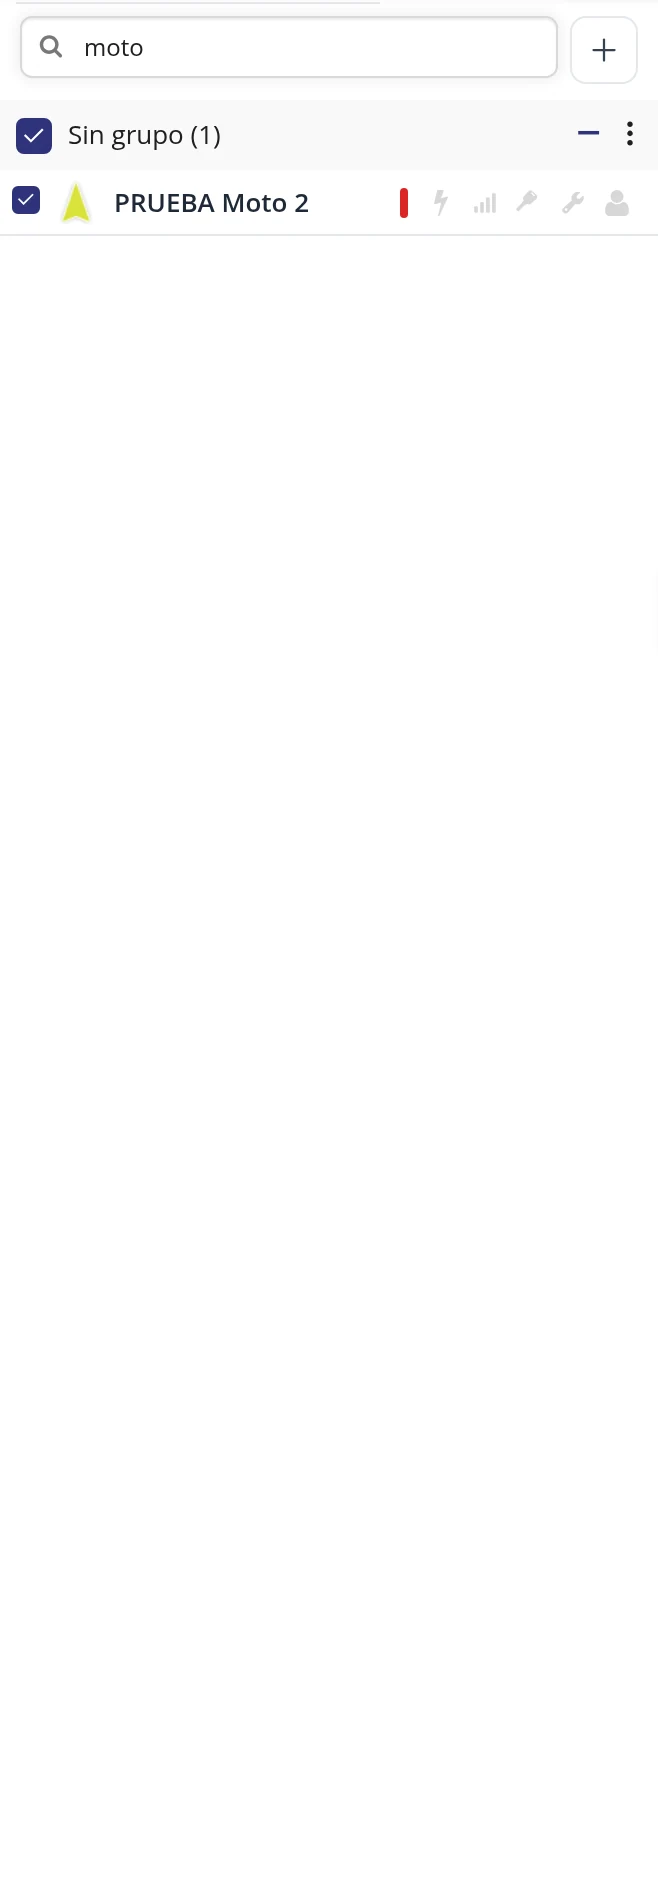
Above the list there is a field saying Search. Type and the list narrows by itself as you type; you have to wait half a second after the last letter. Checked: it searches by name (typing «moto» left only PRUEBA Moto 2), by plate (typing «MAN-001» left only Camioneta de reparto) and by the device number (typing «3203352267» left only prueba trackphone android).
CarefulTo see them all again, delete what you typed. The list does not come back by itself.
-
See the search result
With «moto» typed, the list leaves a single vehicle. The others have not been deleted: they are just hidden while something is typed.
-
Know what the + button of the header is for
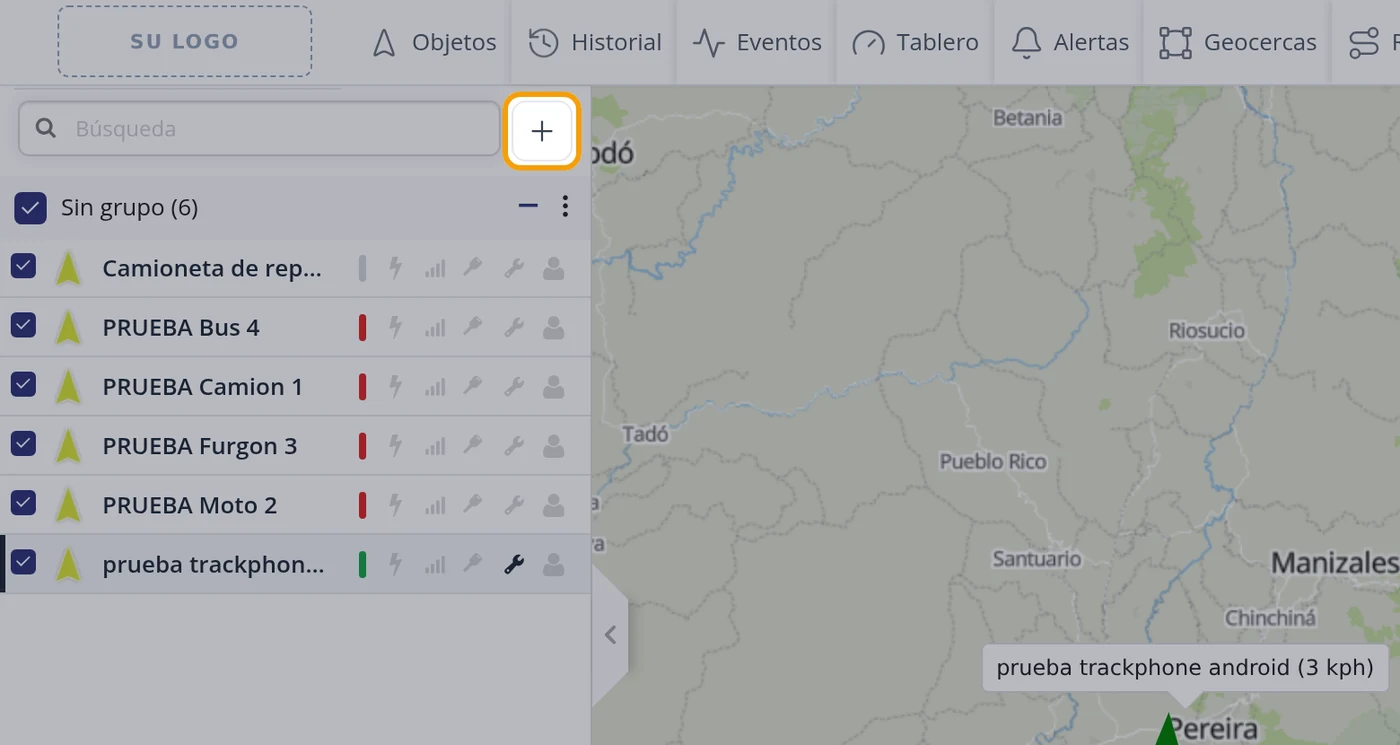
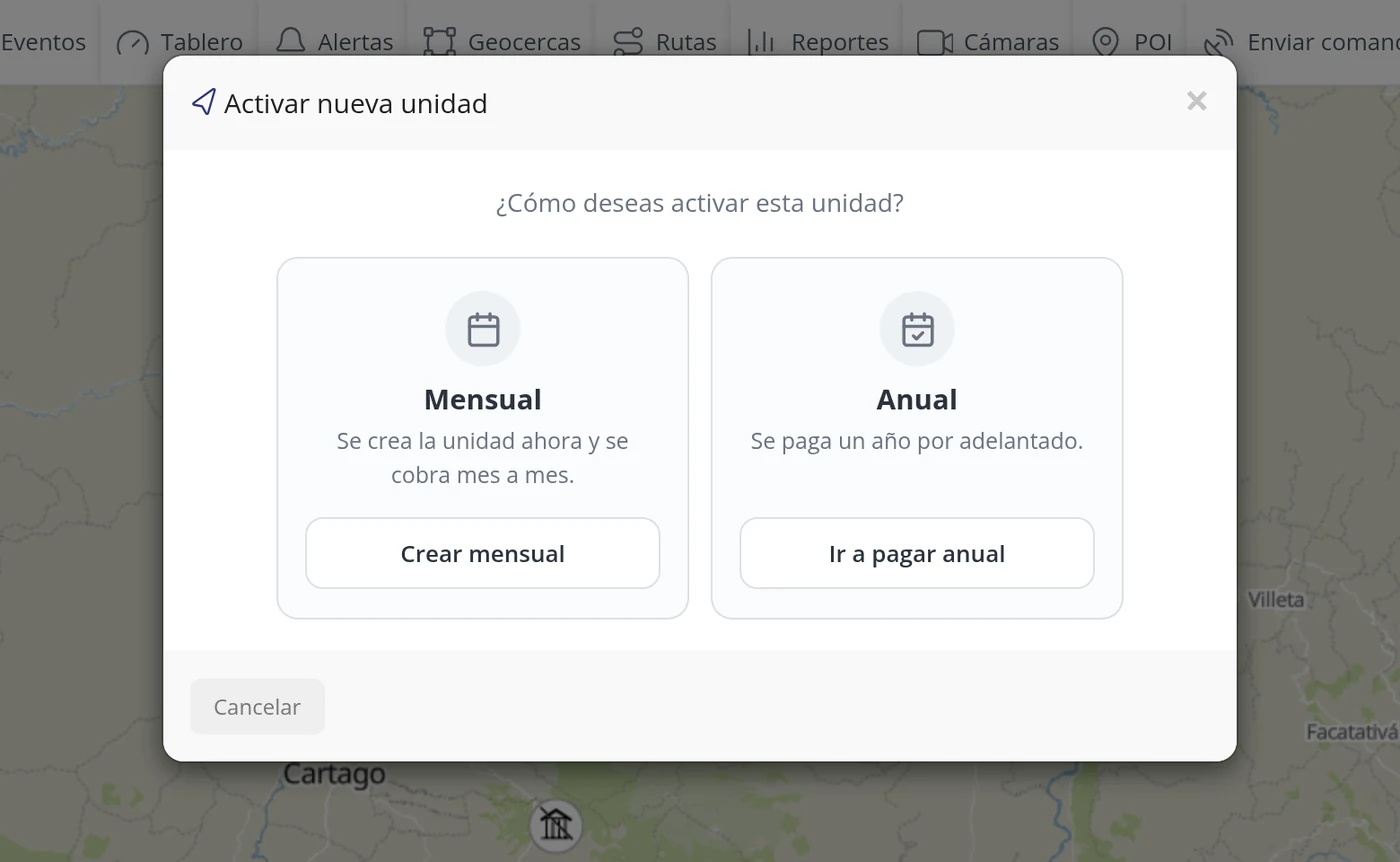
To the right of the search field there is a button with a plus sign. It is the one for registering a new vehicle: it opens the «Activate new unit» window. Do not click it if you only want to look.
CarefulIn the list header there are ONLY these two things: the search field and the + button. On this screen the only gear wheel is at the bottom right, in the Services box (step 22).
-
Understand the «No group» line
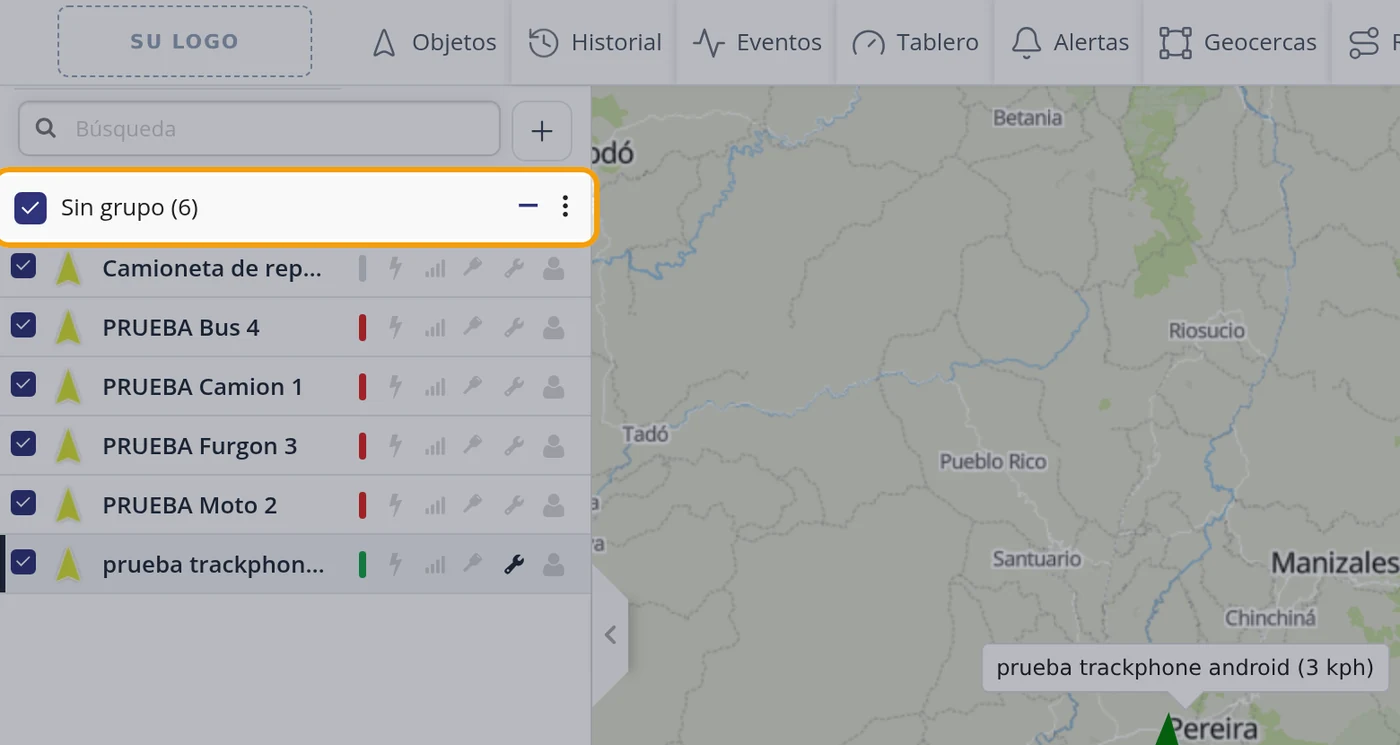
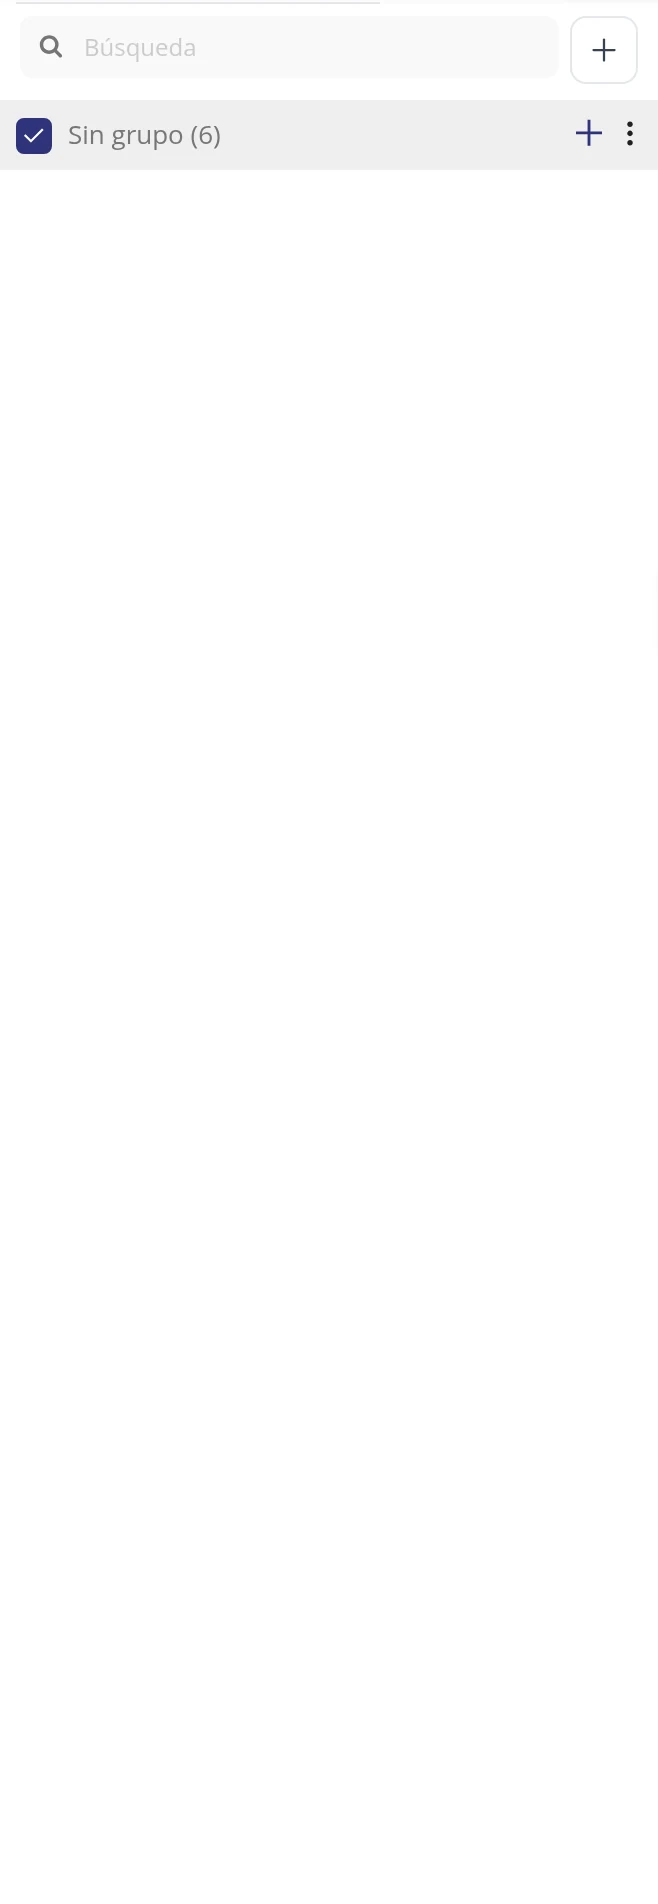
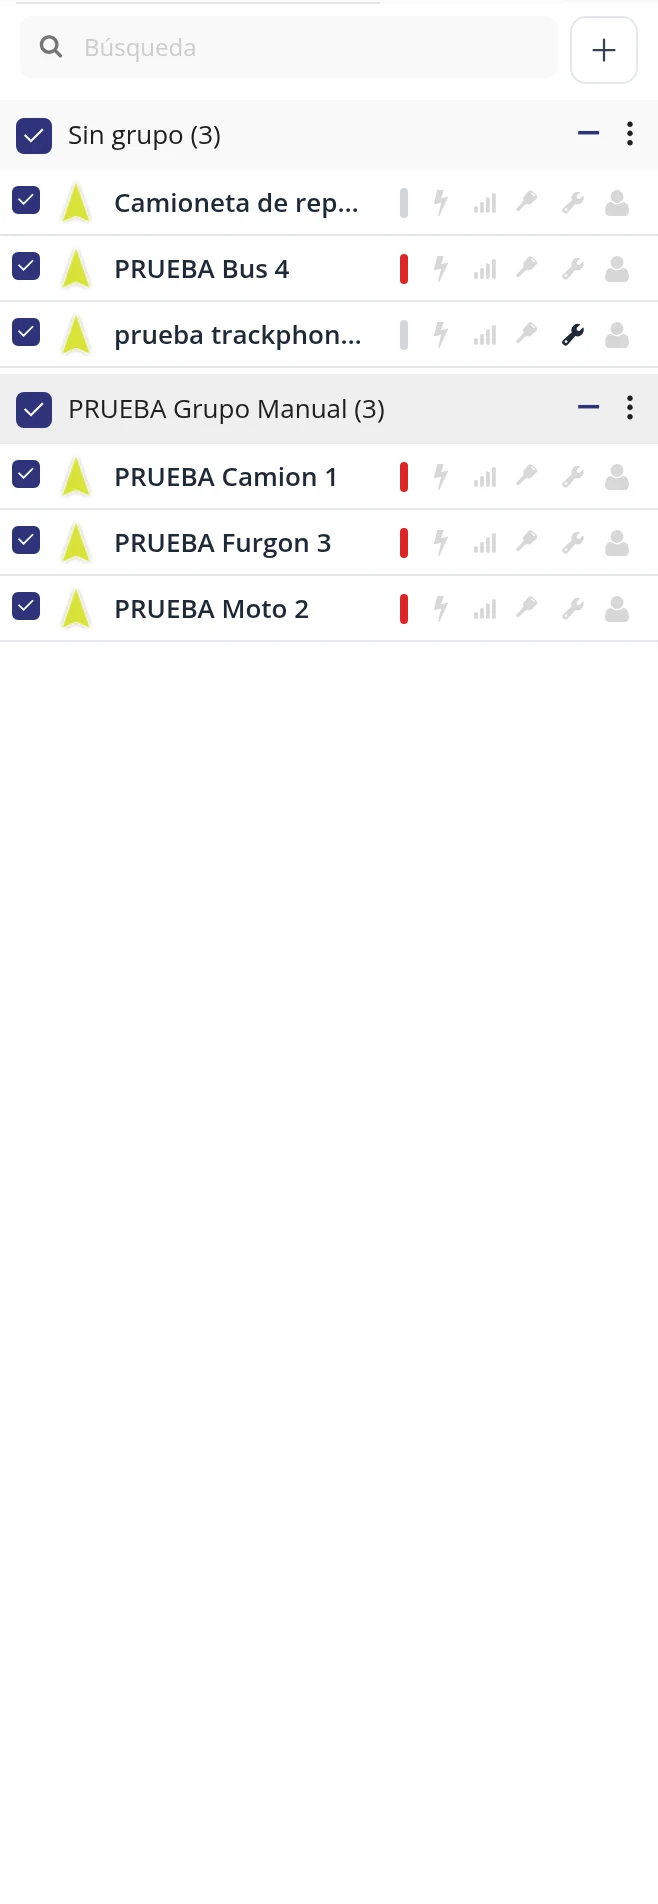
Above the vehicles there is a grey line saying «No group» and, in brackets, how many vehicles are inside. «No group» is not a group somebody created: it is where the program puts all the vehicles that are not yet in any group. That line has three things: a box on the left that ticks or unticks all the vehicles inside at once, a minus sign that folds the list, and a three dots button.
-
Fold and unfold the list
Clicking the group line (or the minus sign) hides the vehicles and the minus turns into a plus. Clicking again brings them back. With many groups this is useful for leaving in view only the one you care about.
-
Click the three dots of «No group» to create a group
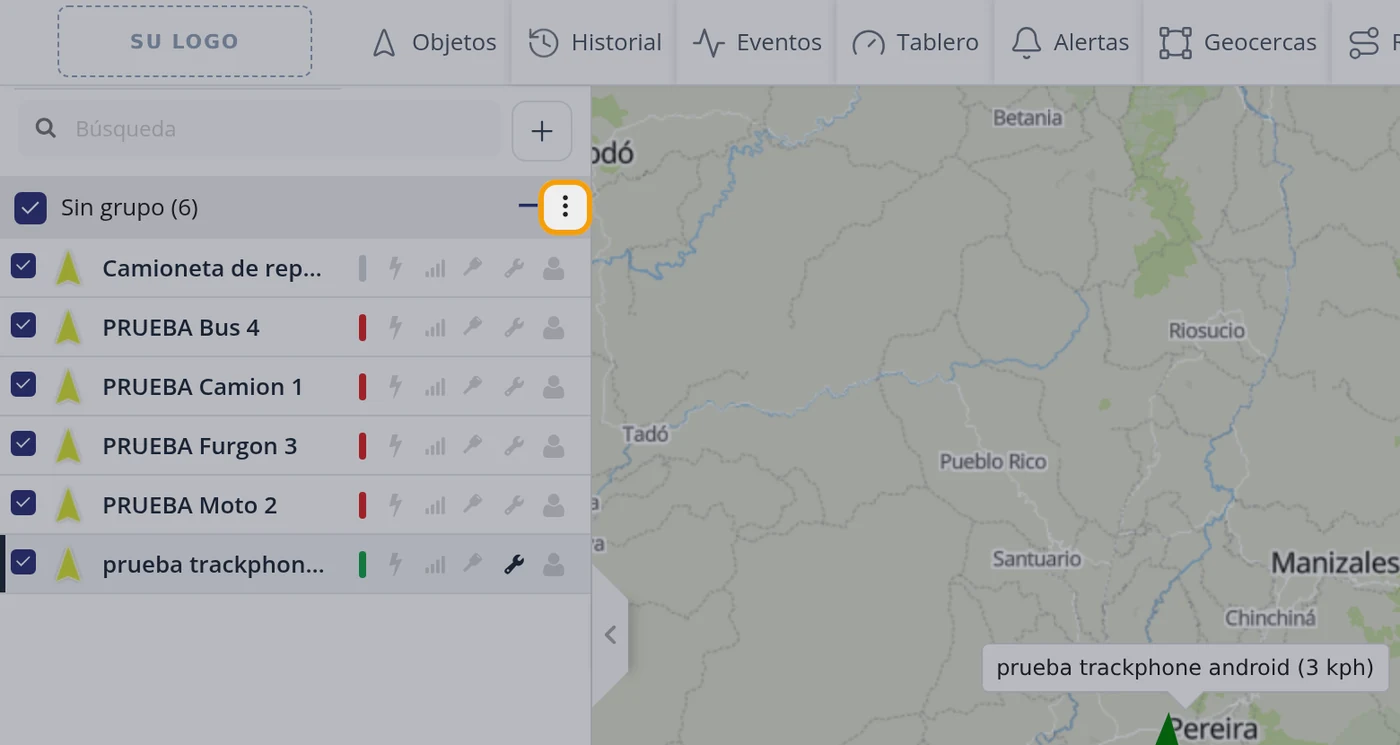
The three dots button of the «No group» line does not edit anything: it opens the window to CREATE a new group. It is the only place on this screen from which a group is created.
CarefulThe same three dots button does two different things depending on which line it is on: on «No group» it creates a new group; on a real group it opens the group to change it. The screen does not warn you.
-
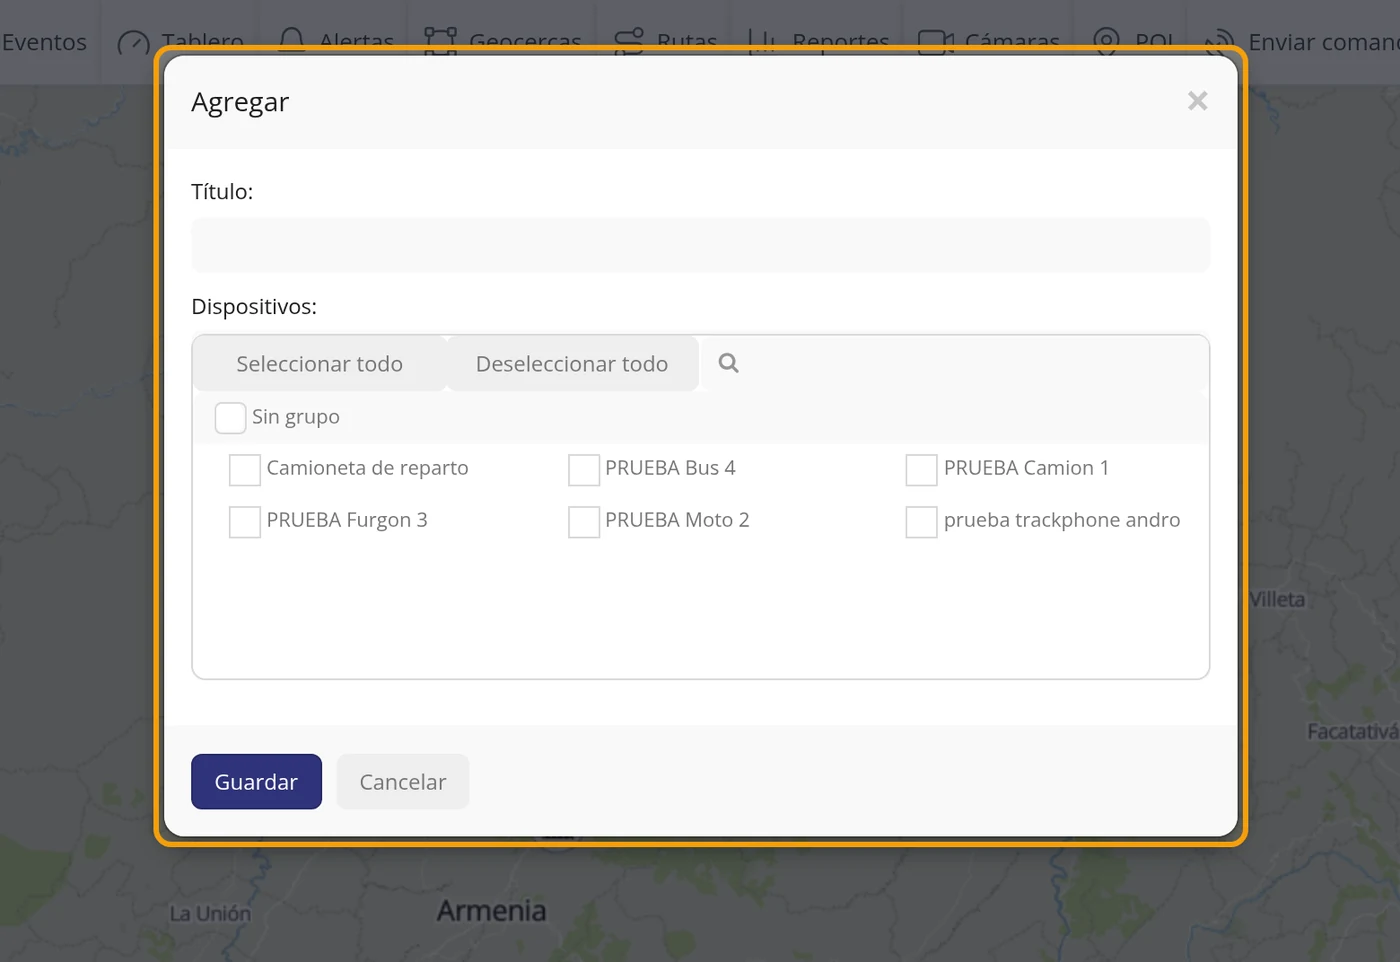
The «Add» window opens
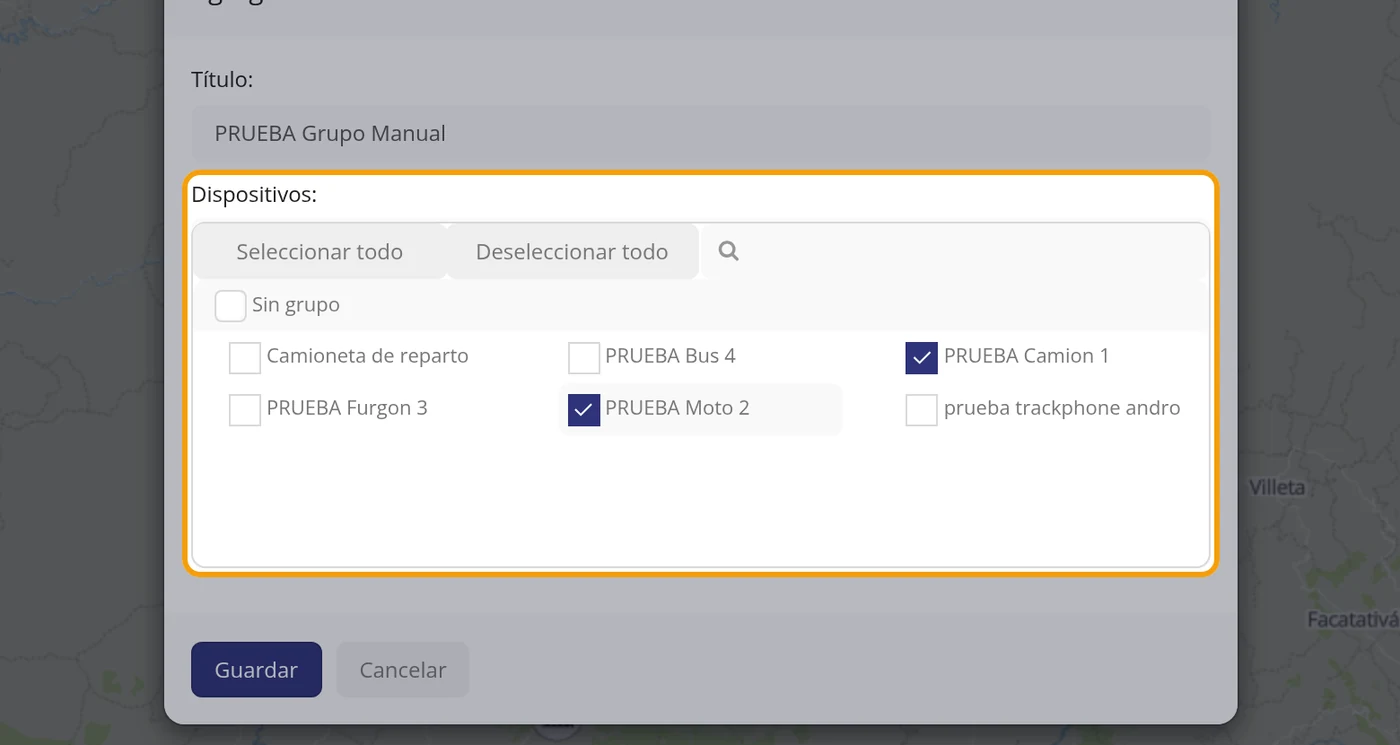
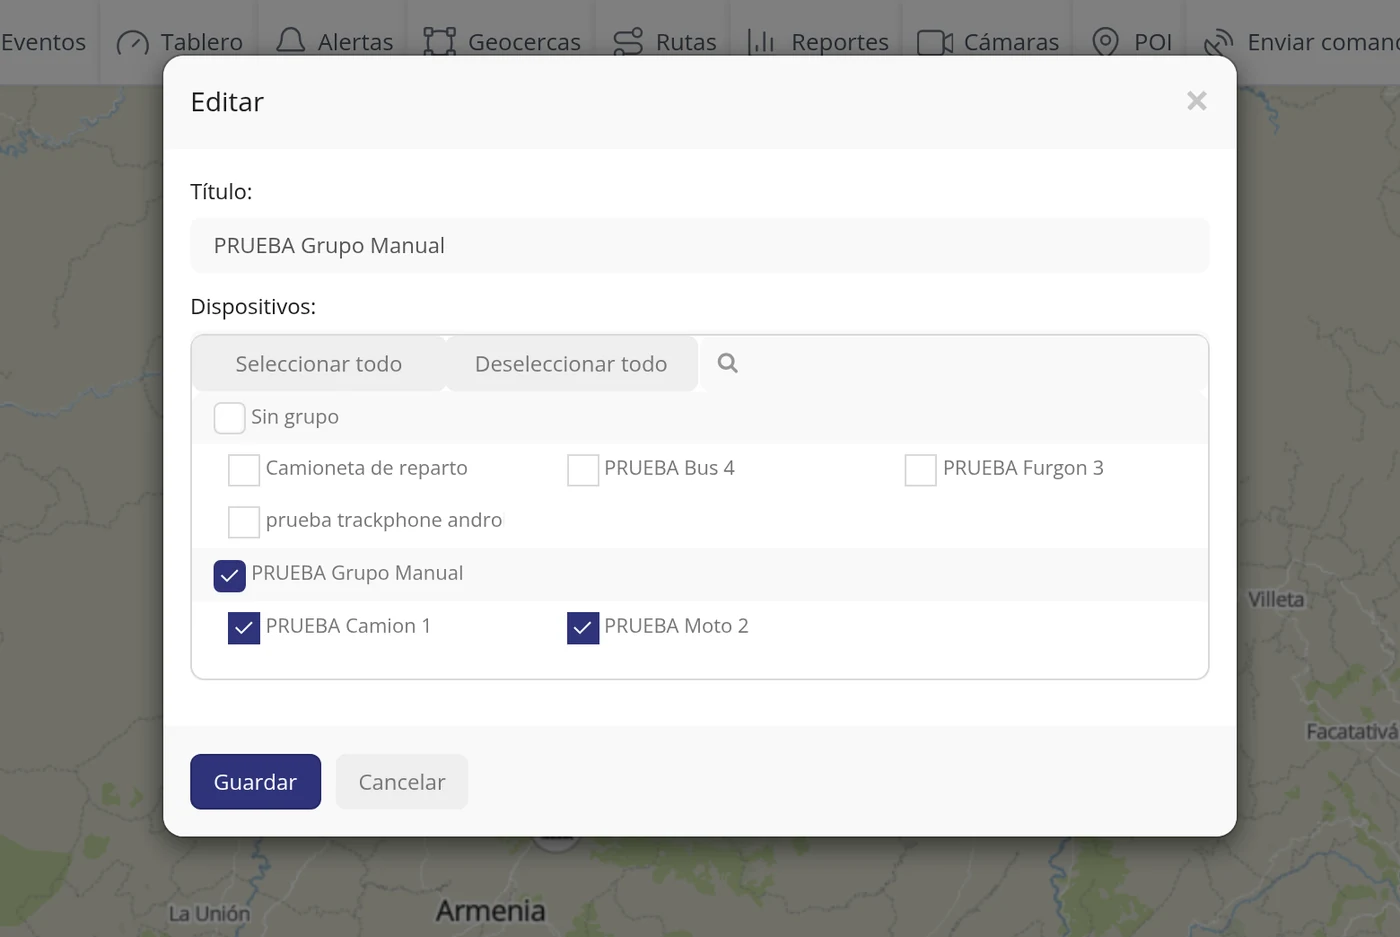
The window has two things: the Title field and the Devices list with all your vehicles and a box next to each one. Above the list there are Select all, Deselect all and a magnifier to search inside the list itself.
-
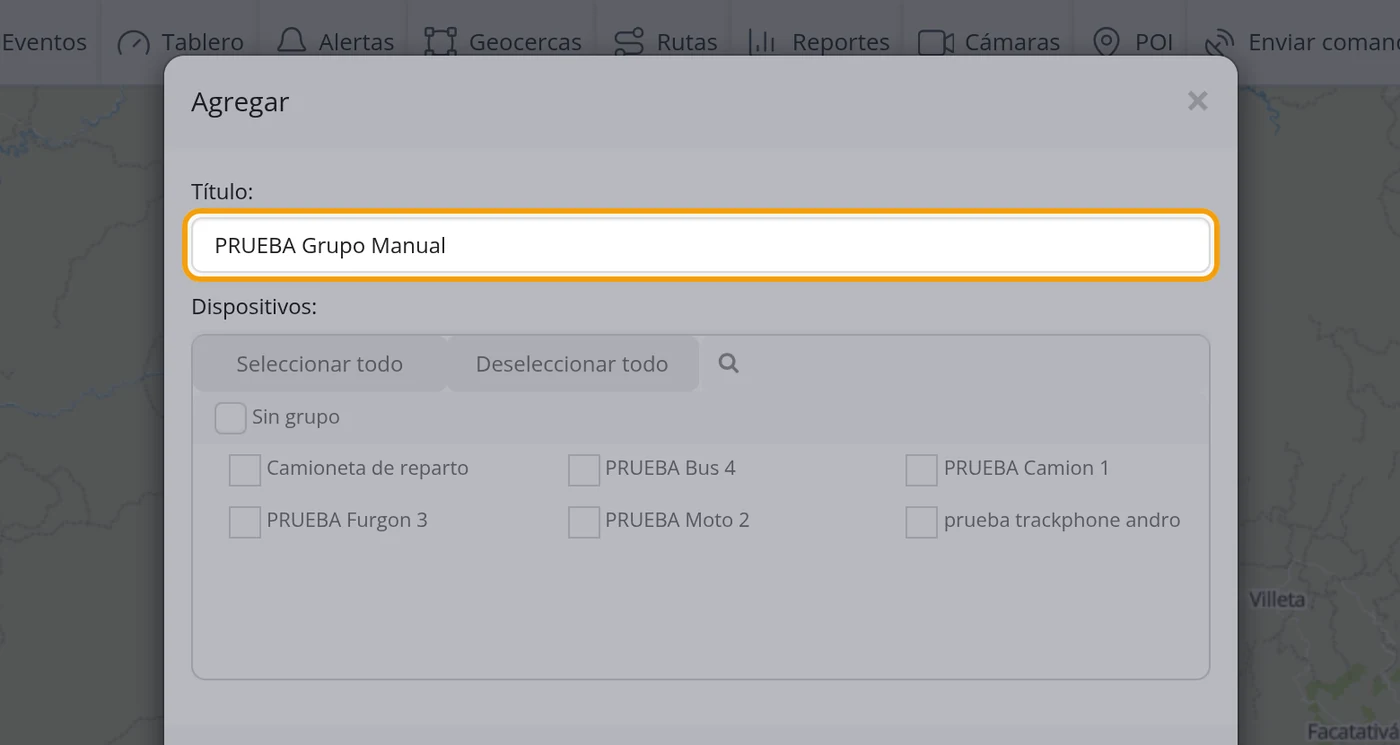
Type the group name
In Title type what the group will be called. For the test «PRUEBA Grupo Manual» was typed. This name is compulsory: without it the group is not saved.
-
Tick the vehicles that go inside
In Devices, click the name of each vehicle you want in the group; its box turns blue. For the test PRUEBA Camion 1 and PRUEBA Moto 2 were ticked. You can leave it empty and add them later.
-
Click Save
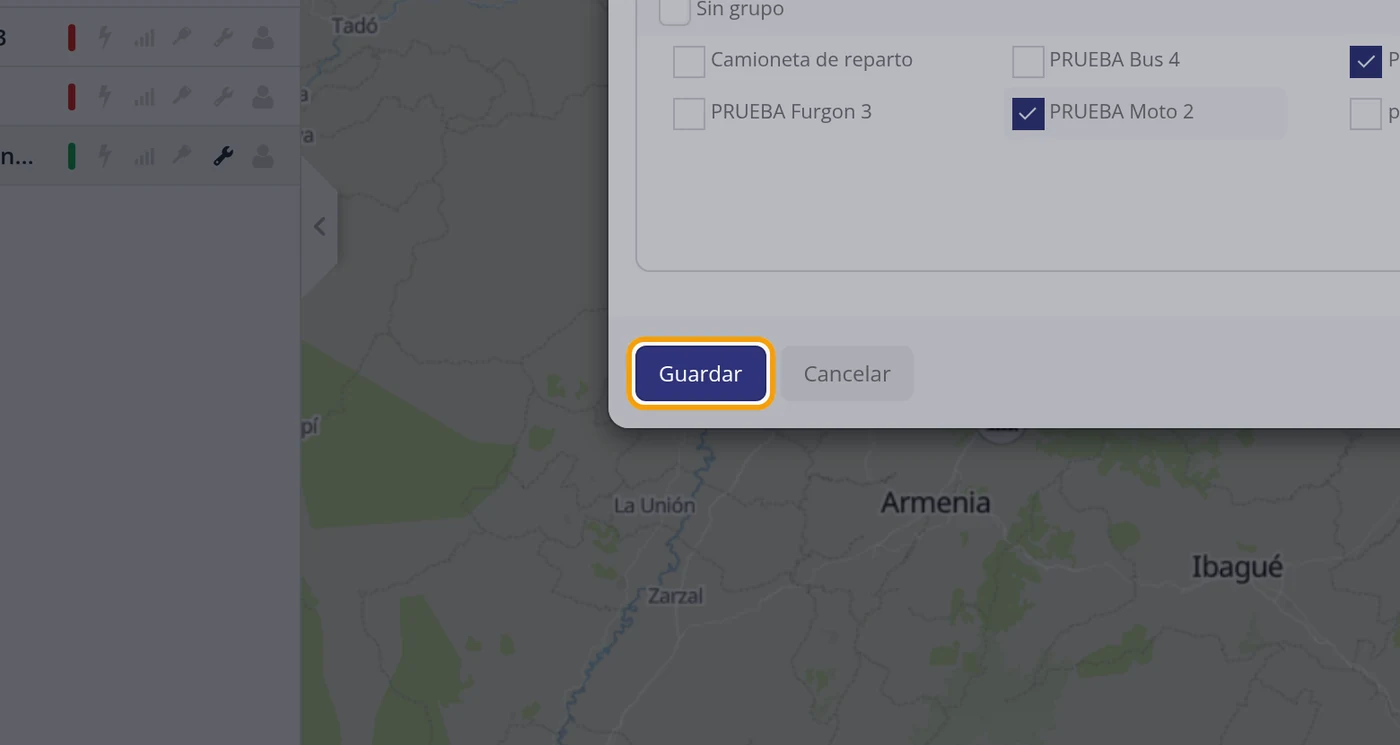
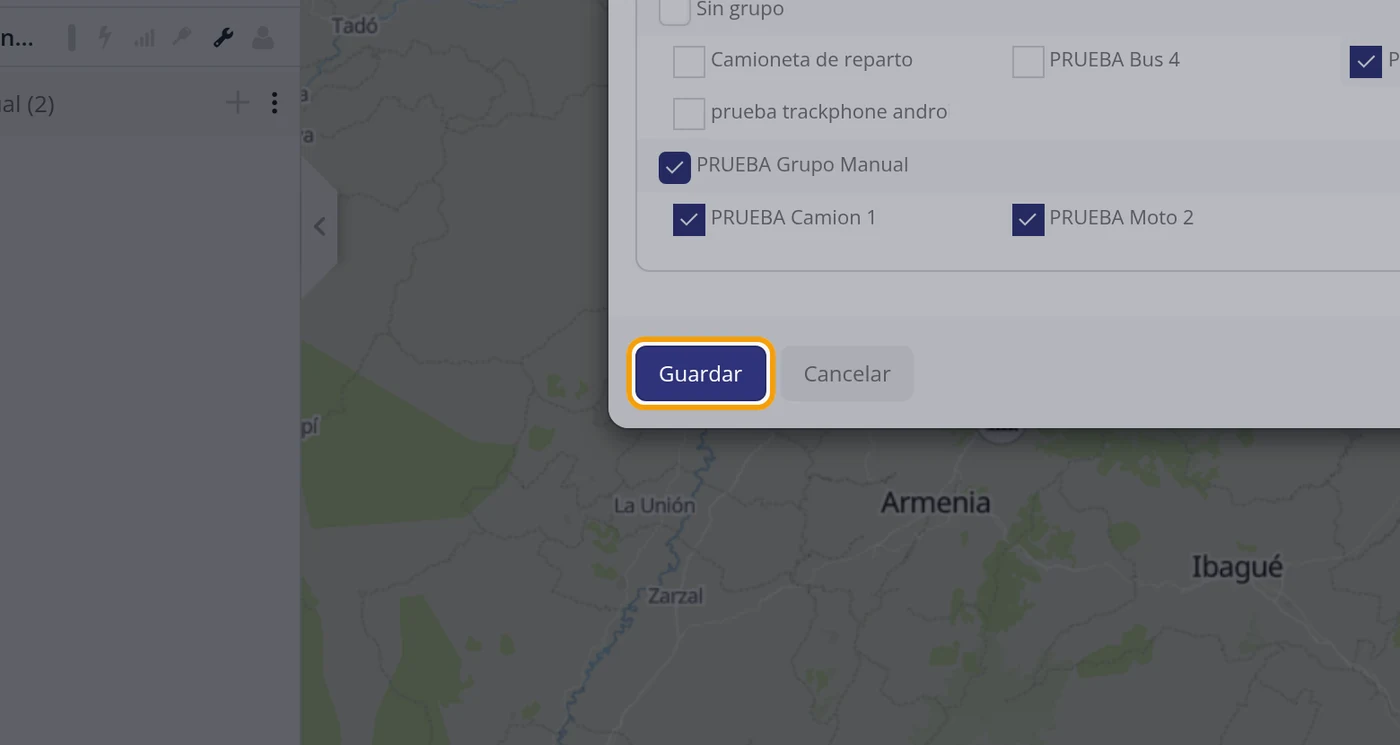
The blue Save button is at the bottom left of the window. Clicking it closes the window and the list on the left redraws itself.
-
Check that the group is there
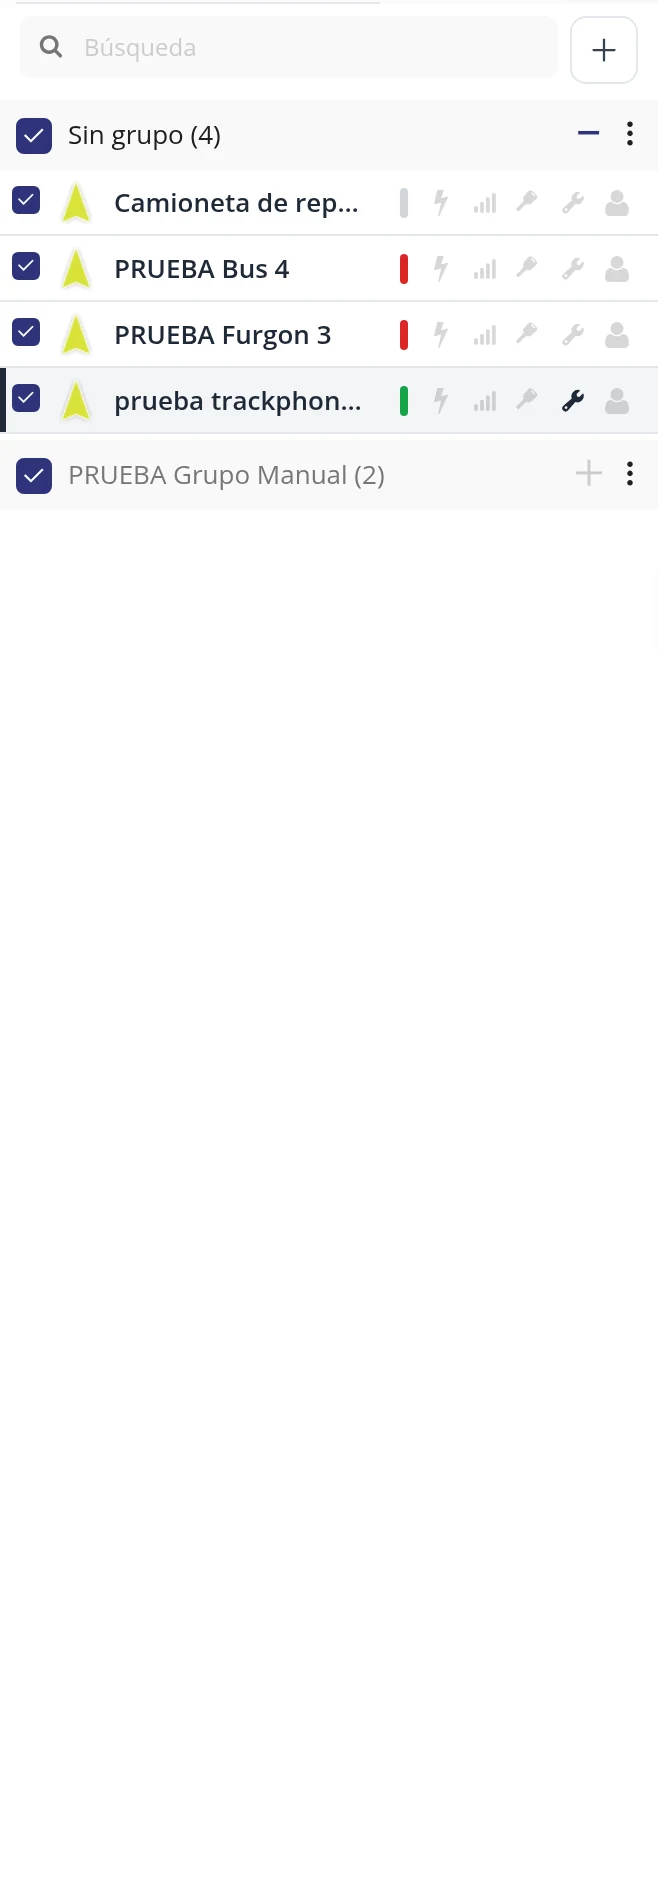
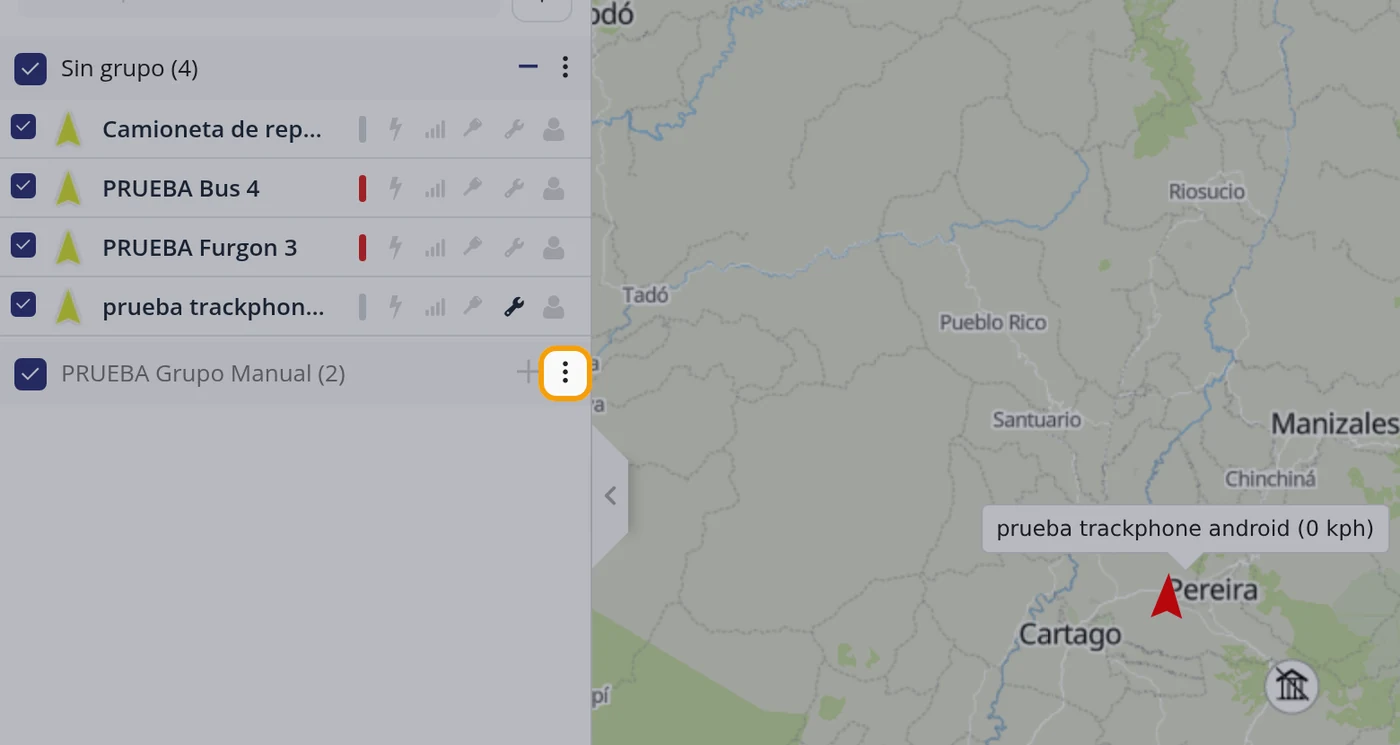
Now the list has two group lines: «No group (4)» —four are left, because two moved out— and «PRUEBA Grupo Manual (2)». A newly created group comes folded: to see what is inside you have to click the plus sign on its line.
-
Read the vehicle file (bottom right)
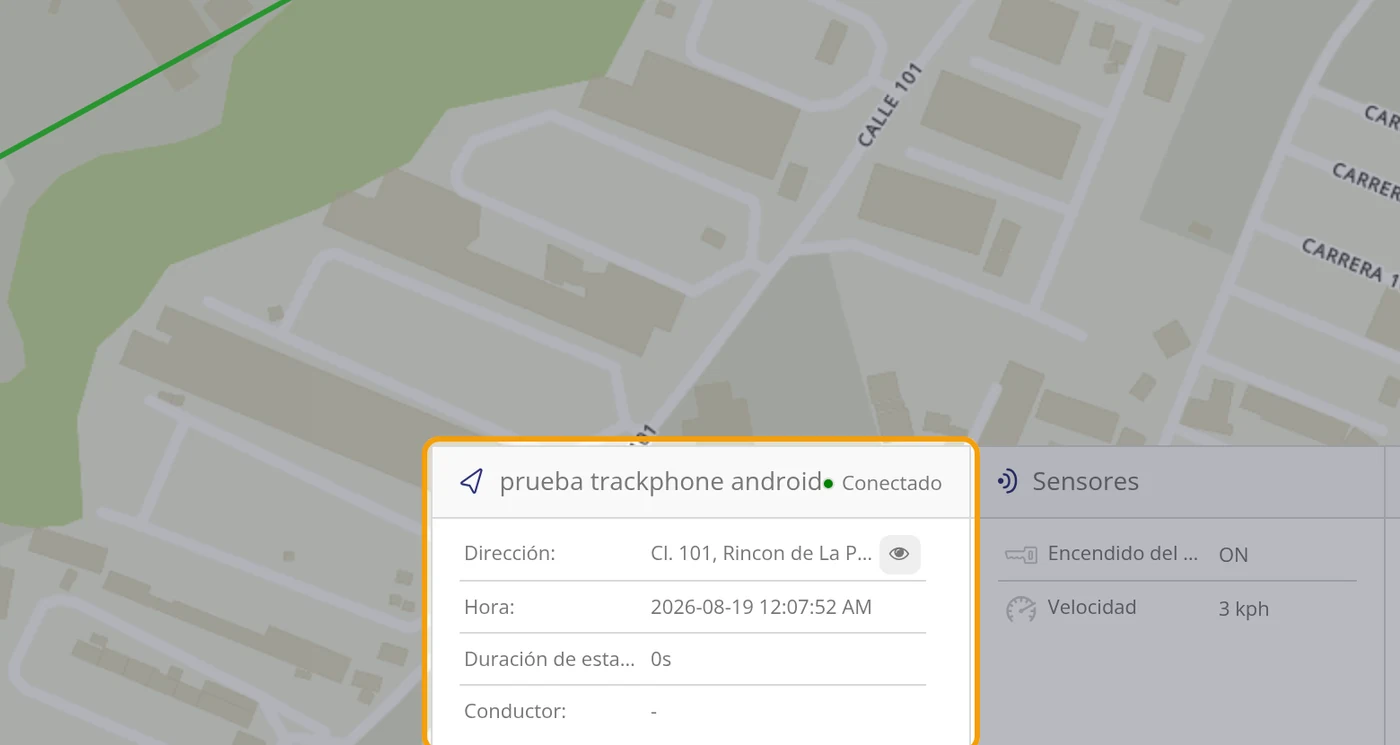
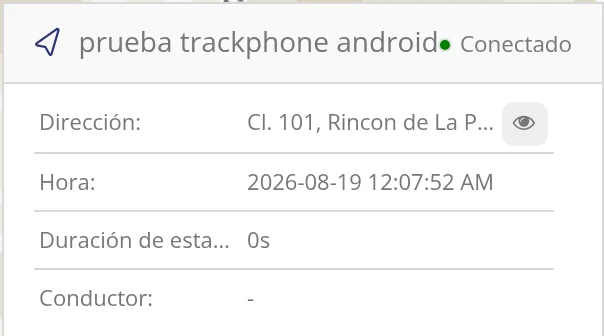
As soon as you select a vehicle, its file appears at the bottom right. On the top line go the name and, on the right, a coloured dot with the word for its state. Below, four pieces of data: Address, Time, Parking duration and Driver.
-
Understand each piece of data in the file
Address: the street the vehicle is on, worked out from the coordinates of its last message. Time: the date and time of that last message, not the current time. Parking duration: how long it has been standing still; if it is moving it says 0s. Driver: the driver assigned to it; if it has none, a dash appears.
CarefulThe name of this row does not fit and appears cut off: «Parking dura...». It is the same as Parking duration. A long address is also cut off; to see it in full there is the magnifier of step 23.
-
Look at the Connected or Disconnected dot
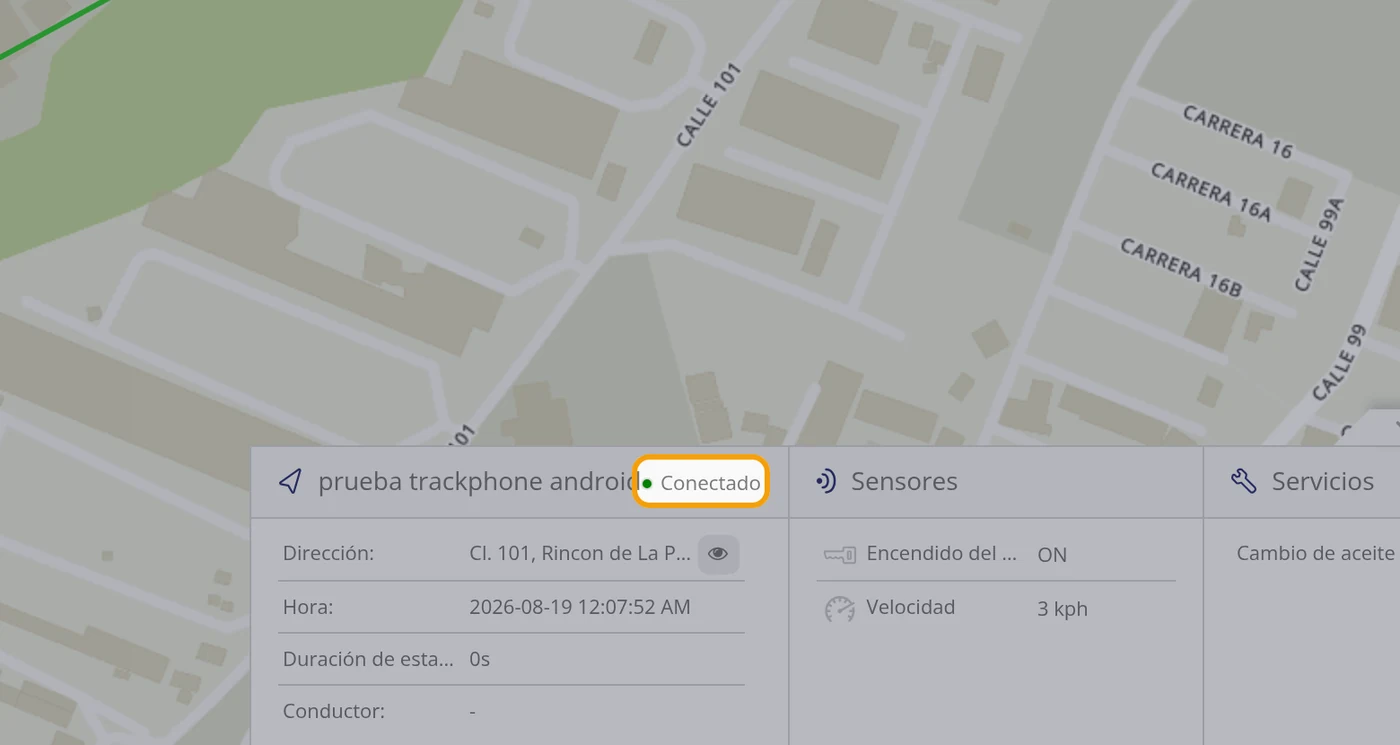
It is the coloured dot next to the name in the file, with the word beside it. Green and «Connected» = the device is reporting and the vehicle is moving. Red and «Disconnected» = the device has given no signal for more than five minutes (that is the limit the program comes with). Yellow = the device is reporting but the vehicle is stopped; in that case the program writes «ACK», which means nothing to a customer: read it as «stopped and reporting». Black = device blocked.
CarefulThese are the colours the program comes with; each vehicle can have its own changed in Edit > Icons.
-
Read the Sensors box
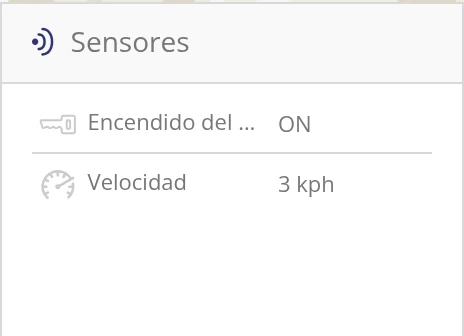
It is the middle box. For the chosen vehicle it shows the sensors it has and the value of each one right now. In the test two appeared: Engine ignition (ON) and Speed (3 kph). If the vehicle has none, the «Add sensor» button appears instead.
CarefulLong names come out cut off: «Engine ignit...».
-
Read the Services box and its gear wheel
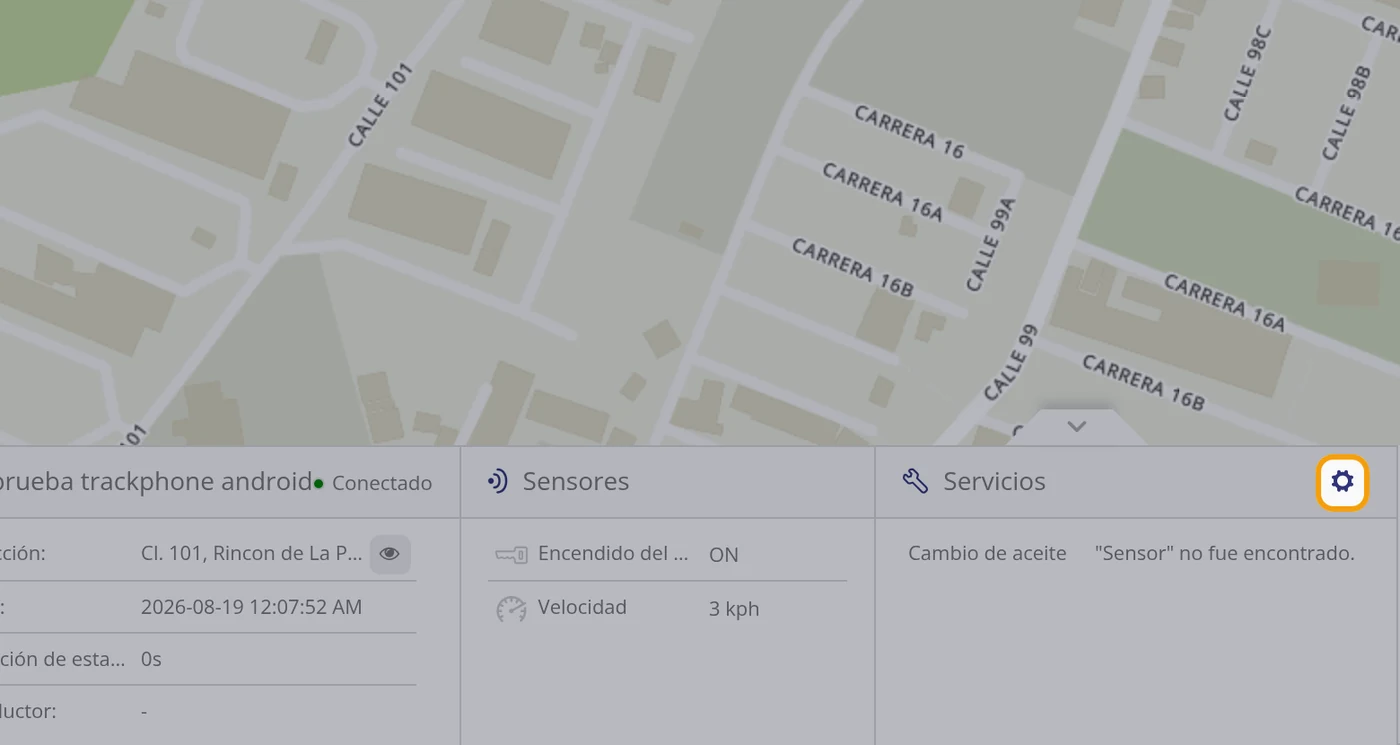
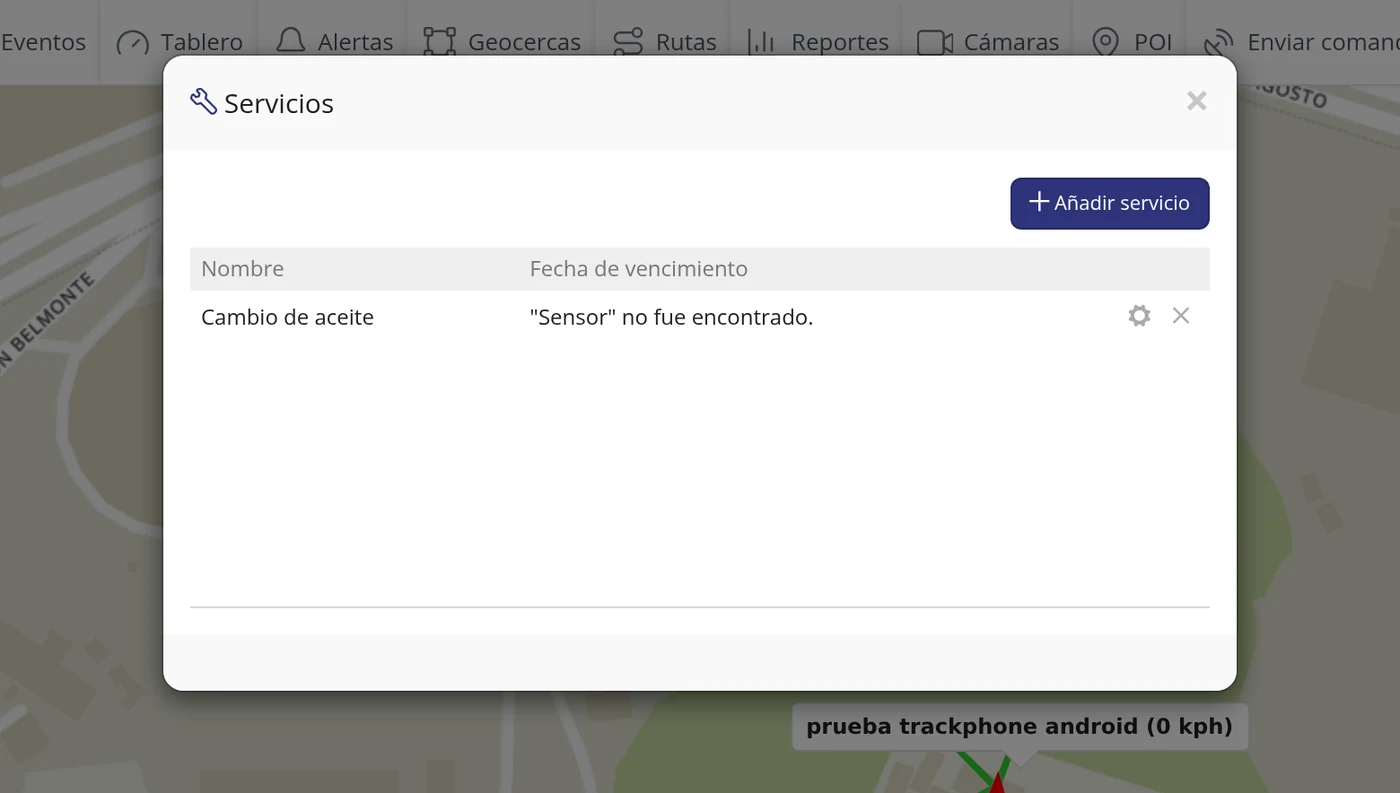
It is the box on the right and it is the vehicle maintenance: oil change, tyres, services. Each row has the name of the maintenance and when it is due. At the top right there is a gear wheel: it is the only one on this screen and it opens the «Services» window, with the full list of that vehicle's maintenance and its due date.
CarefulIf a maintenance is tied to a sensor the vehicle does not have, instead of the date the notice «"Sensor" was not found.» appears. It is not your mistake: that maintenance was created relying on a sensor that does not exist.
-
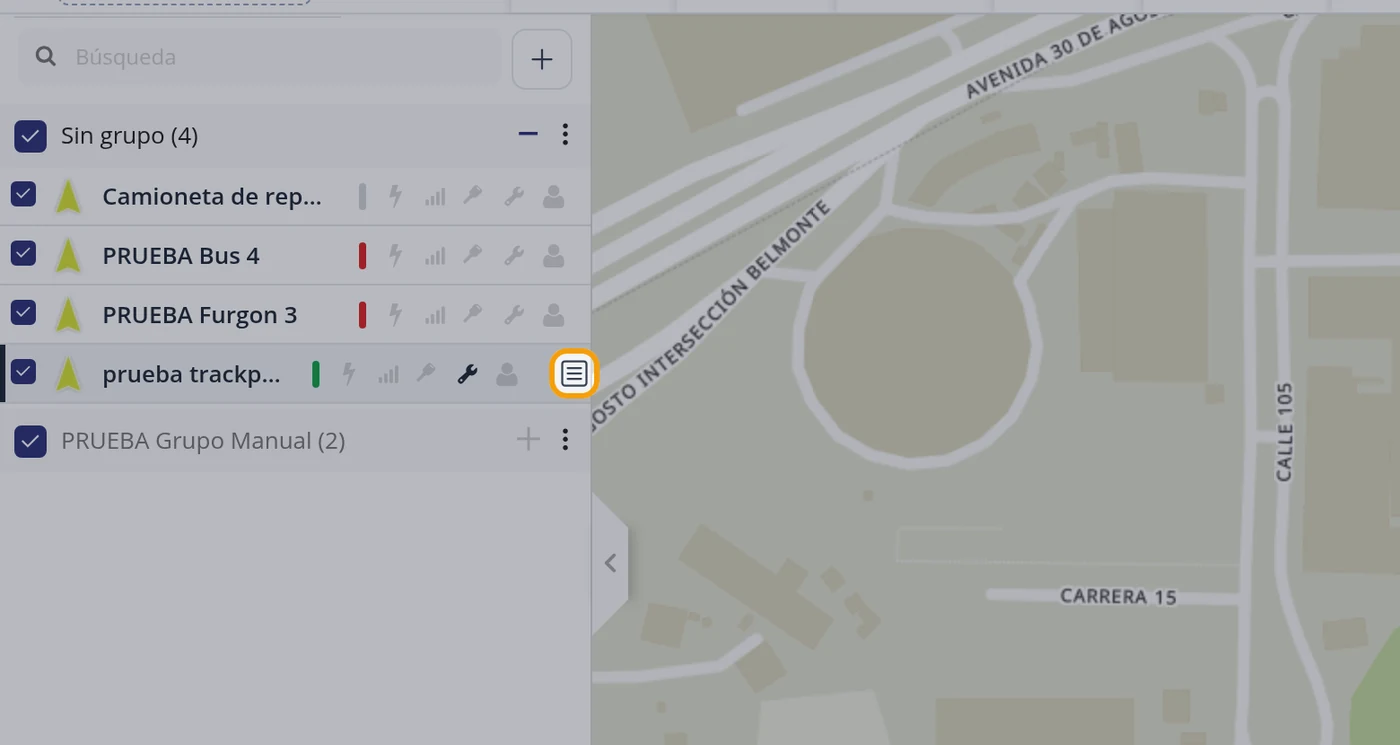
Click the three dots at the end of the row
At the end of each vehicle row, against the right edge of the list, there is a three dots button. It is the actions menu of THAT vehicle. Careful: it is not the same as the one on the group line.
-
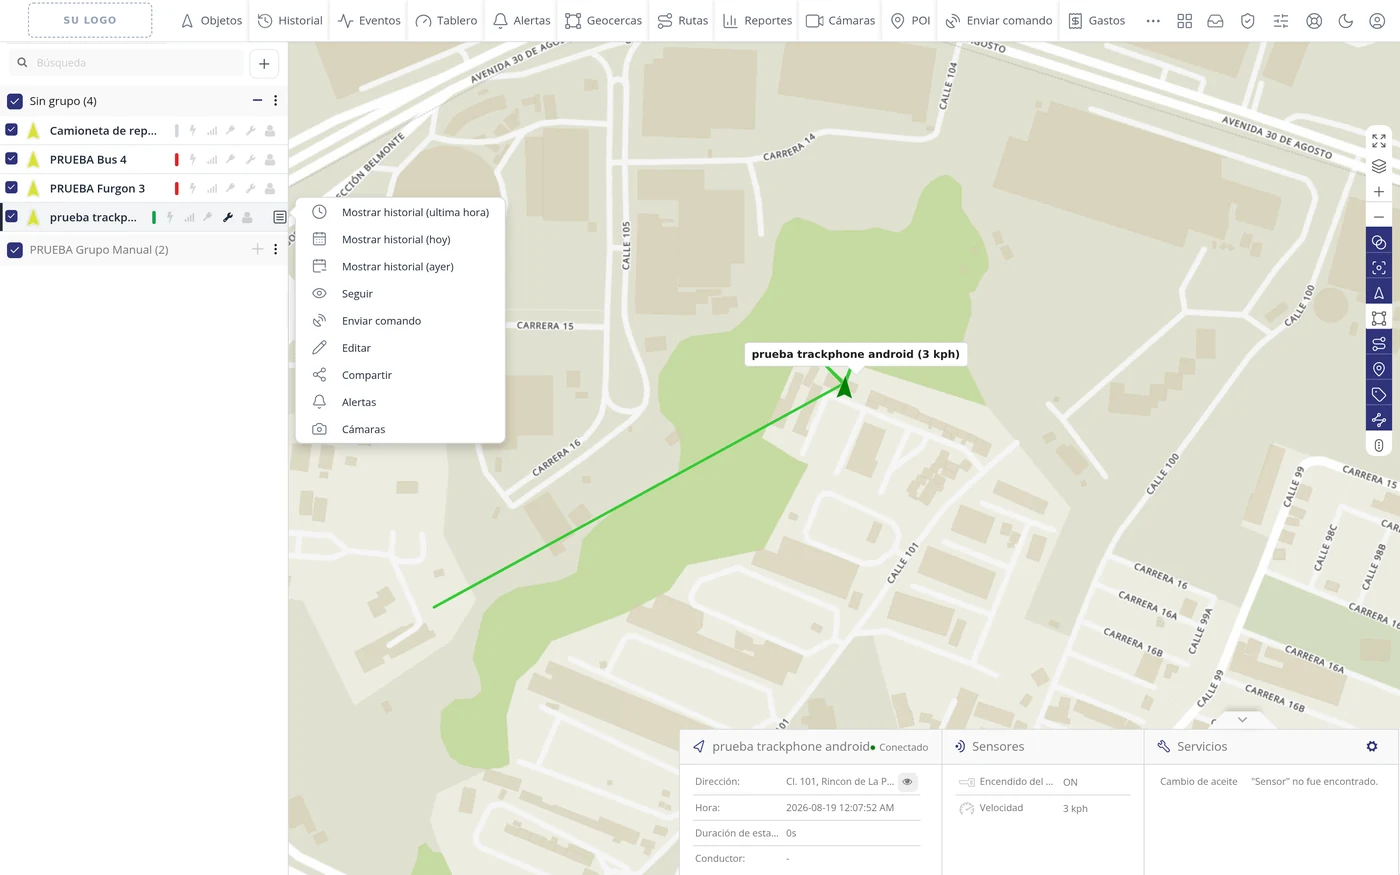
Go through the vehicle menu
A list opens with nine options, in this order: Show history (last hour), Show history (today), Show history (yesterday), Follow, Send command, Edit, Share, Alerts and Cameras. The following steps show what each one opens.
CarefulThe program writes «ultima hora» without the accent in Spanish. It is misspelled, but it is the text you will see on screen.
-
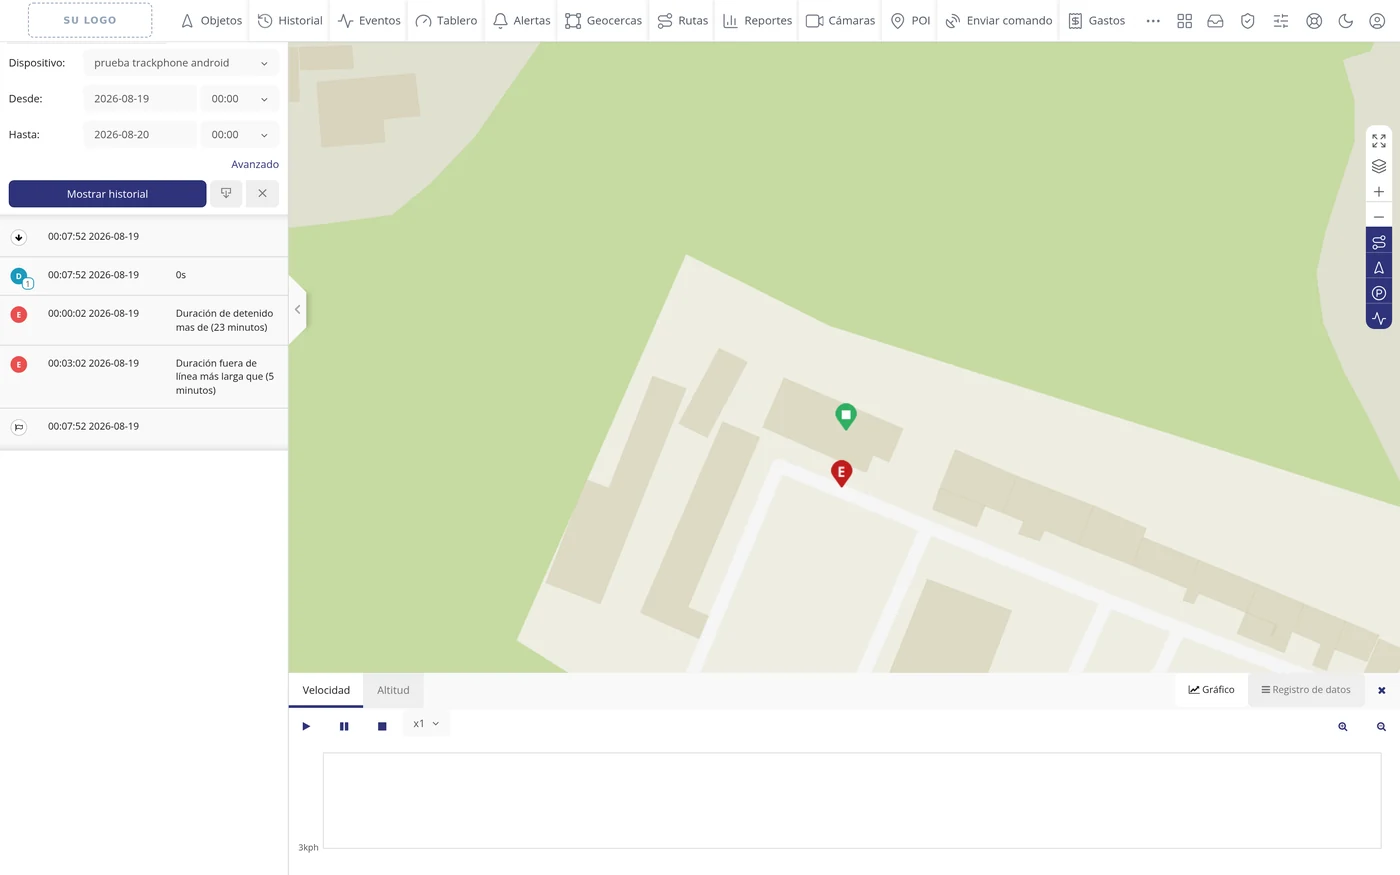
Show history: the route, already done
The first three options ask you nothing: they switch the left panel to History with the vehicle already set and the dates already set (the last hour, today or yesterday), and show you the route on the map and the list of what happened straight away. It is the shortcut for not having to fill in the History form.
-
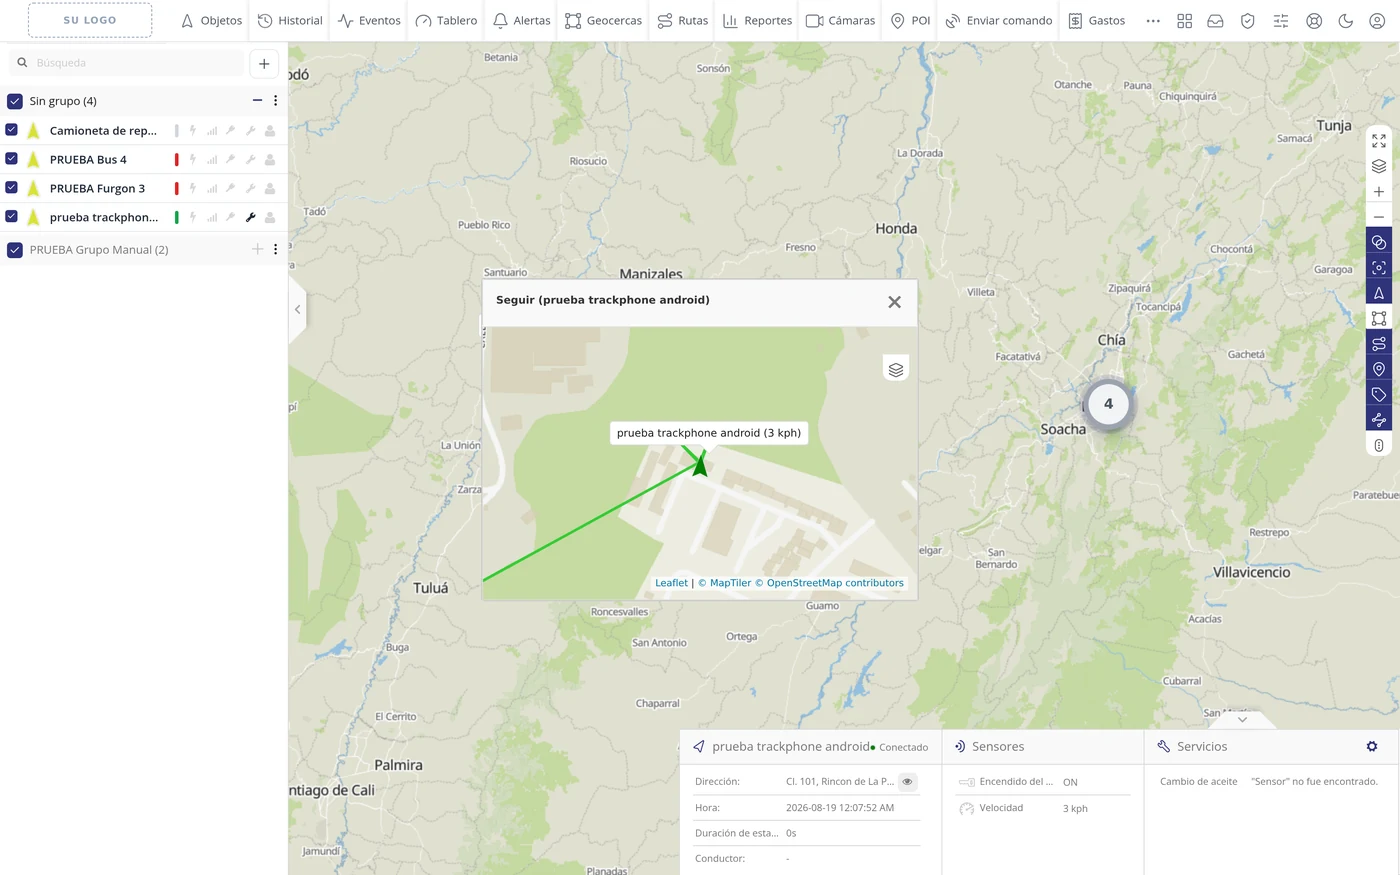
Follow: a small window that trails the vehicle
It opens over the map a small window titled «Follow (vehicle name)» with its own very zoomed-in map. That little window moves by itself behind the vehicle while you keep working on the big map. It closes with the cross.
-
Send command: sending an order to the device
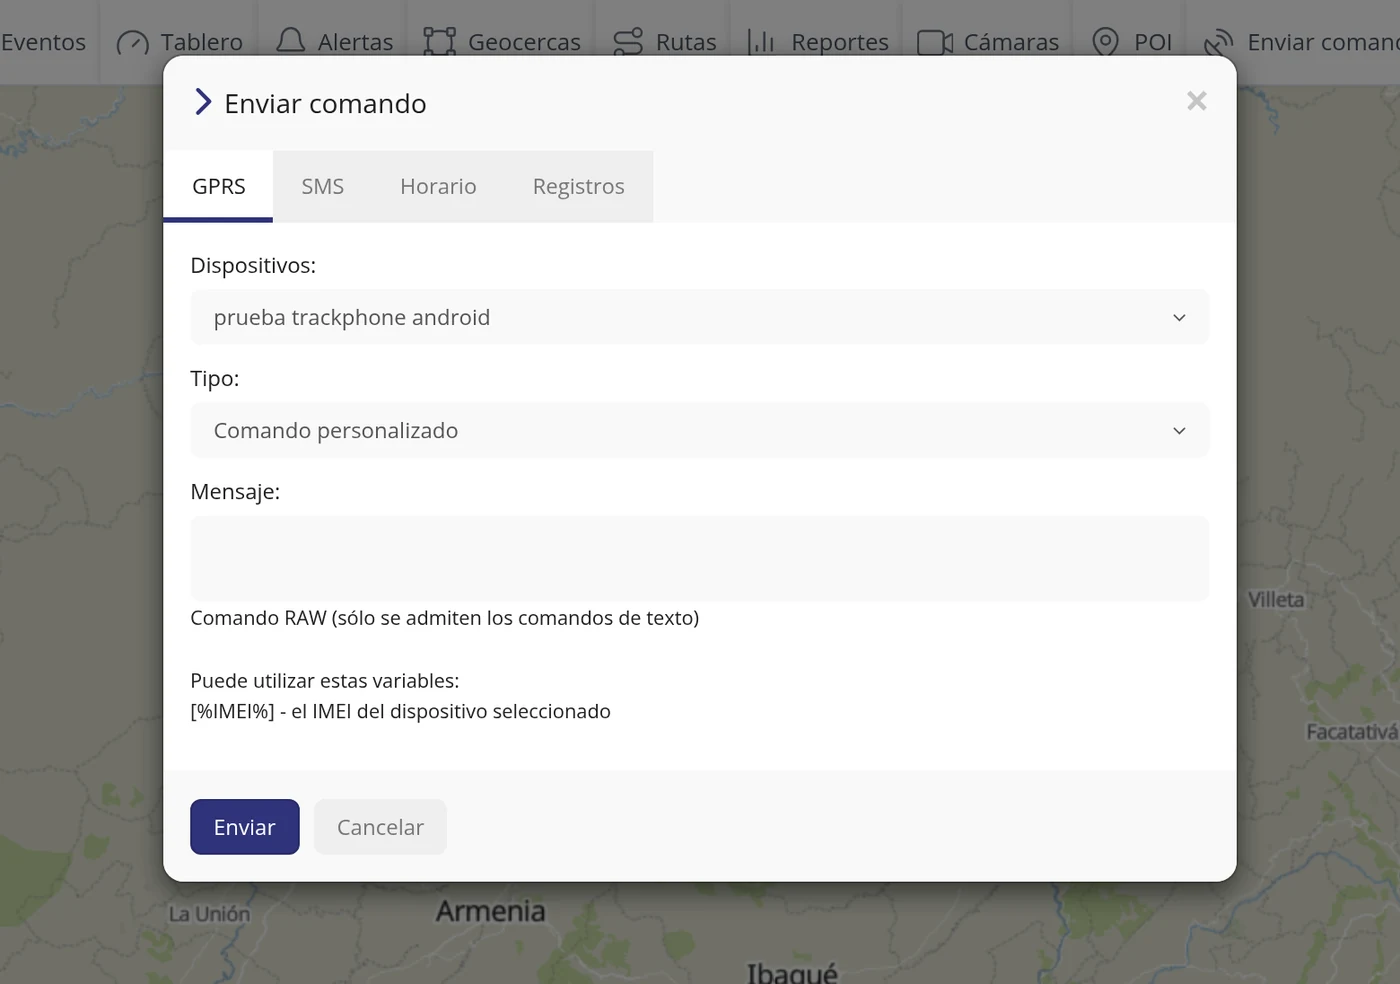
It opens the «Send command» window with four tabs: GPRS, SMS, Schedule and Logs. The vehicle comes already chosen. You pick the order Type and, if it is a custom order, type it in Message. It is sent with the Send button.
CarefulIn the test the window was opened but NO order was sent, so as not to touch a real device.
-
Edit: changing the vehicle data
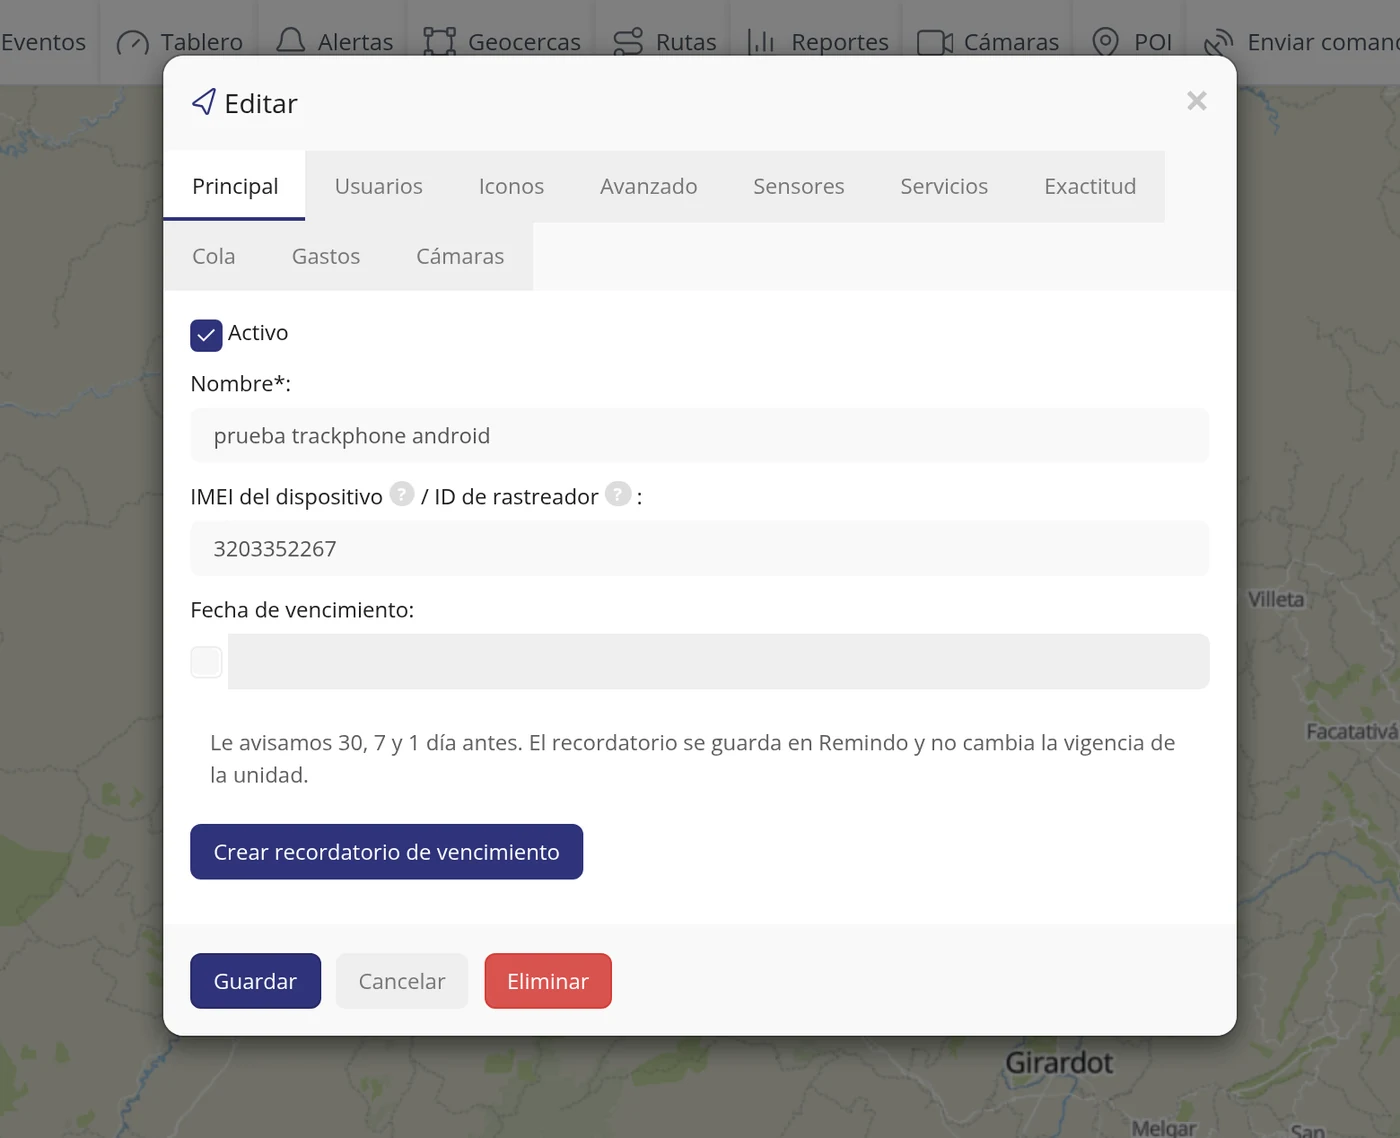
It opens the «Edit» window with ten tabs: Main, Users, Icons, Advanced, Sensors, Services, Accuracy, Tail, Expenses and Cameras. In Main are the Active box, the Name, the Device IMEI / Tracker ID and the Expiry date. At the bottom there are three buttons: Save, Cancel and Delete.
CarefulDelete removes the whole vehicle. It is right next to Cancel, in red.
-
Share: a link so someone else can see it
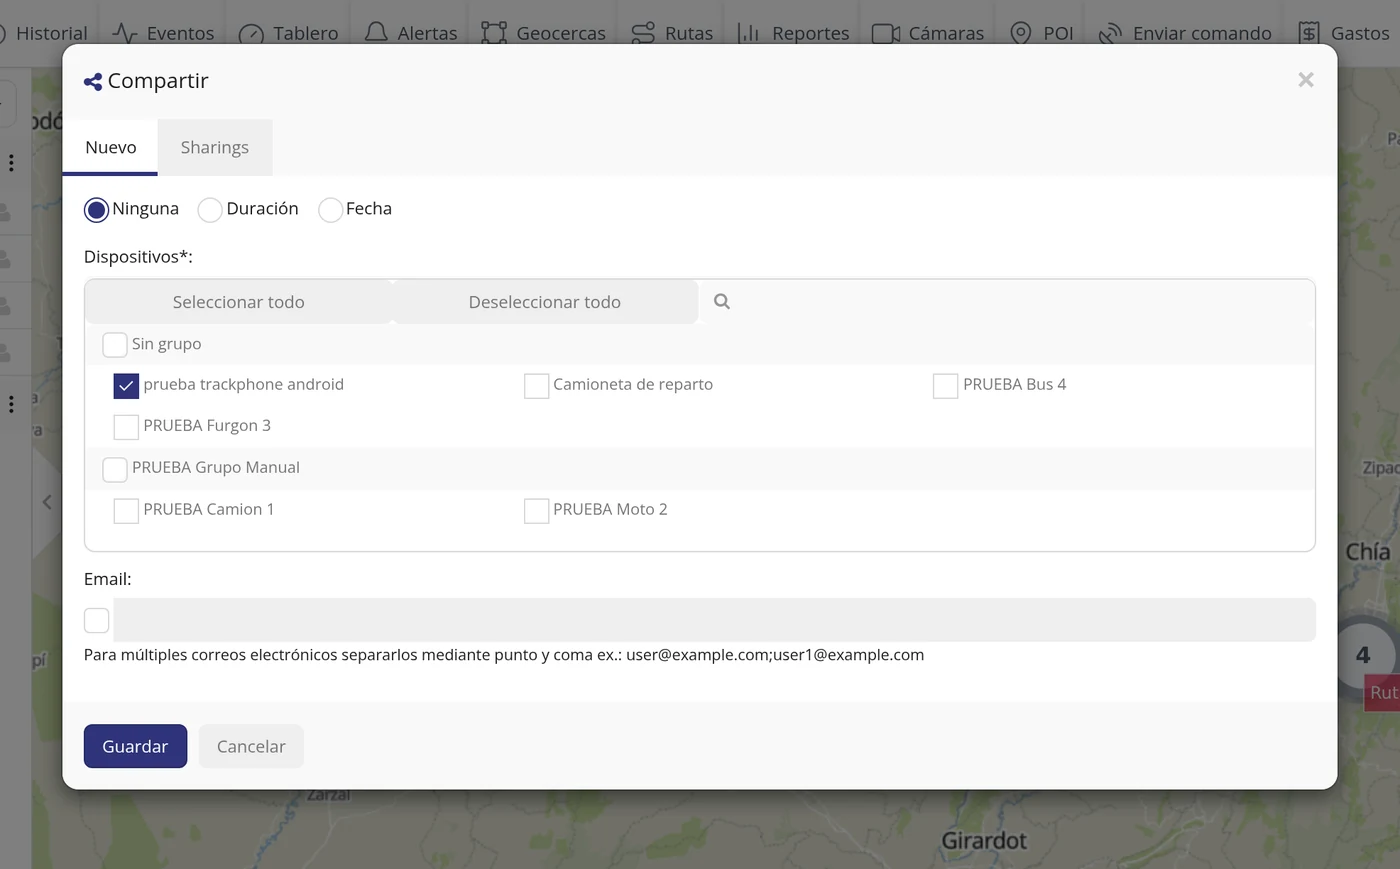
It opens the «Share» window, with two tabs: New and Sharings (the second stayed in English; it is the list of what you have already shared). In New you choose how long the permission lasts —None, Duration or Date—, which vehicles are shared and, if you want, which email the link is sent to.
-
Alerts: which warnings watch this vehicle
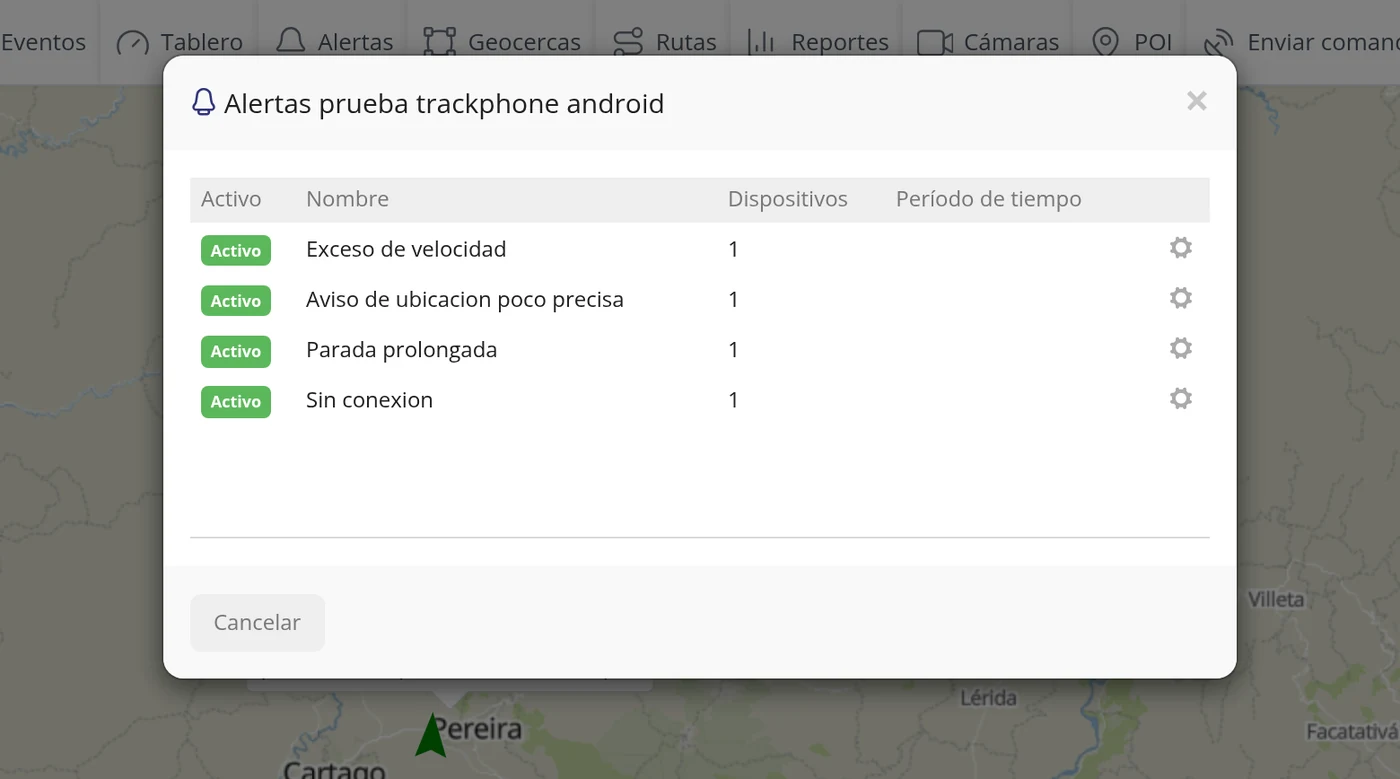
It opens a window titled «Alerts» with the vehicle name, and inside the list of the warnings watching it, with four columns: Active, Name, Devices and Time period. In the test four appeared: Overspeed, Low accuracy location warning, Long stop and No connection. The gear wheel at the end of each row opens that alert to change it.
-
Cameras: the photos of that vehicle
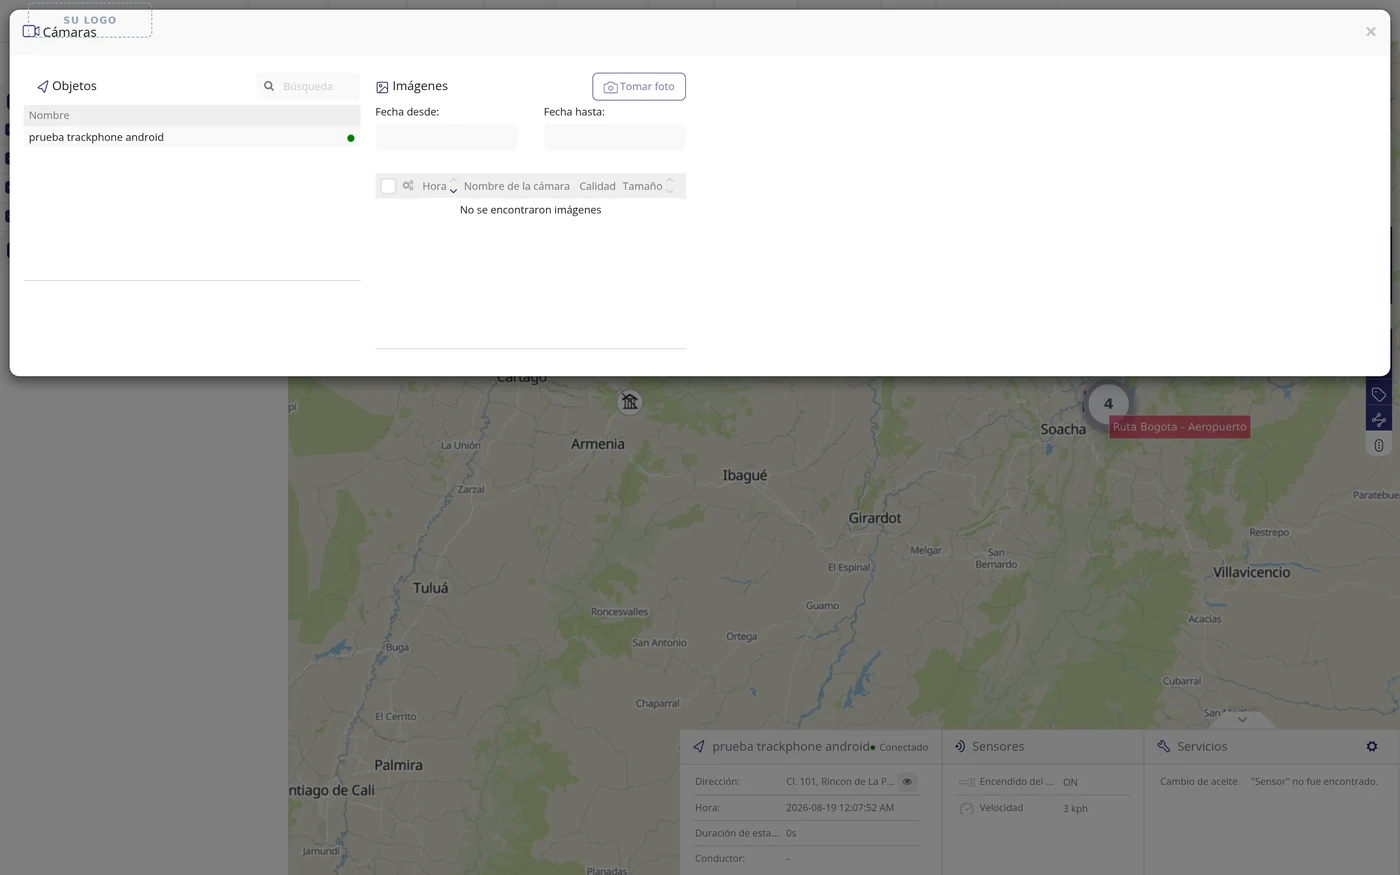
It opens a large full-screen window with the vehicle already chosen on the left, and on the right Images, with Date from, Date to and the «Take photo» button to ask the device for a photo right then. If the vehicle has no camera, «No images found» appears.
-
Get to know the map controls
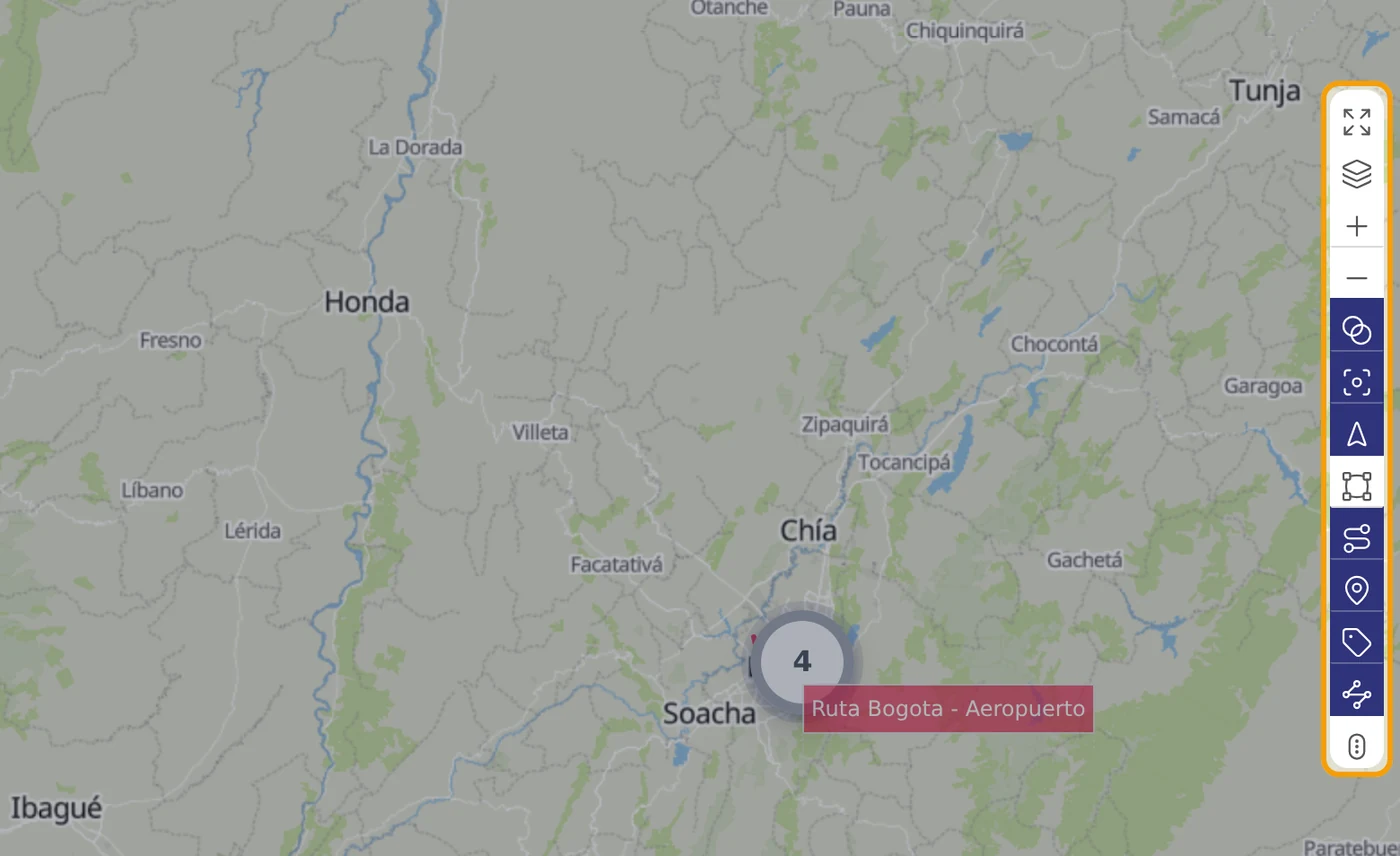
Against the right edge of the map there is a column of thirteen buttons. The top four handle the map (full screen, choose the background, zoom in and zoom out). The nine below are switches: the one that is on is shown with a dark blue background and the one that is off with a white background. Hovering over each one shows its name. The second table below explains them one by one.
-
Look at the column close up
From top to bottom: full screen, Maps, zoom in, zoom out, Group objects, Fit objects, Objects, Geofences, Routes, POI, Show names, Show tails and Live traffic. By default they all come on except Geofences and Live traffic.

-
Try one: take the names off the map
When you switch Show names off, the labels with each vehicle name disappear from the map and only the pictures remain. Switching it back on brings them back. The other switches work the same way.
CarefulThese switches are also stored in your account: however you leave them is how you will find them tomorrow.
-
Use the magnifier to see the full address
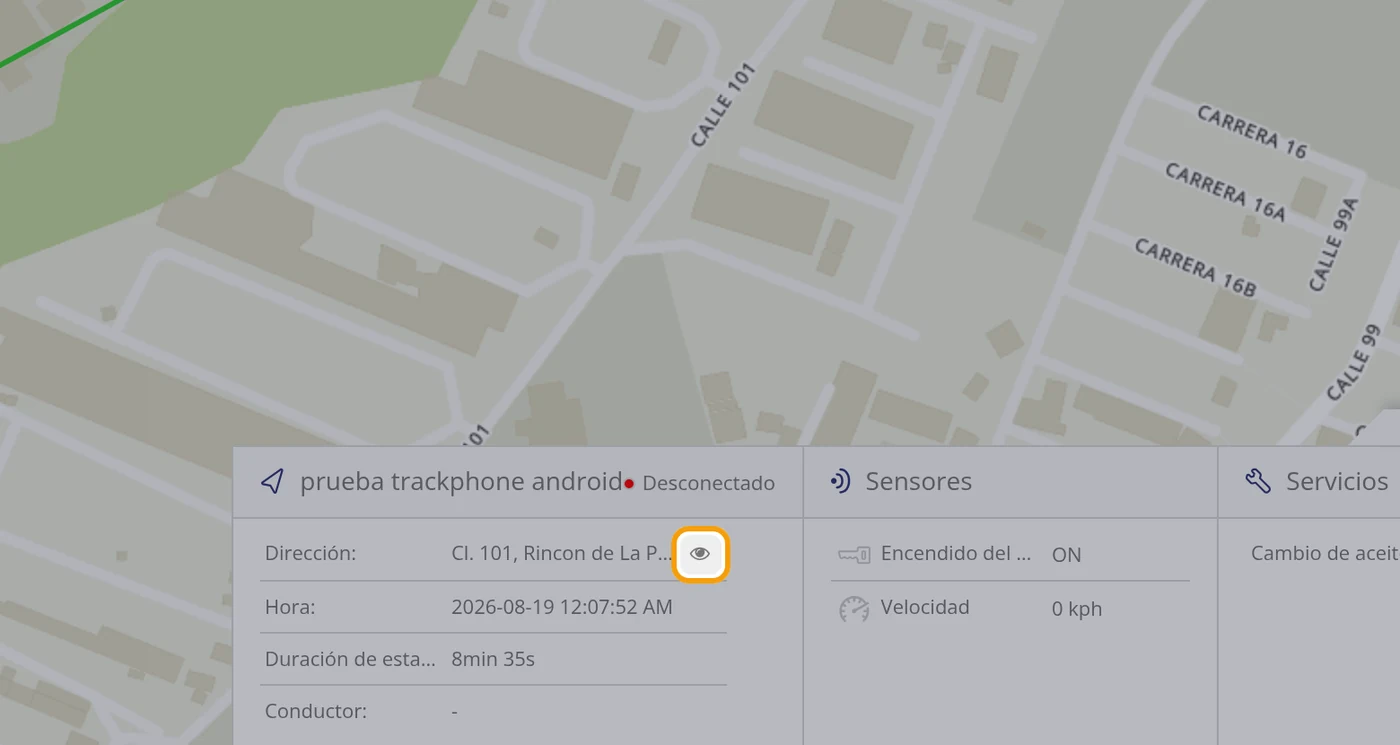
In the Address row of the file, on the right, there is a button with an eye. It opens in a new browser tab the public Google map at the exact coordinates of that vehicle. It is useful for showing someone where it is without giving them access to the program.
-
Open the Services window with the gear wheel
The gear wheel of the Services box opens the «Services» window of that vehicle, with two columns: Name and Expiry date. It is the full list of its maintenance.
-
Put another vehicle into an existing group
Click the three dots button of the group line (not the one of «No group»).
-
The group «Edit» window opens
It is the same window as the one for creating, but with the Title already set and the vehicles the group already has ticked.
-
Tick the vehicle you want to add and save
Click the vehicle name in the Devices list —for the test, PRUEBA Furgon 3— and click Save. The vehicle leaves «No group» and moves into this group.
CarefulA vehicle can only be in one group at a time. Adding it here takes it out of where it was.
-
Check that the vehicle is inside
Opening the group, the three appear inside: PRUEBA Camion 1, PRUEBA Furgon 3 and PRUEBA Moto 2. And «No group» goes down to three.
-
Know what the + button opens
The «Activate new unit» window opens, which is the registration of a new vehicle. It is closed with the cross or with Cancel without registering anything.
-
Try Group objects
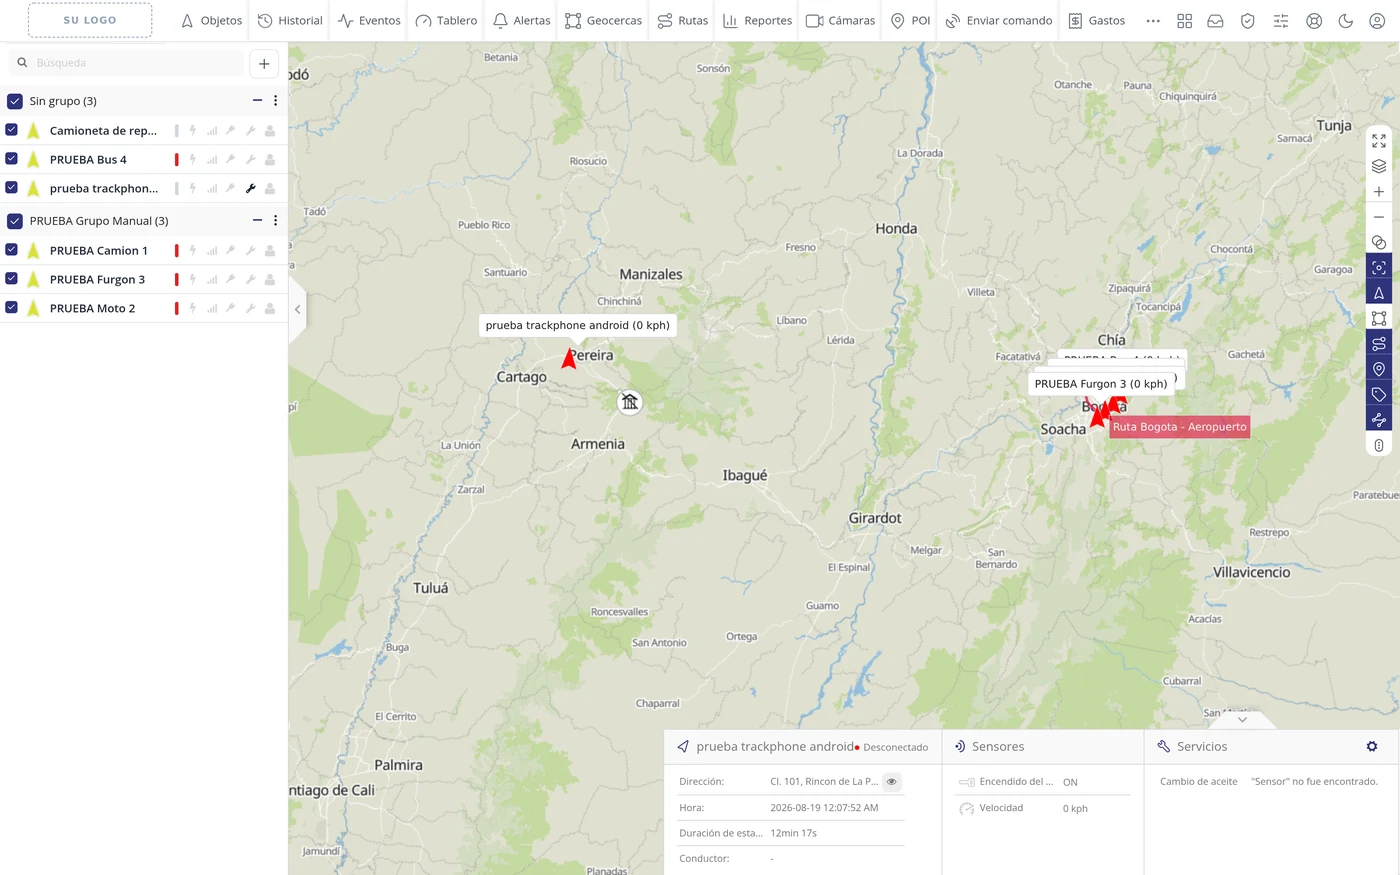
When it is on, vehicles that are close to each other are joined into a single circle with a number inside (for example a 4). Switching it off draws each vehicle separately, even if they overlap.
-
Try Live traffic
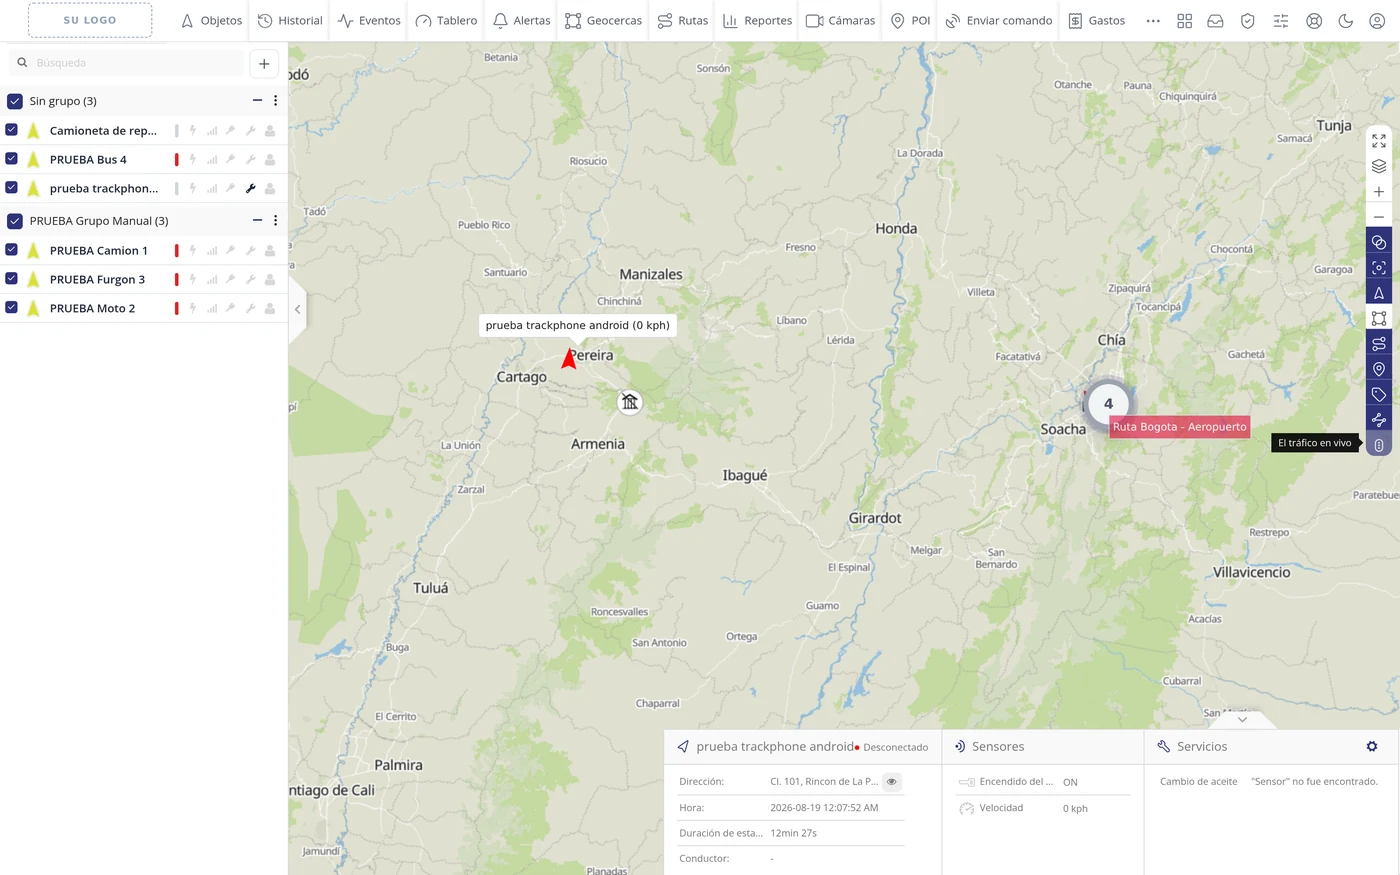
It should paint the traffic jams over the map. It was switched on and the map did not change: the map background set in the account does not carry traffic. To see it you first have to change the map background to Traffic or Hybrid traffic with the Maps button.
CarefulWhen switching it on, the button stayed locked for a few seconds and would not switch off. If that happens, change the map background or reload the screen.
-
Try Objects
It is the switch that draws or wipes ALL the vehicles off the map at once, without touching the boxes in the list. Off, the map is left clean.
-
Change the map background
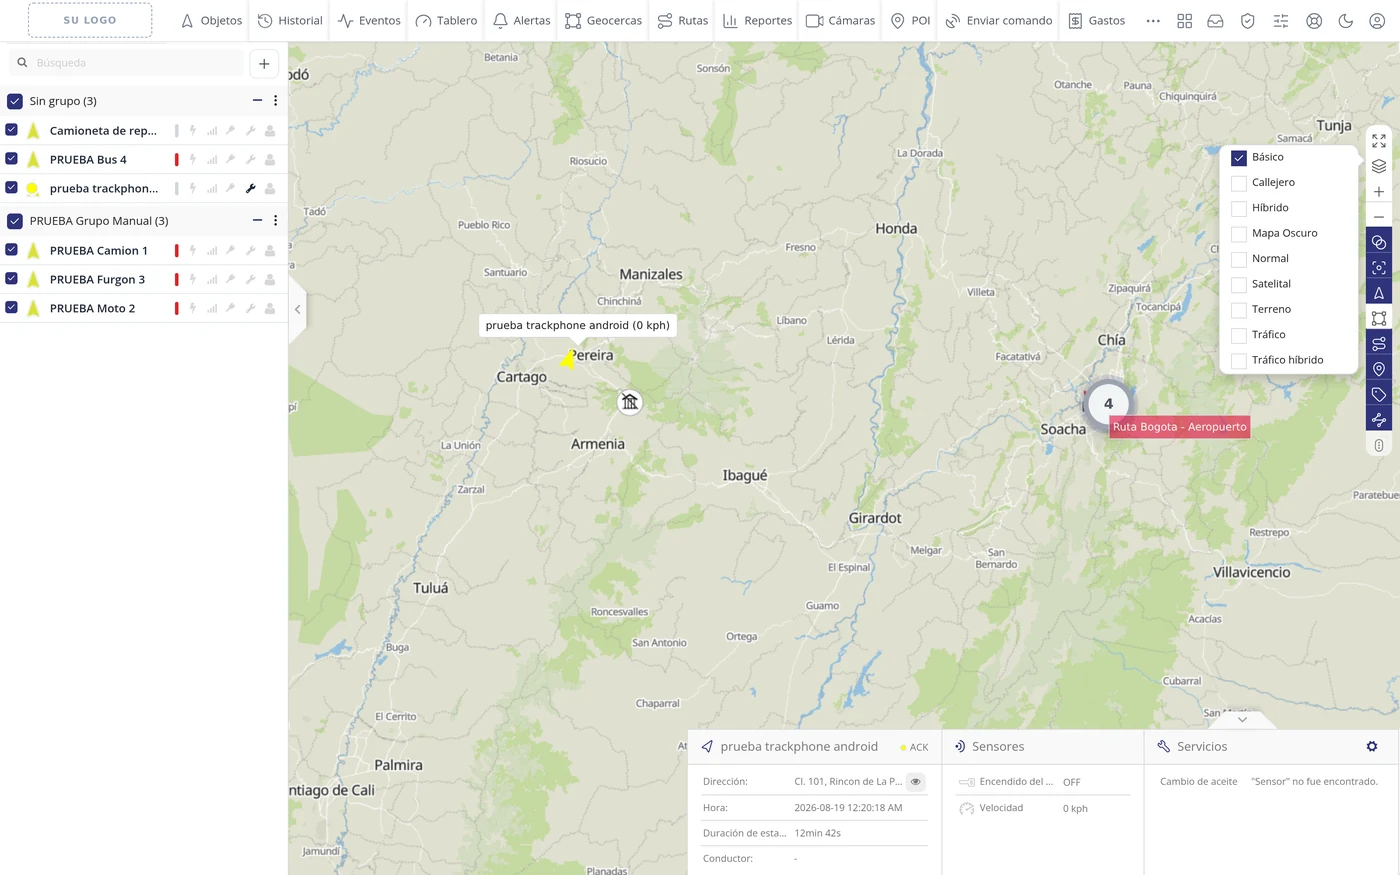
The second button of the column, the stacked sheets one, is called Maps and opens the list of backgrounds. In the test there were nine: Basic, Street, Hybrid, Dark map, Normal, Satellite, Terrain, Traffic and Hybrid traffic. The one set is shown ticked.
-
Try Full screen
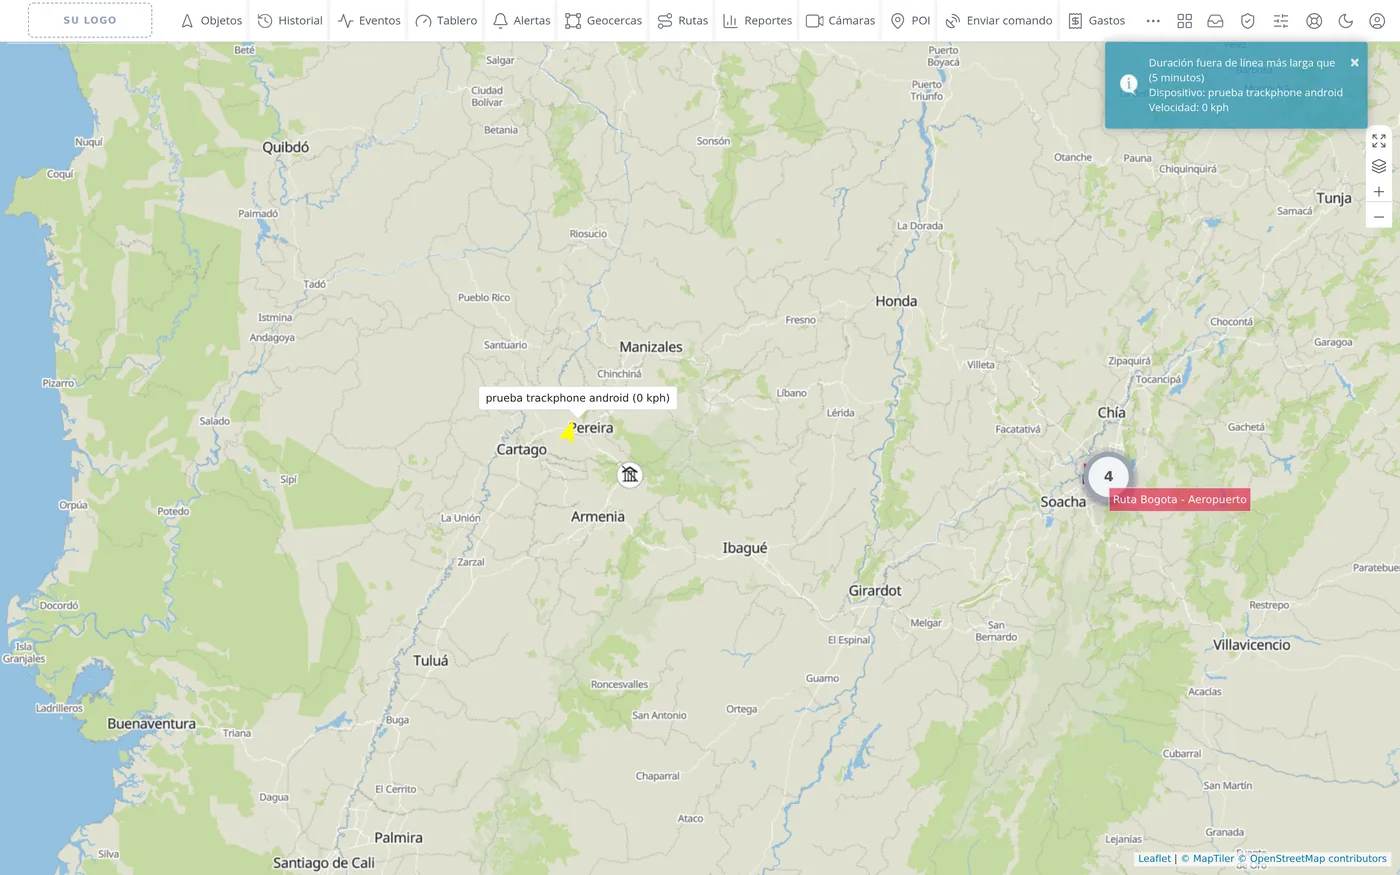
The first button of the column, the one with four outward arrows, hides the left panel and leaves the map filling the whole screen. Checked: the panel went from 330 points wide to zero. Clicking it again brings the panel back.
The top-bar buttons, one by one
| Button | What it is for | What it does when clicked | |
|---|---|---|---|
| Colour bar (Last report) | Tells you when that unit last gave a signal. Green: less than 5 minutes ago. Grey: between 5 minutes and an hour. Amber: between an hour and a day. Red: more than a day. | ||
| Bolt (Battery) | The unit's battery. In light grey when the unit does not send that data. | ||
| Bars (GSM signal) | The coverage of the unit's SIM card. In light grey when the unit does not send that data. | ||
| Key (Engine) | Whether the engine is on or off. When the unit does not say, the popup shows «No signal». | ||
| Spanner (Maintenance) | How that vehicle's maintenance is going: red if something is overdue, amber if it is due soon, dark if everything is up to date. | ||
| Person (Driver) | The driver assigned to that vehicle. In light grey when it has none. | ||
| Full screen | Hides the left-hand panel and leaves the map filling the whole screen. | ||
| Maps | Opens the list of map backgrounds: Basic, Street, Hybrid, Dark map, Normal, Satellite, Terrain, Traffic and Hybrid traffic. | ||
| Zoom in | Zooms the map in one step. It is the plus sign. | ||
| Zoom out | Zooms the map out one step. It is the minus sign. | ||
| Group objects | Joins into a single circle with a number the vehicles that are close to one another. It comes switched on. | ||
| Fit objects | Moves and fits the map on its own so all the vehicles being shown fit at once. It comes switched on. | ||
| Objects | Draws or clears all the vehicles from the map at once. It comes switched on. | ||
| Geofences | Draws or clears from the map the areas you have created. It comes SWITCHED OFF: that is why many people think their geofences were lost. | ||
| Routes | Draws or clears from the map the routes you have created. It comes switched on. | ||
| POI | Draws or clears from the map the marked points (customers, workshops, stations). It comes switched on. | ||
| Show names | Adds or removes the label with the name beside each vehicle. It comes switched on. | ||
| Show tails | Draws behind each vehicle the line of where it has just been. It comes switched on. | ||
| Live traffic | Paints the traffic jams over the map. It comes SWITCHED OFF, and only works if you first change the map background to Traffic or Hybrid traffic. |
What each field asks for
| As it appears on screen | What it is | |
|---|---|---|
| The «Search» field | The field above the list. It searches by vehicle name, by plate and by the device number. The list shrinks by itself half a second after the last letter. It can be left empty. | Can be left empty |
| The «Title:» field | In the create or edit group window: what the group will be called. Without it nothing is saved. It is required. | Required |
| The «Devices:» field | In the same window: the list of your vehicles with a box next to each one. The ones you tick are the ones that stay in the group. It can be left empty. | Can be left empty |
| The «Address:» field | In the file: the street where the vehicle was when it sent its last message. It can be left empty. | Can be left empty |
| The «Time:» field | In the file: the date and time of that last message. It is not the current time. It can be left empty. | Can be left empty |
| The «Parking duration:» field | In the file: how long the vehicle has been standing still. On screen it appears cut off as «Parking dura...». It can be left empty. | Can be left empty |
| The «Driver:» field | In the file: the driver assigned to the vehicle. A dash means it has none. It can be left empty. | Can be left empty |
How to know it worked
The group came out right if it appears as a new line in the left-hand list with the number of vehicles in brackets, and if «No group» goes down by that same amount. The vehicle went in if, on expanding the group, its name comes out. And a vehicle's box is set right if, on unticking it, the vehicle disappears from the map at once and on ticking it again it comes back.
Setting up your fleet
How to create a unit (register a vehicle)
Creating a unit means registering a vehicle on the platform so you can see it on the map. Until the vehicle is created here, the GPS device installed in it may be on and sending data, but you will not see it on any screen: the platform does not know that device is yours. Where it is: Top bar > Objects > blue button with the + sign (above the left panel) > Create monthly
Where it is Top bar > Objects > blue + button (top of the left-hand panel) > Create monthly
Before you start
- Have the GPS device's identifier to hand, usually called IMEI. It is about 15 digits and is printed on a sticker on the device itself.
- Think of the name you want to recognise the vehicle by in the list, for example Delivery van.
- If you have it, have the vehicle's plate number to hand. It is not required, but it helps to tell it apart.
- The GPS device does not have to be connected yet. The unit can be created first and the vehicle will appear on the map when the device comes online.
-
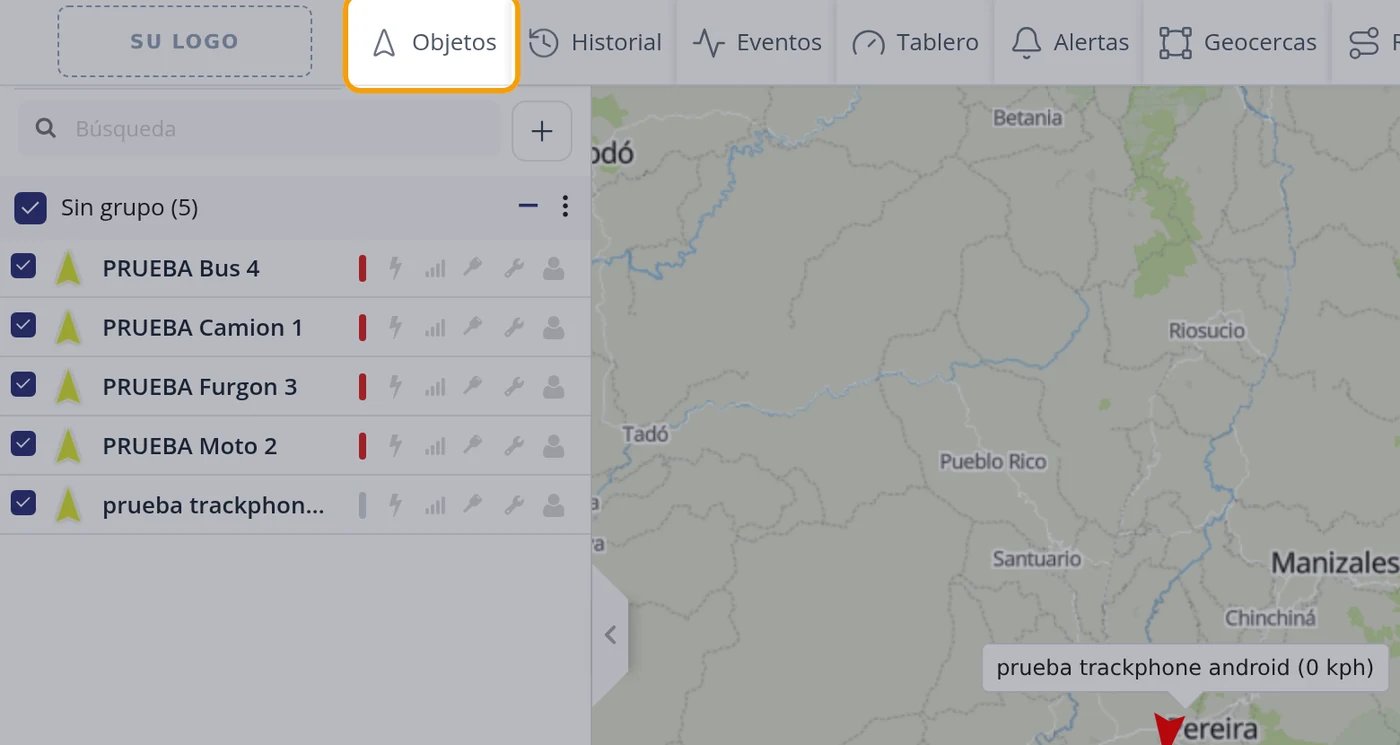
Click Objects in the top bar
In the bar across the top of the screen, click where it says Objects. In the left panel the list of the vehicles you already have appears, grouped under the title No group.
-
Click the blue + button
Above the left panel, to the right of the Search field, there is a blue button with a + sign. Hovering over it, it says Add device. That is the one for creating. Click it.
CarefulIt is the only button in the list that creates a new vehicle. The minus sign and the three dots at the level of No group only fold the list and sort it.
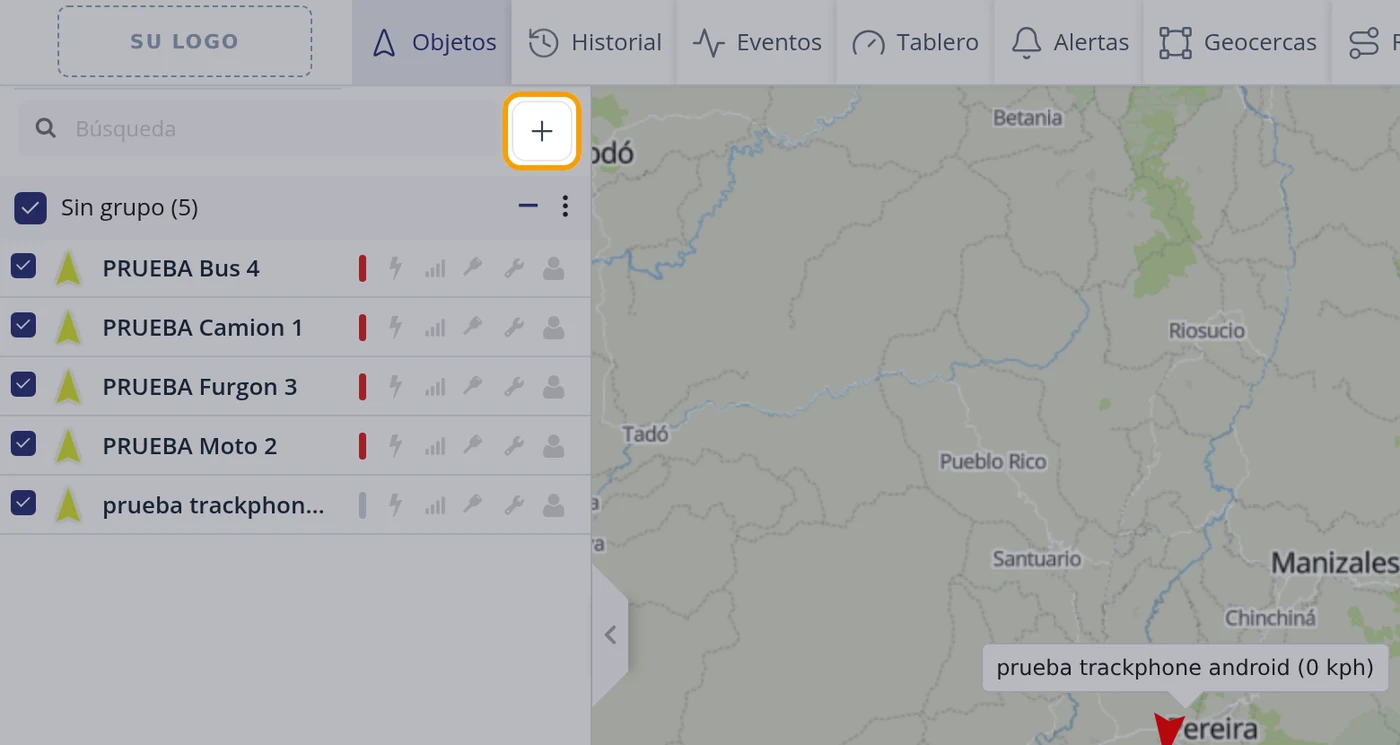
-
Choose how you are going to activate the unit
A window opens in the centre of the screen titled Activate new unit, asking: How do you want to activate this unit? It offers two paths, Monthly and Annual. Under Monthly it says: The unit is created now and charged month by month. Under Annual it says: A year is paid in advance.
CarefulThis step is unique to this screen and many people miss it: if you close this window with the X or with Cancel, nothing is created and you have to start again from the + button.
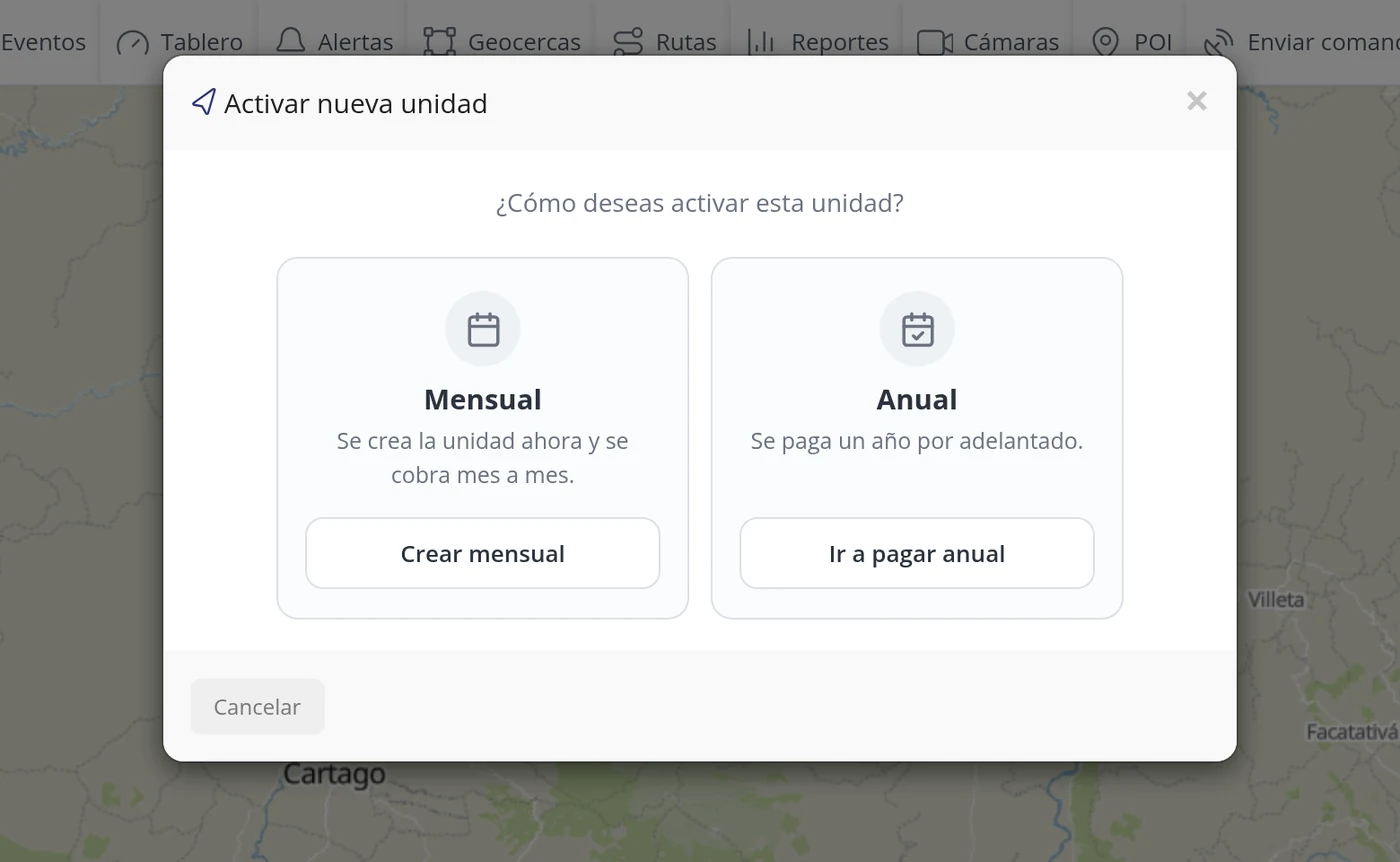
-
Click Create monthly
Inside the Monthly box click the button that says Create monthly. That is the normal path: it creates the vehicle right away and the charge runs month by month. The other option, Go to annual payment, takes you to pay first and creates nothing until the payment is done.
CarefulIf you click Go to annual payment, the unit is NOT created at that moment. If what you want is to start using the vehicle now, click Create monthly.
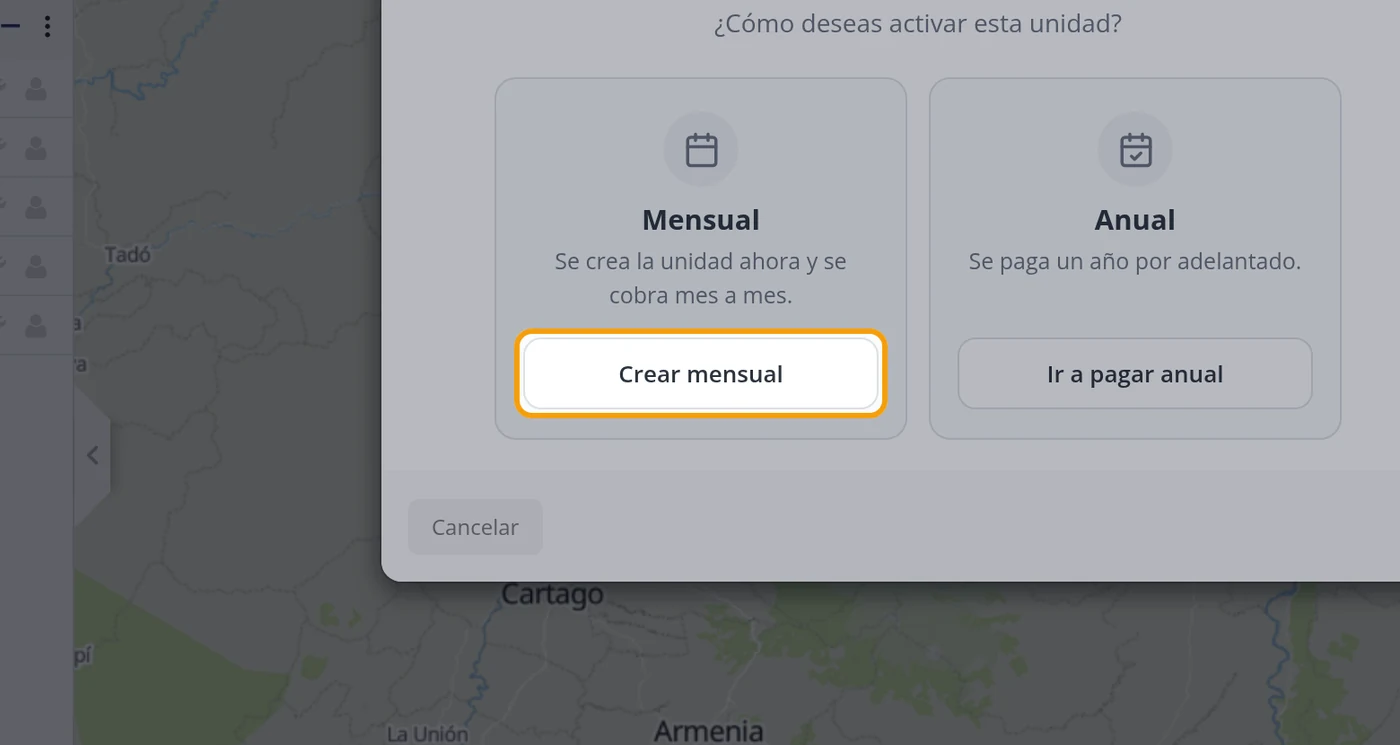
-
The Add new form appears
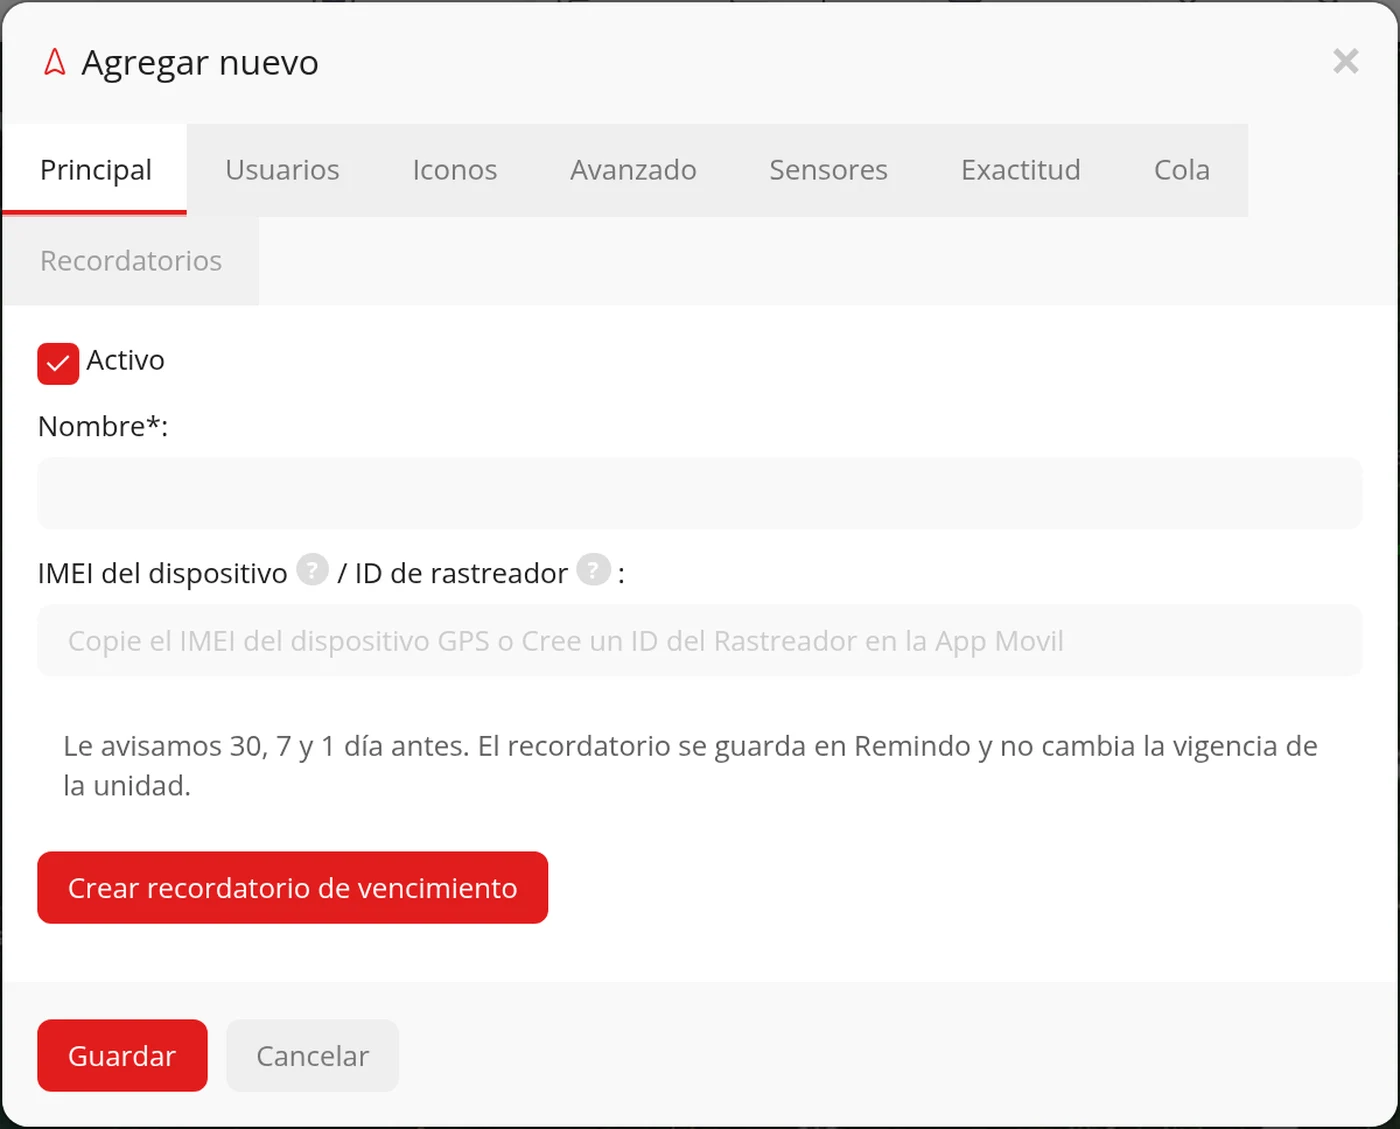
The window changes and is now titled Add new. At the top it has a row of tabs: Main, Users, Icons, Advanced, Sensors, Accuracy, Tail and Services. It opens on the Main tab, which is the only one you have to fill in to create the vehicle. In it you see the Active box already ticked, the Name*: field and the identifier field.
CarefulDo not be put off by the eight tabs. To register a vehicle Main is enough. The rest are fine settings you can touch later with the vehicle Edit button.
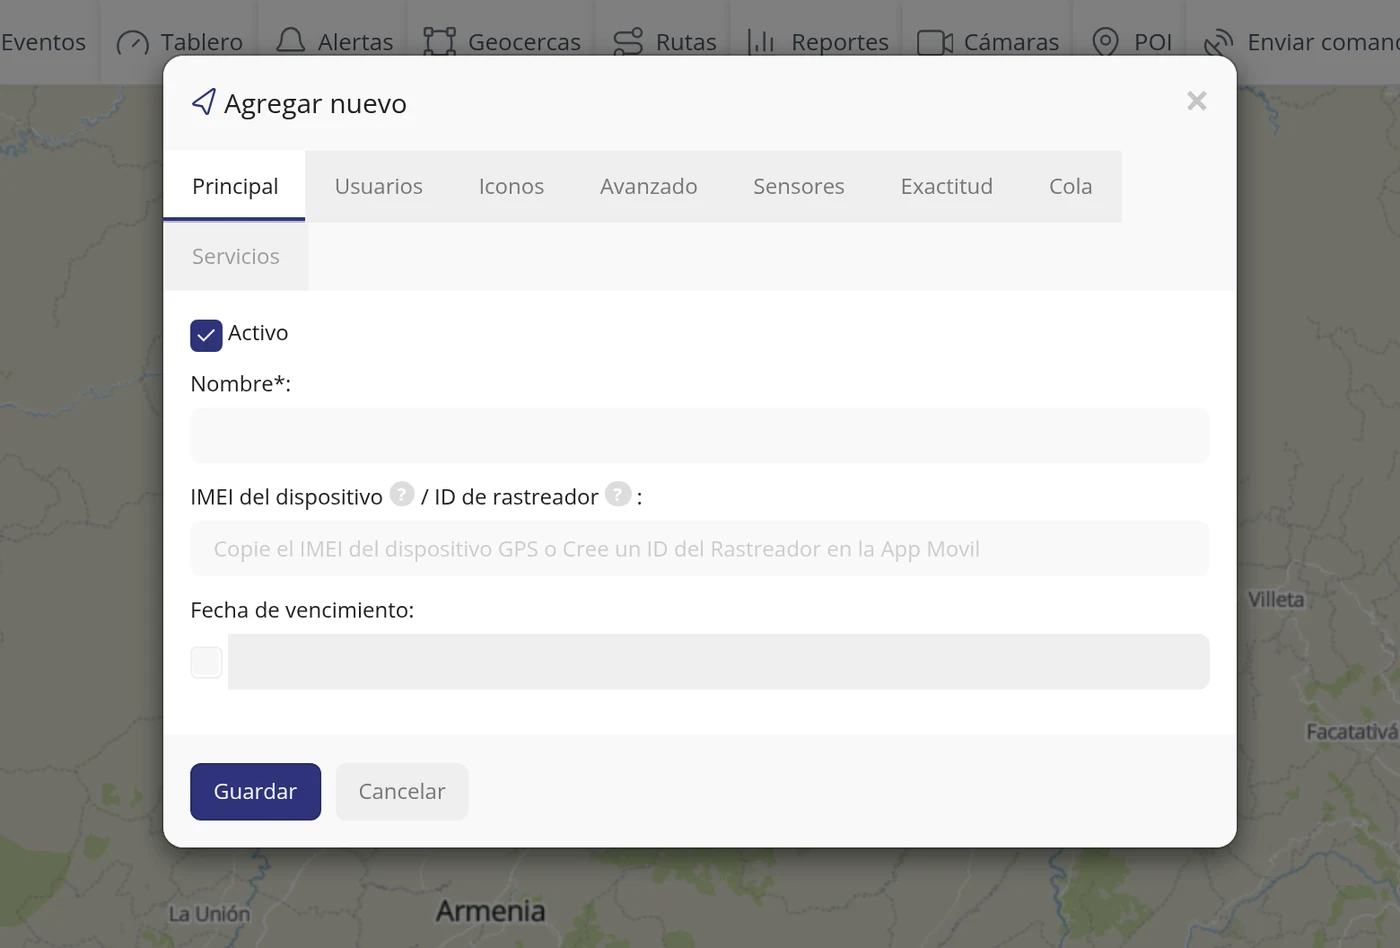
-
Type the vehicle name
In the Name*: field type the name you want to recognise the vehicle by, for example Delivery van. It is the name you will see in the left list, on the map and in the reports.
CarefulThe asterisk at the end of Name*: means it is compulsory. If you leave it empty, on saving it comes out in red: The Name field is required.
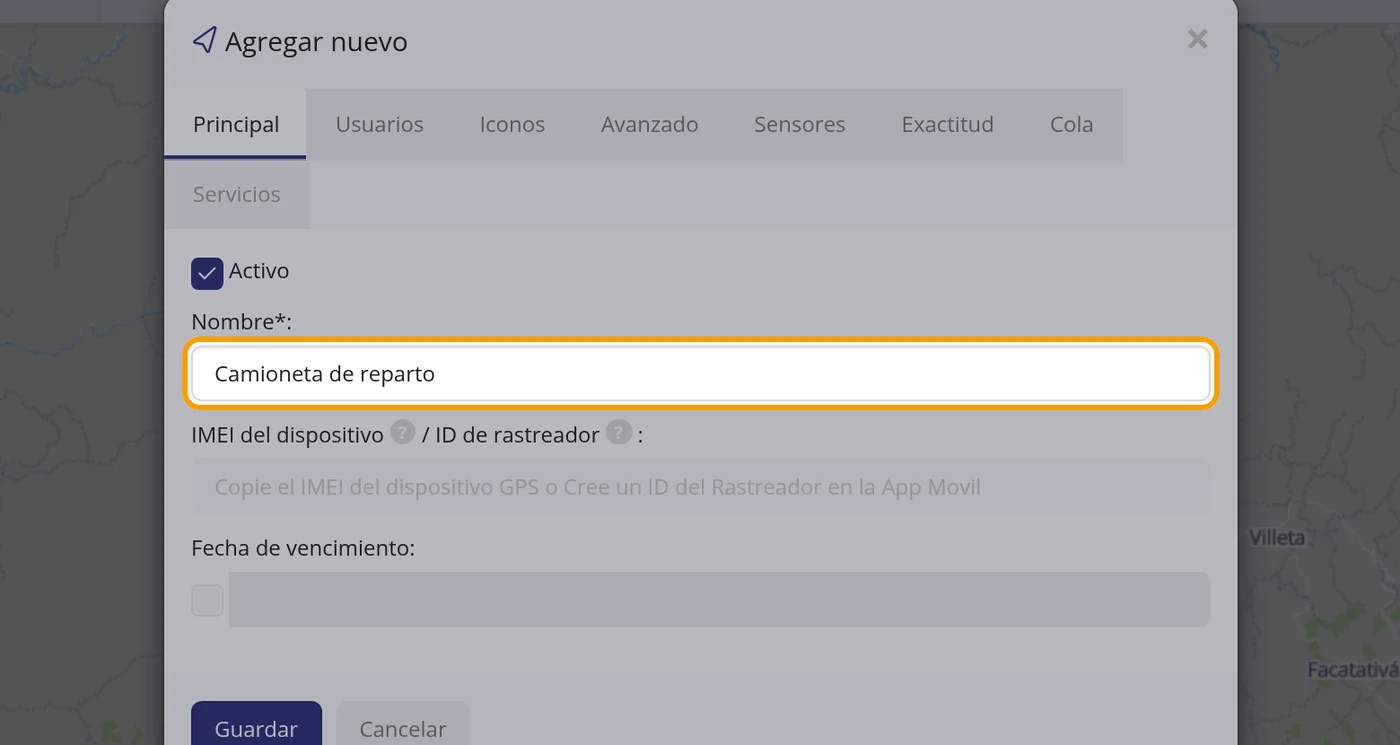
-
Type the device identifier (IMEI)
Below is the field saying Device IMEI ? / Tracker ID ? :. There type the number that identifies the GPS device, with no spaces or dashes. Inside the field, in grey, the platform reminds you where to get it: Copy the IMEI from the GPS device or Create a Tracker ID in the Mobile App. If you hover over the first question mark the help Copy the device IMEI appears, and over the second, Use the same tracker ID to sign in to the APP.
CarefulThis is the most important piece of data on the whole screen and the one people get wrong most. The IMEI is the serial number of the GPS device: about 15 digits that come on a sticker attached to the device or its box. It is not the vehicle plate, it is not the SIM card number and it is not a name. Copy it digit by digit. If you get a single number wrong, the unit is still created but will never receive positions, because the real device is sending a different number.
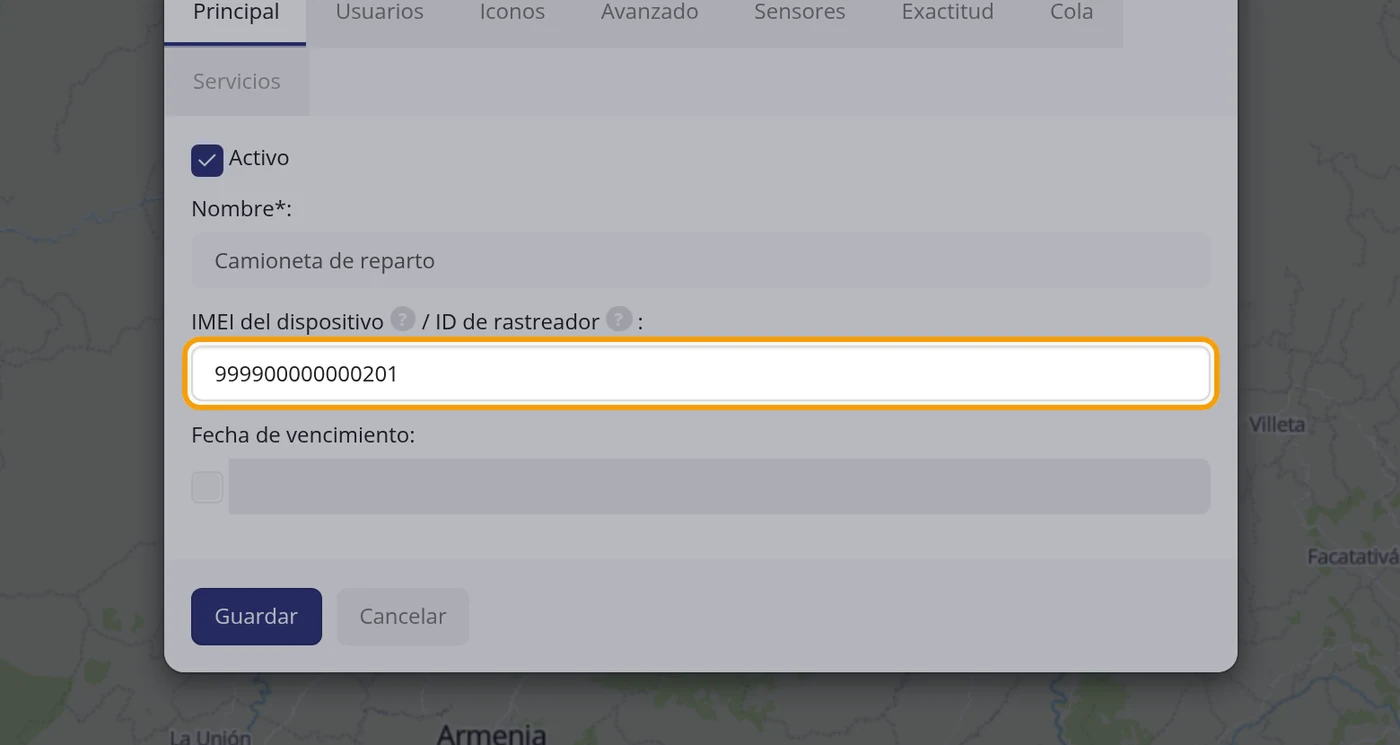
-
If you want to enter the plate, go to the Advanced tab
The plate is not in the Main tab. Click the Advanced tab at the top and the window shows you more fields: Group:, SIM number:, VIN:, Device model:, Plate number:, Registration/asset number:, Object owner/Manager:, Additional notes: and Comment:. None is compulsory.
CarefulIf you do not want to enter any of this, skip steps 8 and 9 and click Save directly. The vehicle is created all the same.
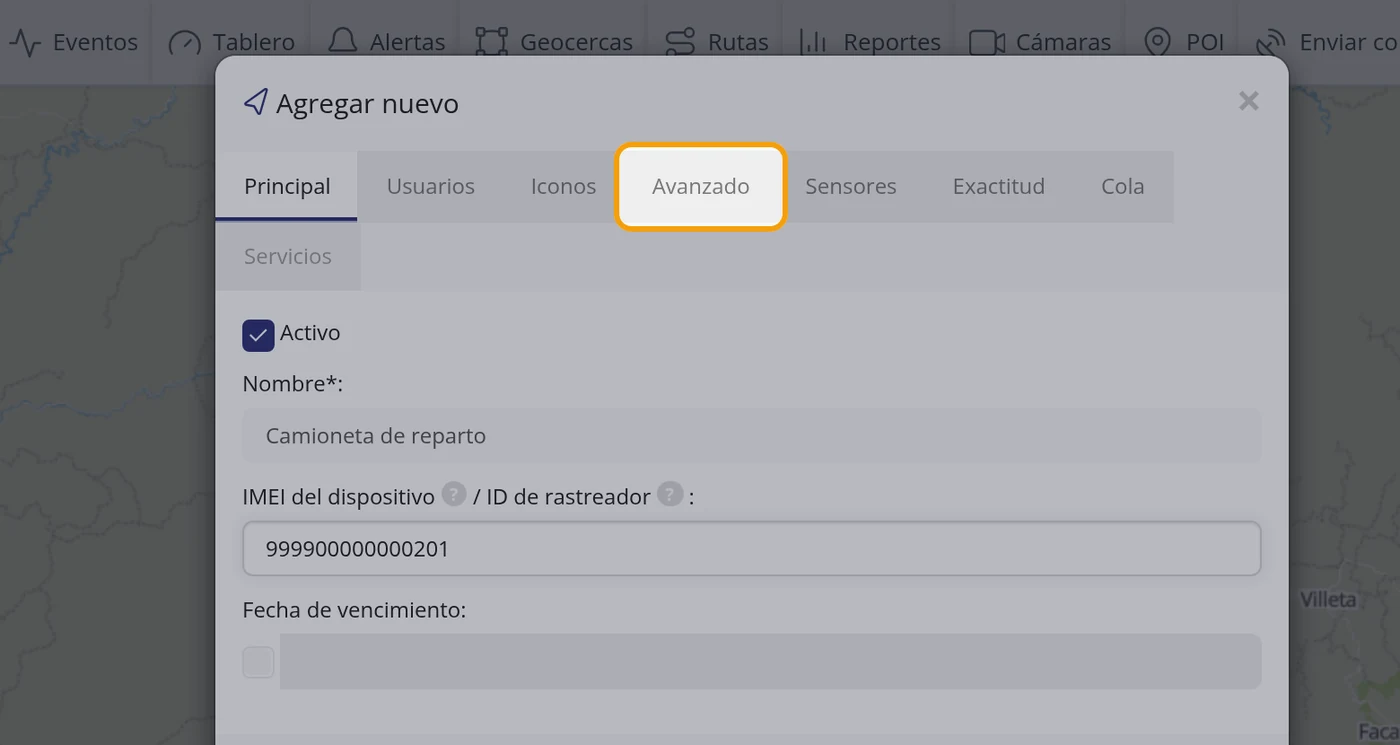
-
Type the plate number
In the Plate number: field type the vehicle plate, for example MAN-001. The plate then appears next to the name in the left list, so you can tell apart two vehicles with similar names at a glance. The Group: field comes set to No group and you can leave it that way.
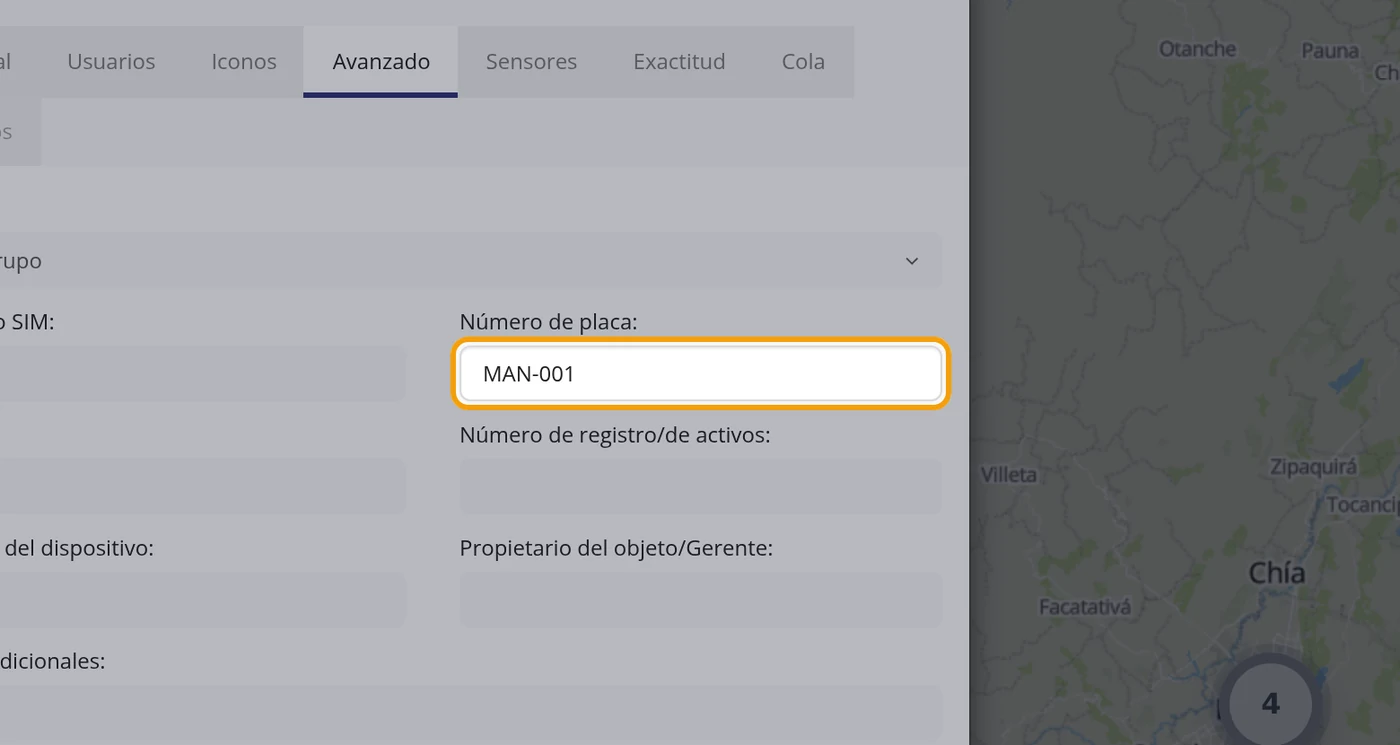
-
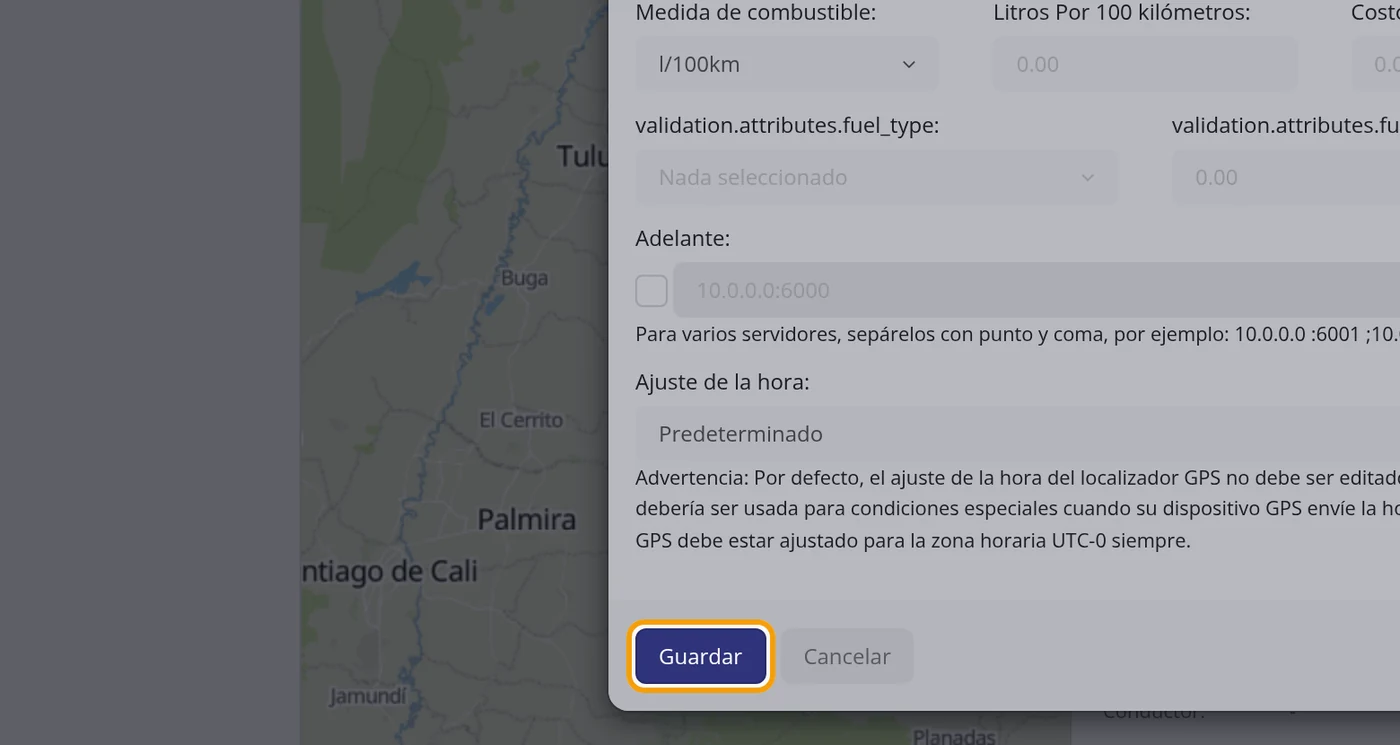
Click Save
At the very bottom of the window, click the blue Save button. If instead you click Cancel, everything typed is lost and nothing is created.
CarefulThe Save button is always at the bottom, whether you are in the Main tab or in Advanced. There is no need to go back to Main to save.
-
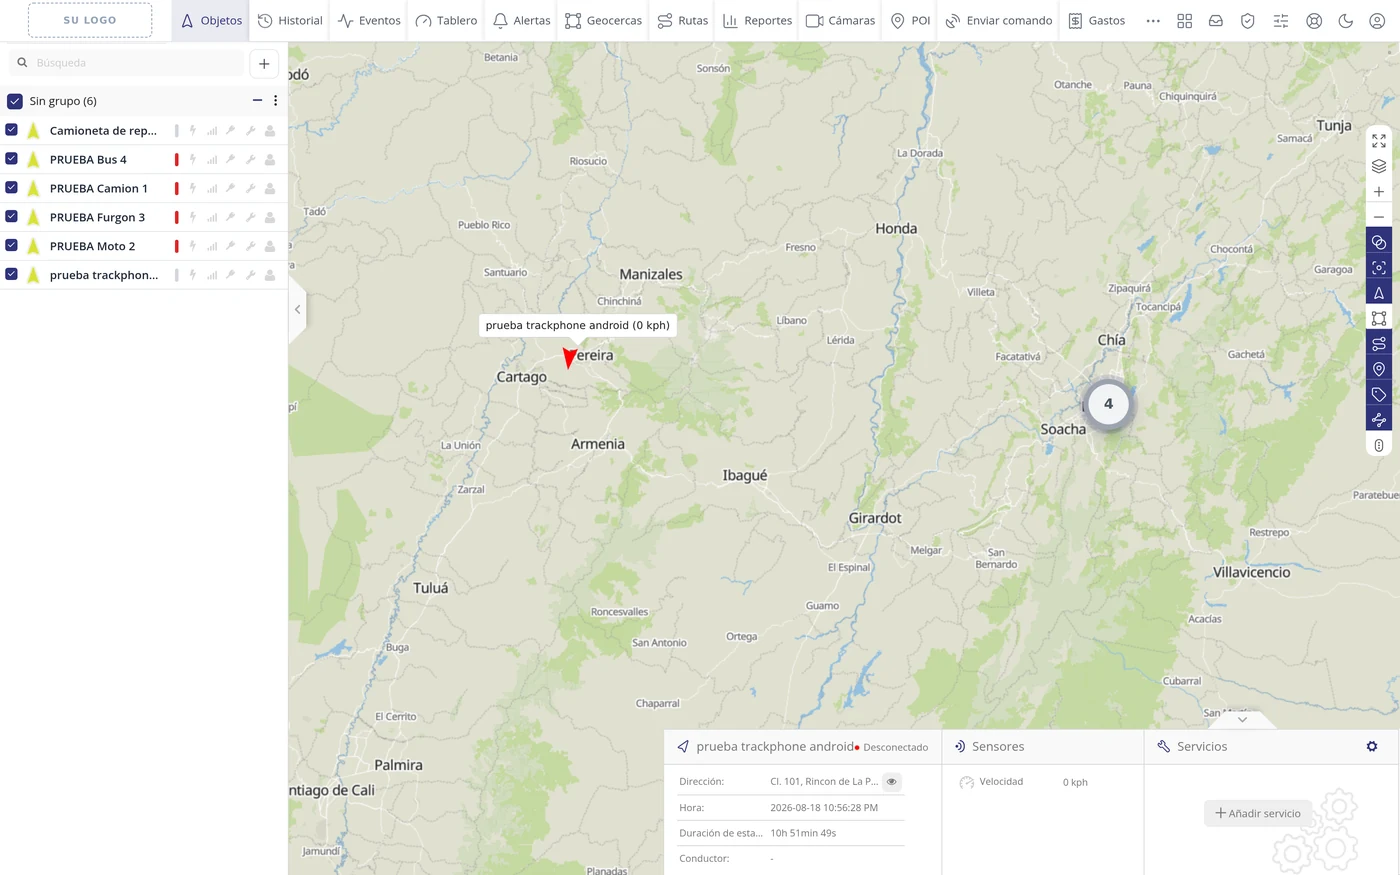
Check that the vehicle is in the list
The window closes by itself and the vehicle appears in the left panel with its name and its plate. The counter at the top goes up: where it said No group (5) it now says No group (6). Next to the name it will say 0 kph, No signal and Not connected.
CarefulSaying No signal and Not connected does not mean something went wrong. It means the GPS device has not sent any position yet. As soon as the device is switched on and has coverage, the vehicle is drawn on the map by itself.
-
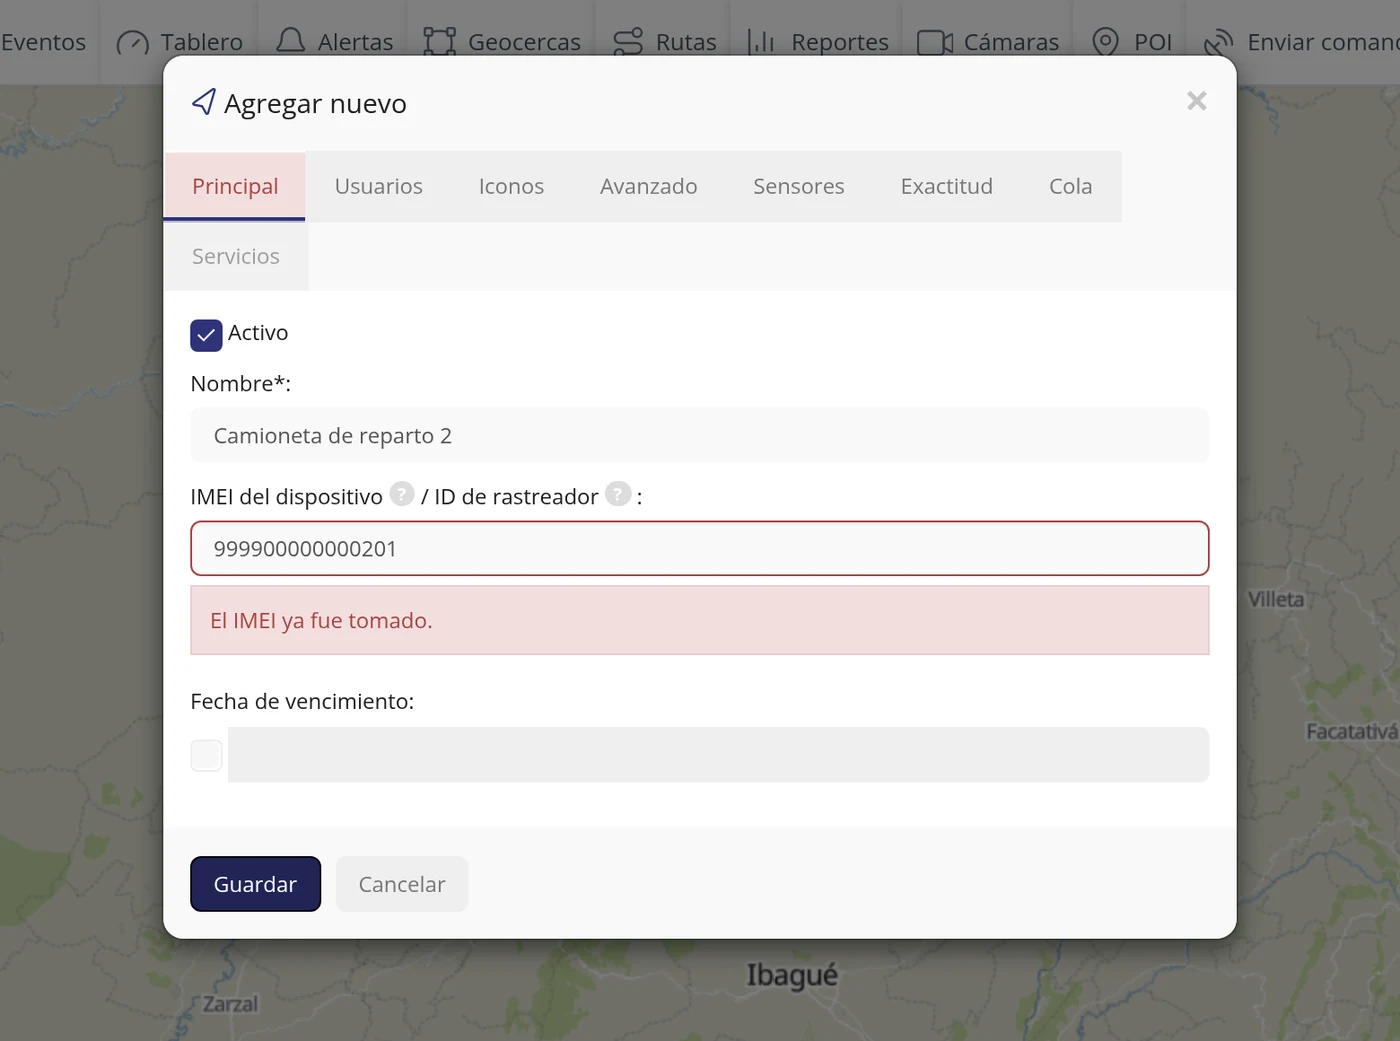
What happens if the identifier is already in use
If you type an identifier another vehicle already has and click Save, the window does not close: below the identifier field a red box appears saying The IMEI has already been taken. Nothing is created. Correct the number and click Save again.
CarefulEach GPS device can only be registered once in the whole platform. If you get this notice and you are sure of the number, most likely that vehicle is already created (perhaps under another name), or the device is still registered to another customer. Look for it in the list before creating another.
-
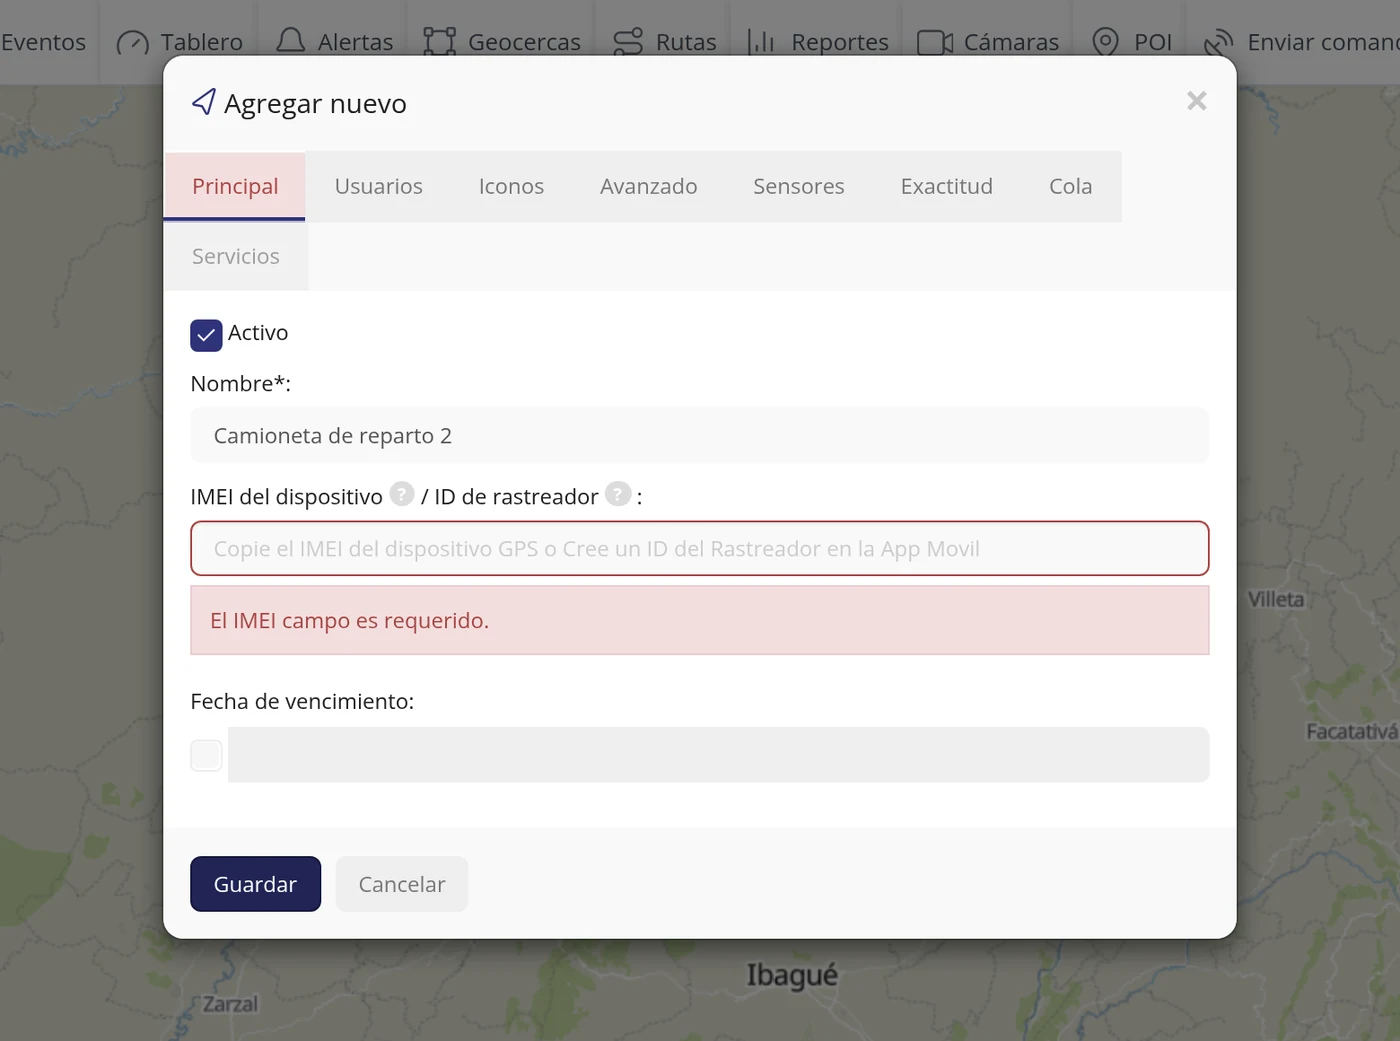
What happens if you leave the identifier empty
If you delete the identifier and click Save, another red box appears below the field saying The IMEI field is required. Nothing is created either. Type the device number and click Save again.
Las demás pestañas de la ficha, una por una →
CarefulThe identifier is compulsory even though its label has no asterisk. Without it the platform has no way of knowing which device belongs to which vehicle.
-
If your account already has prepaid units in credit
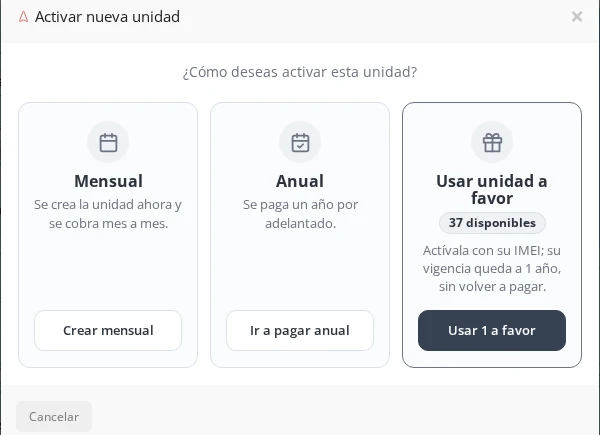
When your account already has annual units bought in advance and not yet used, the Activate new unit window (step 3) does not show two paths but three: besides Monthly and Annual, a third card appears, Use a credit unit, with a round number saying how many you have left available (for example, 37 available). Below it explains: Activate it with its IMEI; its validity is set to 1 year, without paying again. The button says Use 1 from credit.
CarefulThis card only shows up when there really are unused credit units. If you have never bought units in advance, the window only shows Monthly and Annual, as in step 3.
-
Click Use 1 from credit and fill in Name and IMEI
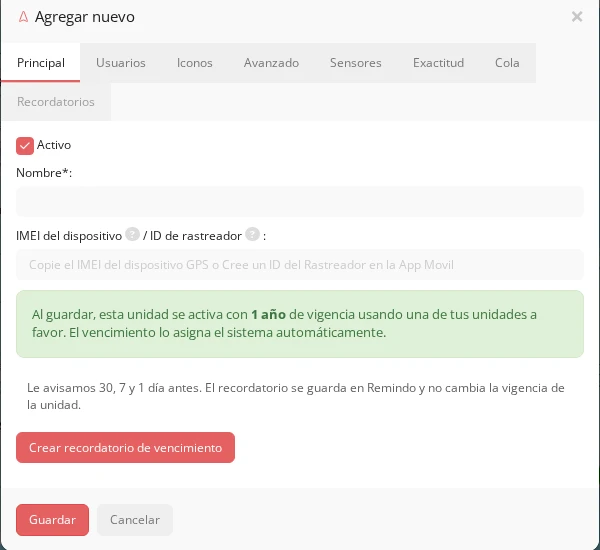
Clicking Use 1 from credit opens the same Add new form as always, but shorter: it only asks for Name*: and IMEI of the device / Tracker ID. Above, in a green box, the platform warns you: Once saved, this unit is activated with 1 year of validity using one of your credit units. The expiration date is assigned by the system automatically.
CarefulThis DOES deduct one of your credit units as soon as you click Save — it is not a simulation. Check the IMEI carefully before saving, just as in step 7: if you type it wrong, the unit is created and still consumes your credit unit, but it will never receive positions.
What each field asks for
| As it appears on screen | What it is | |
|---|---|---|
| The «Active» box | A box that comes already ticked. Ticked means the vehicle is in service and is shown on the map. Leave it as it is. It can be left empty. | Can be left empty |
| The «Name*:» field | The name you recognise the vehicle by in the list, on the map and in the reports. Give it something that speaks for itself, such as Delivery van, and not Vehicle 1. It is required. | Required |
| The «Device IMEI ? / Tracker ID ? :» field | The number that identifies the GPS device: about 15 digits printed on a sticker on the device or on its box. If you are going to track a phone with the app, here you type whatever number you want and then use that same number to sign in from the phone. No spaces or dashes. If it is copied wrong, the unit is created but never receives positions. It is required. | Required |
| The «Expiry date:» field | Until when the service of that vehicle is paid for. It is greyed out and cannot be typed in: the platform sets the date itself when the payment is recorded. It can be left empty. | Can be left empty |
| The «Group:» field | It is in the Advanced tab. It is for sorting vehicles into folders (for example by city or by driver). It comes set to No group and can stay that way. It can be left empty. | Can be left empty |
| The «SIM number:» field | It is in the Advanced tab. The phone number of the SIM card inside the GPS device. It is only needed if you are later going to send orders to the device by text message. It can be left empty. | Can be left empty |
| The «Plate number:» field | It is in the Advanced tab. The vehicle plate. It appears next to the name in the left list and helps not to mix up two similar vehicles. It can be left empty. | Can be left empty |
| The «Device model:» field | It is in the Advanced tab. The brand and model of the GPS device installed. It comes empty and the platform suggests none. It is only for your own records. It can be left empty. | Can be left empty |
How to know it worked
The window closes by itself and the vehicle appears in the left-hand panel with its name and its number plate, and the counter in the heading goes up by one (from No group (5) to No group (6)). If instead the window stays open with a red box, nothing was created: correct what the box points at and click Save again. Remember that at first it will say No signal and Not connected until the GPS device sends its first position.
The vehicle form, tab by tab
When you create or edit a vehicle, the window has several tabs and almost everyone fills in only the first one. Here is what is in each one, what it is for and what is worth touching. It is where, among other things, the plate, the SIM number, the device model, the map icon and the time setting live. When you edit a vehicle that already exists (not when you are creating it), the Edit window is bigger and has the tab menu on the left side, just like in Administration, with more tabs than when creating: besides the usual ones, it has Reminders, Expenses, Cameras and Eco driving.
Where it is Top bar > Objects > + button (or, on an existing vehicle, its options menu > Edit)
Before you start
- Nothing. You can look without saving.
-
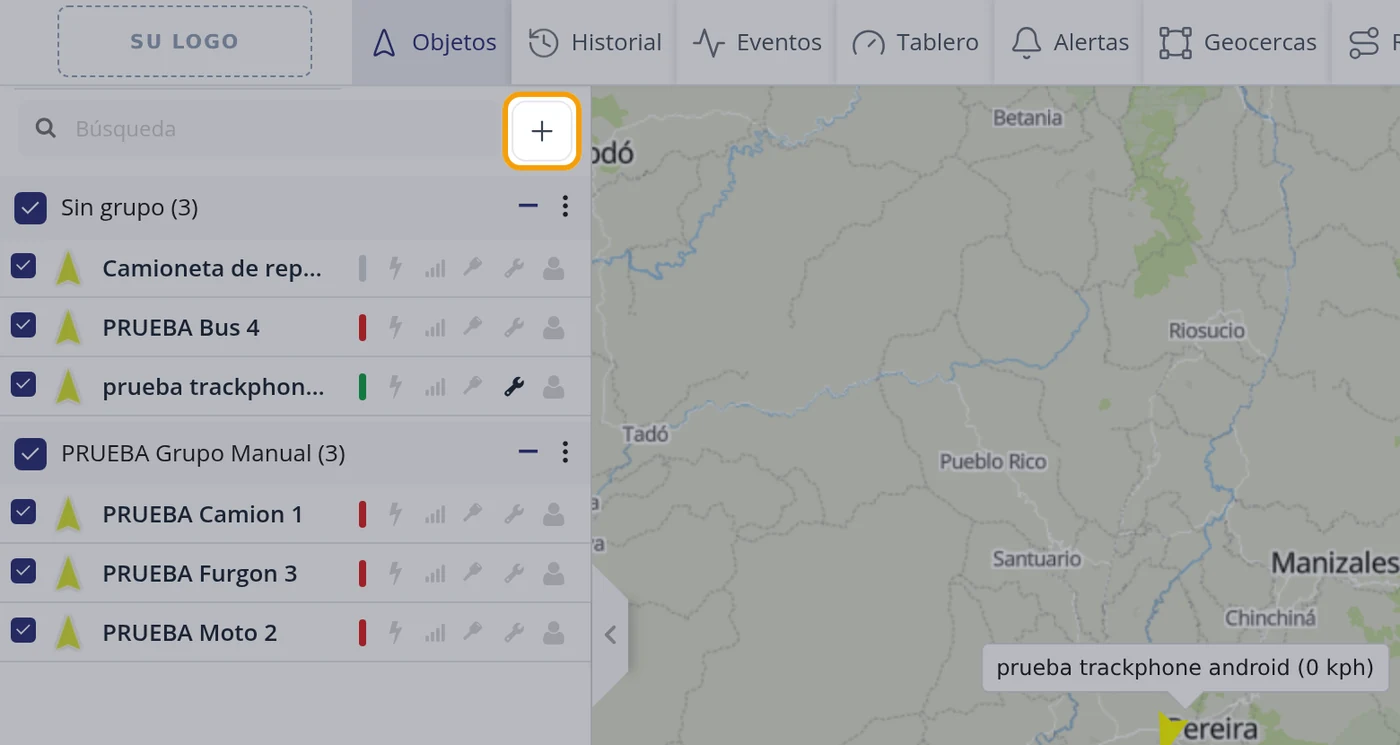
Click the + button of the left panel
It is at the top, next to the Search field. Hovering over it, it says Add device.
-
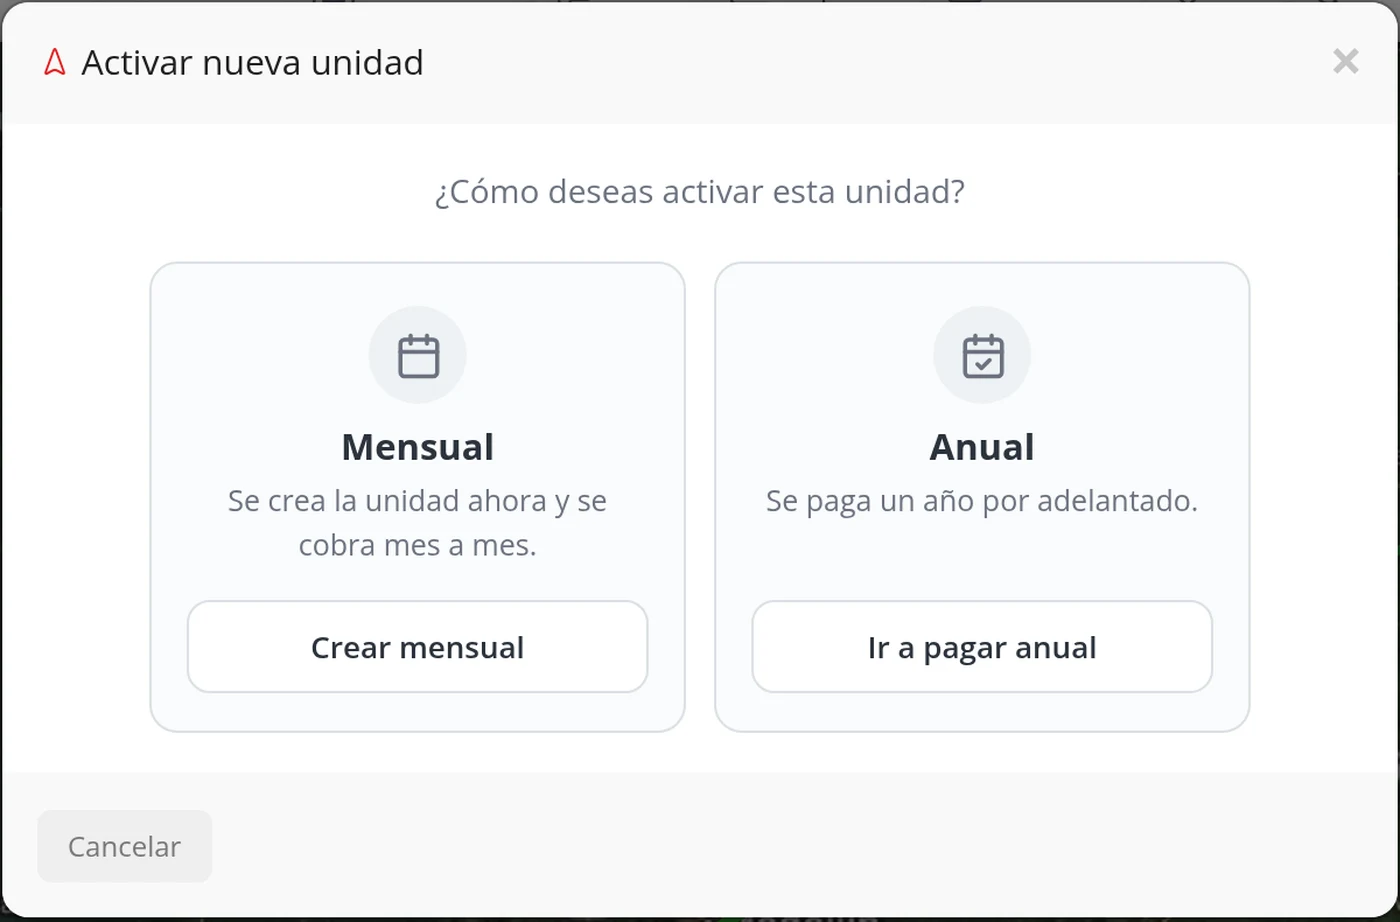
First it asks how you are going to activate the unit
The Activate new unit window appears with two paths: Create monthly, which creates the vehicle right away and charges month by month; and Go to annual payment, which takes you to pay the year first and creates nothing until the payment is done. At the bottom is Cancel.
CarefulIf you are going to work with the vehicle today, it is Create monthly. The annual one only suits when you have already decided to pay the year in advance: until you pay, the vehicle does not exist.
-
Click Create monthly and the form appears
The window changes to Add new and at the top the eight tabs appear: Main, Users, Icons, Advanced, Sensors, Accuracy, Tail and Services.
-
Main: the only essential part
It has the Active box already ticked, the vehicle Name, the device identifier (Device IMEI or Tracker ID) and the Expiry date, which comes locked because the system sets it with the payment. With the name and the identifier you can already save.
-
Users: who it is handed to
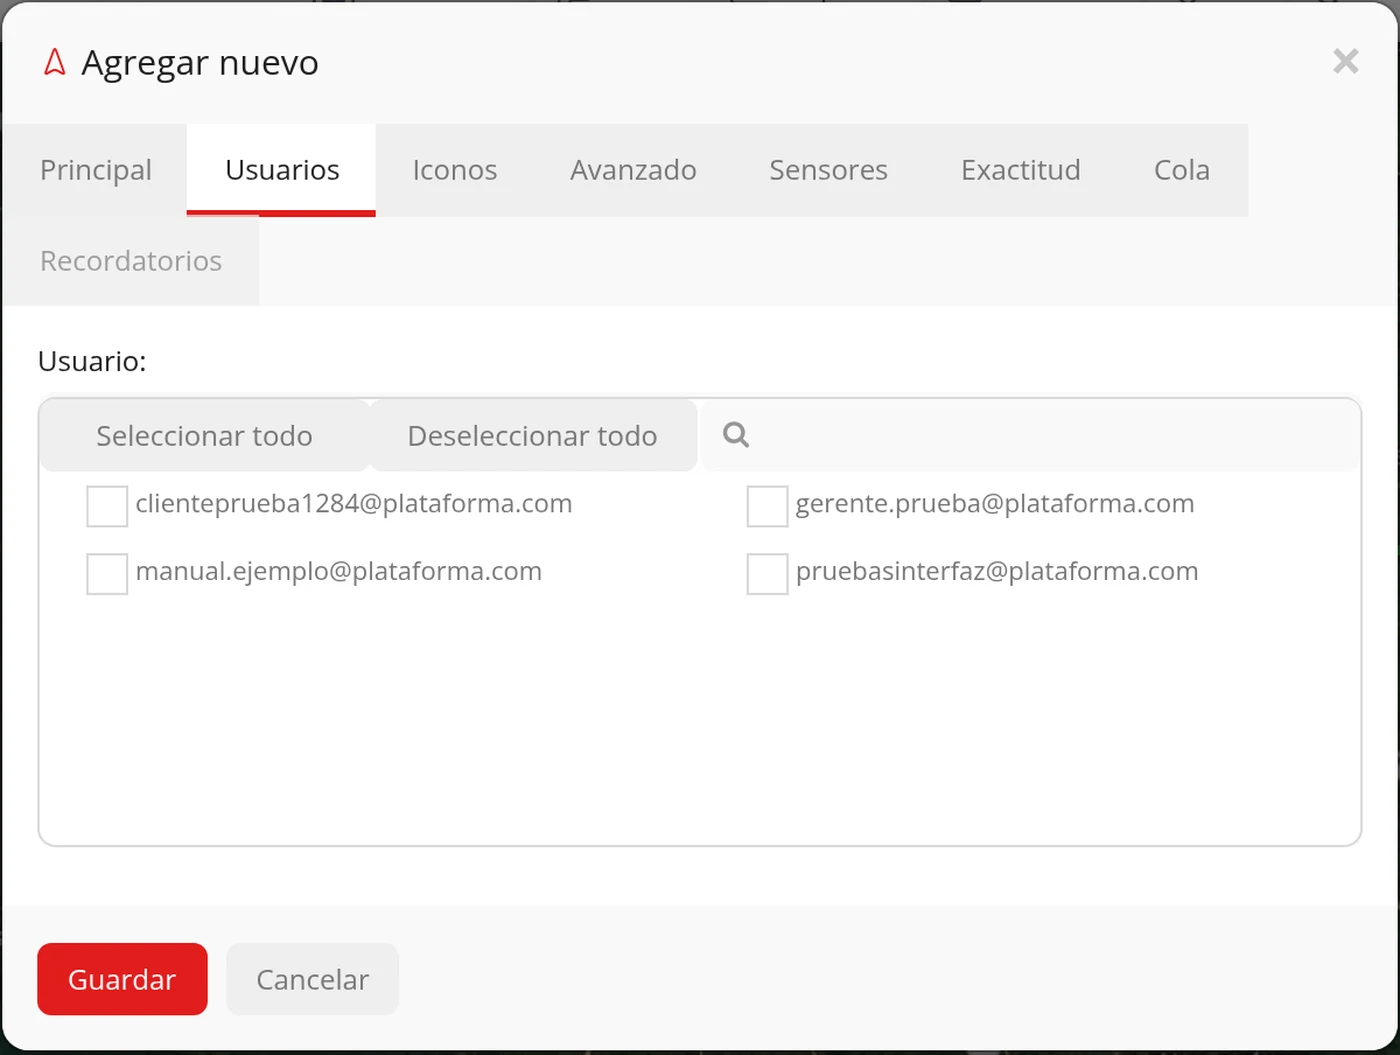
A list with your users to tick who is going to see this vehicle. Several can be ticked, or all with Select all. It is the same as explained in the section on assigning a vehicle.
-
Icons: how it looks on the map (and how it can change colour on its own)
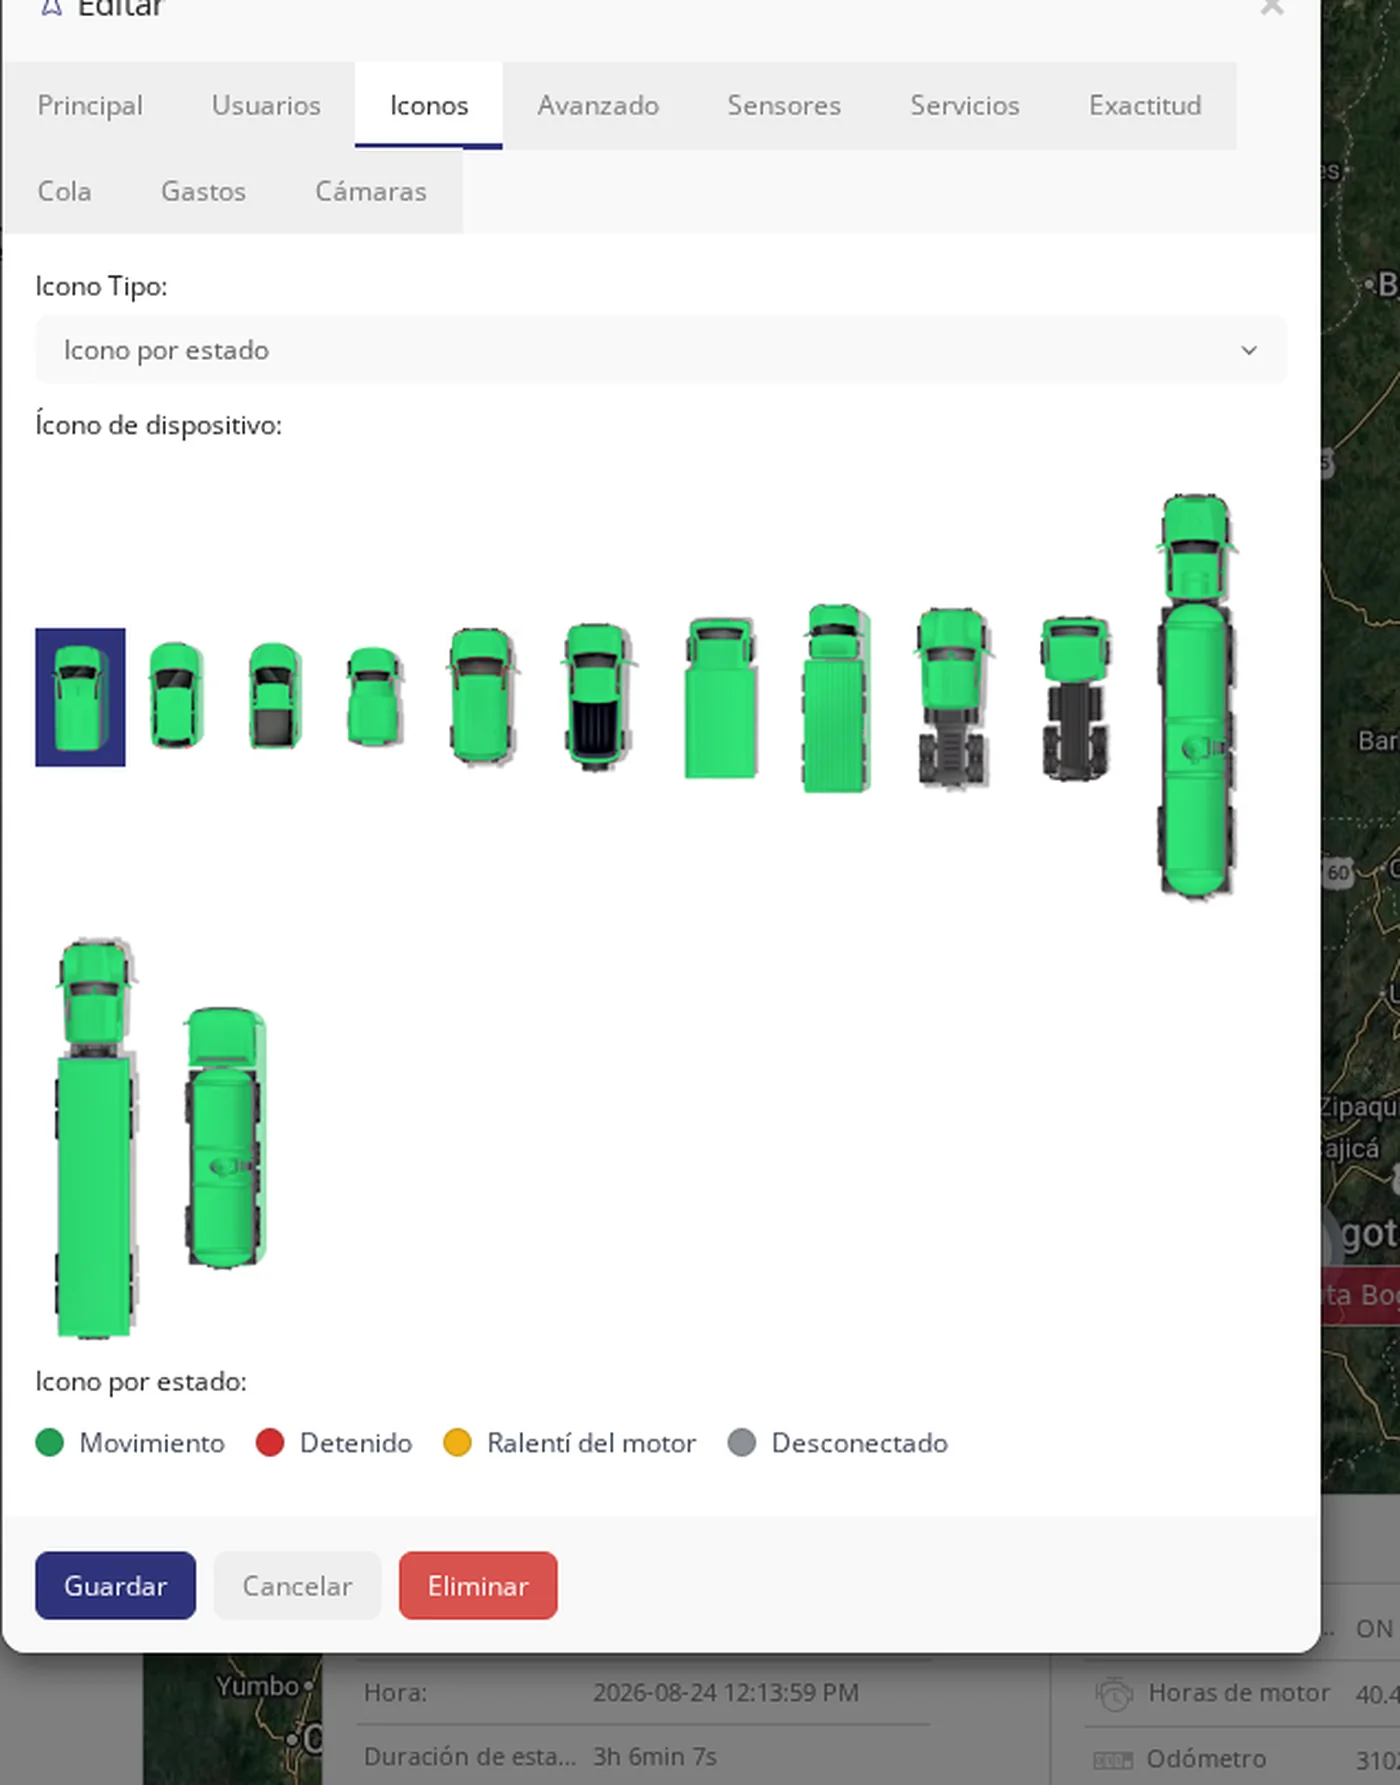
Here you choose how that vehicle looks on the map. Under "Icon Type" there are five options. Arrow is the usual one and you choose the colour for each state. Icon and Rotating icon are the factory drawings (and also any custom icons already loaded on this account, if there are any). And the two state-based ones: "State icon", which is the vehicle seen from above, TURNS toward where it is going and CHANGES COLOUR ON ITS OWN depending on its state; and "Fixed state icon", which does the same with the usual pins, without turning. On these two you only choose the vehicle type -car, pickup, truck, bus…-: the colour is not chosen, the panel sets it. Below the drawings is the legend: green Moving, red Stopped, yellow Engine idling and grey Disconnected. These are the same colours as the dot you already see in the vehicle list, so you do not have to learn two codes. When you choose Icon or Rotating icon, the catalog is shown sorted by vehicle category (Cars and taxis, Motorcycles, Buses, Trucks and vans, Pickups, Heavy machinery, Maritime, Aerial, Personal trackers, Other), instead of all the drawings mixed together.
-
Uploading your own icon
If your account has this function enabled, at the bottom of the Icons category list, always visible, there is a shortcut called "Custom icons". Clicking it opens a form to upload your own drawing: choose whether it will be an "Icon" (fixed) or a "Rotating icon" (turns to match the vehicle’s direction), choose the vehicle’s category and choose the file. It must be a PNG with a transparent background, between 32×32 and 128×128 pixels, and no larger than 512 KB; if it does not meet one of those, the panel rejects the upload and says so next to the button. Clicking "Upload icon" saves it and it appears right away in the catalog, grouped under "Custom icons", ready to be selected and used on that vehicle like any factory icon.

-
The upload form
The two dropdowns (type - Icon/Rotating - and category) and the button to choose the file from your computer.

-
The icon uploads, and it can also be deleted
After clicking "Upload icon" it appears inside "Custom icons" with a small red X in the corner: that X deletes it. Only icons you uploaded yourself can be deleted, never factory icons nor ones uploaded by another account; and if the icon is already assigned to a vehicle, the panel warns that it must be removed from those vehicles first.

-
Advanced: the plate, the SIM, the model and the time
It is the most important tab after Main. It has: Group (to sort the vehicle in the list), SIM number, VIN, Device model, Plate number, Registration or asset number, Object owner, Additional notes and Comment. Further down, the fuel data: Fuel measurement (litres per 100 km, MPG, KWh/km, L/h or kilometres per litre), how much it uses, the cost per litre and the fuel type (petrol, diesel, biodiesel, gas, hydrogen, electric, ethanol, hybrids, LPG or methanol). And at the end, two technical things: Forward, which resends the positions to another system over TCP or UDP, and Time adjustment.
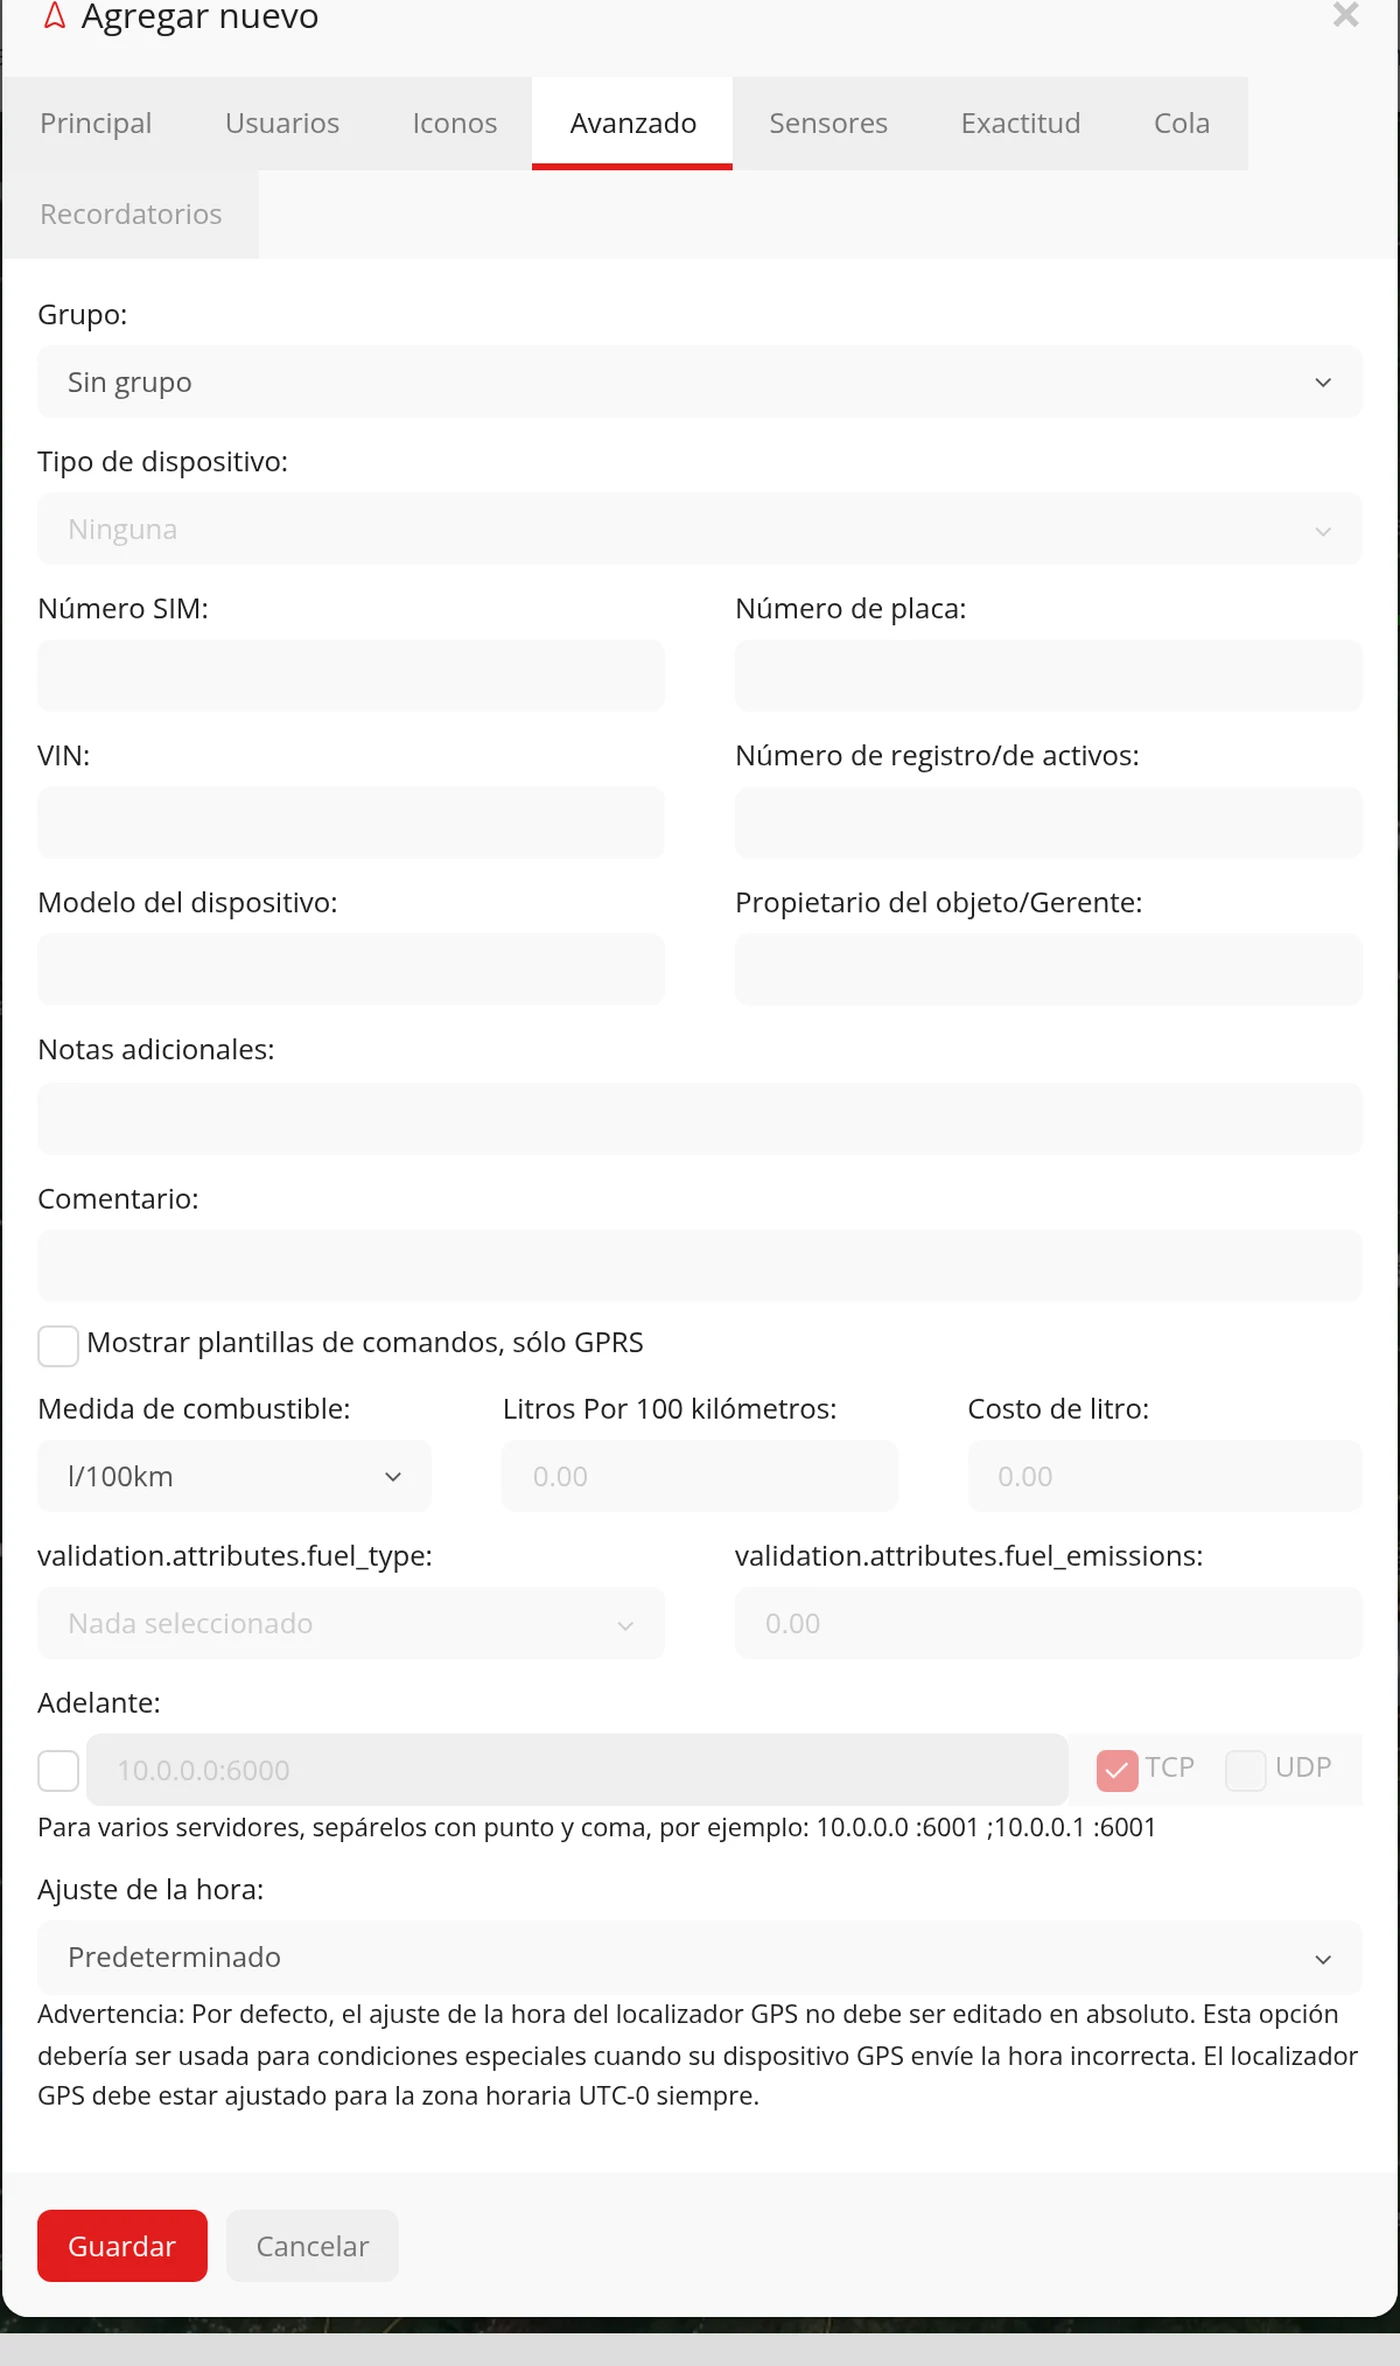
-
Time adjustment: what it is for and how to use it
It is a field that comes as Default, that is, the platform uses your account time. If a device sends a shifted time (for example five hours ahead because it carries another time zone), here the offset is set for THAT vehicle, without touching the device or changing the time of the others. The list runs from -14:00 onwards, in quarters of an hour.
CarefulBefore touching it, check in the Data log that there really is an offset: look at the Time and Server time columns. If what happens is that the device always repeats the same time, that is NOT fixed here: it is a frozen position.
-
Sensors: the sensor set of the model
You can choose a ready-made Sensor group, which is a package of sensors prepared for a device brand (for example Teltonika, Coban, Concox or Suntech). That way you do not have to create the sensors one by one.
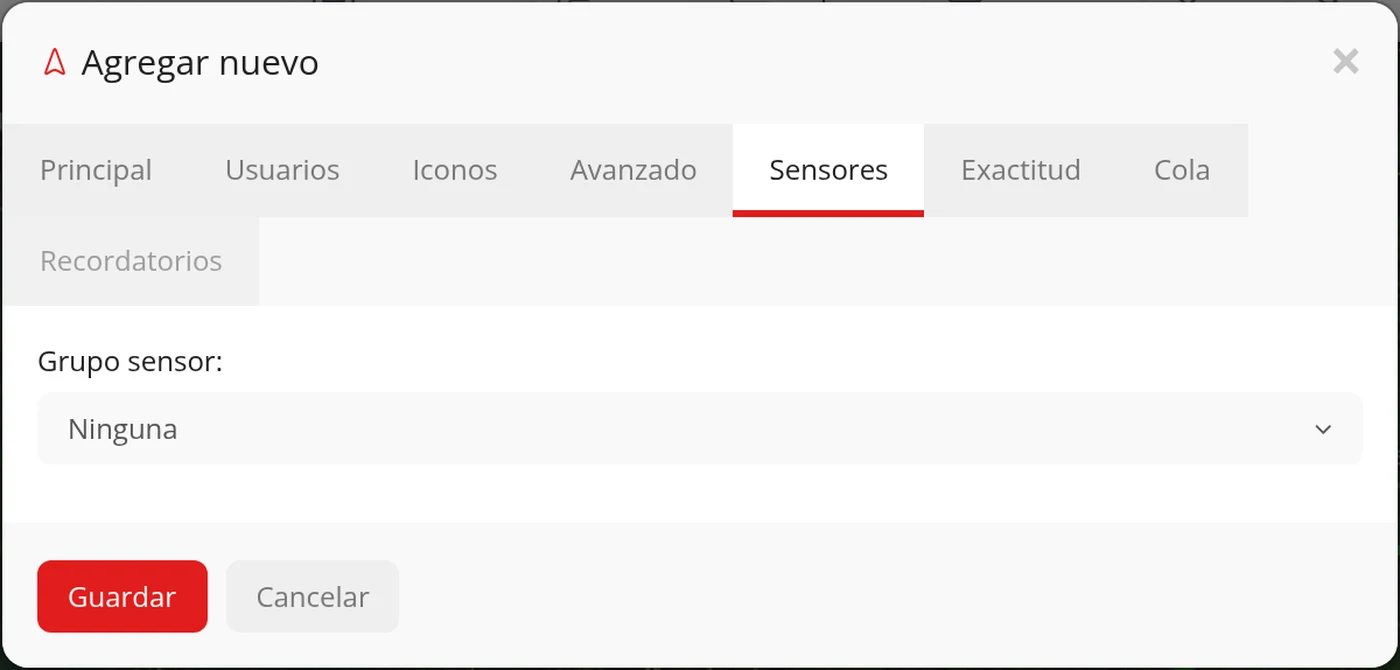
-
Accuracy: so the route does not lie
Here you fine-tune which positions are taken as good: checking validity by average speed, the maximum speed allowed, the minimum speed for considering it moving (by default 6 km/h, and it affects the stops), and the minimum fuel differences to detect a filling or a theft (by default 10).
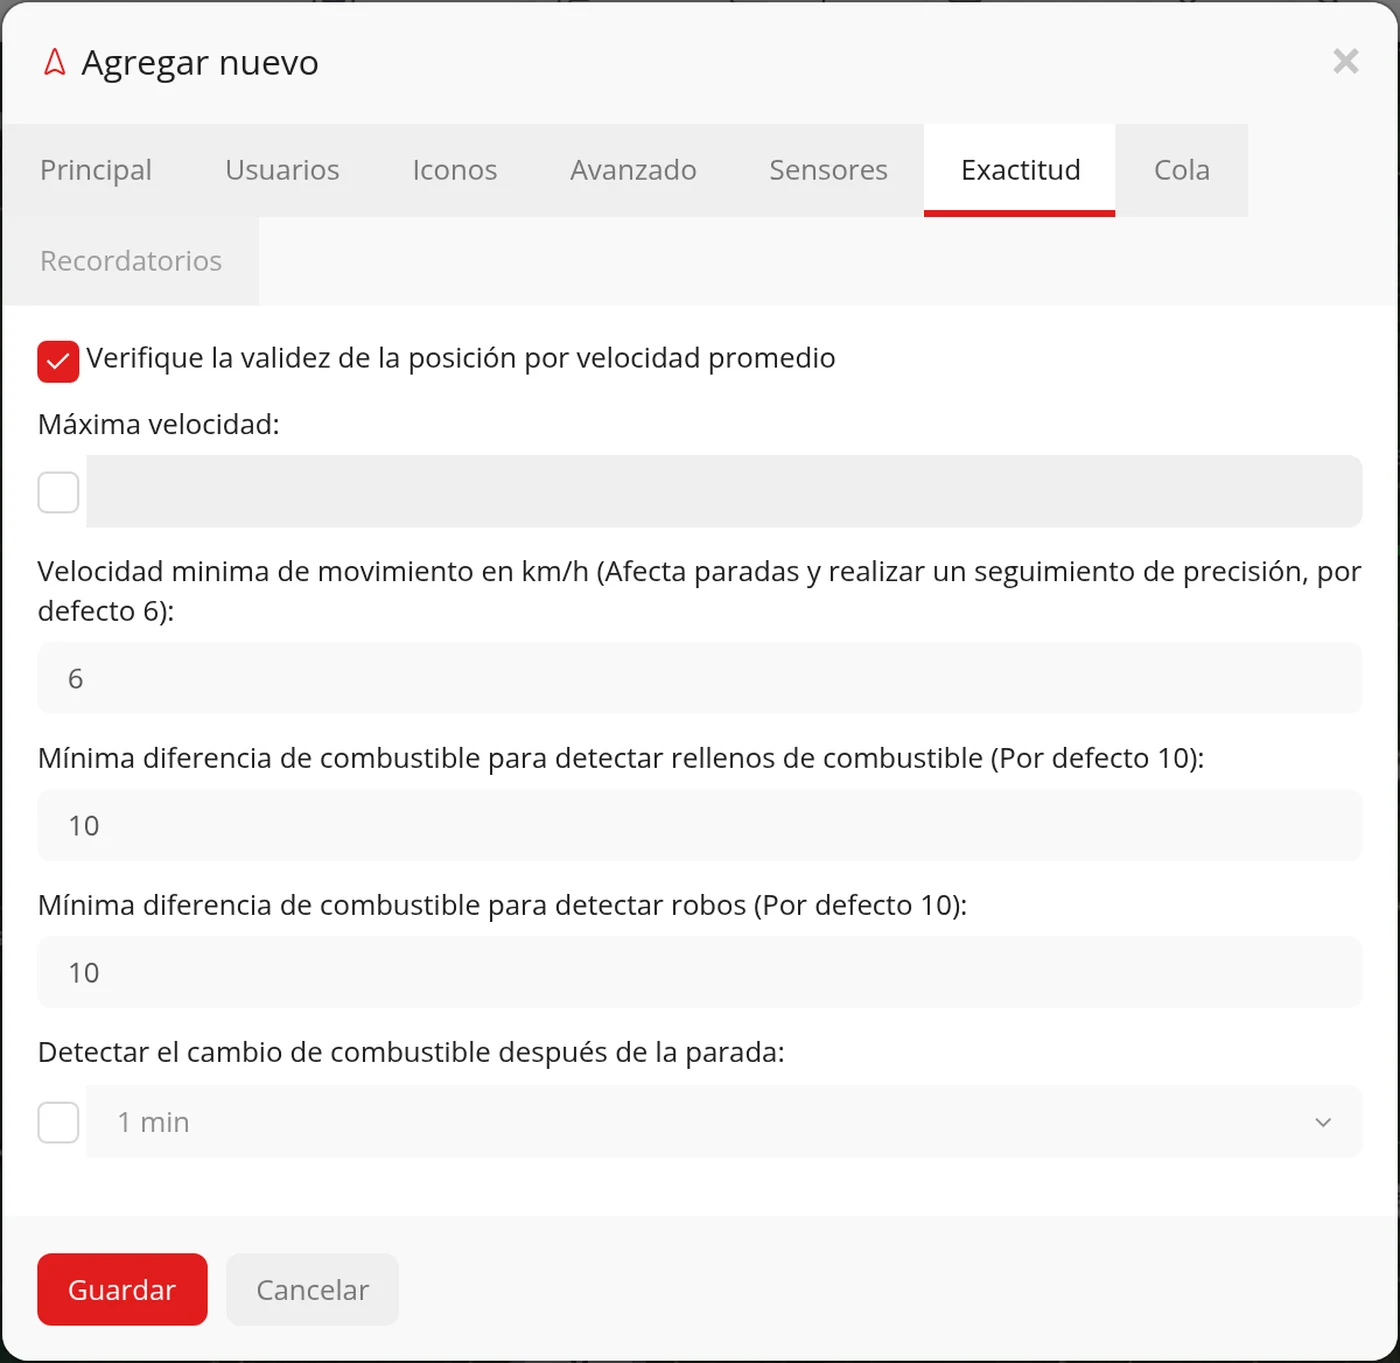
-
Tail: the trail it leaves on the map
The colour of the tail and its length, from 0 to 10 last points. It comes in green and at 5.
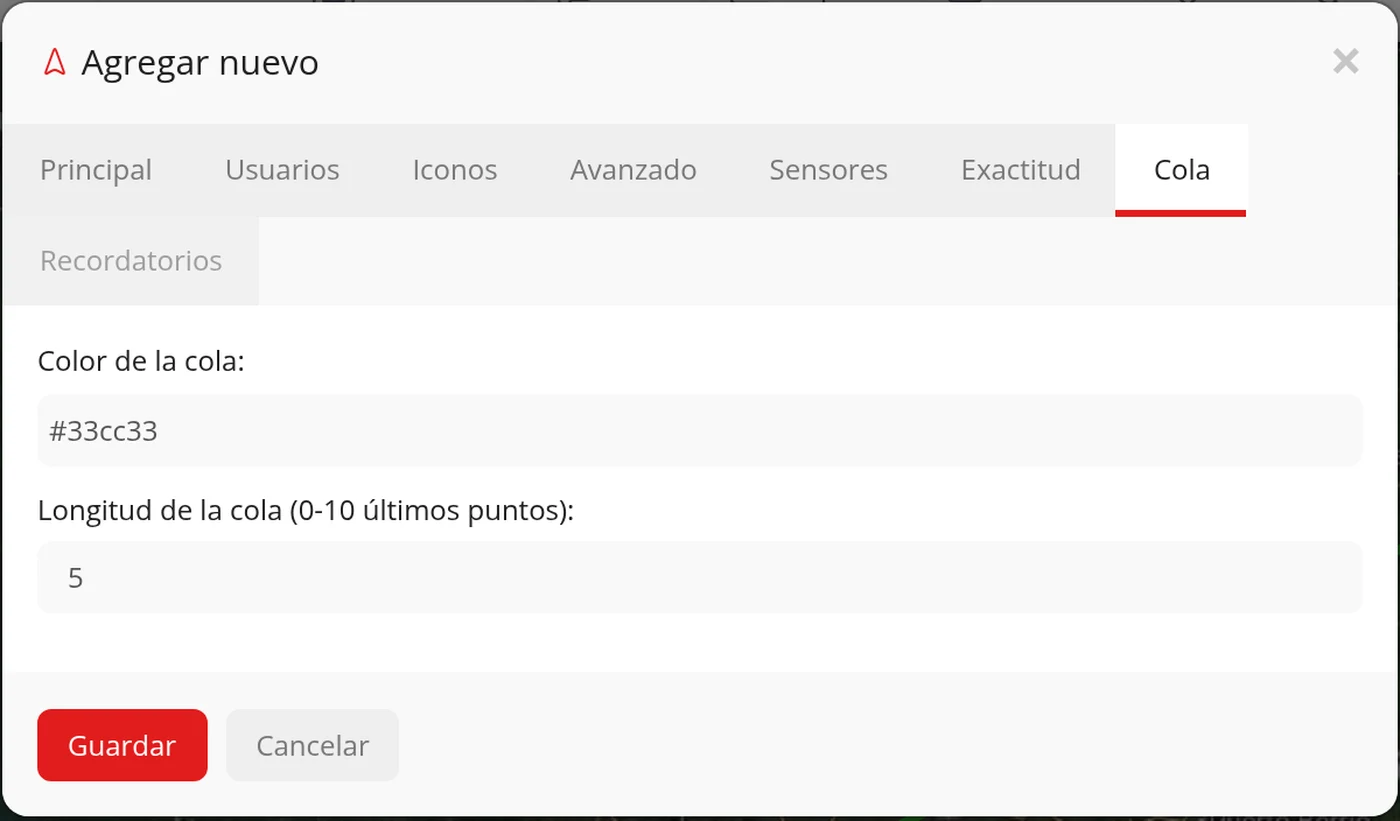
-
Services: the maintenance
It opens the maintenance list of that vehicle. It has its own section in this manual.
-
When editing an existing vehicle, the window is bigger and the menu goes to the side
If instead of creating you click Edit on a vehicle that already exists, the window is no longer the same: it is bigger and the tabs sit in a column on the left, just like in Administration, instead of a row at the top. It also has four tabs that are not there when creating: Reminders, Expenses, Cameras and Eco driving, because those depend on a vehicle that already exists.

-
The Edit window’s side menu
Main, Users, Icons, Advanced, Sensors, Reminders, Accuracy, Tail, Expenses, Cameras and Eco driving, each with its own icon. Click one and the content on the right changes, without reloading the page.

What each field asks for
| As it appears on screen | What it is | |
|---|---|---|
| The «Create monthly» button | Creates the vehicle now and it is charged month by month. It can be left empty. | Can be left empty |
| The «Go to annual payment» button | Takes you to pay the year in advance; the vehicle is created after the payment. It can be left empty. | Can be left empty |
| The «SIM number:» field | The number of the device card. It is needed to send it orders by text message. It can be left empty. | Can be left empty |
| The «Device model:» field | Which device it is. It helps later to know which orders it understands. It can be left empty. | Can be left empty |
| The «Plate number:» field | The vehicle plate; it appears on the card and in the reports. It can be left empty. | Can be left empty |
| The «Time adjustment:» field | Corrects the time offset of THAT device. It comes as Default. It can be left empty. | Can be left empty |
| The «Forward:» field | Forwards the positions of that vehicle to another server, over TCP or UDP. It can be left empty. | Can be left empty |
| The «Minimum moving speed» field | Below that speed it is considered stopped. By default 6 km/h. It can be left empty. | Can be left empty |
| The «Tail length» field | How many points of the recent route are drawn behind the vehicle (0 to 10). It can be left empty. | Can be left empty |
| The "Custom icons" shortcut | Upload your own drawing (transparent PNG, 32 to 128 pixels, 512 KB maximum) to use as the icon for your vehicles. Only available on some accounts. | Can be left empty |
How to know it worked
Save and open the record again: what you typed has to still be there. The number plate and the group can also be seen in the left-hand list.
The vehicle card: choosing how your list looks
The card is each vehicle's row in the list on the left. You choose how it looks for your whole account: just the name and the time, or the name with the address, or two tight rows so more vehicles fit, or one line per vehicle with the sensors laid out in columns. What you choose here is also seen by the accounts under yours. Where it is: Top bar > ADMIN > Customisation > the «Vehicle card» section.
Where it is Top bar > ADMIN > Customisation > «Vehicle card» section. It is below the branding and logo settings.
Before you start
- Have at least one vehicle in the list, so you can see the change straight away.
- Know that the change is for the whole account, not for a single vehicle. If you have customers below you, they will see the same card.
- Nothing needs reloading: the screen has a preview that changes as you choose.
-
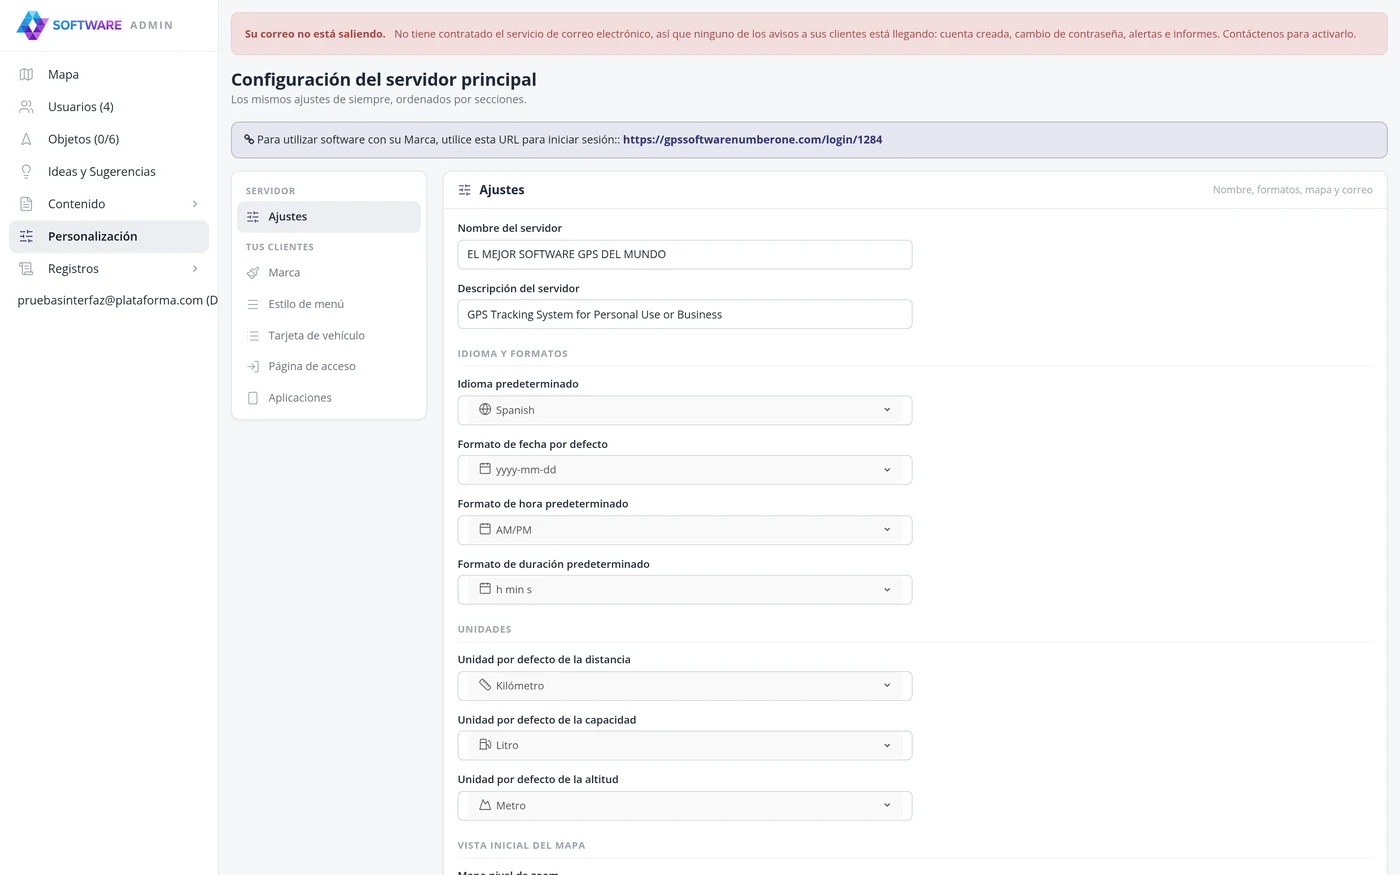
Go into Customization
Click ADMIN in the top bar and then Customization in the left column. Scroll down to the box called "Vehicle card".
-
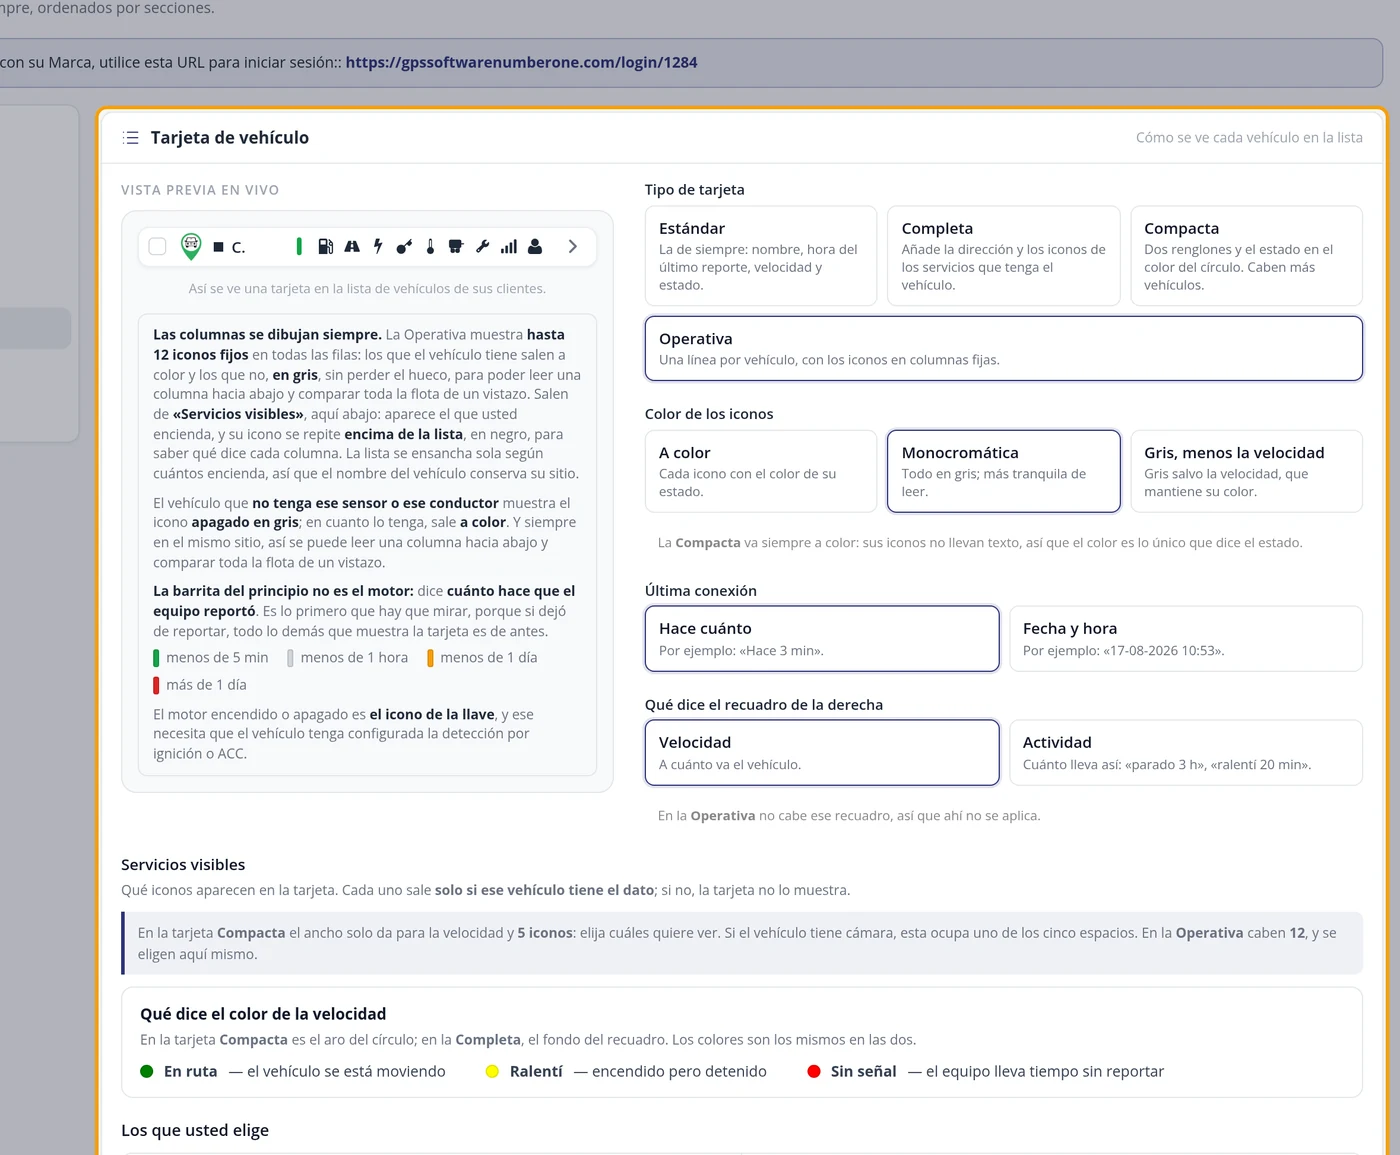
Choose the card type
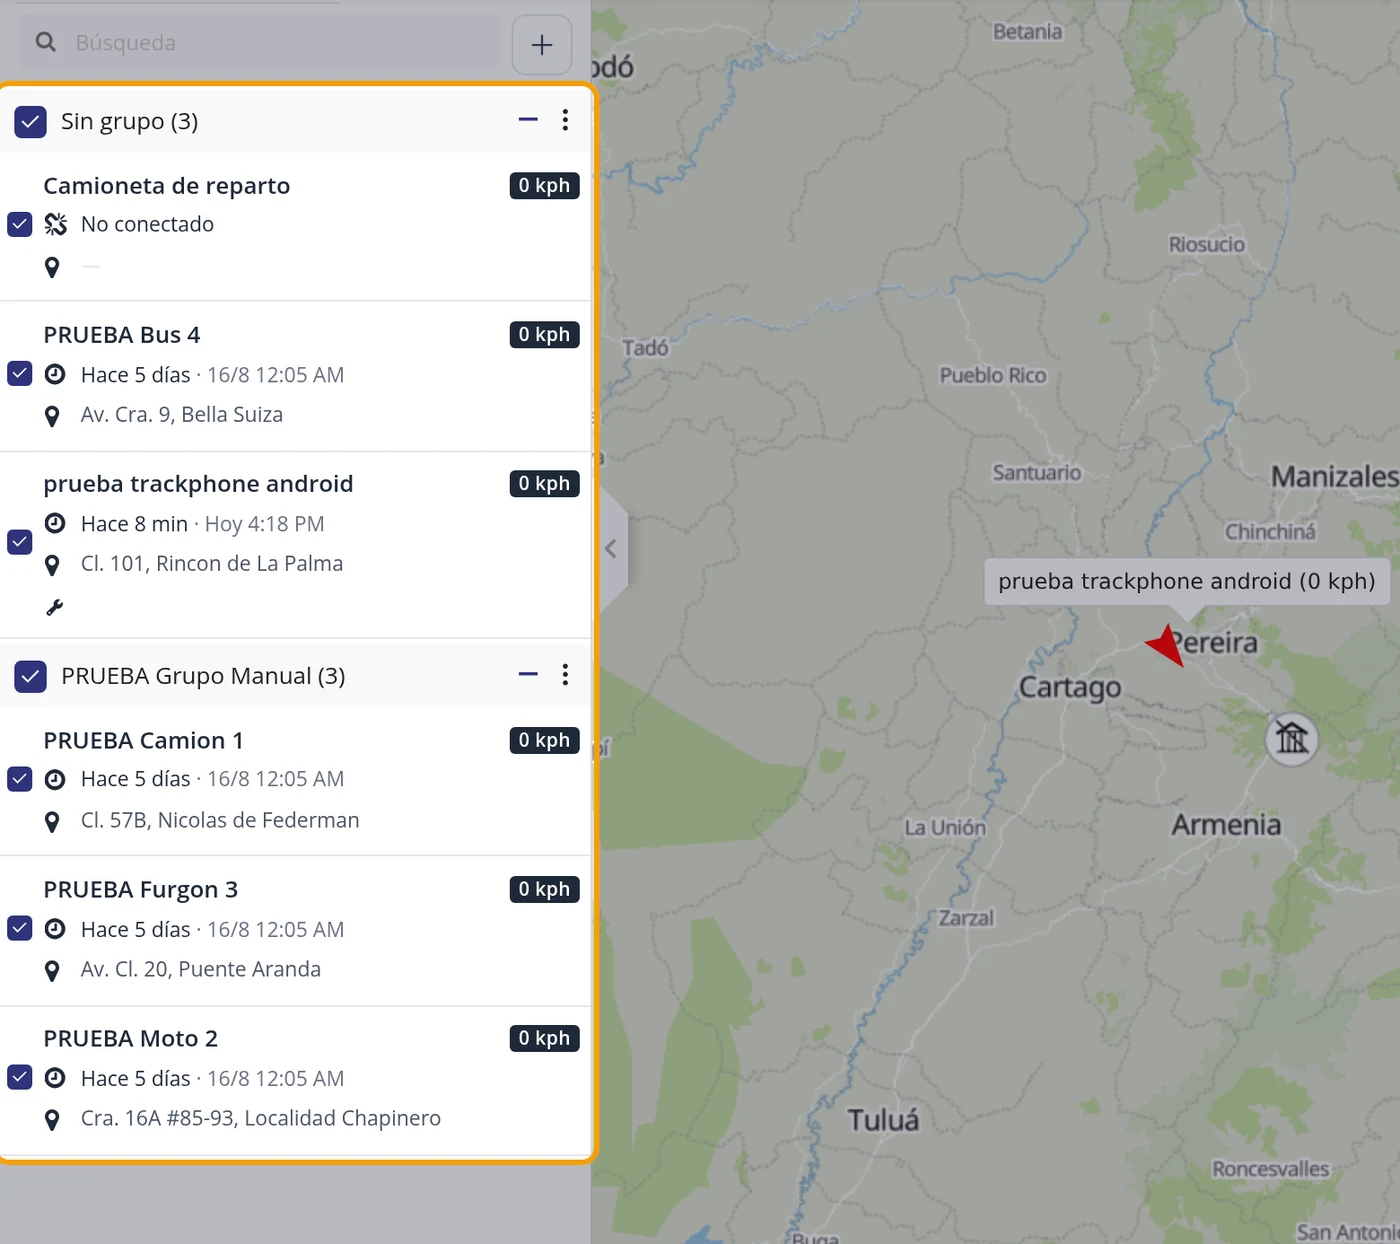
There are four and you pick one: Standard is the usual one (name, last report time, speed and status). Full adds the address and the service icons. Compact puts two lines and the status in the colour of the circle, so more vehicles fit. Operational leaves one line per vehicle with the sensors in fixed columns. On the left, the preview shows you how it looks before saving.
-
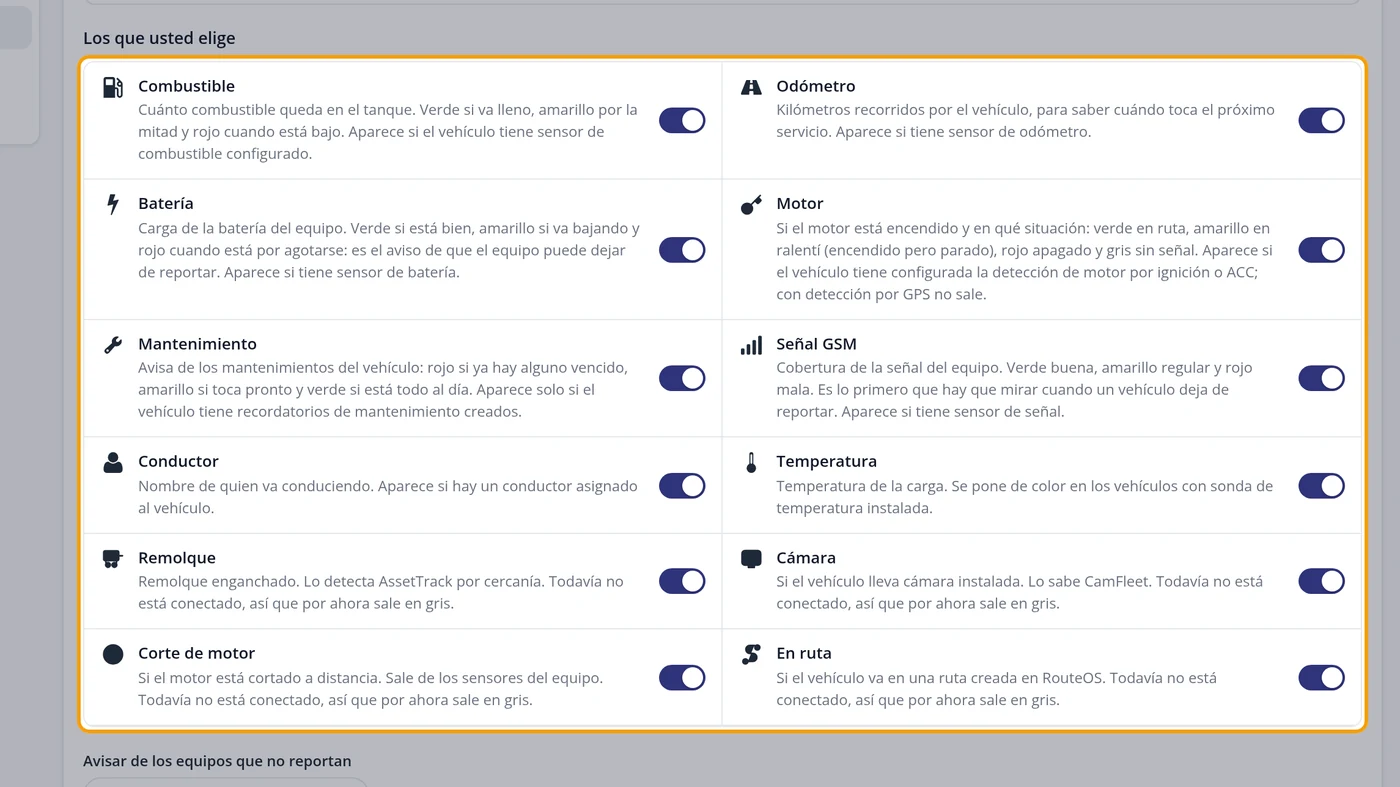
Choose which services are shown
Below is "Visible services", with a switch for each one: Fuel, Odometer, Battery, Engine, Maintenance, GSM signal, Driver, Temperature, Trailer, Camera, Engine cut and On route. Each line explains what that icon means and when it appears. Turn on the ones you care about and turn off the rest.
CarefulOn the Compact card only five icons fit: if you turn on more, the extra ones do not show and the switch itself warns you with the "no room" label. On the Operational one all twelve fit.
-
Save
Click Save at the bottom of the screen. The change is applied at once: go back to Objects and the list is already shown in the new way.
-
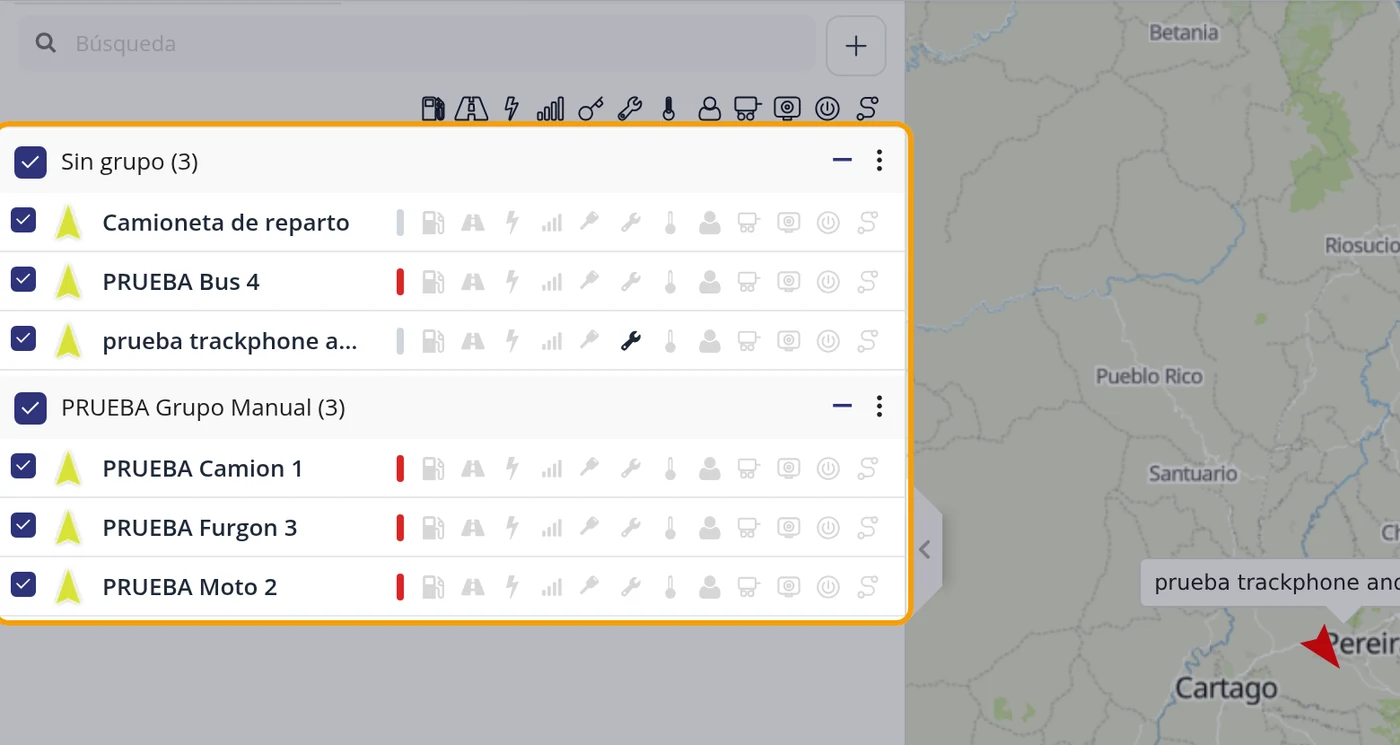
Read the Operational card: one column per sensor
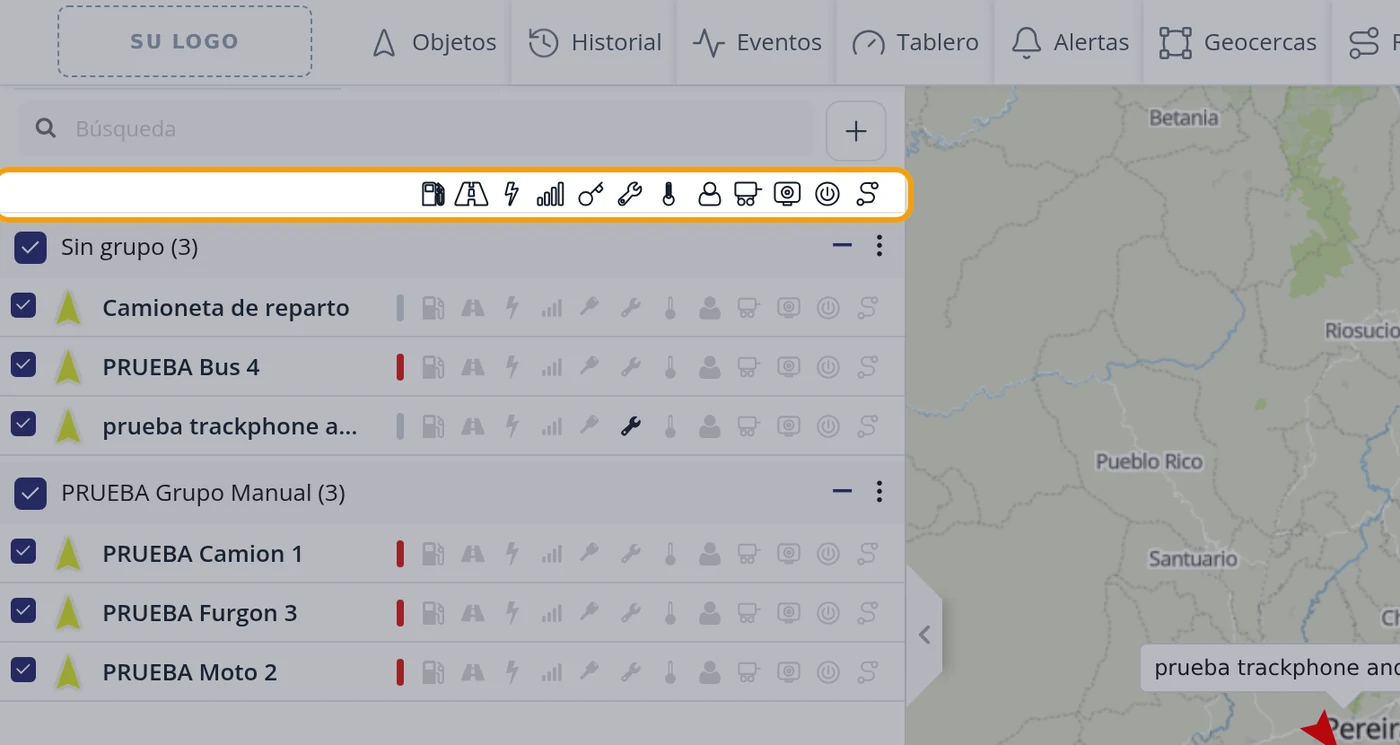
On the Operational card each sensor always has the same column, in every row. If the vehicle has that data, the icon shows in colour; if it does not, it shows in grey but keeps its place. That way you can read a column top to bottom and see at a glance which vehicles in your fleet carry that sensor and which do not. The list widens on its own depending on how many services you turned on, so the vehicle name is not cut off.
-
The icons above the list
Above the list appears a row with the same icons, in black outline, each right above its column: it is the heading that says what each one means. Only the icon of the service you turned on appears; if you turn one off, its column and its icon at the top disappear together. When you scroll the list, that row stays fixed at the top.
-
The little bar at the start
Before the first icon there is a little coloured bar. It is not a sensor: it says how long ago the device last reported. Green, less than five minutes; grey, less than an hour; amber, less than a day; red, more than a day. It is the first thing worth looking at, because if the device stopped reporting, everything else the card shows is from before.
-
Compare with the other three
If the Operational card is not for you, go back to step 2 and choose another. The Standard is the simplest and takes one line. The Full is the tallest because it adds the address. The Compact is in between and uses the circle's colour for the status. You can switch from one to another as many times as you like: no data is lost, only the way of seeing it changes.
The top-bar buttons, one by one
| Button | What it is for | What it does when clicked | |
|---|---|---|---|
| Fuel | How much is left in the tank. Green full, yellow half, red low. It appears if the vehicle has a fuel sensor. | ||
| Odometer | Kilometres travelled, to know when the next service is due. It appears if it has an odometer sensor. | ||
| Battery | The unit's battery charge. In red it is the warning that the unit may stop reporting. | ||
| Engine | Whether it is on and how: green on the move, amber idling, red off, grey no signal. It needs ignition or ACC detection. | ||
| Maintenance | Red if something is overdue, yellow if it is due soon, green if it is up to date. It appears if the vehicle has reminders created. | ||
| GSM signal | The coverage of the unit's SIM card. | ||
| Driver | Who is driving the vehicle, if a driver is assigned. | ||
| Temperature | For refrigerated transport. It appears if the vehicle has a temperature sensor. | ||
| Trailer | The trailer hitched. Today it comes up grey on all vehicles: the panel does not receive that data yet. | ||
| Camera | Whether the vehicle carries a camera. Today it comes up grey on all of them: the panel does not receive that data yet. | ||
| Engine cut | Whether the cut is engaged or released. Today it comes up grey on all of them: the panel does not receive that data yet. | ||
| On route | Whether the vehicle is following a created route. Today it comes up grey on all of them: the panel does not receive that data yet. |
How to know it worked
Change the card type, save and go back to Objects: the list has to look different straight away. To check the services, switch one off in «Visible services», save and look at the list: its column and the icon above it have to disappear together; on switching it back on, both come back.
How to create a sensor
The device installed in the vehicle sends raw data, just as it comes out of the device: loose words and numbers that on their own mean nothing, like "motion" with the value "true". A sensor is the translator: you tell the platform which data to look at and what it means, and from then on the screen shows something anyone understands, for example "Engine on: ON". Without sensors the data exists but nobody sees it. Where it is: Top bar > Objects > in the list, the vehicle's options button > Edit > Sensors tab > + Add sensor button
Where it is Top bar > Objects > in the list, the vehicle's options button > Edit > Sensors tab > + Add sensor button
Before you start
- Have the vehicle already registered and reporting: the «Tag name:» dropdown only offers the data THAT unit has actually sent.
- Know which data you want to translate and what values it takes. In the example the unit sends the tag "motion" with the values "true" (it is moving) and "false".
- The sensor is created inside ONE vehicle's record. It is not shared with the others on its own: it has to be repeated on each vehicle.
-
What each sensor template is for
The «Sensor template» field is a shortcut: you choose WHICH KIND of data it will read and the platform sets the rest. Ignition ON/OFF and ACC ON/OFF read the ignition key, that is whether the vehicle is running; from that come idling and out-of-hours ignition warnings. Engine ON/OFF is the same but by the engine signal. Engine hours counts how many hours it has been working, and serves maintenance by hours. Odometer keeps the kilometres, for maintenance by mileage. Fuel tank measures the tank, and its calibrated variant is for devices that do not send litres but another measure. Fuel consumption measures what it uses. Temperature is for refrigerated cargo. Door Open/Close warns when a door opens. Battery measures the device or vehicle one. GSM and Satellites say what signal it has. And Accuracy is for discarding bad positions.
De dónde sale el nombre del dato: el Registro de datos →
CarefulThe template only prepares the ground: the name of the field (the tag) has to be copied from the Data log of THAT vehicle, because each model names it its own way.
-
Open the vehicle list
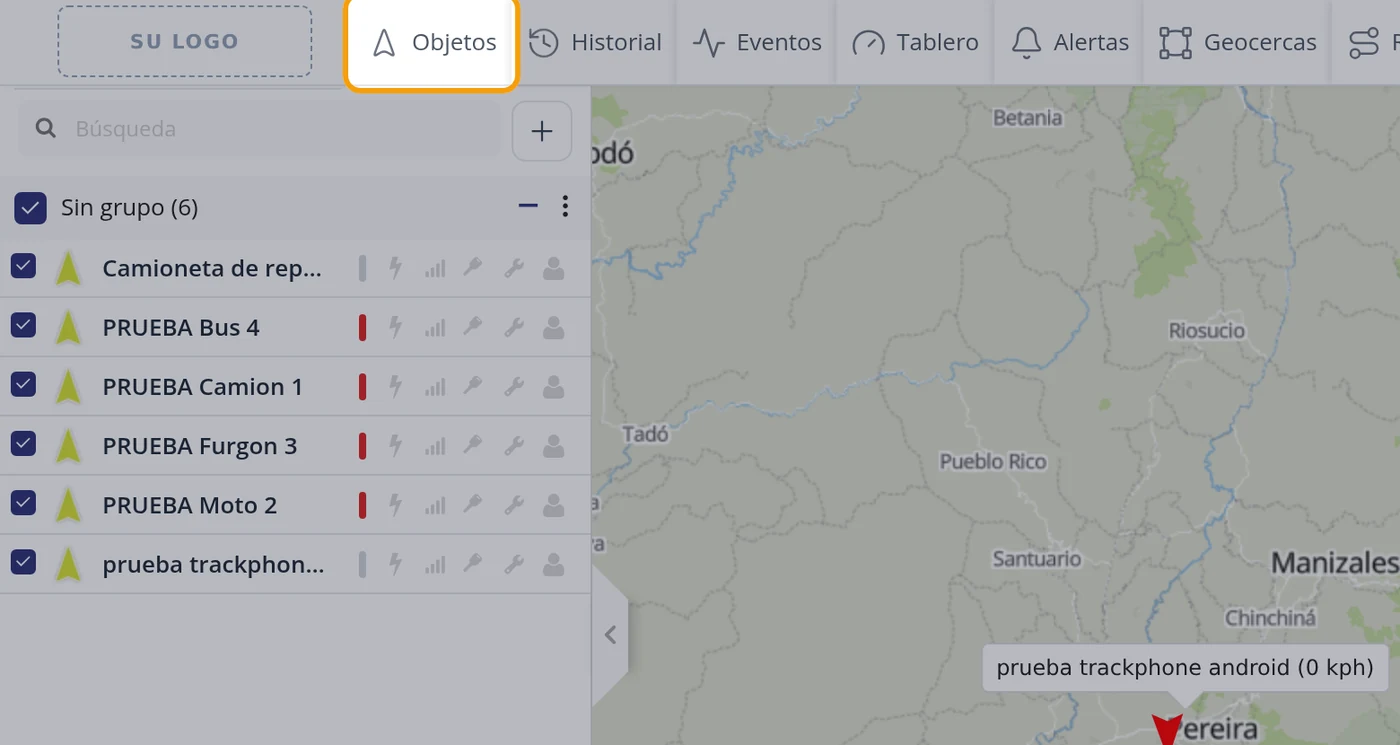
In the top bar click "Objects". On the left the list with all your vehicles opens.
-
Open the vehicle menu
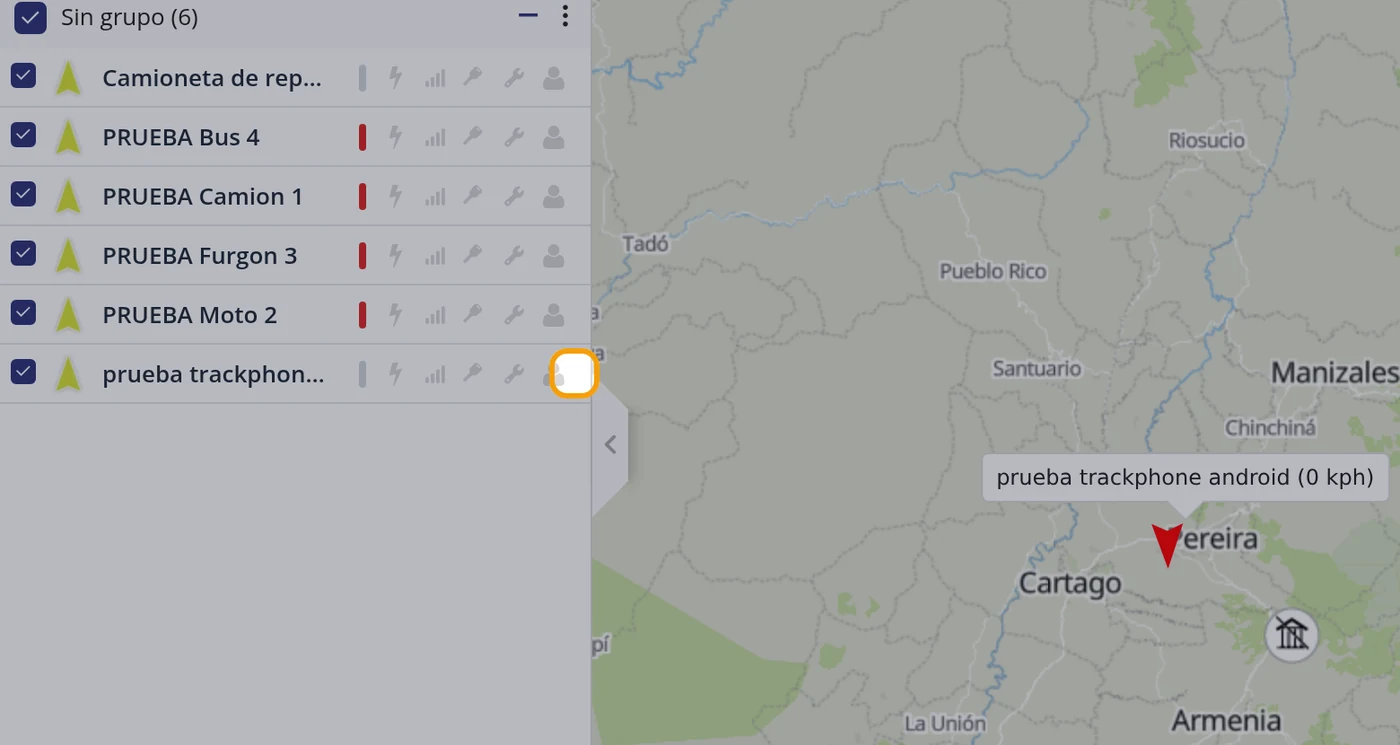
Hover over the vehicle you want to add the sensor to and click the options button that appears to the right of its name.
CarefulThe sensor is created INSIDE the vehicle file. There is no sensors button in the top bar: if you look for it there, you will not find it.
-
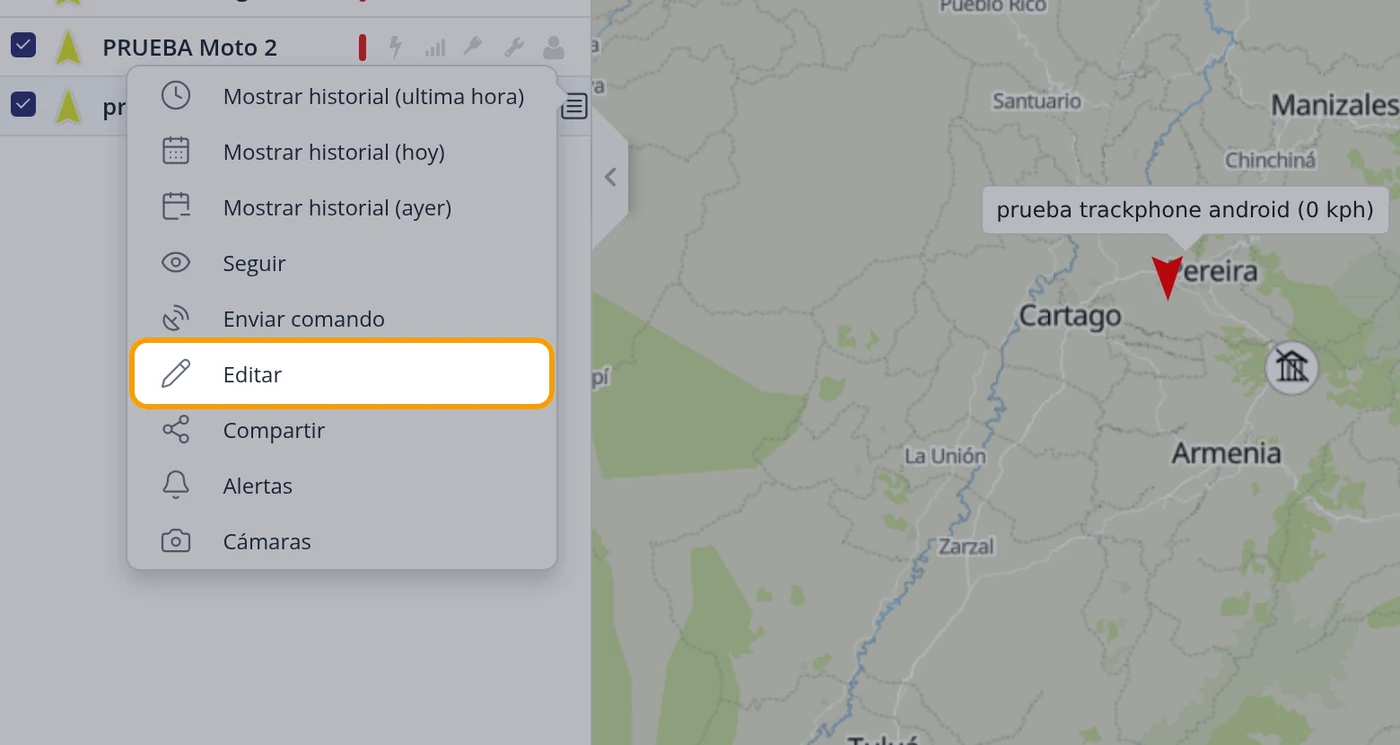
Click "Edit"
In the menu that unfolds choose "Edit". The vehicle file opens with its tabs.
-
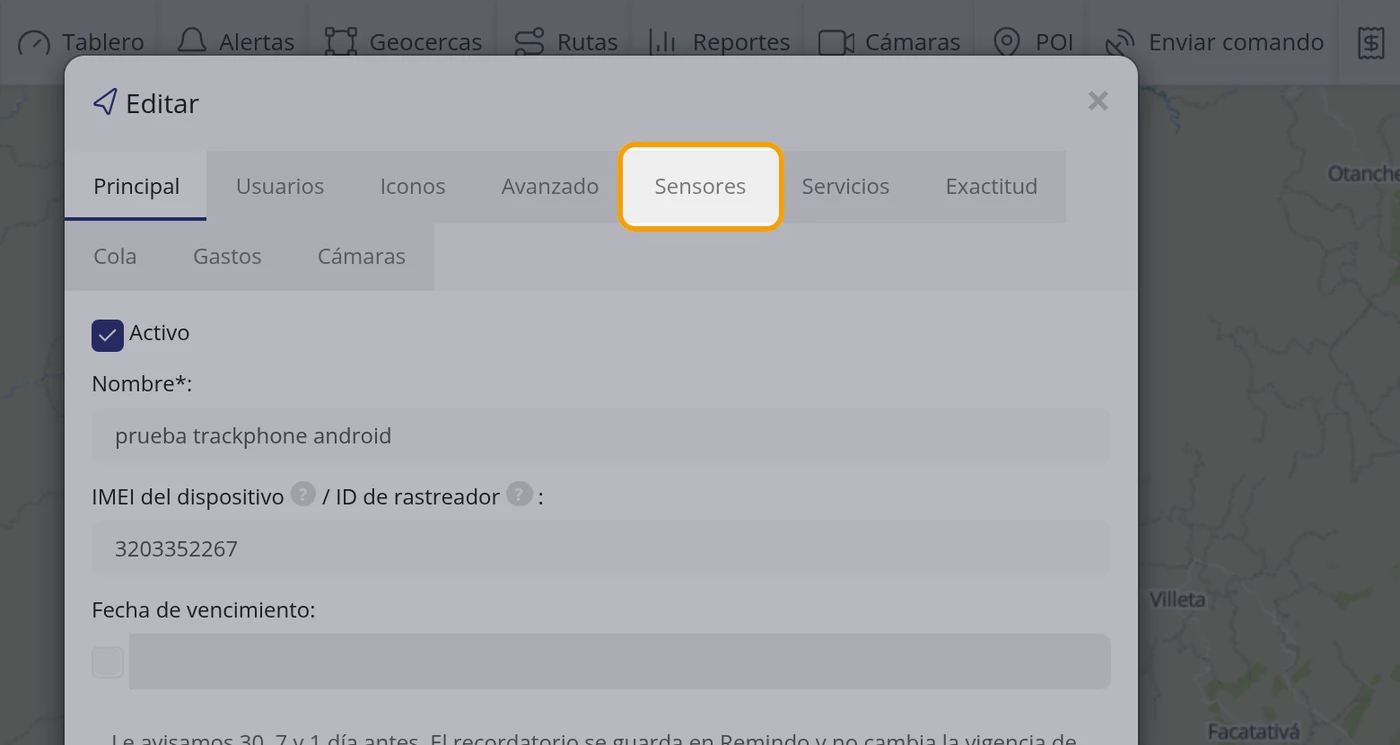
Go to the "Sensors" tab
At the top of the file are the tabs: Main, Users, Icons, Advanced, Sensors, Services, Accuracy, Tail, Expenses and Cameras. Click "Sensors".
-
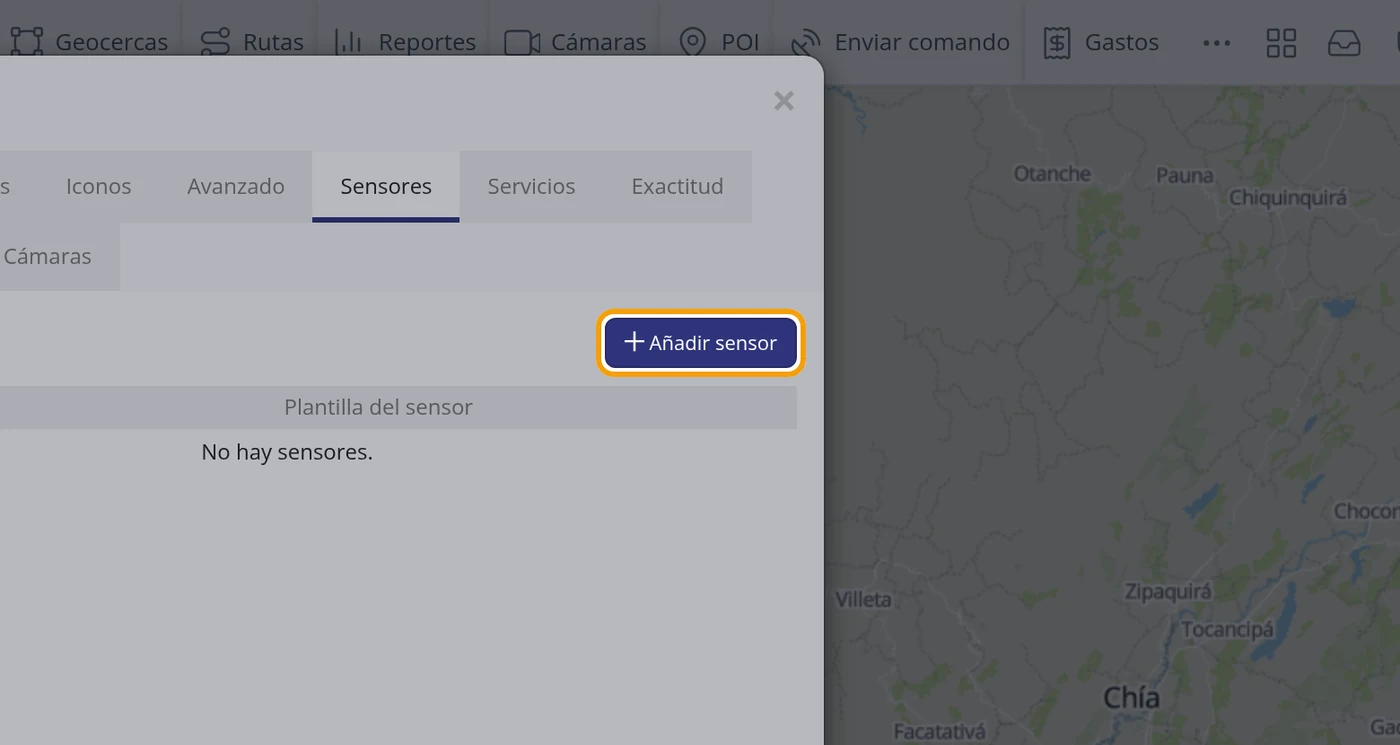
Click "Add sensor"
If the vehicle has none yet, the table says "There are no sensors.". At the top right is the "+ Add sensor" button: click it and the "Add sensor" window opens. The window is called "Add sensor" and has the fields: Sensor name:, Sensor template:, Tag name:, Bits cut:, SETFLAG, ON value:, OFF value:, Add to history, Add to graph and Preview:, plus the "Save" and "Cancel" buttons.
-
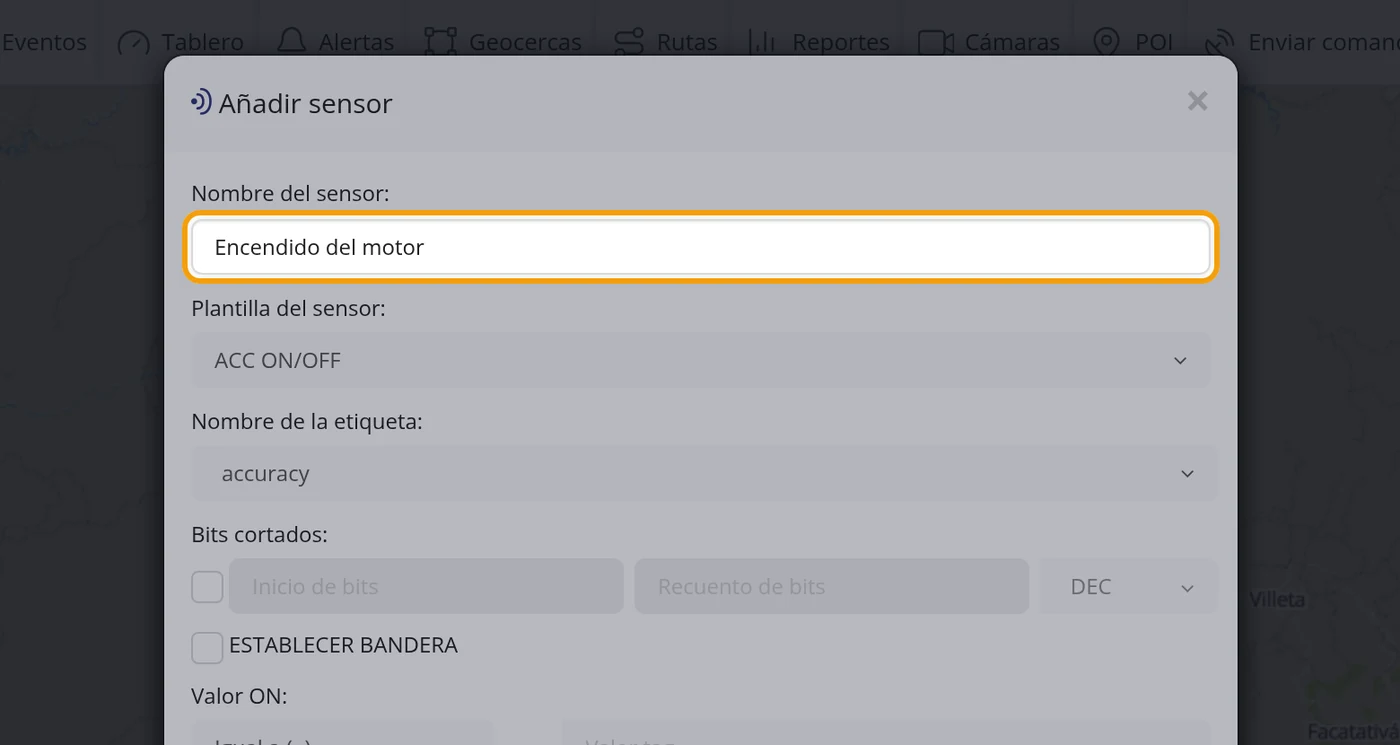
Type the sensor name
In "Sensor name:" type the name you want to see on screen. In the example: Engine ignition.
CarefulUse short names. The "Sensors" box of the vehicle file cuts long names: "Engine ignition" is seen there as "Engine ignit...".
-
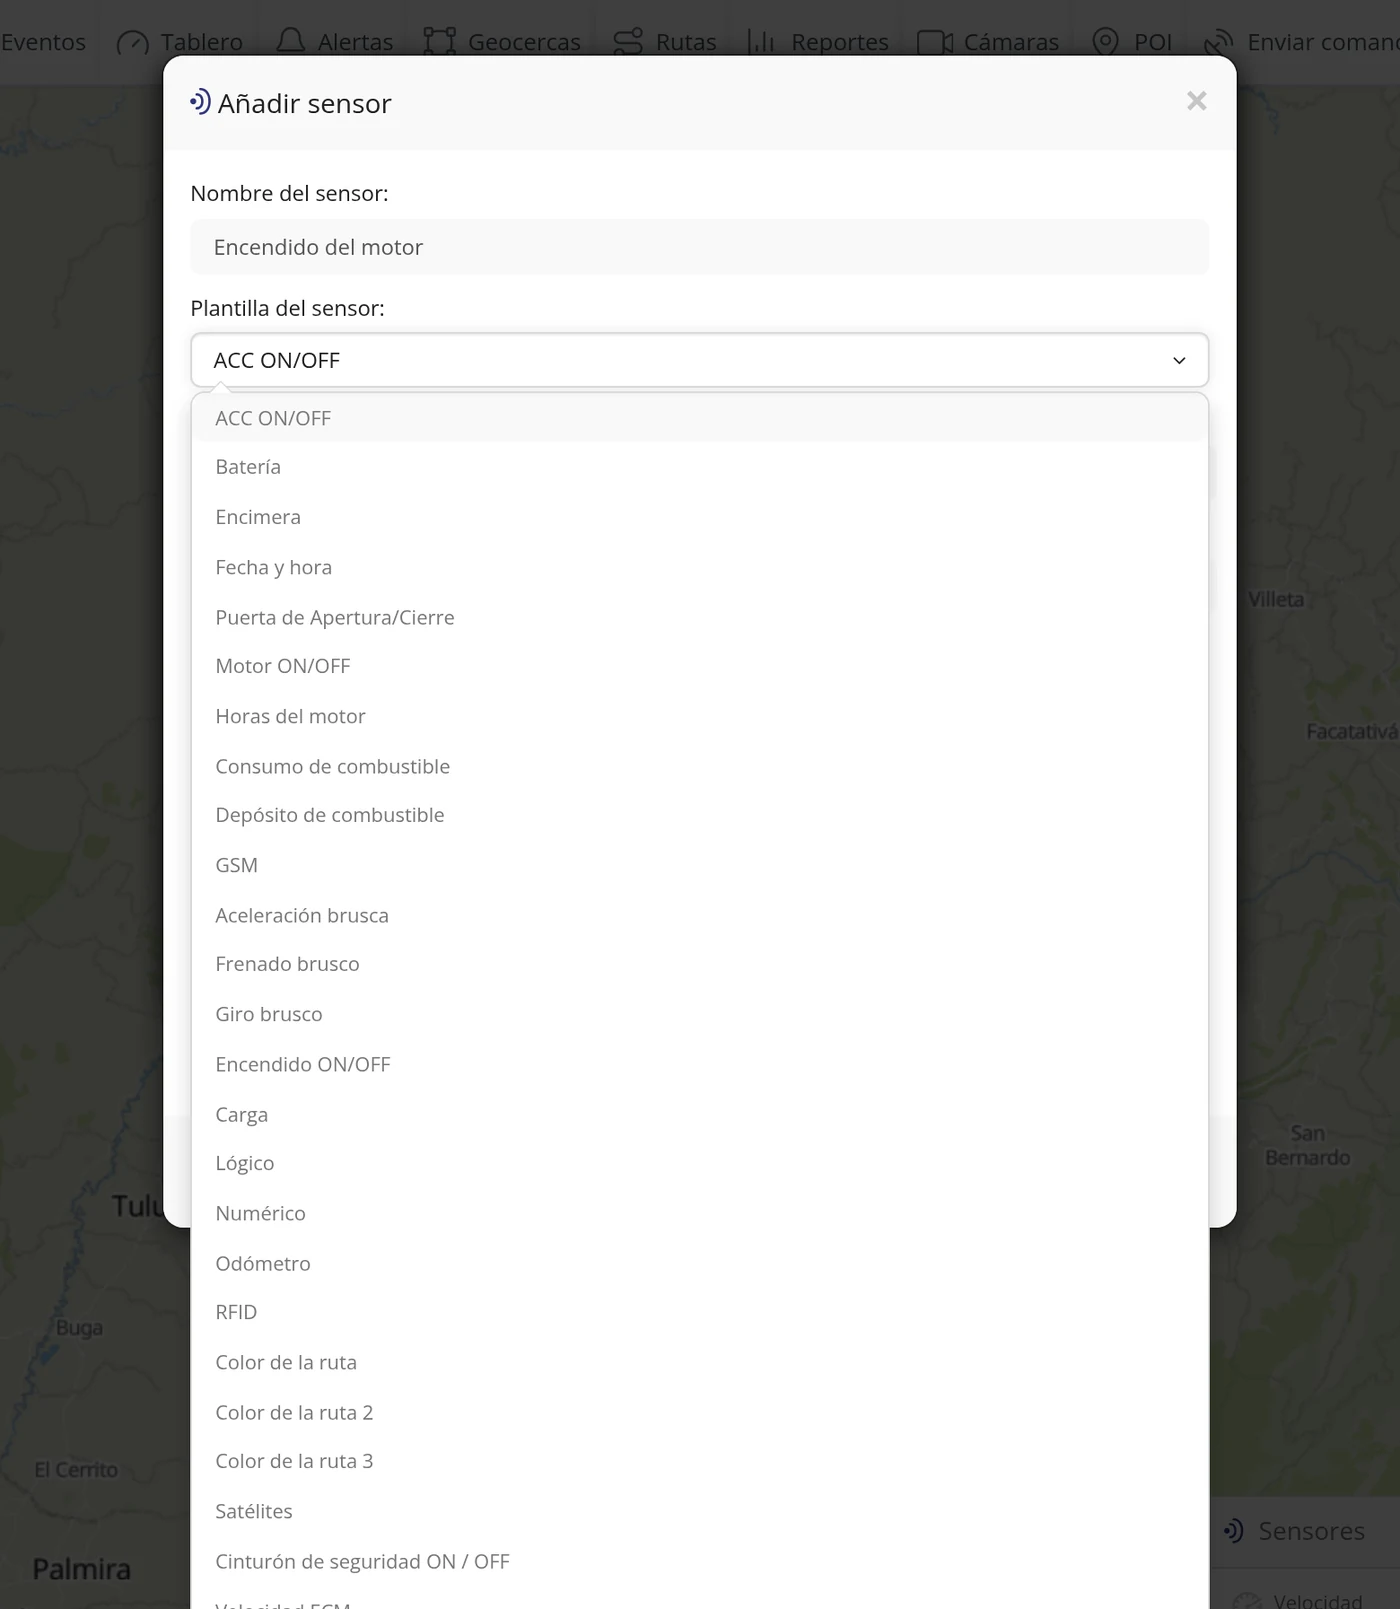
Open the "Sensor template:" dropdown
Here you choose WHAT kind of thing the sensor will measure. The list has 29 options: ACC ON/OFF, Battery, Counter, Date and time, Door Open/Close, Engine ON/OFF, Engine hours, Fuel consumption, Fuel tank, GSM, Harsh acceleration, Harsh braking, Harsh cornering, Ignition ON/OFF, Load, Logical, Numeric, Odometer, RFID, Route colour, Route colour 2, Route colour 3, Satellites, Seat belt ON/OFF, ECM speed, Tachometer, Temperature, Textual and Chassis number.
CarefulThe list is long and you have to scroll with the mouse wheel to see the last options.
-
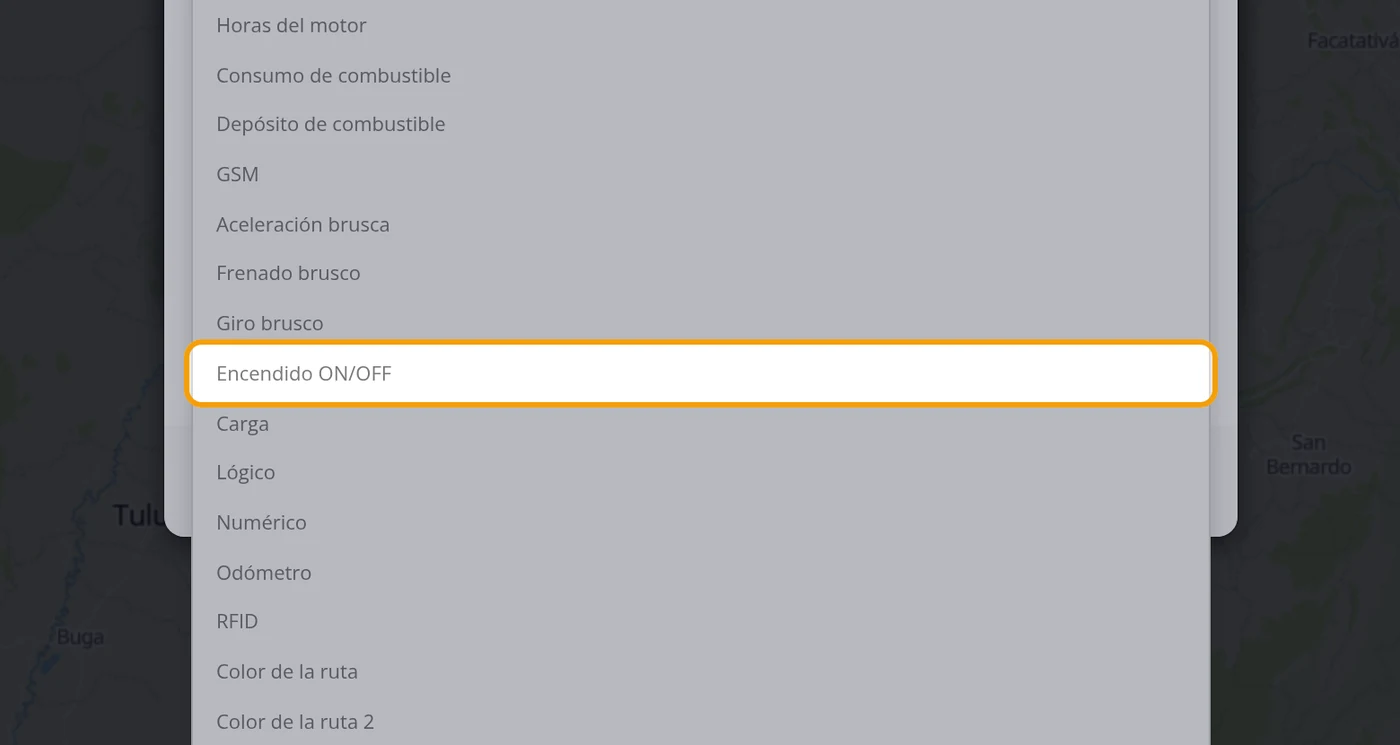
Choose "Ignition ON/OFF"
It is the on and off option: the screen will show ON when the field is worth what you say, and OFF when it is worth the other. On choosing it, the window changes by itself and the fields needed for this type appear.
CarefulEach template shows different fields. If you choose a numeric type, such as "Odometer", instead of "ON value:" and "OFF value:" you will get "Formula:" and "Unit of measure:".
-
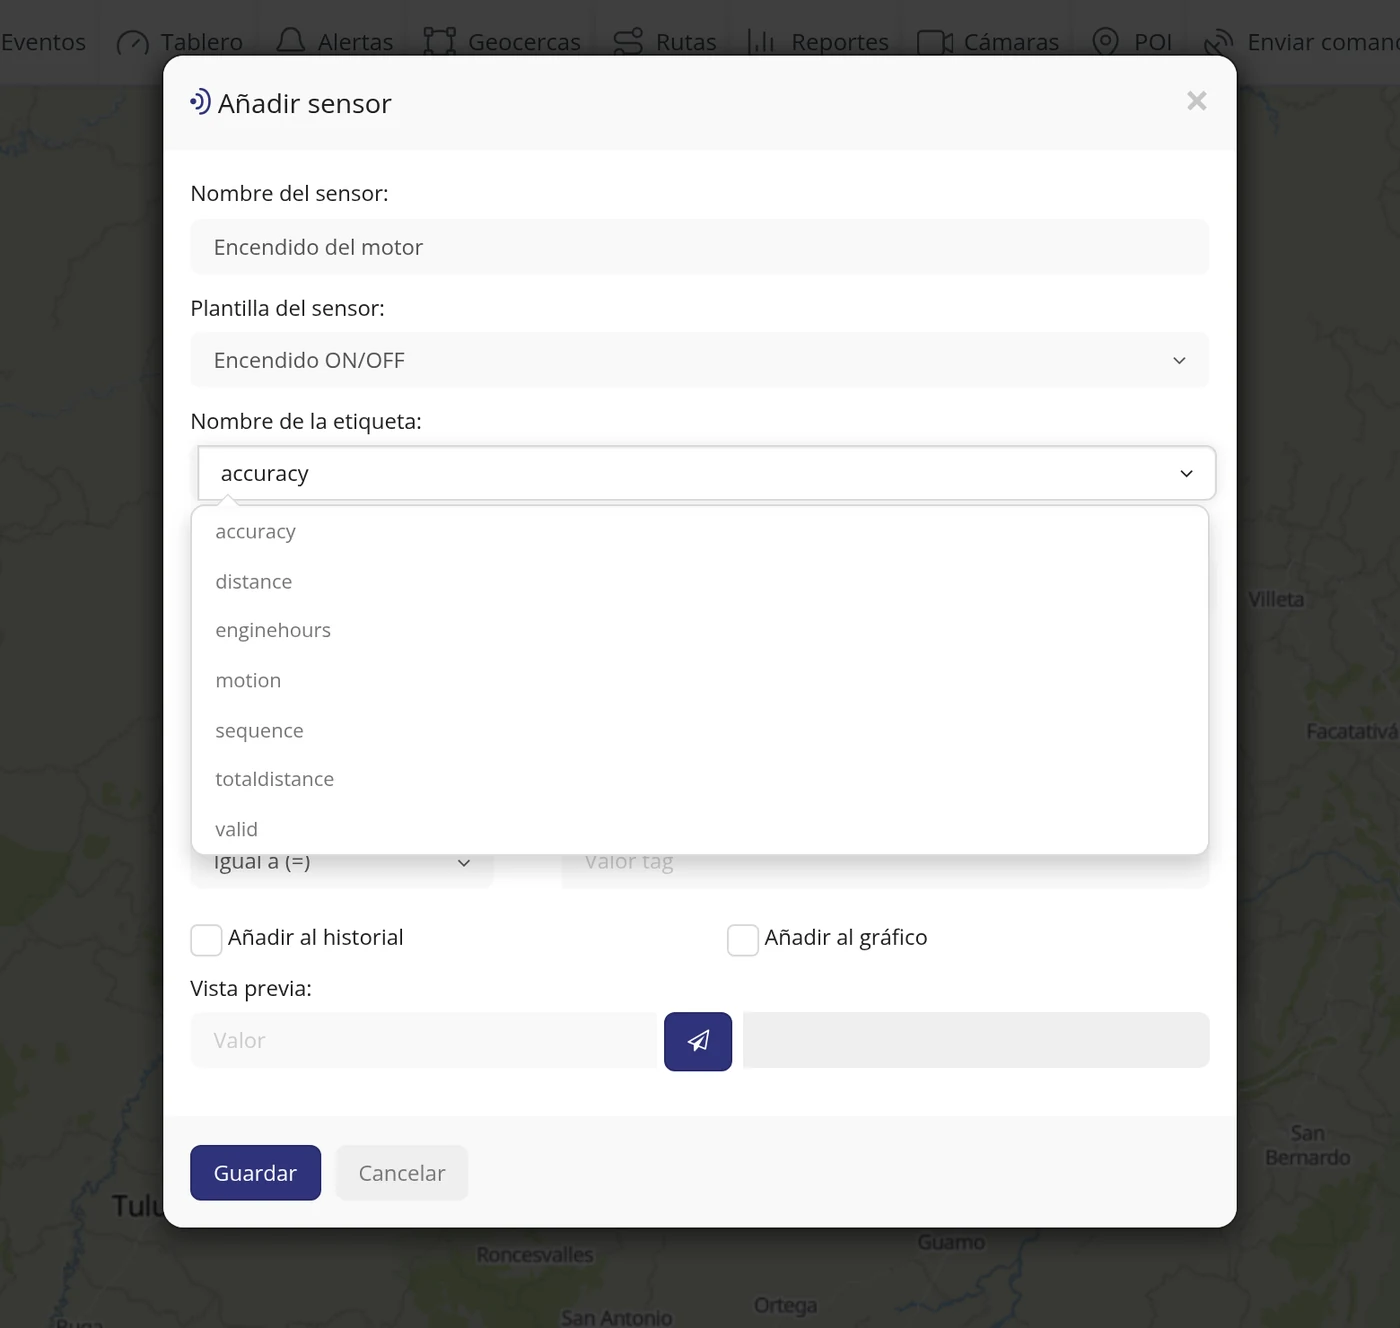
Open the "Tag name:" dropdown
Here you choose WHICH raw field the sensor will read. You do not invent the list: they are the fields that device has sent. On this vehicle they are: accuracy, distance, enginehours, motion, sequence, totaldistance and valid.
CarefulThe names come in English and exactly as the device sends them. They cannot be translated or typed by hand: they can only be chosen from the list.
-
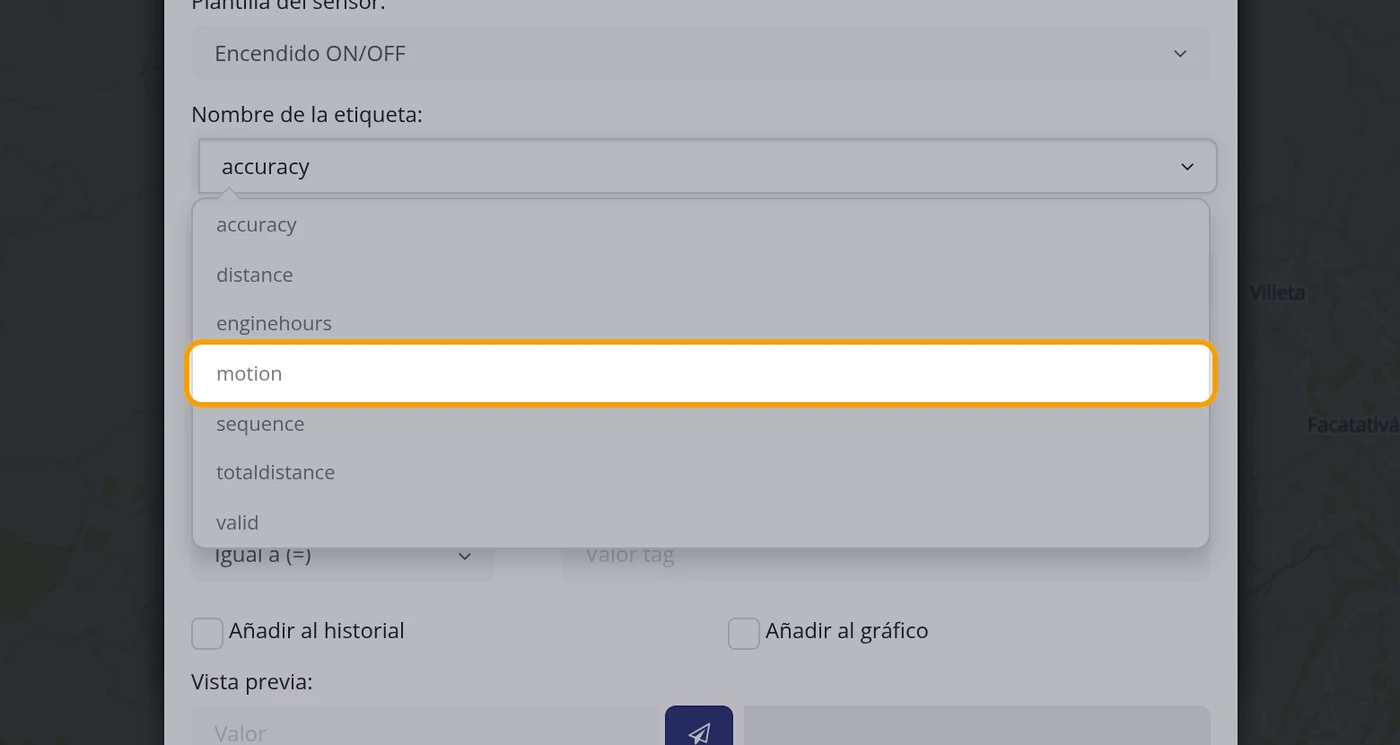
Choose the "motion" tag
On this device "motion" is the field that says whether the vehicle is moving or standing still.
-
Say which value is ON and which is OFF
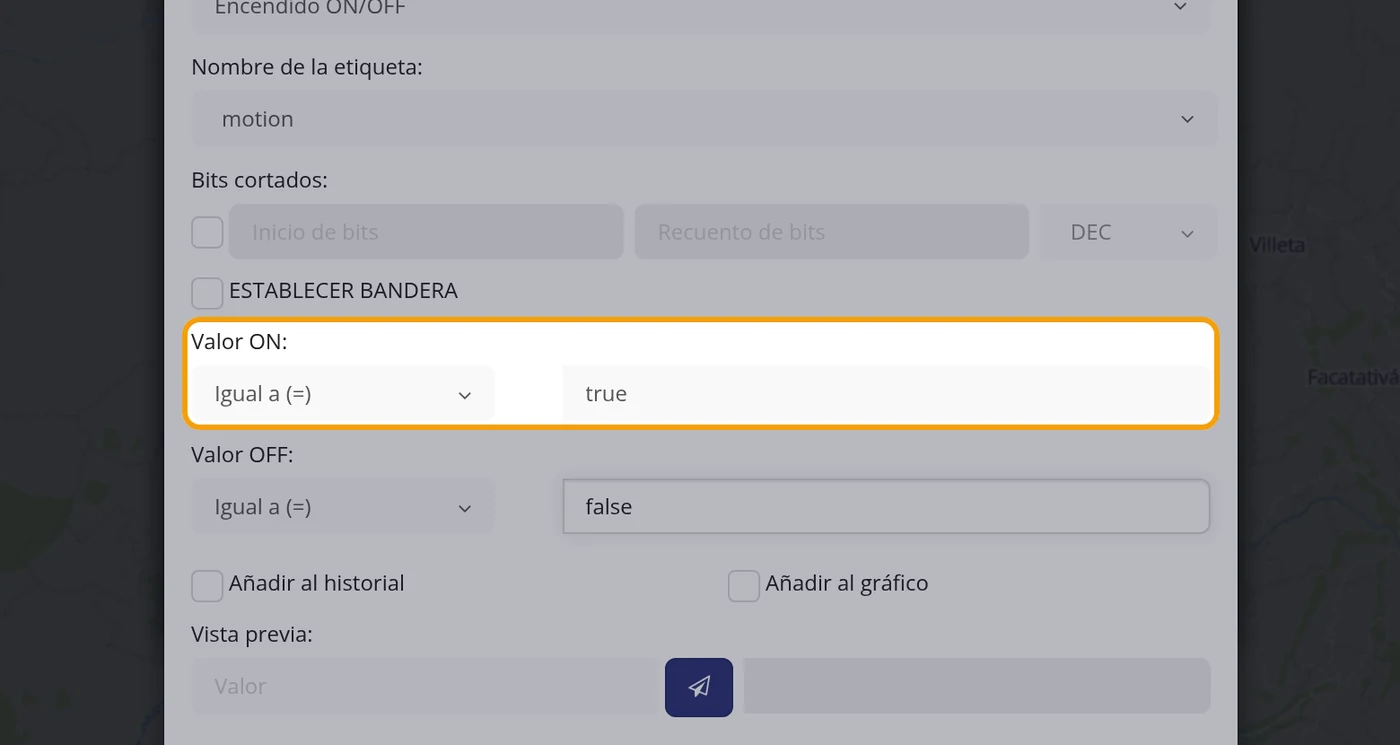
In "ON value:" leave the comparison "Equal to (=)" and type true. In "OFF value:" leave "Equal to (=)" and type false. With that the platform already knows how to translate: when the device sends true it will show ON, and when it sends false it will show OFF.
CarefulThe values have to be typed EXACTLY as the device sends them, in lower case and without quotes. If you type "True" or "1" when the device sends "true", the sensor will never switch on.
-
Test it before saving with "Preview:"
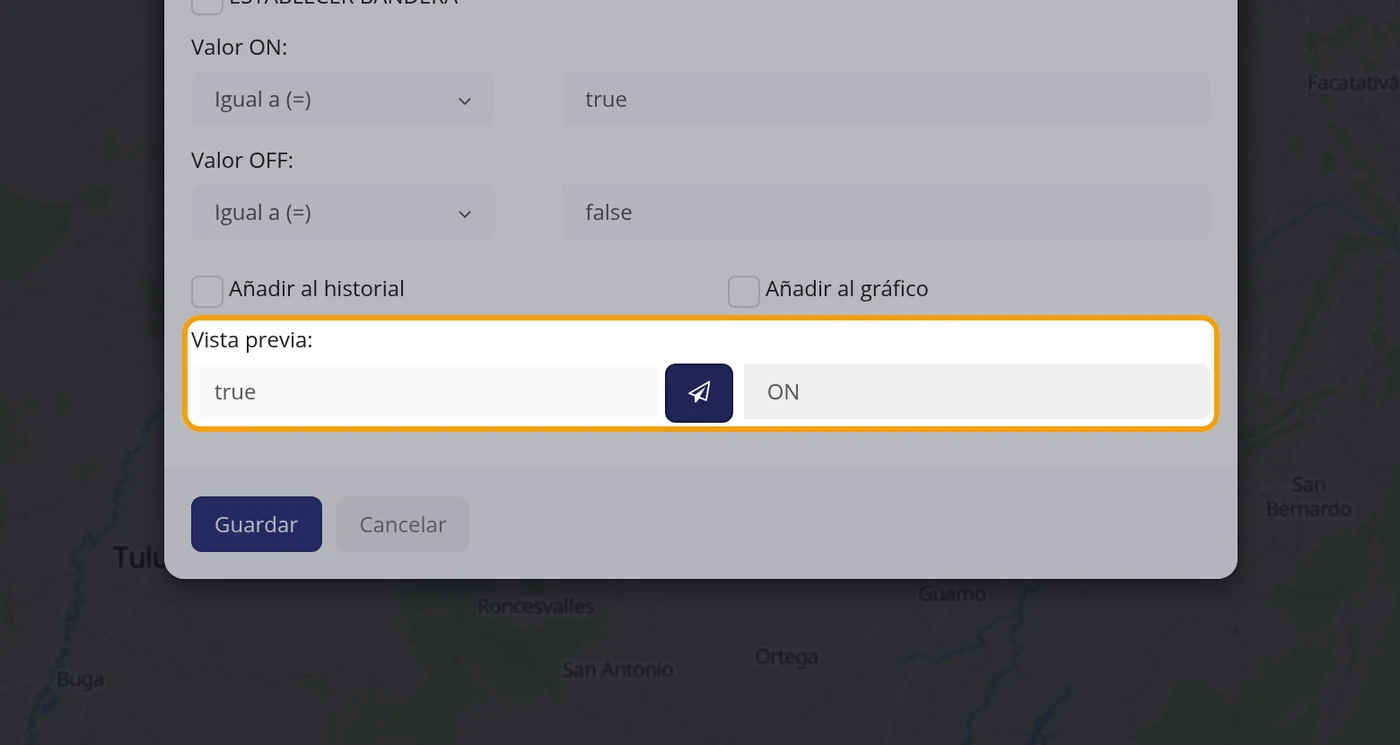
At the very bottom is "Preview:". Type an example value in the field on the left (true) and click the blue button next to it. In the field on the right you see how it will look on screen. Tested: with true it shows ON and with false it shows OFF.
CarefulThis test is the most useful thing in the whole window: if something looks odd here, it will look odd on the vehicle screen too. Fix it before saving.
-
Save
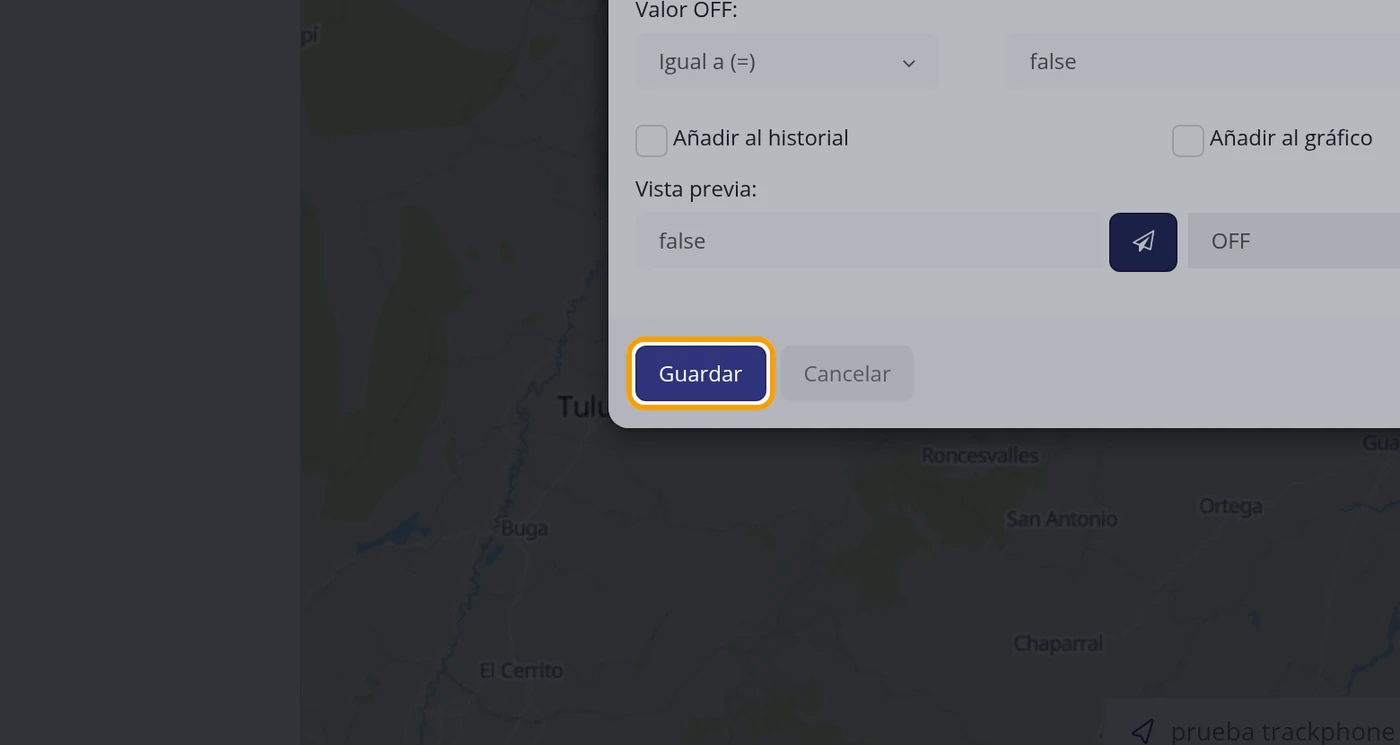
Click "Save". The window closes and the sensor appears in the table of the Sensors tab, with its name in the "Sensor name" column and the type in the "Sensor template" column.
-
Check that it is in the list
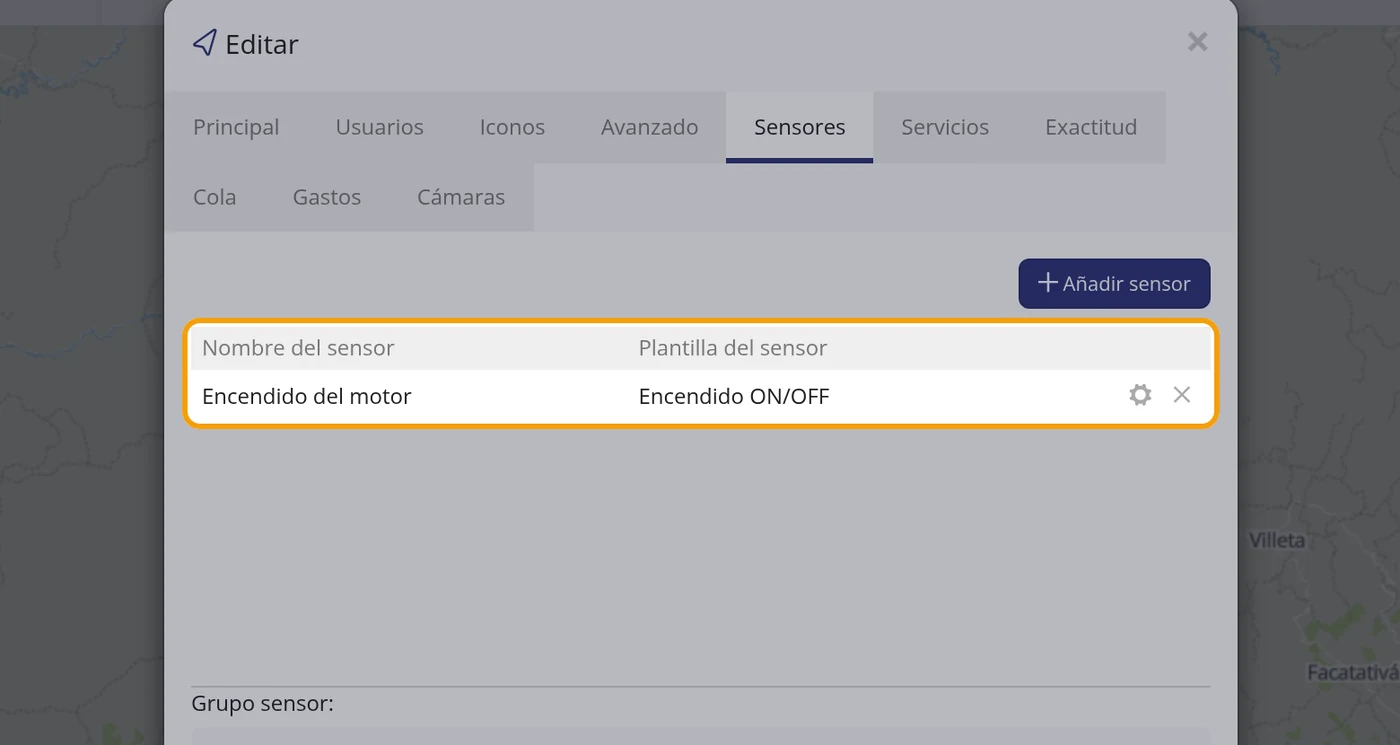
In the table you read the row: Engine ignition - Ignition ON/OFF. To the right of the row there are two small buttons, one to change it and another to delete it.
CarefulWhen deleting, the platform asks "Are you sure you want to delete it?" and you have to answer "Yes" or "No".
-
Close the file and look at the vehicle
Click "Cancel" to close the file and then click the vehicle in the left list. At the bottom right the "Sensors" box opens and the new sensor is already there with its current value.
CarefulThe box does not refresh by itself while the file is open: you have to close it and click the vehicle again to see it.
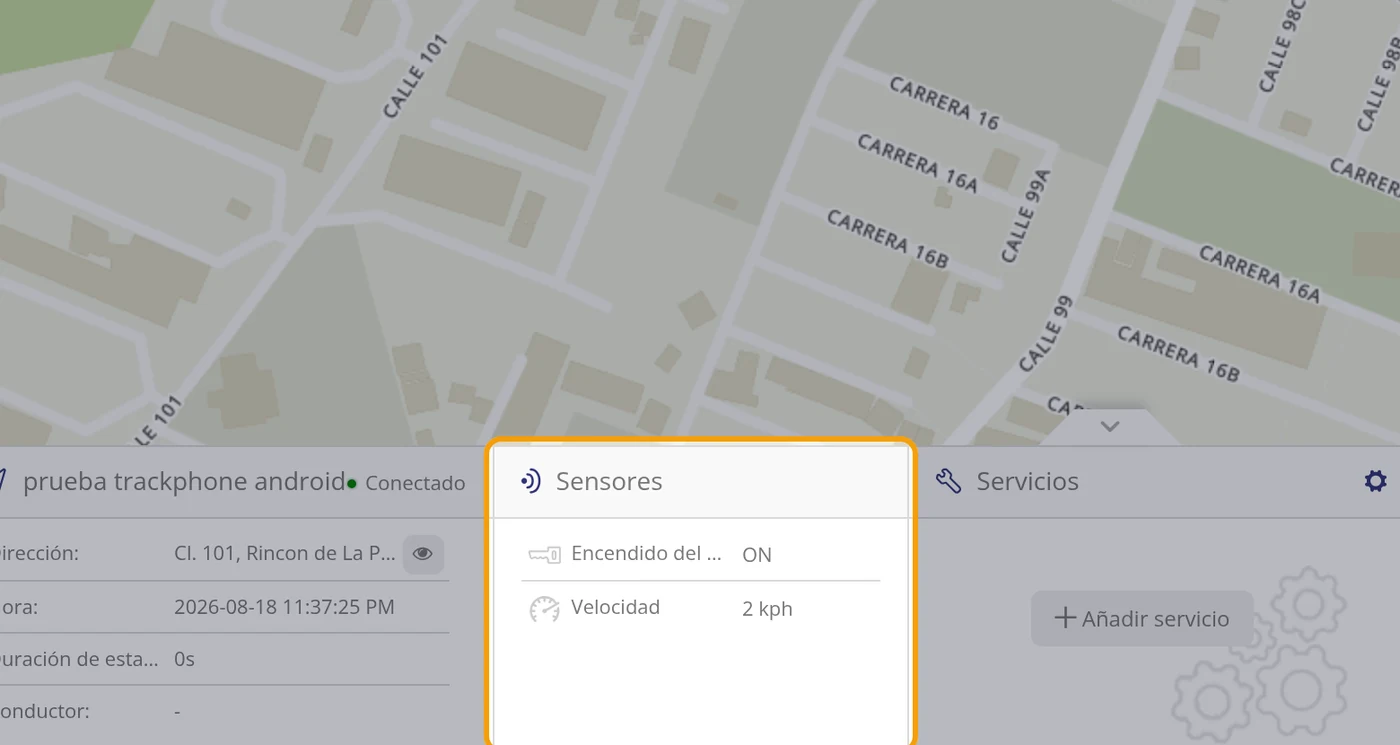
-
See the sensor close up
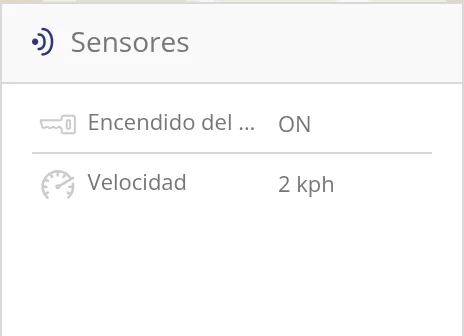
In the "Sensors" box you read: Engine ignit... ON, and below Speed 2 kph. The speed sensor came already set by the platform; the ignition one is the one you have just created.
CarefulThe value is shown as ON and OFF, in English, even if the panel is in Spanish.
-
Watch the units if the sensor is numeric
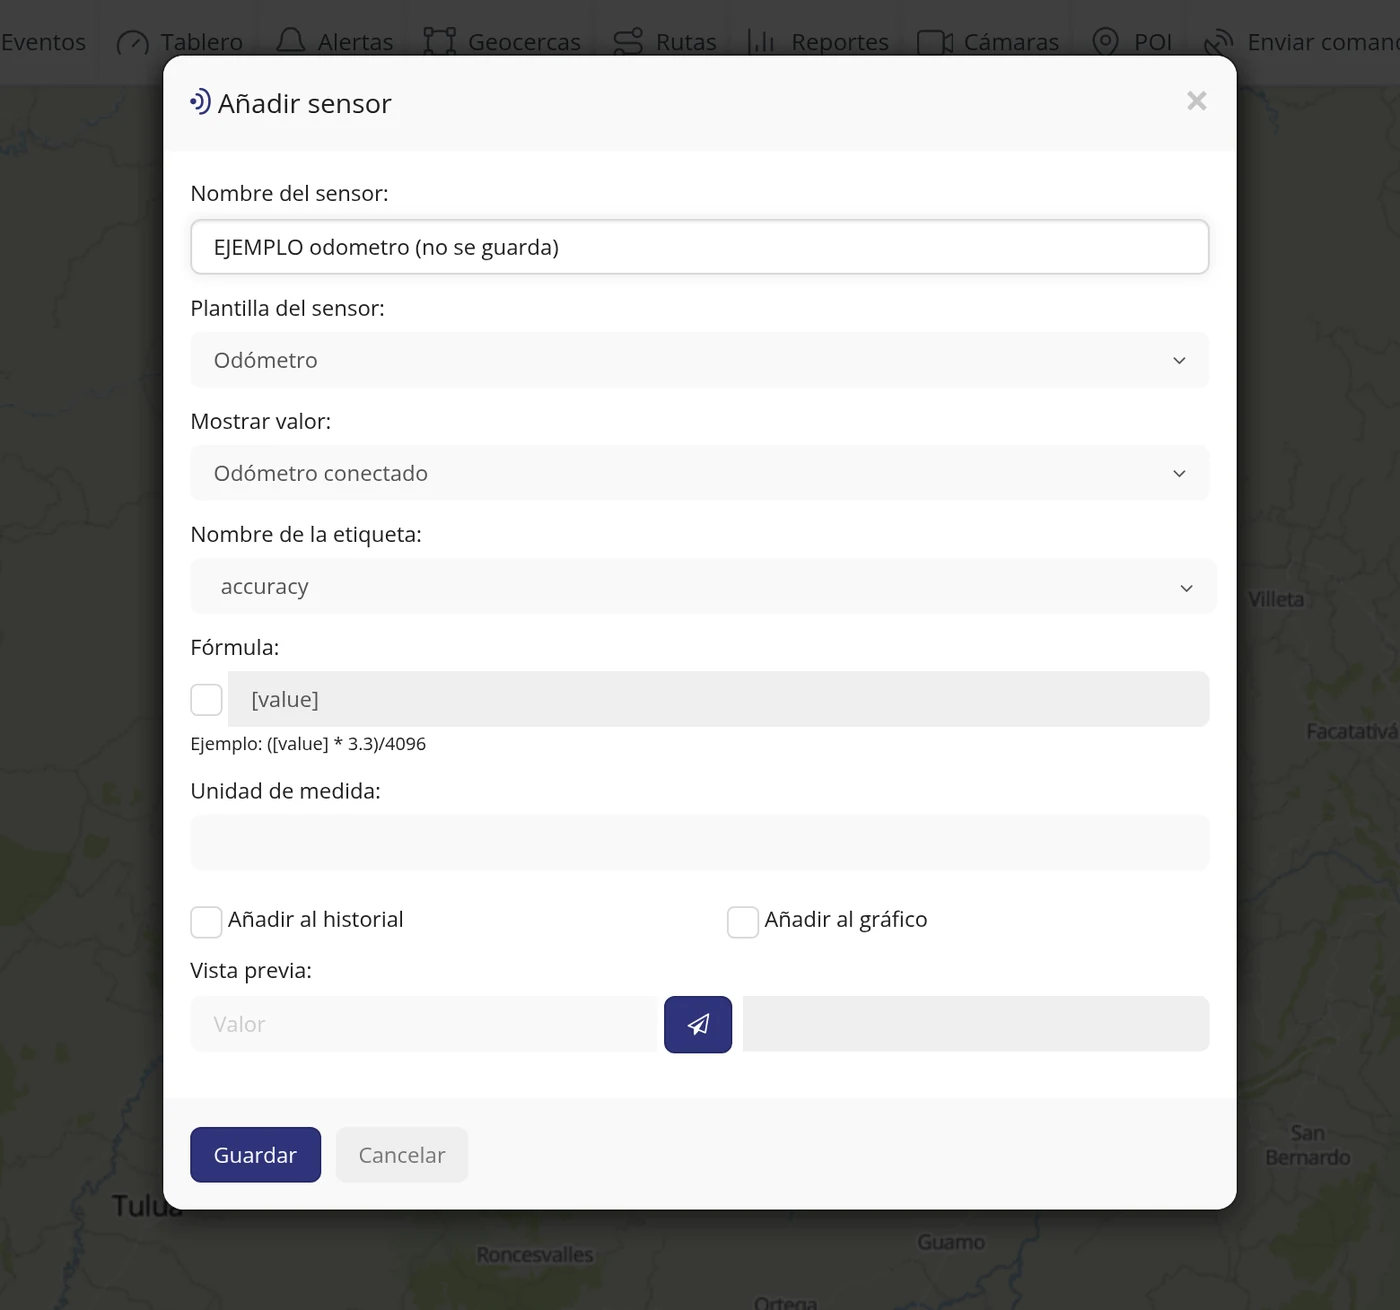
This is not needed for the ignition sensor, but it is worth seeing before creating one for kilometres, litres or degrees. If in "Sensor template:" you choose "Odometer", the window changes and instead of "ON value:" and "OFF value:" you get "Formula:" and "Unit of measure:". To be able to type in "Formula:" you first have to tick the box on its left.
Careful"Unit of measure:" is ONLY a label: typing km converts nothing.
-
The units trap, measured on screen
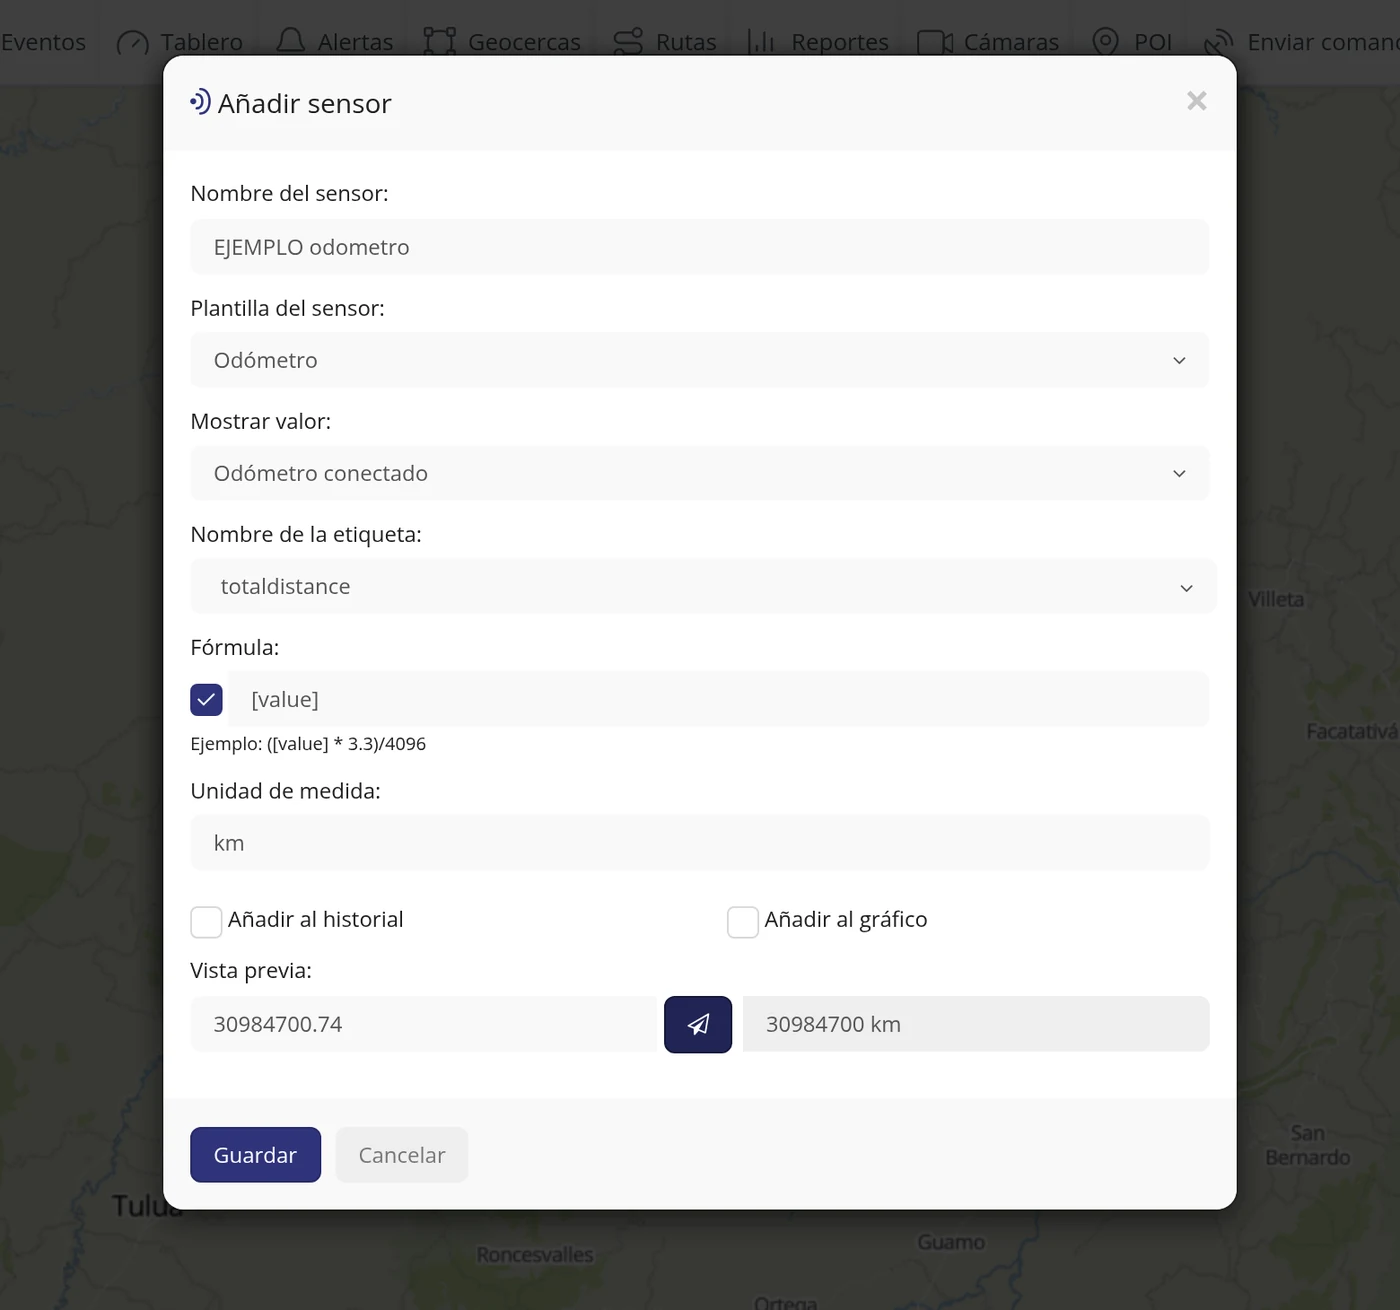
This device sends the total distance in the "totaldistance" tag and sends it in METRES: 30984700.74. With the unit of measure set to km and the formula as it comes, [value], the "Preview:" returns 30984700 km, an absurd number: it is like saying the vehicle has gone round the world 774 times. Typing the formula [value]/1000, the same preview returns 30984 km, which is the real figure.
CarefulThe unit label does not convert: if the device sends metres and you set km with no formula, the screen will show a preposterous number and nobody will notice it is wrong. Always check it with the "Preview:" before saving.
What each field asks for
| As it appears on screen | What it is | |
|---|---|---|
| The «Sensor name:» field | The name you will see on screen. Keep it short, because the vehicle box cuts long names. It is required. | Required |
| The «Sensor template:» field | What kind of thing the sensor measures: ignition, battery, temperature, odometer... Changing it changes the fields shown below. It comes set to "ACC ON/OFF". It is required. | Required |
| The «Show value:» field | It only appears in some templates. In "Odometer" it lets you choose between "Connected odometer" (the number the device sends) and "Virtual odometer" (the one the platform works out from the route). It can be left empty. | Can be left empty |
| The «Tag name:» field | Which of the raw device fields the sensor will read. It can only be chosen from the list, and the list only brings what that device has sent. It is required. | Required |
| The «Bits cut:» field | An installer thing: it is for keeping a small piece of the field when the device packs several things into one number. If you do not know what it is, leave it unticked. It can be left empty. | Can be left empty |
| The «SETFLAG» box | Another installer box, for reading only a few characters of the field. Leave it unticked. It can be left empty. | Can be left empty |
| The «ON value:» field | Only in the on/off templates. The comparison ("Equal to (=)", "Greater than (>)" or "Less than (<)") and the value at which the screen will show ON. It is required. | Required |
| The «OFF value:» field | The same but for off: at which value the screen will show OFF. It is required. | Required |
| The «Formula:» field | Only in the numeric templates. You have to tick the box on the left to be able to type. It is for converting the raw field into the unit you want; [value] is the field the device sends. The screen itself gives the example: ([value] * 3.3)/4096. It can be left empty. | Can be left empty |
| The «Unit of measure:» field | Only in the numeric templates. It is the label stuck behind the number (km, L, °C). IT IS ONLY A LABEL: it converts nothing. It can be left empty. | Can be left empty |
| The «Add to history» box | If you tick it, the value of this sensor is stored and appears in the vehicle history. It comes unticked. It can be left empty. | Can be left empty |
| The «Add to graph» box | If you tick it, the sensor is drawn in the charts. It comes unticked. It can be left empty. | Can be left empty |
| The «Preview:» field | A tester. Type an example value, click the blue button and on the right you will see how it will look on screen. ALWAYS use it before saving. It can be left empty. | Can be left empty |
| The «Sensor group:» field | It is in the Sensors tab, below the table, not inside the window. It is for applying a ready-made set of sensors to the vehicle. It starts as "None". It can be left empty. | Can be left empty |
How to know it worked
The sensor comes out right when all three things happen: 1) in the "Sensors" tab of the vehicle's record a row appears with its name and its template; 2) on closing the record and clicking the vehicle in the list, the "Sensors" box at the bottom right shows the sensor with a value; and 3) in "Preview:" the sample value is turned into what you expected. If the sensor appears in the list but the box shows no value, it is almost always because the tag chosen is not the one the device sends, or because the ON value is written differently from the way the device sends it.
How to set or change a vehicle's odometer (the mileage)
The odometer is the vehicle's distance counter inside the platform. It is used for two things: seeing how far each unit has travelled and, above all, making mileage-based maintenance warn you in time (an oil change every 5,000 km, for example). There are two ways of keeping it, and choosing the right one is what matters: the CONNECTED ODOMETER reads the counter sent by the GPS device itself, and the VIRTUAL ODOMETER is kept by the platform, adding up the distance the vehicle travels starting from the number you type in. Most devices do NOT send the real dashboard odometer, so what you almost always need is the virtual one: you type the mileage the dashboard shows today and the platform keeps adding from there. Where it is: Top bar > Objects > in the list, the vehicle's options button > Edit > Sensors tab
Where it is Top bar > Objects > in the list, the vehicle's options button > Edit > Sensors tab
Before you start
- Look at the vehicle's dashboard and note the kilometres it shows. That is the number you are going to type.
- Know whether your unit sends the odometer or not. If, when you pick «Connected odometer», the «Tag name:» dropdown offers no kilometre data, the unit does not send it.
- The odometer is one more sensor of the vehicle: it is set in the «Sensors» tab of its record, just like the battery or the ignition.
-
Open the vehicle's record
In the top bar click «Objects». In the list on the left, find the vehicle and click the options button on its row (the three dots or the gear, to the right of the name). A menu opens with «Show history», «Follow», «Send command», «Edit», «Share», «Alerts» and «Cameras». Click «Edit».
-
Go into the «Sensors» tab
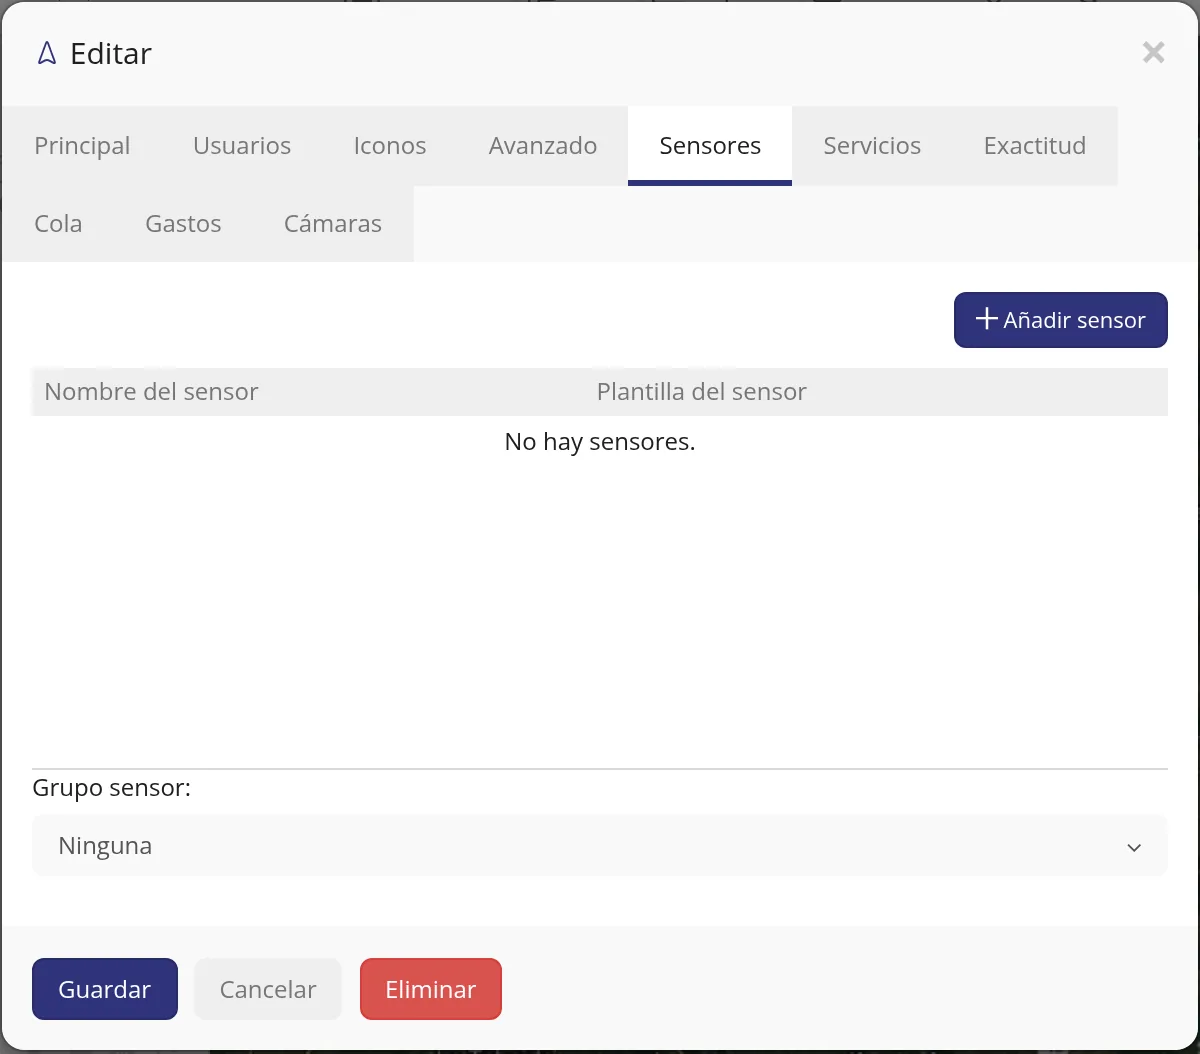
The vehicle's record opens, titled «Edit», with the tabs: Main, Users, Icons, Advanced, Sensors, Services, Accuracy, Queue, Expenses and Cameras. Click «Sensors». You will see the table with the columns «Sensor name» and «Sensor template». If the vehicle has none, it says «There are no sensors».
-
If the odometer already exists, click the pencil; if not, «Add sensor»
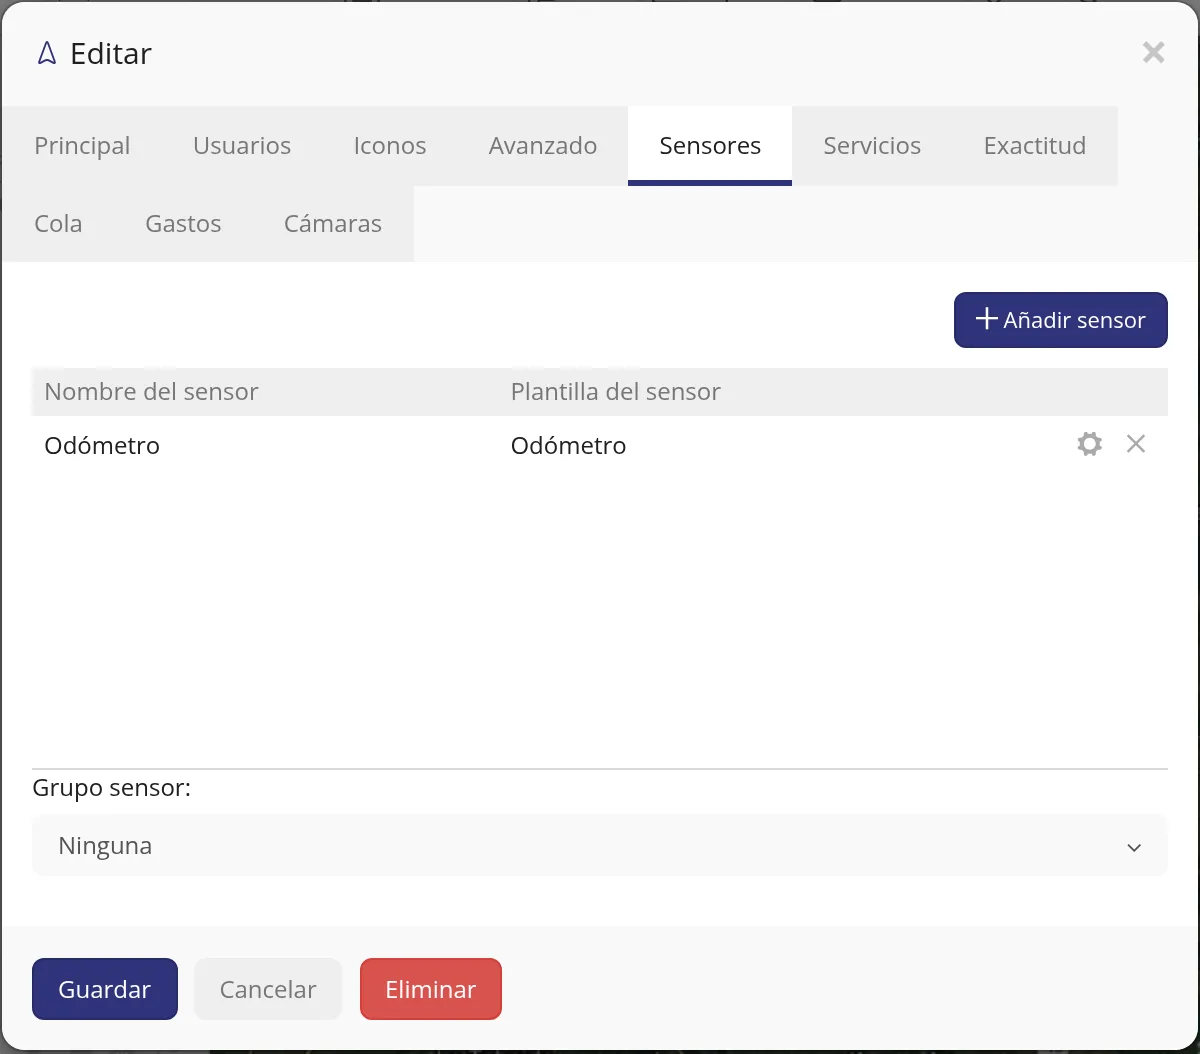
When the odometer is already set, its row has two icons on the right: the pencil, to change it, and the bin, to delete it. Click the pencil and carry on at step 6. If the vehicle has no odometer yet, click the «Add sensor» button above the table.
-
Give it a name
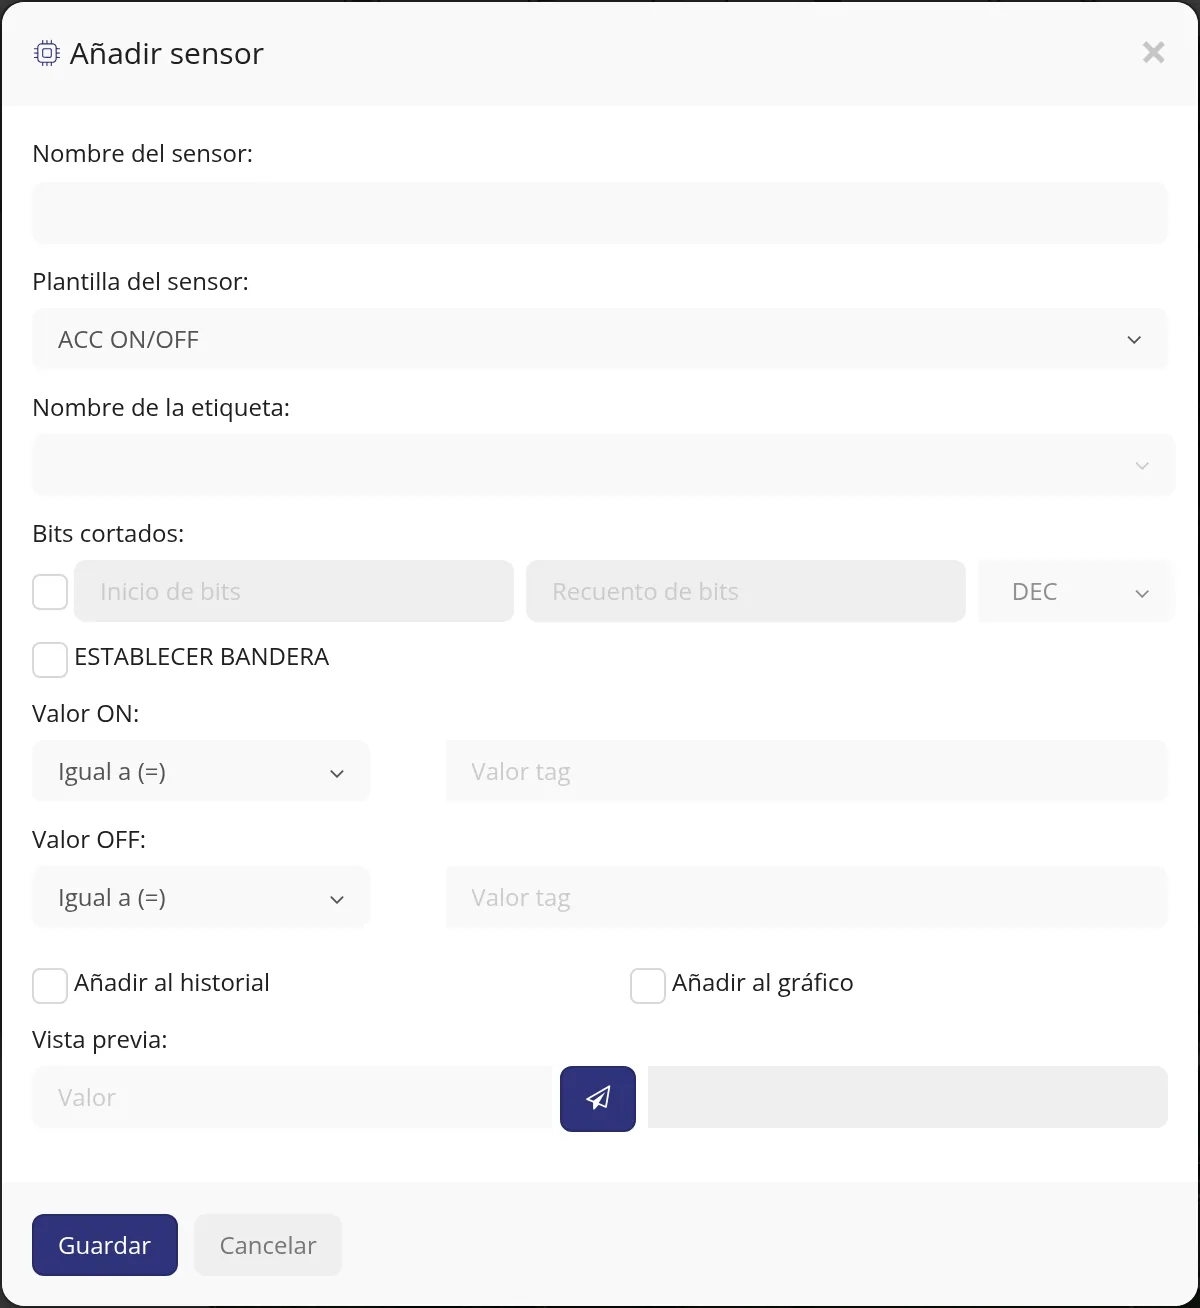
The «Add sensor» window opens. In «Sensor name:» type «Odometer». That is the name you will see later in the vehicle's panel, so keep it short.
-
In «Sensor template:» choose «Odometer»
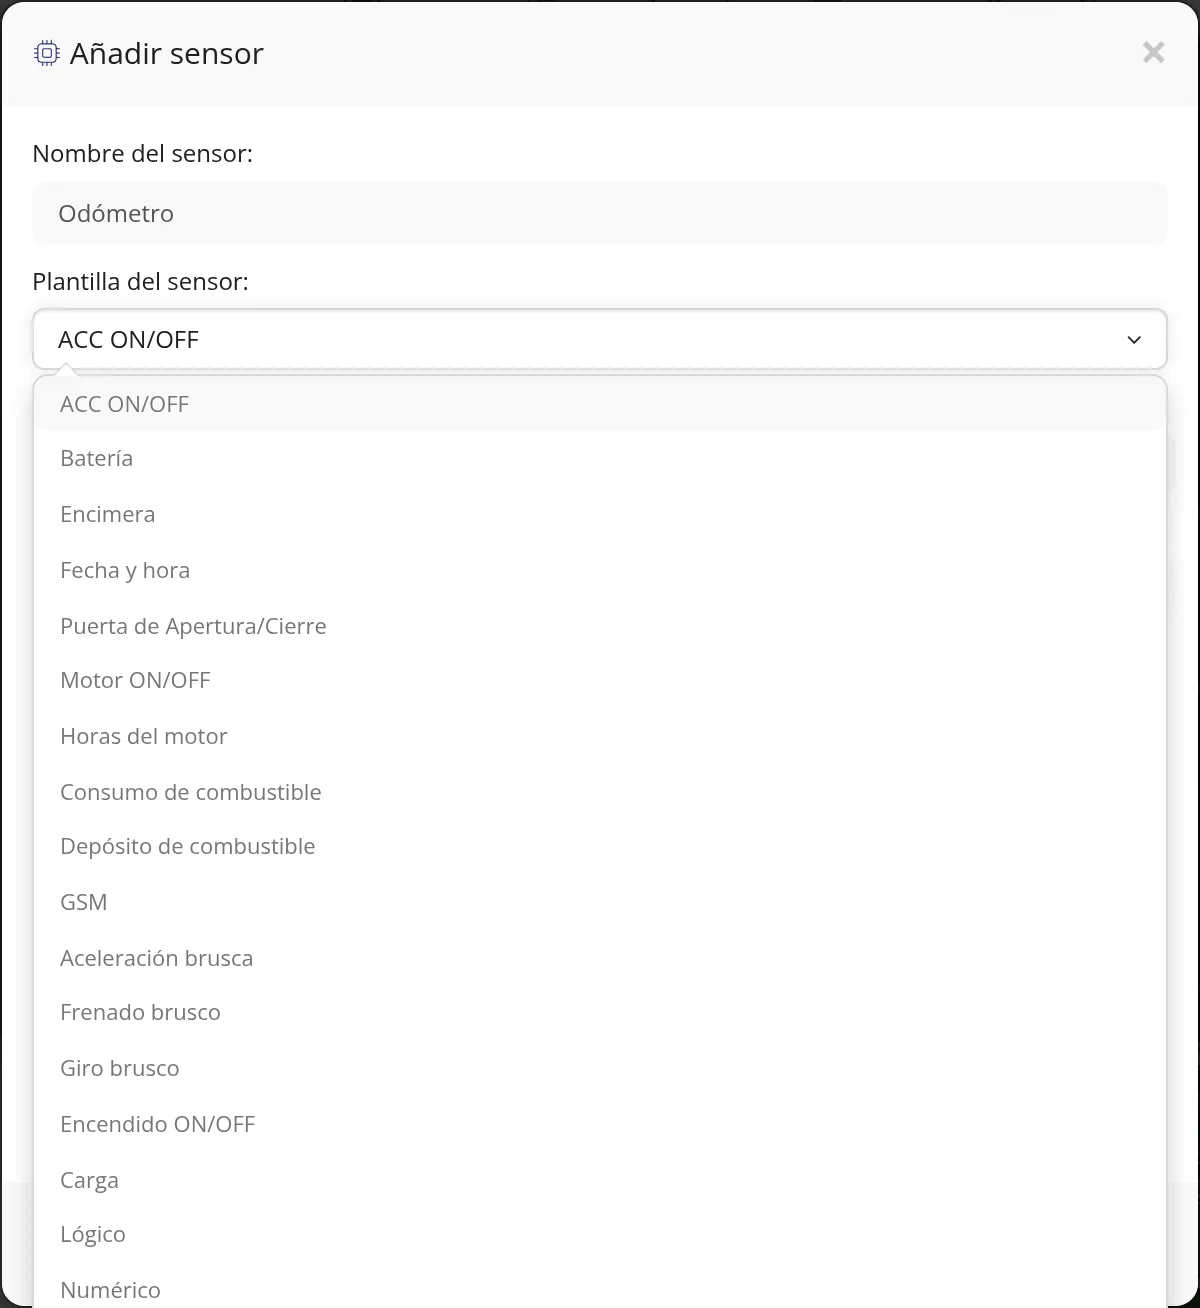
Click the «Sensor template:» dropdown. The list opens with every kind of sensor: ACC ON/OFF, Battery, Date and time, Door Open/Close, Engine ON/OFF, Engine hours, Fuel consumption, Fuel tank, GSM, Harsh acceleration, Harsh braking, Harsh cornering, Ignition ON/OFF, Load, Logic, Numeric, Odometer, RFID, Satellites, Temperature, Text and the rest. Click «Odometer».
-
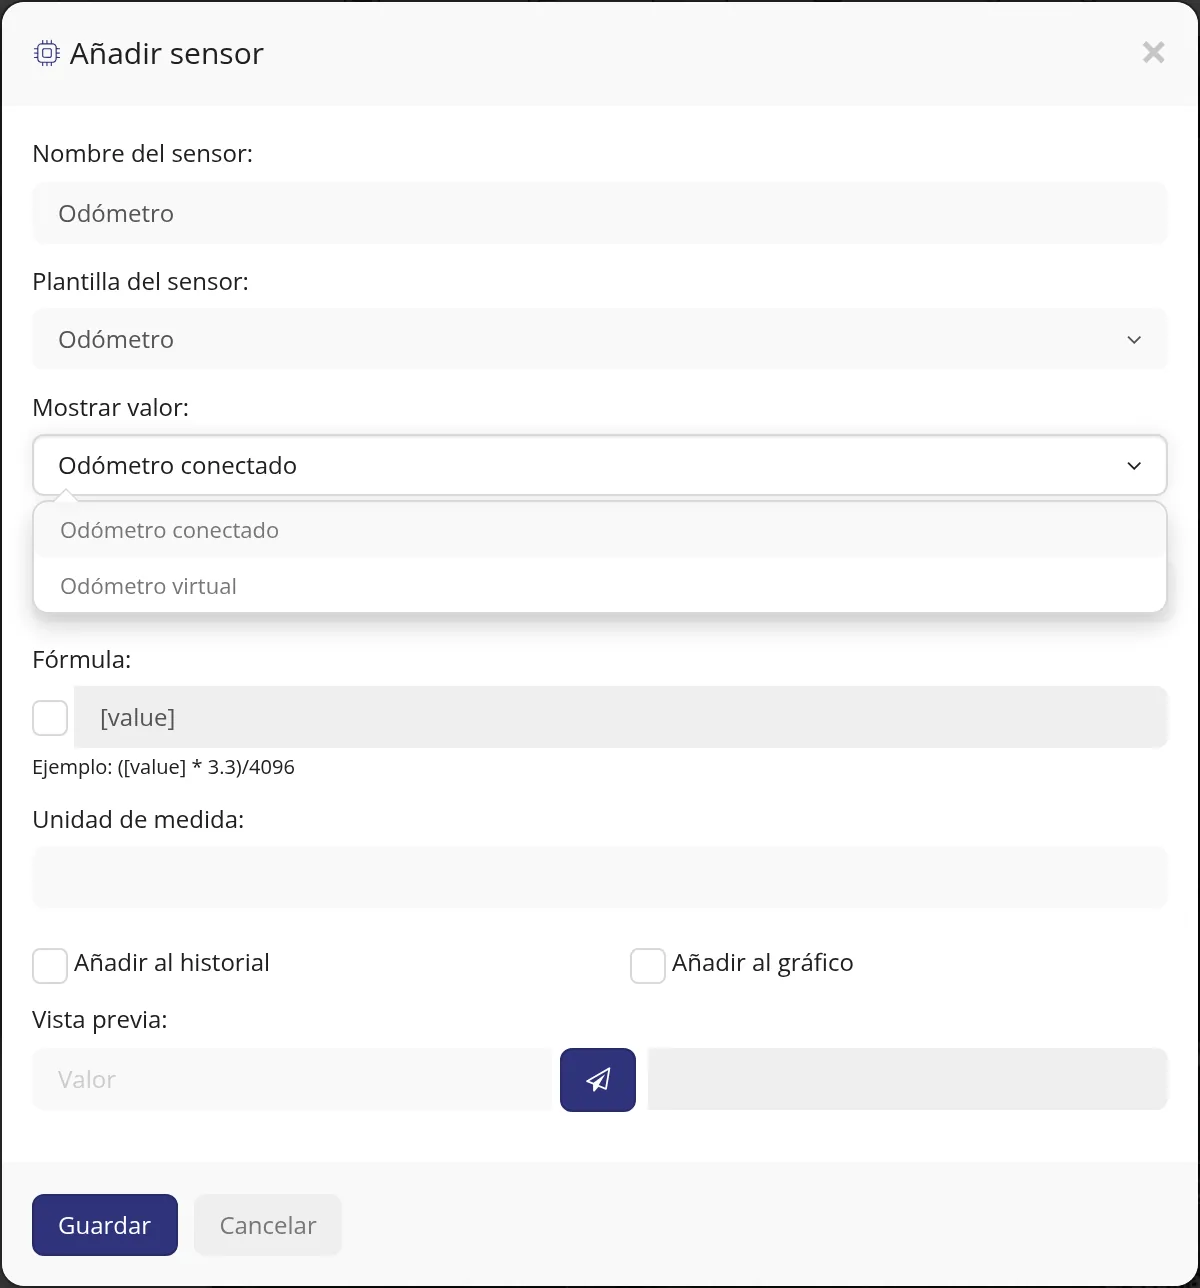
In «Show value:» choose between connected and virtual
The «Show value:» dropdown appears with two options and only two: «Connected odometer» and «Virtual odometer». Connected means the platform reads the counter sent by the GPS device, and then you have to tell it which piece of data to take it from in «Tag name:». Virtual means the platform keeps it: you set the starting number and it adds up the kilometres the vehicle travels.
CarefulMost devices do not send the dashboard odometer. If you are not sure, choose «Virtual odometer»: it always works, because it does not depend on what the device sends.
-
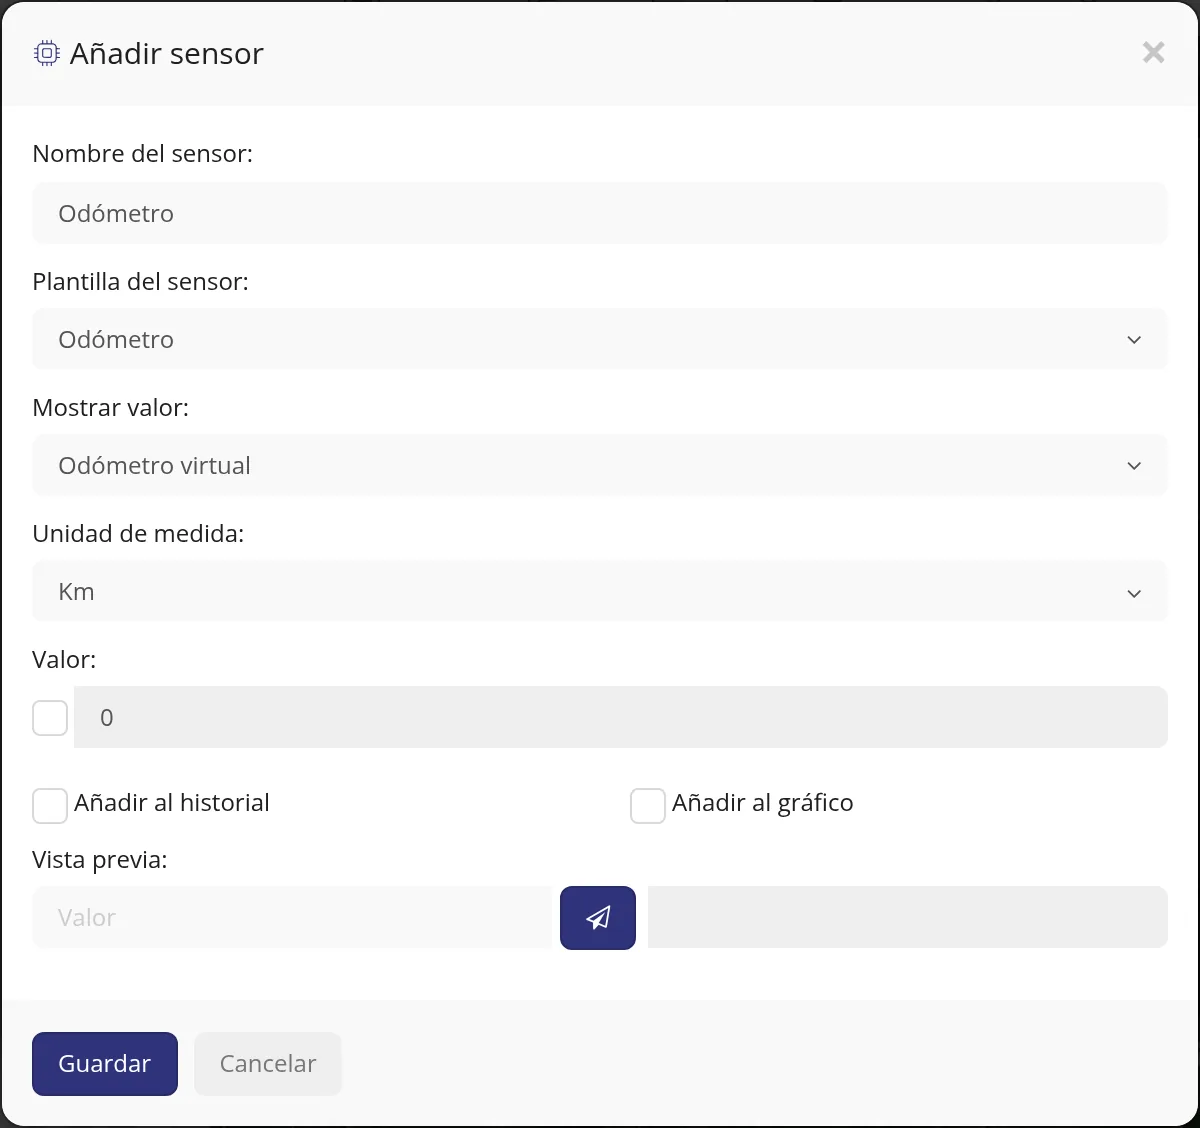
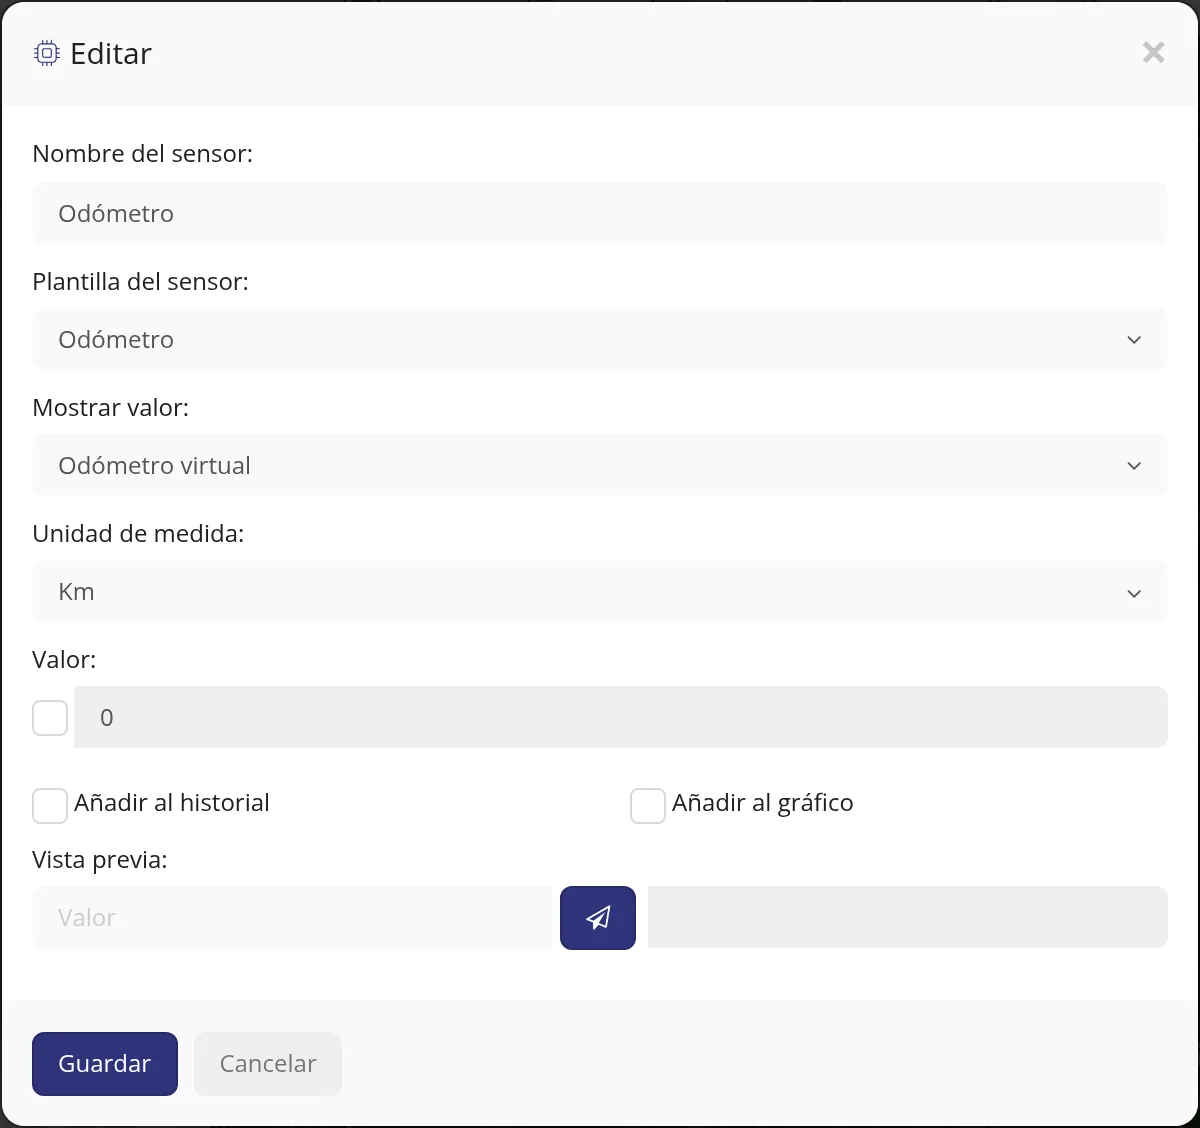
With «Virtual odometer» the unit and the value appear
When you choose «Virtual odometer» the form changes: «Tag name:» disappears and «Unit of measurement:» shows up, with «Km» or «Mi» (kilometres or miles), together with the «Value:» field, which is where the starting mileage goes.
-
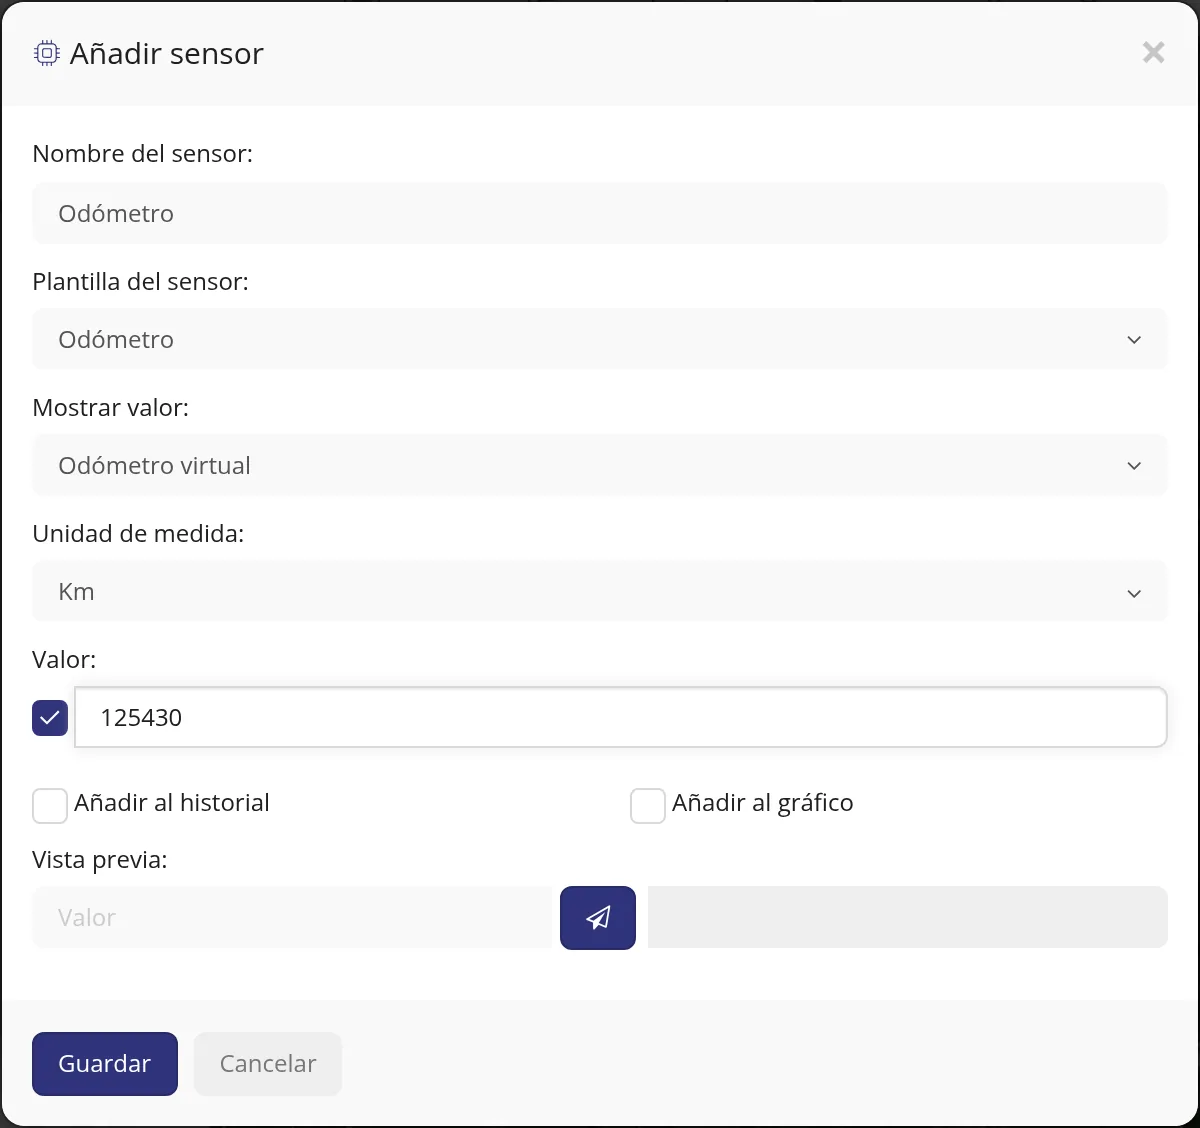
TICK the little box to the left of «Value:»
This is the step people get stuck on. The «Value:» field comes out LOCKED: even if you click inside it, it will not let you type. To its left, right next to the field, there is a small box. Click it: it turns blue with a tick and at that moment the field unlocks. It is made that way on purpose, so that saving any other change to the sensor does not wipe the mileage by accident.
CarefulIf you do not tick that box, the number you type is NOT saved: the platform keeps the one it already had.
-
Type the mileage from the dashboard
With the box ticked, delete the 0 and type the mileage the vehicle's dashboard shows, just the number, with no dots or commas. In the check 125430 was typed, which is 125,430 km.
-
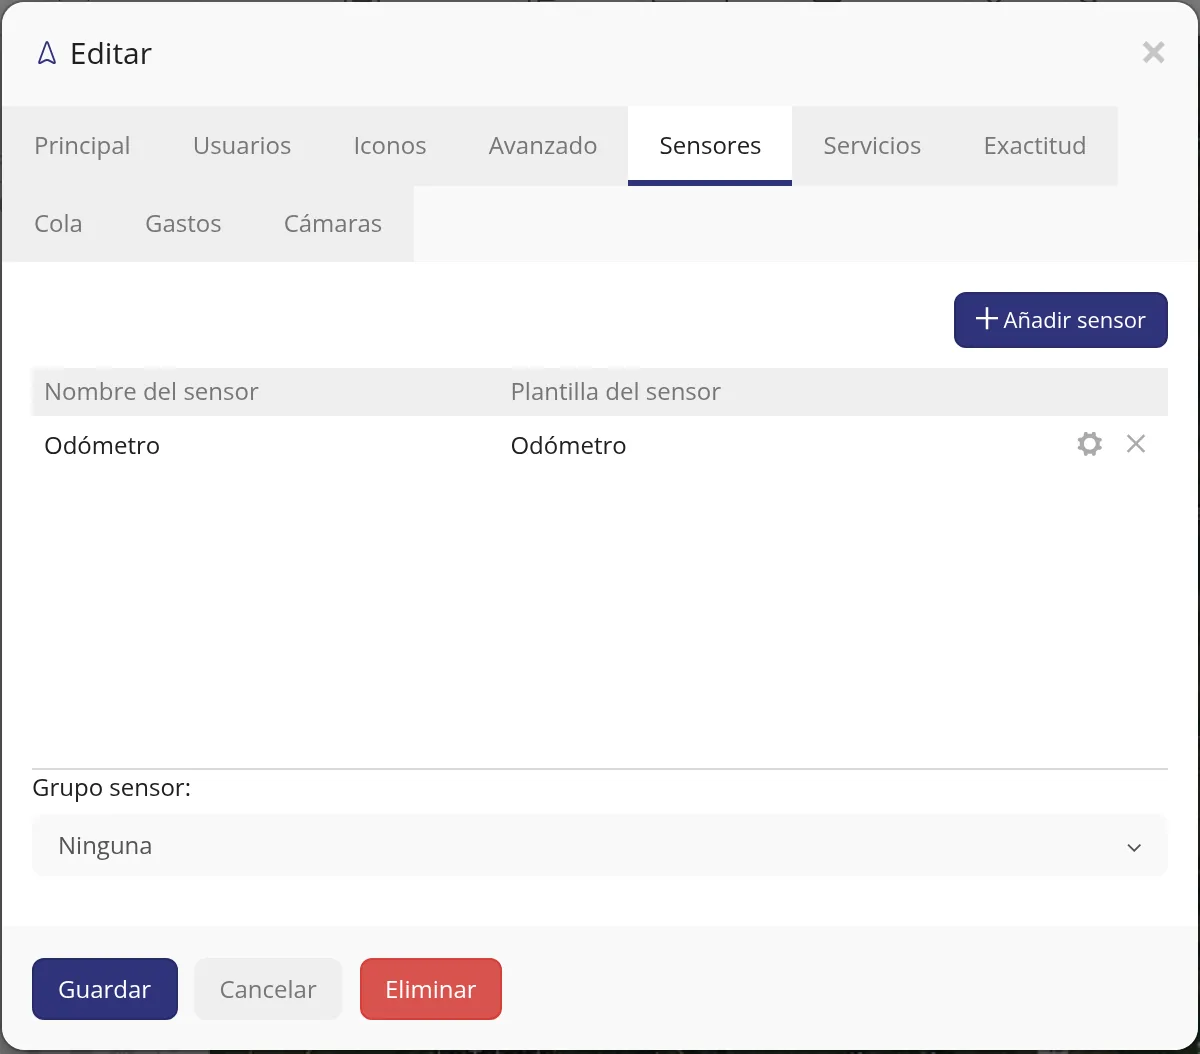
Click «Save»
At the bottom left of the window are «Save» and «Cancel». Click «Save». The sensor window closes by itself and the «Sensors» tab comes back into view.
-
Check that it stuck
In the table of the «Sensors» tab a row has to appear with the name «Odometer» and the template «Odometer». Close the record and click the vehicle in the list: in the panel below, under «Sensors», «Odometer» shows up with the mileage you typed. From that moment on the platform adds whatever the vehicle travels.
-
To change it later on
It is done the same way, but clicking the pencil on the odometer's row instead of «Add sensor». The «Edit» window opens with what was already set, and the «Value:» field comes out locked again: you have to tick the box to its left once more to be able to correct the number.
What each field asks for
| As it appears on screen | What it is | |
|---|---|---|
| The «Sensor name:» field | The name you will see on screen. Type «Odometer». It is required. | Required |
| The «Sensor template:» field | The kind of data. For mileage, «Odometer». It is required. | Required |
| The «Show value:» field | «Connected odometer» reads the counter from the GPS device; «Virtual odometer» is kept by the platform from the number you type. There are only these two options. It is required. | Required |
| The «Tag name:» field | It only appears with «Connected odometer». It is the name of the piece of data the mileage is read from. You pick it from the list, which offers only the data THAT device has actually sent. It can be left empty. | Can be left empty |
| The «Unit of measurement:» field | It only appears with «Virtual odometer». «Km» for kilometres or «Mi» for miles. It can be left empty. | Can be left empty |
| The «Value:» field | It only appears with «Virtual odometer». The starting mileage. It stays locked until you tick the box to its left. It can be left empty. | Can be left empty |
| The «Add to history» field | If you tick it, the odometer comes out as one more column in the vehicle's history report. It can be left empty. | Can be left empty |
| The «Add to chart» field | If you tick it, the odometer can be drawn on the history chart. It can be left empty. | Can be left empty |
How to know it worked
The odometer came out right when all three things happen: 1) in the vehicle's «Sensors» tab there is an «Odometer / Odometer» row; 2) on clicking the vehicle in the list, the «Sensors» box below shows «Odometer» with the number you typed; and 3) if you open the sensor again with the pencil, the «Value:» field brings that same number. Checked on 24 Aug 2026 in the panel: 125430 was typed and it was saved as 125430 km.
How to create a maintenance reminder (oil change, tyres or service)
It is for the platform to warn you when a vehicle is due for an oil change, tyres or a service, without you having to keep track in a notebook. You say how often it is due and the software warns you before it comes up. Where it is: Top bar > three-dots button (…) > tick the Maintenance box. And to create it: click the vehicle in the left list > bottom right, Services box > Add service
Where it is Top bar > three-dots button (…) > tick the Maintenance box. And to create one: click the vehicle in the left-hand list > below > Create maintenance
Before you start
- Be clear how often that maintenance is done on that vehicle: every so many kilometres, every so many engine hours or every so many days.
- Have the last maintenance figure to hand: the kilometres the vehicle showed that day, or the date it was done.
- If you are going to warn by kilometres or by engine hours, the vehicle's unit has to be sending that data. If it does not send it, the warning will not work.
-
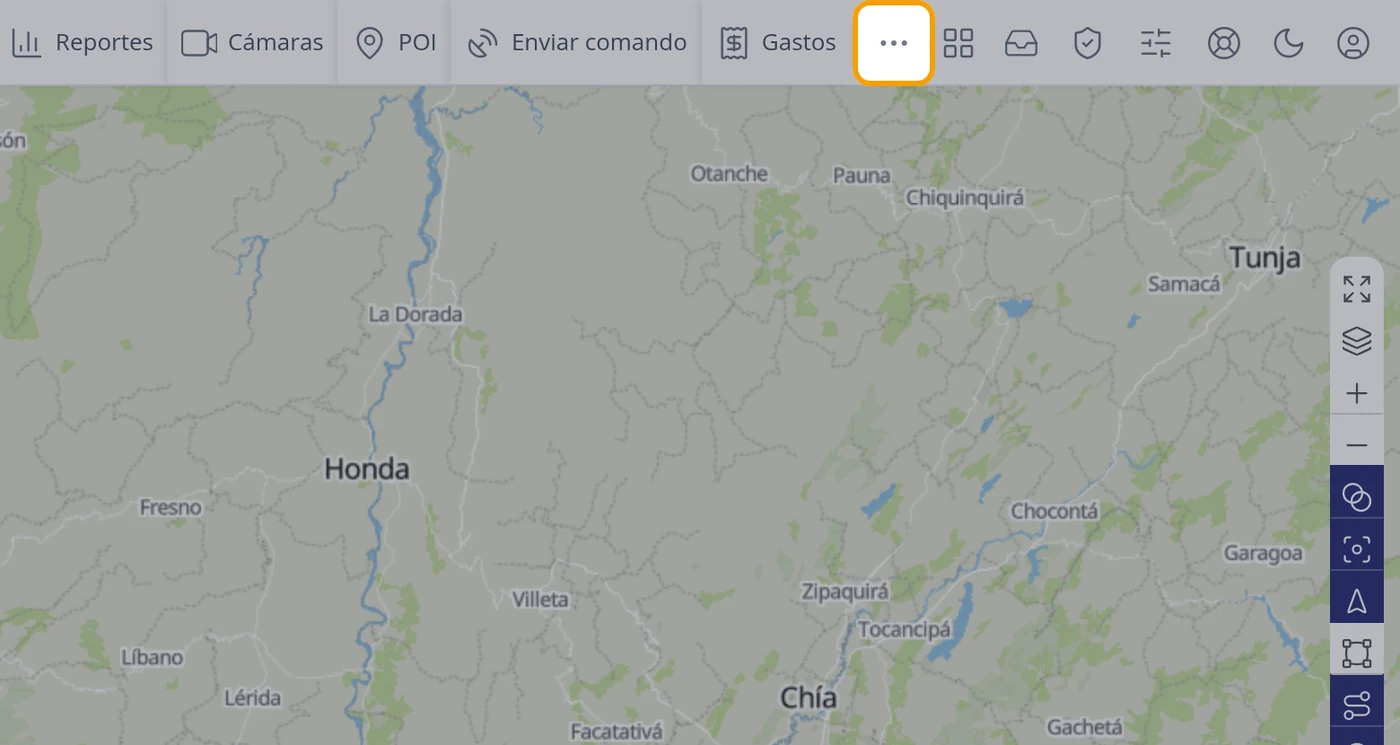
Click the three dots button of the top bar
The Maintenance button does not come in the bar: it is hidden. In the top bar, after where it says Expenses, there is a button with three dots in a row (…). Click it.
CarefulThis is where everybody gets lost: they look for Maintenance in the bar, it does not appear, and they think the platform does not have it. It does have it, it is just tucked behind the three dots.
-
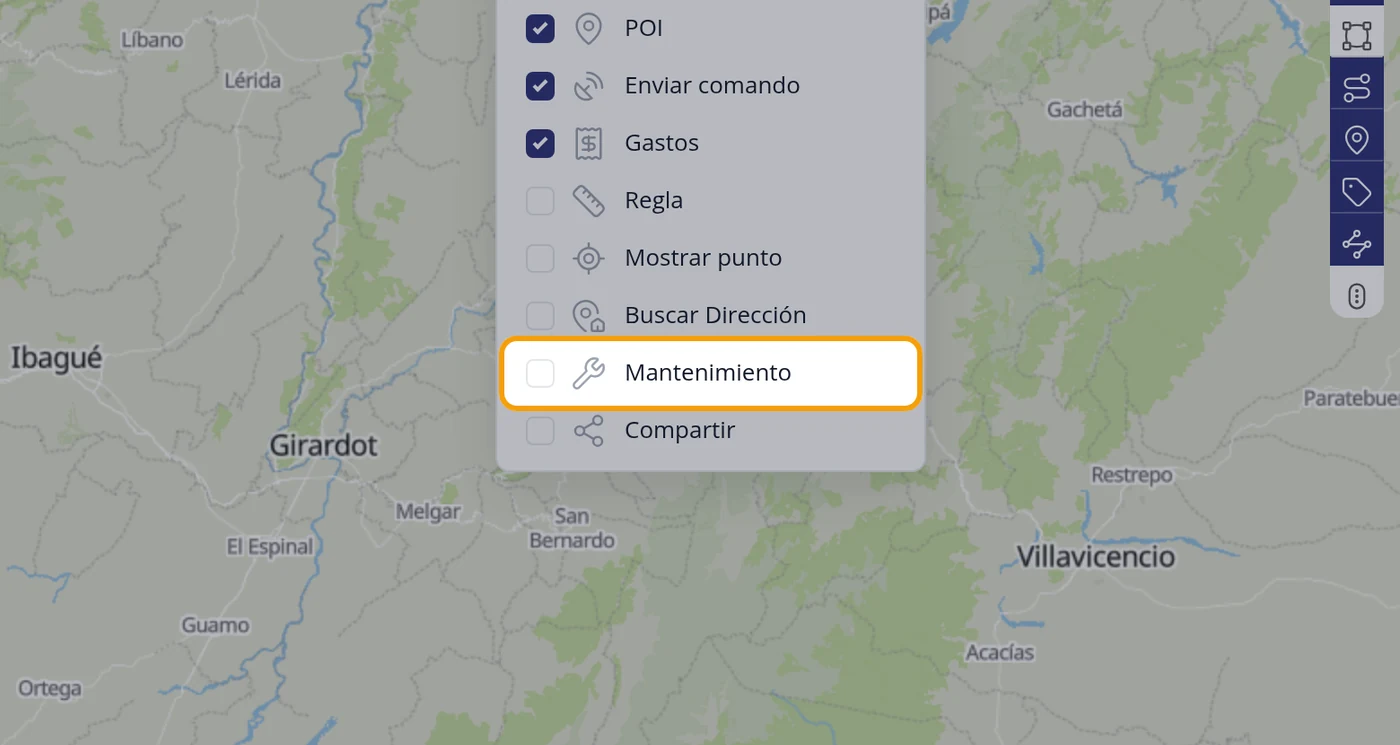
Tick the Maintenance box
A list opens with all the tools and, in front of each one, a little square. The ticked ones are the ones shown in the bar. Scroll to where it says Maintenance and click its square to tick it.
CarefulClick the SQUARE, not the name. If you click the name, the list closes and the tool opens, but the button still does not stay in the bar.
-
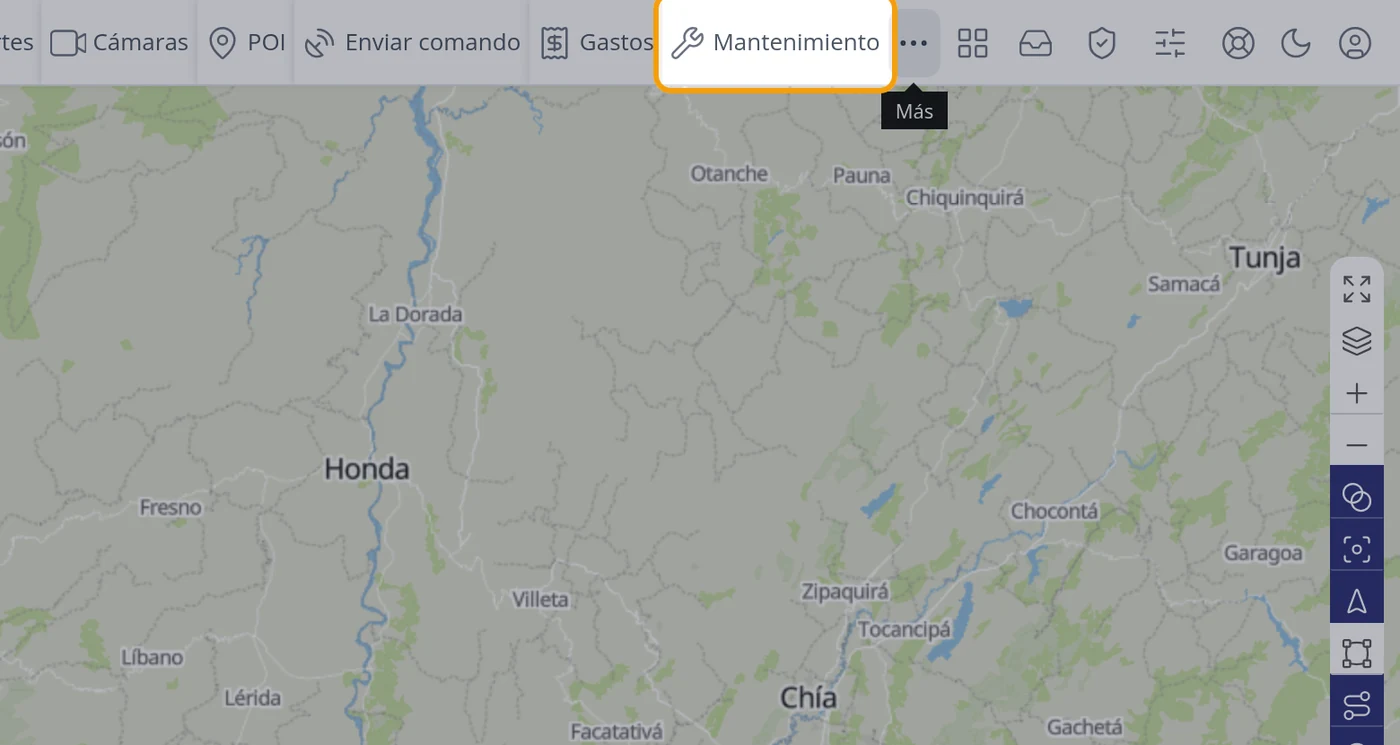
Check that the button is now in the bar
Close the list by clicking the three dots again. In the top bar, after Expenses, Maintenance now appears with a spanner picture.
CarefulThat choice is stored on that computer and in that browser. If you sign in from another computer, or clear the browser data, you will have to tick the box again.
-
See what the Maintenance button opens
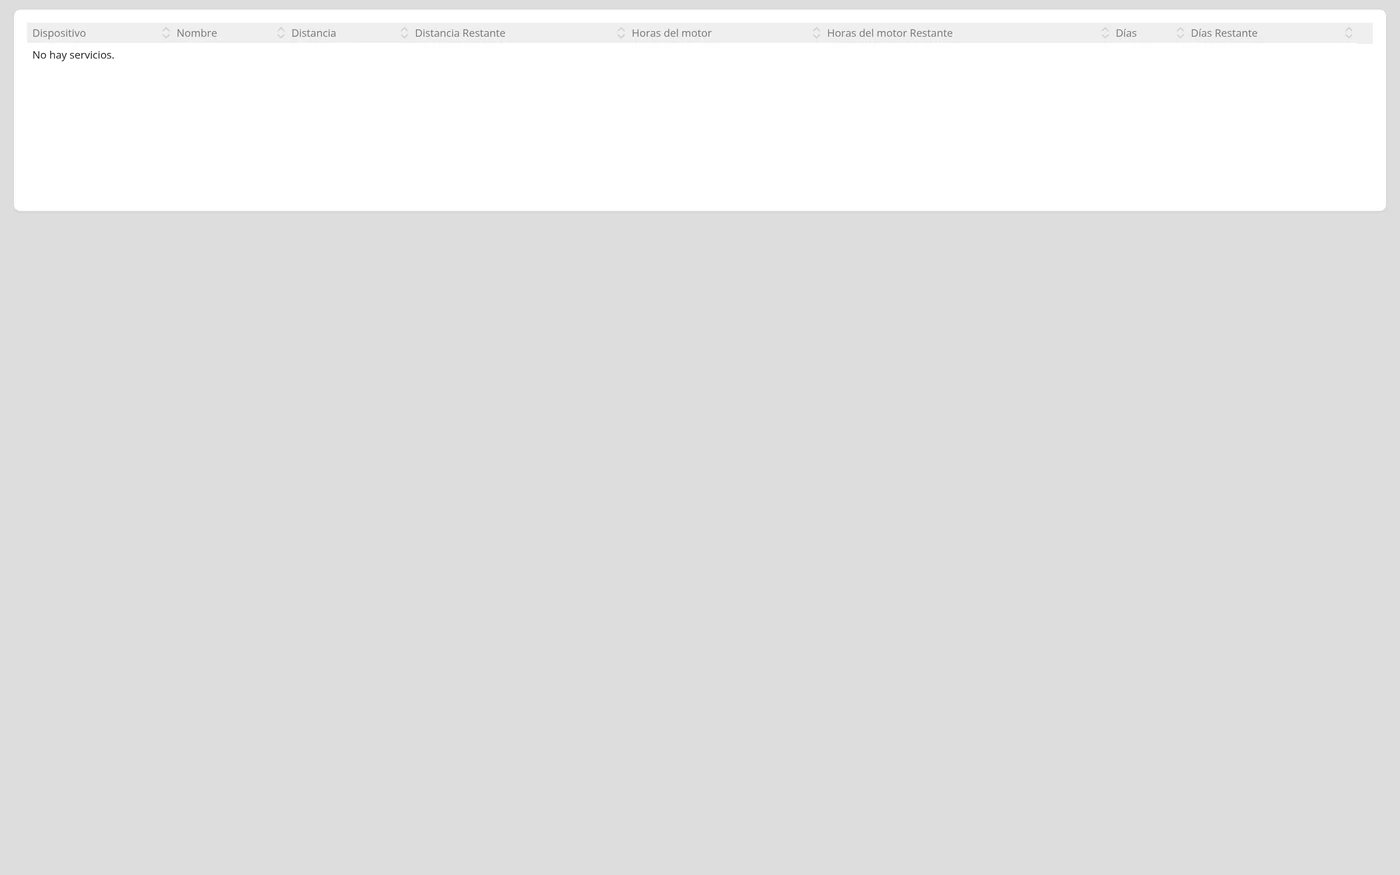
Clicking Maintenance opens a NEW browser tab with a table of all the maintenance of all your vehicles, with the columns Device, Name, Distance, Distance remaining, Engine hours, Engine hours remaining, Days and Days remaining. Until you have created one it says: There are no services.
CarefulThis screen ONLY shows the list: there is no button here to create. Maintenance is created from the vehicle file, which is what is done from the next step on.
-
Go back to the map and click the vehicle
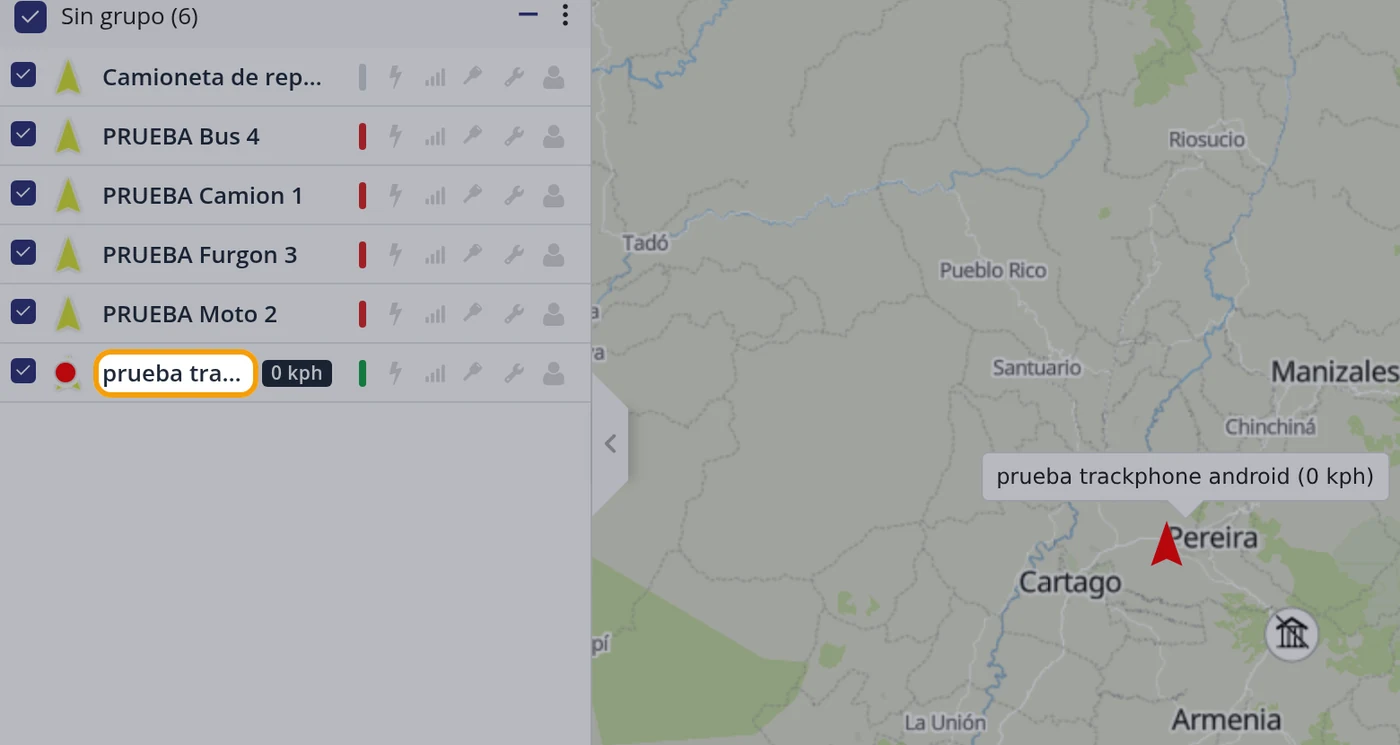
Go back to the map tab. In the left list click the name of the vehicle you want the reminder for. At the bottom of the screen its file opens, with three boxes: the vehicle data, Sensors and Services.
-
Click Add service in the Services box
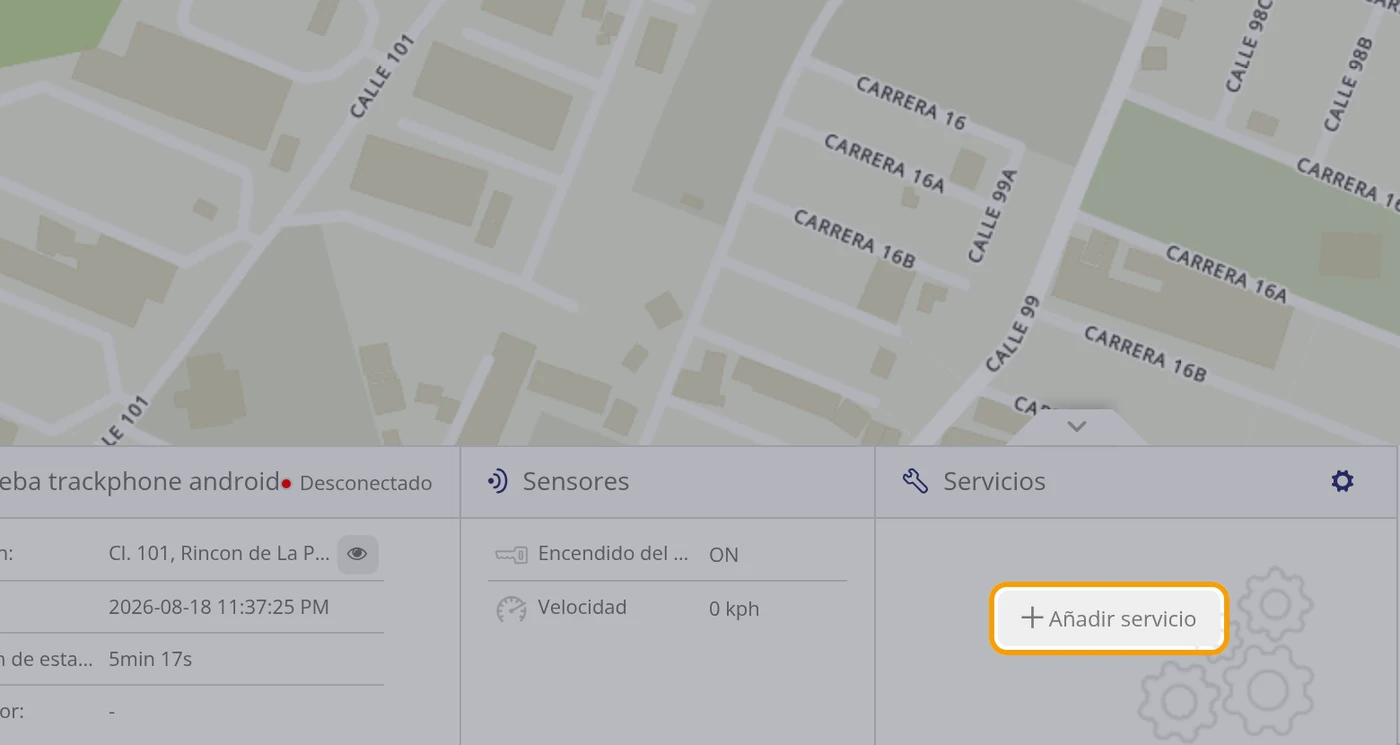
The Services box is the one on the right of that bottom file. As you do not have any yet, in the middle there is a button saying Add service. Click it.
CarefulIn the platform, maintenance is called services. It is the same thing.
-
Click the blue Add service button
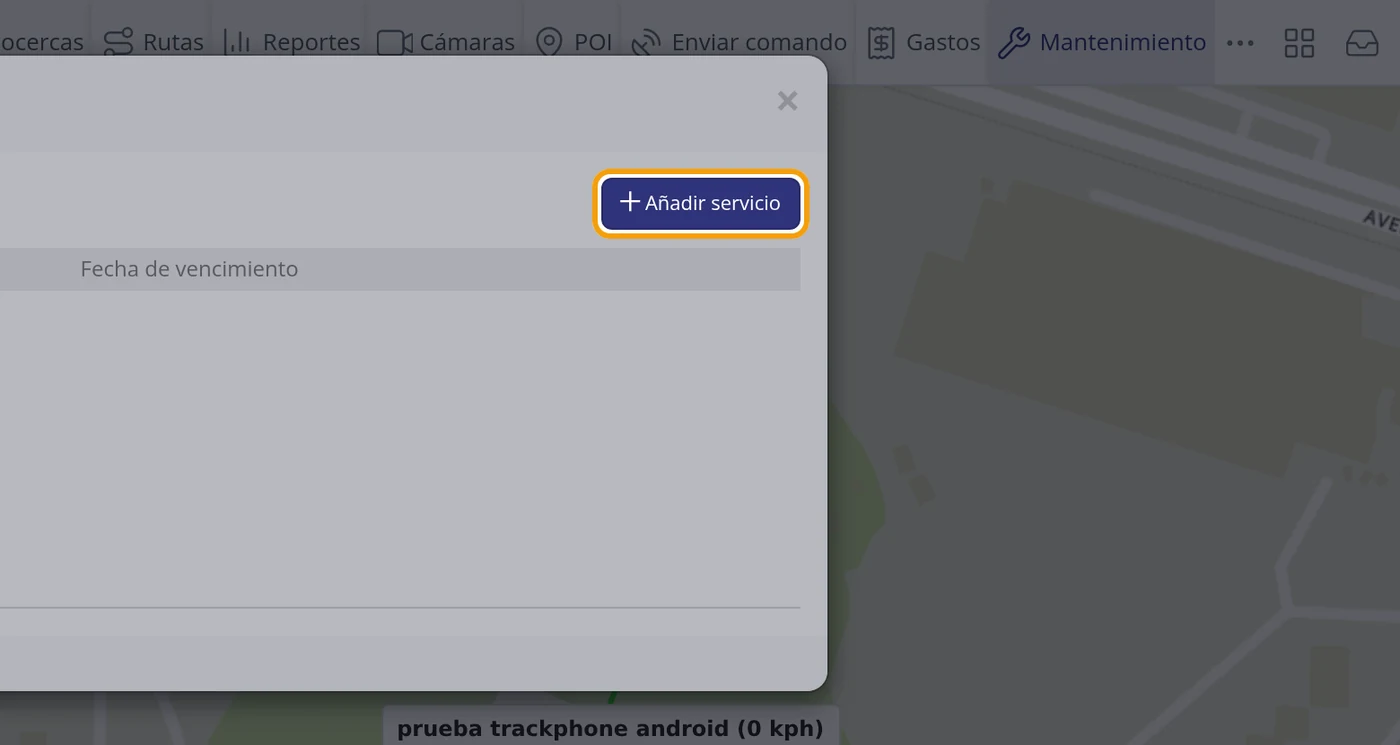
A window called Services opens, with the list of the ones that vehicle already has. At the top right there is a blue button with a + sign saying Add service. Click it.
-
The form appears
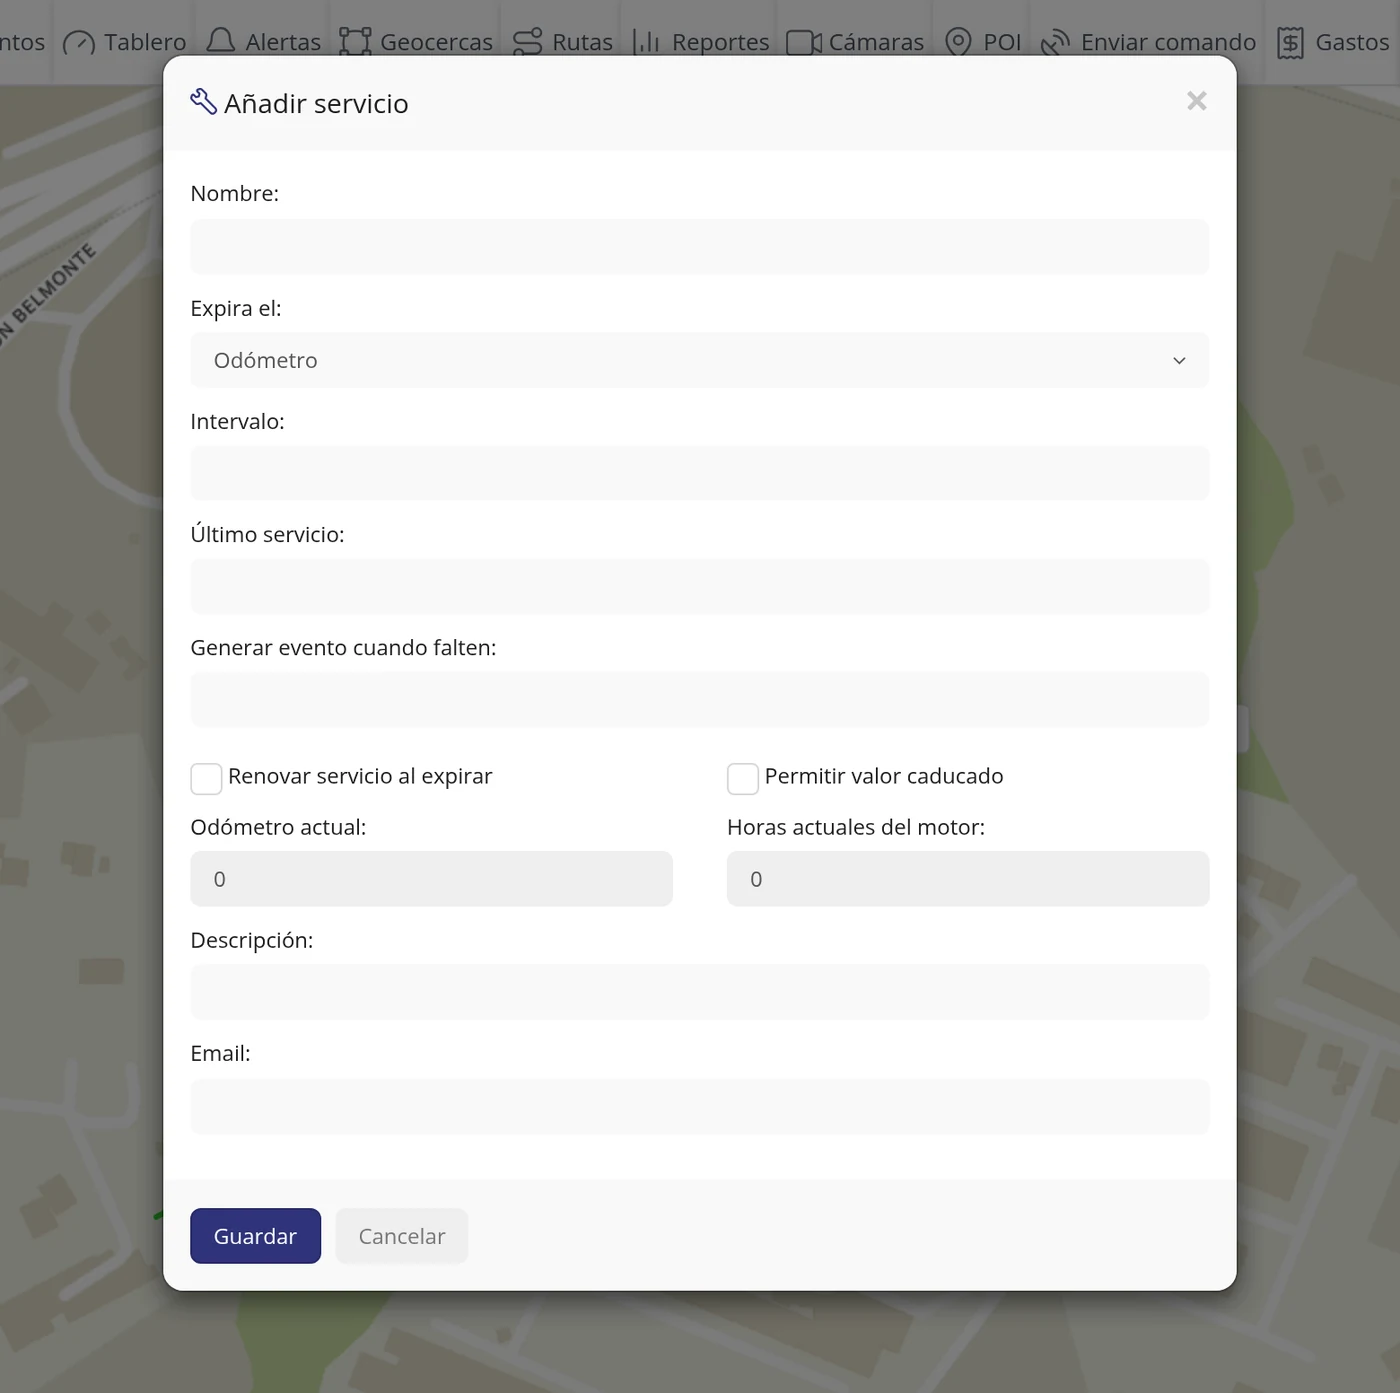
The window changes and is called Add service. It has the fields Name, Expires on, Interval, Last service, Generate event when remaining, two tick boxes, Current odometer, Current engine hours, Description and Email.
-
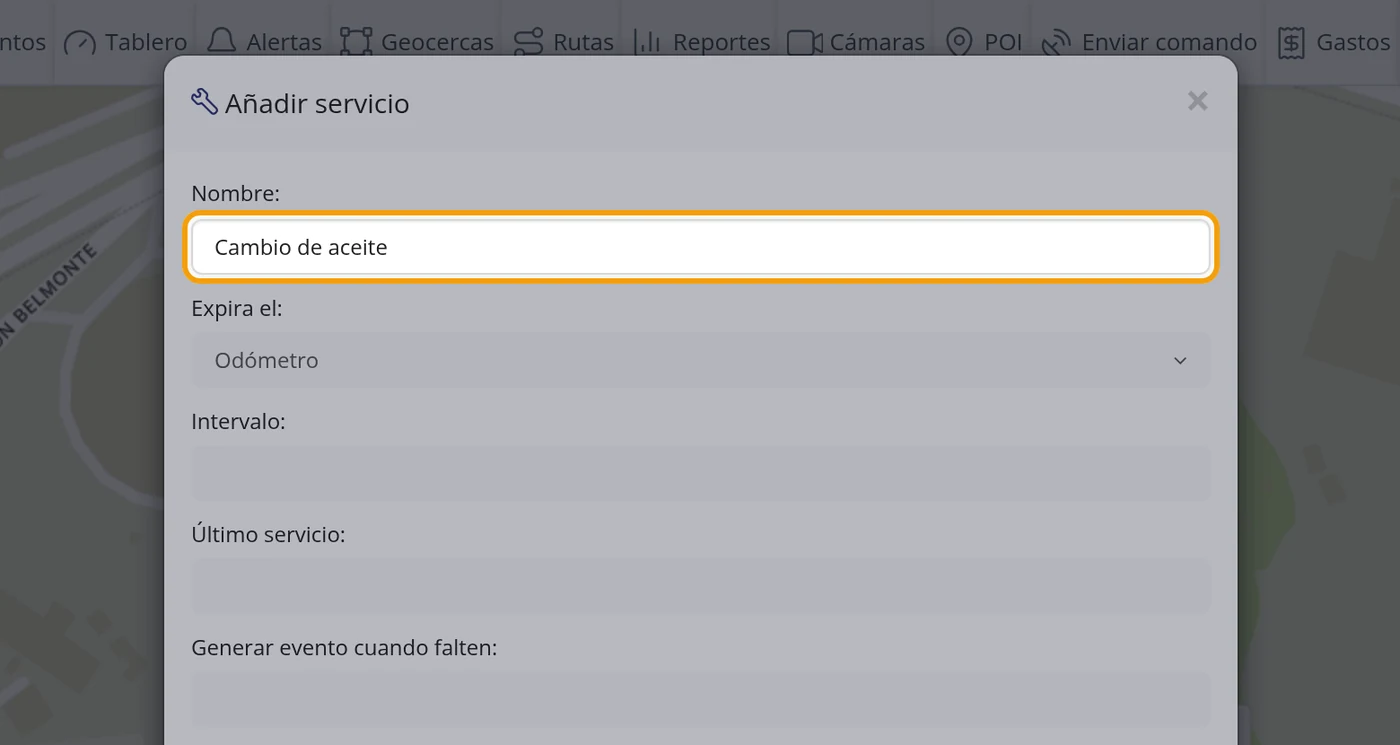
Type the name of the maintenance
In Name type what it is about, the way you call it: Oil change, Tyre change, Service. That is the name you will later see in the list and in the reminder.
-
Choose in Expires on how it will be counted
The Expires on dropdown has three options: Odometer, Engine hours and Days. Odometer is counting by kilometres covered, Engine hours is counting by hours the engine was running, and Days is counting by date. For an oil change the usual one is Odometer, which is the one already set.
CarefulLook first at the Current odometer field, further down in the same form. If it says 0, that vehicle is NOT sending kilometres and the Odometer reminder will never fire. The same with Current engine hours. In that case choose Days.
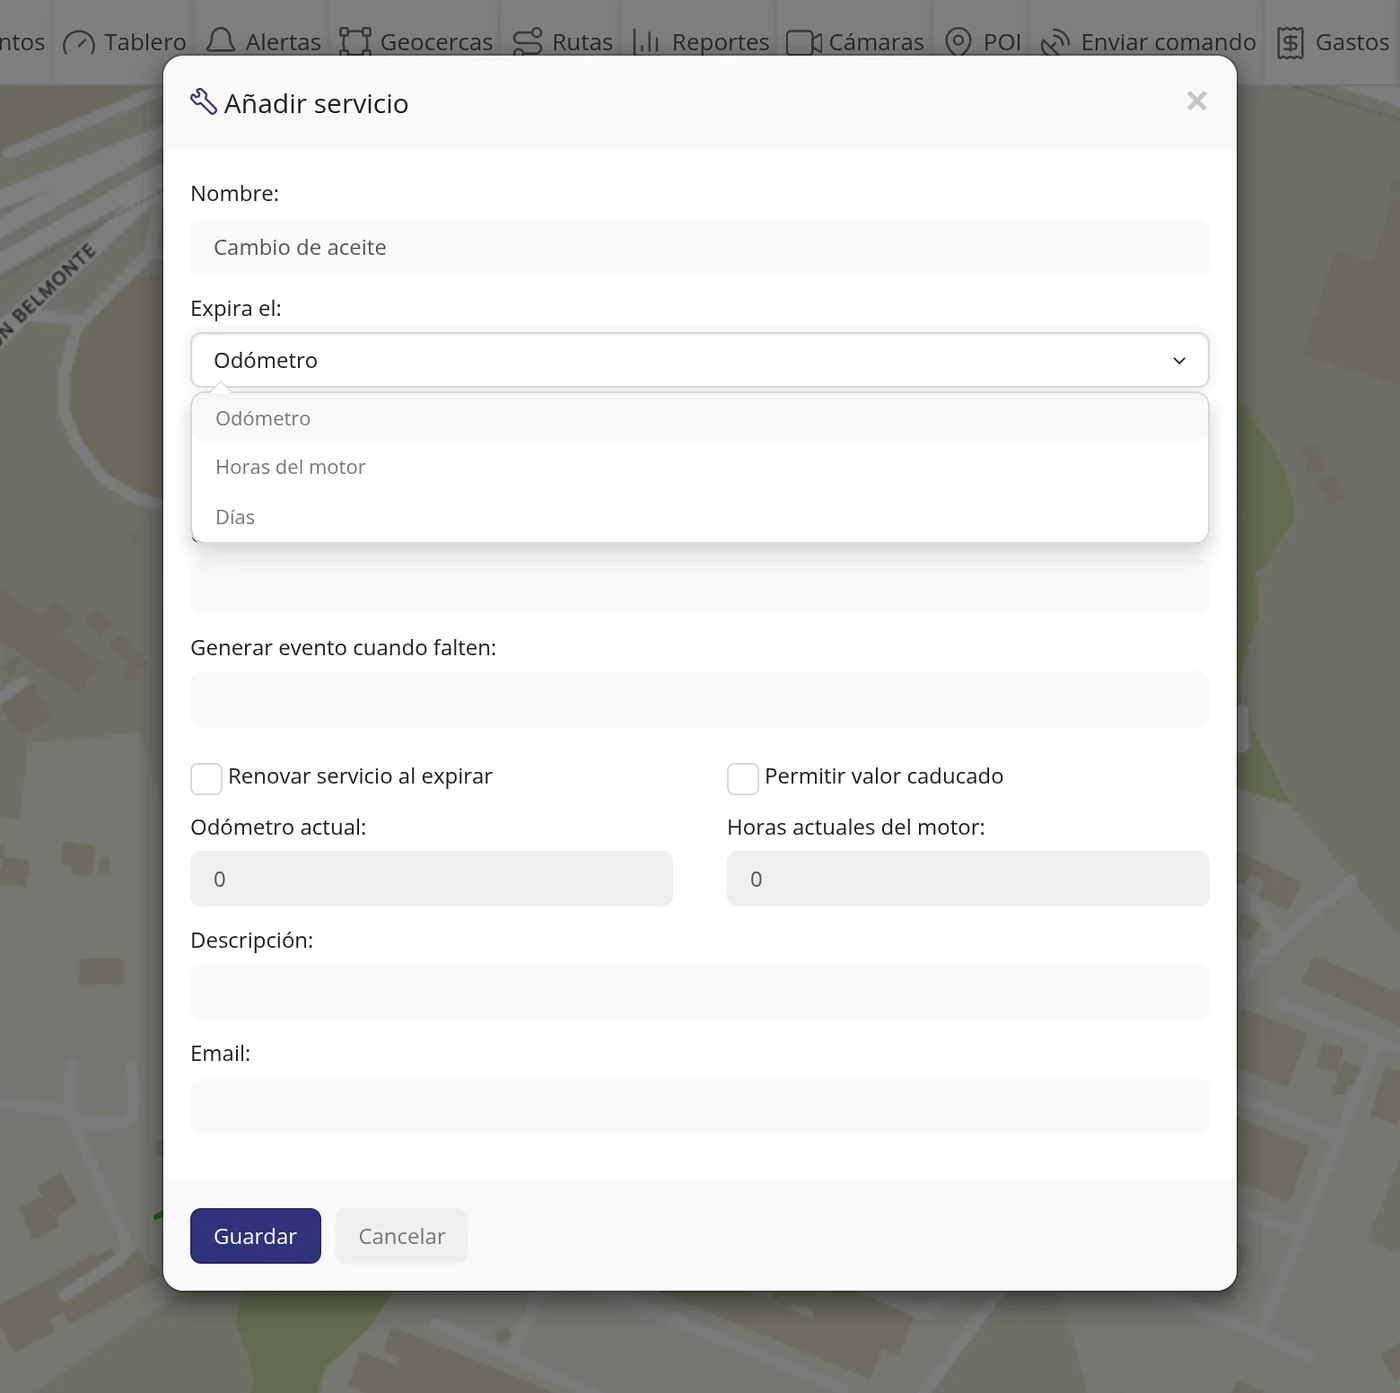
-
Type the Interval
In Interval type how often the maintenance is due, in the same unit chosen above: if you chose Odometer you type kilometres, if you chose Engine hours you type hours, and if you chose Days you type days. For the oil change 5000 was set, that is every 5,000 kilometres.
CarefulType only the number. Do not use thousand separators or the word km.
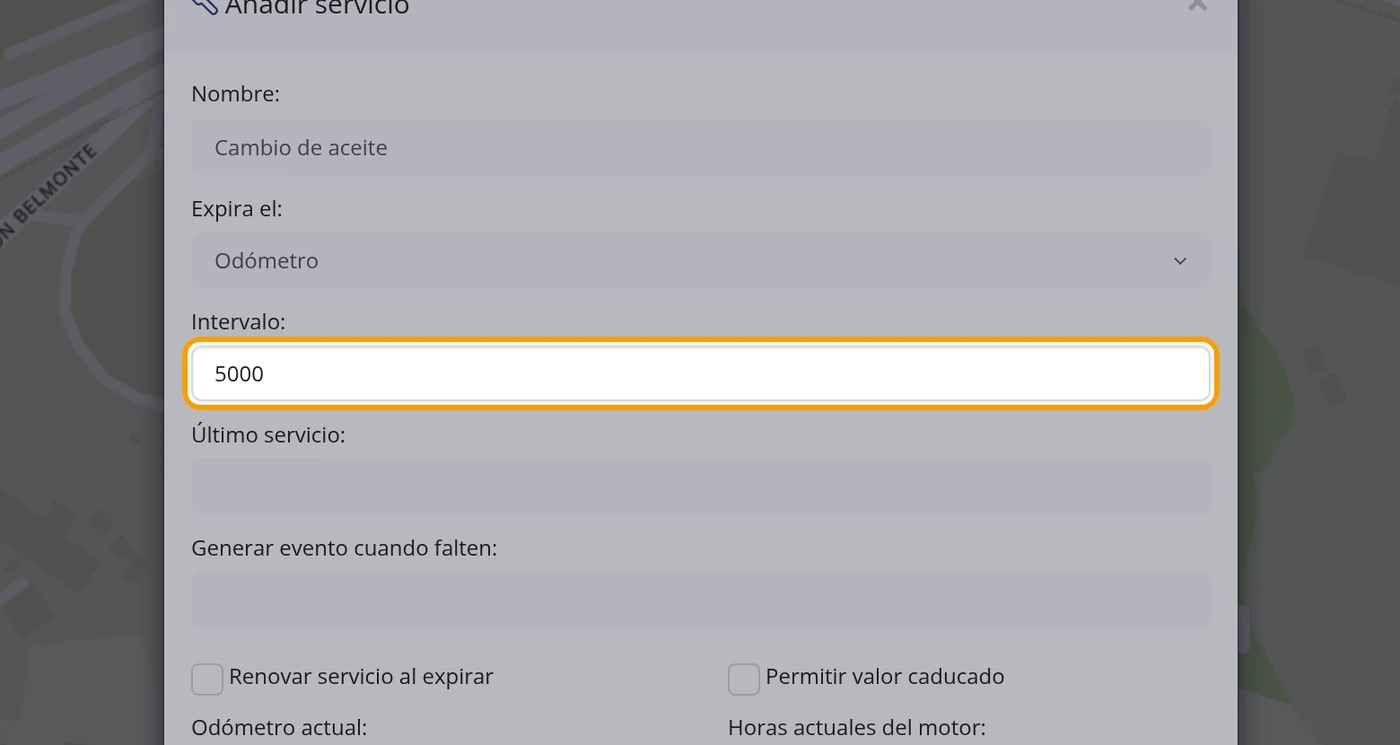
-
Type the Last service
In Last service goes the starting point, that is when it was last done. If you chose Odometer or Engine hours, type the number the vehicle showed that day (here 0 was set, because this vehicle starts at zero). If you chose Days, click the field and pick the date in the calendar that opens.
CarefulThe calendar ALWAYS opens, even when you chose Odometer or Engine hours. In those two cases ignore the calendar: type the number and press the Tab key to get rid of it. Do NOT press the Esc key: Esc closes the whole window and everything typed is lost.
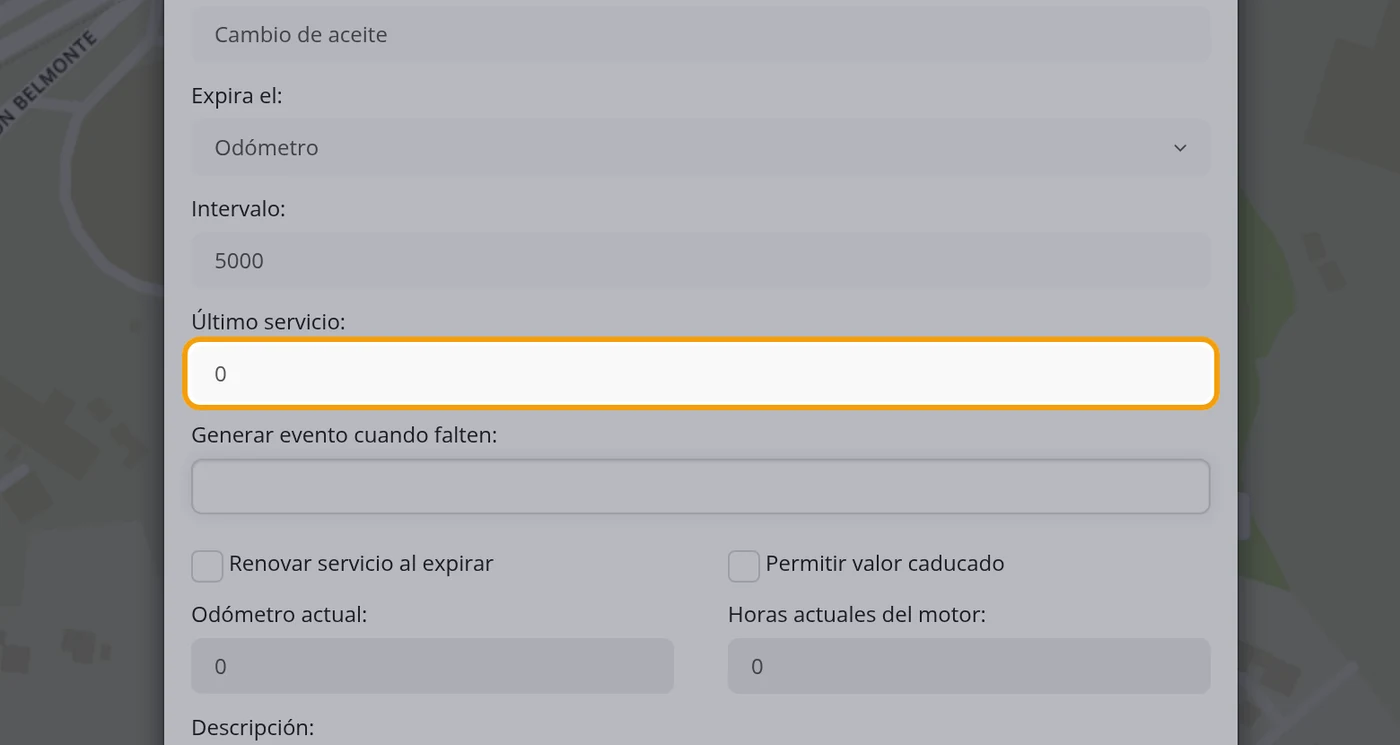
-
Say how far in advance you want the warning
In Generate event when remaining type how much earlier you want to be warned, in the same unit. Here 500 was set: the warning fires when 500 kilometres are left before the 5,000, that is at 4,500.
CarefulIf you leave this field empty, there is no advance warning: you find out when the term is already up.
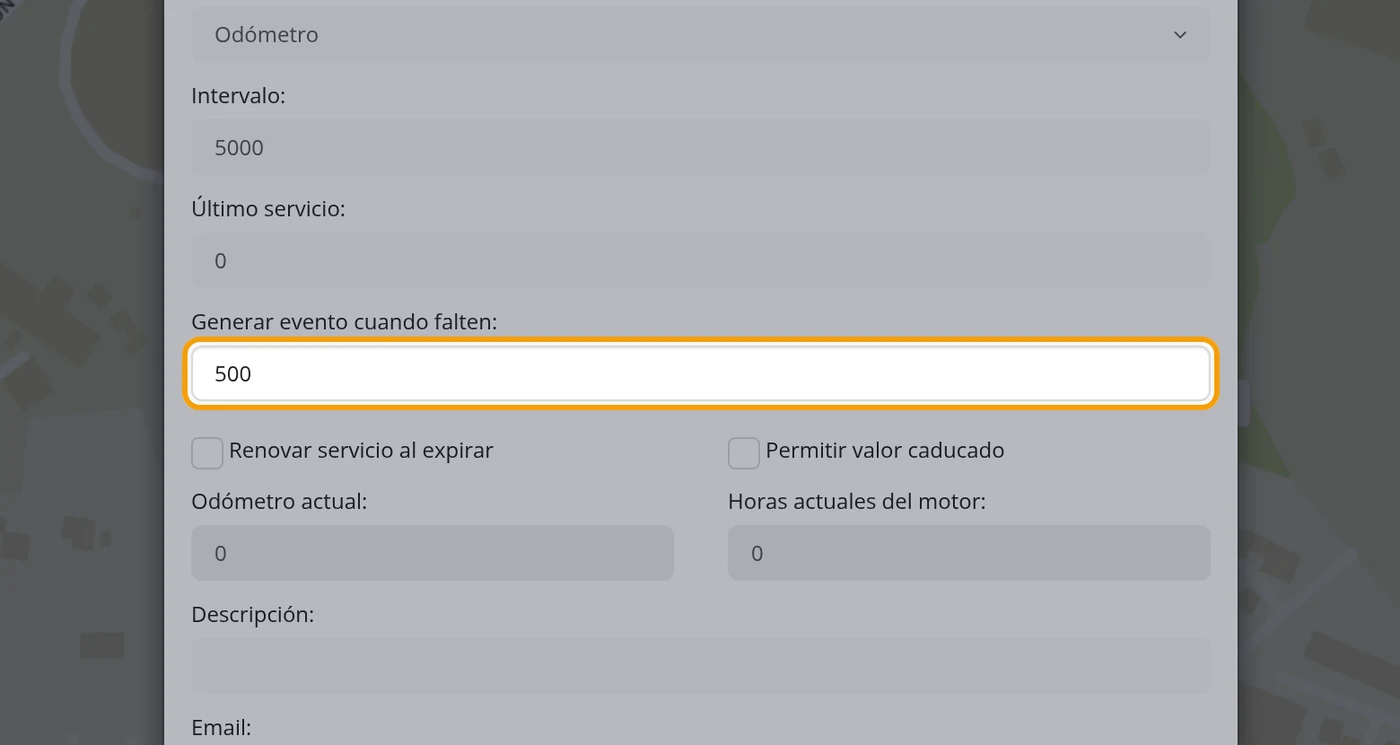
-
Click Save
At the bottom of the form click the blue Save button. If you click Cancel everything you typed is lost.
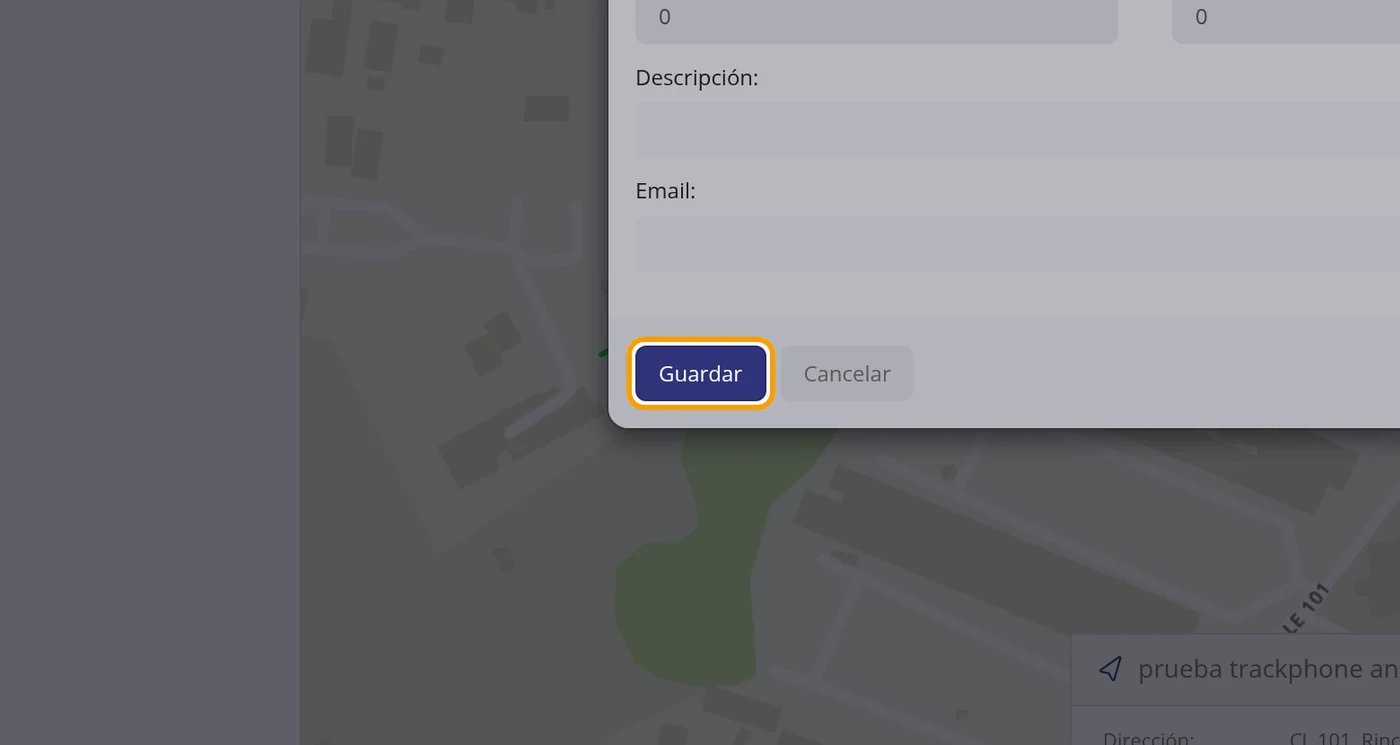
-
Check that it is in the vehicle file
The window closes by itself and you go back to the map. At the bottom right, in the Services box of the vehicle file, the maintenance now appears with its name.
CarefulIf next to the name, instead of the kilometres remaining, the text "Sensor" was not found. appears, it means that vehicle does not send the field you chose. The maintenance was saved, but it will NOT warn you. That is what happened in this test with the kilometres reminder.
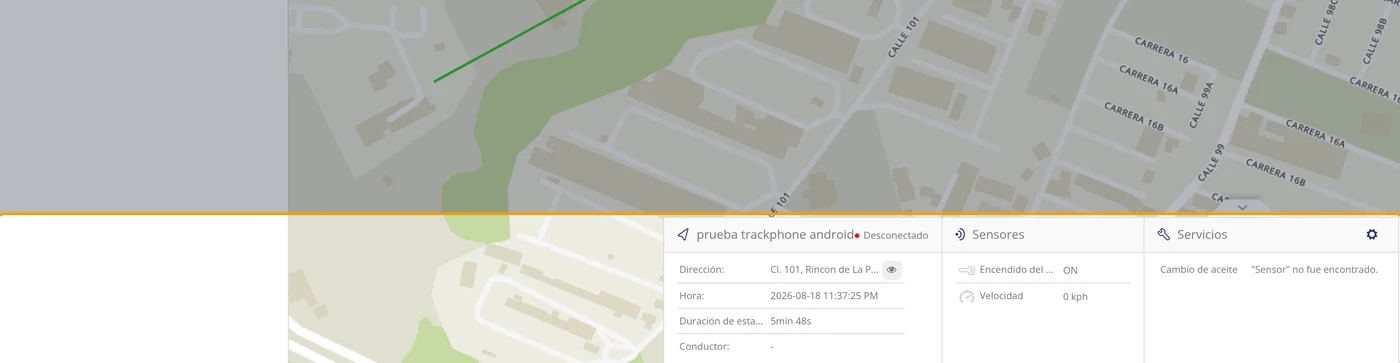
-
To get back in, use the gear wheel
Once there is a maintenance saved, the big Add service button disappears from the box. To see the list again, correct the reminder or delete it, click the gear wheel to the right of the Services title.
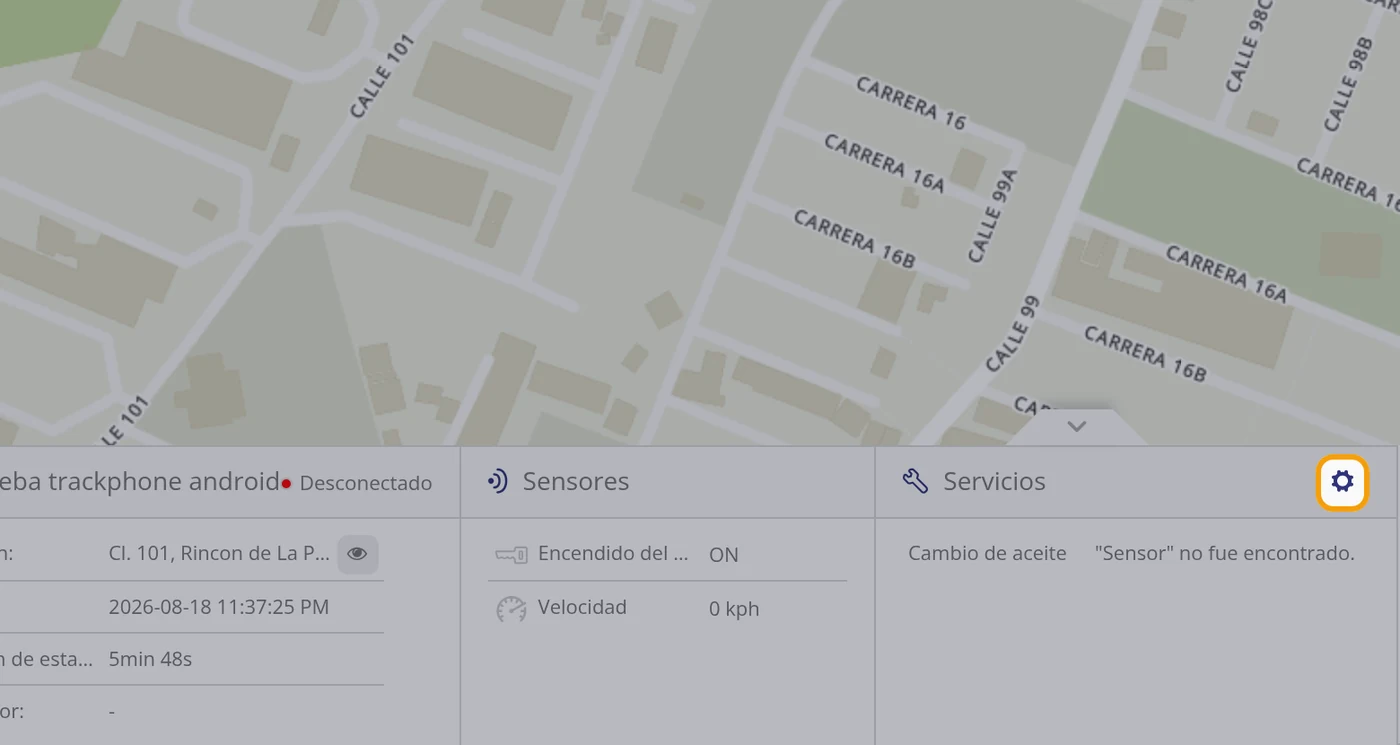
-
Check the row in the Services window
The Services window opens again and now the maintenance row does appear, with its Name and its Expiry date. To the right of the row there is a gear wheel to modify it and a cross to delete it.
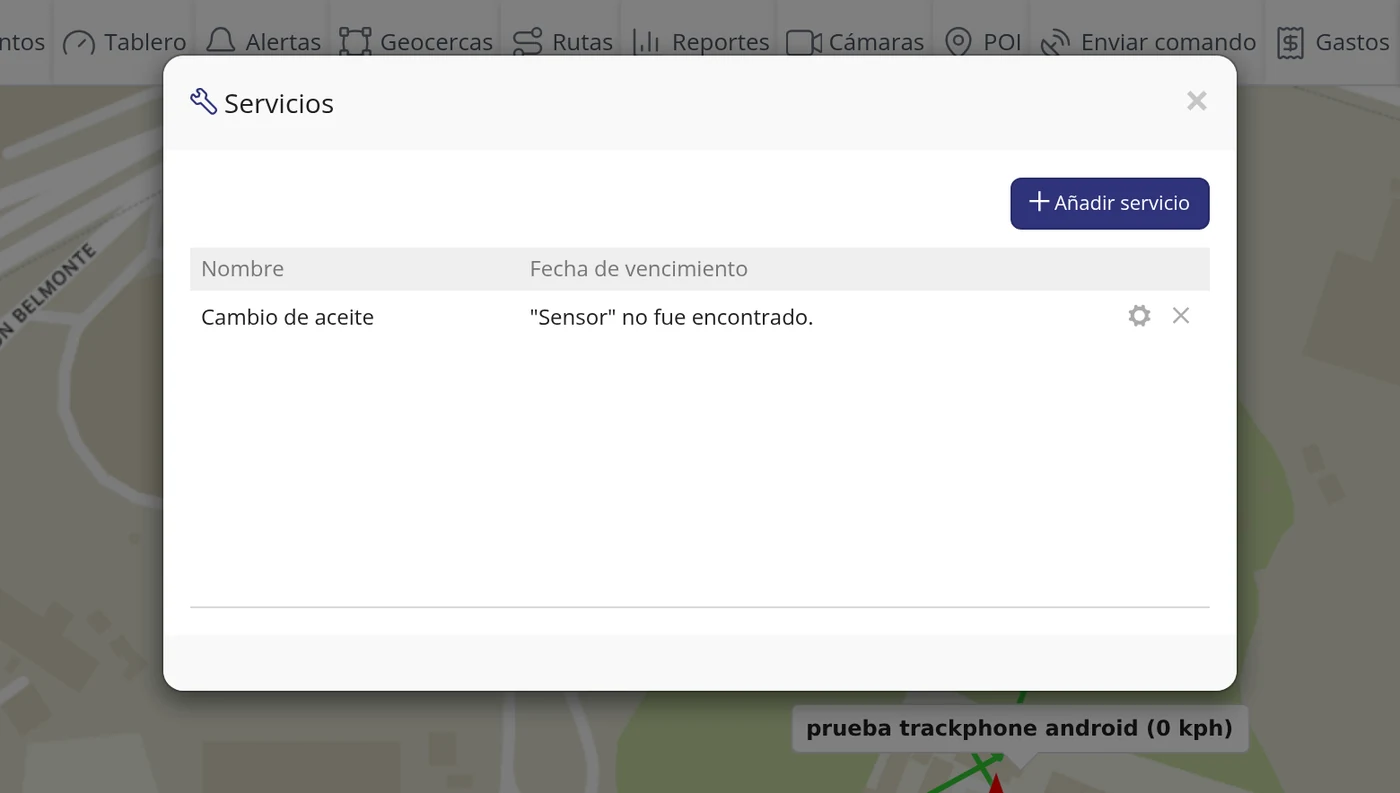
-
Check it also in the Maintenance screen
Go back to the Maintenance tab and refresh the page: where it said There are no services now a row appears with the vehicle name, the maintenance name and a bar showing how much of the term has been used.
El aviso por kilómetros u horas necesita su sensor →
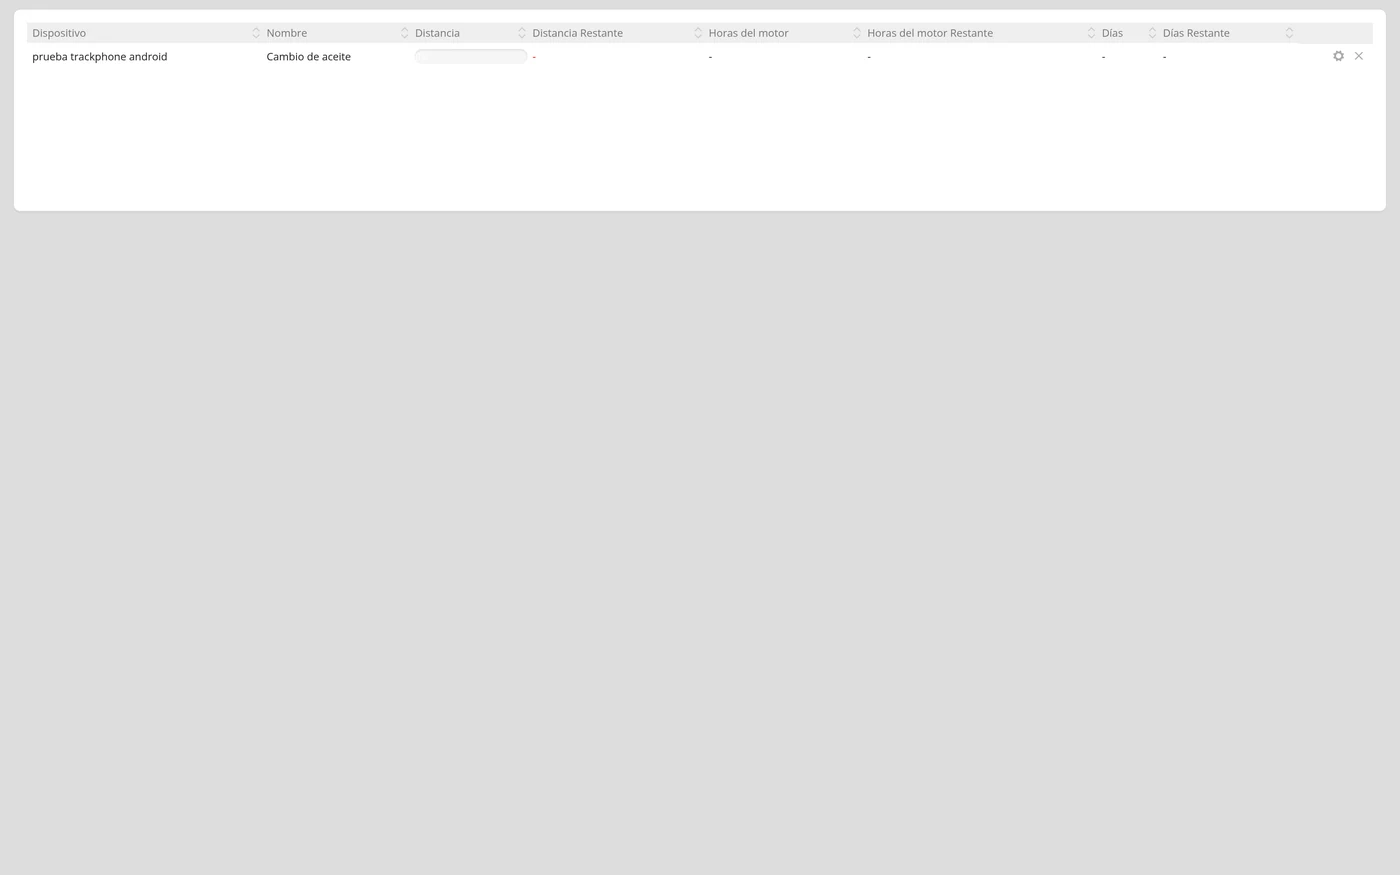
What each field asks for
| As it appears on screen | What it is | |
|---|---|---|
| The «Name:» field | Which maintenance it is, written the way you call it: Oil change, Tyre change, Service. It is the name that later appears in the list and in the reminder. It is required. | Required |
| The «Expires on:» field | How the term will be counted. It has three options. Odometer: it counts the kilometres the vehicle covers; that is what suits oil, tyres and brakes, because those wear out while rolling, not while waiting. Engine hours: it counts the hours the engine was running; that suits machinery, generators, trucks with refrigeration units or vehicles that spend a long time running without moving, because there the engine works even if the vehicle does not. Days: it counts the calendar date; that suits everything that falls due by law or by contract, such as the roadworthiness test, the insurance or the operating card, and it is also the way out when the vehicle does not send kilometres or hours. It comes set to Odometer. It is required. | Required |
| The «Interval:» field | How often the maintenance is due, in the same unit chosen above: kilometres, engine hours or days. Only the number, no dots or letters. It is required. | Required |
| The «Last service:» field | The starting point, that is when it was last done. With Odometer or Engine hours it is a number (the kilometres or hours the vehicle showed that day). With Days it is a date chosen in the calendar. The platform adds this number to the Interval to know when it falls due. It is required. | Required |
| The «Generate event when remaining:» field | How far in advance you want the warning, in the same unit. If you set 500 with an interval of 5,000 kilometres, the warning fires at 4,500. If you leave it empty, there is no advance warning. It can be left empty. | Can be left empty |
| The «Renew service on expiry» box | A tick box. If you tick it, when the term is up the reminder starts the next cycle by itself with the same interval, and it does not have to be created again each time. If you do not tick it, the maintenance stays marked as overdue until you change it by hand. It can be left empty. | Can be left empty |
| The «Allow expired value» box | A tick box. It is for being able to save a maintenance that, with the data you typed, was born overdue. If you do not tick it and the numbers you typed are already past the term, the platform does not let you save and answers: Service already expired. It can be left empty. | Can be left empty |
| The «Current odometer:» field | It is not typed: the platform shows it by itself. It is the kilometres that vehicle is sending right now. If it says 0, that vehicle does not send kilometres and the Odometer reminder will be of no use. It can be left empty. | Can be left empty |
| The «Current engine hours:» field | It is not typed: the platform shows it by itself. It is the engine hours that vehicle is sending right now. If it says 0, the Engine hours reminder will be of no use. It can be left empty. | Can be left empty |
| The «Description:» field | A note of your own, to remember something: the workshop, the type of oil, who did it. It changes nothing in the reminder. It can be left empty. | Can be left empty |
| The «Email:» field | The address you want the warning to reach when the term is up. If you leave it empty, the maintenance is still saved and shown on screen, but no email goes out. It can be left empty. | Can be left empty |
How to know it worked
At the bottom right, in the Services box of the vehicle's record, the name of the maintenance has to appear. And in the Maintenance tab, on refreshing it, a row has to come out with the vehicle and that name. If the text "Sensor" not found. appears next to the name, it was saved but it will not warn you, because the vehicle does not send the data you chose to count with.
What next
If the vehicle does not send kilometres or engine hours, change the reminder to Days: it is the only one that works without depending on the vehicle device, because the calendar runs all the same. To change or delete it, click the gear wheel of the Services box.
The vehicle's expiry and how to ask to be warned
Each vehicle has a date on which its service runs out. That date is no longer typed by hand: the system sets it when the payment is recorded. What you can do is ask to be warned before it arrives, and decide how many days ahead. Where it is: Top bar > Objects > click the vehicle in the list > Edit > Main tab > Create expiry reminder button
Where it is Top bar > Objects > click the vehicle in the list > Edit > Main tab > Create expiry reminder button
Before you start
- Be clear how far in advance you want to be warned. A month before is usual, then reminders closer to the date.
- This warning is for you, not for the customer. It is so that renewing does not slip past you.
-
Open the vehicle file and find the expiry date
In the Main tab you will see the expiry date field. It is greyed out and cannot be typed in.
CarefulIt is locked on purpose and it is not a fault. The date is set by the system when the vehicle payment is recorded. If anyone could change it by hand, an unpaid vehicle could keep working.
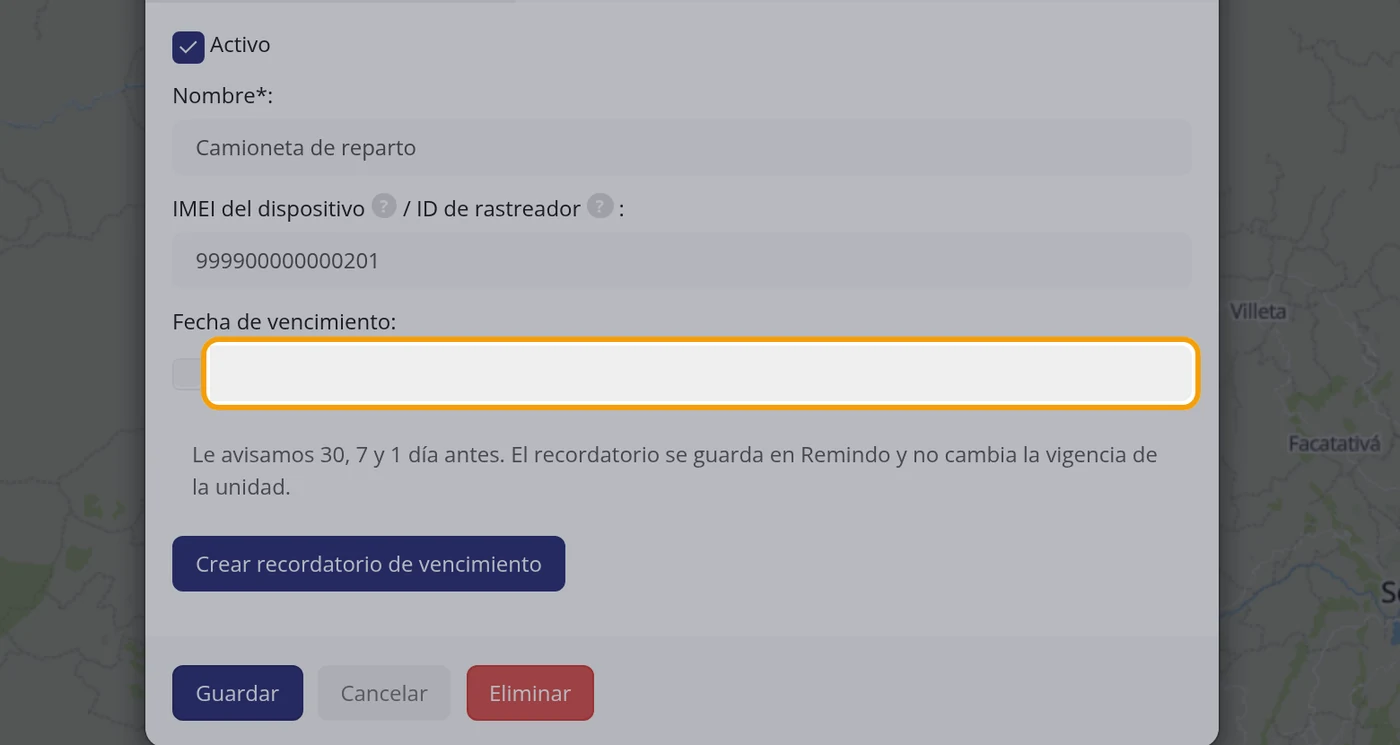
-
Click Create expiry reminder
It is the button next to that date. Clicking it opens a small block below to schedule the warning.
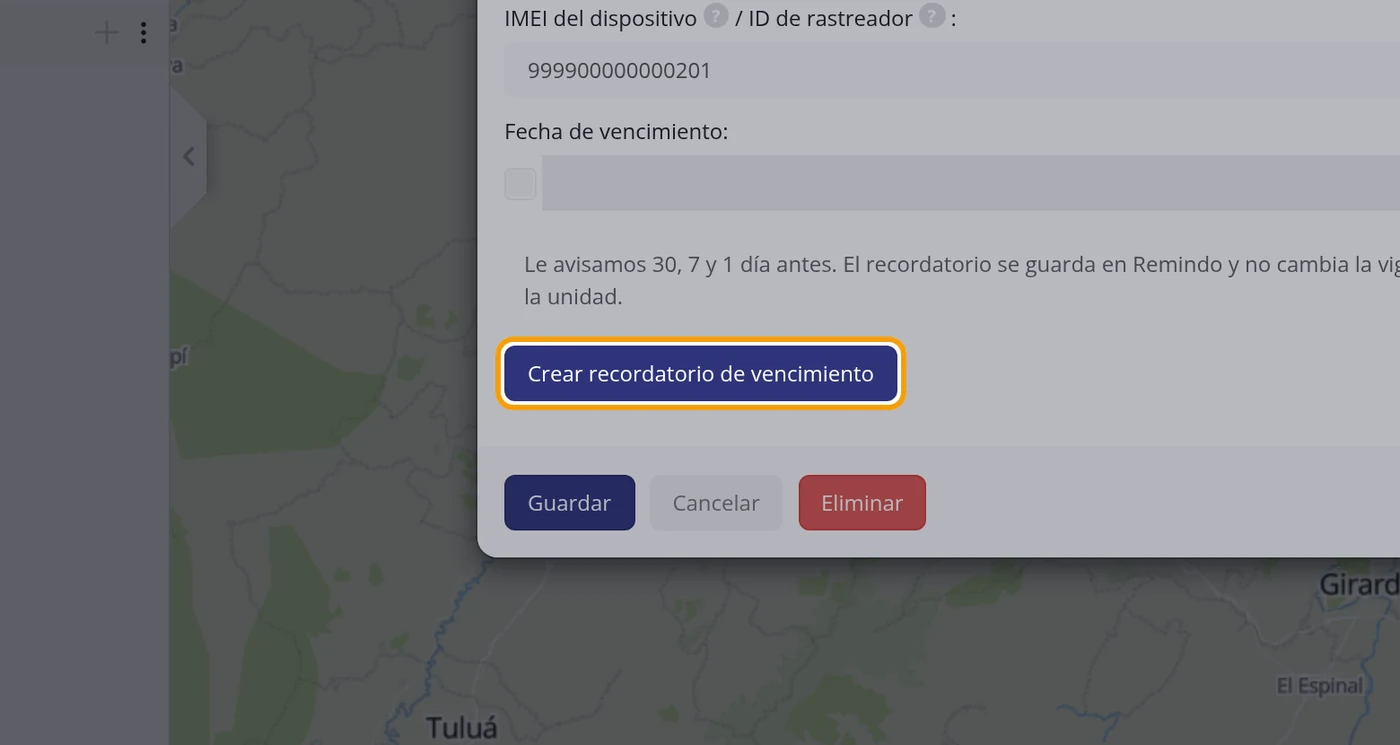
-
Choose when you want to be warned
The block lets you pick between On a date, for a one-off warning, and A day of each month, for a repeating warning. It comes set to On a date.
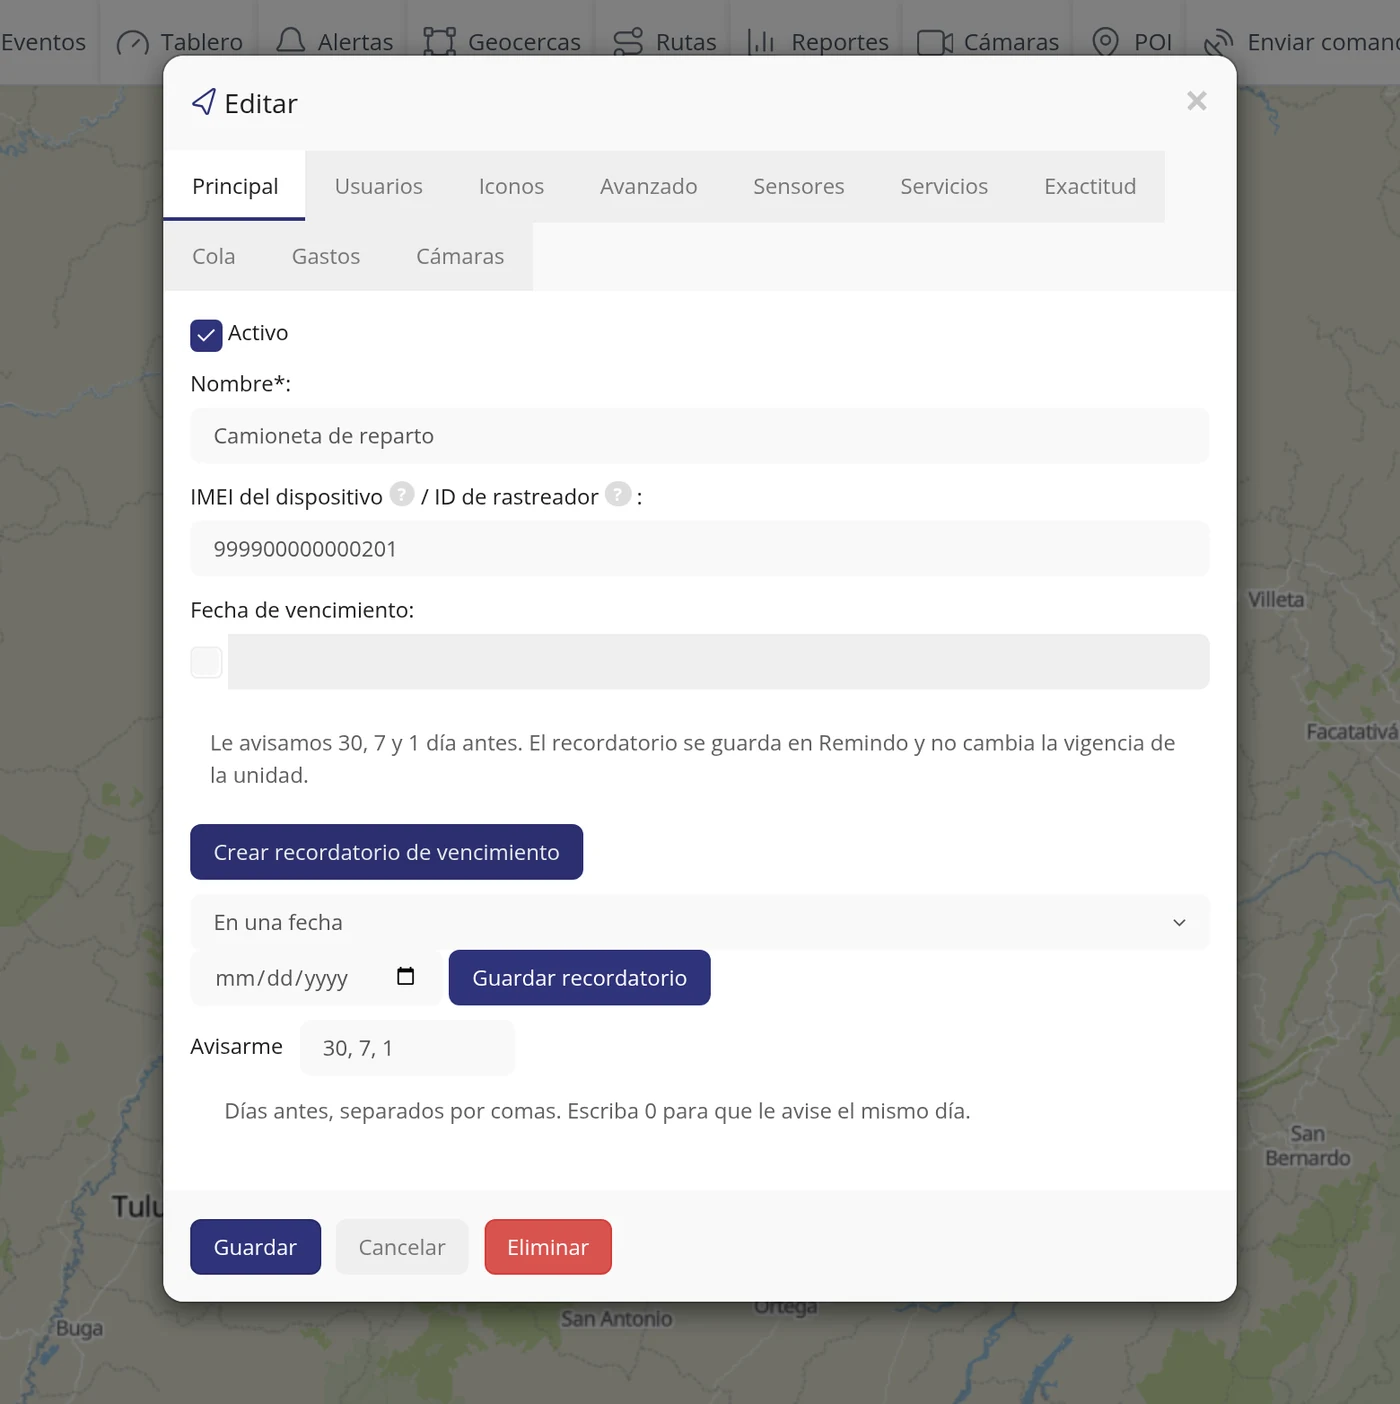
-
Set the expiry date
Type or pick in the calendar the day the service of that vehicle expires.
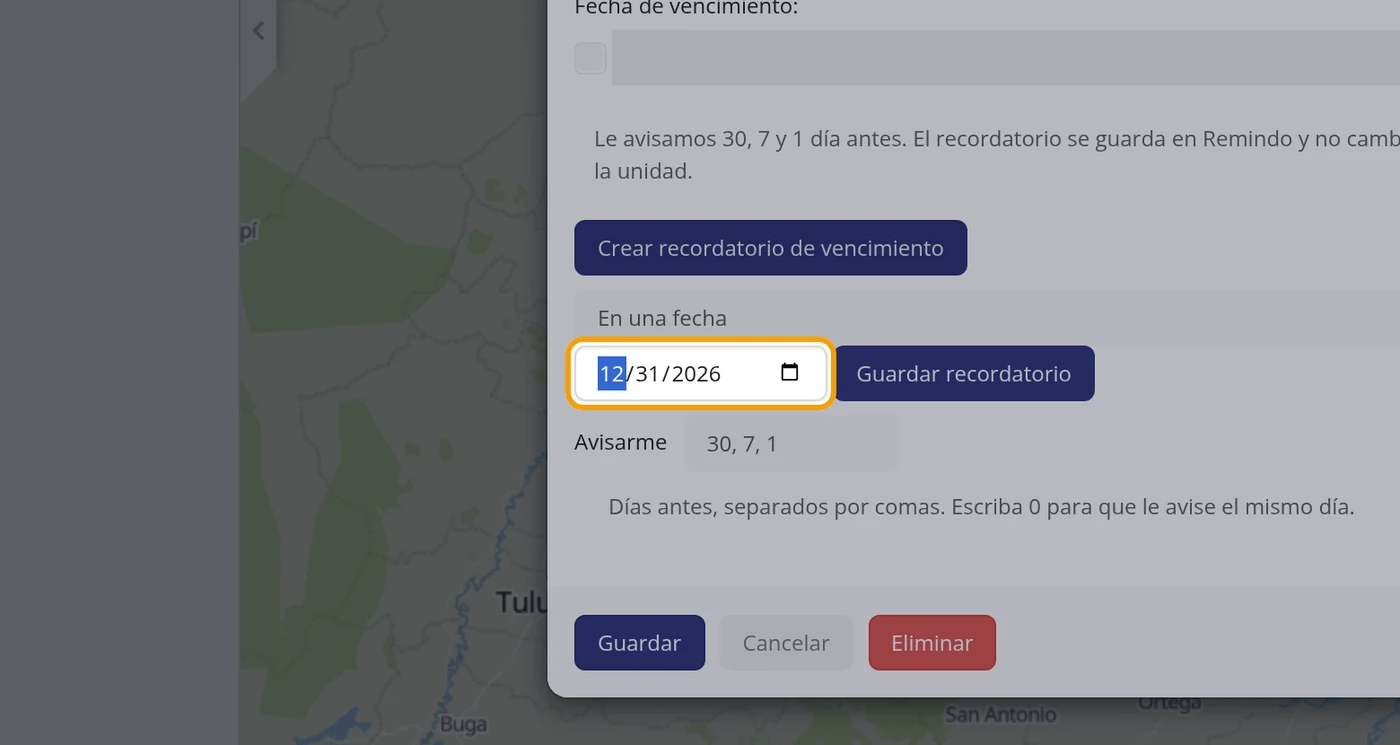
-
Type how many days in advance you want the warning
In the Notify me field type the days, separated by commas. For example 30, 15, 7, 1 means it will warn you a month before, fifteen days before, a week before and the day before. If you type 0, it warns you on the same day.
CarefulThey have to be separated by commas. The field itself says so below: Days before, separated by commas. Type 0 to be warned on the same day. It comes set to 30, 7, 1.
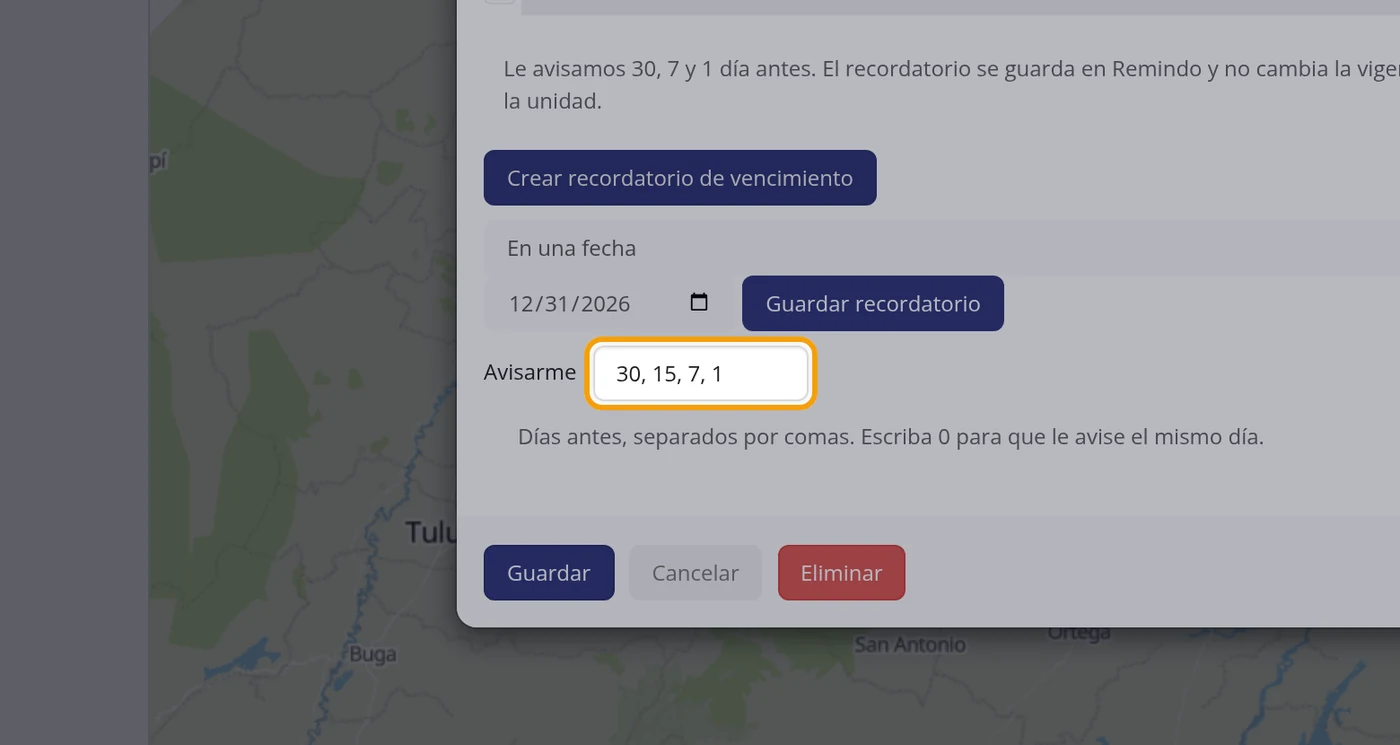
-
Click Save reminder
It is the button of that same block. Do not confuse this button with the big Save of the vehicle file: this one is only for the reminder.
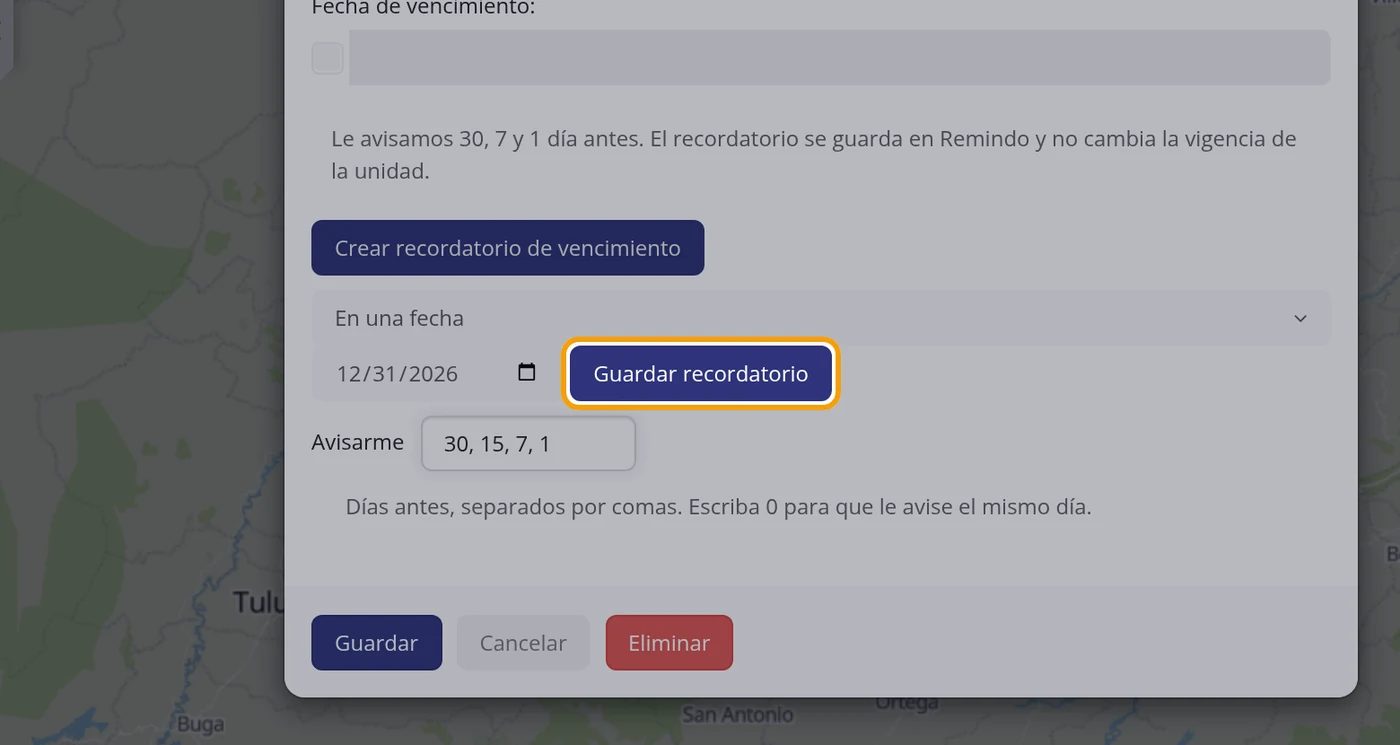
-
Check that it is set
Right below the confirmation appears with the date, for example: Reminder created for 31/12/2026.
Qué texto le llega al cliente y cómo cambiarlo →
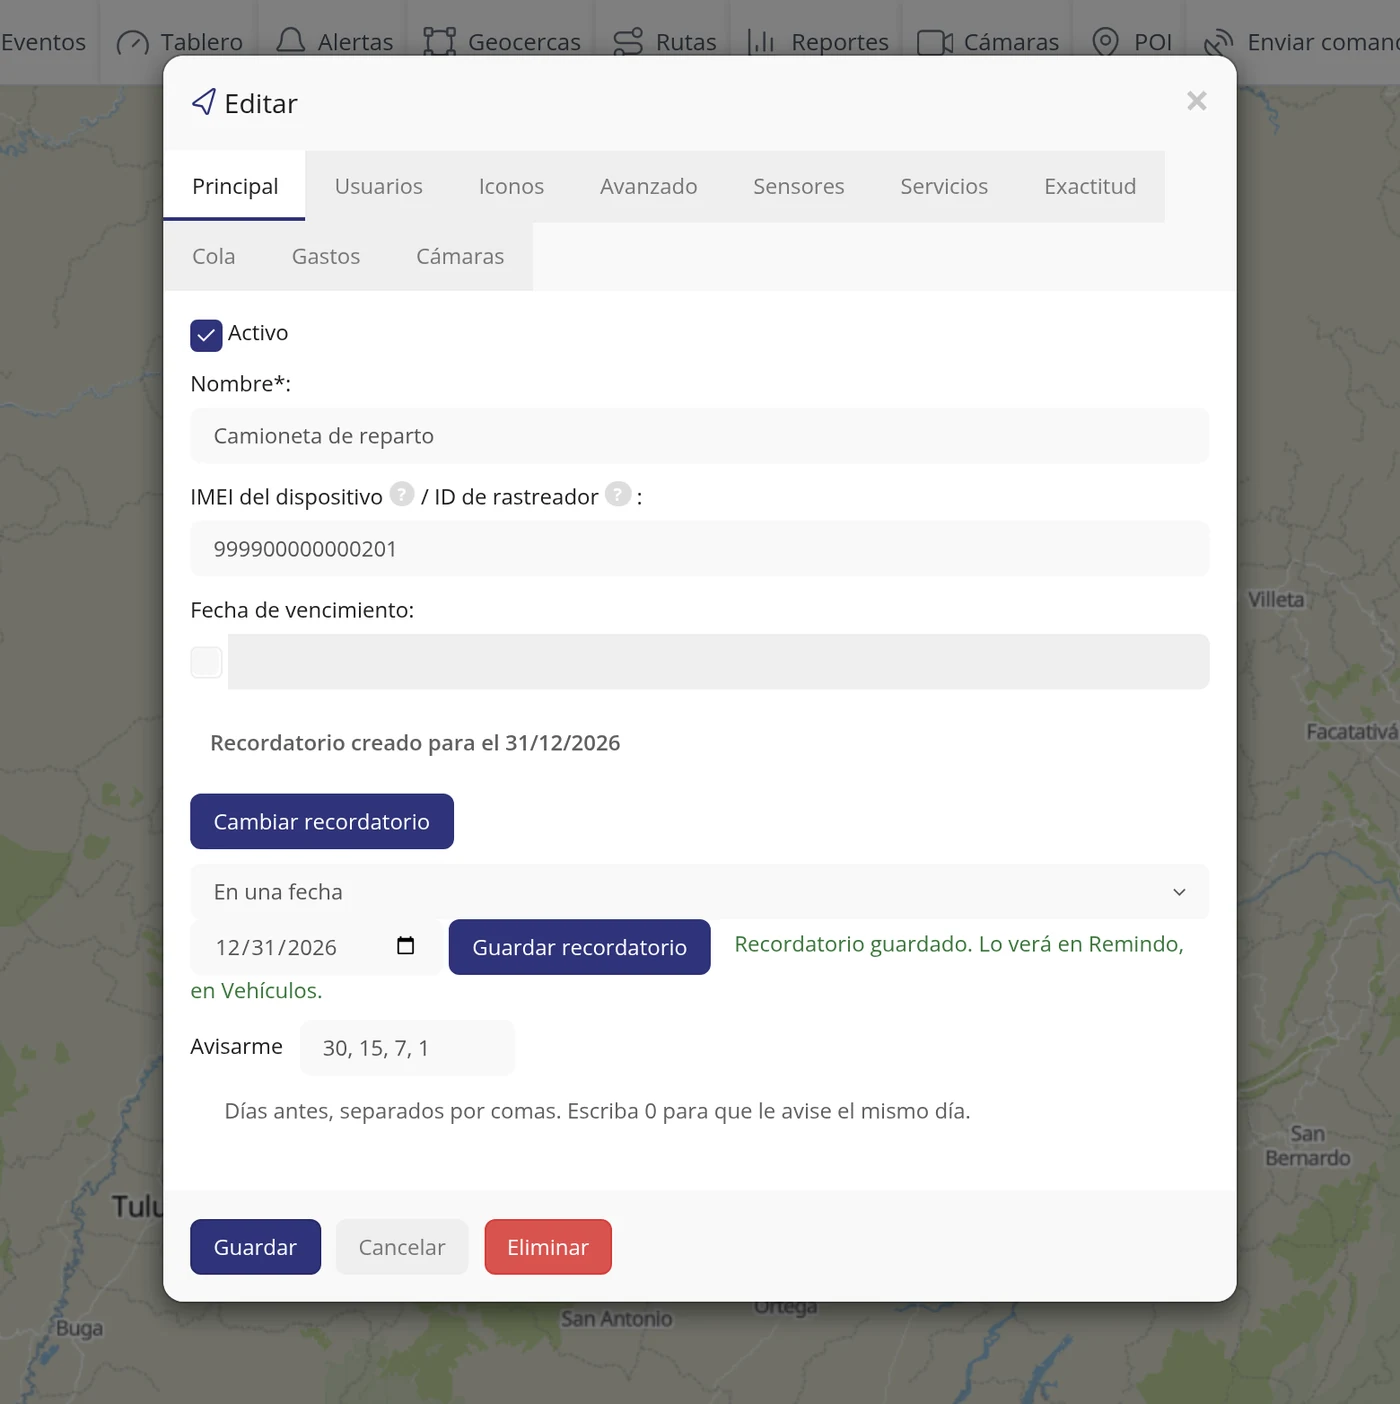
-
If the vehicle is new, do it right when you create it
When you click Add new, the Create expiry reminder button already appears there, below the Name and the IMEI. First type the vehicle's Name and IMEI, then fill in the date and the warning days as in the previous steps, and click Save reminder: the vehicle gets created and the reminder scheduled in a single step, without closing the window.
What each field asks for
| As it appears on screen | What it is | |
|---|---|---|
| The «Expiry date» field | The day the vehicle service ends. It is locked: the system sets it when the payment is recorded, it is not typed by hand. It can be left empty. | Can be left empty |
| The «On a date / A day of each month» field | Whether the reminder is for one specific day or repeats every month. It comes set to On a date. It is required. | Required |
| The «Notify me» field | The days in advance you want the warning, separated by commas. For example 30, 15, 7, 1. A 0 means the same day. It is required. | Required |
How to know it worked
Below the block the text Reminder created appears with the date you set. From then on the warning will reach you through your notification centre on the days you indicated.
What next
The reminder is in your name. If you want the customer to get it too, that is set up separately in the platform expiry warnings.
How to create a user
It is for giving a customer, an employee or a family member their own account, so they sign in with their email and password and see on the map only the vehicles you hand over to them. Each person with their own account: no need to lend yours. Where it is: Top bar > ADMIN (the shield icon, top right) > Users > "Add new user" icon (the person with a plus sign, top right of the list)
Where it is Top bar > ADMIN (the shield icon, top right) > Users > «Add new user» icon (the person with a plus sign, top right)
Before you start
- The person's email address. The platform uses it as the sign-in name, so it cannot be repeated.
- Decide the password, or let the platform generate it for you.
- Be clear which vehicles you are giving them: at least one, because the vehicles field is marked as required with an asterisk.
- Be clear what kind of account they need (see the "Group*:" field below).
-
Enter the administration screen
In the top bar, on the right, click the shield-shaped icon. It only shows the picture, but if you hover over it a black label appears saying ADMIN. The screen changes: a menu appears on the left with Map, Users, Objects, Ideas and Suggestions, Content, Customization and Logs.
CarefulIf that icon does not appear in your account, your account has no permission to create users.
-
Open the user list
On entering, "Users" is already open. In the left menu the "Users" option is highlighted with the number of accounts in brackets. In the centre the table appears with the columns Active, Email, Devices, Device limit, Expiry date, Last access and Actions.
-
Click the add button
At the top right of the table there is a row of pictures. The first is a person with a plus sign; hovering over it says "Add new user". Click it.
CarefulThe pictures next to it are NOT for this: the second adds a vehicle and the following ones import vehicles, geofences and points of interest.
-
Recognise the window that opens
A window opens on top, titled "Add new user", with four tabs: "Main", "Permissions", "Objects" and "Customer". At the very bottom are the "Save" and "Cancel" buttons. It starts open on "Main".
CarefulThe person's first name and surname are NOT in this first tab: they are in the last one, "Customer".
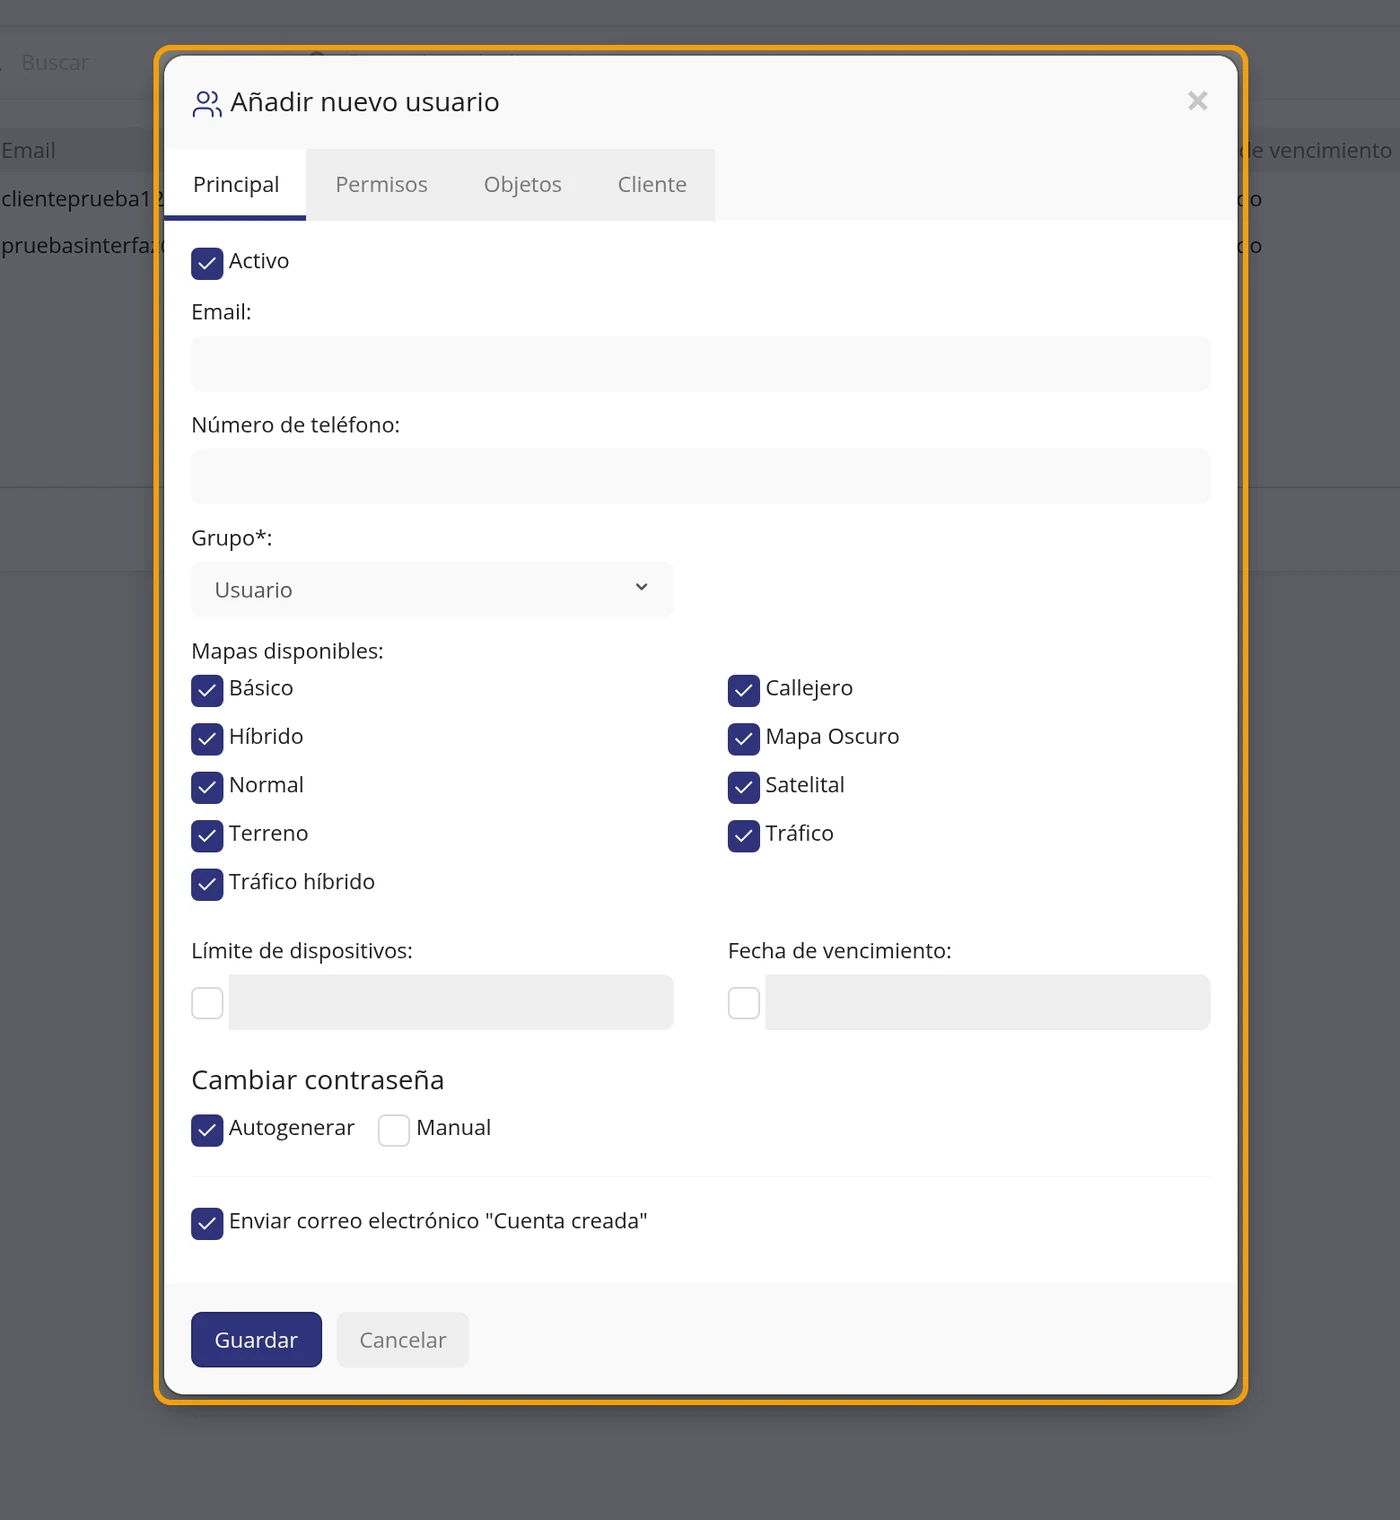
-
Type the email
In the "Email:" field type the person's email. That email will be their sign-in name. In the example manual.ejemplo@plataforma.com was typed. The "Phone number:" field below can be left empty.
-
Open the account type dropdown
Below is "Group*:", which is the account type. Click on it so it opens.
CarefulThe asterisk next to the name means it is compulsory.
-
See the three options it offers
The dropdown offers exactly three options, and only three: "User", "Manager" and "Reseller". Who sees what depends on this choice; the explanation of each one is in the field list, under "Group*:".
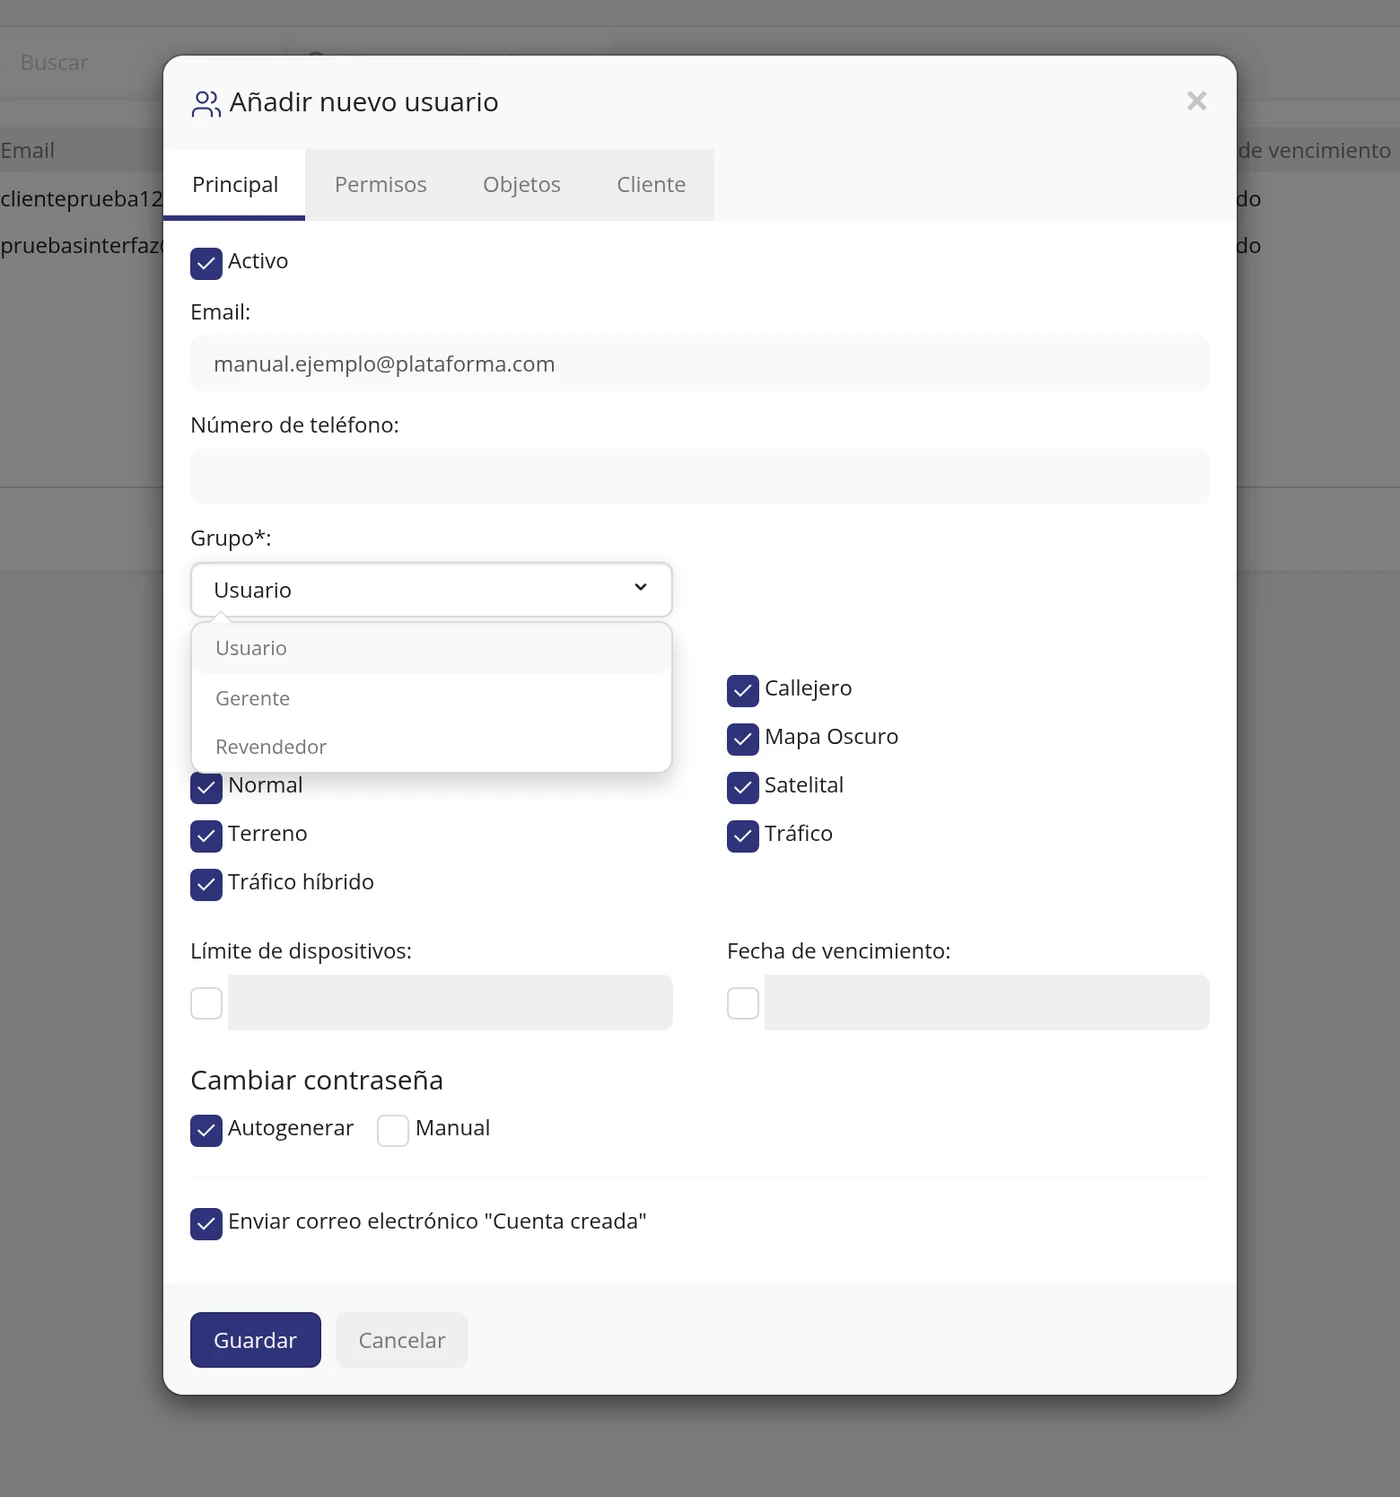
-
See the options it offers
The dropdown offers the options your account is authorised to create. Choose one; the explanation of each is in the field list, under "Group*:".
-
Choose "User"
For an end customer, or for anyone who only has to look at their vehicles, choose "User". It is what comes set by default. The field is left with the word "User".
CarefulWhen changing this option, the "Permissions" tab reloads by itself with the permissions matching the chosen type.
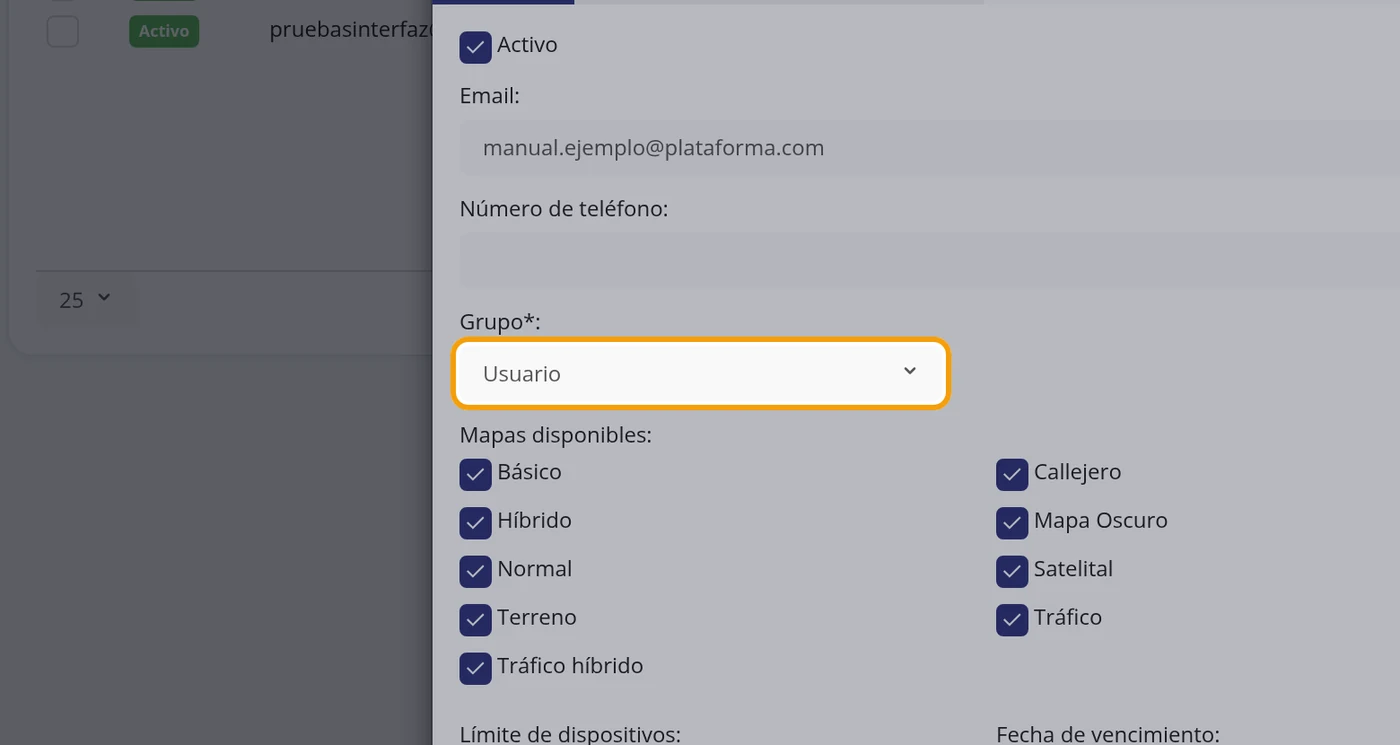
-
Set the password
Scroll down to "Change password". There are two options: "Auto-generate" (comes ticked) and "Manual". If you tick "Manual" two more fields appear, "Password:" and "Confirm password:", and you type the password twice. If you leave "Auto-generate", the platform makes up the password and the person only receives it by email.
CarefulIf you leave "Auto-generate" and also remove the email notice of the next step, nobody learns the password.
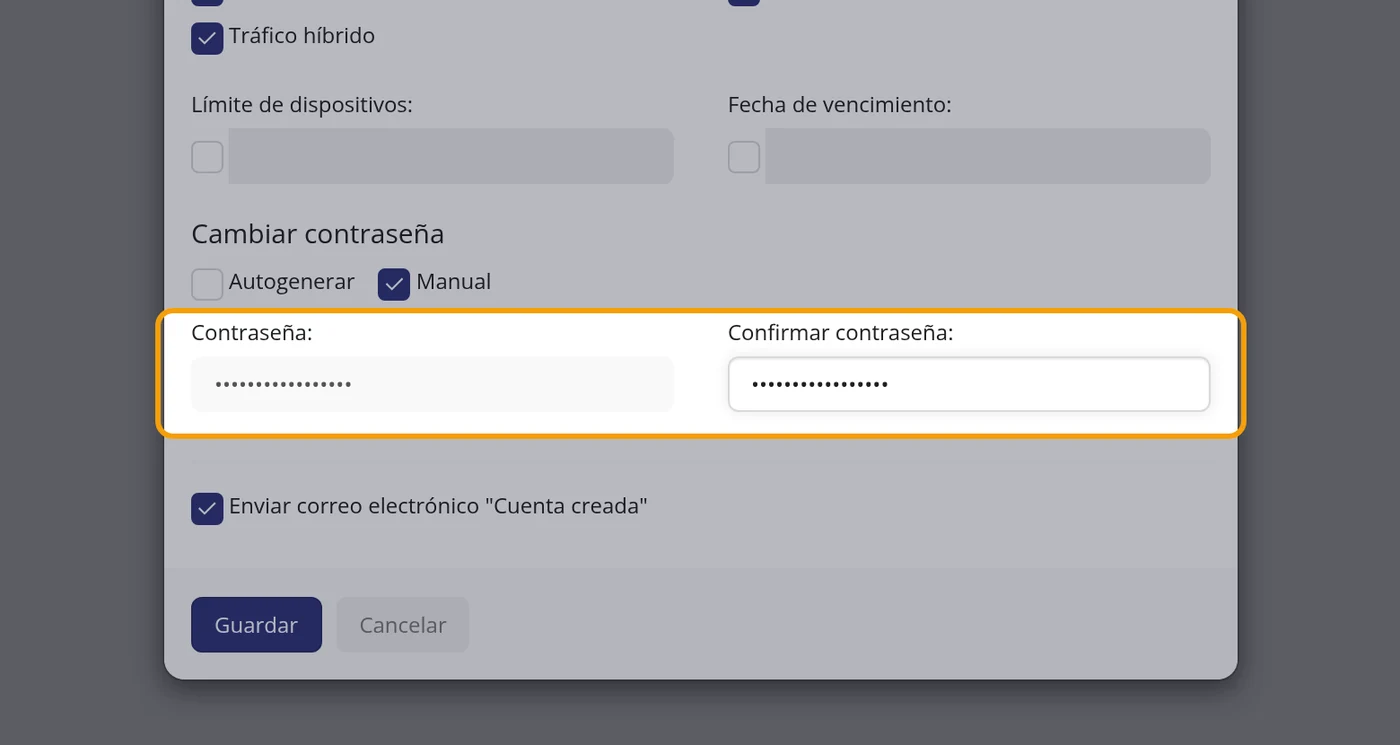
-
Decide whether they are told by email
At the end of the tab there is a box saying: Send "Account created" email. It comes ticked: if you leave it like that, the platform sends the person an email telling them they now have an account. In this example the tick was removed, because the email was made up and there was nobody to tell.
-
Go to "Objects" and see the vehicle list
Click the "Objects" tab. "Objects*:" appears and below, already unfolded, the list of all your vehicles with a box each, plus the "Select all" and "Deselect all" buttons and a magnifier to search.
CarefulThis is the most important thing of all: the person will see ONLY the vehicles you tick here. The ones you do not tick, they will not even know exist.
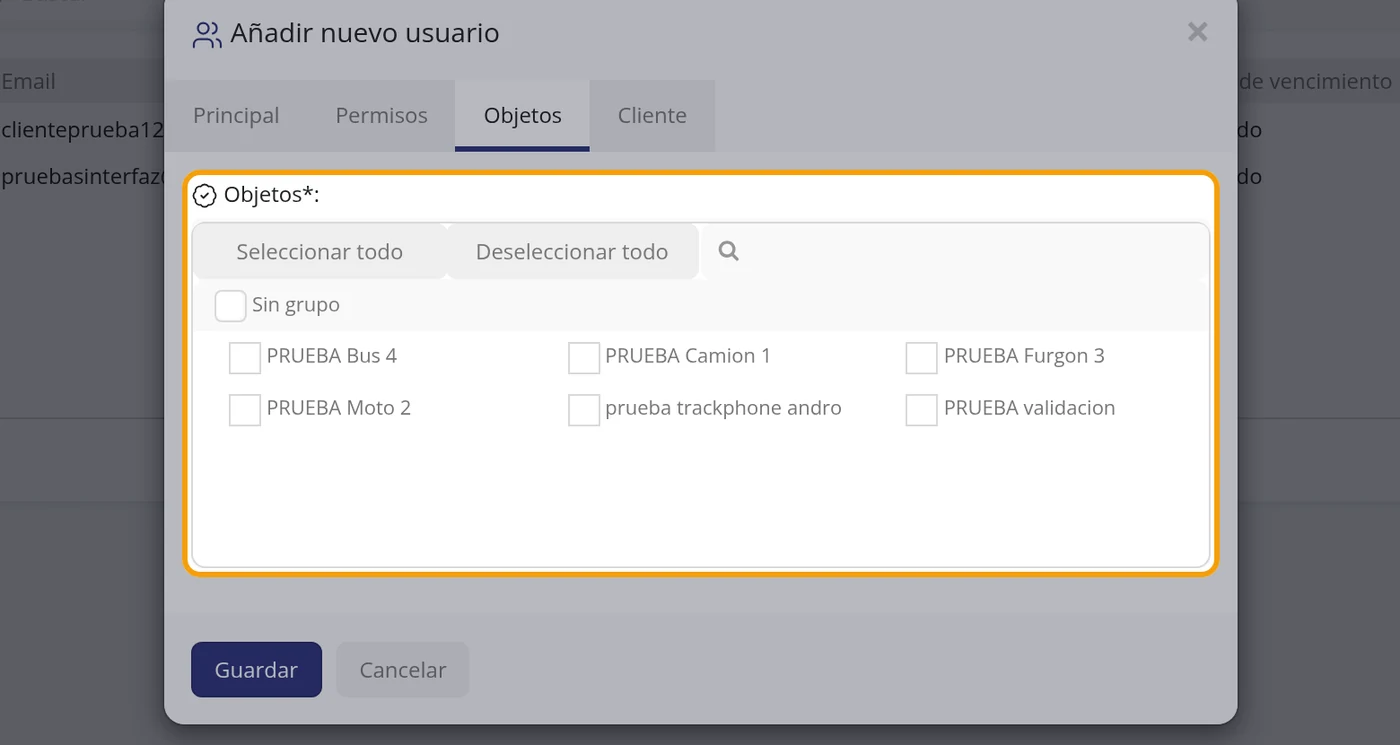
-
Tick the vehicle being handed over
Click on the vehicle so its box is ticked. In the example PRUEBA Moto 2 was ticked and nothing else.
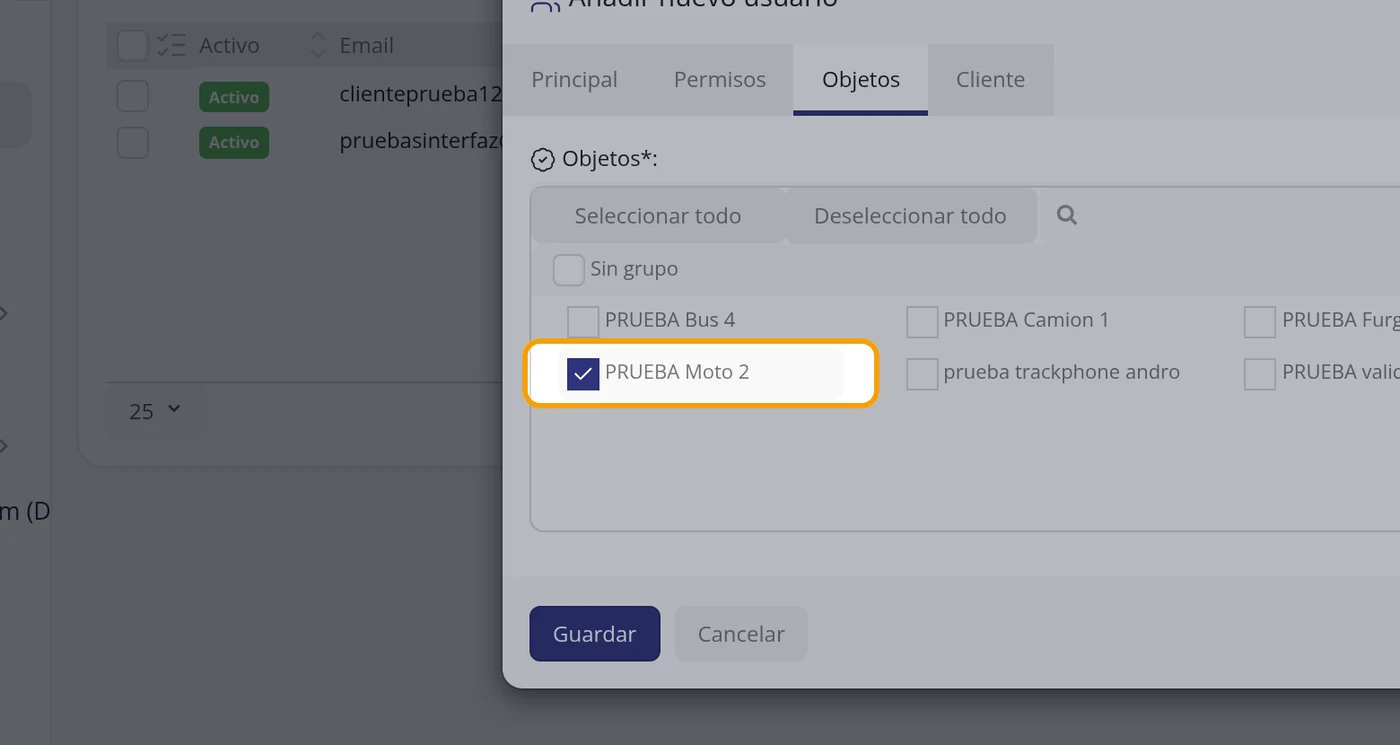
-
Go to "Customer" and type the name
Click the "Customer" tab. There are "First name:" and "Surname:". In the example Cliente and de ejemplo were typed. The other fields ("Personal code:", "Date of birth:", "Address:", "Comment:") can be left empty.
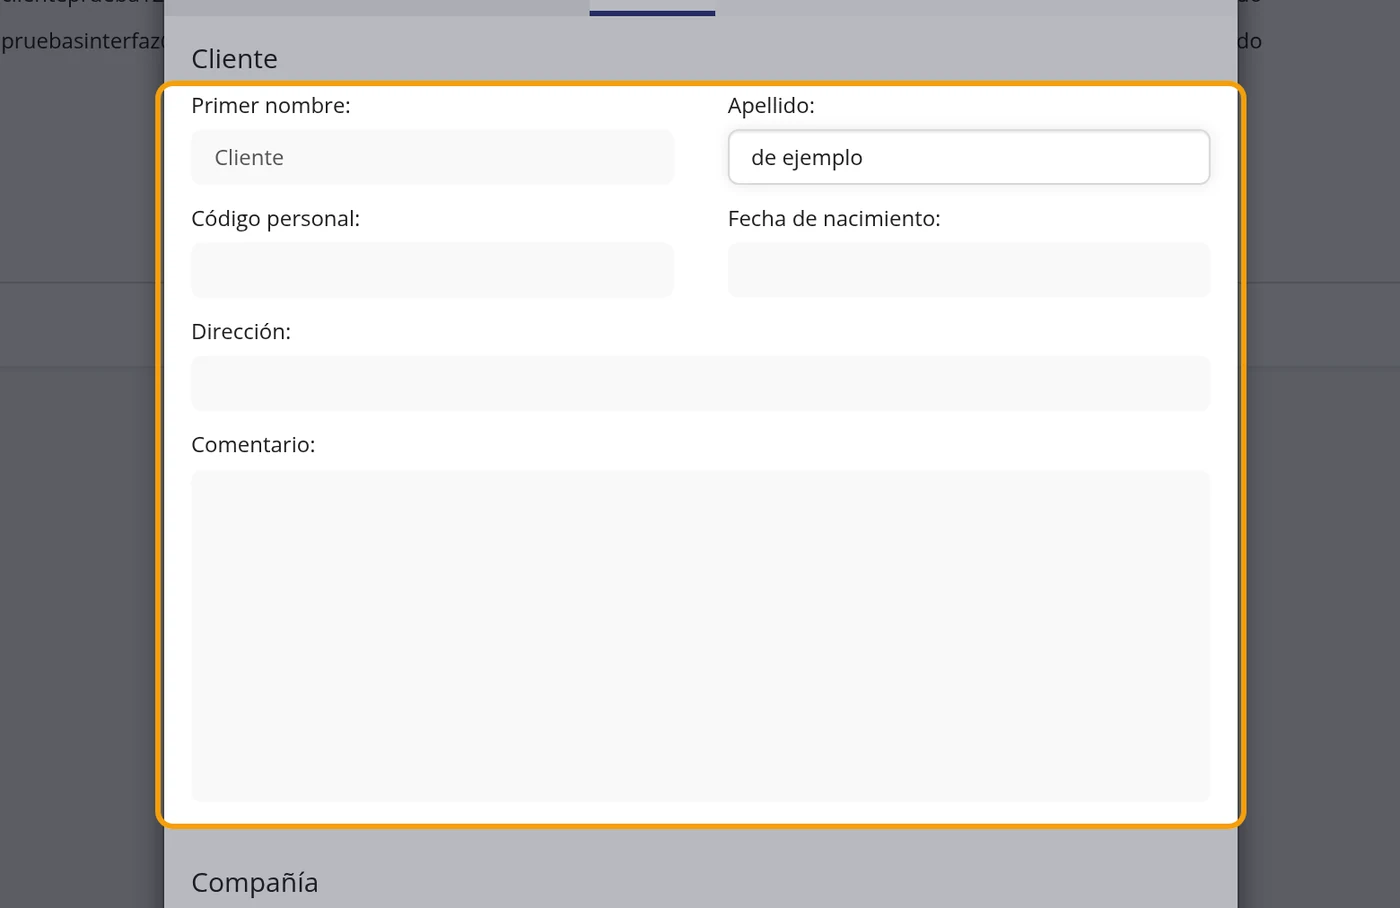
-
Save
Click the blue "Save" button, at the bottom left of the window. The window closes by itself.
CarefulThere is no need to go through the "Permissions" tab: it is filled in by itself according to the chosen account type.
-
See that it is already in the list
The new user appears in the table, in green with the word "Active", with their email, with a 1 in the "Devices" column (the vehicle given to them) and with a dash in "Last access", because they have never signed in yet.
CarefulThe "Users (2)" counter of the left menu does not update on saving; you have to reload the page for it to show the new number.
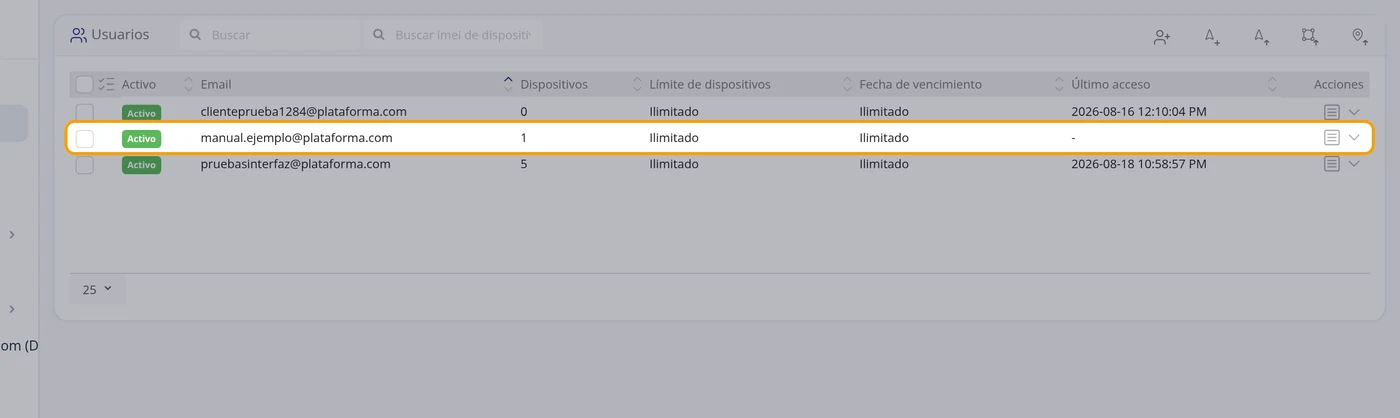
-
Check what the person sees (it was really done)
The session was closed and the new user's email and password were used to sign in. On their map a single vehicle appears, PRUEBA Moto 2, and in their top bar the administration button is NOT there: they cannot create anyone or see the others.
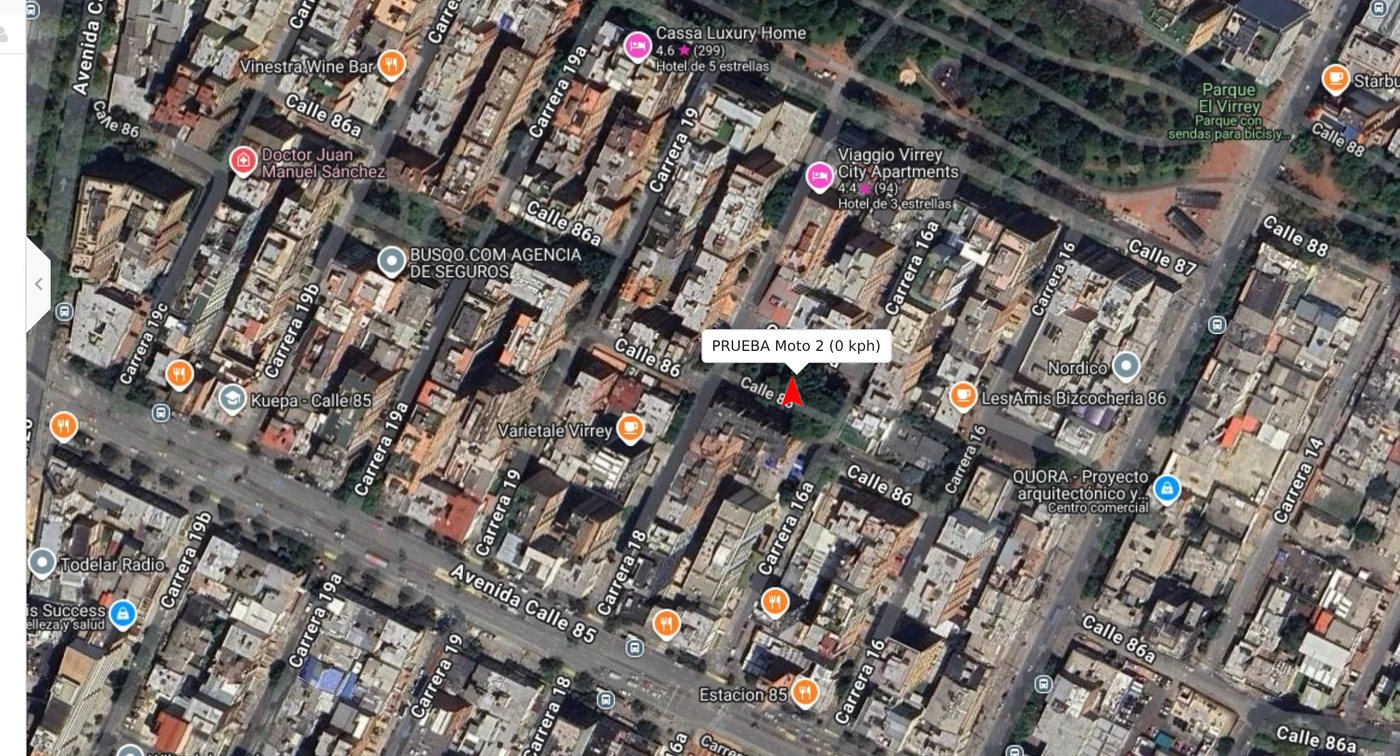
What each field asks for
| As it appears on screen | What it is | |
|---|---|---|
| The «Active» box | A box that comes ticked. Ticked means the person can sign in. If you untick it, the account stays created but does not let them in. It can be left empty. | Can be left empty |
| The «Email:» field | The person's email. It is their sign-in name, so it cannot be repeated in the platform. It is required. | Required |
| The «Phone number:» field | The contact phone. It can be left empty. | Can be left empty |
| The «Group*:» field | The ACCOUNT TYPE, and who sees what depends on this. It offers three options and only three. "User": the simplest account and the one given to the end customer. They sign in, see on the map only the vehicles you tick for them, and cannot create or see other people's accounts (in the "Permissions" tab the "Users" row is left with the three boxes empty). "Manager": the same, but they CAN also create and manage accounts below theirs and share vehicles with them (the "Users" row is left with the three boxes ticked). It is what you give to the fleet supervisor of a company with several drivers or guards. "Reseller": a partner who resells the service; they can also create accounts below, and moreover, when choosing it, the "Device limit:" field becomes compulsory and the screen itself warns: "Compulsory for a reseller: with no cap, whatever they create adds to your bill without limit." The platform takes the "SMS Gateway" permission away from a reseller from the start; the "Send command" permission stays on, just like in any other account, and it is only turned off if their parent account takes it away. Simple rule: if the person only has to look at their vehicles, "User"; if they are also going to manage other people's accounts, "Manager"; and "Reseller" only for someone who is going to sell the service to third parties and generate a bill for you. It is required. | Required |
| The «Group*:» field | The ACCOUNT TYPE, and who sees what depends on this. It offers the options your account is authorised to create: among them may be "User", the simplest account and the one given to the end customer (they sign in, see on the map only the vehicles you tick for them, and cannot create or see other people's accounts), or "Manager", who can also create and manage accounts below theirs and share vehicles with them. It is what you give to the fleet supervisor of a company with several drivers or guards. Simple rule: if the person only has to look at their vehicles, "User"; if they are also going to manage other people's accounts, "Manager". It is required. | Required |
| The «Available maps:» field | The maps the person will be able to choose: "Basic", "Street", "Hybrid", "Dark map", "Normal", "Satellite", "Terrain", "Traffic" and "Hybrid traffic". They all come ticked; the usual thing is to leave them like that. It can be left empty. | Can be left empty |
| The «Device limit:» field | How many vehicles at most that account can have. If you do not tick the box on the left, it is left with no cap and the list shows "Unlimited". With some account types the screen warns that it is advisable to set a cap. It can be left empty. | Can be left empty |
| The «Expiry date:» field | Until which day that account can sign in. If you do not tick the box on the left, it is left with no date and the list shows "Unlimited". It can be left empty. | Can be left empty |
| The «Change password» field | Choose one of the two: "Auto-generate", and the platform makes up the password; or "Manual", and then you type it in "Password:" and repeat it in "Confirm password:". It is required. | Required |
| The «Send "Account created" email» box | It comes ticked. Ticked, the platform sends the person an email telling them they now have an account. Untick it only if you are going to hand them the details yourself. It can be left empty. | Can be left empty |
| The «Objects*:» field | It is in the "Objects" tab. It is the list of your vehicles with a box for each one. What you tick here is EXACTLY what that person will see on their map: not one more. It also has the "Select all" and "Deselect all" buttons and a magnifier to search by name. It is required. | Required |
| The «First name:» field | It is in the "Customer" tab. The person's first name. It is not asked for in the first tab, so many people miss it. It can be left empty. | Can be left empty |
| The «Surname:» field | It is in the "Customer" tab. The person's surname. It can be left empty. | Can be left empty |
| The «Personal code:» field | It is in the "Customer" tab. An ID number or an internal code of yours. It can be left empty. | Can be left empty |
| The «Date of birth:» field | It is in the "Customer" tab. It can be left empty. | Can be left empty |
| The «Address:» field | It is in the "Customer" tab. The person's address. It can be left empty. | Can be left empty |
| The «Comment:» field | It is in the "Customer" tab. A large box for your own notes. It can be left empty. | Can be left empty |
| The «Company» field | It is at the end of the "Customer" tab. It is for hanging the person off a company already registered. If you have none created, the dropdown only says "-- Select --" and is left as it is. It can be left empty. | Can be left empty |
How to know it worked
Reload the users screen: the new email has to come out in the table, in green with the word "Active", with the number of vehicles you gave it in the "Devices" column and with a dash in "Last access" for as long as the person has not signed in. The definitive test is to sign out and sign in with the new user's email and password: on their map only the vehicles you ticked for them have to appear.
How to assign a vehicle to a user
A user only sees the vehicles you hand over to them. Assigning is exactly that: deciding which vehicles each person sees. It can be done two ways, and both lead to the same place: from the user's form, or from the vehicle list when you need to hand over several at once. Where it is: Top bar > ADMIN. Way 1: Users > row actions icon > Edit > Objects tab. Way 2: Objects > tick the vehicles > group actions icon > Assign selected
Where it is Top bar > ADMIN. Route 1: Users > row actions icon > Edit > Objects tab. Route 2: Objects > tick the vehicles > actions icon
Before you start
- The user has to be created. If they do not exist yet, create them first: in the create-user window itself you already tick their vehicles.
- The vehicles have to exist in your account.
-
Enter the administration
Click ADMIN in the top bar, on the right. The administration screen opens with Users and Objects in the left column.
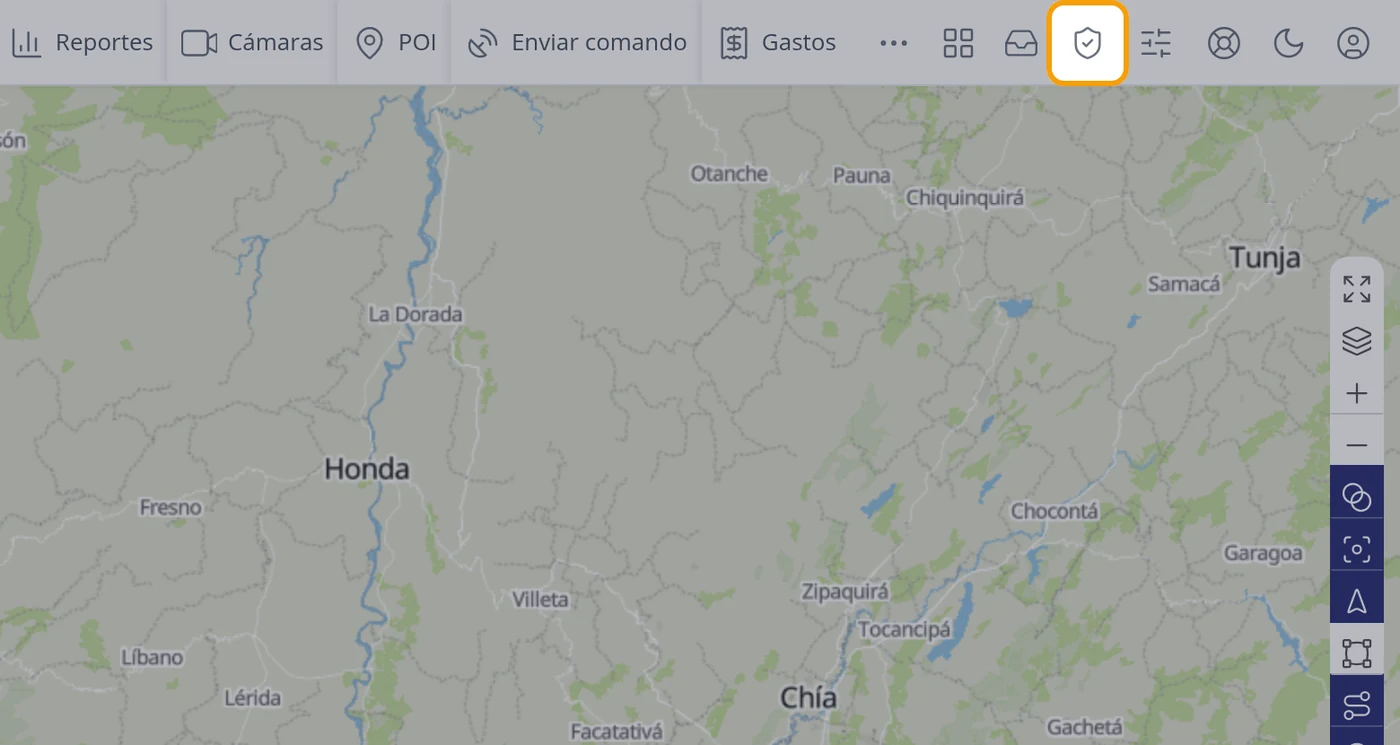
-
Open the user list
In the list each user appears with their email and, in the Devices column, how many vehicles they have been given today.
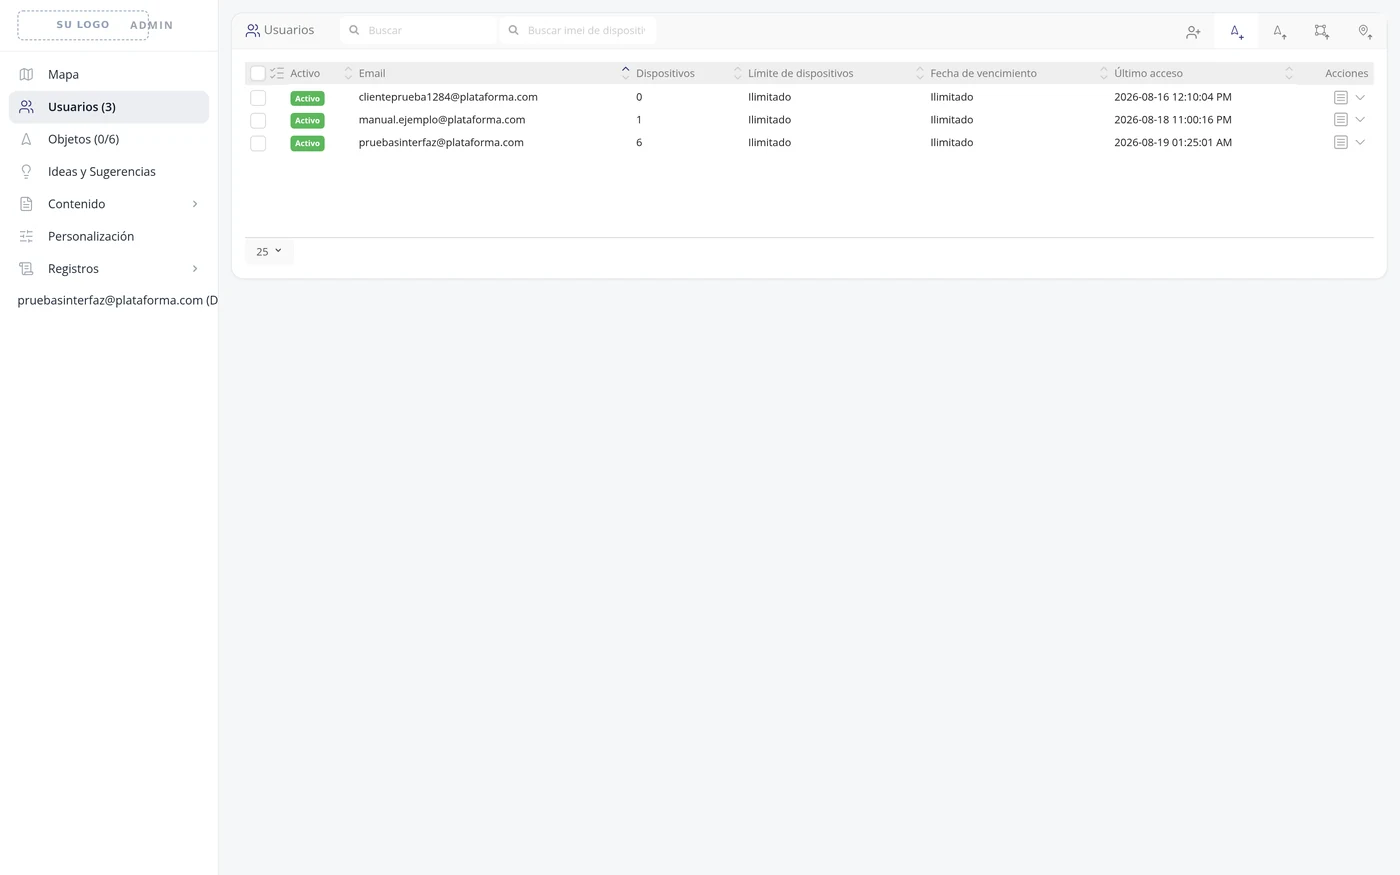
-
Open that user's actions
To the right of their row, in the Actions column, click the first icon. A small menu unfolds.
CarefulThe actions are not visible until that icon is clicked. The Edit link exists but is tucked inside that menu.
-
Click Edit
The menu offers two things: Edit and Log in as.
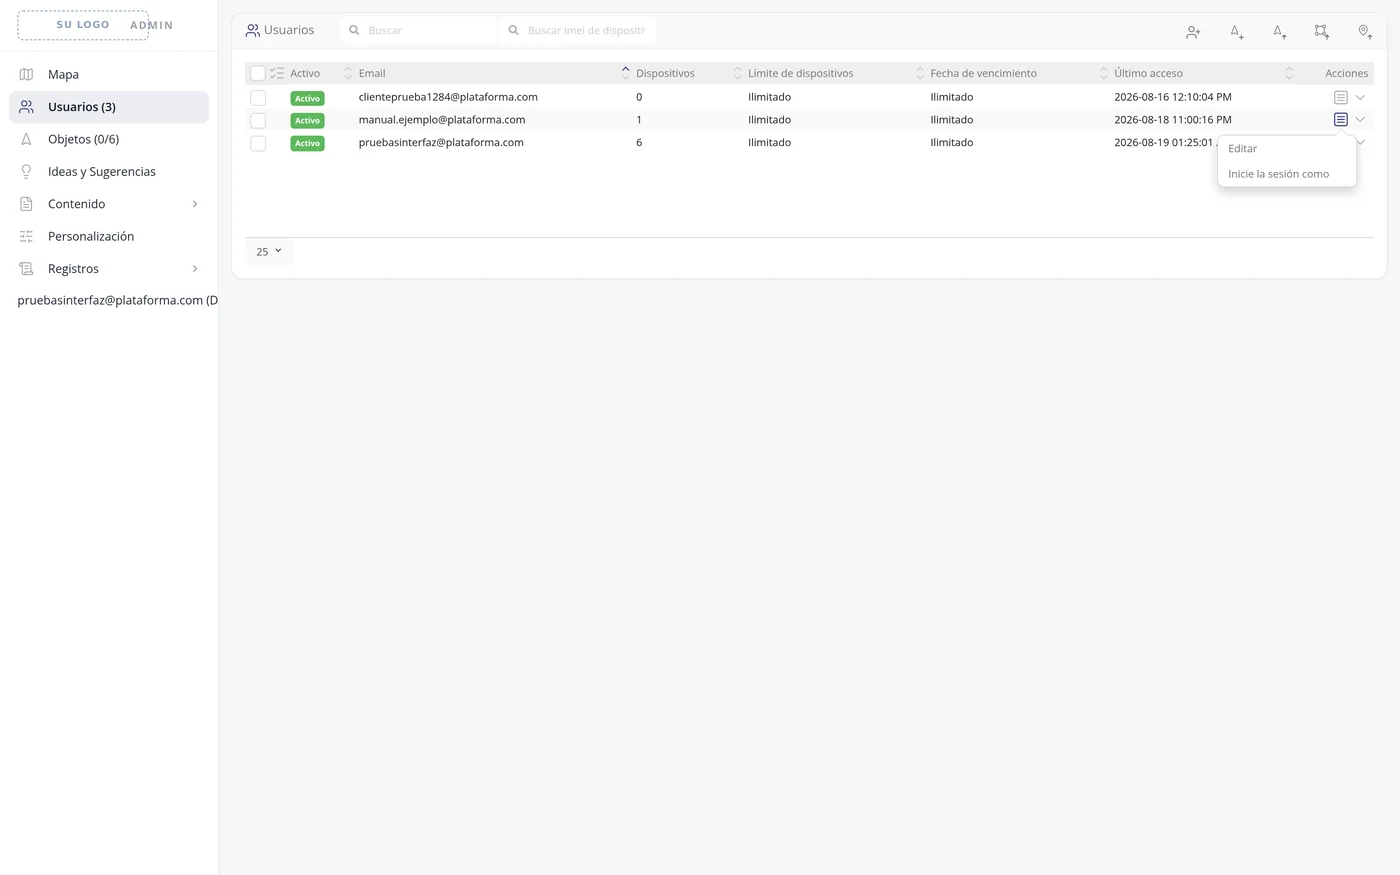
-
Recognise the user file
A window called Edit opens with five tabs: Main, Permissions, Objects, Customer and API.
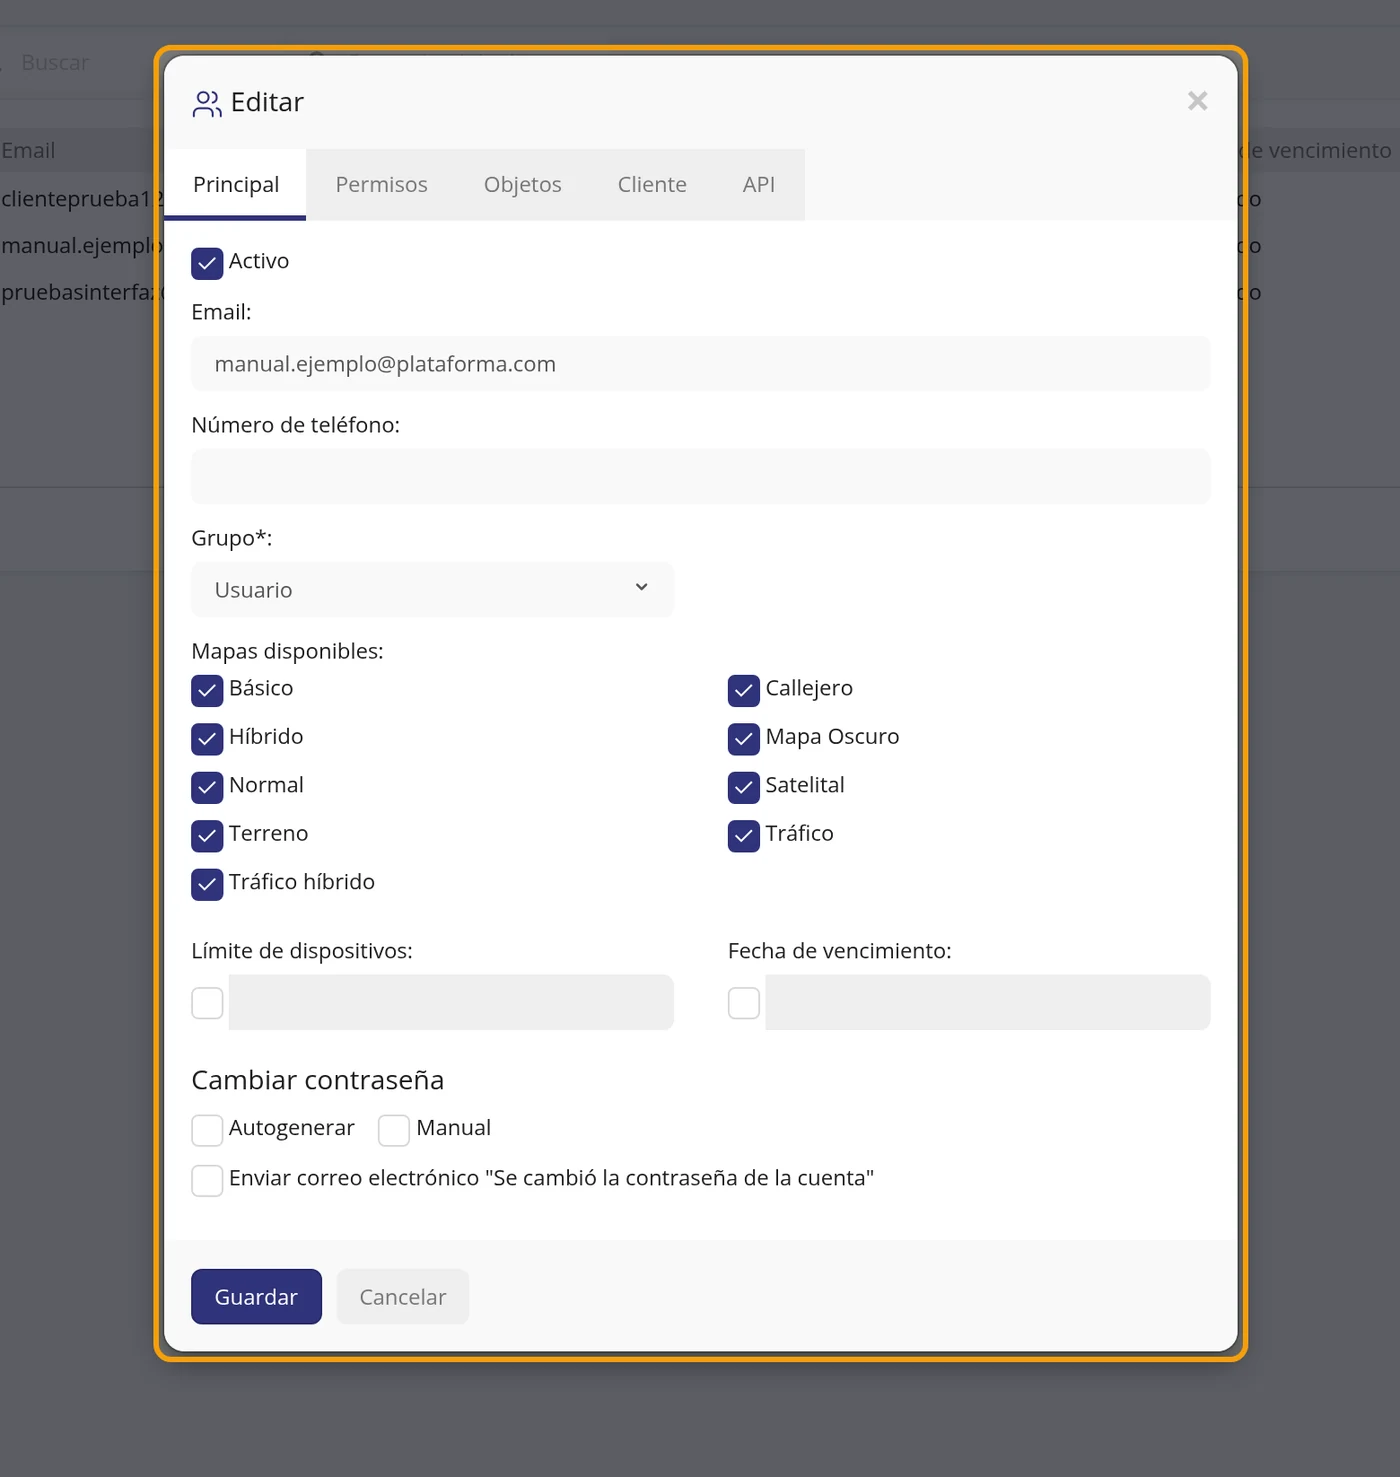
-
Go to the Objects tab
It is the third one.
-
See the vehicle list
The list comes already unfolded, with a box per vehicle and separated by groups. At the top it has Select all, Deselect all and a magnifier to search. The ones the user already has appear with the box ticked.
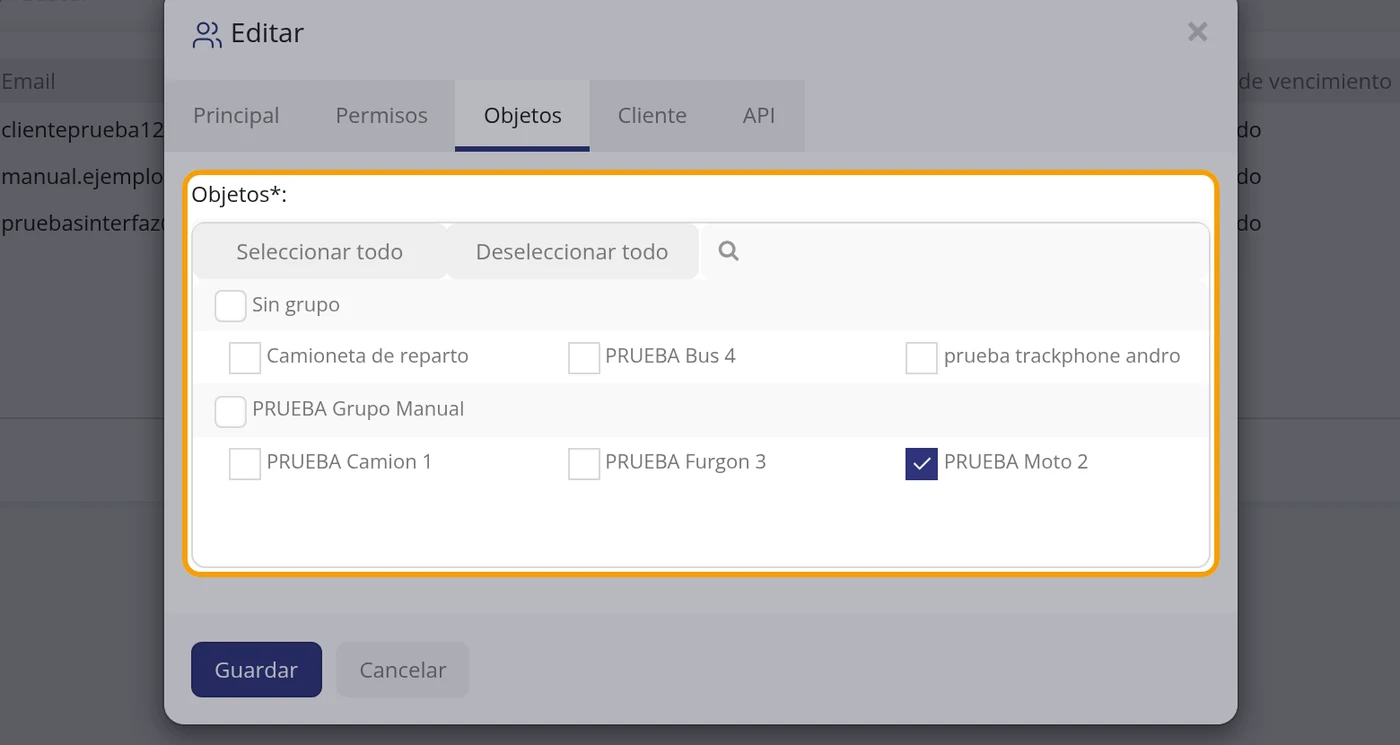
-
Tick the vehicle you are handing over
Click on its name and the box is ticked. To hand over several, tick them all right here; to hand over all of them, use Select all.
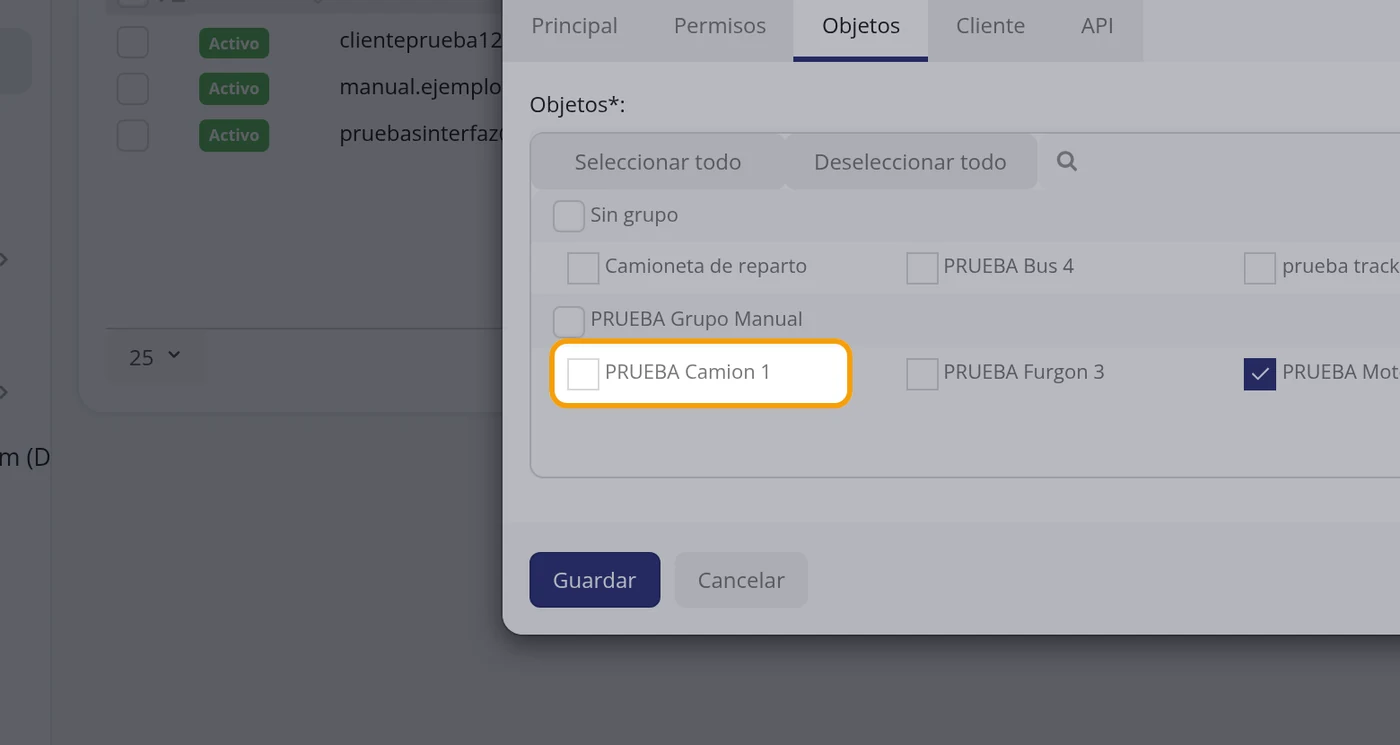
-
Check that it stayed ticked
In the test, the user had PRUEBA Moto 2 ticked and PRUEBA Moto 2 and PRUEBA Camion 1 ended up ticked.
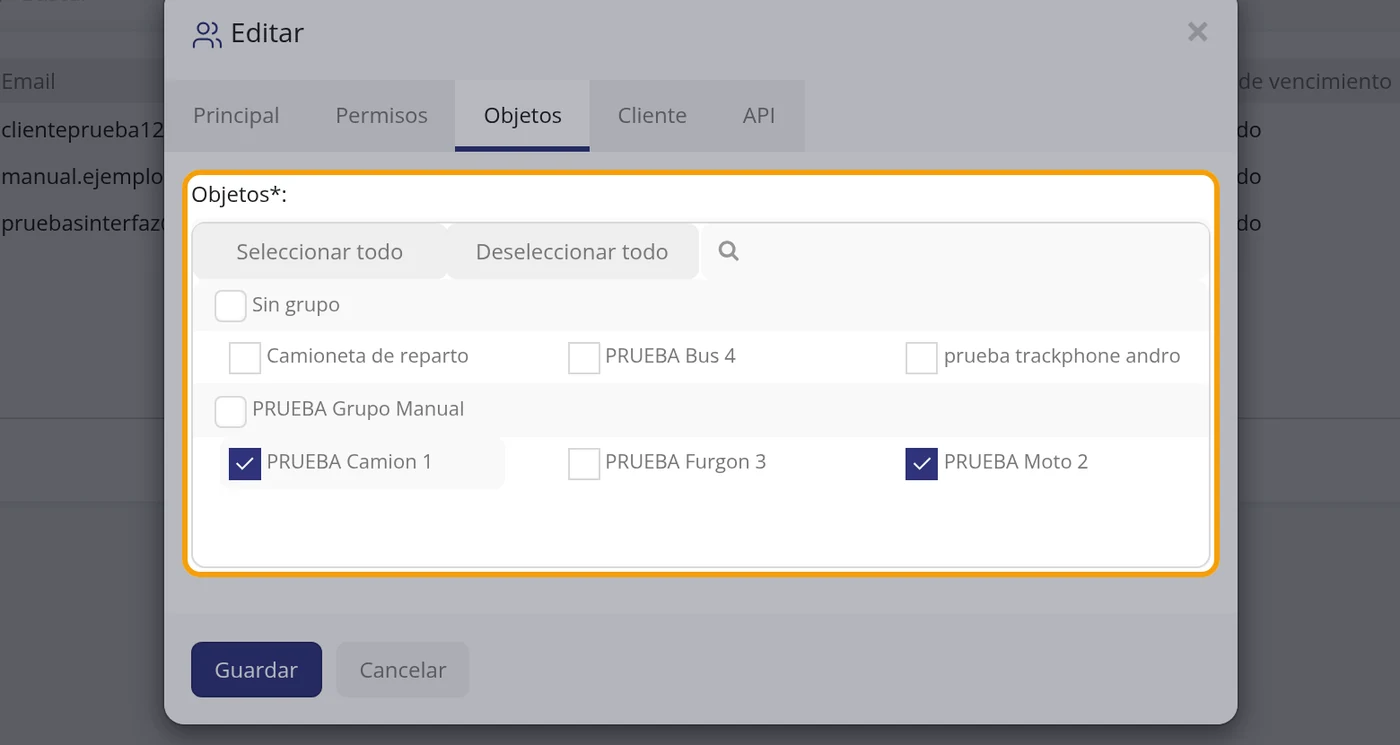
-
Click Save
The button is at the bottom left of the window.
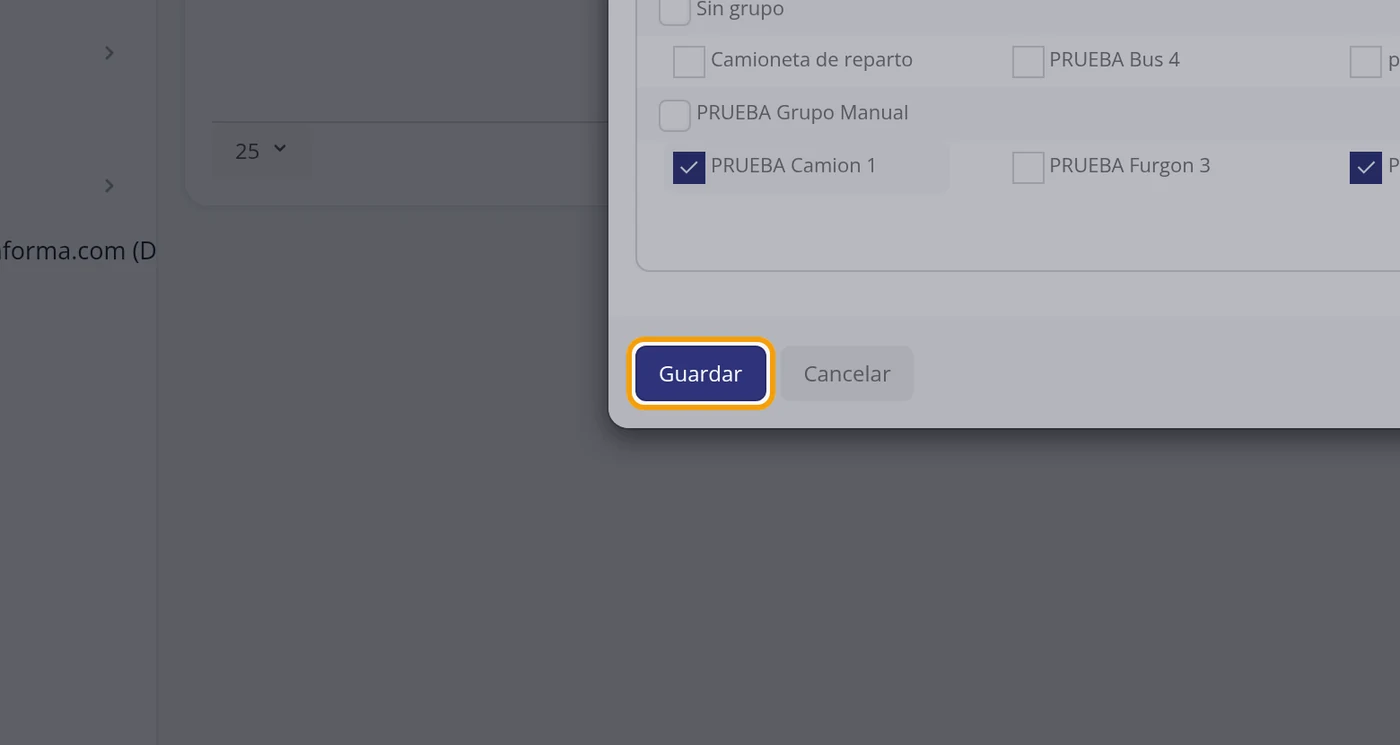
-
See the change in the list
The Devices column of that user goes up. In the test it went from 1 to 2.
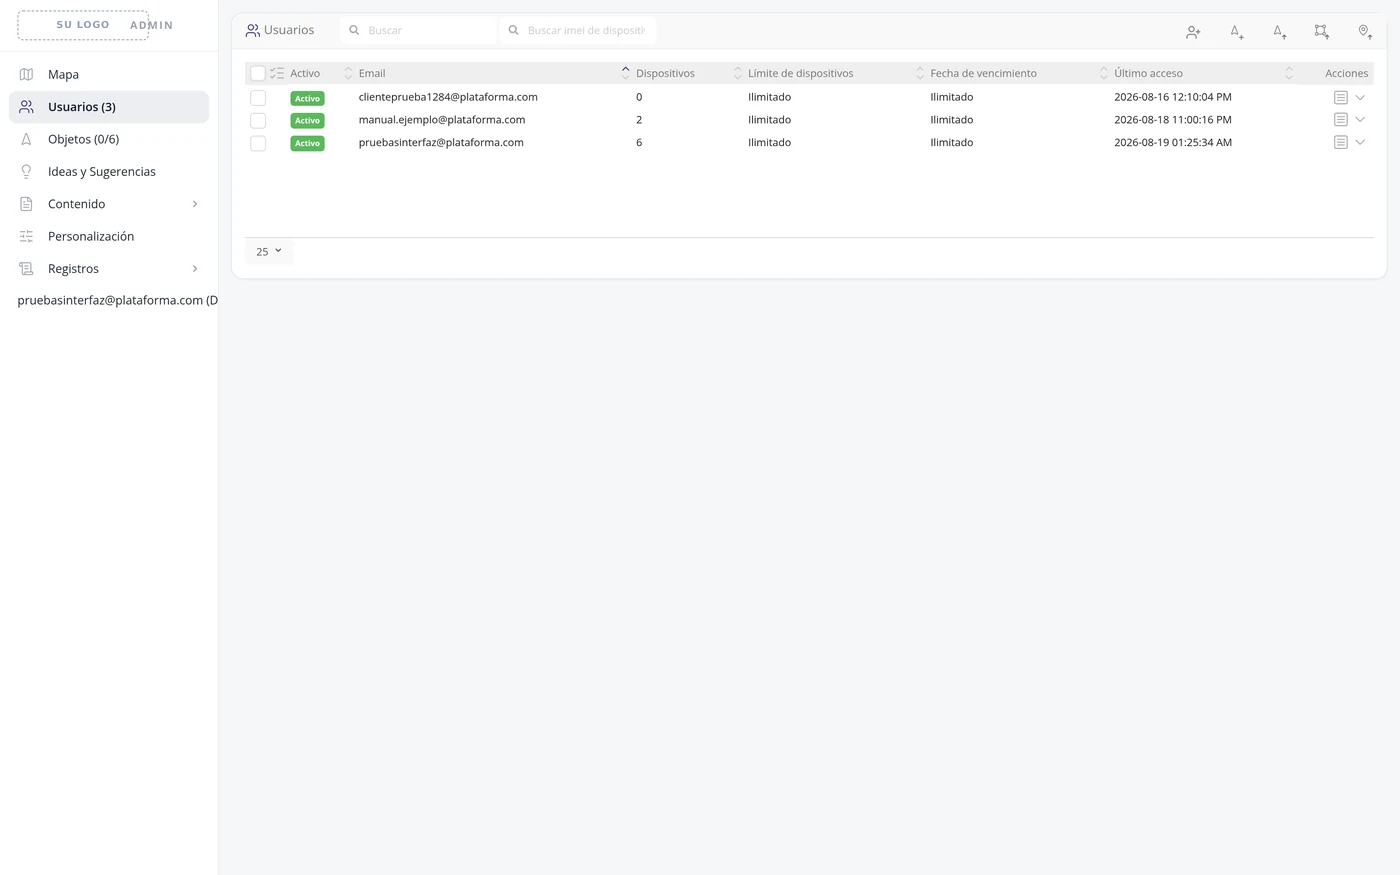
-
Check which ones they have, without opening anything
The second icon of the Actions column, the little arrow, unfolds below the row the list of that user's vehicles, with its identifier and its expiry date.
-
This is how it looks
In the test PRUEBA Camion 1 and PRUEBA Moto 2 appeared, which are exactly the ones handed over.
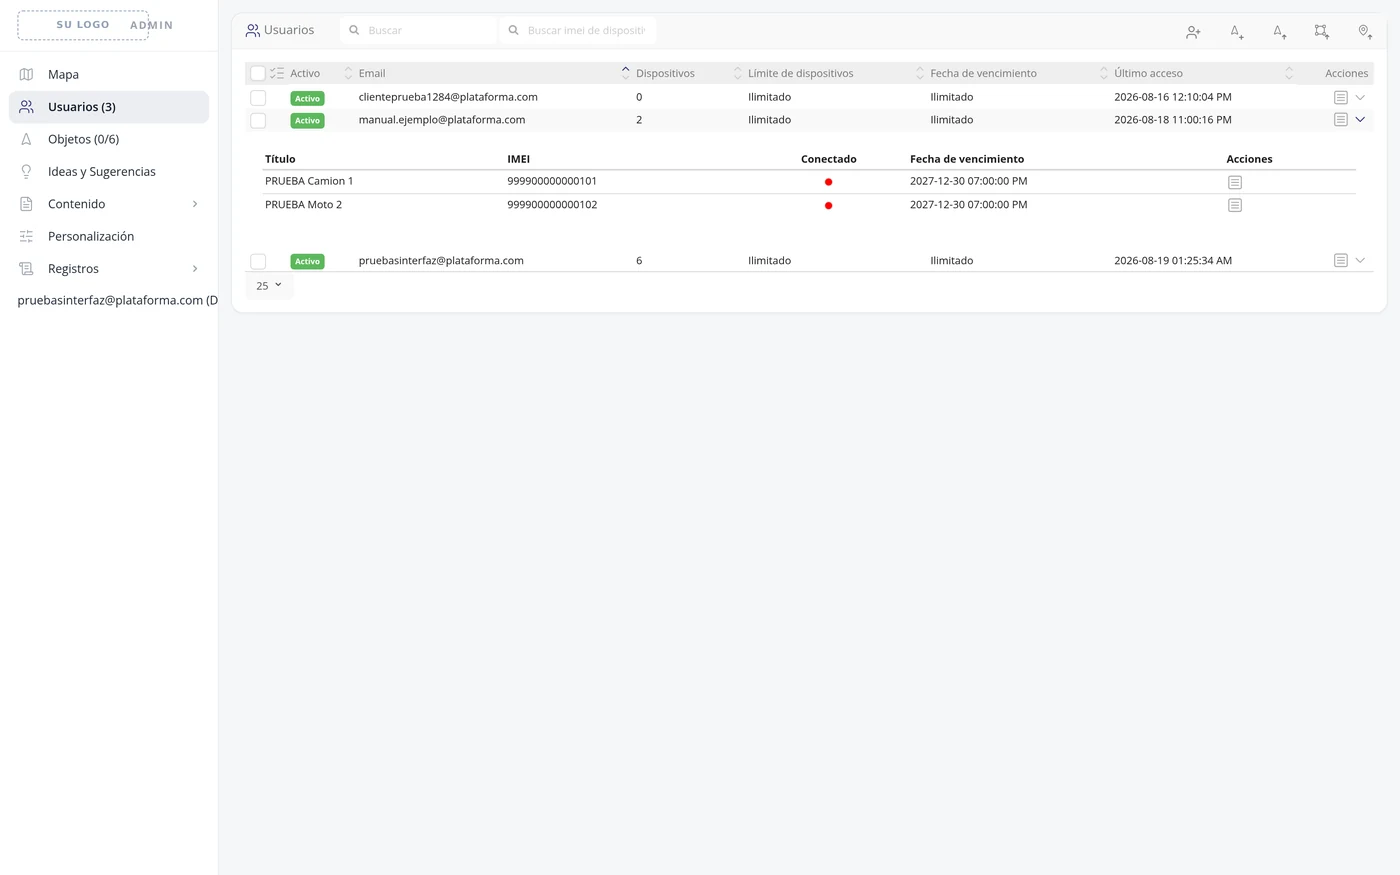
-
Path 2: several vehicles at once
When the same vehicles have to be handed over and you do not want to go in one by one, go to Objects in the left column.
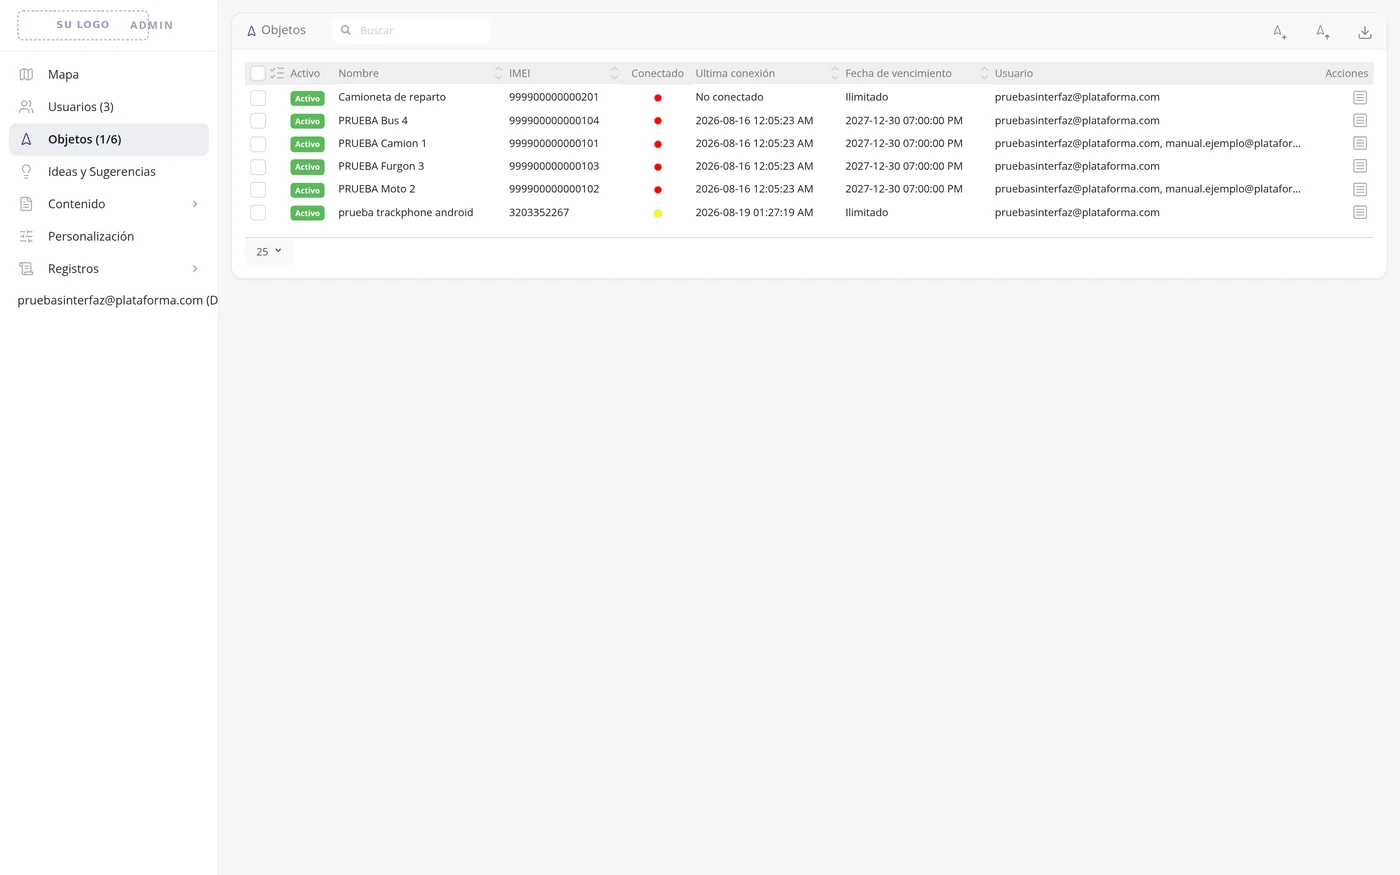
-
Tick the vehicles
Each row has a box on the left. Tick all the ones you are going to hand over.
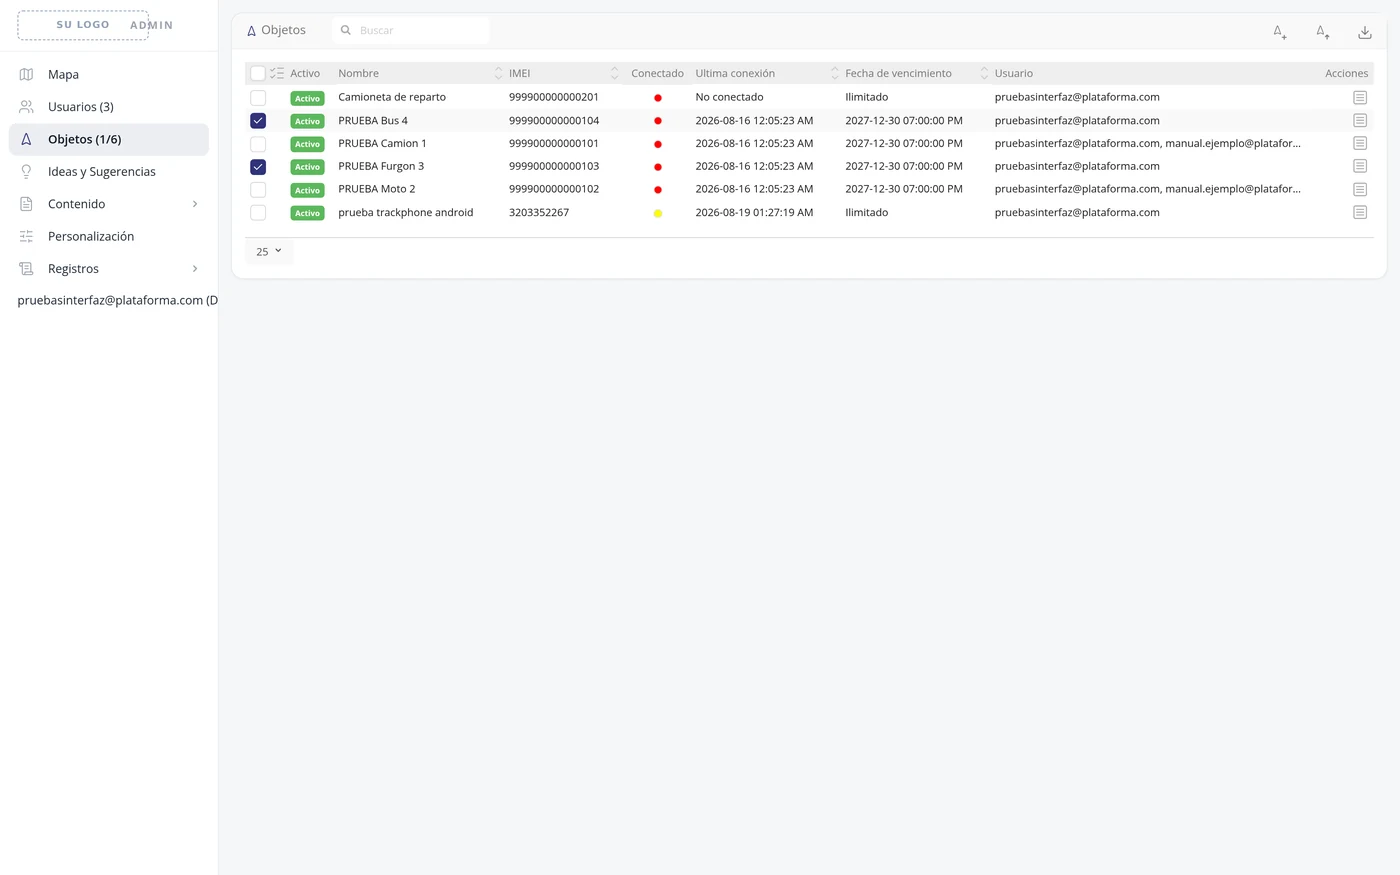
-
Open the group actions
At the very top, in the same box column, there is an icon. Clicking it brings up four actions that apply to what you ticked: Delete selected, Assign selected, Activate selected and Deactivate selected.
CarefulThe first of those four is Delete selected. It is right next to Assign selected, so look carefully at which one you click.
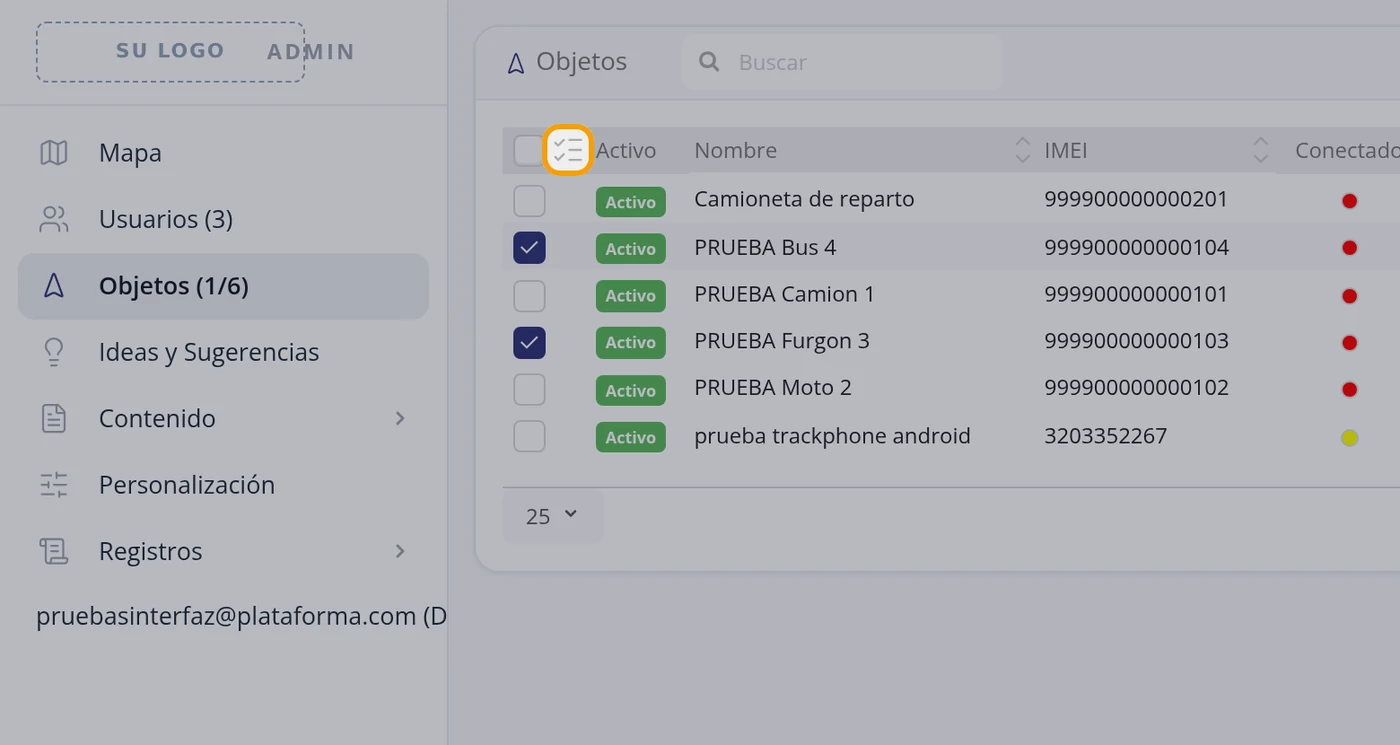
-
Click Assign selected
A window called Assign opens, with two options at the top: Append, which hands the vehicles over, and Detach, which takes them away.
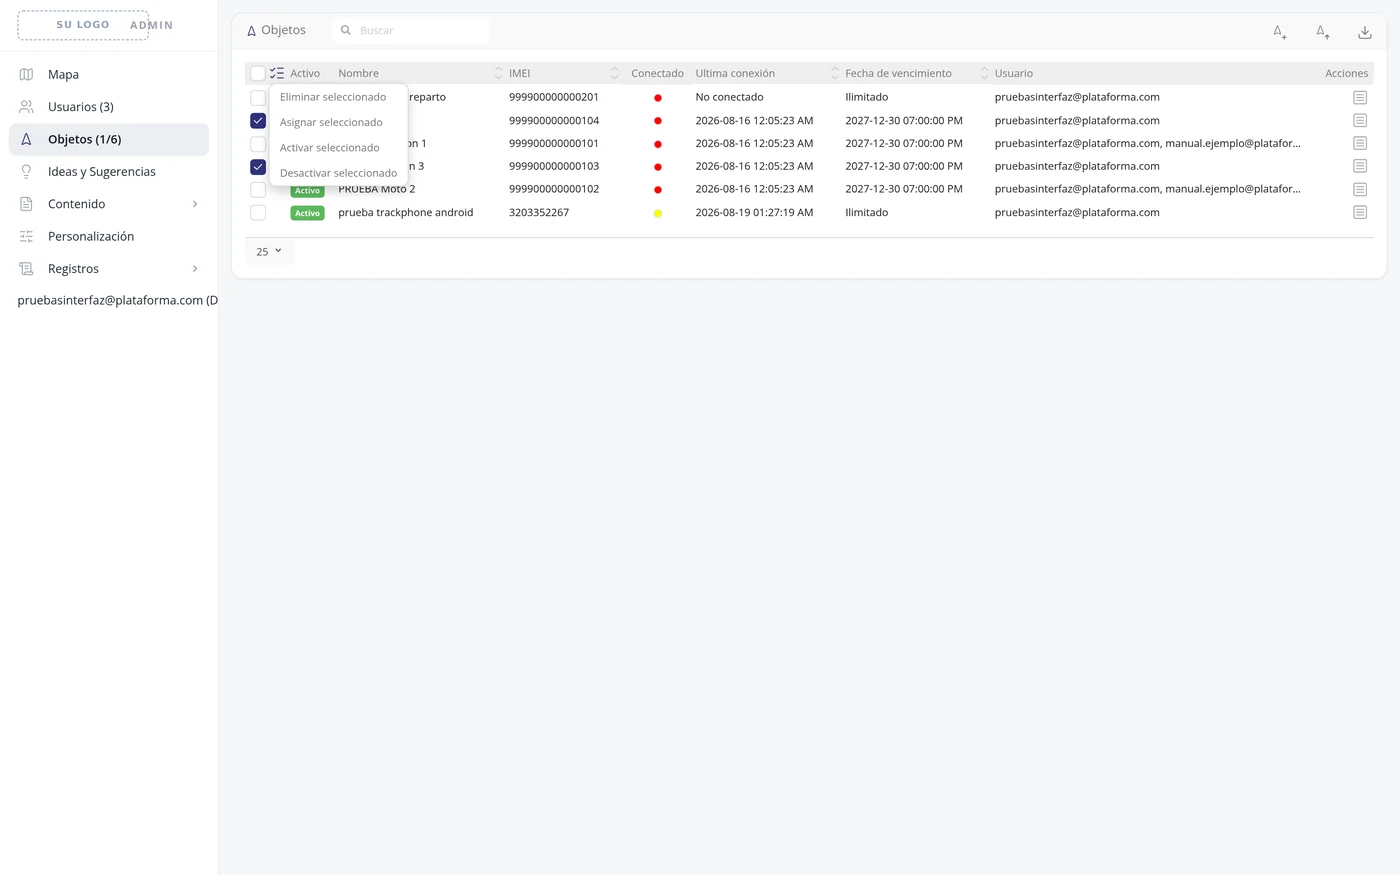
-
Recognise the window
It has a User field, which starts saying Nothing selected, and below the Confirm and Cancel buttons.
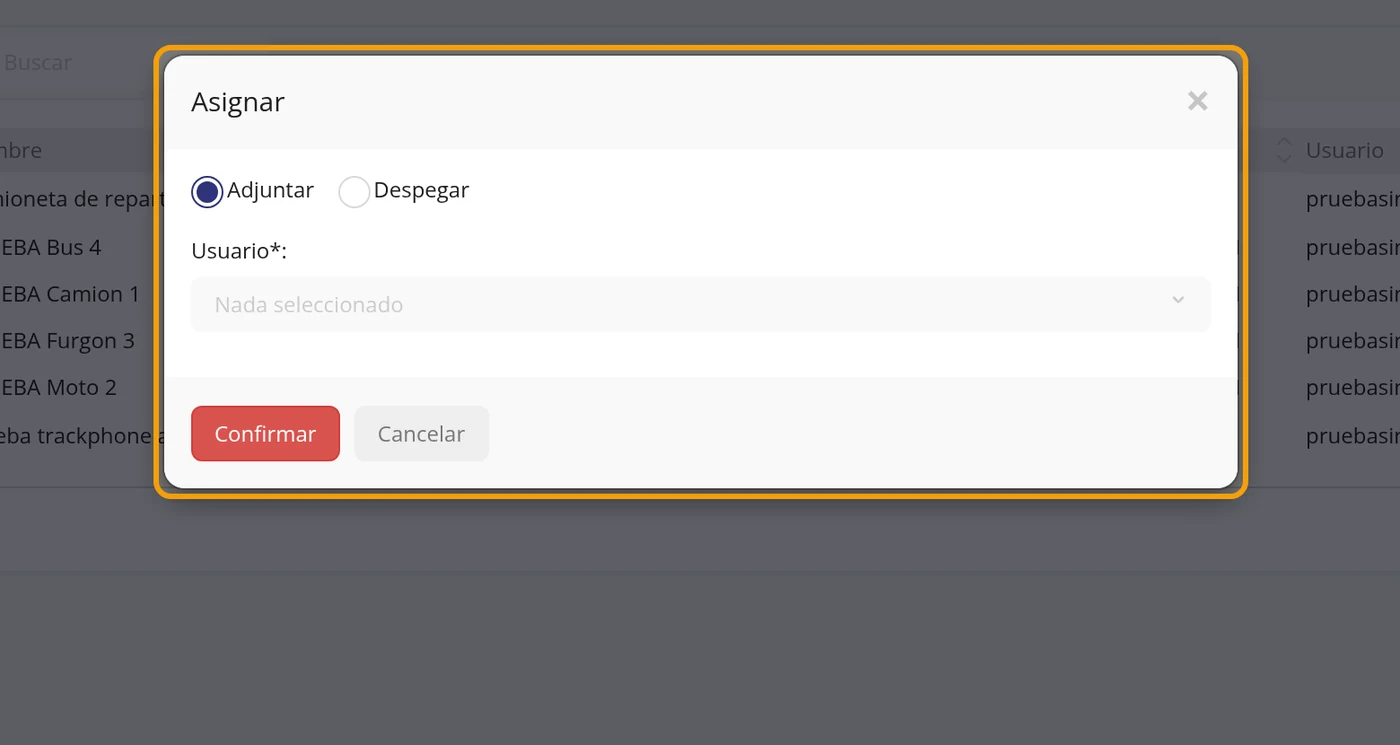
-
Choose the user
Open the User field and click the person's email. Several users can be chosen at once.
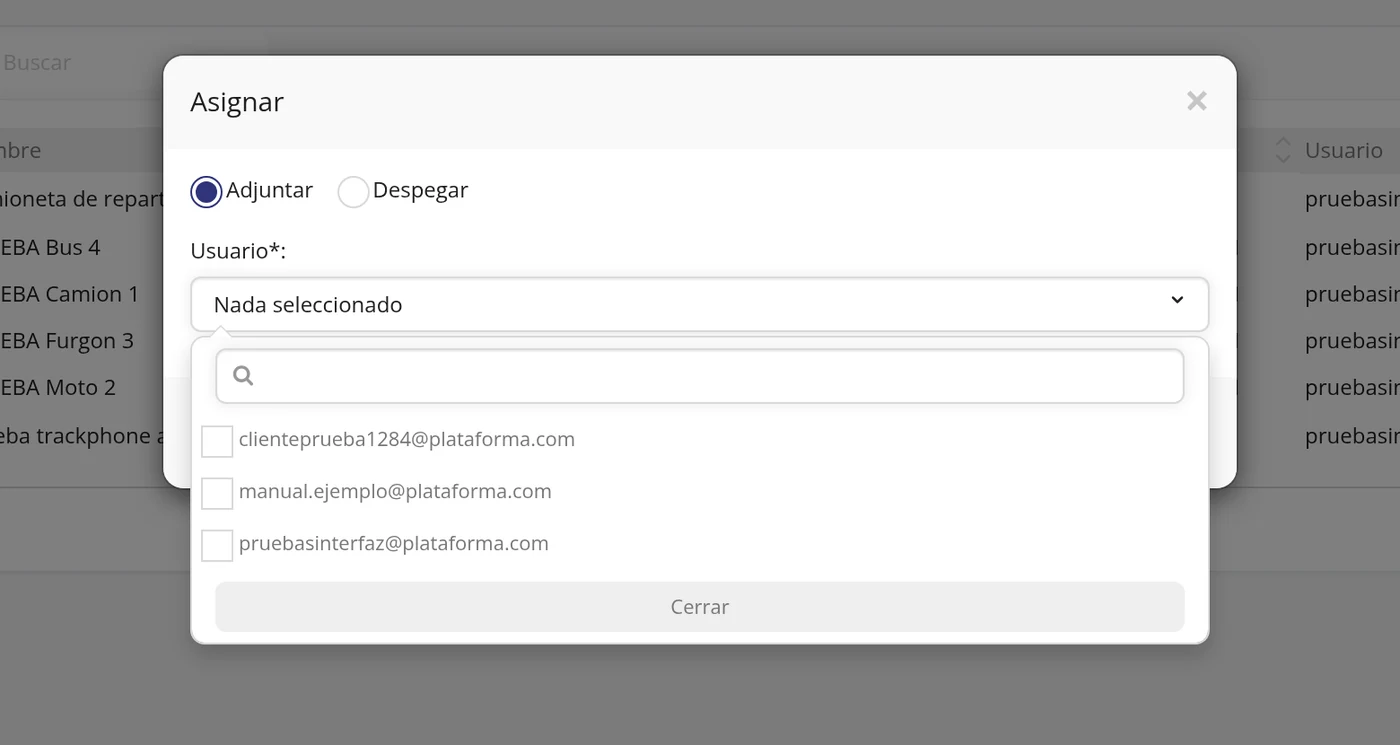
-
Close the list before confirming
The open list covers the Confirm button. Click on an empty part of the window to close it.
CarefulThis is a real trap: with the list open the click on Confirm does not get through and it looks as if the button were broken.
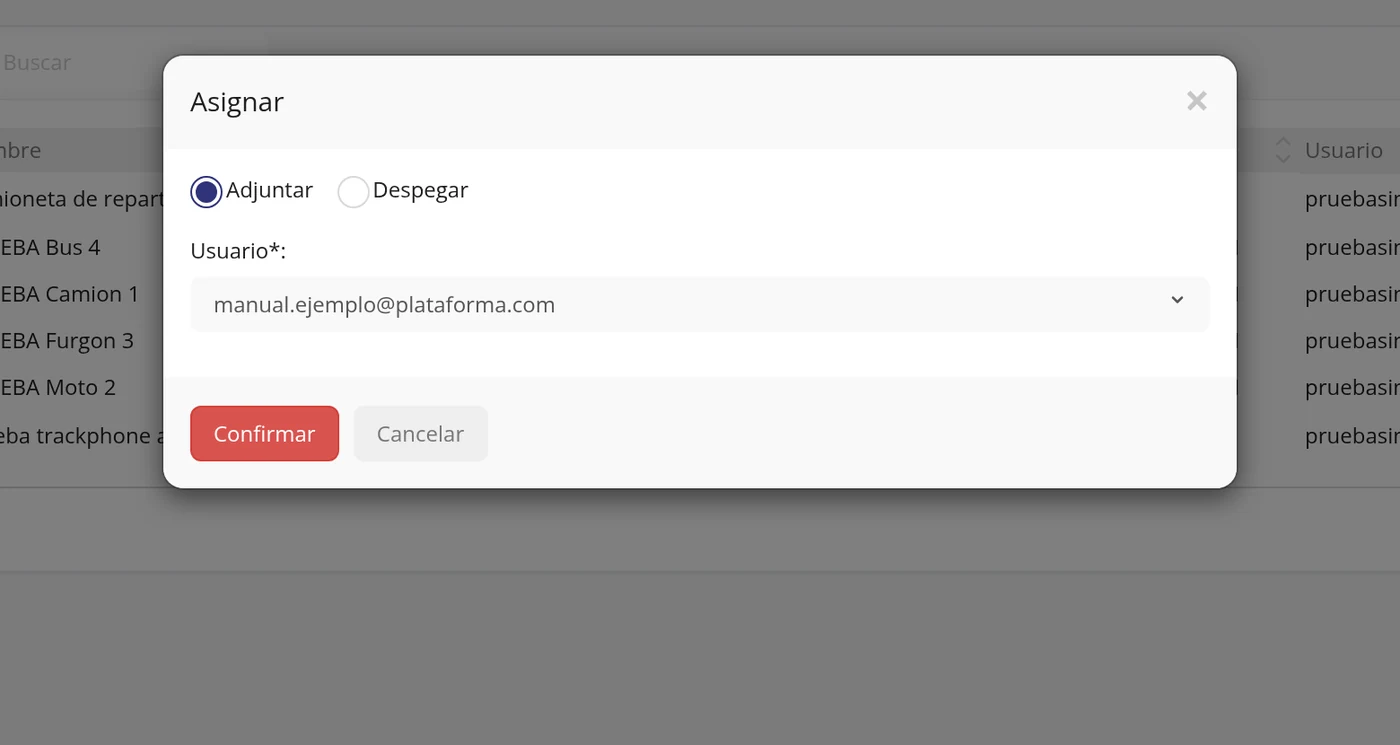
-
Click Confirm
The vehicles are handed over to that person.
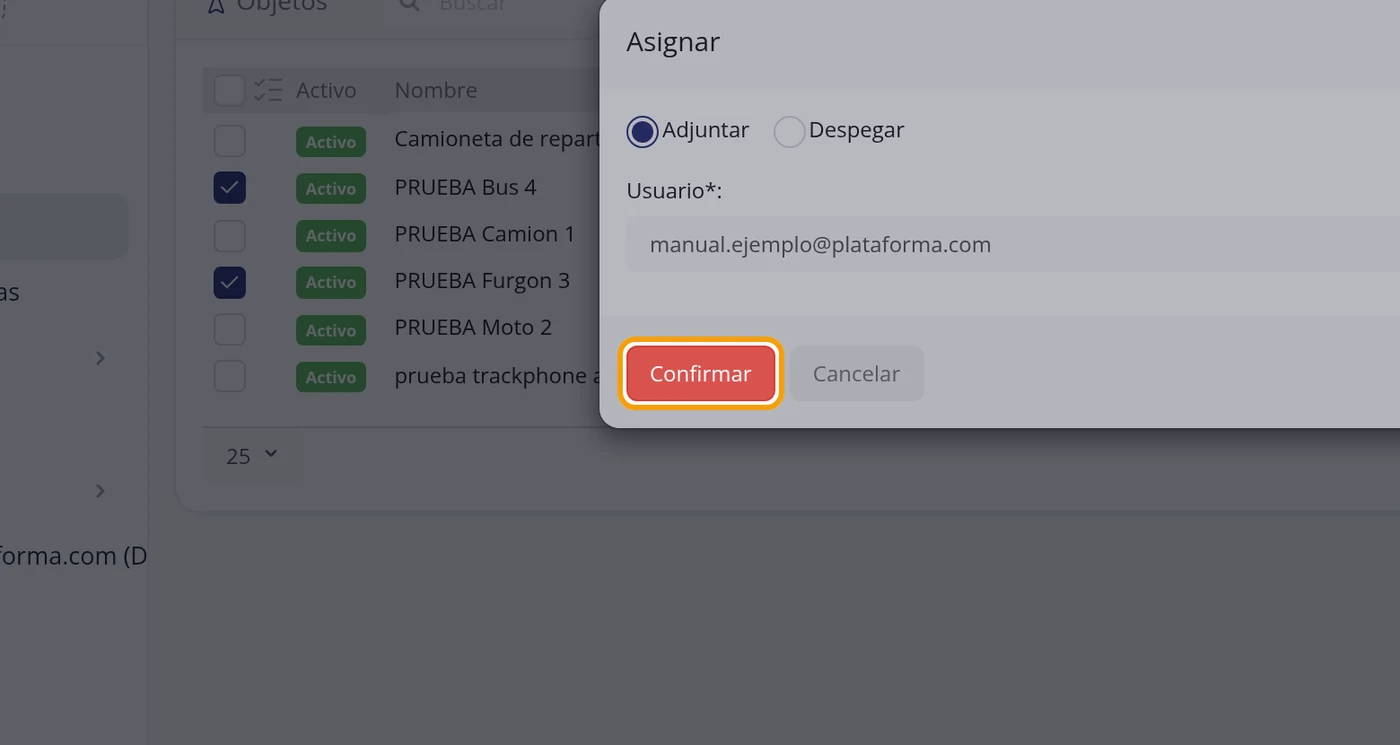
-
Check in the User column
In the Objects list, the User column of each vehicle now also names the person it was handed to. In the test, PRUEBA Furgon 3 and PRUEBA Bus 4 went from having a single user to having two.
Si el usuario todavía no existe, créelo primero →
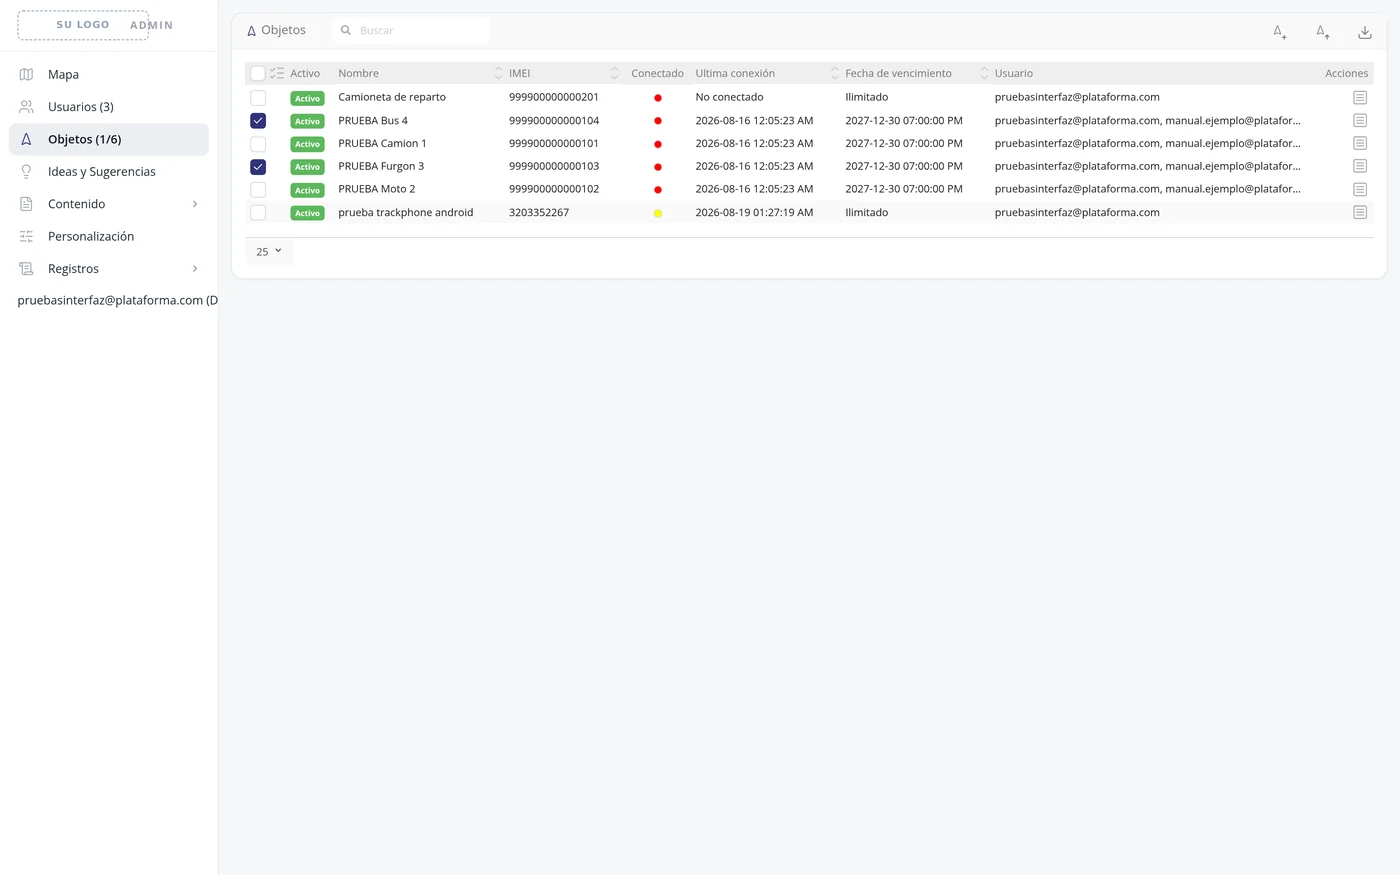
What each field asks for
| As it appears on screen | What it is | |
|---|---|---|
| The «Objects*:» field | The list of the user's vehicles, in the user file. What is ticked is what that person will see. It is required. | Required |
| The «Select all» button | Ticks all the vehicles in the list at once. It can be left empty. | Can be left empty |
| The «Deselect all» button | Unticks them all. It can be left empty. | Can be left empty |
| The «Append» button | In the Assign window: hand the ticked vehicles to that person. It can be left empty. | Can be left empty |
| The «Detach» button | In the Assign window: take them away. It can be left empty. | Can be left empty |
| The «User*:» field | Who they are handed to. It accepts more than one. It is required. | Required |
How to know it worked
In the list of users, the Devices column goes up; and the little arrow on the row shows the vehicles that user has. In the Objects list, the User column names everyone who sees that vehicle.
How to create a driver
To know who was driving, not just which vehicle moved. Once the driver is created, their details appear on the vehicle form and in the reports, and warnings can be sent to their phone. Where it is: Top bar, on the right > Settings > Drivers tab > Add driver
Where it is Top bar, on the right > Settings > Drivers tab > Add driver
Before you start
- Have the person's name and phone number to hand.
-
Click Settings in the top bar
It is the sliders icon, on the right, between ADMIN and Help.
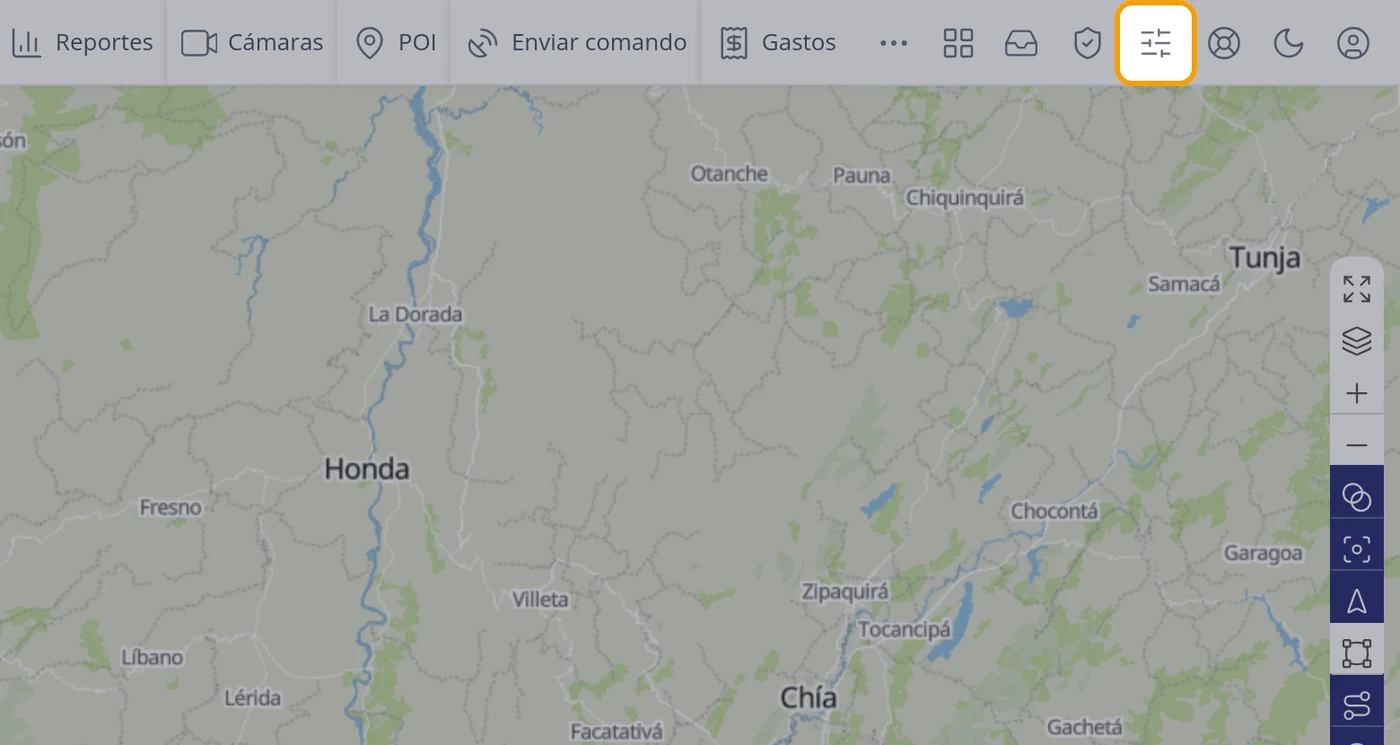
-
Go to the Drivers tab
It is the third of the ten.
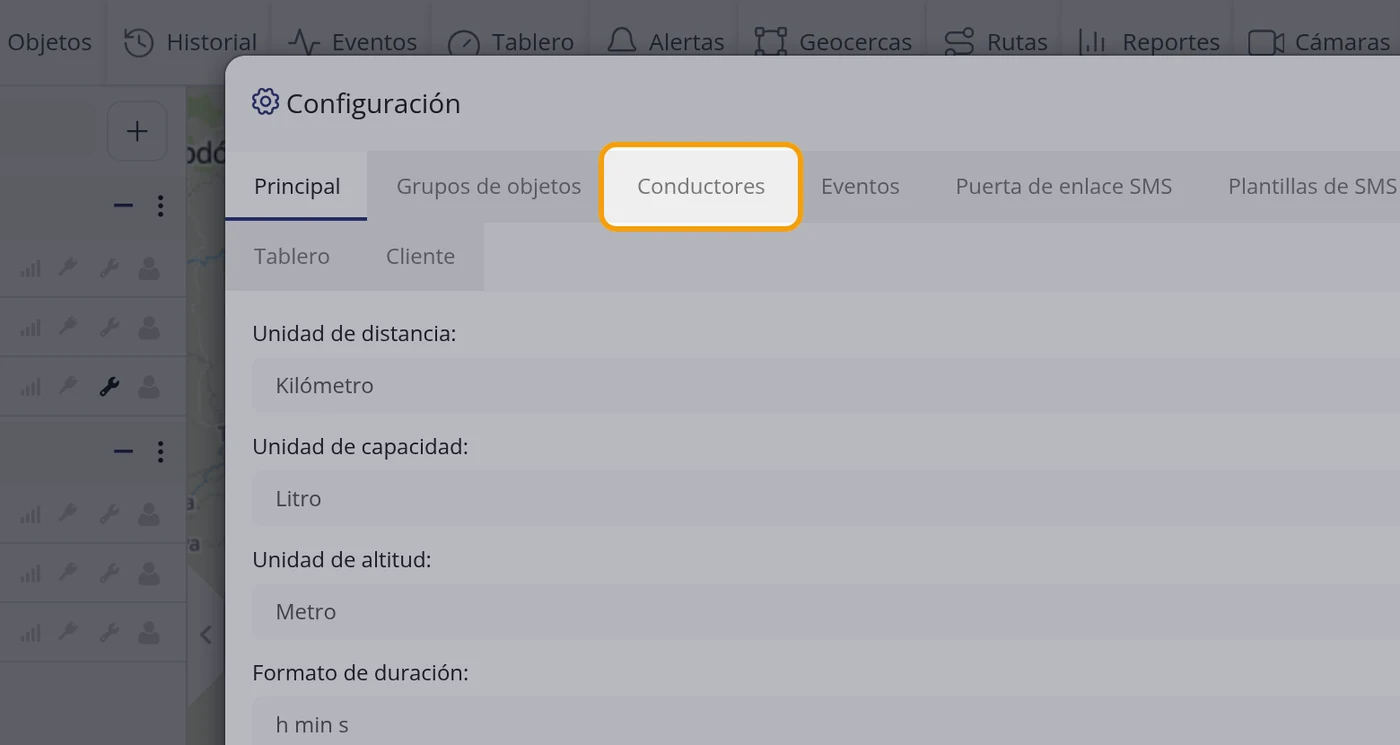
-
Look at the list
The columns are Name, Current device, RFID, Phone, Email, Description and Devices. If there is none it says: There are no drivers.
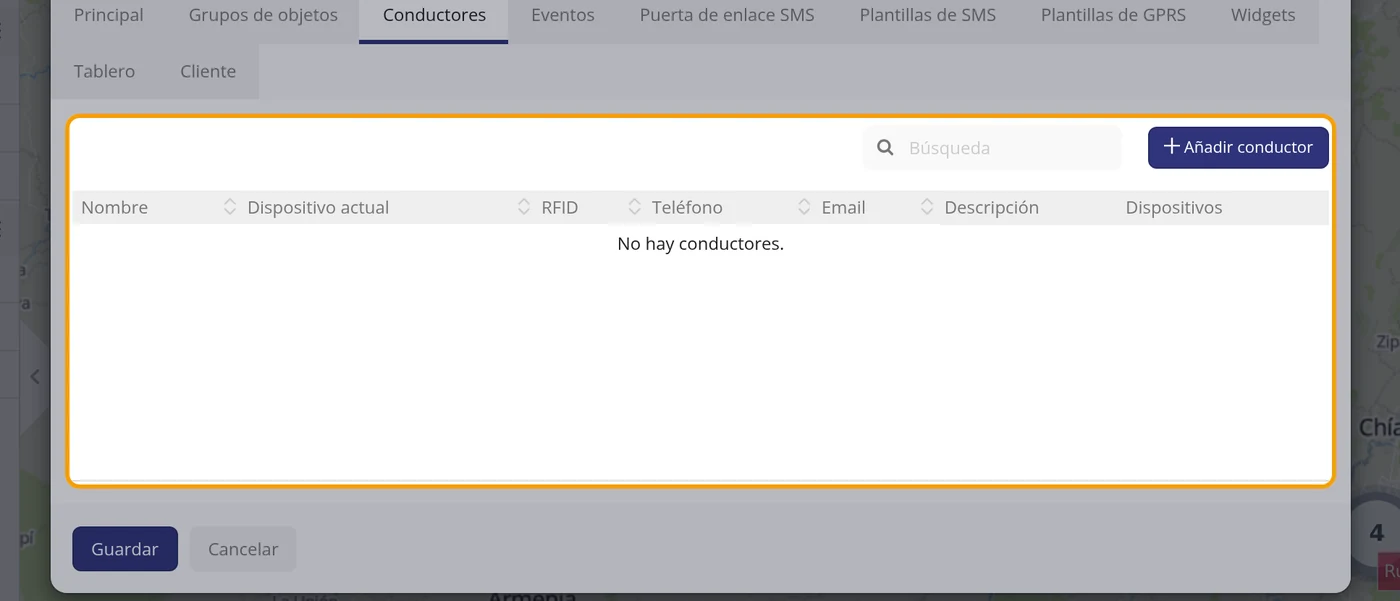
-
Click Add driver
It is above the list.
-
Fill in the form
It asks for: Name, Devices, Set as current, RFID, Phone (with country code, without the +), Email and Description. The only compulsory thing is the name.
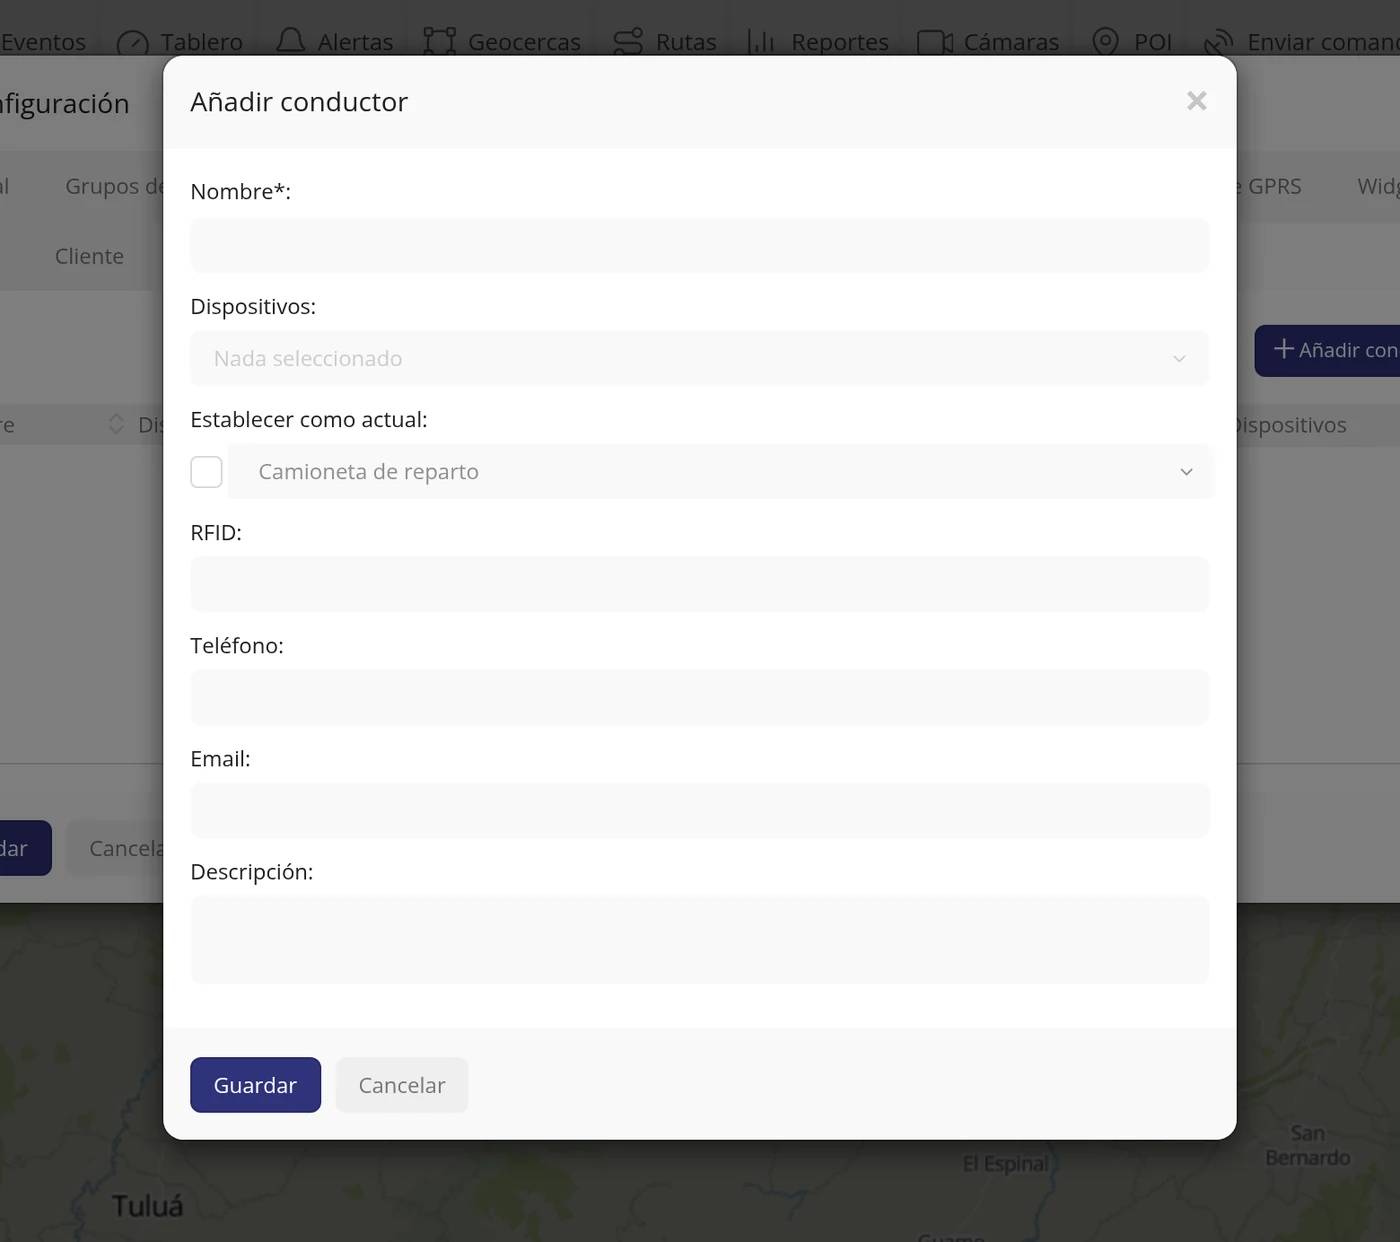
-
Type the name
Enter the name the way you want to see it later in the reports.
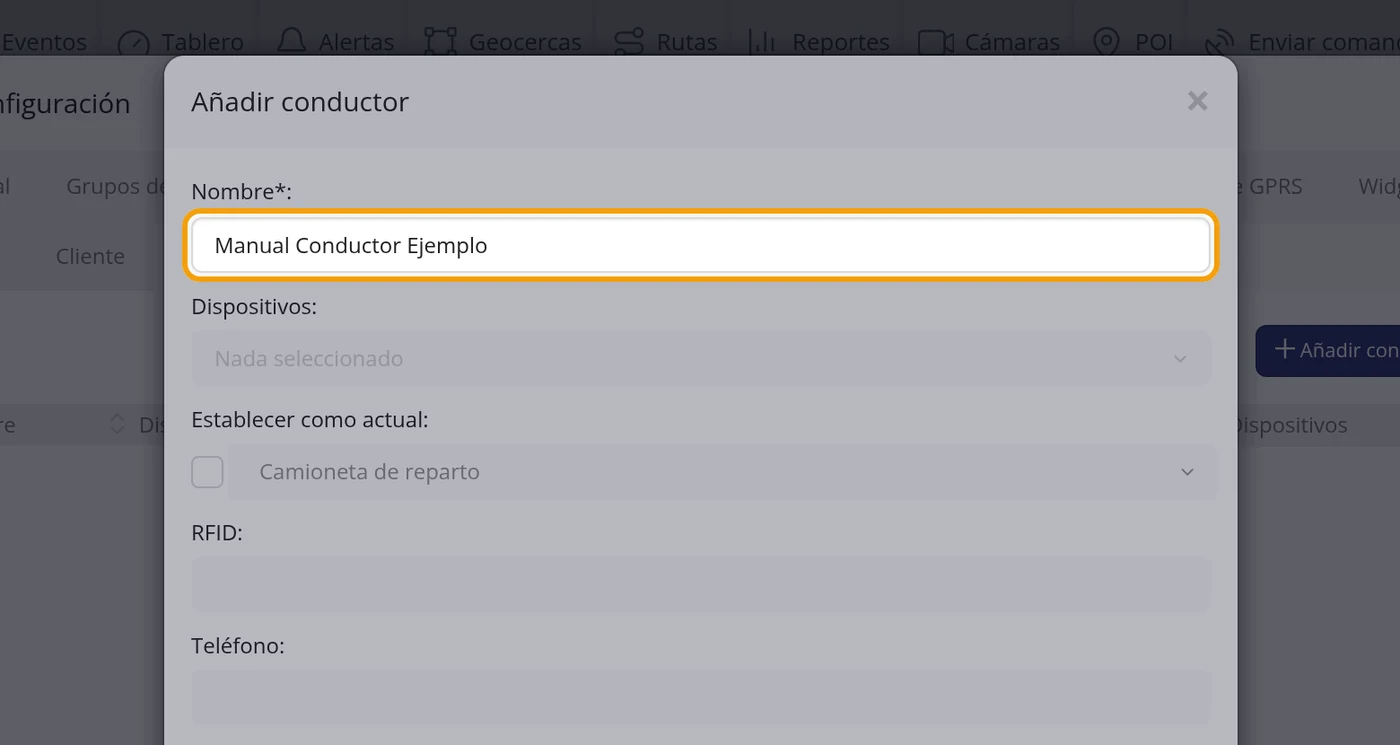
-
Type the phone
With the country code and WITHOUT the + sign. For example, for Colombia: 573001234567.
CarefulIf you add the + or write it without the country code, the warnings will not reach them.
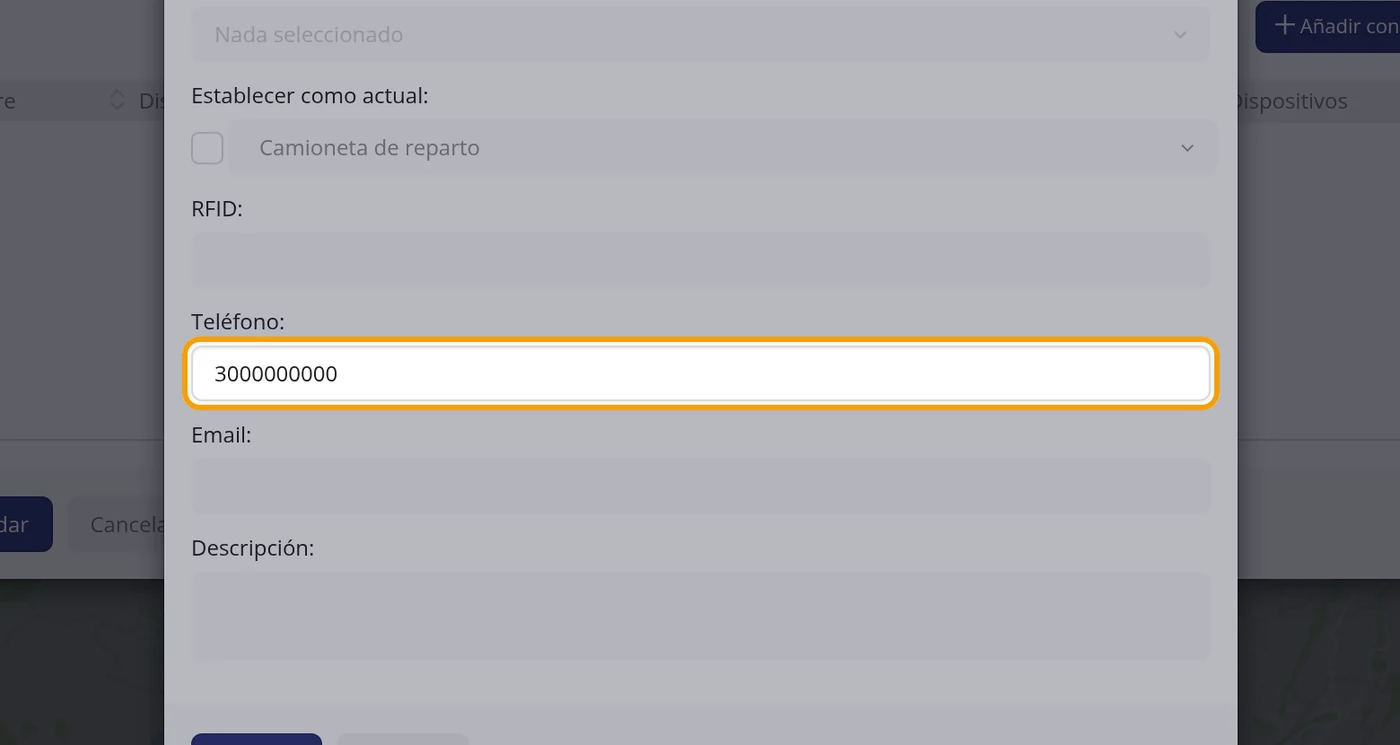
-
Click Save
The button is at the bottom of the window.
-
Check that it is saved
The row appears in the list with its name and phone, and with the links Activity log, Edit and Delete.
Los conductores también viven en la aplicación de conductores →
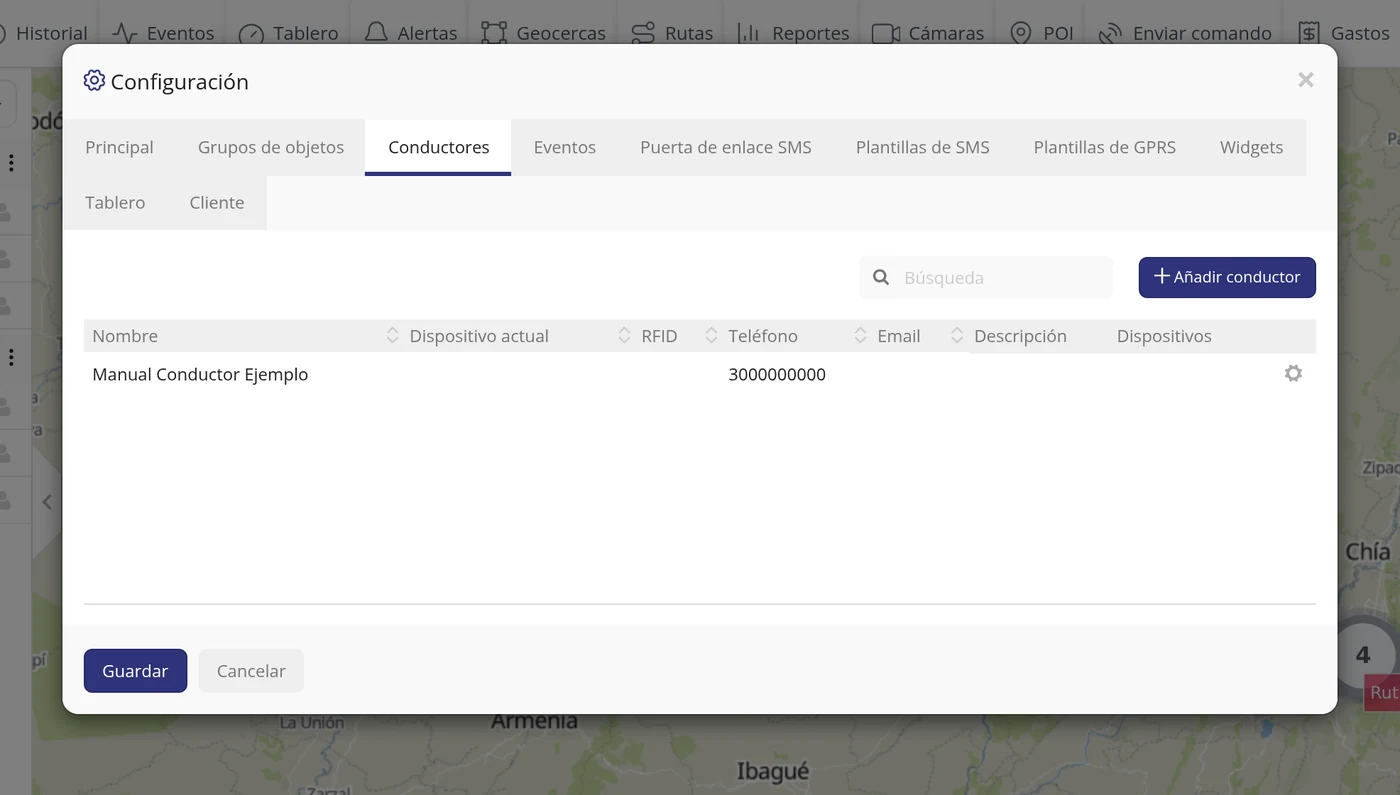
What each field asks for
| As it appears on screen | What it is | |
|---|---|---|
| The «Name*:» field | The person's name. It is the only compulsory thing. It is required. | Required |
| The «Devices:» field | Which vehicles they are linked to. It can be left empty. | Can be left empty |
| The «Set as current:» field | Marks that today they are driving that vehicle. It can be left empty. | Can be left empty |
| The «RFID:» field | The number of the card or tag they identify themselves with when getting in, if the device has a reader. It can be left empty. | Can be left empty |
| The «Phone (with country code, without the +):» field | For example, for Colombia: 573001234567. That is how the screen itself asks for it. It can be left empty. | Can be left empty |
| The «Email:» field | Their email, to send them warnings. It can be left empty. | Can be left empty |
| The «Description:» field | Whatever you want to note down. It can be left empty. | Can be left empty |
How to know it worked
The driver's row stays in the list of the Drivers tab.
Watching and being warned
How to create a geofence
A geofence is an area you draw on the map: a warehouse, a neighbourhood, the farm, the allowed route. On its own it warns of nothing; it is so that later an alert can warn you when a vehicle enters that area or leaves it. Where it is: Top bar > Geofences > blue button with the + sign (above the left panel)
Where it is Top bar > Geofences > blue + button (top of the left-hand panel)
Before you start
- Be clear which area you want to mark and know how to find it on the map.
- Nothing else needs creating first. The geofence is drawn on its own.
-
Click Geofences in the top bar
In the bar across the top of the screen, click where it says Geofences. The left panel changes and shows you the list of areas you have. If you have created none, it will say: There are no geofences.
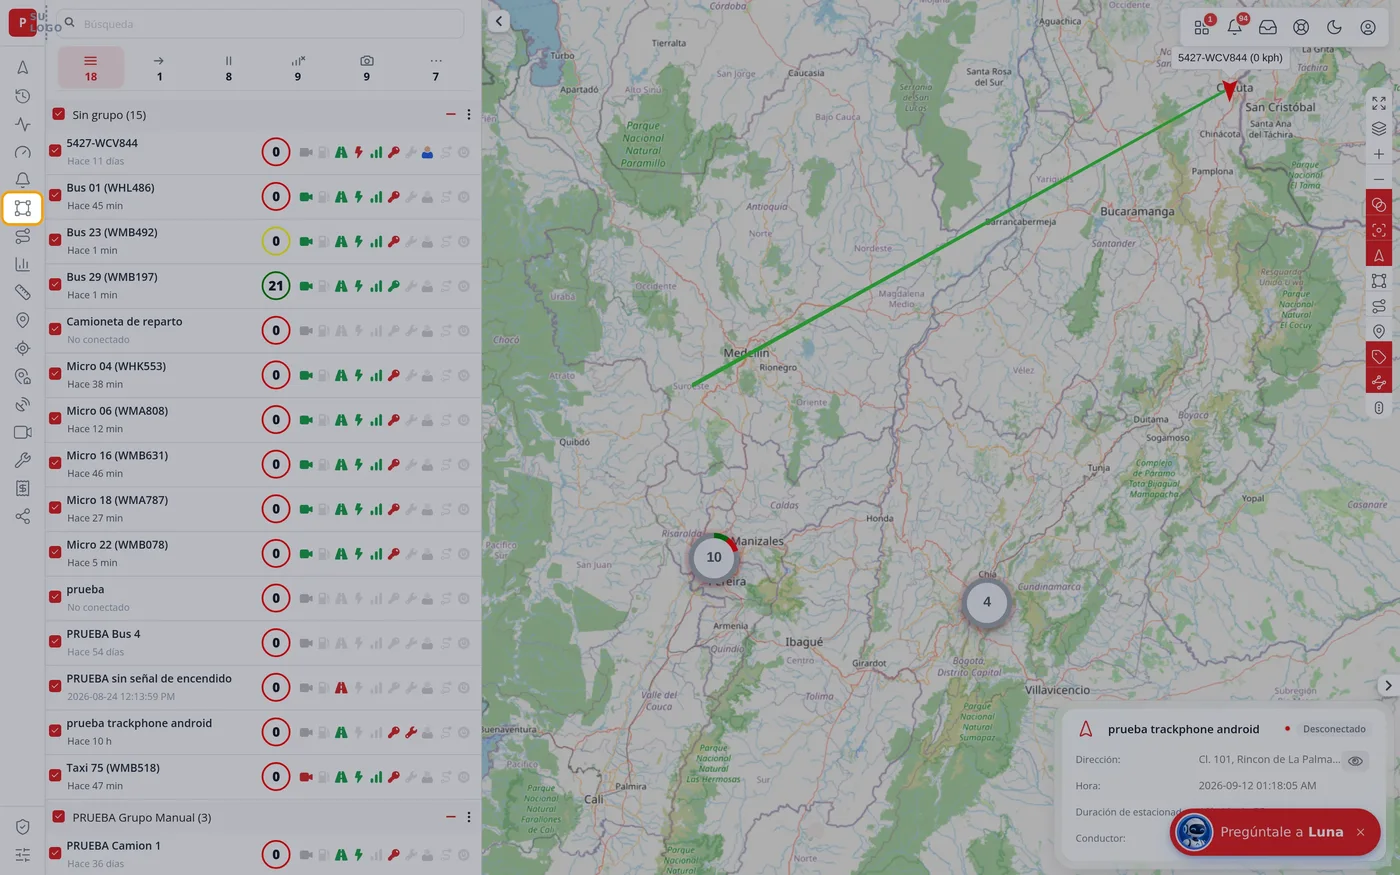
-
Click the blue + button
Above the left panel, to the right of the search magnifier, there is a blue button with a + sign. That is the one for creating. Click it.
CarefulThe grey button next to it, the gear wheel one, creates NOTHING: it is for grouping the areas you already have.
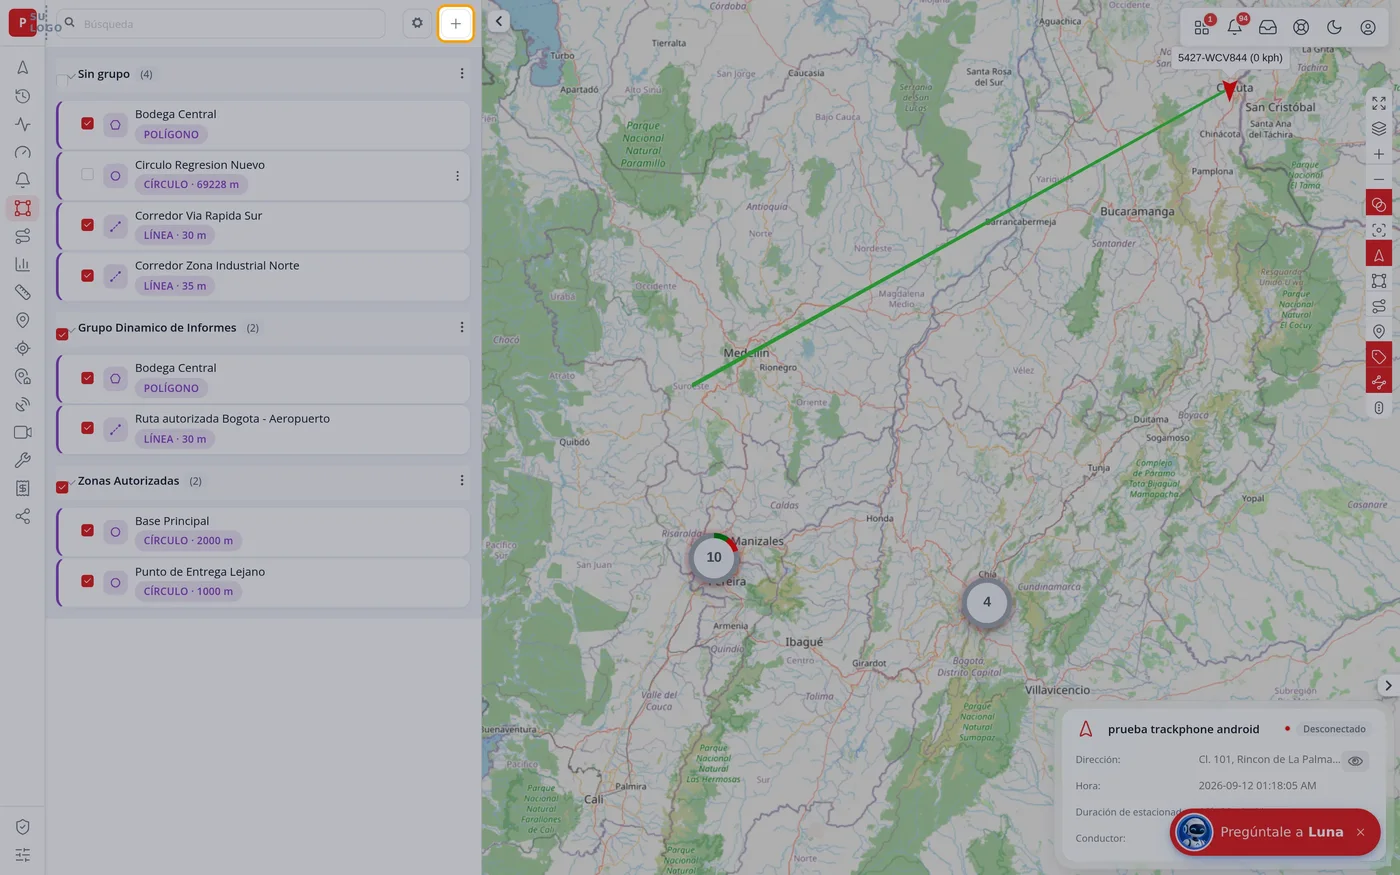
-
The form appears
The left panel turns into a form with the area data. At the top a blue notice appears saying: Please draw a polygon on the map. That is normal: you have not drawn anything yet.
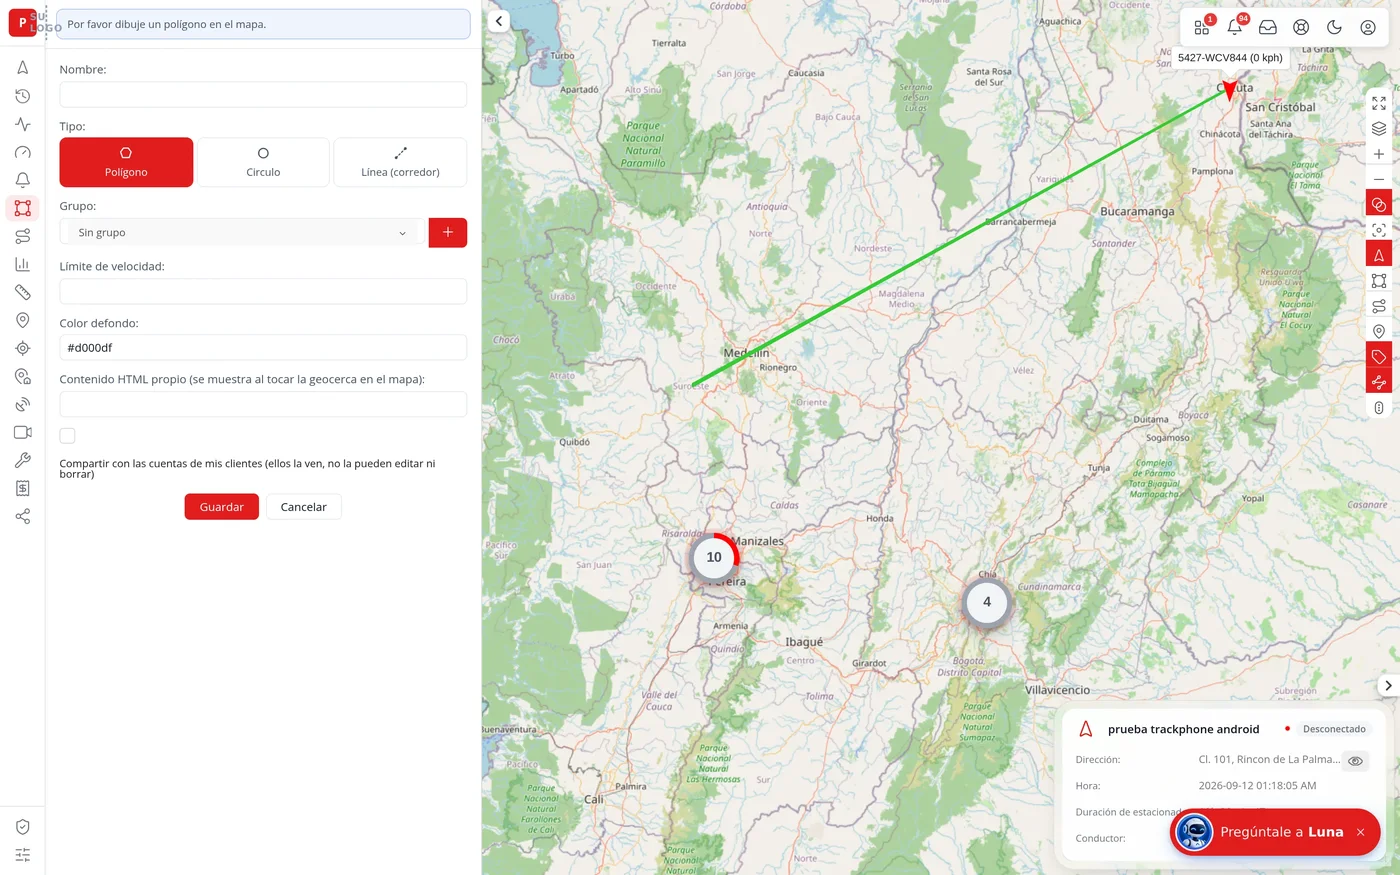
-
Type the name of the area
In the Name field type something you recognise at a glance, for example Central warehouse. That name is the one you will later see in the warnings.
CarefulGive names that speak for themselves. Zone 1 and Zone 2 will tell you nothing in six months.
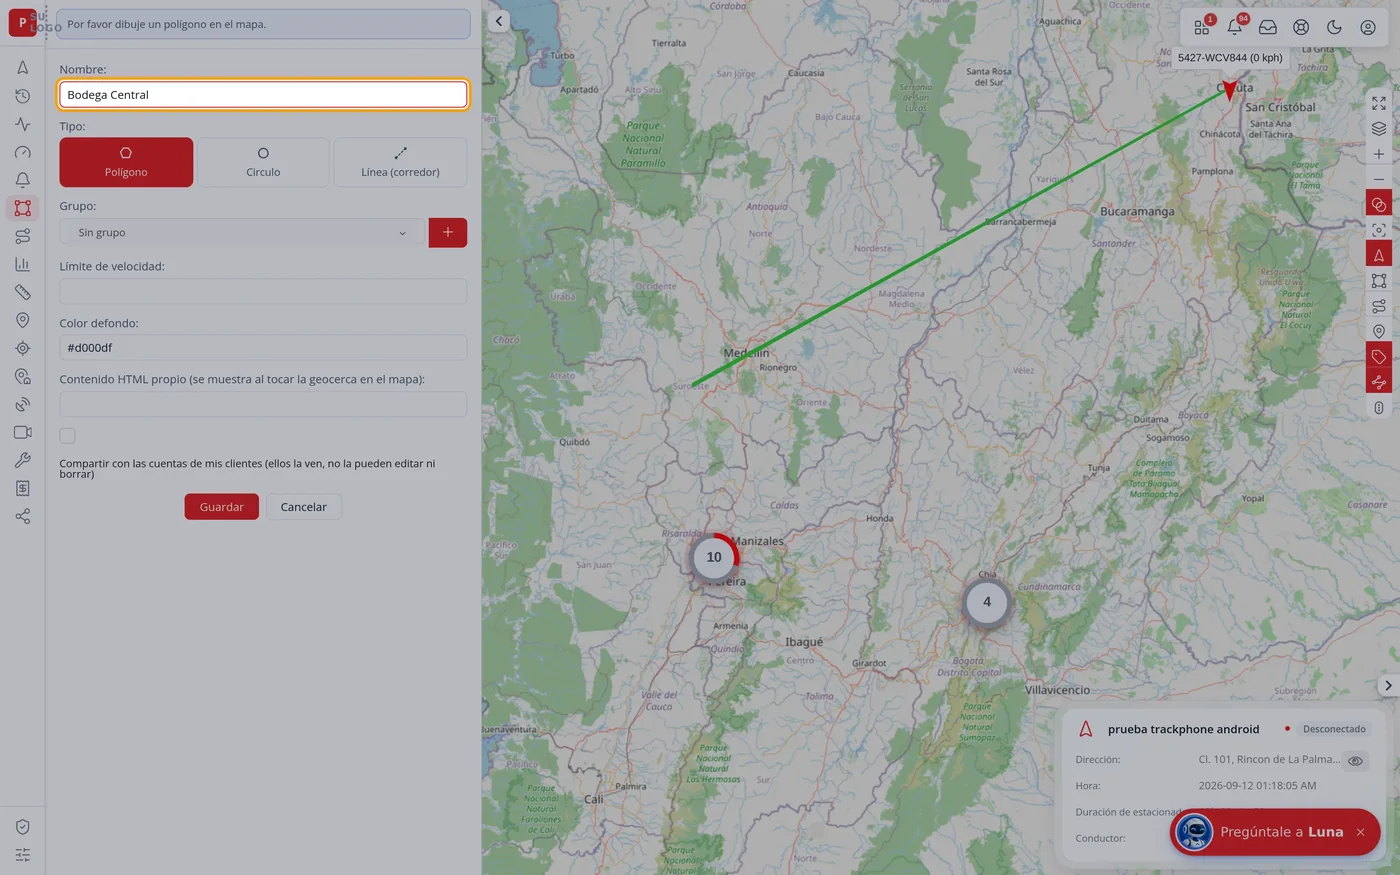
-
Draw the area on the map
Go to the map on the right and click once on each corner of the area you want to mark. Each time you click a point appears and the shape takes form.
CarefulIf you get a corner wrong, carry on until you close the shape and then drag the white square of that corner to where it should be.
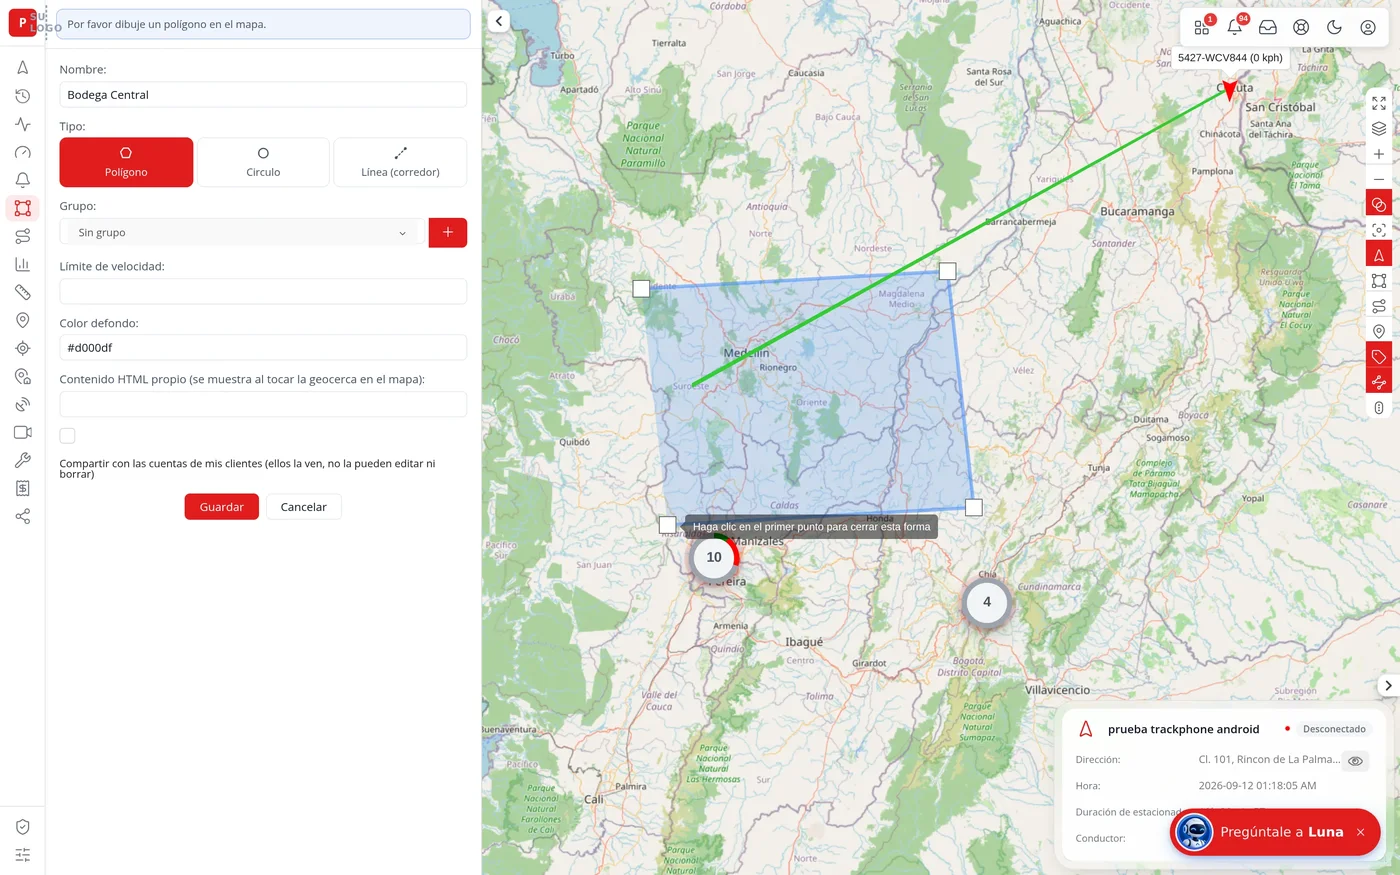
-
Close the shape with two clicks in a row
When you reach the last corner, click twice in a row on that same point. The shape closes and is filled with colour. There the area is drawn.
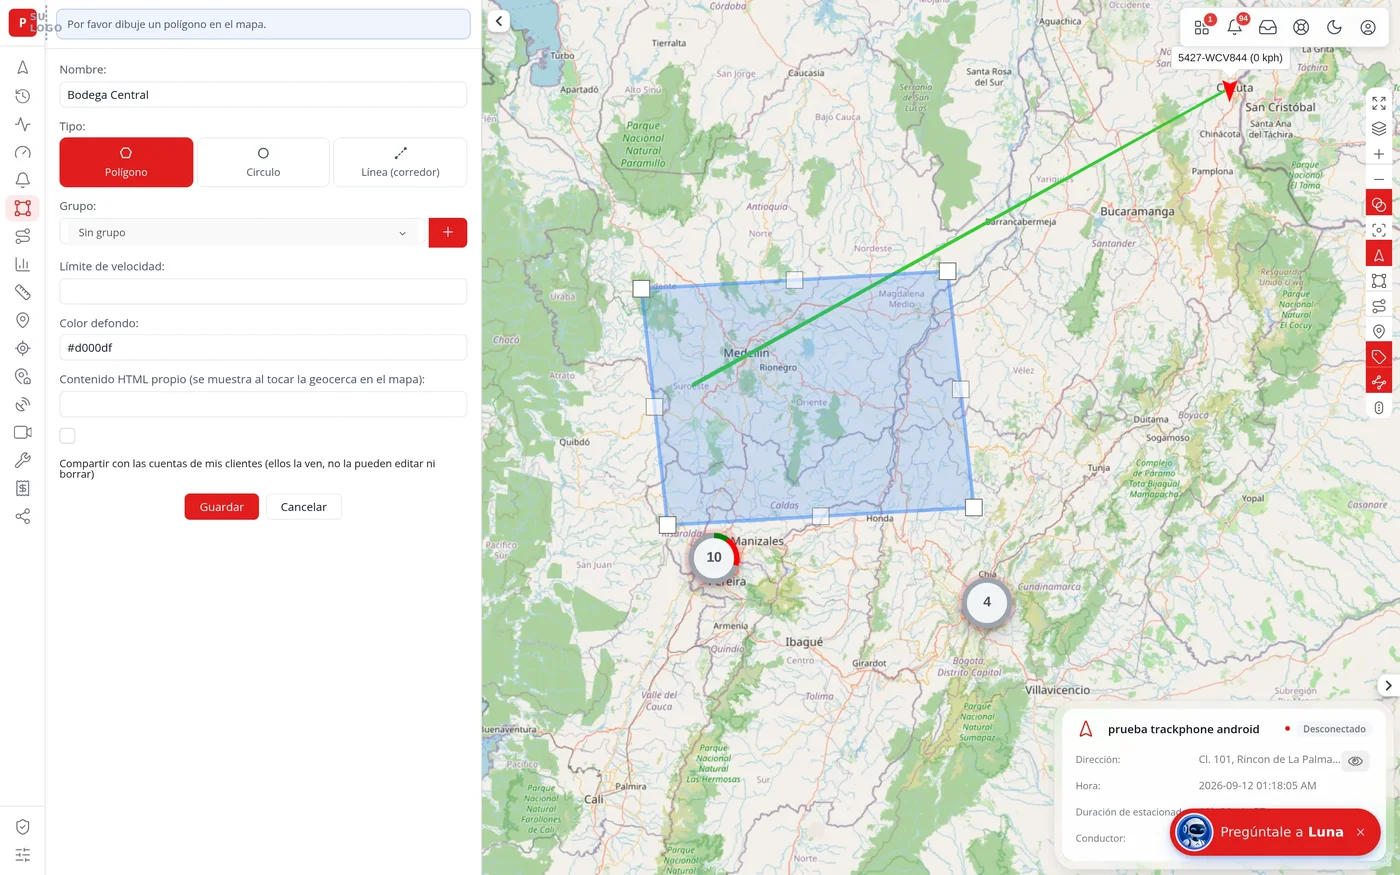
-
Click Save
At the bottom of the form, click the blue Save button. If instead you click Cancel, everything you drew is lost.
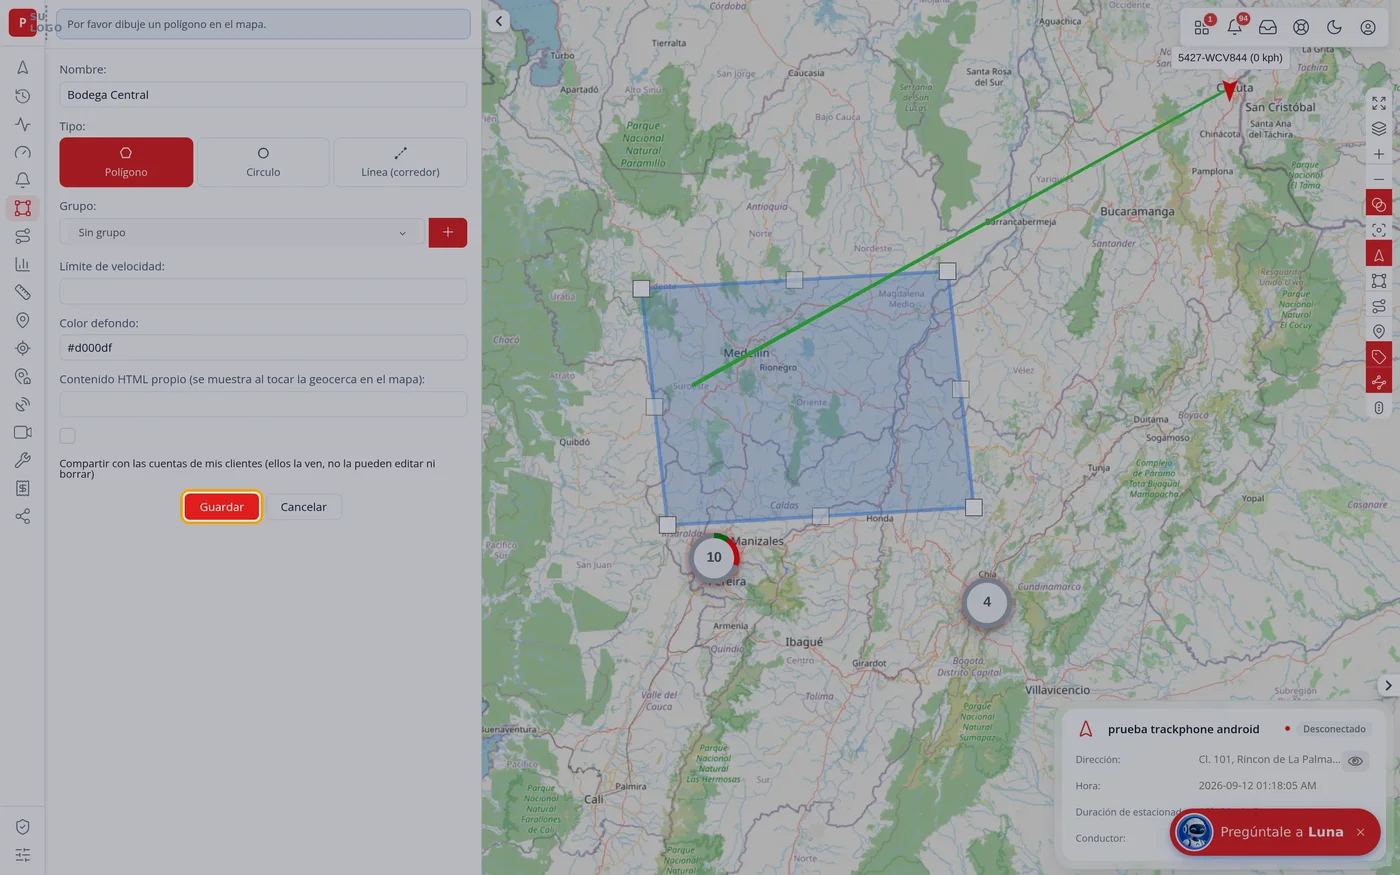
-
Check that it was saved
The form closes and the area appears in the list of the left panel with its name. Next to it there are three options: Edit, Delete and Devices.
Para que le avisen al entrar o salir: cree una alerta →
CarefulIf the name does not appear in the list, it was not saved. Start again and make sure you close the shape with the two clicks before pressing Save.
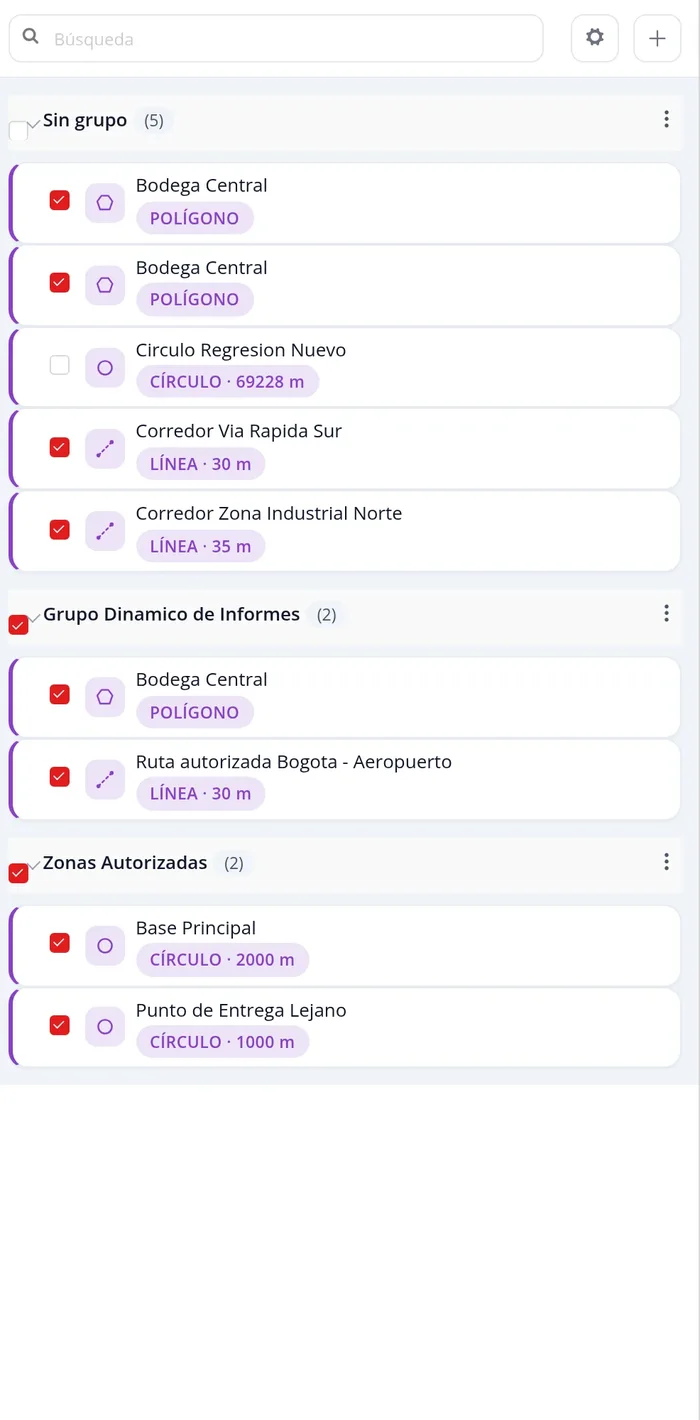
What each field asks for
| As it appears on screen | What it is | |
|---|---|---|
| The «Name:» field | The name you will recognise the area by. It is the one that later appears in the warnings. It is required. | Required |
| The «Type:» field | The shape of the area. It offers three: Polygon, to draw any shape corner by corner; Circle, to mark a round area around a point; and Line (corridor), to mark a strip along a road or route. It comes set to Polygon. It is required. | Required |
| The «Group:» field | It is for sorting areas into folders when you already have many. It comes set to No group and can be left like that. It can be left empty. | Can be left empty |
| The «Speed limit:» field | Maximum speed allowed inside that area. If you leave it empty, speed is not checked in there. It can be left empty. | Can be left empty |
| The «Background colour:» field | The colour the area is painted with on the map. It comes with a colour set and can be left as it is. It is for telling areas apart at a glance. It can be left empty. | Can be left empty |
How to know it worked
The zone appears in the list of the left-hand panel when you click Geofences, and it is drawn on the map.
What next
A geofence on its own warns of nothing. For a warning to reach you when a vehicle enters or leaves it, create an alert and choose this area.
And if you need to know how long a vehicle spent inside an area, or how long it took to go from one area to another, two reports give you exactly that — see Reports.
How to create a checkpoint (on the platform it is called POI)
A checkpoint, or POI, is an exact spot you mark on the map with a name of your own: the workshop, the customer's warehouse, the service station, the delivery point. It is a point, not an area: it is for recognising at a glance where the places that matter to you are and for asking later for warnings such as how long a vehicle stayed parked at that spot. It is different from a geofence: the geofence is an area you draw with corners; the checkpoint is a single point pinned on the map. Where it is: Top bar > POI > blue button with the + sign (above the left panel)
Where it is Top bar > POI > blue + button (top of the left-hand panel)
Before you start
- Be clear which place you want to mark and know how to find it on the map.
- Nothing else needs creating first. The point is placed directly on the map.
- Careful with the name: the platform calls this three different things. The top bar says POI; when the list is empty it says No icons.
-
Click POI in the top bar
In the bar across the top of the screen, click where it says POI. The left panel changes and shows you the list of points you have. If you have created none, it will say: There are no map icons.
CarefulThat message is misleading: the map icons it talks about are precisely your checkpoints. It saying that only means you have not created any yet.
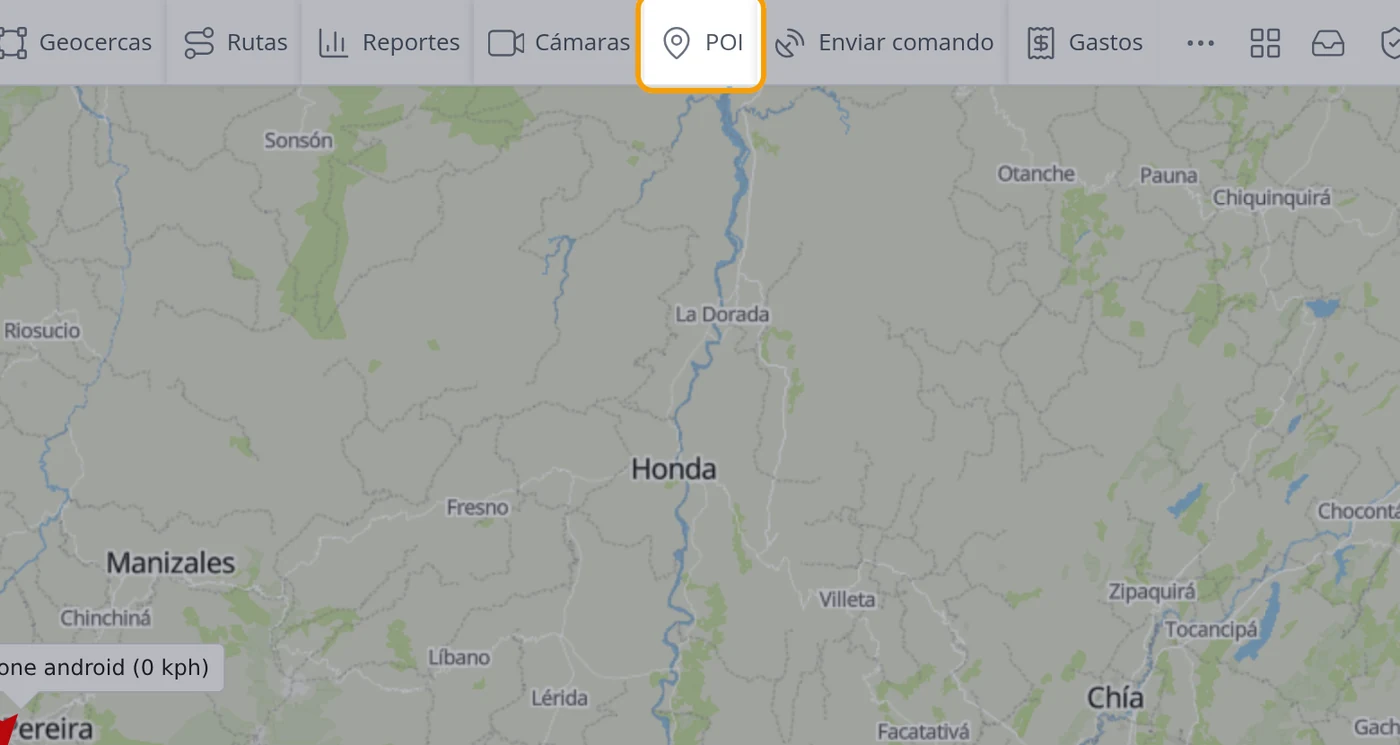
-
Click the blue + button
Above the left panel, to the right of the Search field, there is a blue button with a + sign. That is the one for creating. Click it.
CarefulThe grey gear wheel button next to it creates NOTHING: it opens a window with the full list of your points, where you can hide or show them on the map.
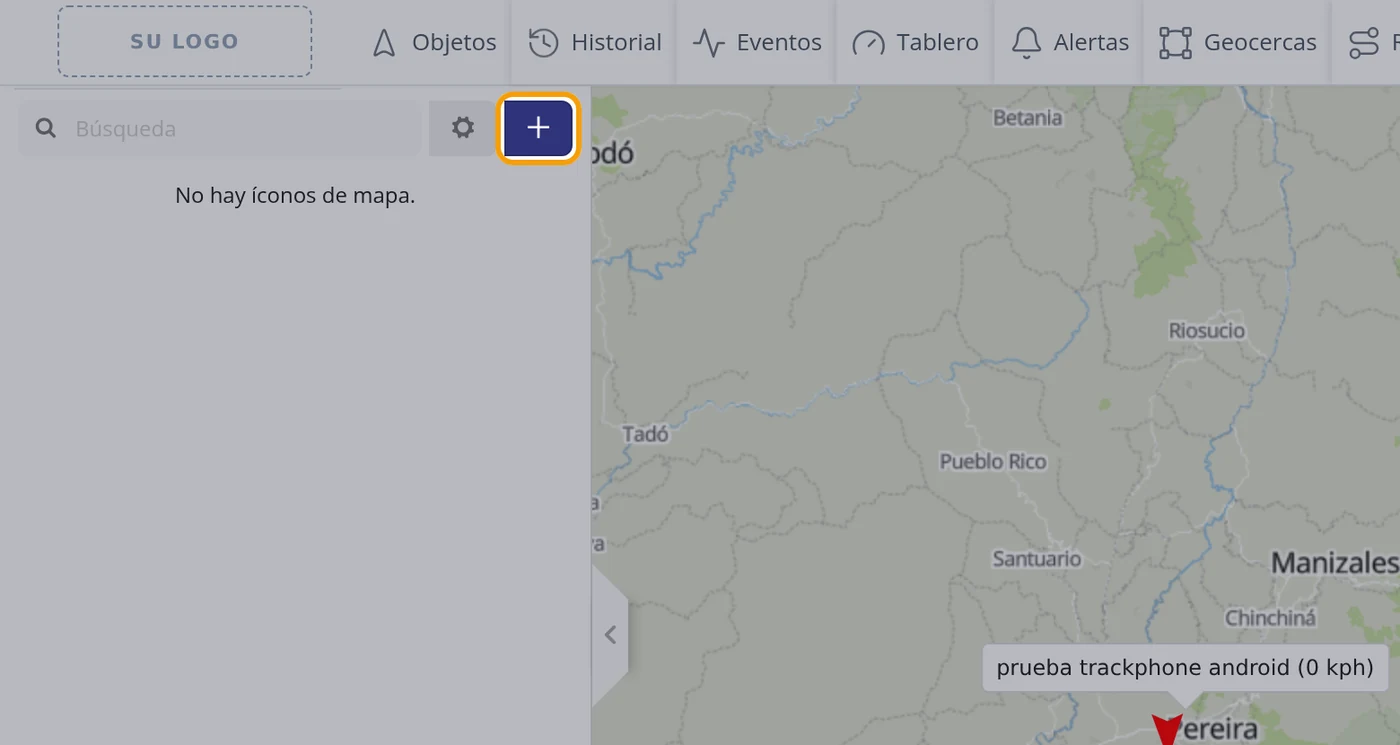
-
The form appears
The left panel turns into a form. At the top a blue notice appears saying: Please click on the map to place a marker. Below are the Name: field, the Description: field, the Group: dropdown and, filling almost the whole panel, the Marker icon: picture list.
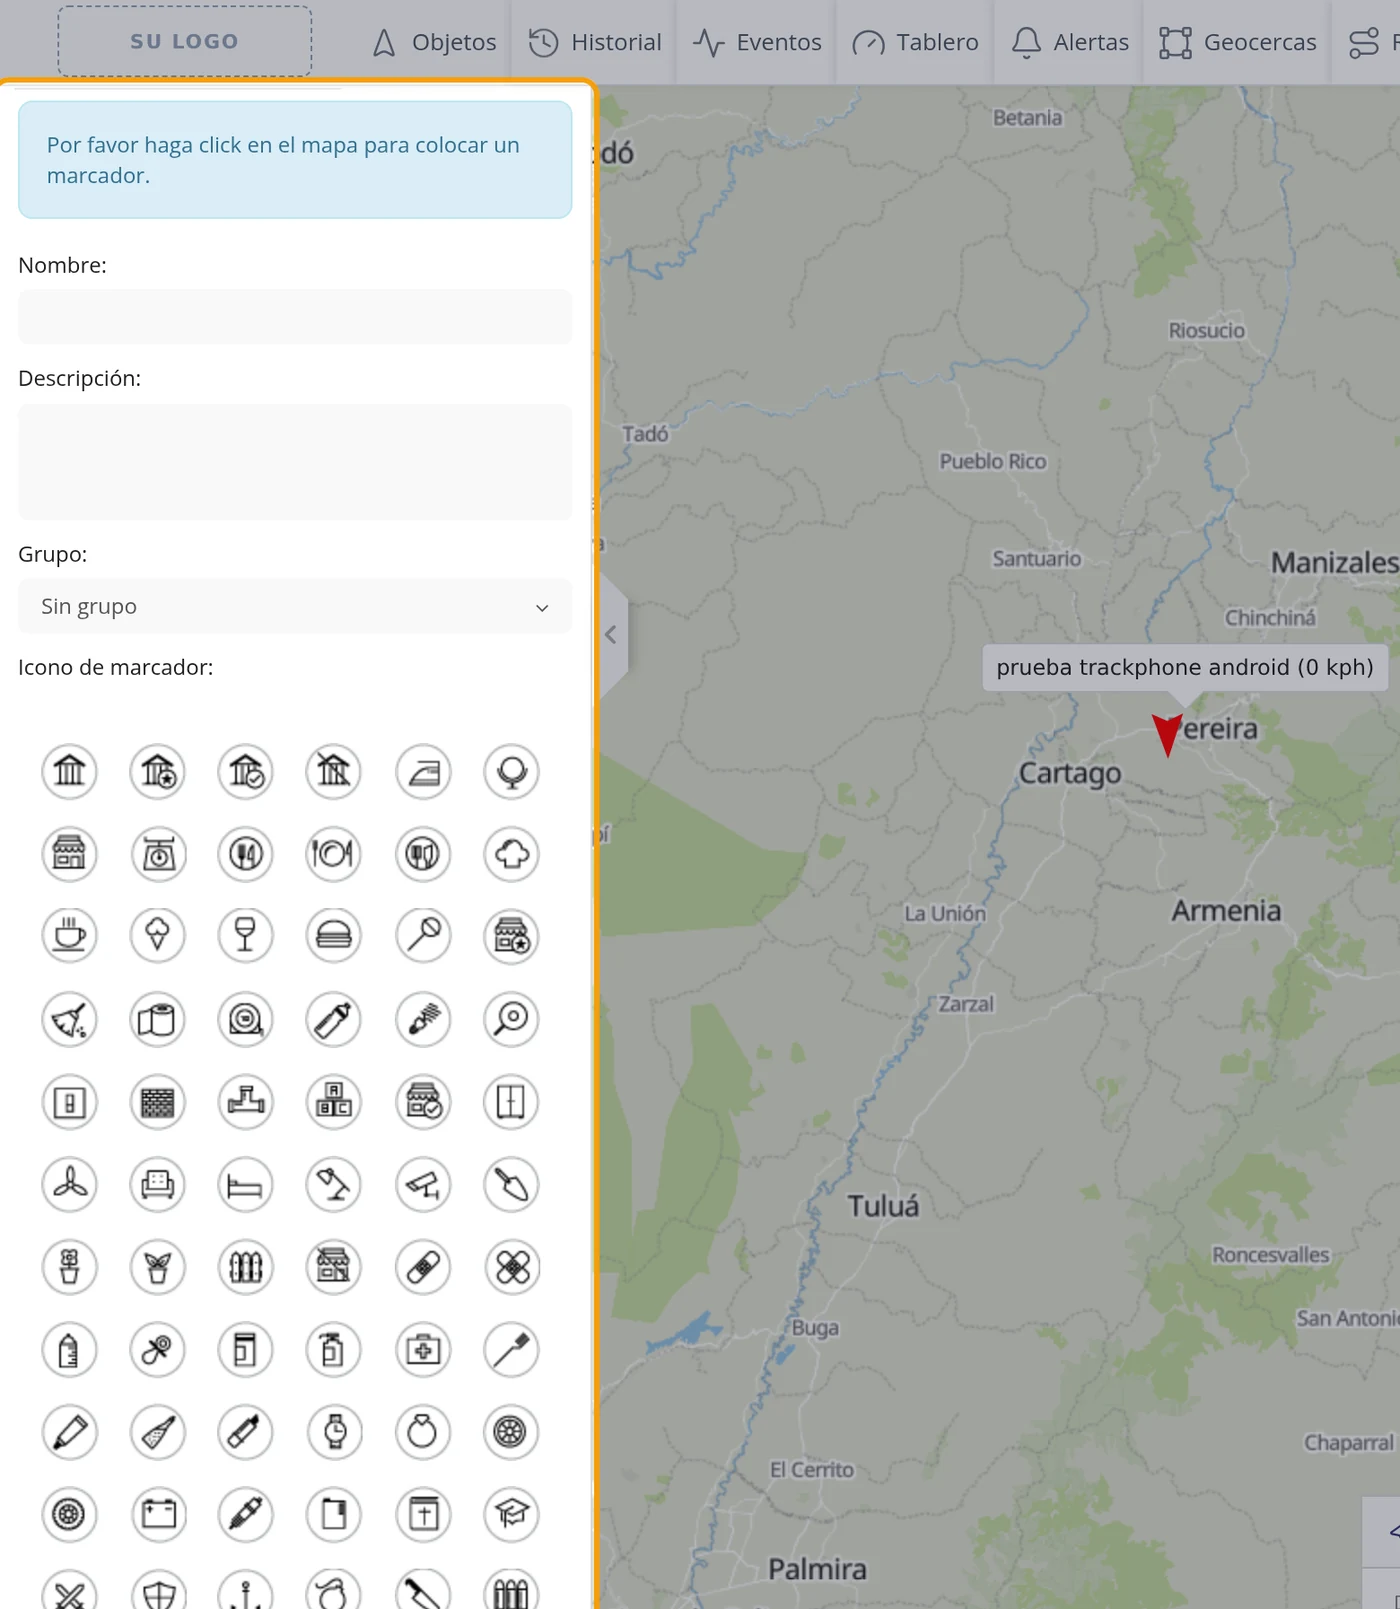
-
Type the name of the place
In the Name field type something you recognise at a glance, for example Authorised workshop. That name is the one you will later see in the list, on the map and inside the warnings.
CarefulGive names that speak for themselves. Point 1 and Point 2 will tell you nothing in six months.
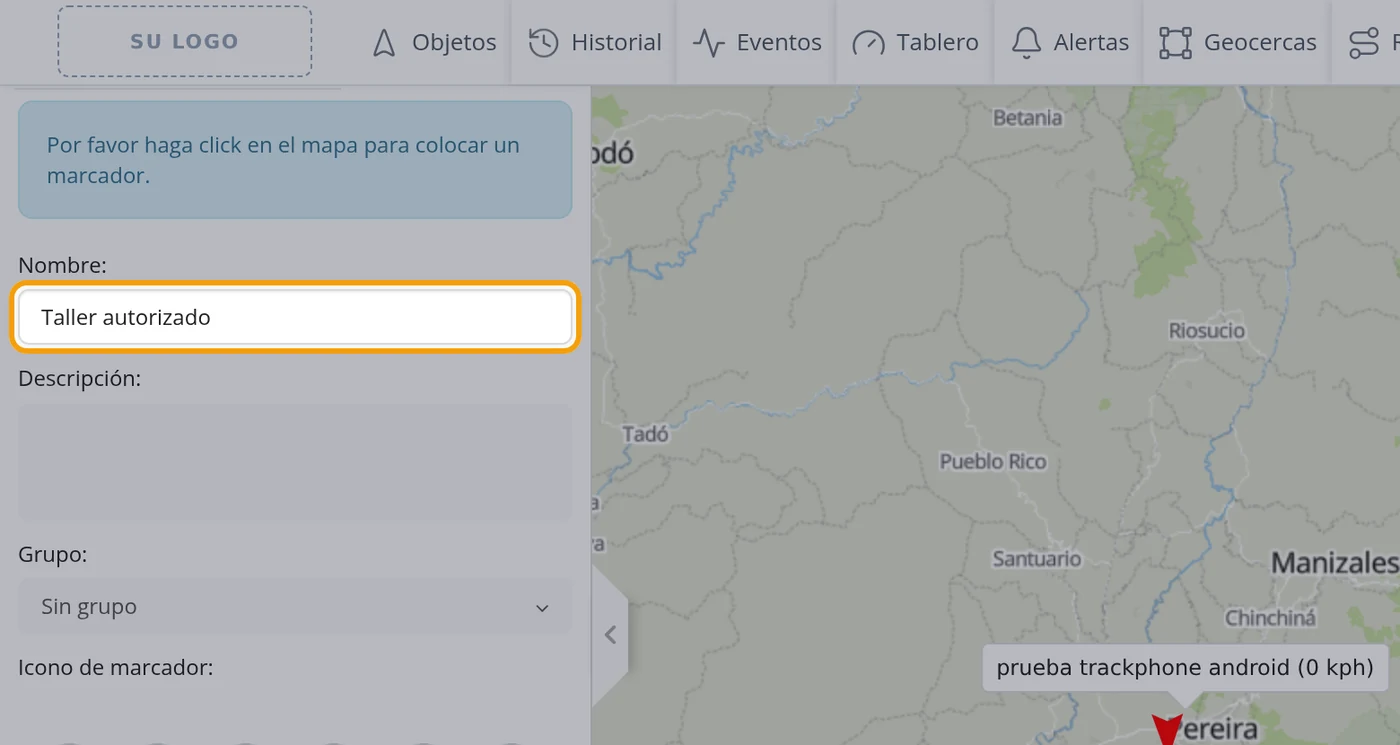
-
Type the description, if you want
In the Description field you can type a detail about the place, for example Workshop where the fleet vehicles go for maintenance. It is not compulsory: if you leave it empty the point is saved all the same.
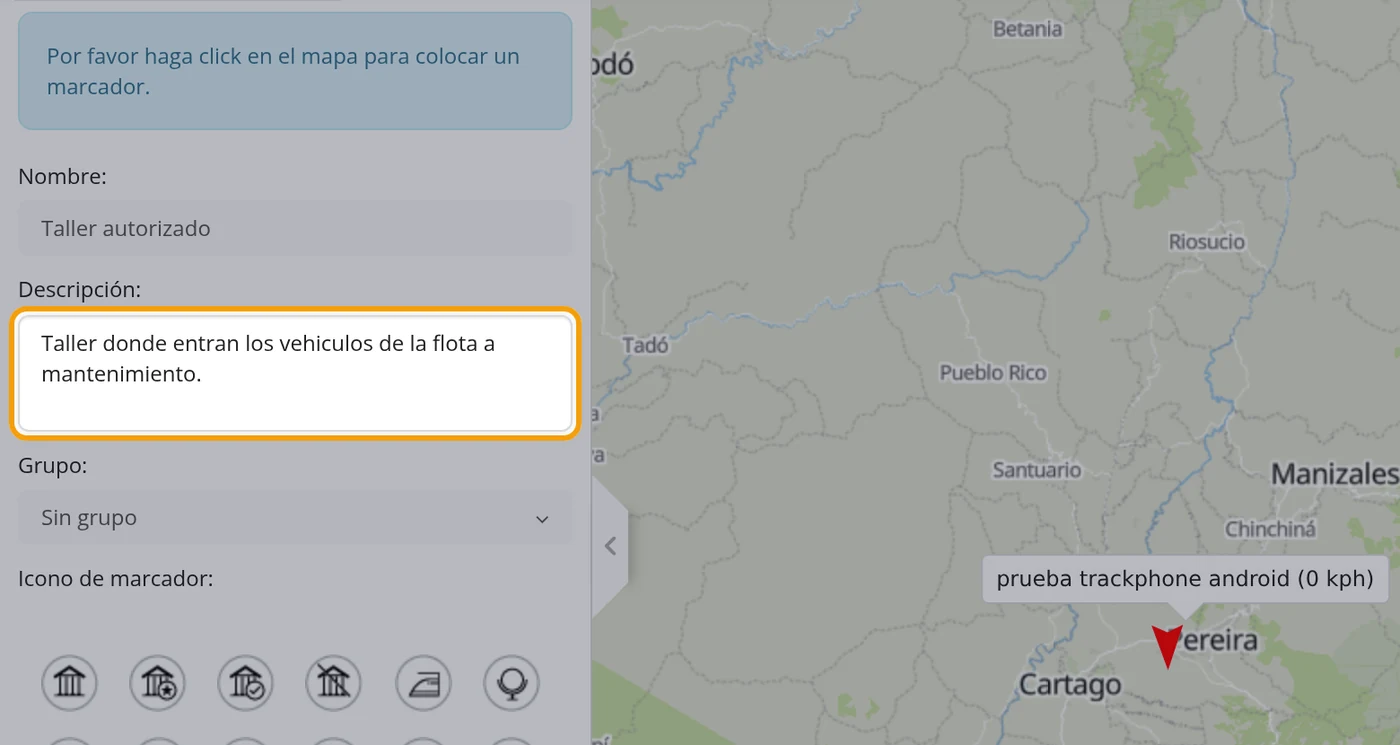
-
Leave the group as it is, or choose one
The Group dropdown is for sorting points into folders when you already have many. It comes set to No group and can be left that way.
CarefulIf you have never created groups, the dropdown only offers No group. It is not a fault: there simply are none yet.
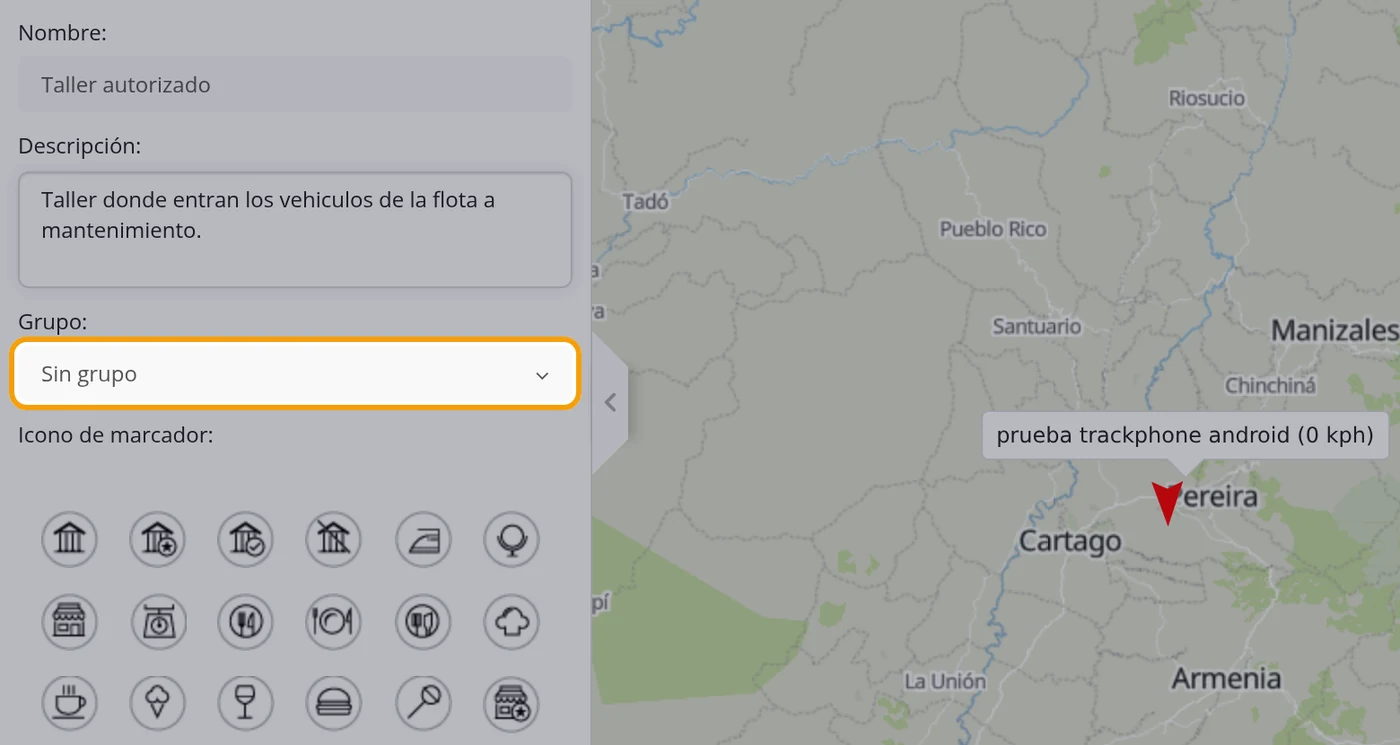
-
Choose the marker picture
Below, where it says Marker icon:, there is a long list of pictures inside circles: buildings, workshops, food, shops, factories. Click the one that most resembles your place. The one you choose turns dark blue so you know which one is set.
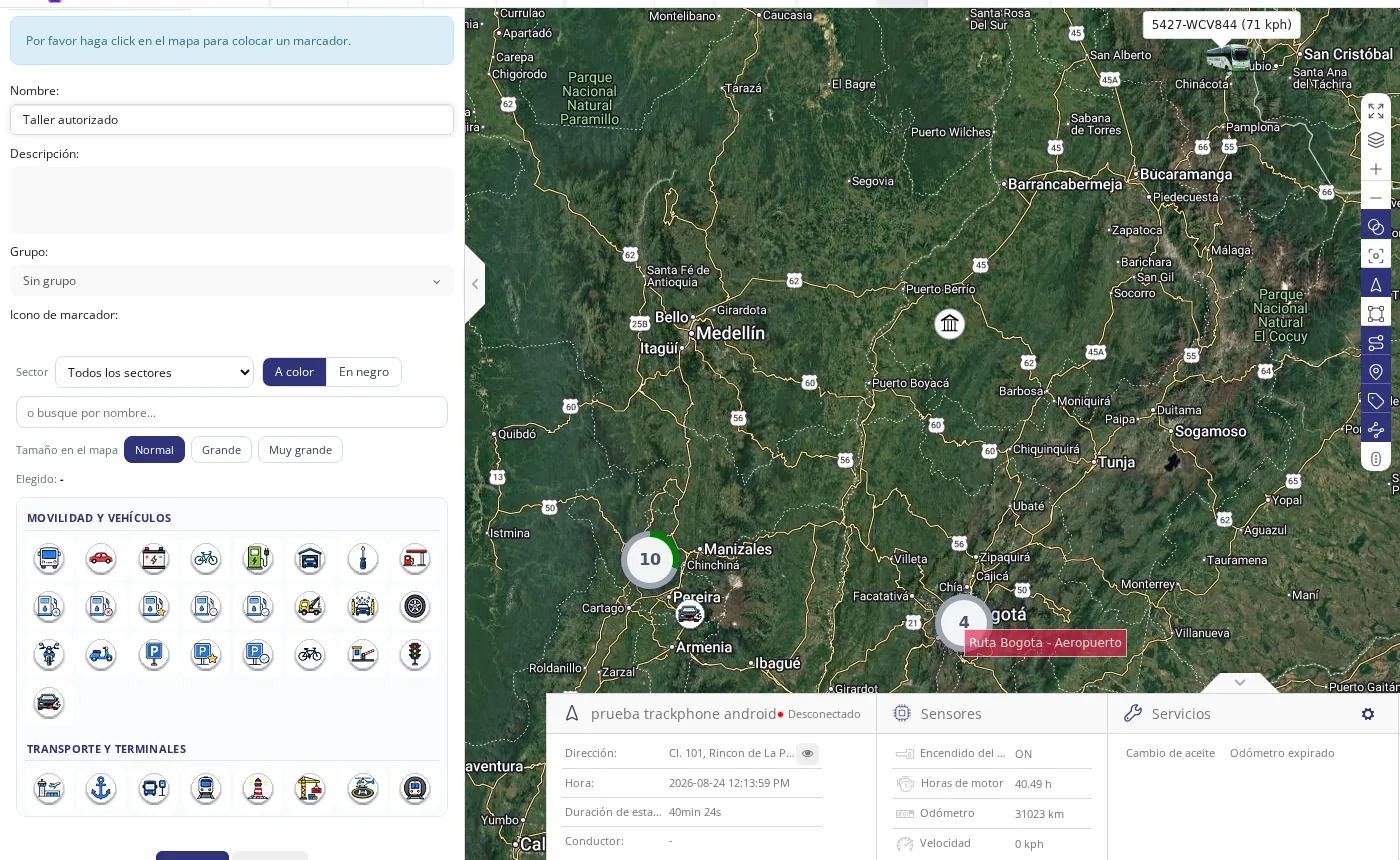
-
Choose the size it will have on the map
Just below, in Size on the map, choose Normal, Large or Very large. This is the size the marker is drawn at on the map, not the size of the picture in this list. For an important place, Large or Very large can be read from further away without zooming in. When you click a picture, below it shows what you chose and at what size, for example: Chosen: Mechanic workshop · Large. The size is saved with THIS point, so you can have some points normal and others large.
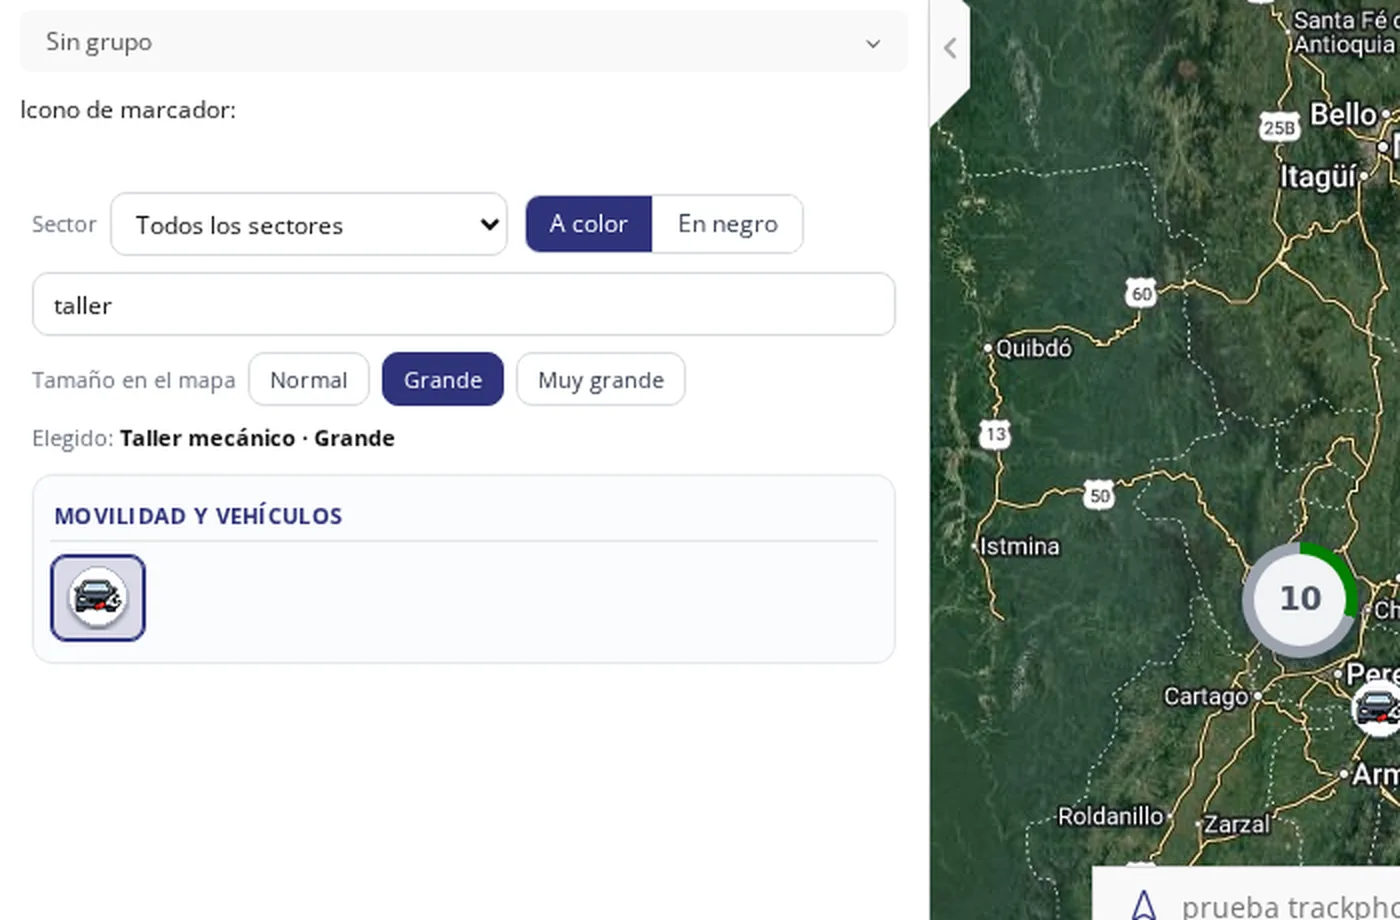
-
This is what the three sizes look like on the map
The three markers in the picture are the same drawing: the first in Normal, the second in Large and the third in Very large. They all sit on a white disc, which is what makes them readable over the satellite map, where a loose drawing would get lost among the terrain.
-
Click on the map where the place is
Go to the map on the right and click once right over the place. There the marker is pinned with the picture you chose. You can zoom the map with the + and − buttons on the right before clicking, to be precise.
CarefulThe blue notice at the top keeps saying Please click on the map to place a marker even after you have placed it. Do not trust that notice: look at whether the marker is visible on the map.
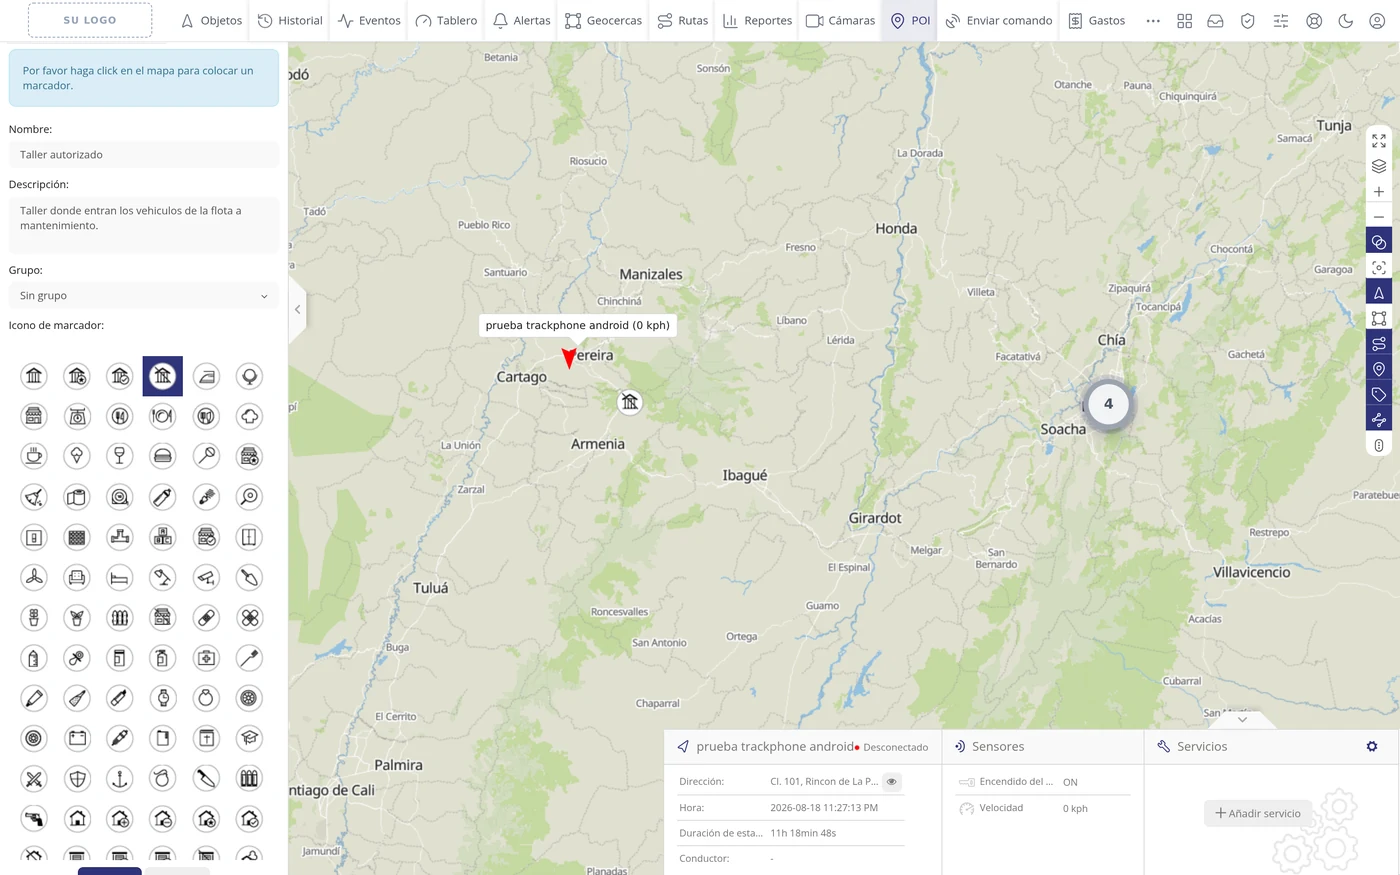
-
Scroll to the bottom and click Save
The Save button is at the end of the left-hand panel, below all the drawings. Scroll to the bottom with the mouse wheel and click it. Next to it is Cancel, which throws away everything you had done.
CarefulAs the list of drawings is very long, the Save button ends up out of sight. If you cannot find it, keep scrolling: it is right at the bottom.
-
Check that it was saved
The form closes and the point appears in the list of the left-hand panel, inside No group (1), with a ticked box next to it. On the map the drawing you chose stays where you clicked.
CarefulIf you untick that box, the point stops showing on the map but is NOT deleted: it still exists.
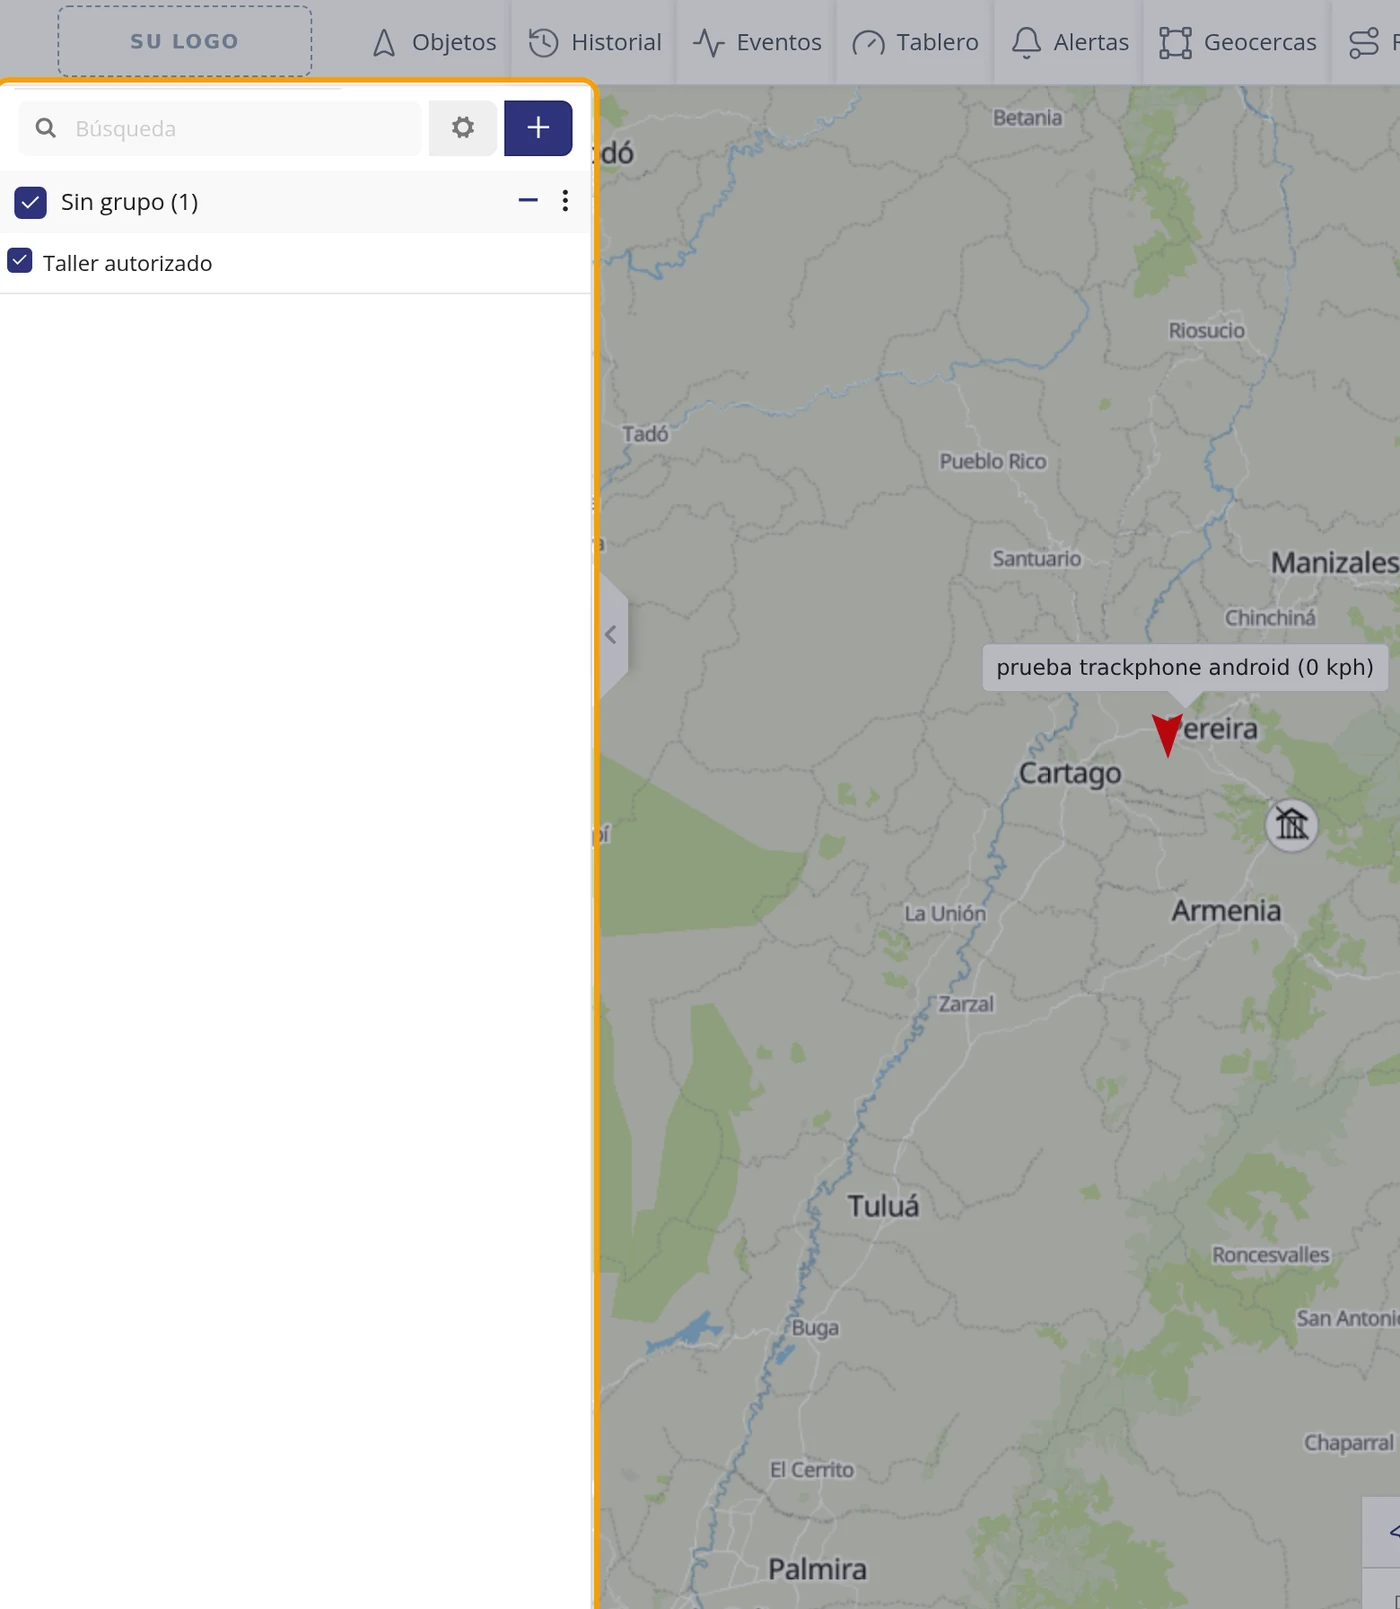
What each field asks for
| As it appears on screen | What it is | |
|---|---|---|
| The «Name:» field | The name you will recognise the place by. It is the one that appears in the list, on the map and in the warnings. It is required. | Required |
| The «Description:» field | A free detail about the place, in case the name alone is not enough. It can be left empty. | Can be left empty |
| The «Group:» field | It is for sorting points into folders when you already have many. It comes set to No group and can be left like that. It can be left empty. | Can be left empty |
| The «Marker icon:» field | The drawing the point is shown with on the map. There are 103 to choose from and the one you click turns dark blue. It only changes how it looks. It can be left empty. | Can be left empty |
How to know it worked
Click POI in the top bar: the point has to come out in the list of the left-hand panel, with its name, and the drawing has to be visible on the map at the place where you clicked. If you hover the mouse over the name an arrow appears on the right; clicking it brings up Edit and Delete. Delete does not wipe it straight away: first it asks in a window that says Are you sure you want to delete it?, with the buttons Confirm and Cancel.
What next
The point on its own warns of nothing. For a warning to reach you, create an alert and choose one of the two types that work with these points: POI - Stop duration or POI - Idle duration; there the point you have just created appears to be chosen. And if what you want is not a single place but the path the vehicle must follow, that is a different feature: the Routes button in the top bar, where instead of a point you draw a path on the map and it only asks for Name and Colour.
How to create a route
A route is a path you draw on the map, line by line, to mark where the vehicle should go: the school bus run, the trip from downtown to the airport, the daily delivery. It is a guide painted on the map, in the colour you choose, to compare at a glance where the vehicle is going and where it should be going. Checked in the software: the route has NO width or deviation margin, and there is NO "left the route" warning. If you want to be warned, you have to mark the path with geofences and create entry or exit alerts on those geofences. Where it is: Top bar > Routes > blue button with the + sign (above the left panel)
Where it is Top bar > Routes > blue + button (top of the left-hand panel)
Before you start
- Be clear where the path you want to mark runs and know how to find that area on the map.
- Nothing needs creating first. The route is drawn on its own.
- Leave the map on the area BEFORE pressing the + button. If you move the map once you are drawing, the drag counts as a click and leaves you points where you did not want them.
-
Click Routes in the top bar
In the bar across the top of the screen, click where it says Routes. The left panel changes and shows you the list of paths you have stored.
CarefulIt does not open a new page: it changes the left panel, just like Geofences or POI.
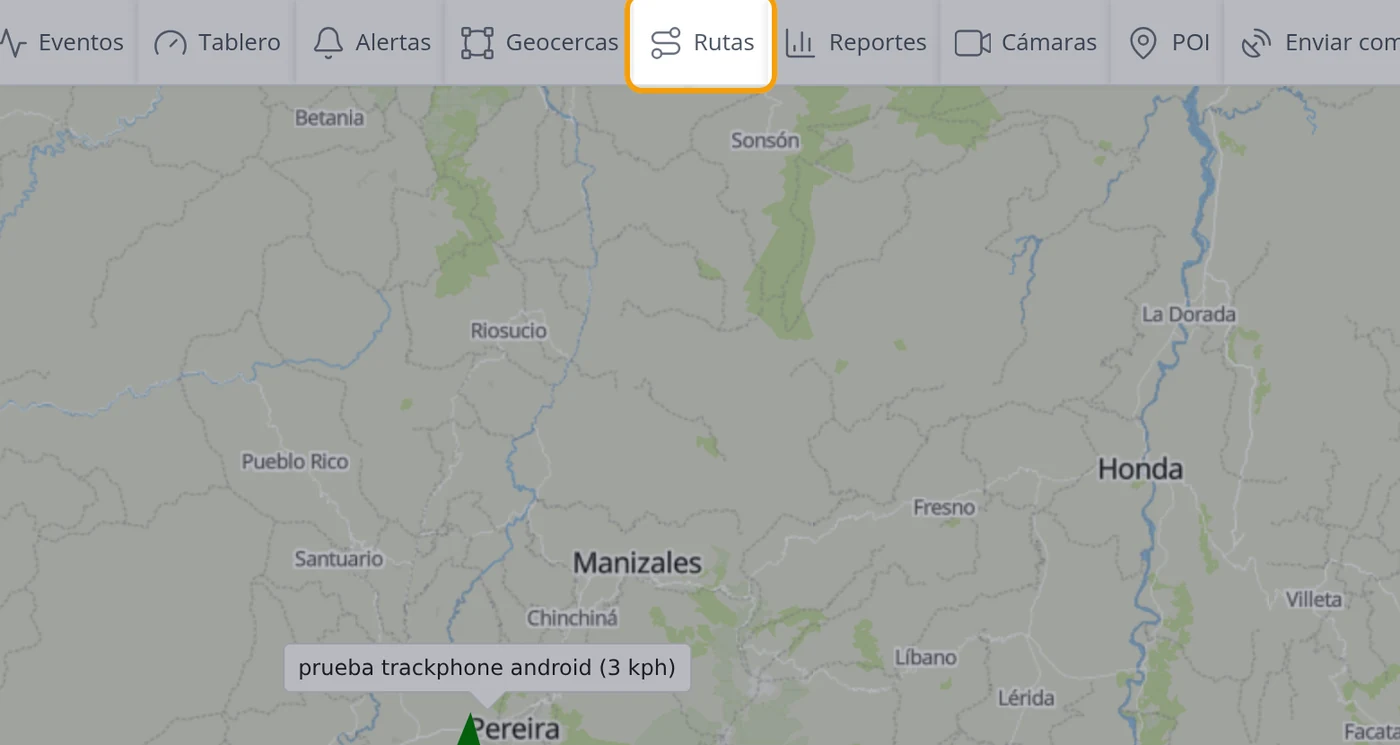
-
Look at the list and find the blue + button
If you have not created any route yet, the panel says: There are no routes. Above the panel, to the right of the search field, there is a blue button with a + sign. That is the one for creating.
CarefulThe grey button next to it, the gear wheel one, creates NOTHING: it is for grouping the routes you already have.
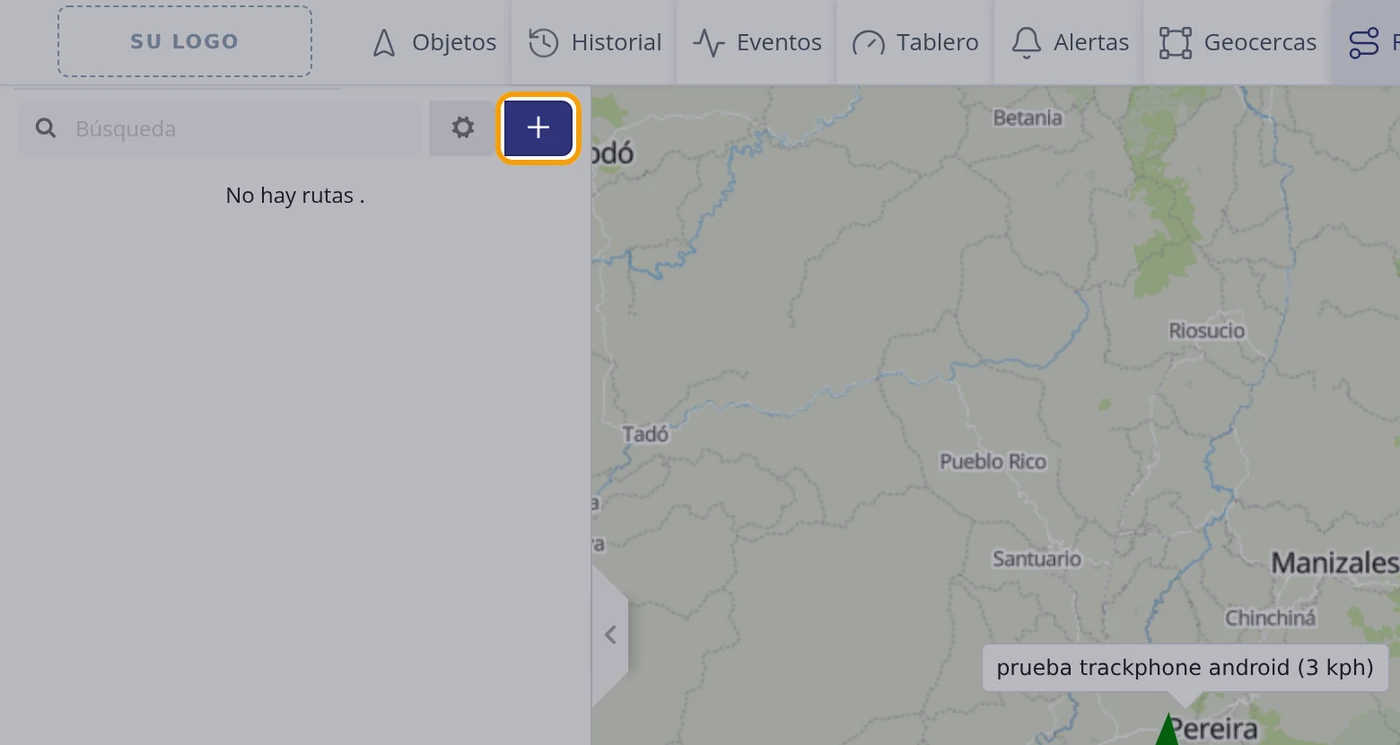
-
Move the map to the area the path runs through
Drag the map with the mouse and zoom with the wheel until you can see from start to finish the path you are going to mark. It is best to set it now, before starting to draw.
CarefulIf you move the map while already drawing, that drag adds a point where it should not be. Measured: the first test came out with a point more than 100 kilometres from the city.
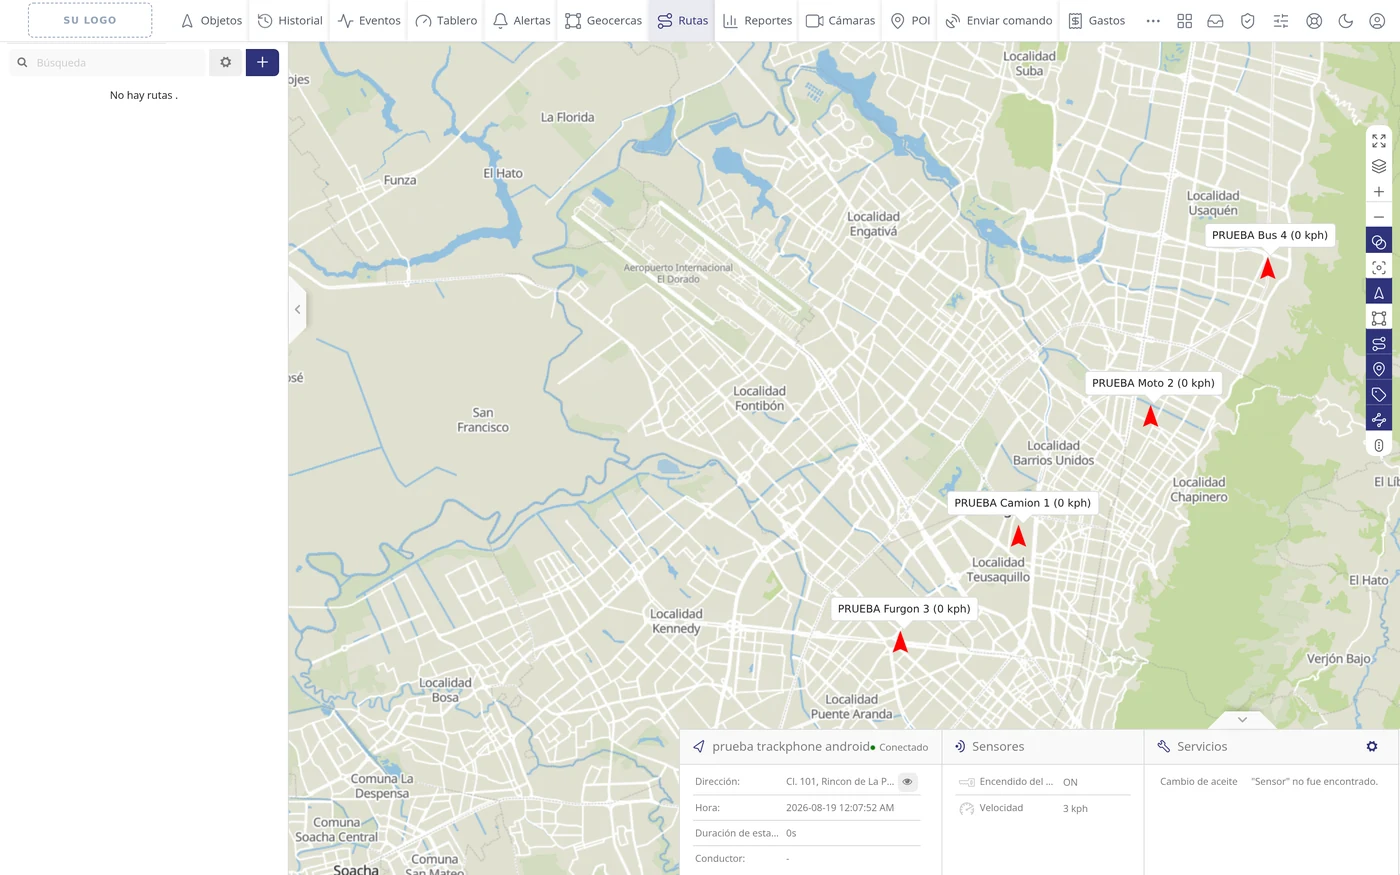
-
Click the blue + button
The left panel turns into a very short form: a blue notice saying Please draw a route on the map., the Name: field, the Colour: field and at the bottom the Save and Cancel buttons. There is nothing else.
CarefulFrom that moment on, every time you click on the map you are adding a point to the path.
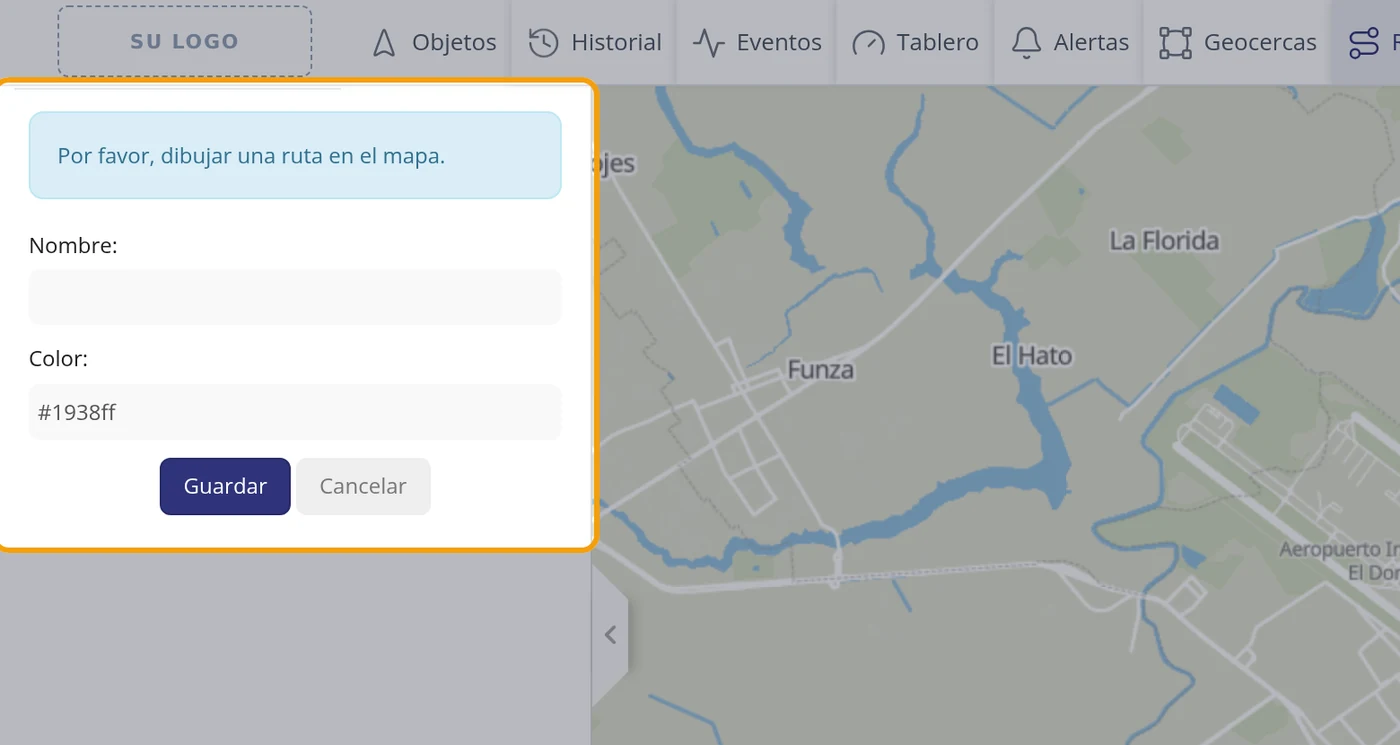
-
Type the name of the path
In the Name: field type something you recognise at a glance, for example Route Bogota - Airport. That name is the one you will later see in the list and stuck to the line on the map.
CarefulRoute 1 and Route 2 will tell you nothing in six months. Put where it starts and where it ends.
-
Choose the colour of the line
Click the Colour: field and a small palette opens to choose the colour. You can also delete what is there and type the colour code, for example #E11D48 for red. It comes set to a blue (#1938ff).
CarefulDo not close the palette with the Esc key: that key closes the whole form and you lose what you typed. Close it by clicking on an empty part of the panel, for example on the word Name:. And do not be alarmed: while drawing, the line will come out blue even if you chose another colour; the colour you chose appears on saving.
-
Draw the path: one click at each point
Go to the map and click once where the path starts, again at the next bend or corner, and so on to the end. Each click leaves a white square and joins the points with a line. At the top, next to the pointer, the map tells you: Click last point to finish the line.
CarefulIt is a path, not a surface: the line does not close or fill in. Marking the changes of direction is enough; there is no need for a point every block.
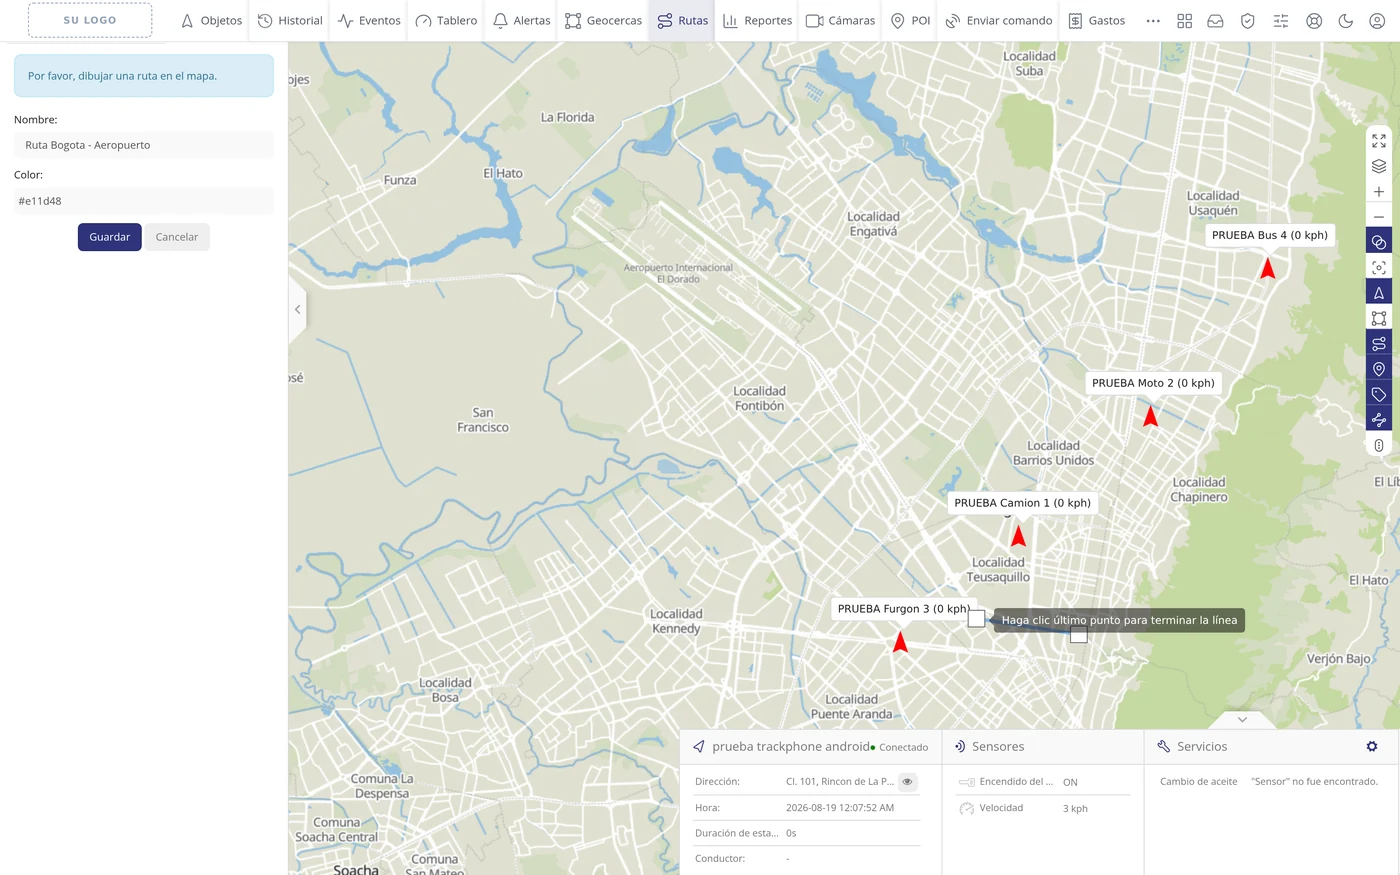
-
Finish the path with ONE single click on the last point
When you reach the end, click again, once only, on that same last point. The line is taken as finished and some intermediate squares appear that serve to touch it up by dragging them.
CarefulHere you do NOT double click. Checked: drawing 5 points and finishing with a double click, the route was saved with 4; the last point was lost. With a single click the 5 were saved.
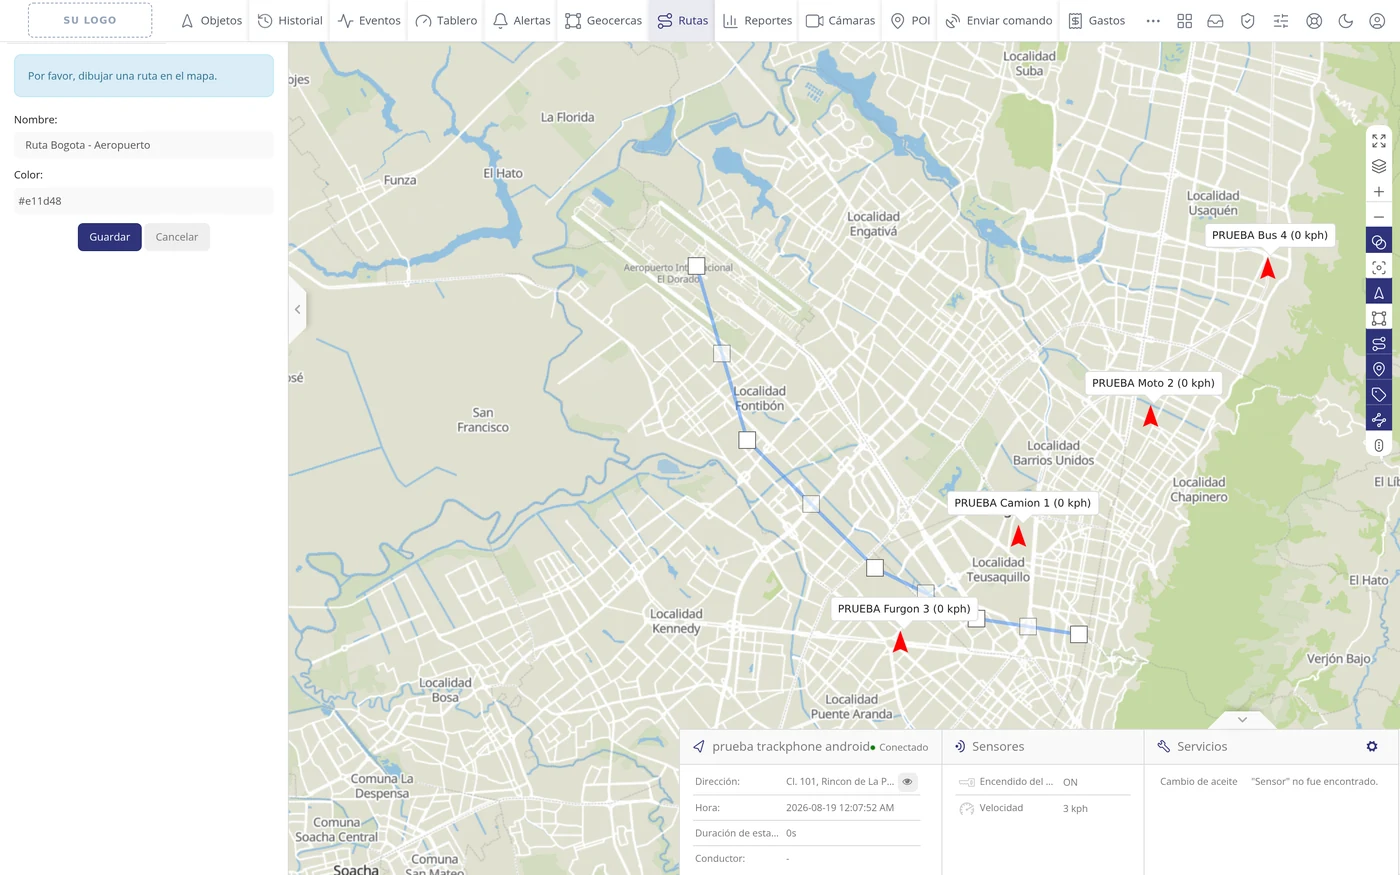
-
Click Save
At the bottom of the form click the blue Save button. If you click Cancel, the whole path you drew is lost.
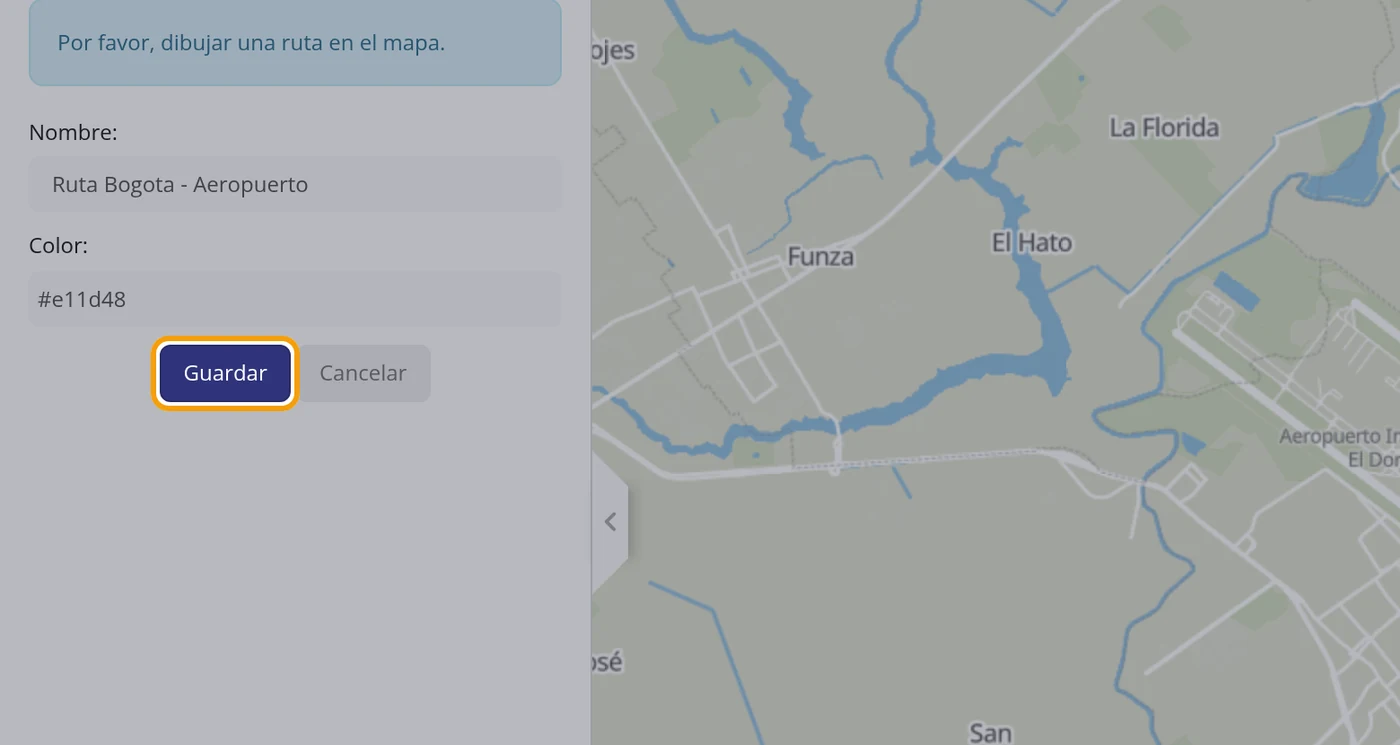
-
Check that it was saved
The form closes and the route appears in the left panel, inside the No group group, with a ticked box in front. On the map the line is already shown in the colour you chose and with the name stuck to the end.
CarefulThe No group group may come folded. If you do not see the name, click on No group to unfold it. If it still does not appear, it was not saved.
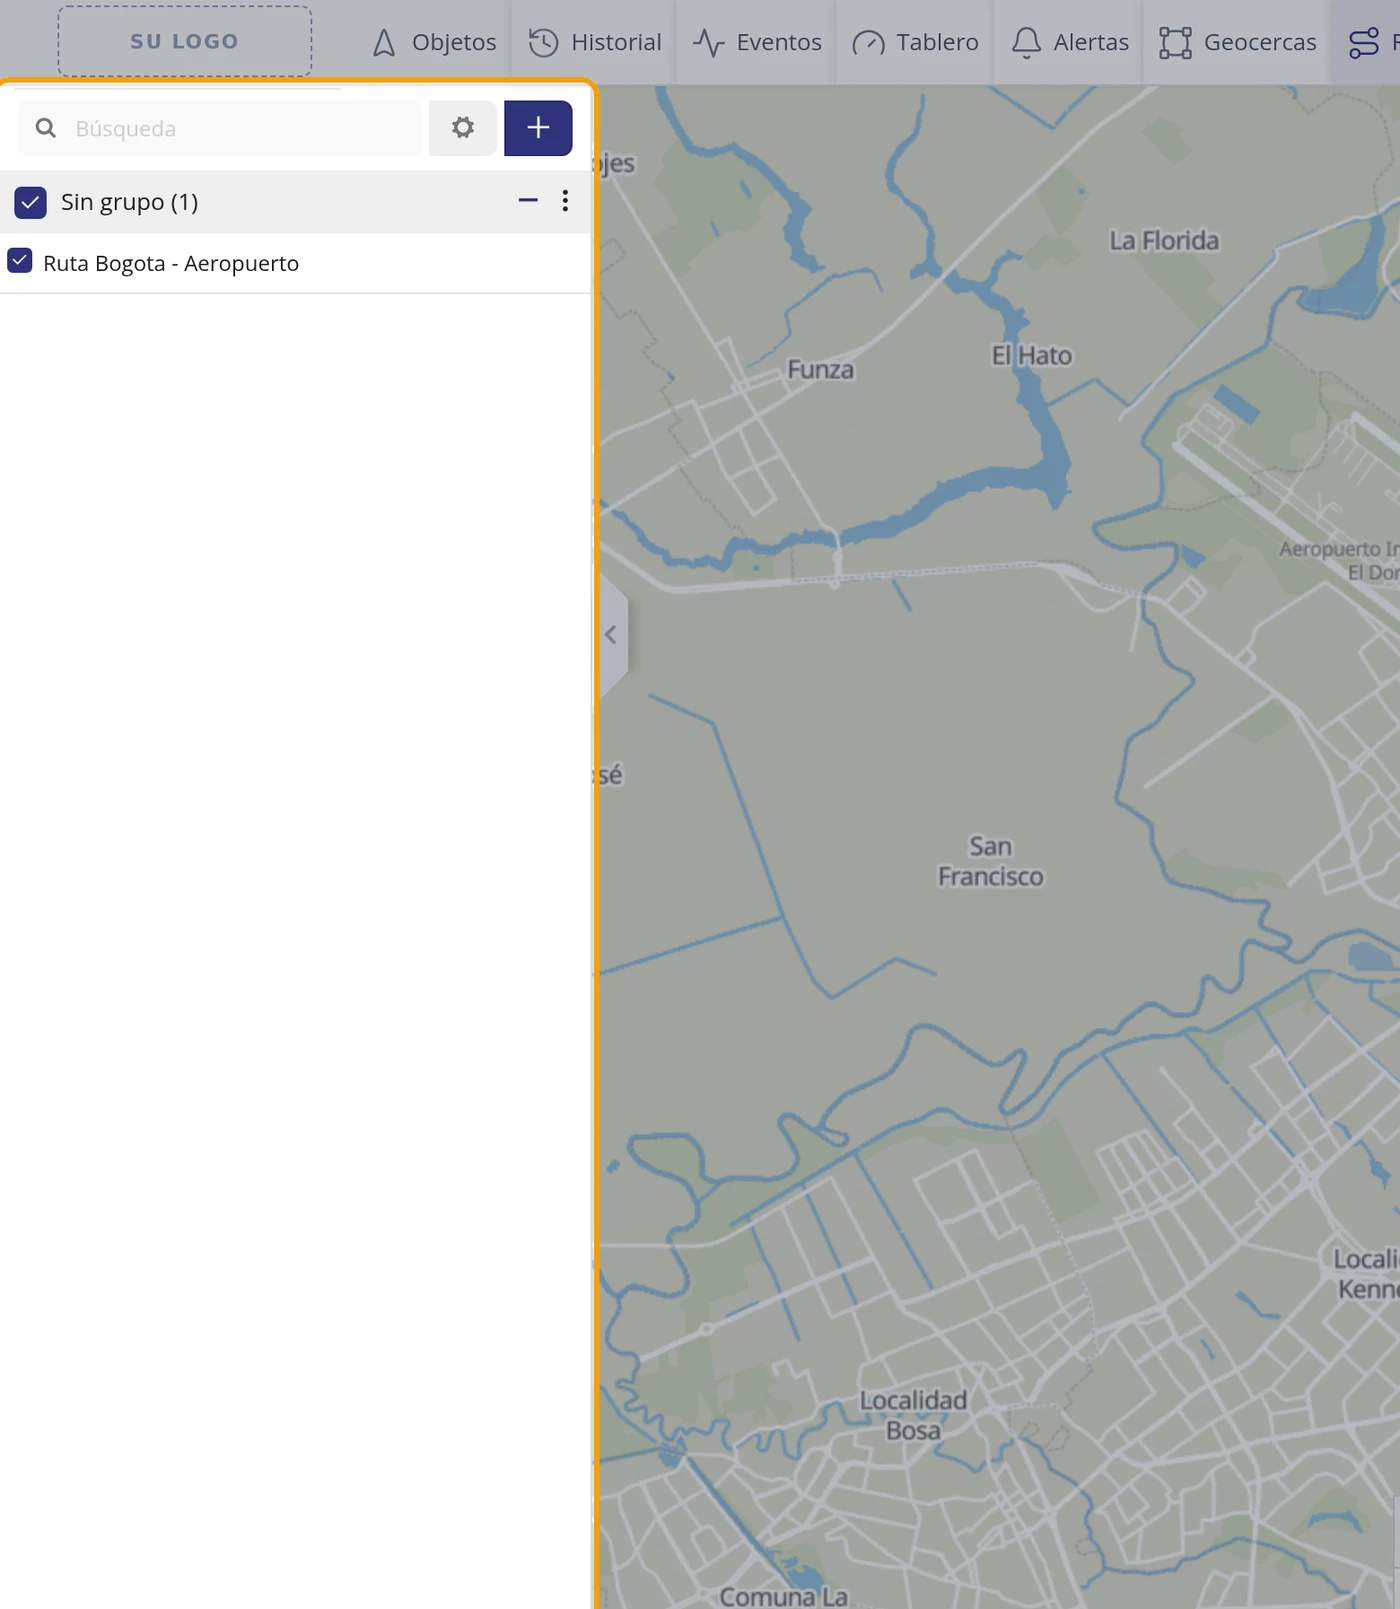
-
See what you can do afterwards with the route
Hover over the route name: three dots appear on the right. Clicking them brings up two options: Edit and Delete. The box on the left switches the line on and off on the map without deleting it.
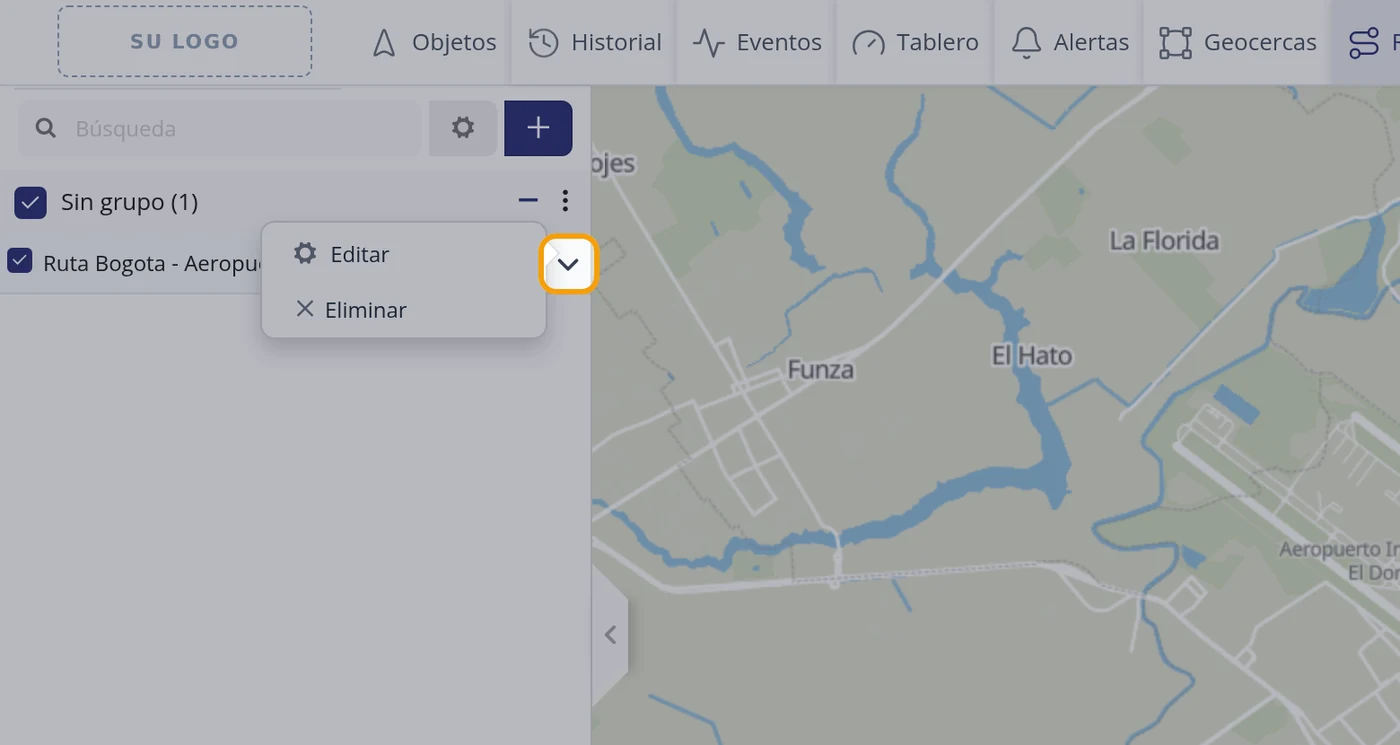
-
Edit: this is where you can put it into a group
Clicking Edit brings the form back, now with three fields: Name:, Group: and Colour:. The Group: field is for sorting routes into folders when you already have many; it comes as No group. With the route in edit mode you can drag the squares on the map to correct the path.
CarefulNote the detail: the Group: field does NOT exist when creating the route, only when editing it. If you want to group it, create the route first and then go into Edit.
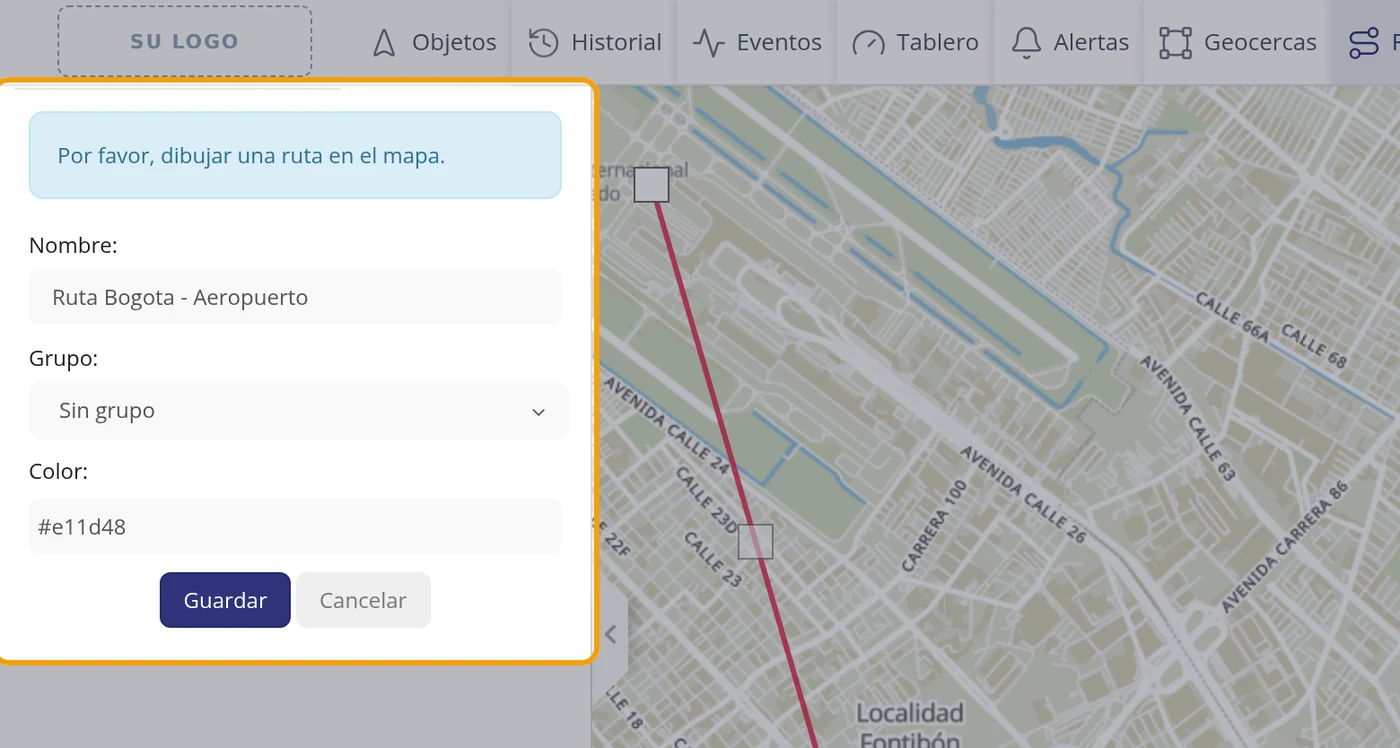
-
Check that there is NO warning tied to routes
Click Alerts in the top bar and then the + sign to add a new alert. In the Type tab the full list of warnings the software can give unfolds.
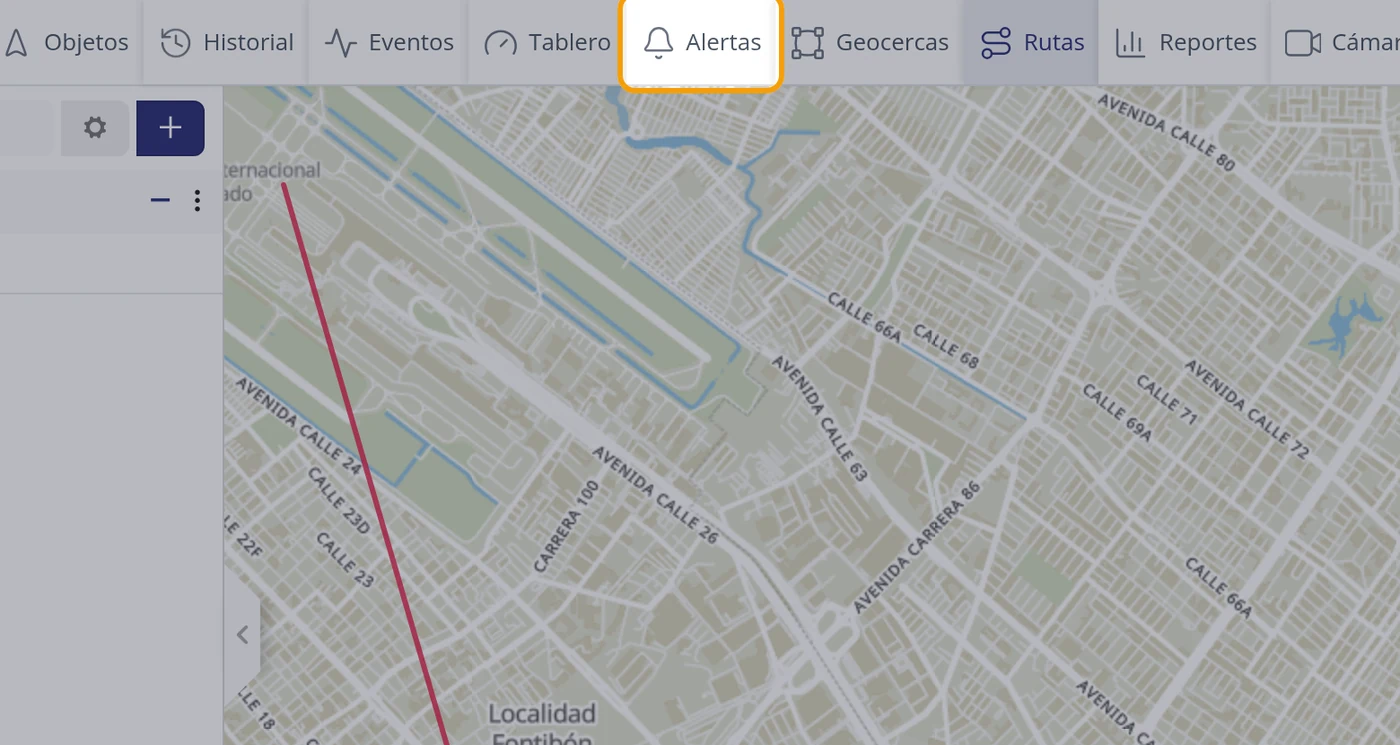
-
Look at the list of warning types: there is none for routes
The list of types is this one and no more: Overspeed, Parking duration, Offline duration, Moving duration, Ignition duration, Idling duration, Ignition ON/OFF, Start of movement, Driver change, Driver change authorisation, Geofence In, Geofence Out, Geofence In/Out, Custom events, SOS, Fuel (Filling / Theft), Distance, POI - Stop duration, POI - Idle duration and Device expiry. None mentions routes, and the Geofences tab of that same window only offers Enter zone and Leave zone, with the list of geofences: routes appear nowhere.
CarefulPractical conclusion: the drawn route is a visual guide. If you need to be warned when a vehicle leaves the path, mark the path with geofences (one or several, corridor-shaped) and create Geofence Out alerts on them.
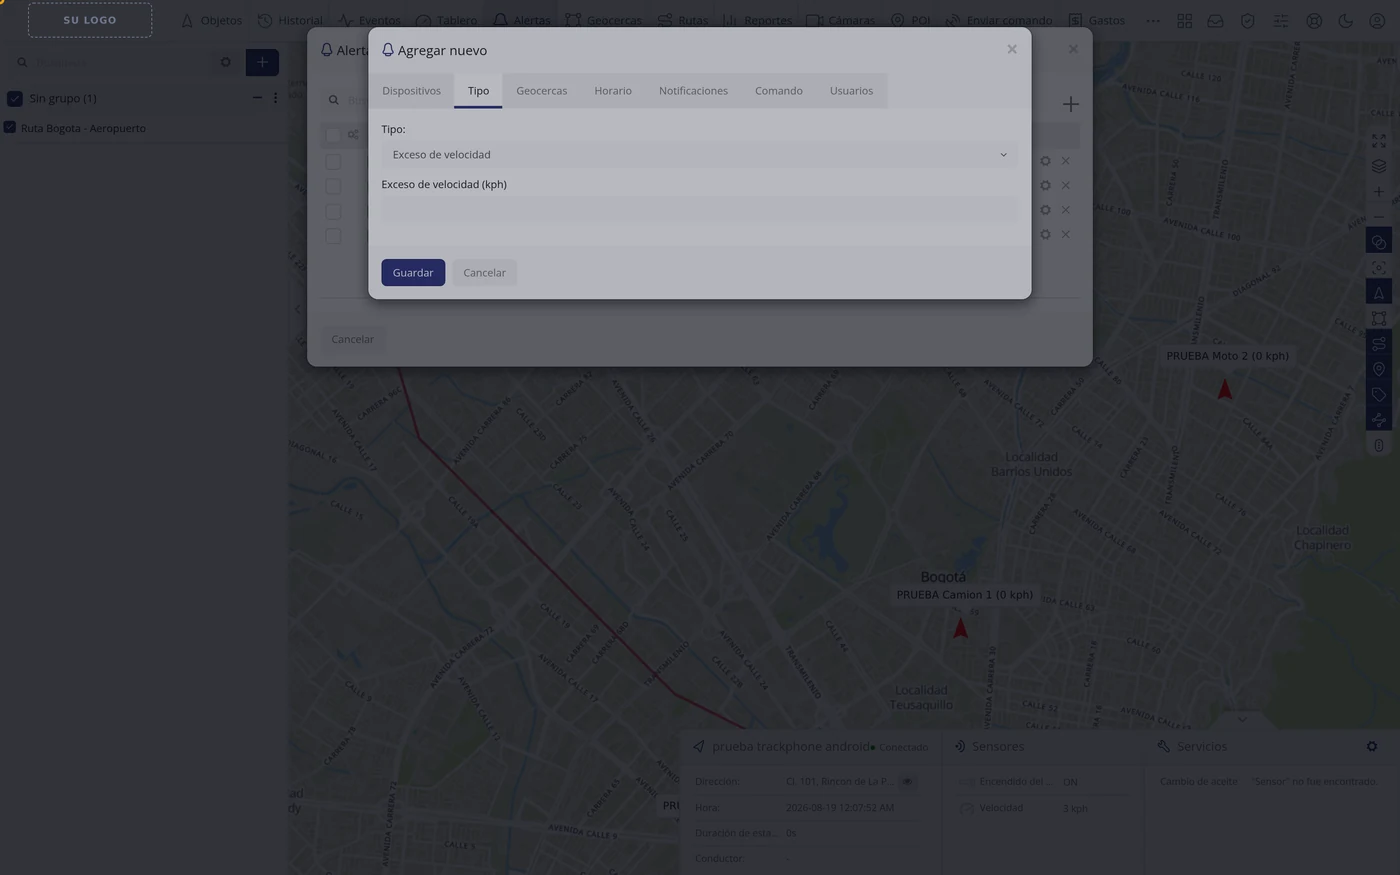
What each field asks for
| As it appears on screen | What it is | |
|---|---|---|
| The «Name:» field | The name you will recognise the path by. It is the one that appears in the list and stuck to the line on the map. It is required. | Required |
| The «Colour:» field | The colour the line is painted with on the map. It comes with a blue set and can be left as it is; it is for telling paths apart at a glance. It can be chosen with the palette or by typing the colour code, for example #E11D48. It is required. | Required |
| The «Group:» field | A folder to sort routes when you already have many. It comes as No group. CAREFUL: this field only appears when EDITING a route, not when creating it. It can be left empty. | Can be left empty |
| The «(does not exist) Width or tolerance» field | It was looked for on purpose and it does NOT exist. Neither when creating nor when editing is there any width, margin, deviation or tolerance field, and in the saved record of the software there is no place to put it either: only the name, the colour and the points of the path are stored. That is, you cannot say how many metres the vehicle may deviate before being considered outside. It can be left empty. | Can be left empty |
How to know it worked
The route appears in the list of the left-hand panel when you click Routes (inside the No group group, with its box ticked), and the line is drawn on the map, in the colour chosen and with the name stuck to the end of the path. If you untick the box, the line disappears from the map but the route stays saved.
How to create an alert
It is for the platform to warn you on its own when a vehicle does something that matters to you: for example, going over the speed you set. The warning appears on your screen without you having to watch the map. Where it is: Top bar > Alerts > + button (top right of the "Alerts" window)
Where it is Top bar > Alerts > + button (top right of the «Alerts» window)
Before you start
- Have at least one vehicle registered in the account.
- Have decided at what speed you want the warning to trigger, in kilometres per hour.
-
Click Alerts in the top bar
In the top bar, the one that starts with Objects, click where it says Alerts. The bar stays the same and a window opens over the map.
-
Look at the Alerts window
A window titled "Alerts" opens with a "Search" box and a table with the columns "Active", "Name", "Type" and "Devices". If you have never created any, the table is empty.
CarefulAlerts open in a window over the map, not in the left panel like other features.
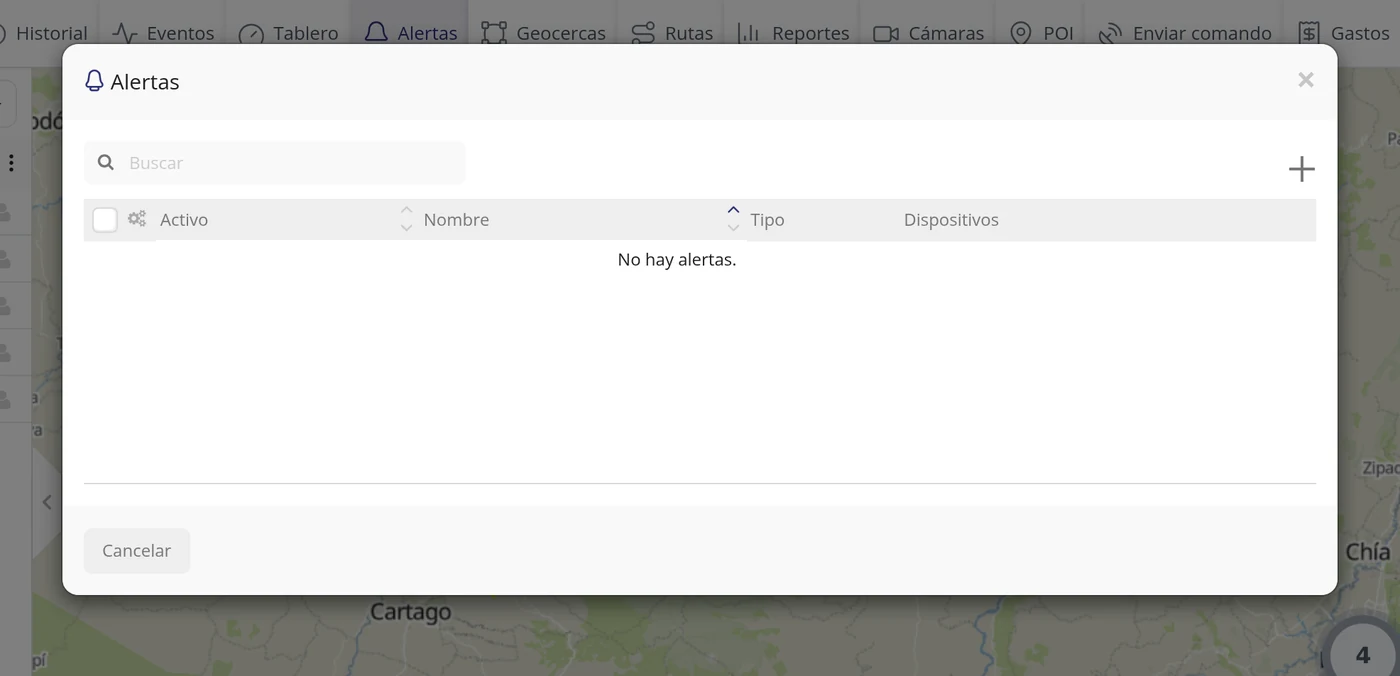
-
Click the + button of the window
At the top right of that window, level with the "Search" box, there is a + sign. Hovering over it says "Add new". Click it.
CarefulIt is the + inside the window. It is not the blue + of the left panel, which is for adding vehicles.
-
Recognise the form
Another window opens called "Add new" with seven tabs in a row: "Devices", "Type", "Geofences", "Schedule", "Notifications", "Command" and "Users". The first one, "Devices", opens first, with the "Name*:" field and the "Devices*:" list. At the bottom are the "Save" and "Cancel" buttons.
CarefulYou do not have to fill in the seven tabs. For a speeding warning "Devices", "Type" and "Notifications" are enough.
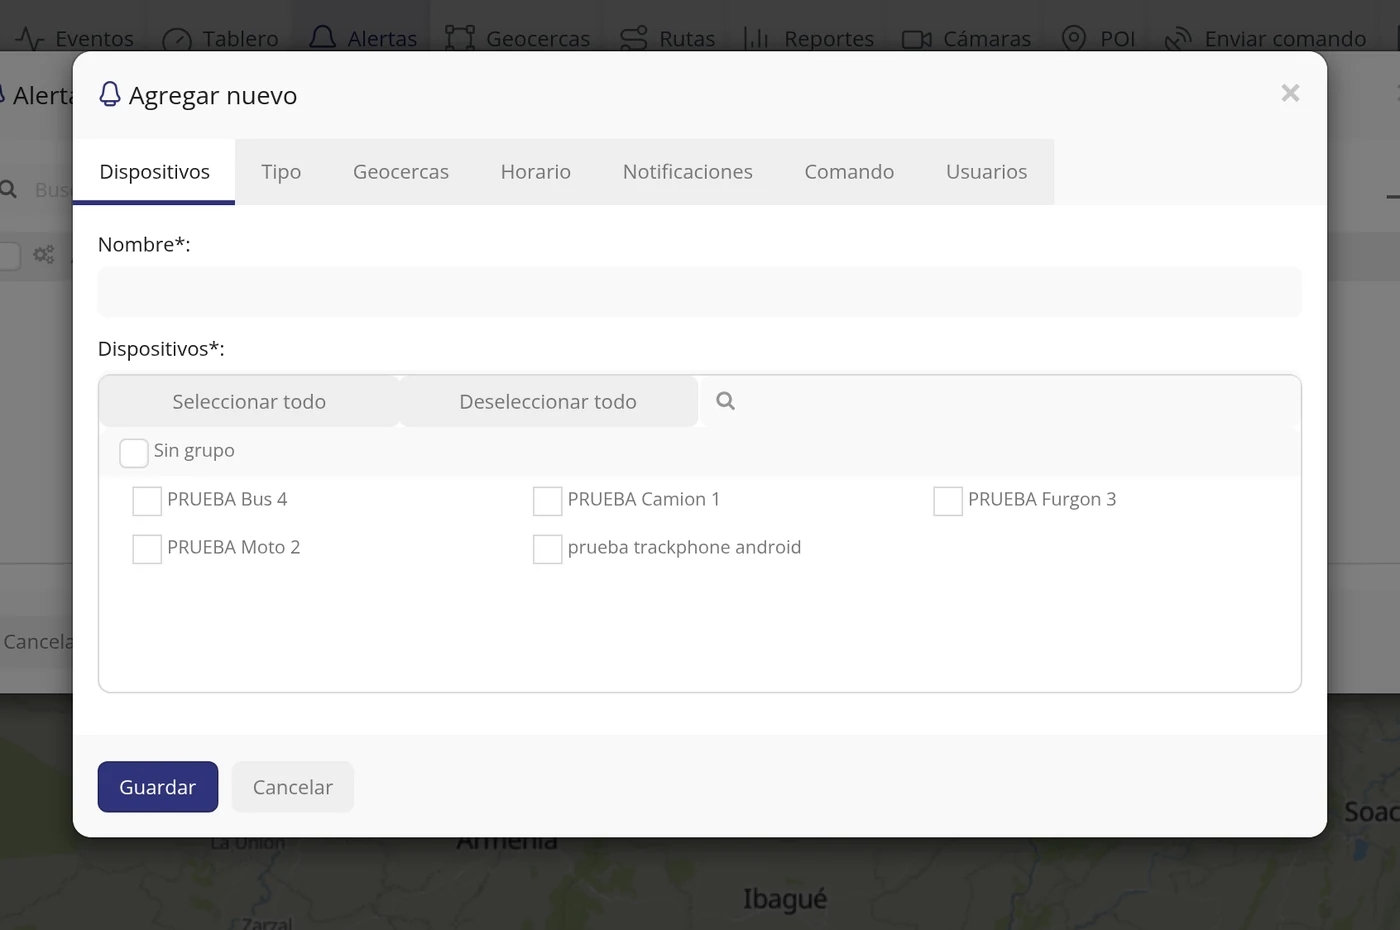
-
Type the name of the warning
In the "Name*:" field type the name you want to see the warning by in the list. Here Overspeed was typed.
CarefulThe asterisk means it is compulsory: without a name it does not let you save.
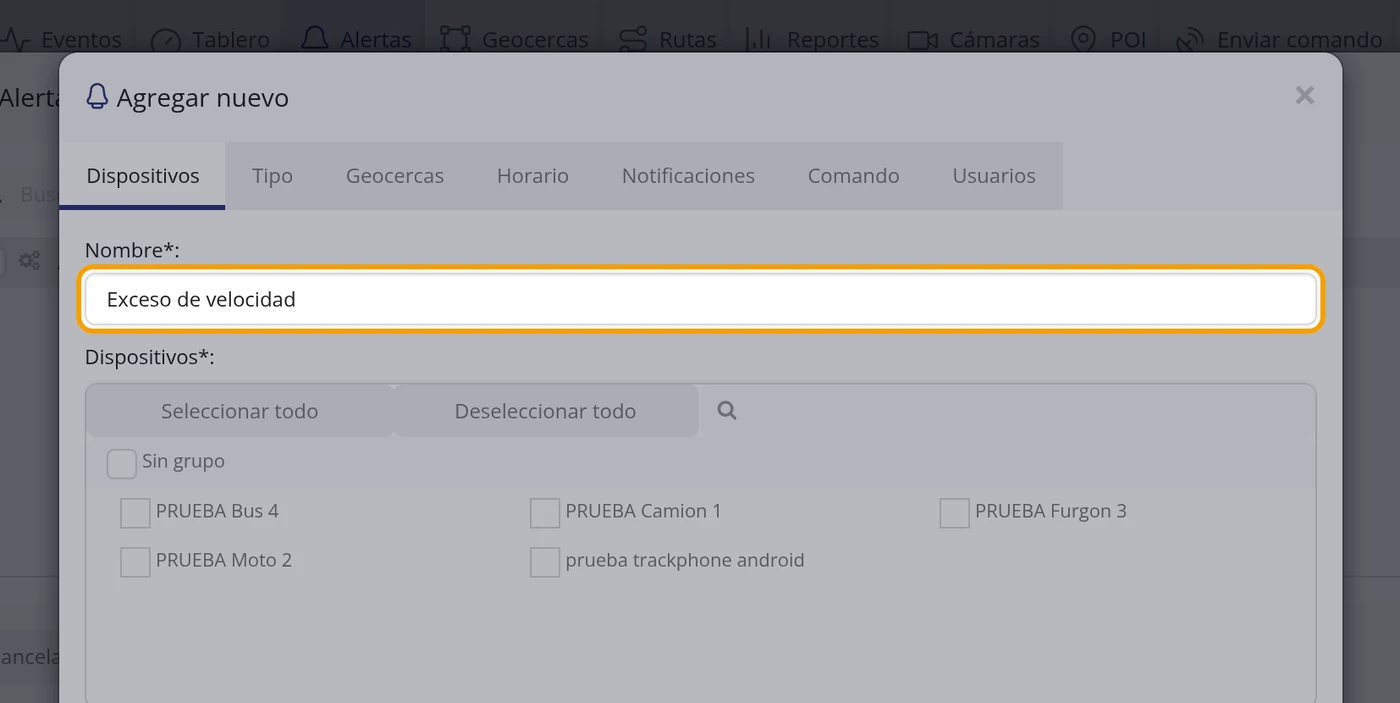
-
Tick the vehicle
Below, in "Devices*:", are all your vehicles with a box each. Click the name of the vehicle you want to watch and the box is ticked in blue. Here prueba trackphone android was ticked. There are also the "Select all" and "Deselect all" buttons and a magnifier to search if you have many.
CarefulYou can tick several vehicles at once; the warning will apply to all of them. If you tick none, it does not let you save.
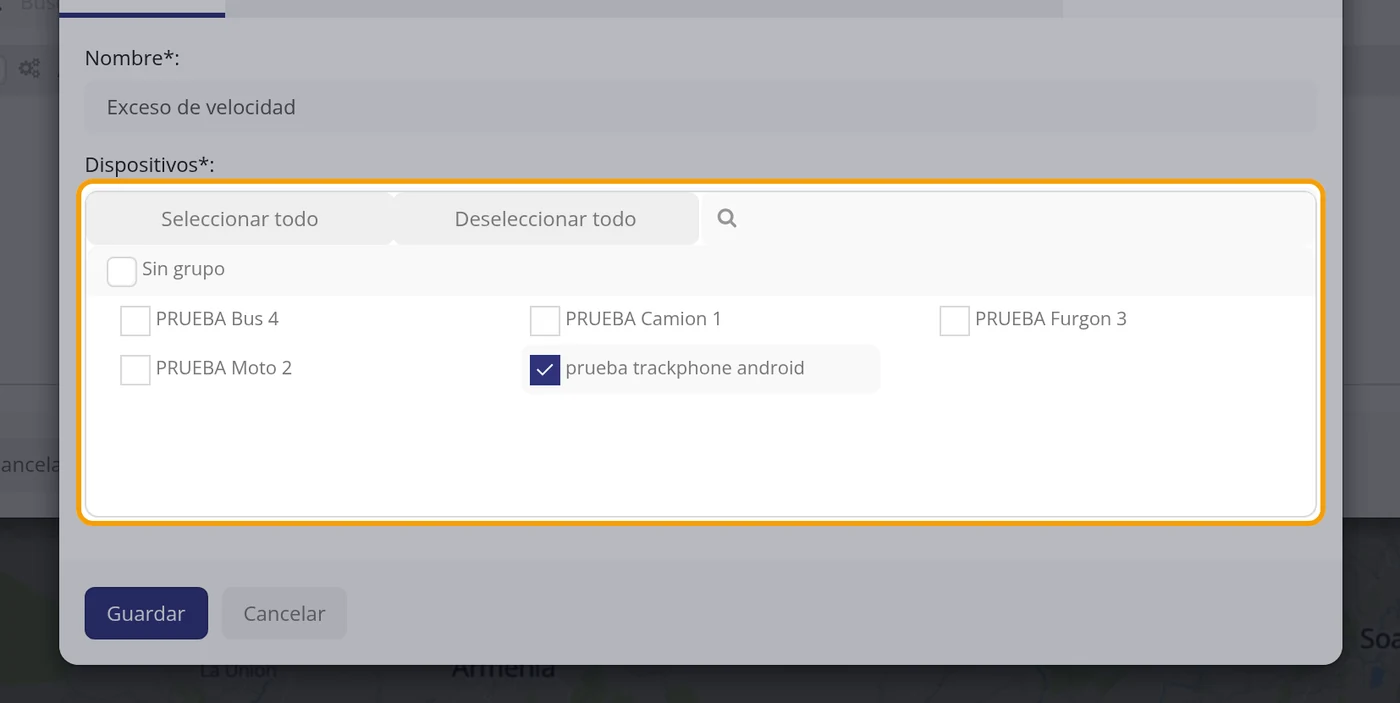
-
Open the Type tab
At the top, in the row of tabs, click "Type". That is where you say what you want the platform to watch.
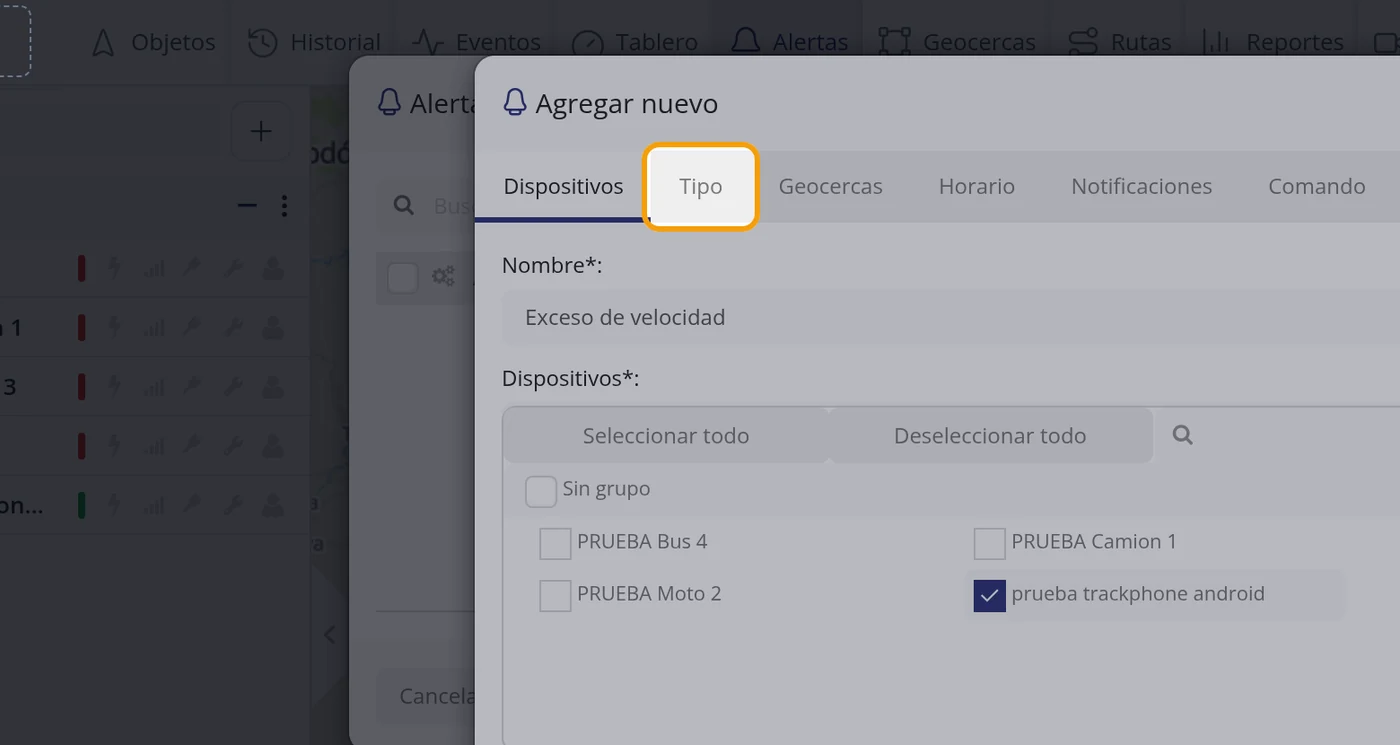
-
Check that it says Overspeed
The tab has the "Type:" field with a dropdown already set to "Overspeed", and below the "Overspeed (kph)" field, empty.
CarefulIf you want another warning, open that list: inside are, among others, "Parking duration", "Offline duration", "Ignition ON/OFF", "Geofence In", "Geofence Out", "Geofence In/Out", "SOS" and "Distance".
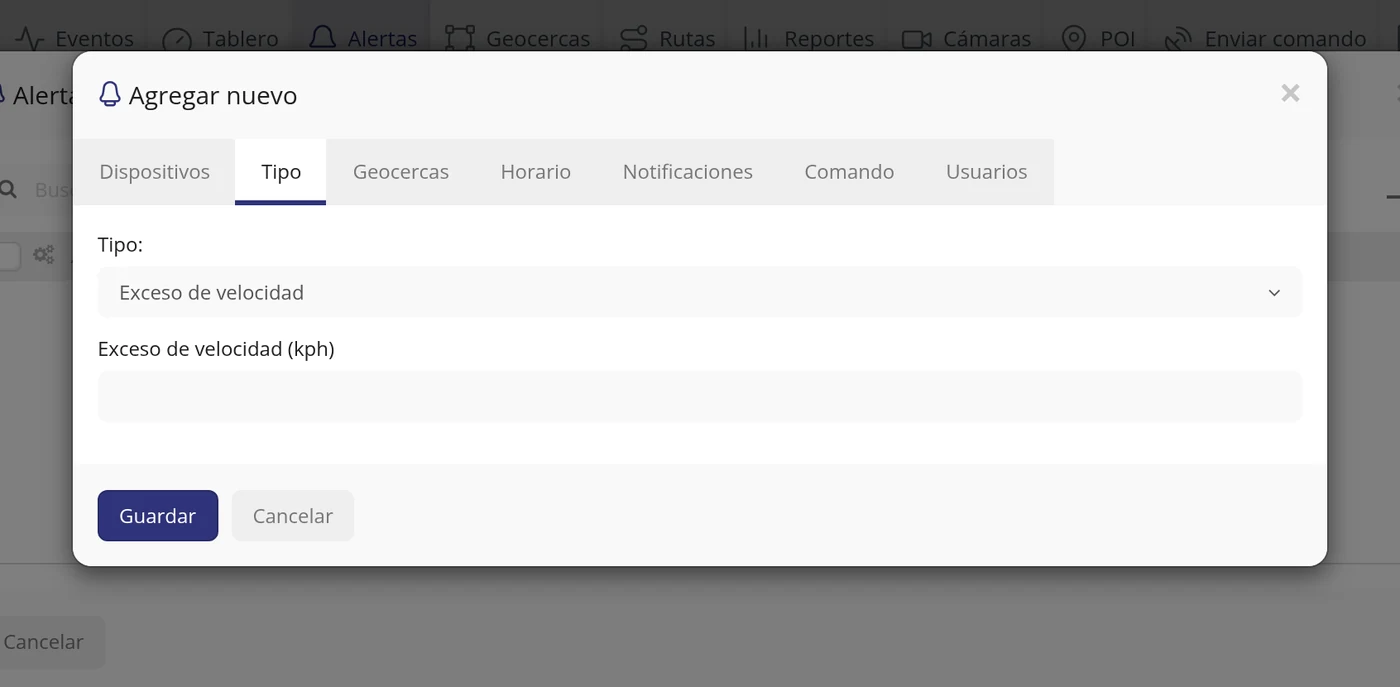
-
Type the maximum speed
In the "Overspeed (kph)" field type the number of kilometres per hour above which you want the warning. Here 80 was typed.
CarefulOnly the number, with no dots or commas and without typing kph.
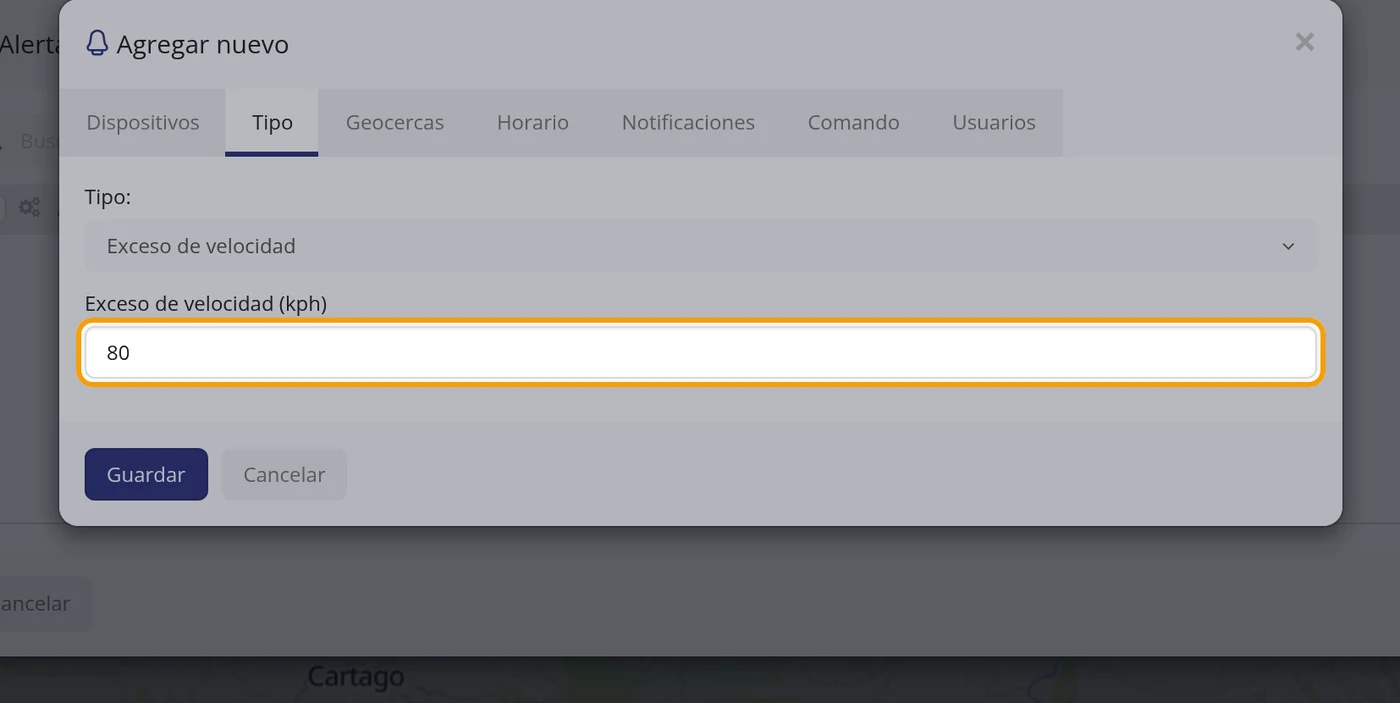
-
Check the on-screen warning
Click the "Notifications" tab. There are the fields "Colour", "Ignore notifications if repeated within minutes", "Sound notification", "Pop up notification", "Mobile app push notification", "Email notification" and "Webhook notification". The "Pop up notification" box is the warning that appears on screen and comes already ticked, along with the sound and the phone app warning.
CarefulIf you untick it, the warning stops appearing on screen. To also get it by email you have to tick "Email notification" and type the address.
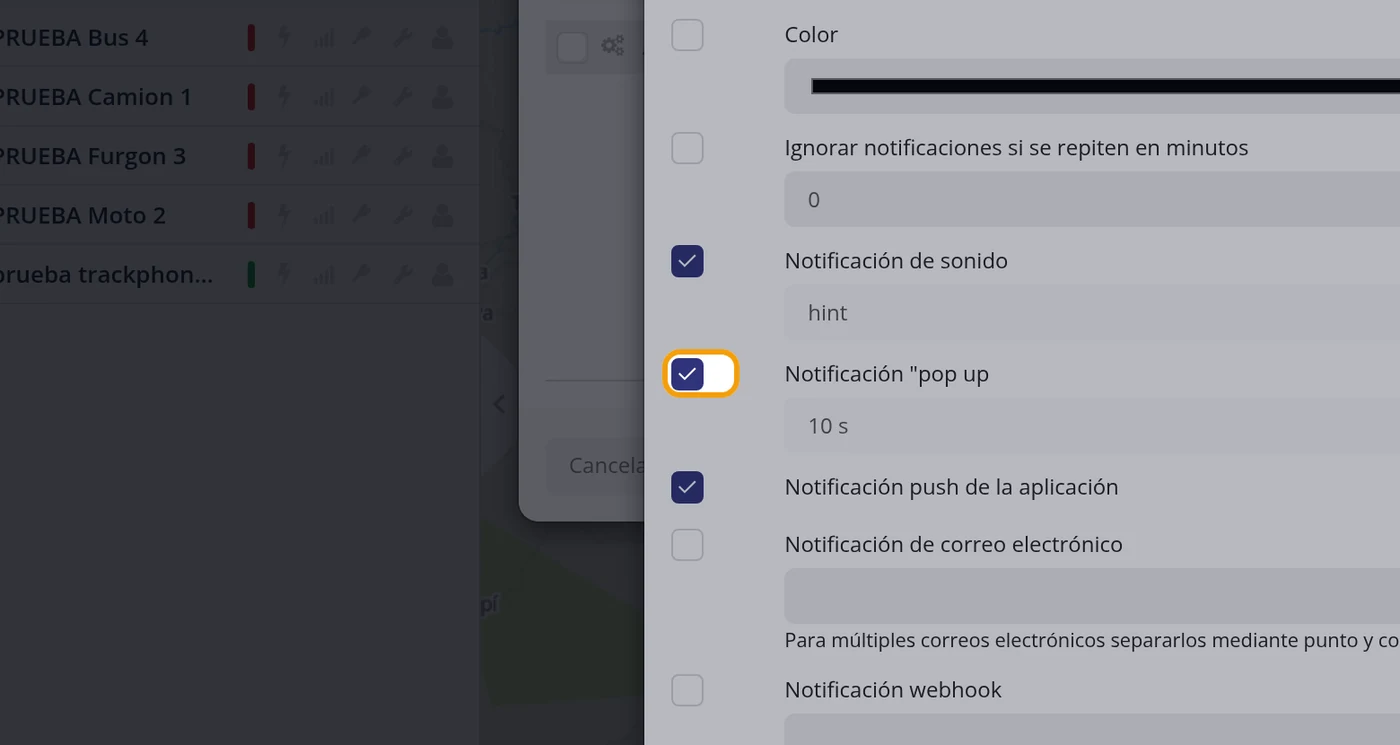
-
Click Save
At the bottom left of the window are the "Save" and "Cancel" buttons. Click "Save". The form window closes by itself.
CarefulIf the name was left blank it is not saved: the form stays open and below the field the notice "The Name field is required." appears.
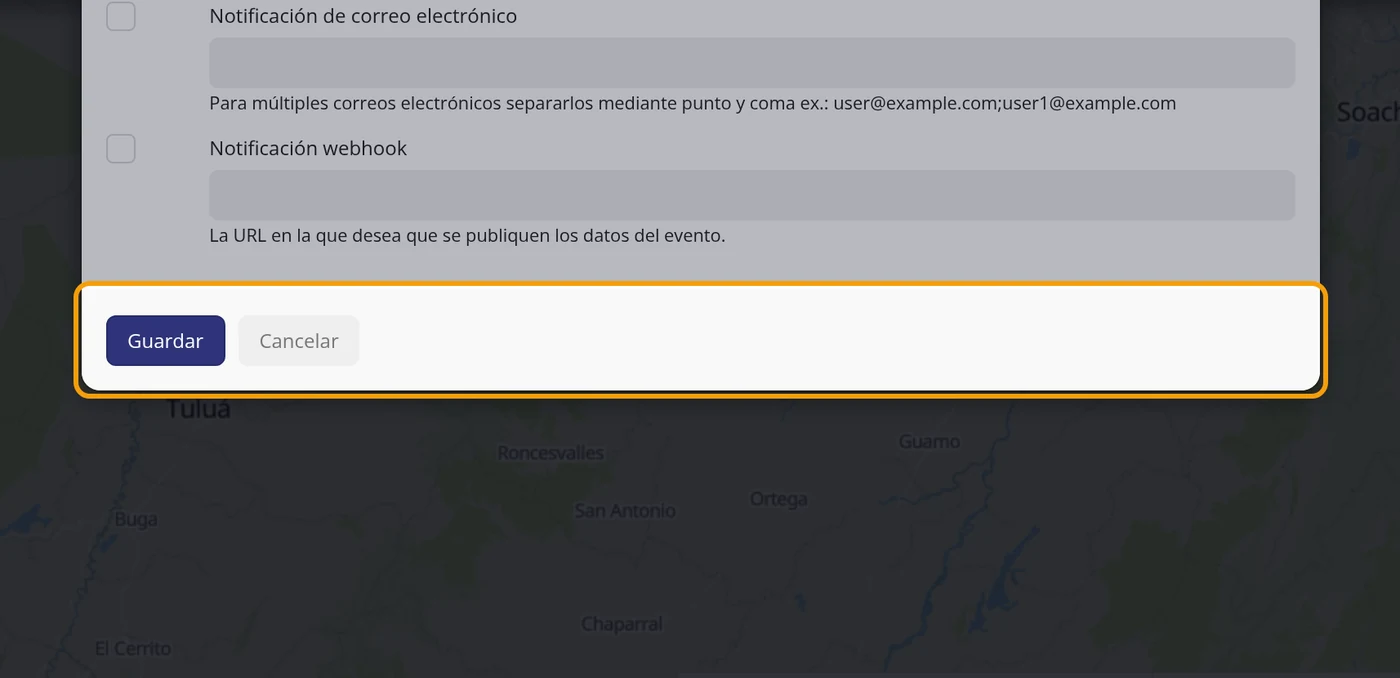
-
Check that it is in the list
The "Alerts" window is shown again and now the table has a row with a green label saying "Active", the name Overspeed, the type Overspeed and a 1 in the "Devices" column, which is the number of vehicles watched. To the right of the row there are two icons: one to open it again and another to delete it.
Si va a avisar de un evento propio, créelo antes →
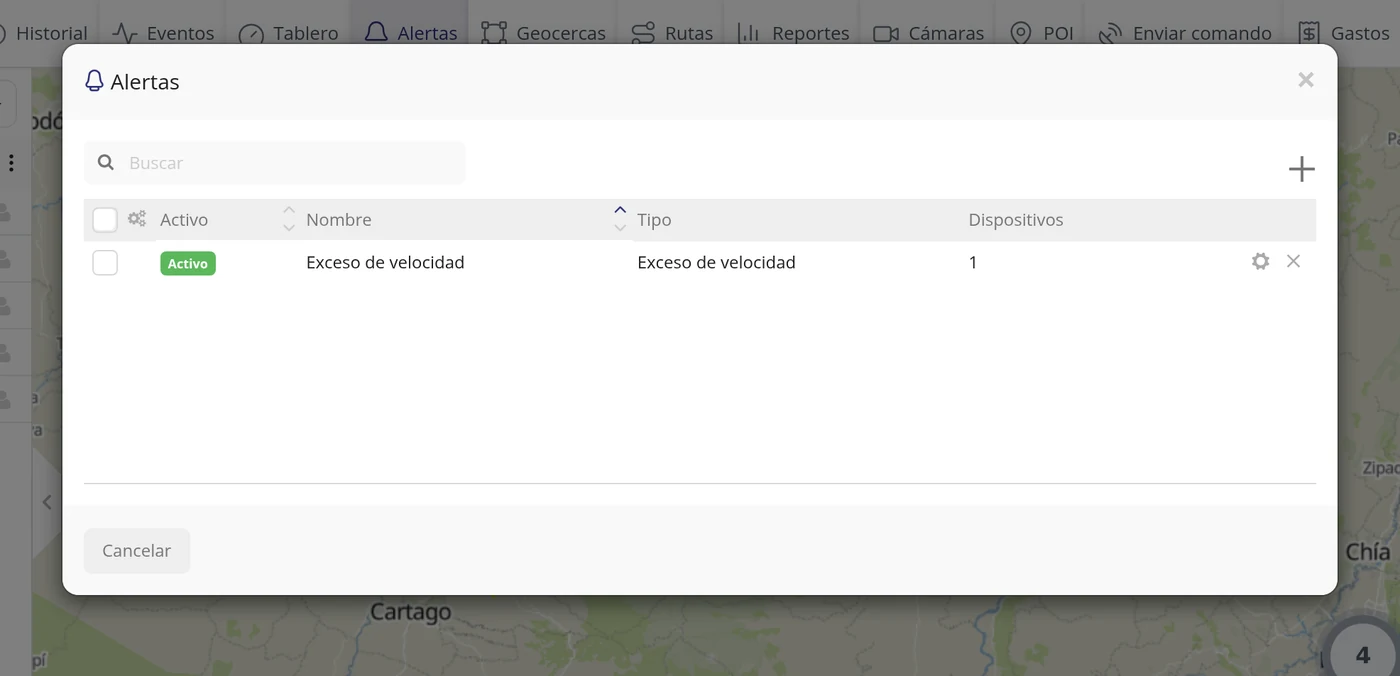
What each field asks for
| As it appears on screen | What it is | |
|---|---|---|
| The «Name*:» field | The name you will see the warning by in the list. Give it one you understand at a glance. It is required. | Required |
| The «Devices*:» field | The list of your vehicles. Tick the ones you want to watch with this warning. It is required. | Required |
| The «Type:» field | What the warning watches. It comes set to Overspeed. It is required. | Required |
| The «Overspeed (kph)» field | From how many kilometres per hour the warning fires. Only the number. It is required. | Required |
| The «Colour» field | Colour the warning is painted with. If you do not set it, it keeps the usual one. It can be left empty. | Can be left empty |
| The «Ignore notifications if repeated within minutes» field | So as not to get the same warning over and over: you type the minutes of rest between warnings. It can be left empty. | Can be left empty |
| The «Sound notification» box | Makes a beep when the warning fires. It comes ticked. It can be left empty. | Can be left empty |
| The «"Pop up" notification» box | Shows the warning on the program screen. It comes ticked and is the one used here. It can be left empty. | Can be left empty |
| The «Mobile app push notification» box | Sends the warning to the phone, to the app. It comes ticked. It can be left empty. | Can be left empty |
| The «Email notification» box | Sends the warning by email. You have to tick it and type the address; for several addresses they are separated with a semicolon. It can be left empty. | Can be left empty |
| The «Webhook notification» box | Sends the warning to another program over the internet. It is for technical use; leave it unticked. It can be left empty. | Can be left empty |
How to know it worked
In the "Alerts" window a row has to be visible with the green label "Active", the name you gave it, the type "Overspeed" and the number of vehicles in the "Devices" column. If you click the icon at the left of that row, the form opens again with the same data you typed: this was checked and it came back with the name Exceso de velocidad, the type Overspeed, 80 as the speed and the vehicle prueba trackphone android ticked.
How to be warned that the GPS power was cut (and other device-based warnings)
The ordinary alerts —overspeed, long stop, entering or leaving a geofence— come ready-made and you only have to fill them in. But there are warnings that depend on what the device fitted in the vehicle sends: that its power is cut, that a door is opened, that the panic button is pressed, that a signal jammer is put on it. For those you have to use the «Custom events» type, and there the order matters: FIRST the event has to exist, and ONLY THEN do you create the alert that watches it. The good news is that most of the events are already made: the platform brings a list per device brand, and «Battery disconnected», which is the power cut, is already in it. Where it is: Top bar > Alerts > + button > Type tab > Custom events. And if the event has to be created: Settings > Events tab > Add event
Where it is Top bar > Alerts > + button > Type tab > Custom events. And if the event has to be created: Settings > Events tab > Add event
Before you start
- Know which make the vehicle's unit is. Events go by make (by the protocol the unit speaks to the platform with), and in the list they appear grouped that way.
- First check whether the event already exists: it almost always does. You only have to create one when the list does not bring what you are looking for for your make.
- The order is always the same: first the event, then the alert. An event without an alert warns nobody; the alert is what sends the notice.
-
Open Alerts
In the top bar click «Alerts». A window titled «Alerts» opens with a table with the columns «Active», «Name», «Type» and «Devices», holding the ones you already have.
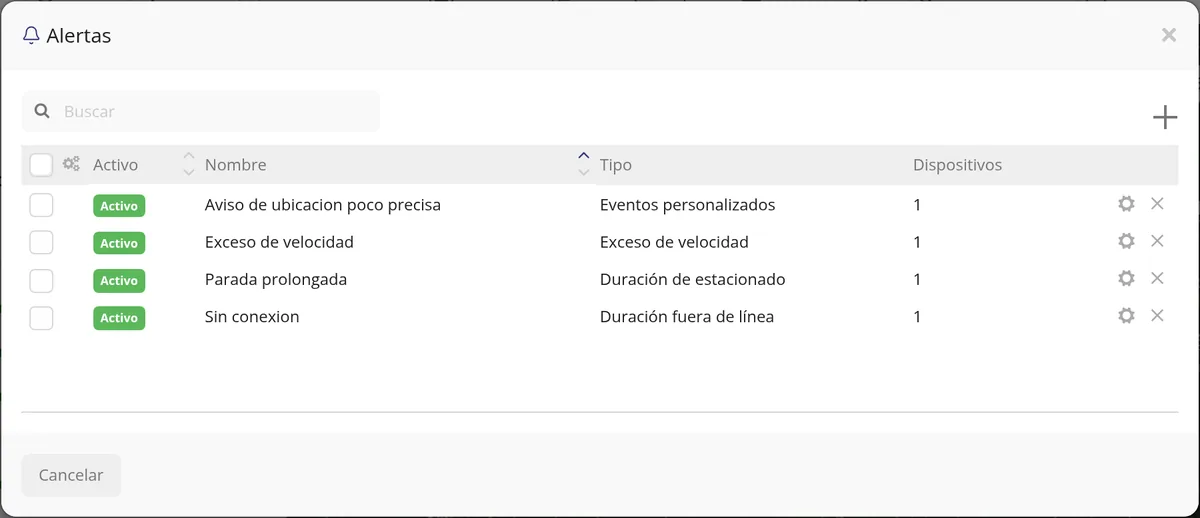
-
Click the + button in that window
At the top right of the window there is a + sign. Leaving the mouse over it says «Add new». Click it and the form opens, with seven tabs: Devices, Type, Geofences, Schedule, Notifications, Command and Users.
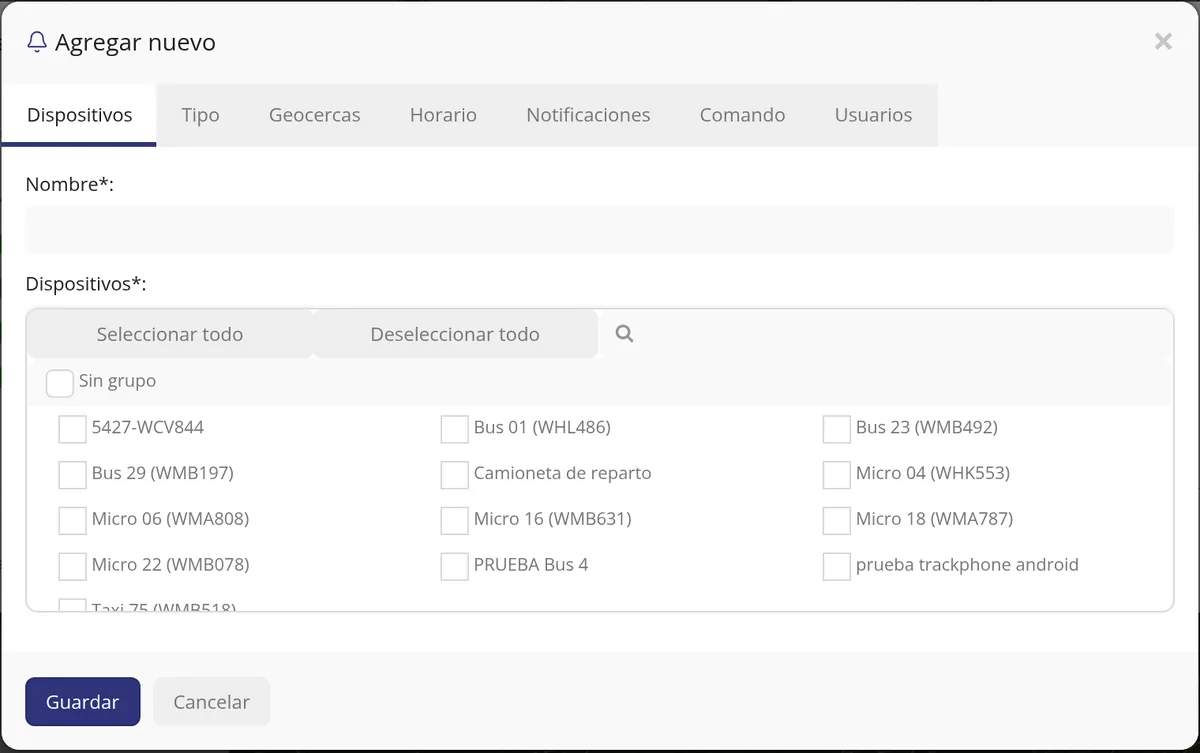
-
Give it a name and tick the vehicle
It starts with the «Devices» tab open. In «Name*:» type the name you want to see the warning under in the list; here «Corte de alimentacion» was typed. Below, in «Devices*:», are all your vehicles with a box each: click the one you want to watch.
-
Open the «Type» tab and choose «Custom events»
At the top, in the row of tabs, click «Type». The «Type:» field comes set to «Overspeed». Open it and in the list —Stop duration, Offline duration, Ignition ON/OFF, Geofence in, SOS…— choose «Custom events».
-
Tick the event under «System events»
Below, a box titled «Event» appears, with «Select all», «Deselect all» and a magnifier to search. Inside, under the heading «System events», is the list of the ones already made for that vehicle's brand. For the power cut tick «Battery disconnected». In the check, with a Teltonika device, the list brought: SOS, Ignition on, Ignition off, Battery disconnected, PANIC BUTTON PRESSED, VEHICLE ON, VEHICLE OFF, Harsh acceleration, Harsh braking and Harsh cornering.
CarefulEvery event carries its brand in brackets. If you tick one from a brand other than the vehicle's, it will never fire.
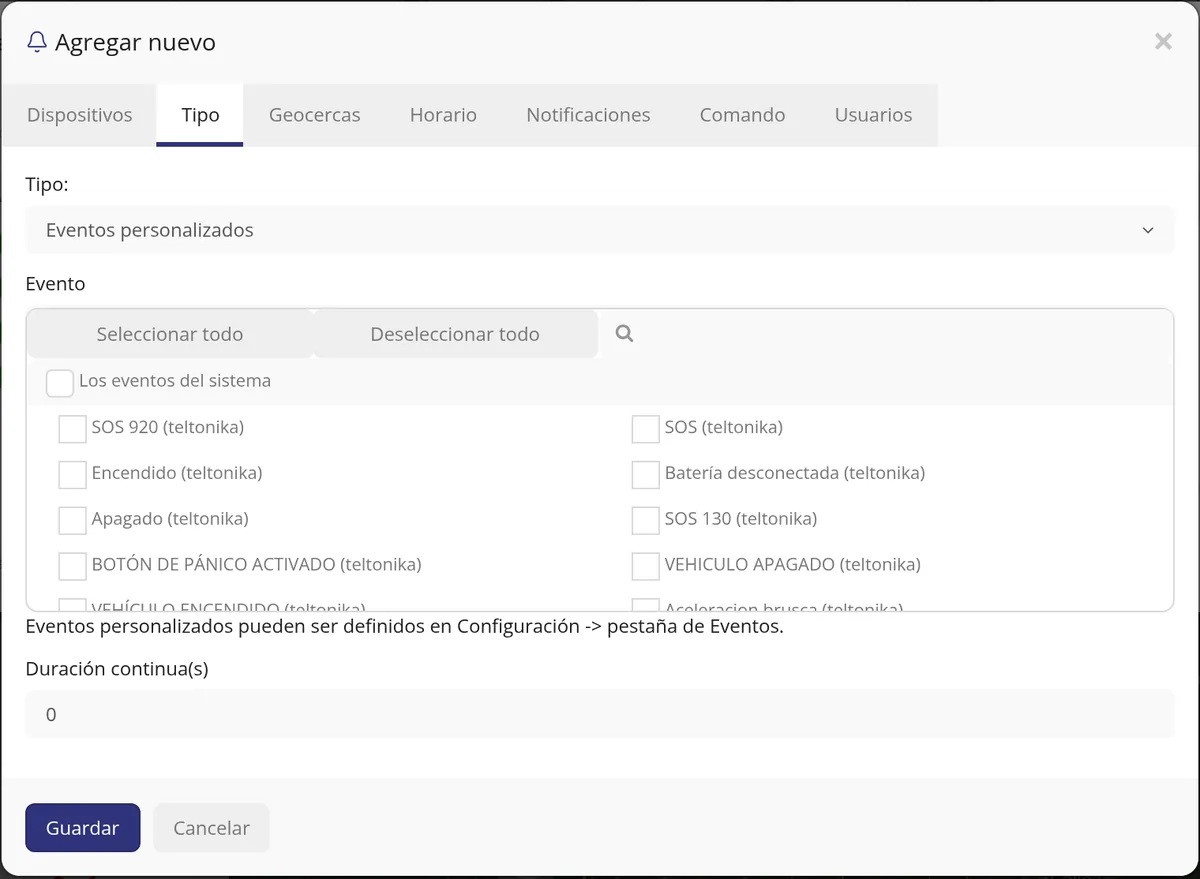
-
Leave «Continuous duration» at 0
Below the list there is a «Continuous duration(s)» field with a 0. Leave it at 0 so that it warns you as soon as it happens. You only put a number of seconds there when you want the situation to have to hold for that long before warning.
-
Choose how you want to be told
Click the «Notifications» tab. There you have the boxes «Colour», «Ignore notifications if they repeat within minutes», «Sound notification», «Pop up notification», «Mobile app push notification», «Email notification» and «Webhook notification». Tick the ones you want.
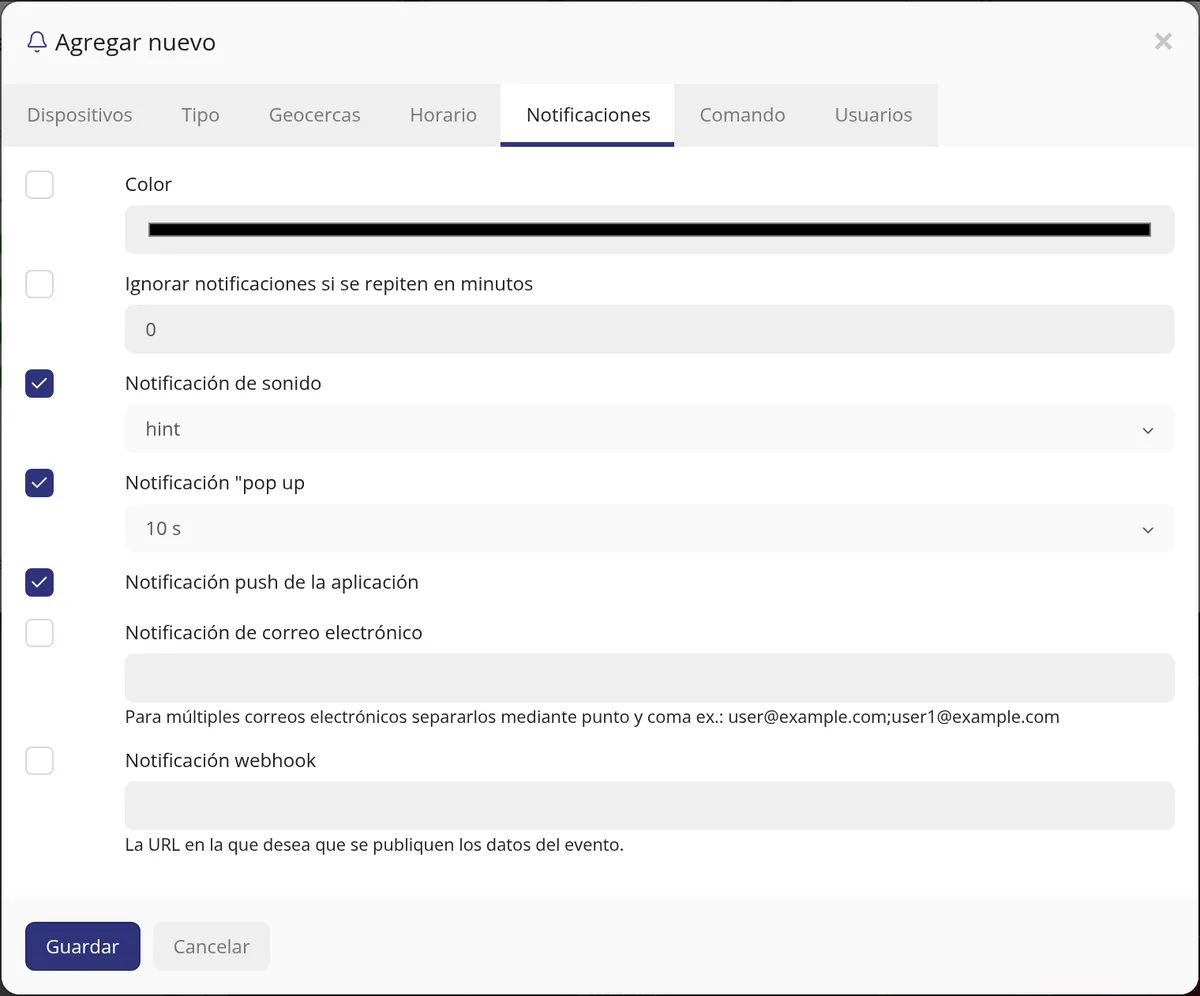
-
Click «Save»
At the bottom left are «Save» and «Cancel». Click «Save»: the window closes by itself and the list of alerts comes back into view.
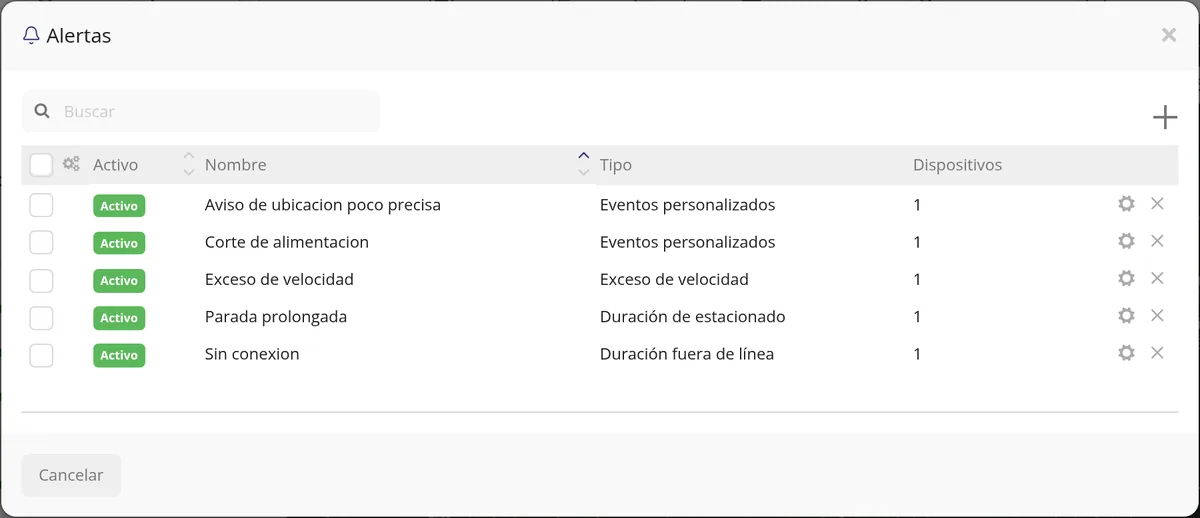
-
Check that it stuck
In the «Alerts» table a new row has to be visible with the green label «Active», the name you gave it, the type «Custom events» and the number of vehicles being watched. In the check it came out as: «Active · Corte de alimentacion · Custom events · 1».
-
If the event was NOT in the list, it has to be created first
You only need this when your brand does not bring what you are after. It is done in Settings > «Events» tab > «Add event», and there you say which brand the device is, which piece of data to look at, with which comparison and with which value. The panel itself warns you at the foot of that tab: «To activate an event, please also create an alert». That is: the event describes what to look at, and the alert is what warns you. Without the alert, the event tells nobody anything.
Cómo crear un evento personalizado, paso a paso →
CarefulThe name of the data has to be copied from the Data log of THAT vehicle, because every brand calls it its own way: on a Teltonika the power cut shows up with the data «power» «Less than» «9», and on a Concox with «charge» «Equal to» «false».
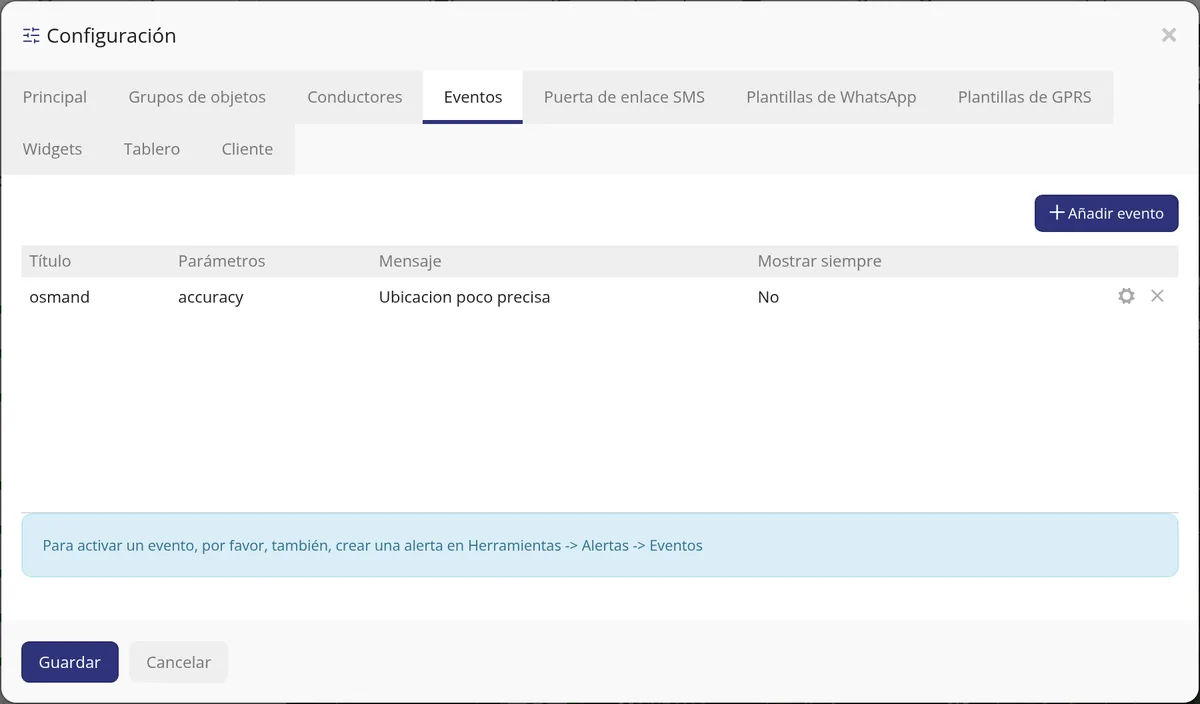
-
And then create the alert again
With the event now created, repeat steps 1 to 8 and tick it in the list. That is the order and it cannot be skipped.
What each field asks for
| As it appears on screen | What it is | |
|---|---|---|
| The «Type:» field | For the warnings that depend on what the device sends, «Custom events». It is required. | Required |
| The «Event» field | The list of ready-made events, each one with its brand in brackets. Tick the ones you want that alert to watch; you can tick several. It is required. | Required |
| The «Continuous duration(s)» field | Seconds the situation has to hold before warning. At 0 it warns as soon as it happens. It can be left empty. | Can be left empty |
| The «Device protocol:» field | Only when creating an event. The brand of the device, which is what it talks to the platform with. It is required. | Required |
| The «Conditions:» field | Only when creating an event. The name of the data, the comparison and the value. Several can be chained. It is required. | Required |
| The «Message:» field | Only when creating an event. The text you will see when it fires, for example «The GPS power was cut». It is required. | Required |
How to know it worked
The alert came out right when the «Alerts» window shows a row with the green label «Active», your name for it, the type «Custom events» and the number of vehicles in the «Devices» column. If you click the pencil on that row, the form opens again with the event you ticked. Checked on 24 Aug 2026 in the panel: «Corte de alimentacion» was created on a Teltonika vehicle ticking «Battery disconnected» and it stayed in the list as Active.
Why your alerts are not reaching you, and how to check it
An alert can fail in two different places, and they are not the same problem. The ALERT itself can fail: it never fires because the vehicle is not assigned, because the condition is never met, or because the schedule has it switched off. Or the NOTICE can fail: the alert did fire and was recorded, but no channel was ticked to call you. Before touching anything it is worth knowing which of the two it is, and for that it is enough to look at the «Events» list: everything the platform detects ends up there, whether it notifies you or not. This section follows that path: first look at the event, and from there go to the part that matters. Where it is: Top bar > Events (to see whether it was generated) and Top bar > Alerts > the pencil of the alert (to review it)
Where it is Top bar > Events (to see whether it was generated) and Top bar > Alerts > the alert's pencil (to review it)
Before you start
- Have the vehicle and the approximate time the alert should have triggered to hand. Without that nothing can be checked.
- Know what you expected to receive: a notice on the panel screen, a notification on the phone or an email. Each one is switched on separately inside the alert.
- Engine-on alerts are a case apart: they depend on a vehicle setting. They are explained in step 9.
-
Look at «Events» first
In the top bar click «Events». The list opens with everything the platform has detected, with its vehicle, its time and the type of event. Look for the vehicle and the time when the alert should have fired. What you see here decides the rest: if the event is there, the alert works; if it is not there, the alert never fired.
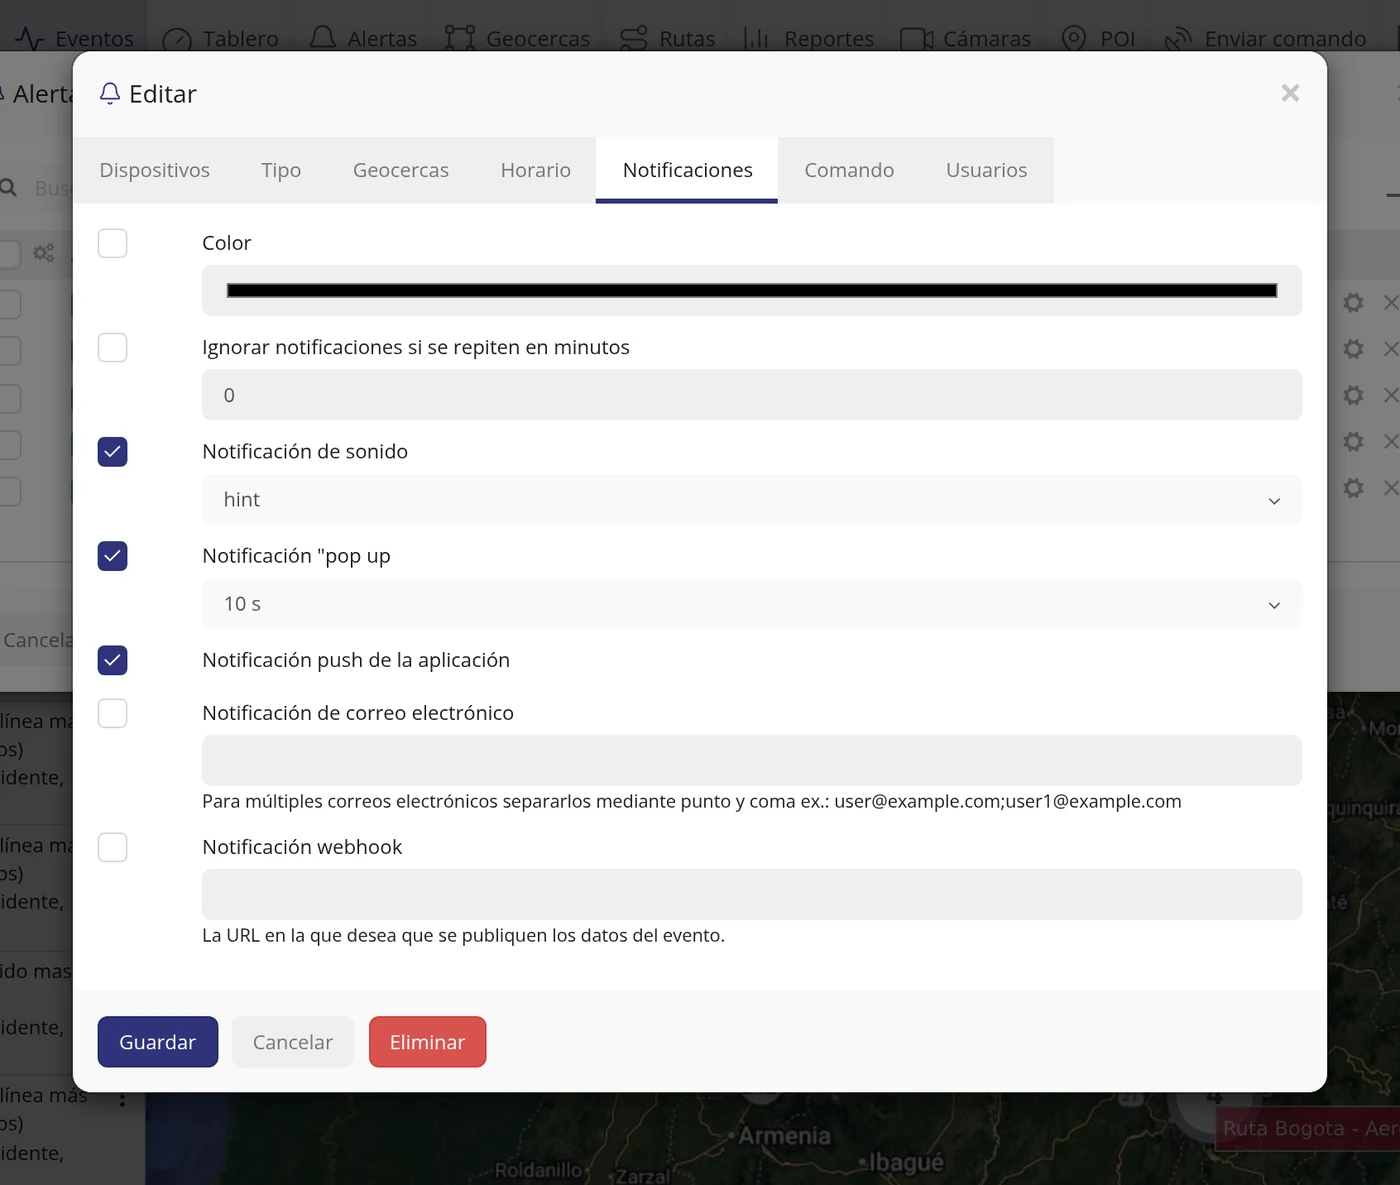
-
If the event IS there: the problem is the notice
It means the alert did its job and was recorded, but it did not call you through any channel. Go to the top bar, click «Alerts» and find yours in the list.
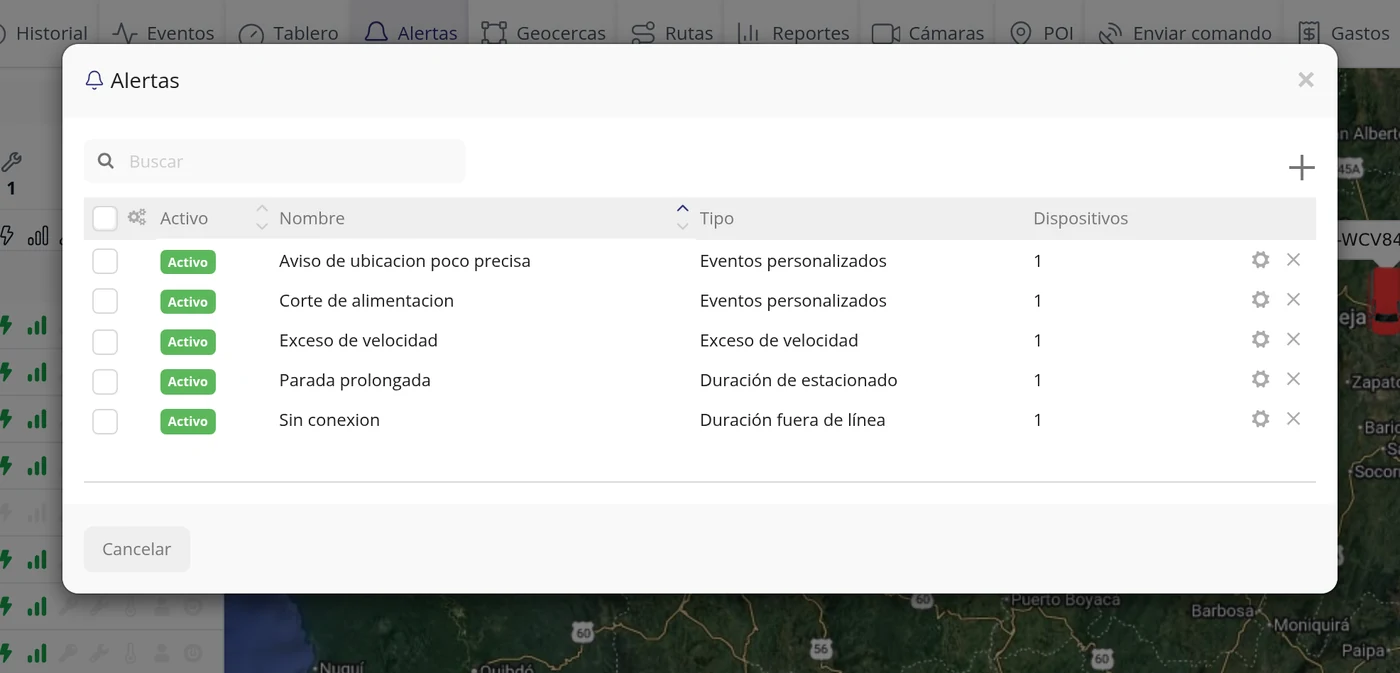
-
Open the alert and go into «Notifications»
Click the pencil of the alert. The «Edit» window has the tabs Devices, Type, Geofences, Schedule, Notifications, Command and Users. Go into «Notifications».
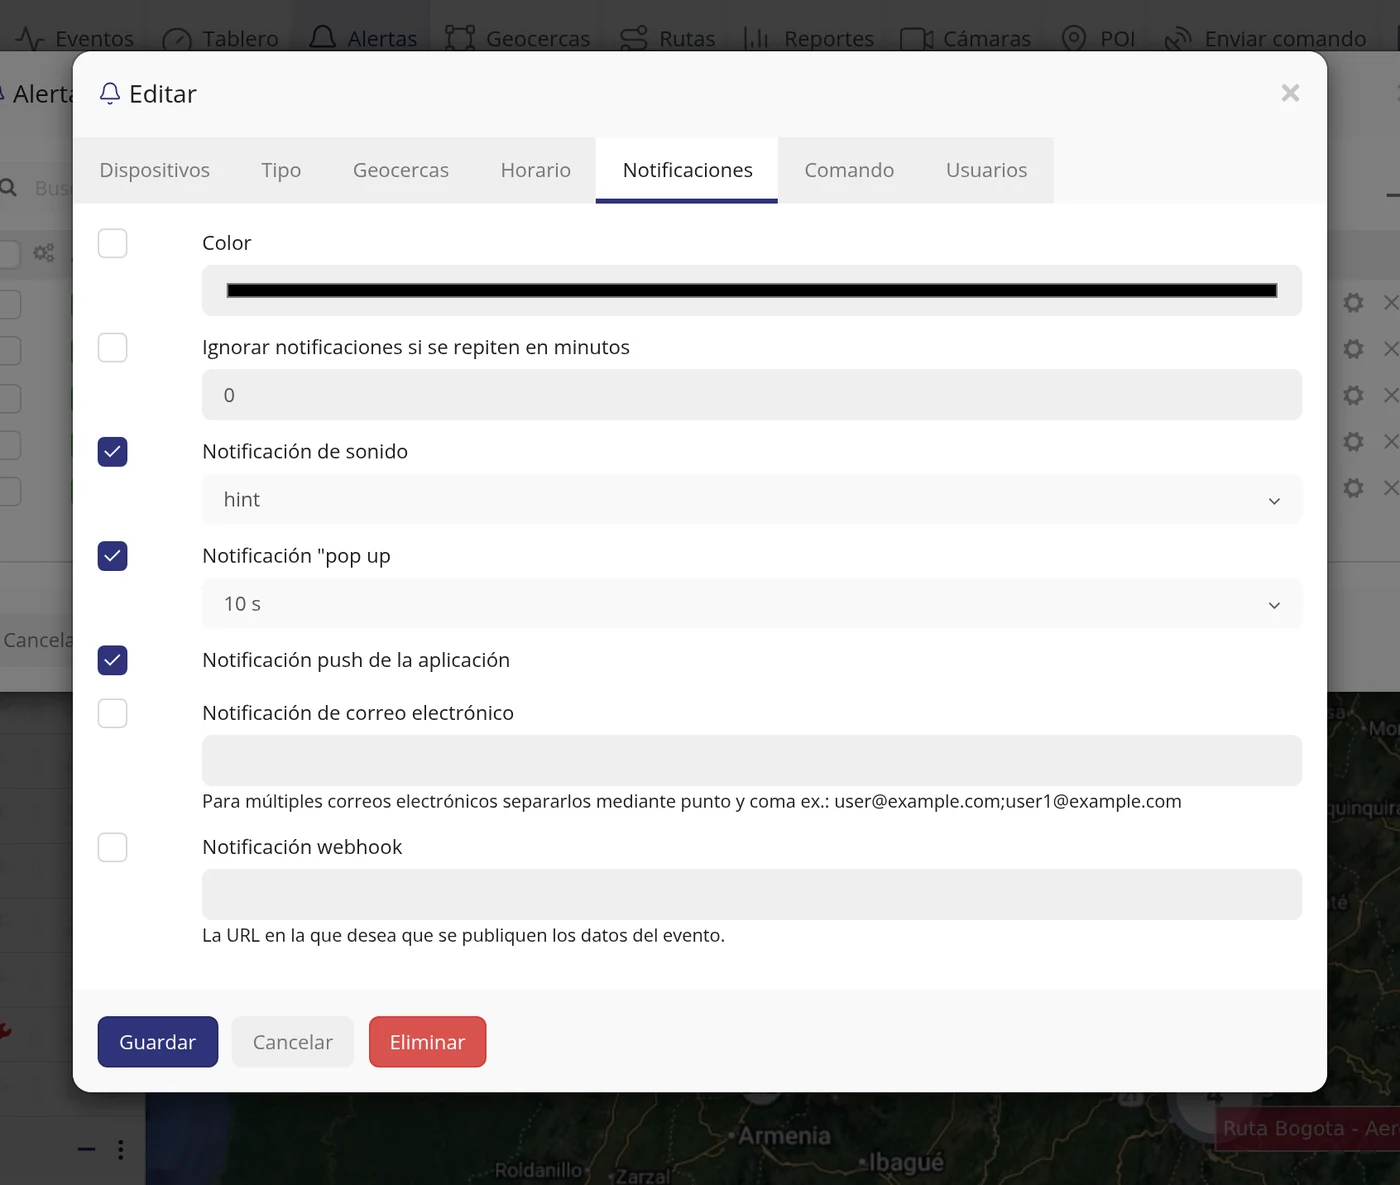
-
Tick the channel you want to be notified through
Each channel has its own box: «Sound notification» and «"Pop up" notification» warn you inside the platform, with the panel open; «App push notification» warns you on the phone; «E-mail notification» asks for the address (several are separated with a semicolon); «Webhook notification» sends the notice to another system of yours. Tick the one you want, fill in the data it asks for and click «Save».
CarefulIf no box is ticked, the event is saved in «Events» and nobody is notified. It is the most repeated cause of «my alerts do not reach me».
-
Watch out for «Ignore notifications if they repeat within minutes»
In that same tab there is a field with that name. If it has a number, repeated notices from that alert stay silent for that time. It is useful for not receiving twenty identical notices, but if it is set too high it looks as if the alert does not work.
-
If the event is NOT there: check the «Devices» tab
Open the alert and go into «Devices». That is where the vehicles it watches are. Yours has to be in that list: if you added it after creating the alert, it is very easy for it to have been left out.
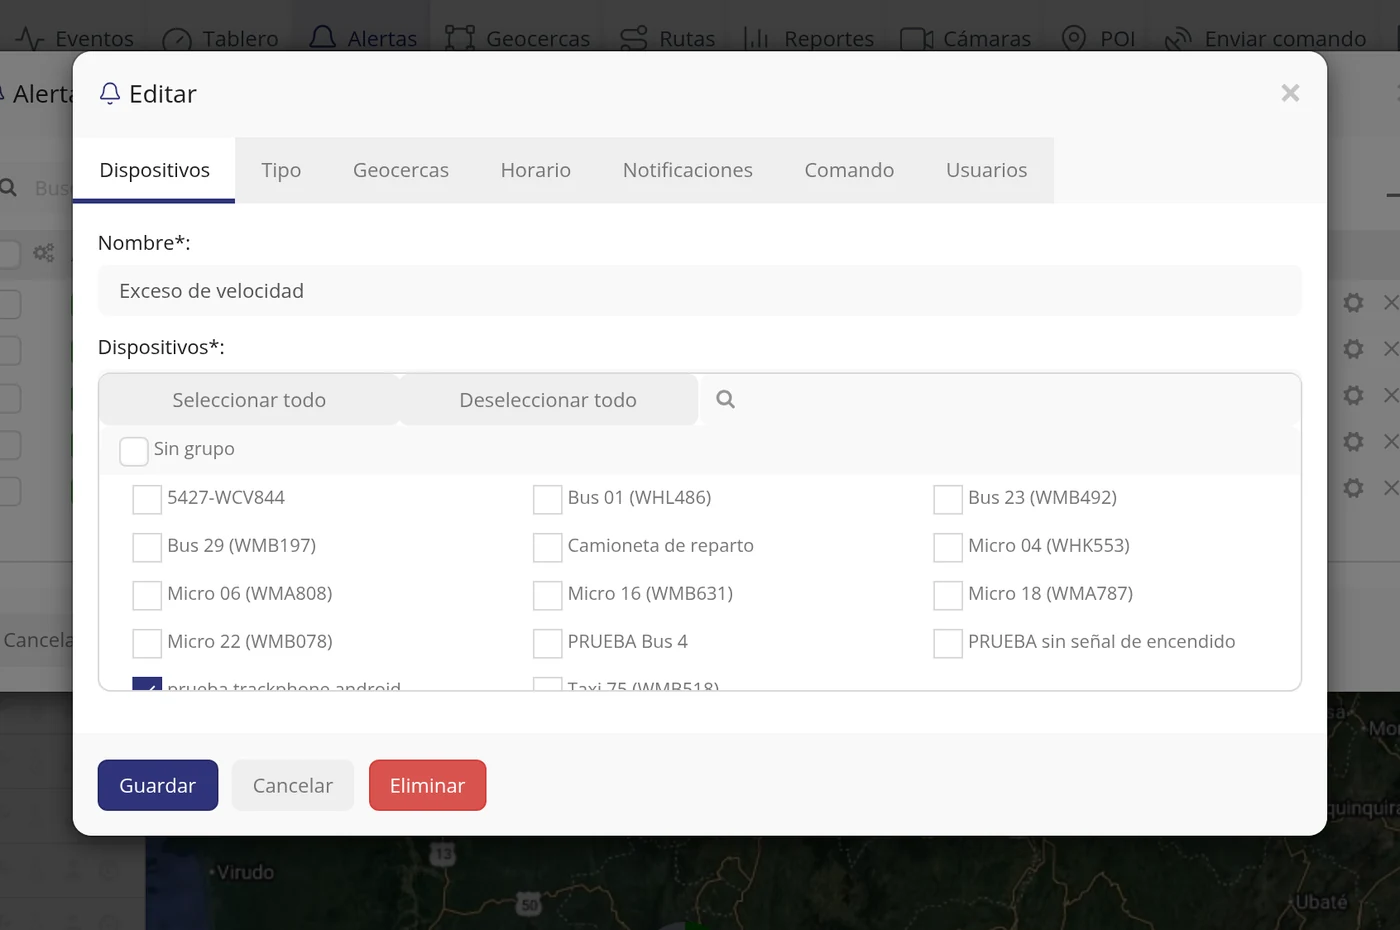
-
Check the «Type» tab: that is where the conditions are
«Type» is the kind of alert (overspeed, long stop, offline, geofence, ignition…) and its conditions: the km/h, the minutes, the geofence. If the condition is stricter than you thought, the alert is never met and that is why there is no event.
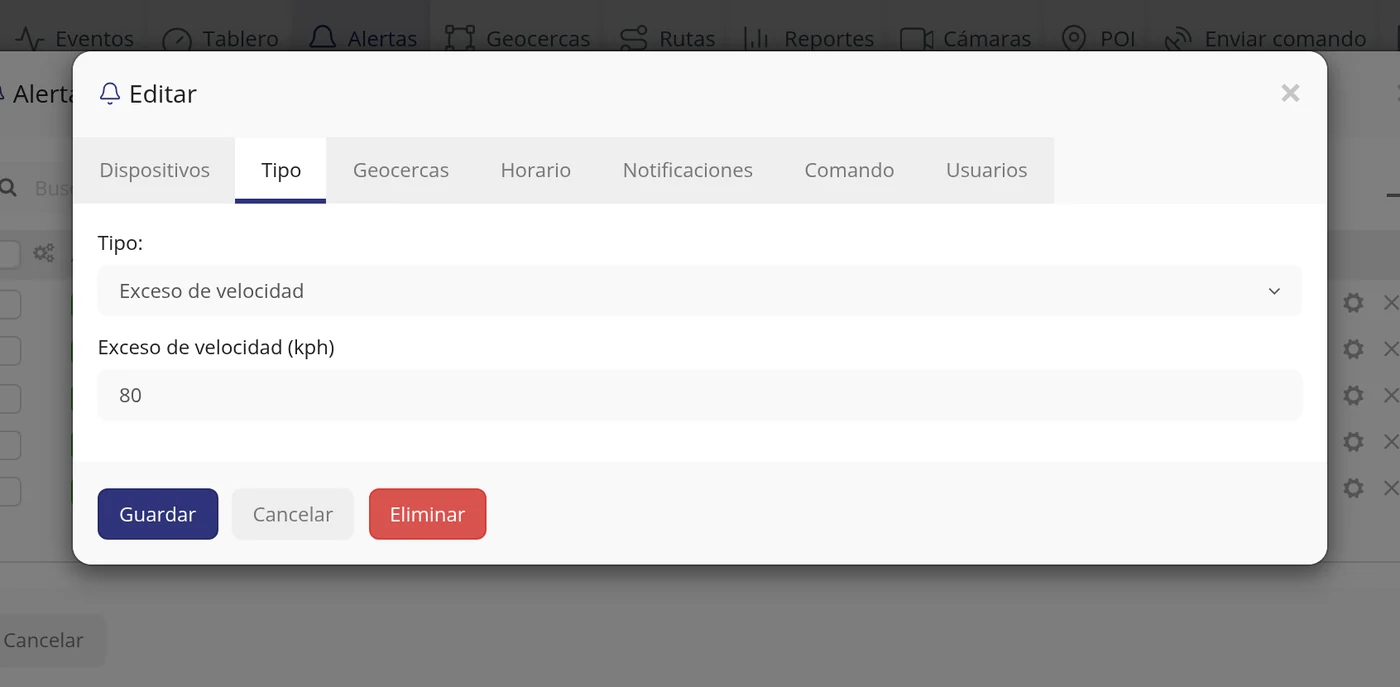
-
Check the «Schedule» tab
If the schedule is ticked, the alert only notifies within those day and time ranges. Outside them anything can happen and it will not fire. If you do not want to limit it, leave the schedule unticked.
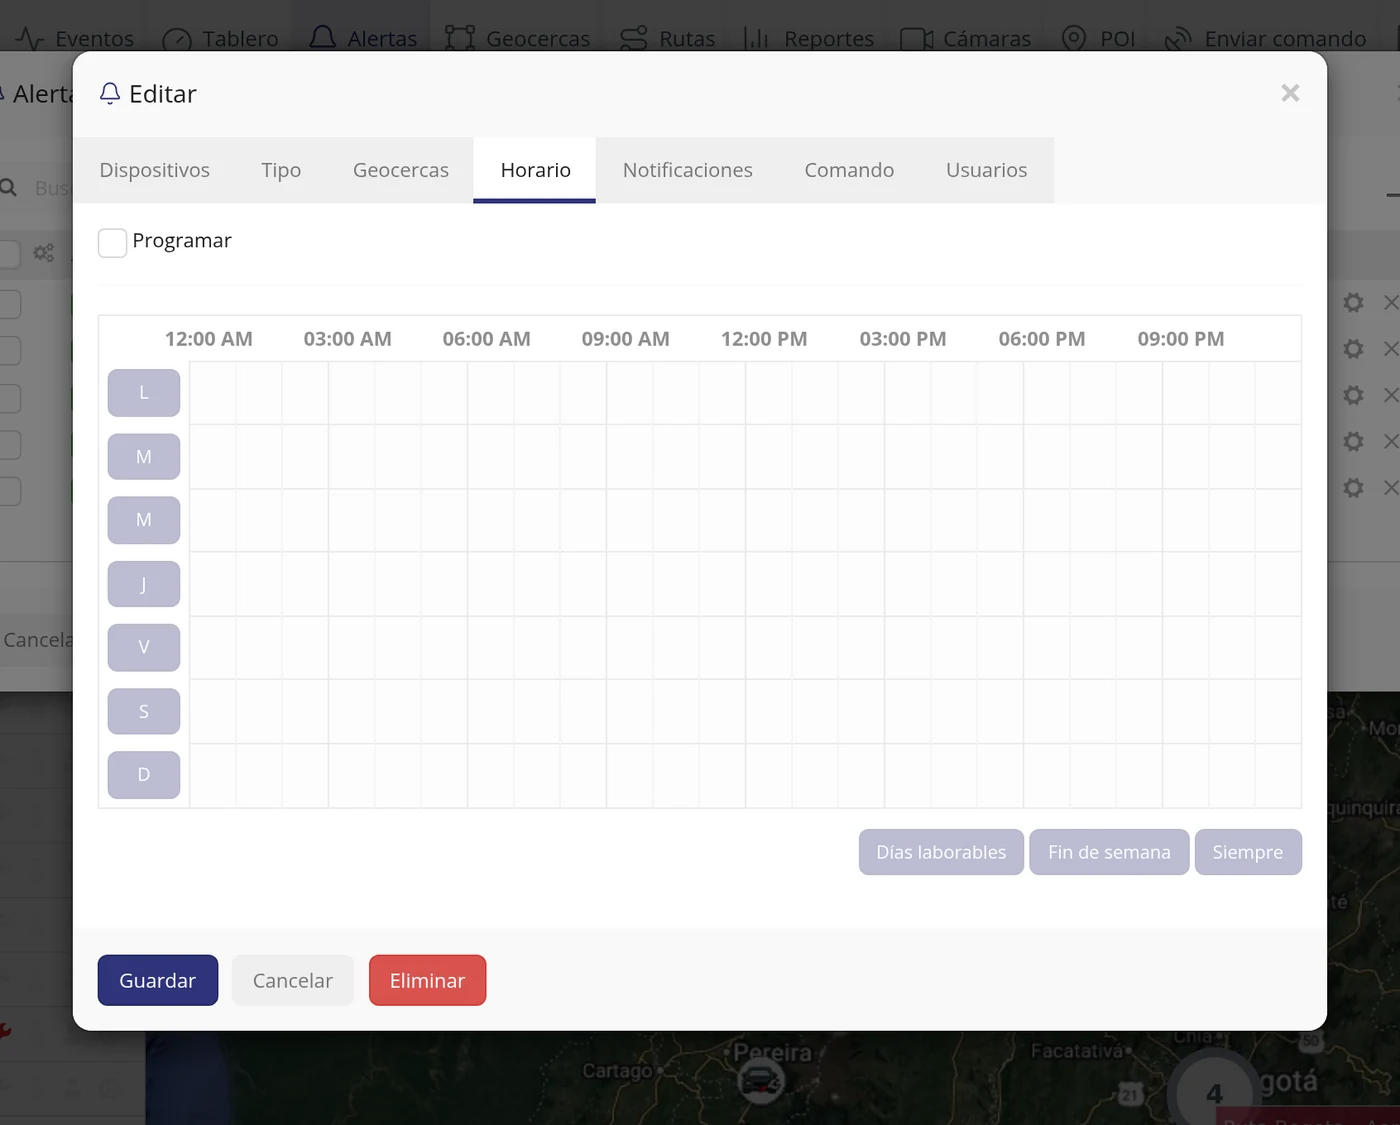
-
A case apart: the engine ignition alert
This alert does not rely on the GPS, but on the ignition signal sent by the device. If in the vehicle's record, «Accuracy» tab, the field «Ignition detection by:» says «GPS», the alert can never fire: it has nowhere to read the ignition from. It needs «Sensor: Ignition ON/OFF» and, on top of that, the device must really report that signal.
Cómo comprobar si su equipo informa el encendido →
CarefulChanging that field also changes how the history stops are calculated. If the device does not report the ignition properly, the whole day can come out as a single stop.
-
If you were expecting the notice on the phone
The app has to be installed, signed in with that same account and with notification permissions granted on the phone. If the phone has aggressive battery saving, that can also delay or silence the notices.
CarefulThe «pop up» notice and the sound are only heard with the panel open in the browser: they are not notices to the phone.
-
Check that the alert is active
Go back to the «Alerts» list and check that yours is active. A switched-off alert watches nothing, even if it is set up correctly.
What each field asks for
| As it appears on screen | What it is | |
|---|---|---|
| The «Devices» box | The vehicles the alert watches. If yours is not there, the alert does not look at it. It is required. | Required |
| The «Type» box | The kind of alert and its conditions (speed, minutes, geofence…). It is required. | Required |
| The «Schedule» box | Day and time ranges in which the alert notifies. Unticked, it always notifies. It can be left empty. | Can be left empty |
| The «Sound / "pop up" notification» box | Notices inside the platform, with the panel open in the browser. It can be left empty. | Can be left empty |
| The «App push notification» box | The notice that reaches the phone through the app. It can be left empty. | Can be left empty |
| The «E-mail notification» box | Sends the notice by e-mail. Several addresses are separated with a semicolon. It can be left empty. | Can be left empty |
| The «Ignore notifications if they repeat within minutes» box | Silences repeated notices from that alert for the number of minutes given. It can be left empty. | Can be left empty |
How to know it worked
It is right when, by causing the situation (for example going over the speed in a speeding alert), both things happen: the event is recorded in Events and the notice arrives where you chose.
How to create a custom event
It is for teaching the platform to recognise a situation it does not come with out of the box, by looking at a piece of data the vehicle's device sends on its own. The difference from an alert is easy: the alert is the warning that reaches you (it sounds, appears on screen, reaches your phone or email) and only knows how to watch the things already on the list, like going over speed or entering an area; the custom event warns nobody, it is just the rule you write, of the kind "when this data goes over this number". That is why the two go together: first you write the rule and then you create an alert that uses it. If you create the event and stop there, absolutely nothing will happen. Where it is: Top bar, on the right > Settings icon > "Events" tab > "Add event" button. Then, to make it warn: Top bar > Alerts > + button > "Type" tab > "Custom events".
Where it is Top bar, on the right > Settings icon > «Events» tab > «Add event» button. Then, so it warns you: Top bar > Alerts
Before you start
- Know which device the vehicle carries, because you have to pick its protocol from a list of 247. If you do not know it, ask whoever installed the unit.
- Know what the data you want to watch is called and under what exact name that device sends it. That name is typed by hand and has to be typed exactly.
- Be clear about the number that data is going to be compared with.
- Have at least one vehicle registered, because the alert created afterwards has to be attached to a vehicle.
-
Where do I get the name of the field?
From the vehicle itself. Each device sends its data with a name of its own (for example motion, valid or enginehours) and those names are read in the Data log: produce a history for the vehicle and look at the columns on the right. The name you copy from there is exactly the one to type into the event, letter by letter and in lower case.
Cómo leer el Registro de datos →
CarefulIf you type it differently from how it appears there, the event is saved all the same and never fires: the platform does not report the mistake.
-
Click the Settings icon
In the top bar, in the group of icons on the right, is the Settings icon. Hovering over it says so. Click it.
CarefulIt is not the "Events" button of the top bar. That button is for seeing warnings that have already happened, not for creating the rule. Custom events are created inside Settings.
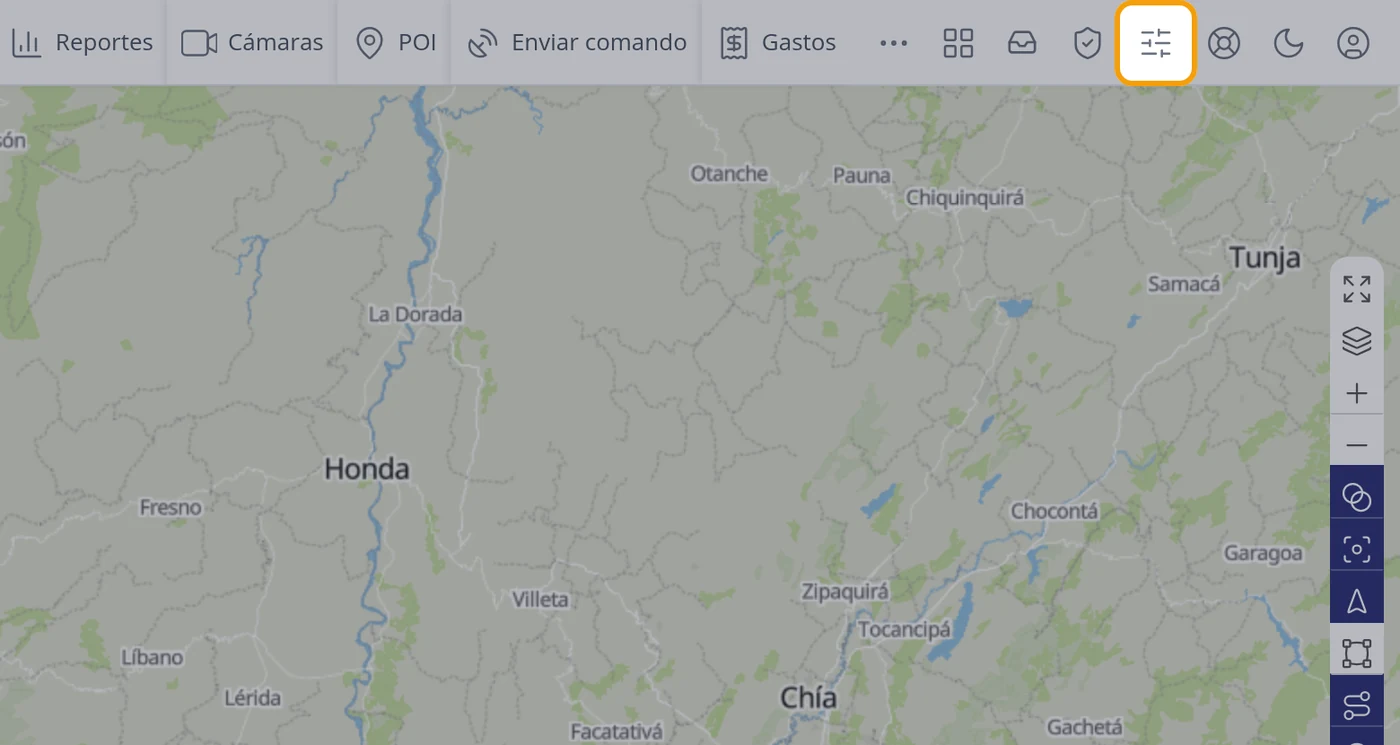
-
Open the Events tab
A window titled "Settings" opens with a row of tabs: "Main", "Object groups", "Drivers", "Events", "SMS Gateway", "SMS templates", "GPRS templates", "Widgets", "Dashboard" and "Customer". The first opens first. Click "Events".
-
Click Add event
The tab has a table with the columns "Title", "Parameters", "Message" and "Always show". If you have created none it says "There are no events.". At the top right is the "Add event" button. Click it.
CarefulBelow the table there is a blue notice saying "To activate an event, please also create an alert in Tools -> Alerts -> Events". That path no longer exists: today it is done from the "Alerts" button of the top bar, which is what steps 13 to 22 explain.
-
Recognise the form
Another window opens titled "Add event". It has, from top to bottom: the "Always show" box, the "Device protocol:" list (which comes set to "6000 / detector"), the "Conditions:" block with three fields in a row ("Parameter", a list saying "Equal to (=)" and "Tag value"), a blue help box, the "Message:" field and at the bottom the "Save" and "Cancel" buttons.
CarefulThis window opens on top of the Settings one, so two overlapping windows are seen. The one behind does not close.
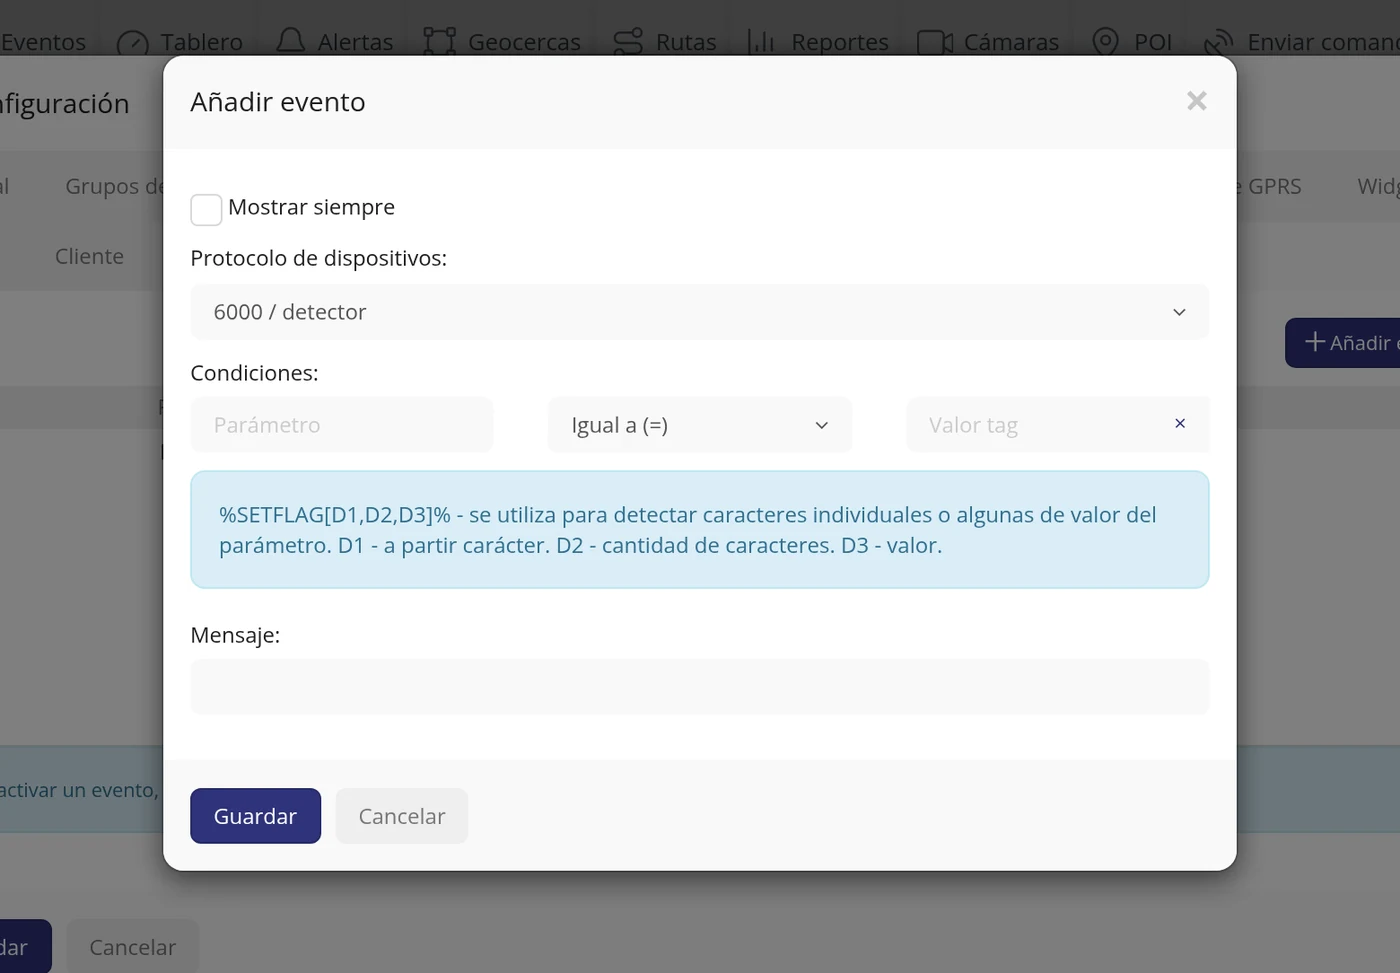
-
Find the protocol of your device
Click the "Device protocol:" list. A search box opens. Type the name of the protocol there and the list is left with only what matches. Here osmand was typed and a single line remained: "6055 / osmand".
CarefulThe list has 247 protocols and cannot be searched by device brand, only by protocol name. Looking by hand through the full list is very slow; use the search box.
-
Choose the protocol
Click the line that suits you. The list closes and the field is left with what was chosen, here "6055 / osmand".
CarefulYou do not type the number in front: it is the port number the platform has reserved for that protocol.
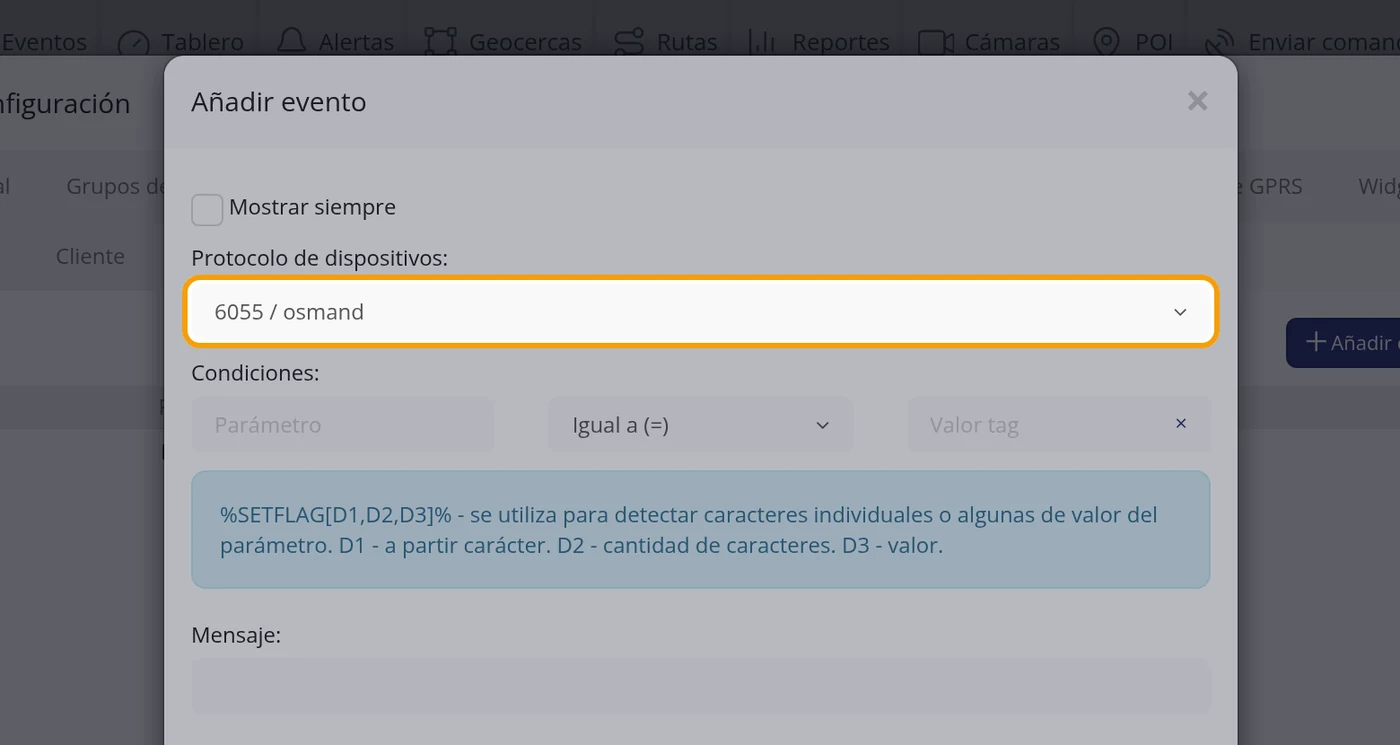
-
Type the name of the field
In "Conditions:", in the first field, where it says "Parameter", type the name of the field you want to watch. Here accuracy was typed. As soon as it is typed a second, empty condition row appears by itself.
CarefulThat name is typed exactly as the device sends it, untranslated and usually in English. The platform does not check whether it exists: if you type it wrong, it saves all the same and the event will never fire.
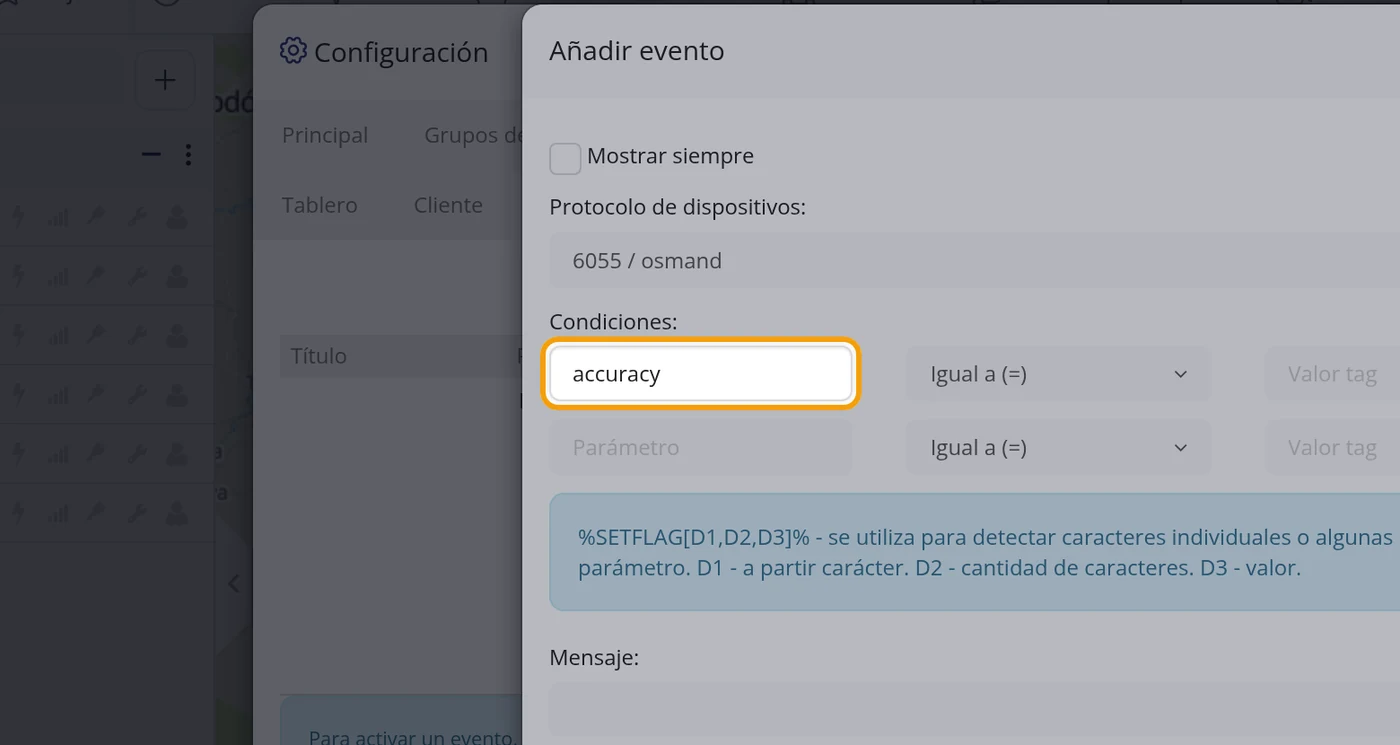
-
Open the comparison list
Click the middle list of that first row. Five options unfold: "Equal to (=)", "Greater than (>)", "Less than (<)", "Not equal to (!=)" and "Empty".
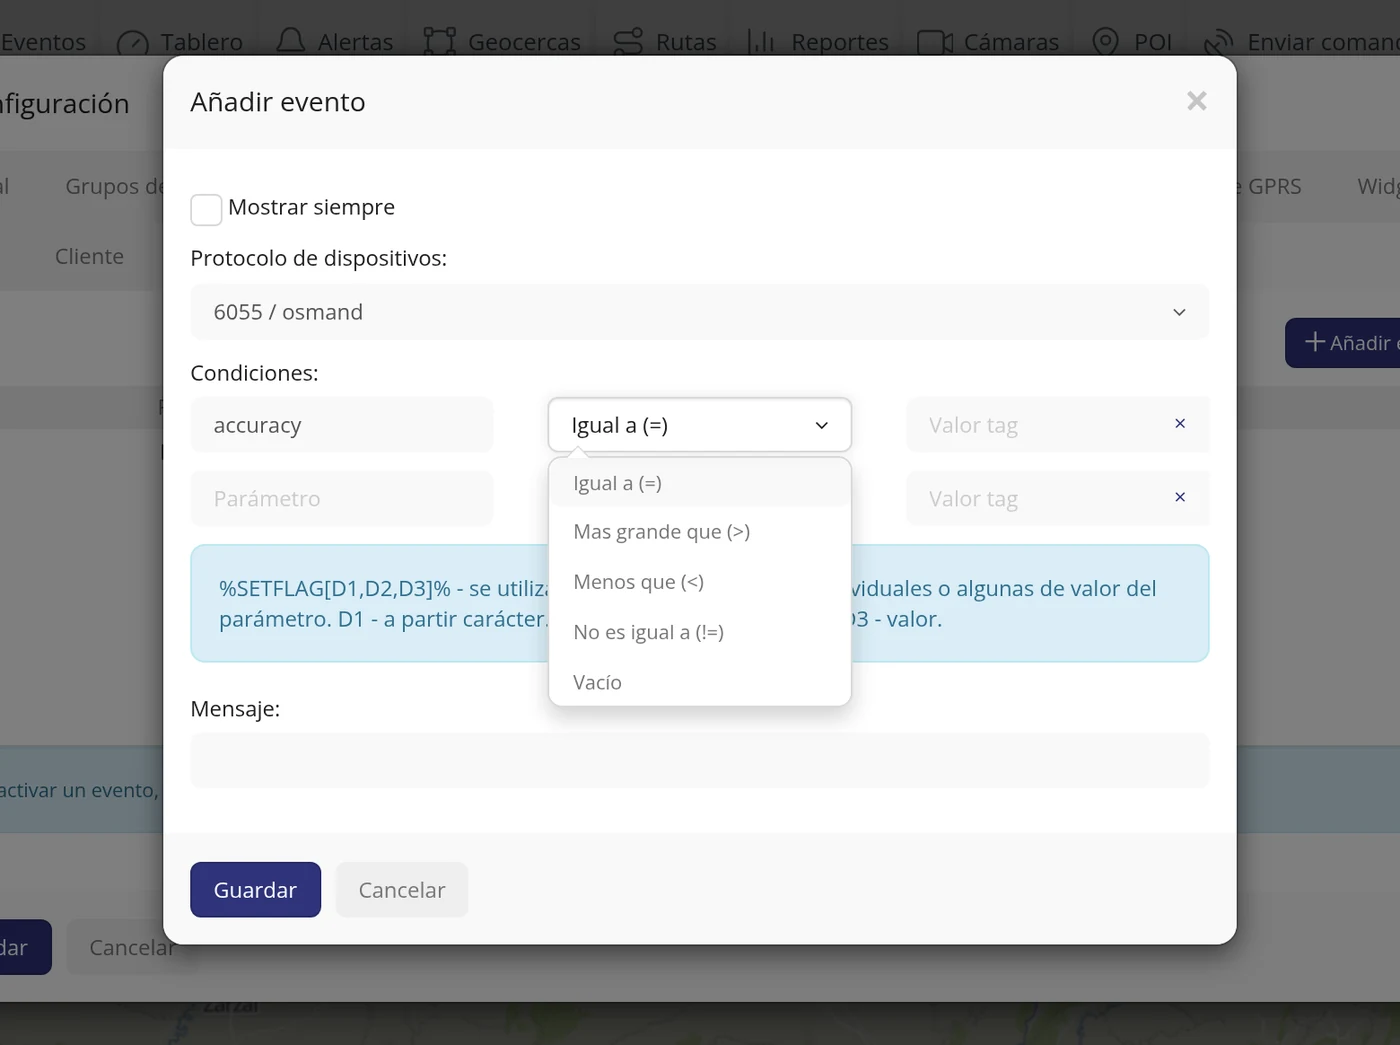
-
Finish the condition
Choose the comparison you want, here "Greater than (>)", and in the last field, where it says "Tag value", type the number it is compared with. Here 100 was typed. The row then reads: accuracy, Greater than (>), 100.
CarefulThe second row can be left empty with no problem: only the one you filled in is saved. If you want two things to be met at once, fill in the second one too.
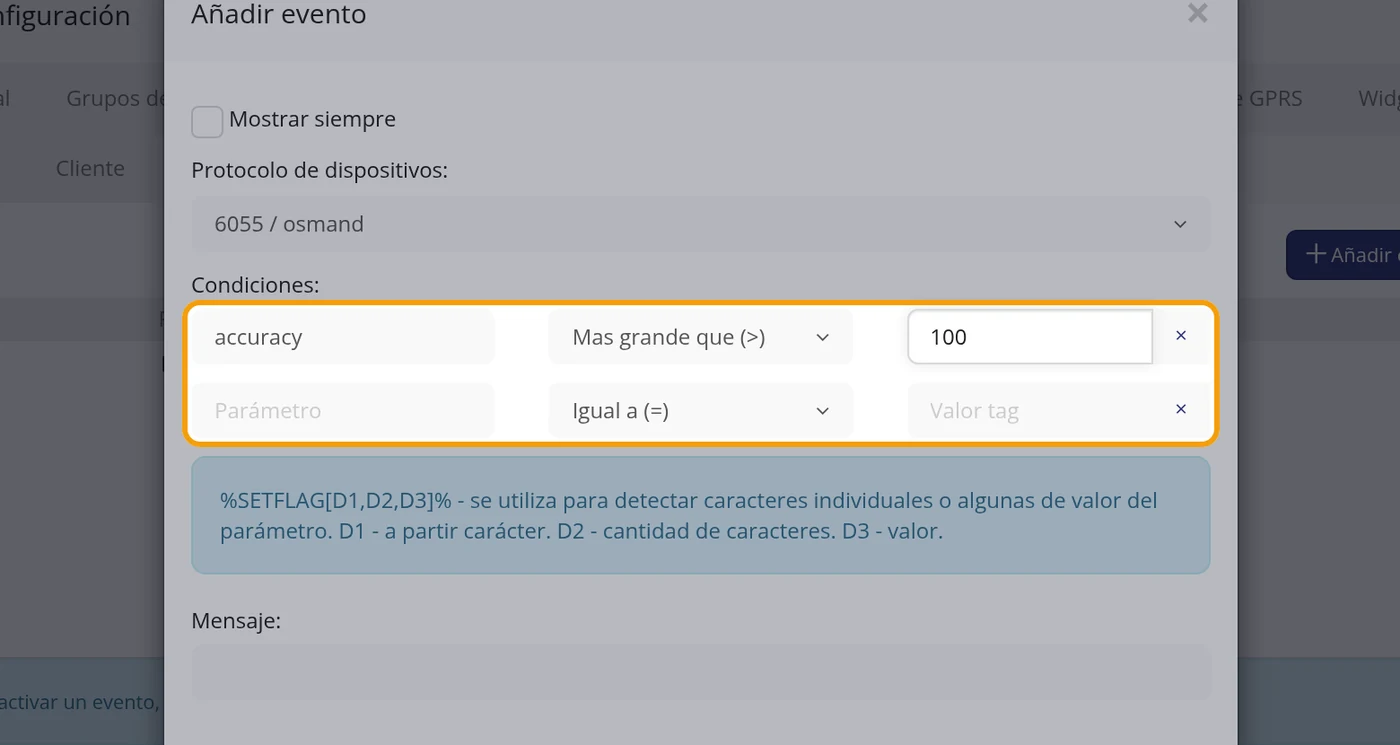
-
Type the message
In the "Message:" field type the sentence you want to see that event by. Here Low accuracy location was typed.
CarefulThis message is the name you will find the event by later, when creating the alert. Give it a sentence you understand at a glance. It is compulsory: without it, it does not let you save.
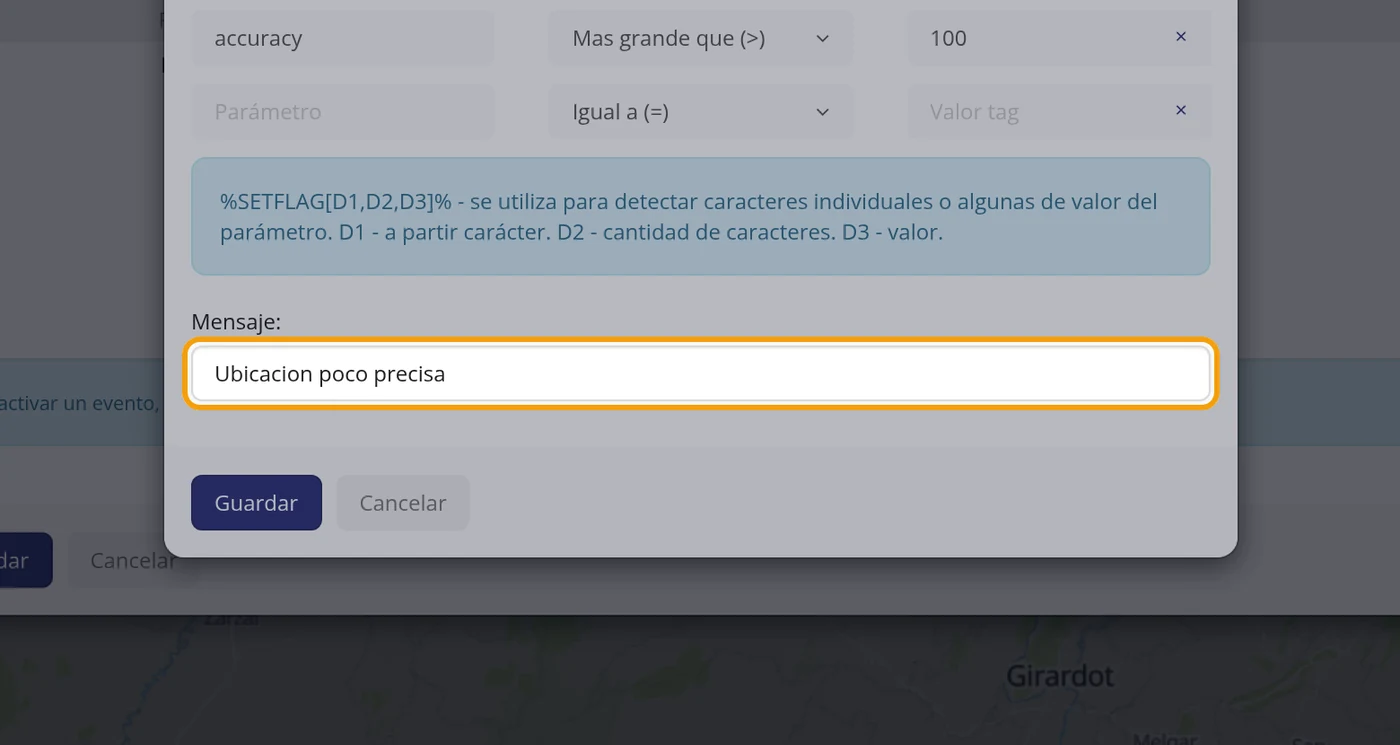
-
Click Save
At the bottom of the "Add event" window are the "Save" and "Cancel" buttons. Click "Save". The window closes by itself and the Settings one is shown again.
CarefulIf you leave the message blank it is not saved: the window stays open and the notice "The Message field is required." appears. If you type the message but fill in no condition, a different notice appears in red: "Fill in all the required fields.".
-
Check that it is in the list
In the "Events" tab there is now a row with the protocol in "Title" (osmand), the field in "Parameters" (accuracy), your sentence in "Message" (Low accuracy location) and "No" in "Always show". To the right of the row there are two icons: one to open it again and another to delete it.
CarefulCareful with the "Title" column: it does not show the name you typed, it shows the protocol. The name you typed is in the "Message" column.
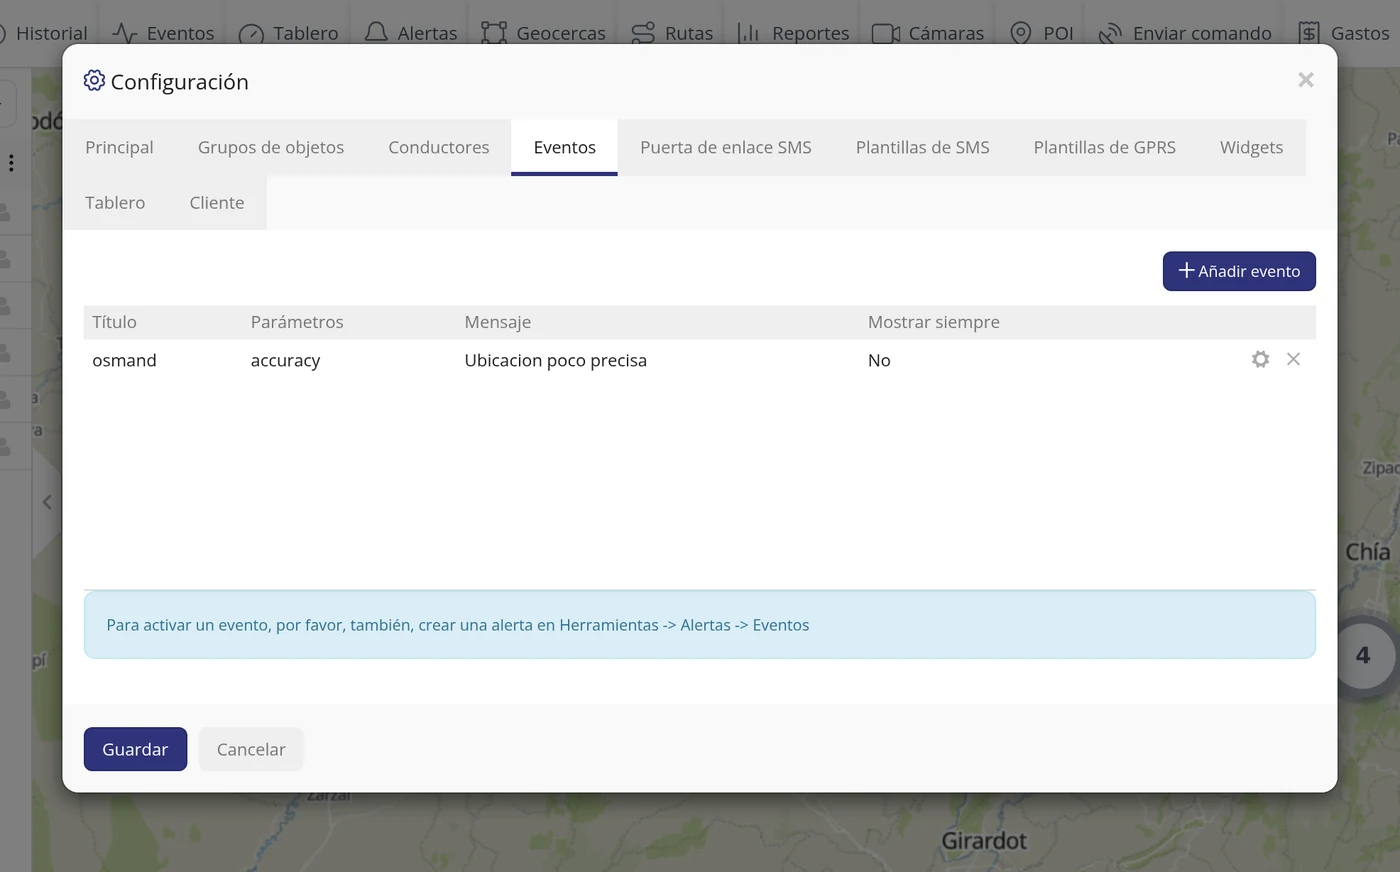
-
Open Alerts so the event warns
Up to here the rule exists, but it warns nobody. Close the Settings window with the cross at the top right and, in the top bar, click "Alerts". The "Alerts" window opens, with a "Search" box and a table with the columns "Active", "Name", "Type" and "Devices". At the top right there is a + sign. Click it.
CarefulThis is the step almost everybody skips. A custom event without its alert does absolutely nothing.
-
Recognise the alert form
A window called "Add new" opens with seven tabs: "Devices", "Type", "Geofences", "Schedule", "Notifications", "Command" and "Users". "Devices" opens first, with the "Name*:" field and the "Devices*:" list.
CarefulFor this only two tabs are needed: "Devices" and "Type". The rest can be left as they come.
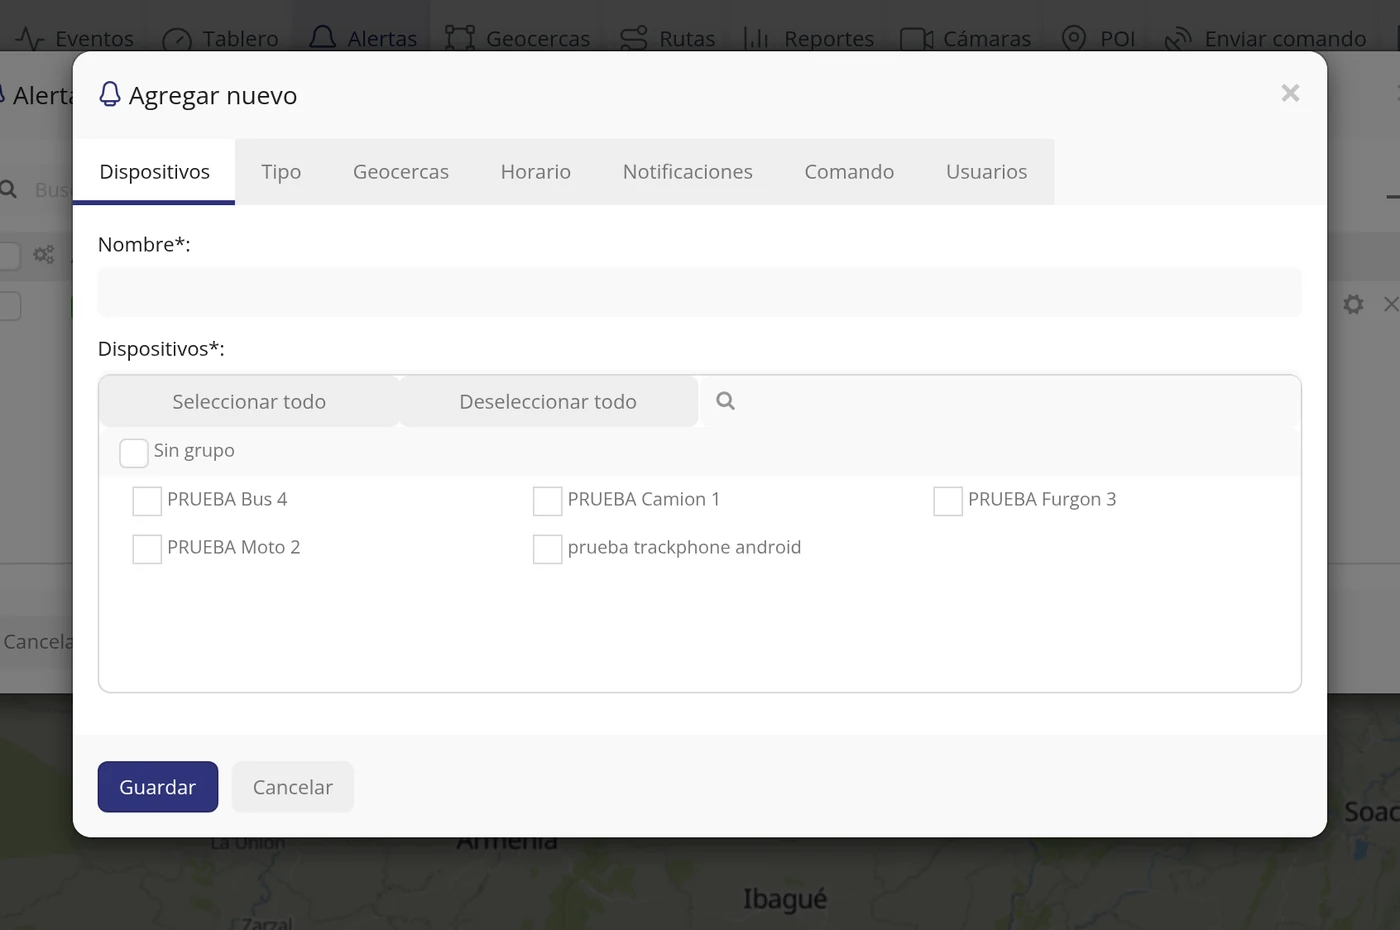
-
Give the alert a name
In "Name*:" type the name you want to see the warning by. Here Low accuracy location warning was typed.
CarefulThe asterisk means compulsory. You can repeat here the same sentence as the event message; that way you relate them at a glance.
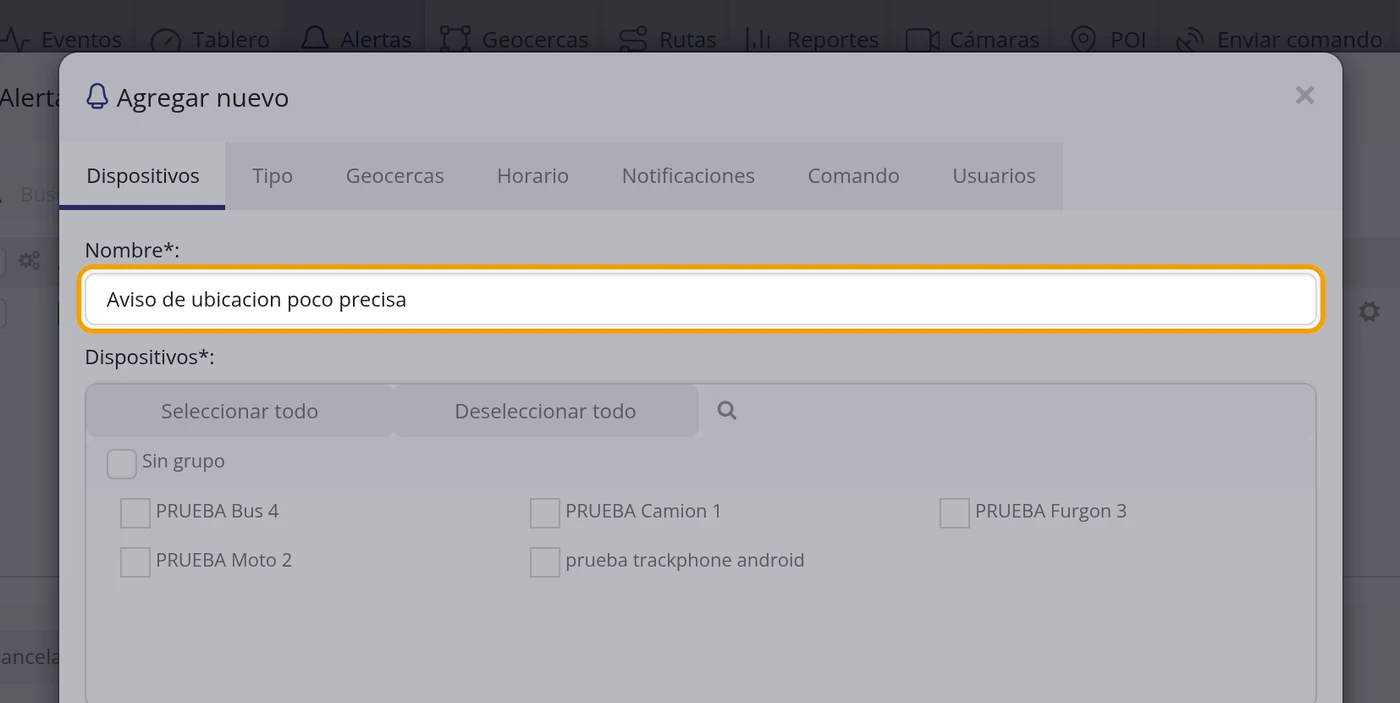
-
Tick the vehicle
Below, in "Devices*:", are your vehicles with a box each, and above them the "Select all" and "Deselect all" buttons and a magnifier to search. Click the vehicle you want to watch and the box is ticked in blue. Here prueba trackphone android was ticked.
CarefulOnly tick vehicles carrying the device of the protocol you chose in step 6. On the others the rule can never be met.
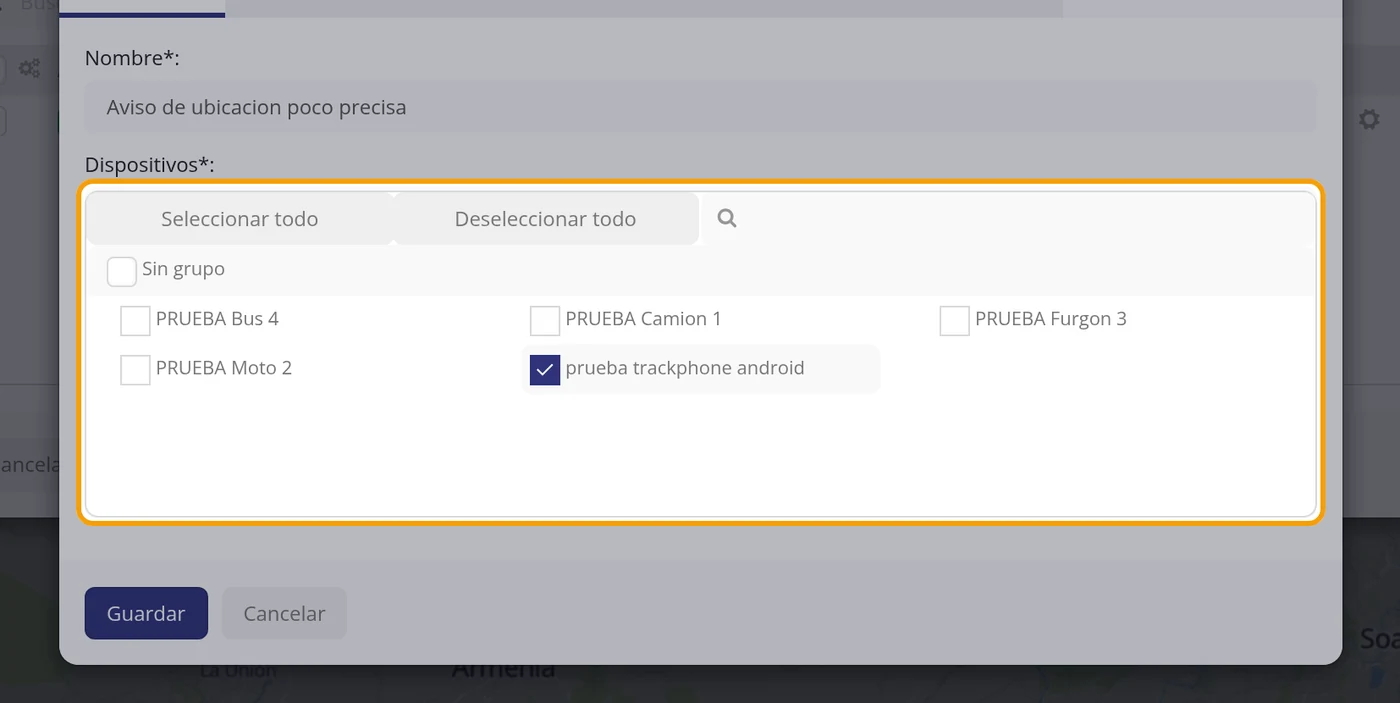
-
Open the Type tab
At the top, click the "Type" tab. It has the "Type:" field, which comes set to "Overspeed", and below the "Overspeed (kph)" field.
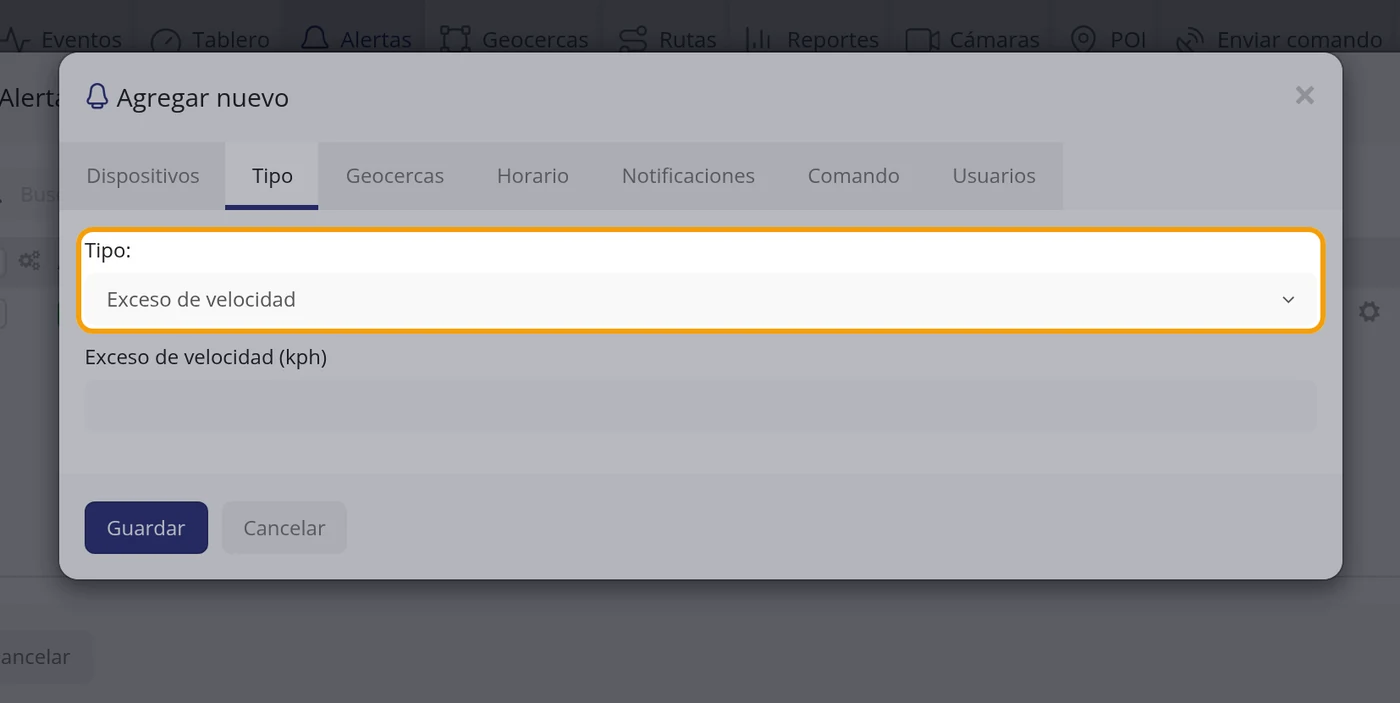
-
Open the type list
Click the "Type:" list. Among others, these unfold: "Overspeed", "Parking duration", "Offline duration", "Moving duration", "Ignition duration", "Idling duration", "Ignition ON/OFF", "Start of movement", "Driver change", "Driver change authorisation", "Geofence In", "Geofence Out", "Geofence In/Out", "Custom events", "SOS", "Fuel (Filling / Theft)", "Distance", "POI - Stop duration", "POI - Idle duration" and "Device expiry".
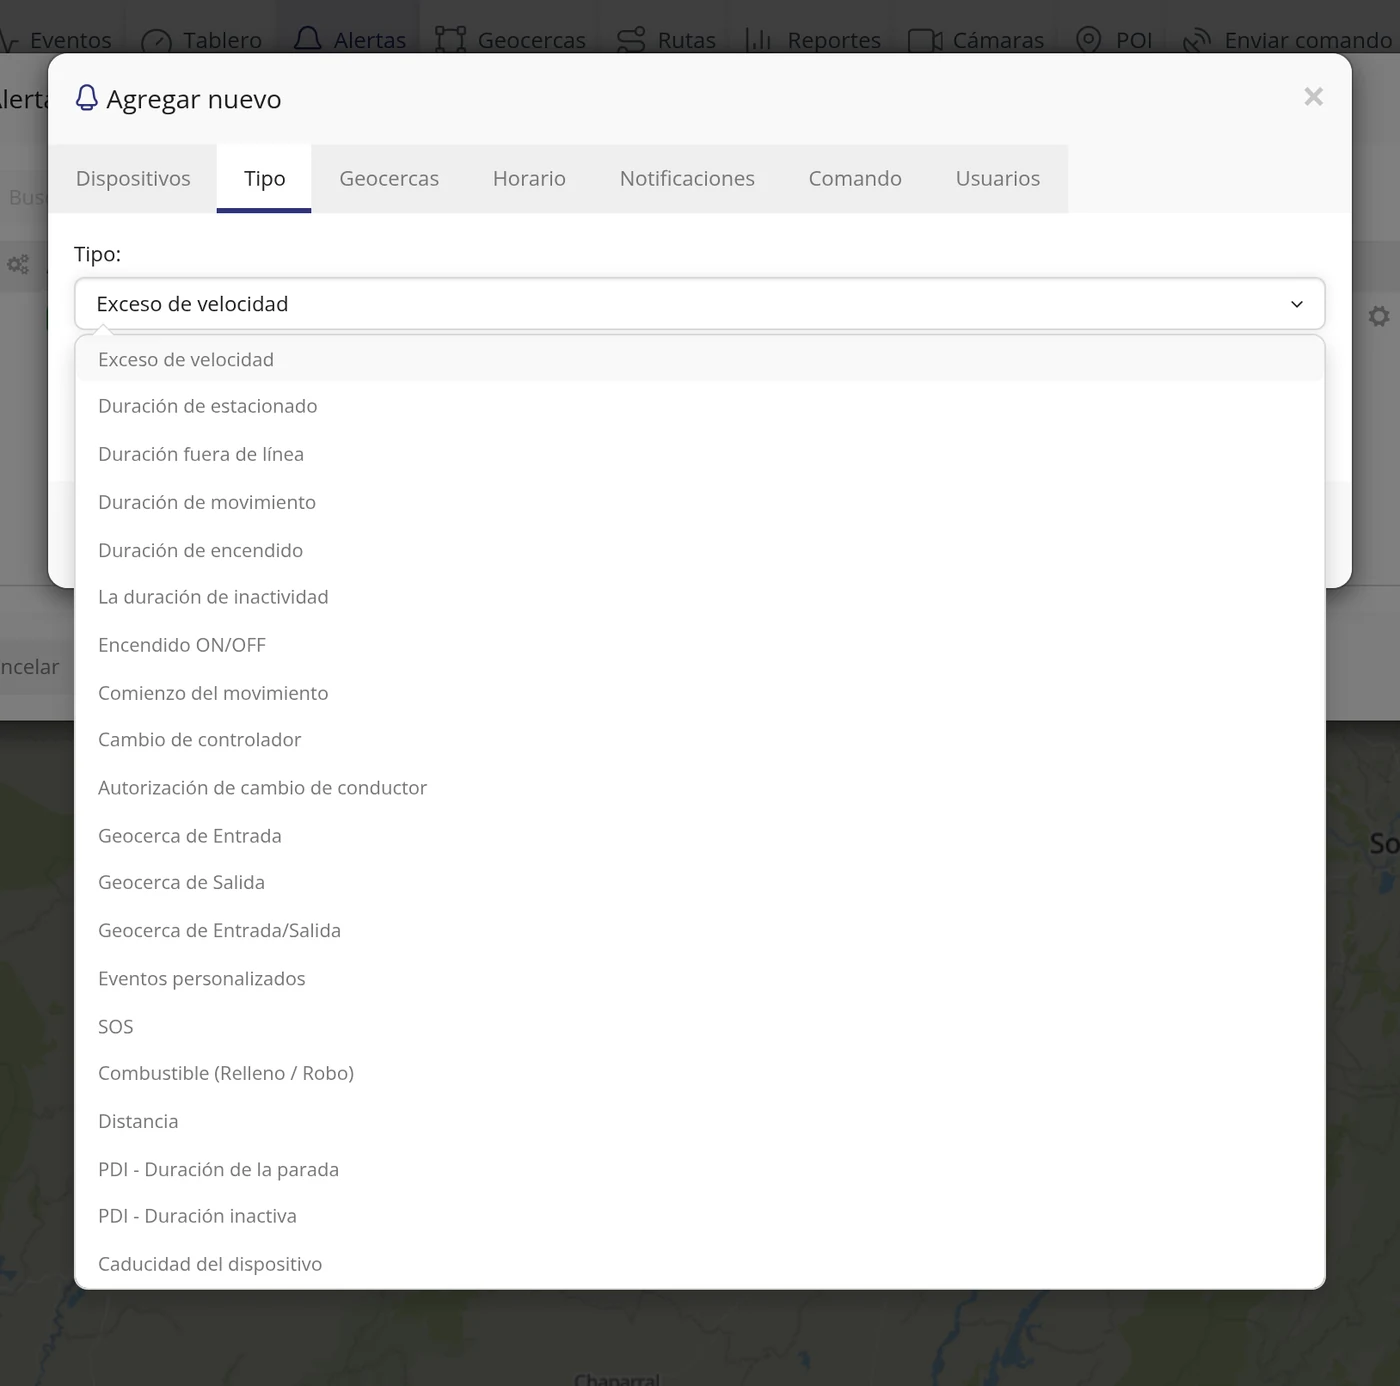
-
Choose Custom events
Click "Custom events". The form changes: the speed field disappears and a block called "Event" appears with its "Select all" and "Deselect all" buttons, a magnifier, and inside a group called "Custom events" with the list of the events you created. Below it says "Custom events can be defined in Settings -> Events tab." and there is a "Continuous duration(s)" field with a 0.
CarefulEach event appears written as its message followed by the protocol in brackets. Here it appears as "Low accuracy location (osmand)". If nothing appears here it means the event of step 11 was not saved.
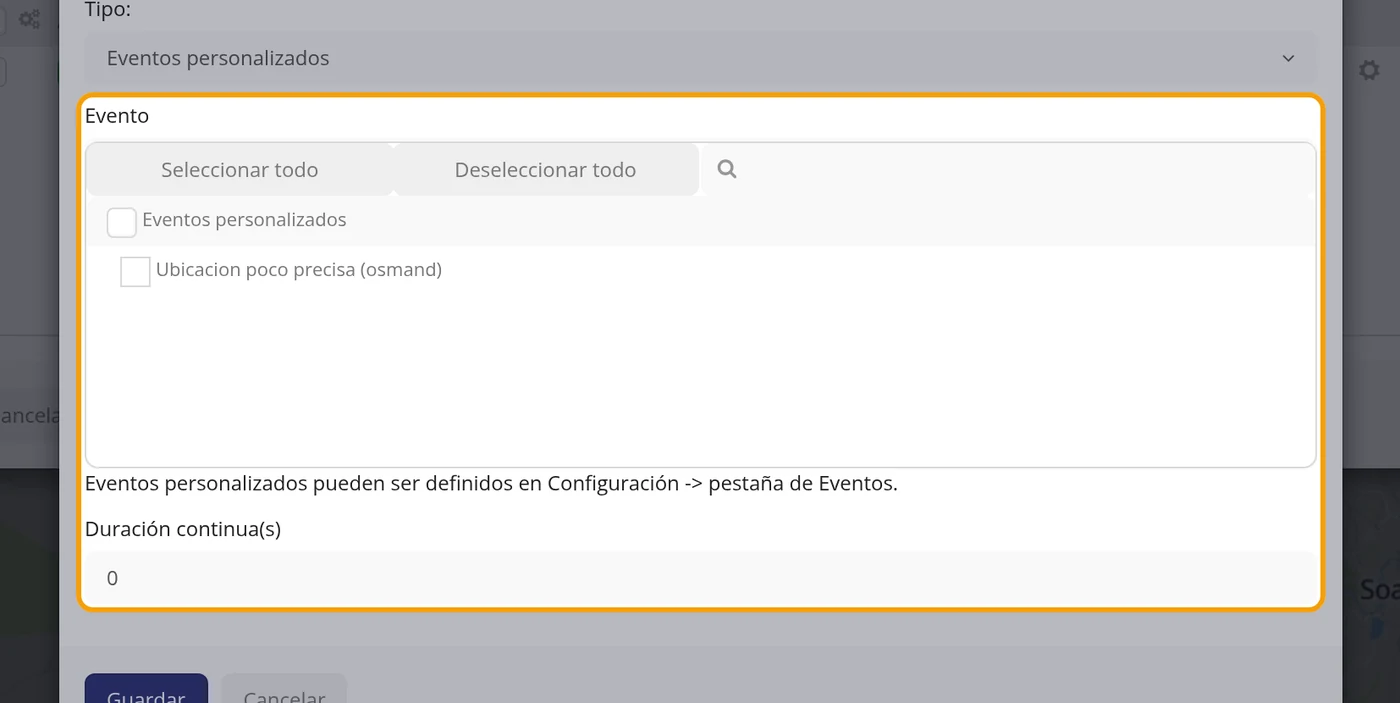
-
Tick your event
Click the name of your event and the box is ticked in blue. Here "Low accuracy location (osmand)" was ticked.
CarefulYou can tick several events in the same alert: it will warn when any of them is met.
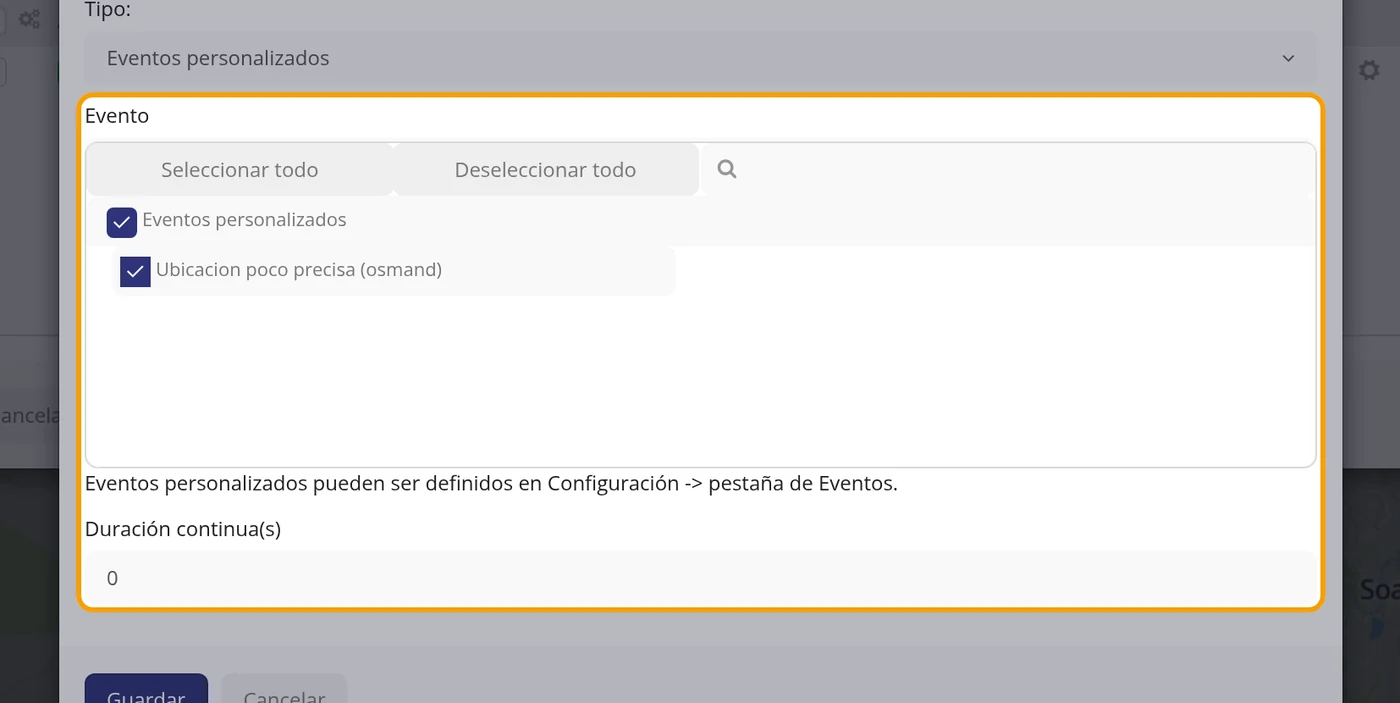
-
Click Save
At the bottom of the "Add new" window are the "Save" and "Cancel" buttons. Click "Save". The window closes by itself.
-
Check the alert in the list
The "Alerts" window is shown again and now there is a row with the green "Active" label, the name you set, "Custom events" in the "Type" column and a 1 in "Devices", which is the number of vehicles watched. From here on, when the vehicle sends that field meeting the condition, the warning comes out by itself.
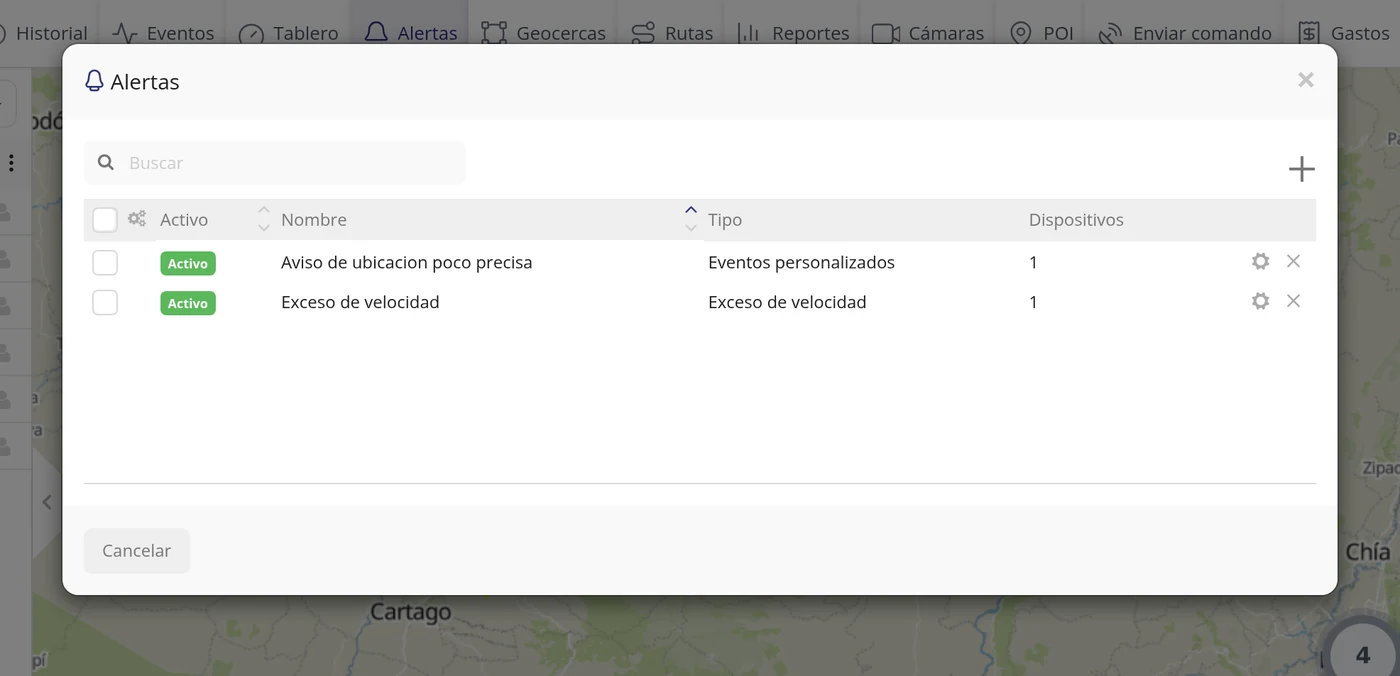
What each field asks for
| As it appears on screen | What it is | |
|---|---|---|
| The «Always show» box | If you tick it, the event is always shown; if you leave it unticked, only when the field changes value. It was left unticked and the list shows it as "No". It can be left empty. | Can be left empty |
| The «Device protocol:» field | The language the vehicle device speaks. There are 247 and you have to choose yours. It comes set to "6000 / detector"; if you leave it like that, the rule will only apply to devices of that protocol. It is required. | Required |
| The «Conditions:» field | The rule itself, in three fields: the name of the field ("Parameter"), the comparison and the number it is compared with ("Tag value"). With no condition filled in it does not let you save. It is required. | Required |
| The «Parameter» field | The name of the field the device sends, typed by hand and exactly as it is, usually in English. It is required. | Required |
| The «Tag value» field | The number or the text the field is compared with. It is left empty only if you chose the "Empty" comparison. It is required. | Required |
| The «Message:» field | The sentence you will recognise this event by. It is the name you will see later when creating the alert. Without it, it does not let you save. It is required. | Required |
| The «Type:» field | In the alert form: what it watches. To use what you have just created you have to choose "Custom events". It is required. | Required |
| The «Event» field | In the alert form: the list of the custom events you created. You have to tick yours. It is required. | Required |
| The «Continuous duration(s)» field | In the alert form: how many seconds in a row the condition has to be met before warning. It comes with a 0, which means warn as soon as it is met. It can be left empty. | Can be left empty |
How to know it worked
There are two checks, one for each half. The first: in Settings > "Events" tab a row has to be visible with the protocol in "Title", the name of the data in "Parameters" and your sentence in "Message". It was checked by opening that row again with the icon on the right: the window is called "Edit" and it came back with "6055 / osmand", accuracy, "Greater than (>)", 100 and the message Ubicacion poco precisa, that is, exactly what was typed. The second: in the "Alerts" window there has to be a row with the green label "Active", your name for it and "Custom events" in the "Type" column. That row was opened too and it came back with the type "Custom events" and the event "Ubicacion poco precisa (osmand)" ticked.
Looking up what happened
How to see where a vehicle has been
The history draws on the map the path a vehicle made between two dates, with its stops, how long each one lasted and the speed it was going. It is what you use to answer the usual question: where was this car on Tuesday. Where it is: Top bar > History
Where it is Top bar > History
Before you start
- The vehicle has to have been sending position on those dates. If it sent nothing in that range, the map will come up empty and it is not a fault of the program.
- Nothing needs creating first. History only queries what is already stored.
-
Click History in the top bar
It is the second button of the bar, right after Objects. The left panel changes and asks you for three things: the vehicle, the start date and the end date.
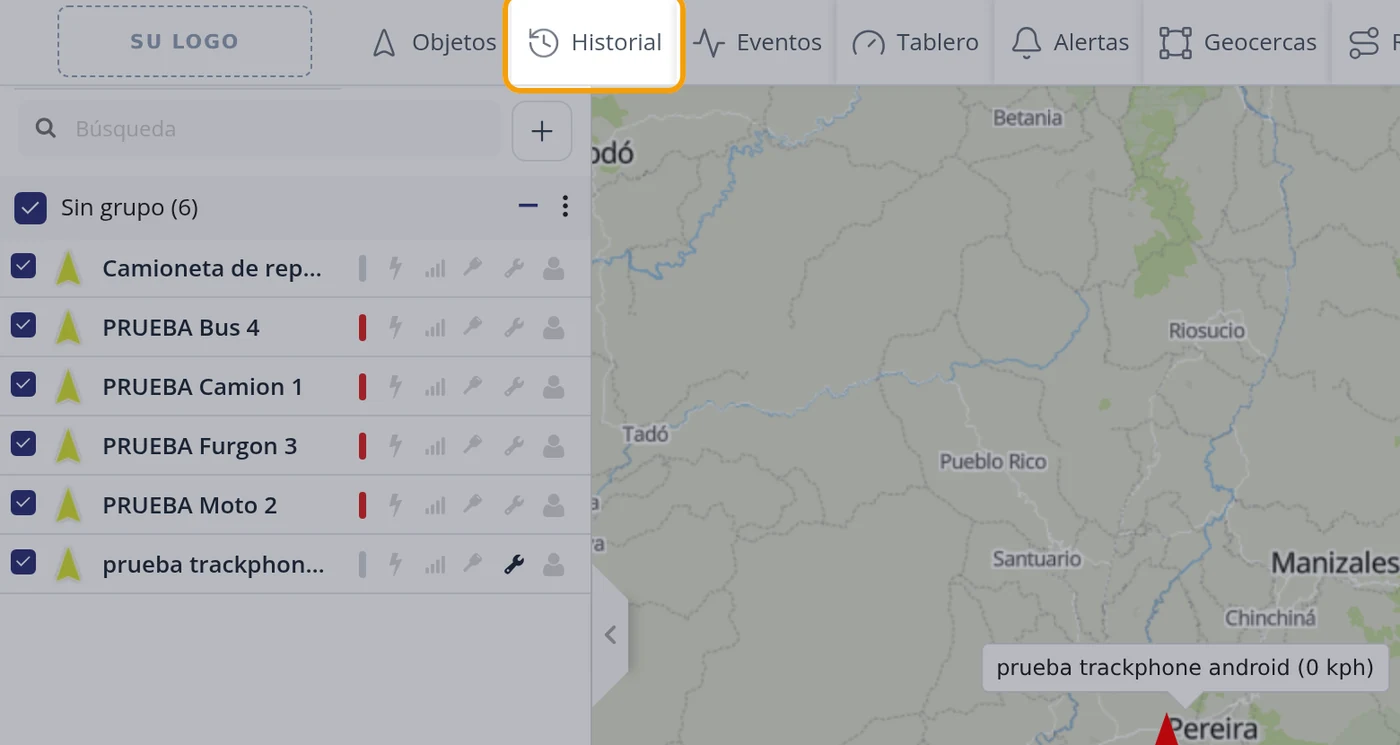
-
Recognise the three fields
You will see Device, with the list of your vehicles; From, with a date and a time; and To, with another date and time. Below there is a link saying Advanced and the blue Show history button.
CarefulThe times come set from midnight to a quarter to midnight, that is the whole day. If you only care about one stretch, change them.
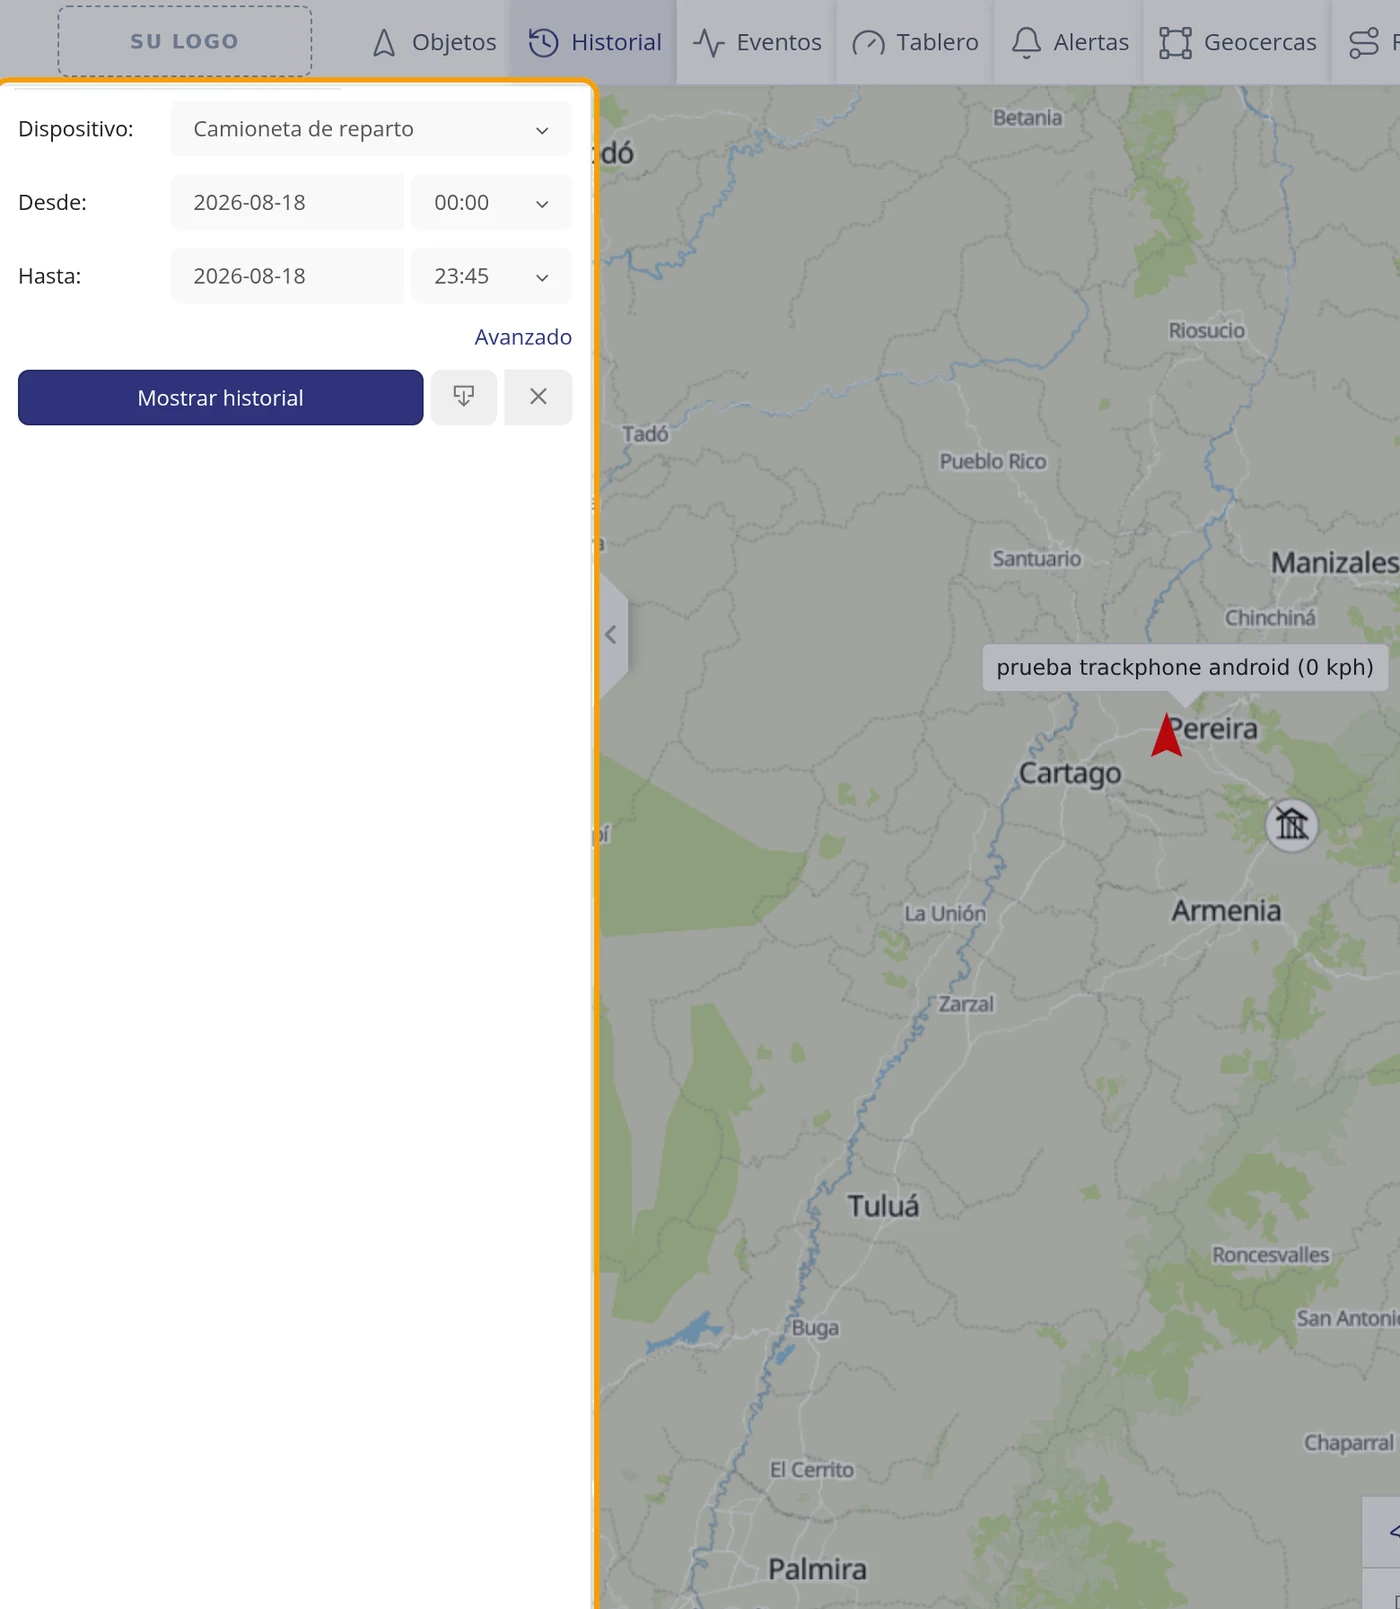
-
Open the list and choose the vehicle
Click on the Device field. The list with all your vehicles unfolds.
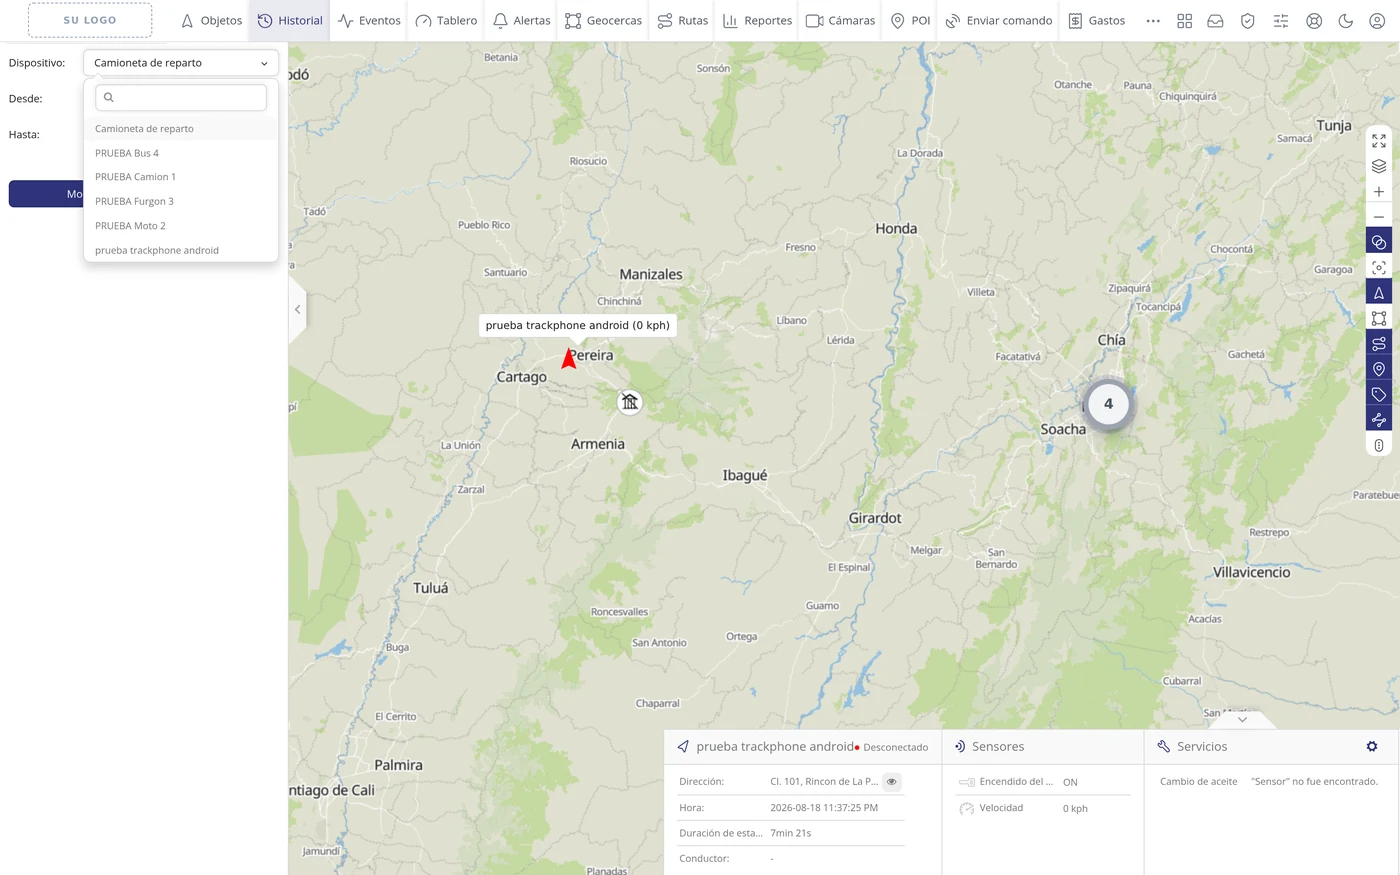
-
Choose the vehicle you want to review
Click its name in the list. The field is left with that name set.
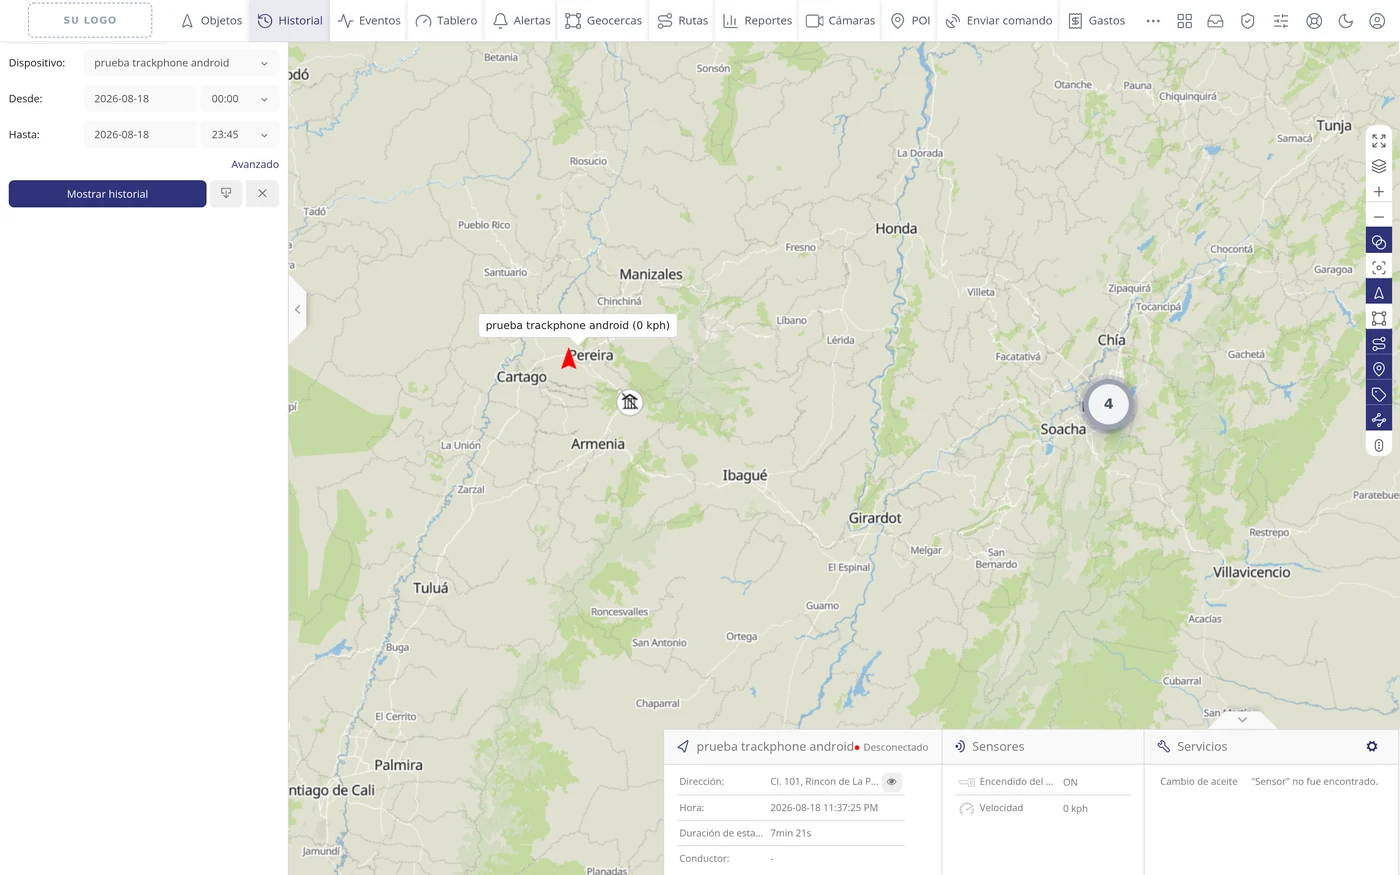
-
Set the dates
Click the From field: a calendar opens and you just click the day you want. Do the same in To. You can also type the date by hand in year-month-day format, for example 2026-08-01: the calendar moves by itself to that day and the value holds.
CarefulChoosing a range with no data is the most common mistake. If it comes out empty, do not think the program is failing: try first with a wide range, for example the whole month, and narrow it down.
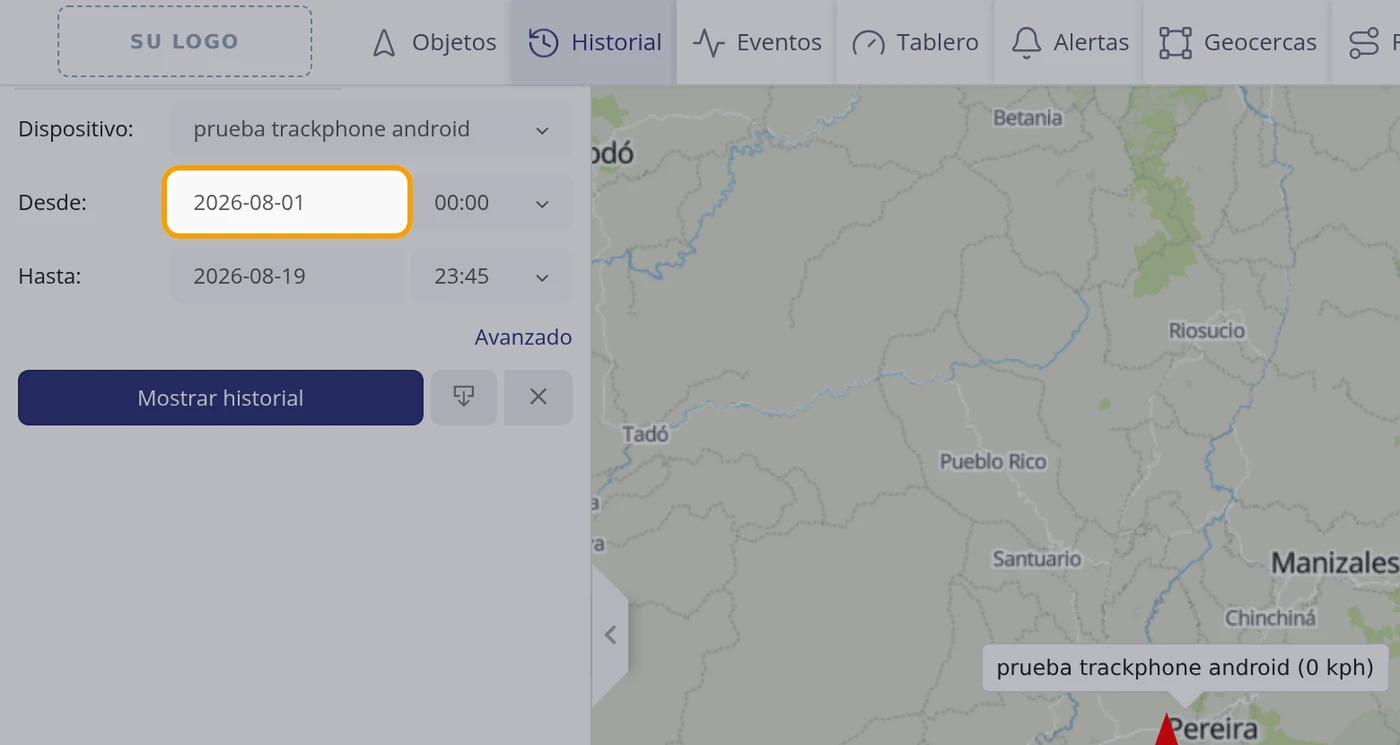
-
Click Show history
Before clicking it, make sure the calendar is closed. If it stayed open, it covers the button and the click does not get through. To close it, click on any empty part of the panel.
CarefulThis is a real trap and very misleading: it looks as if the button were broken when all that happens is that the open calendar is eating the click.
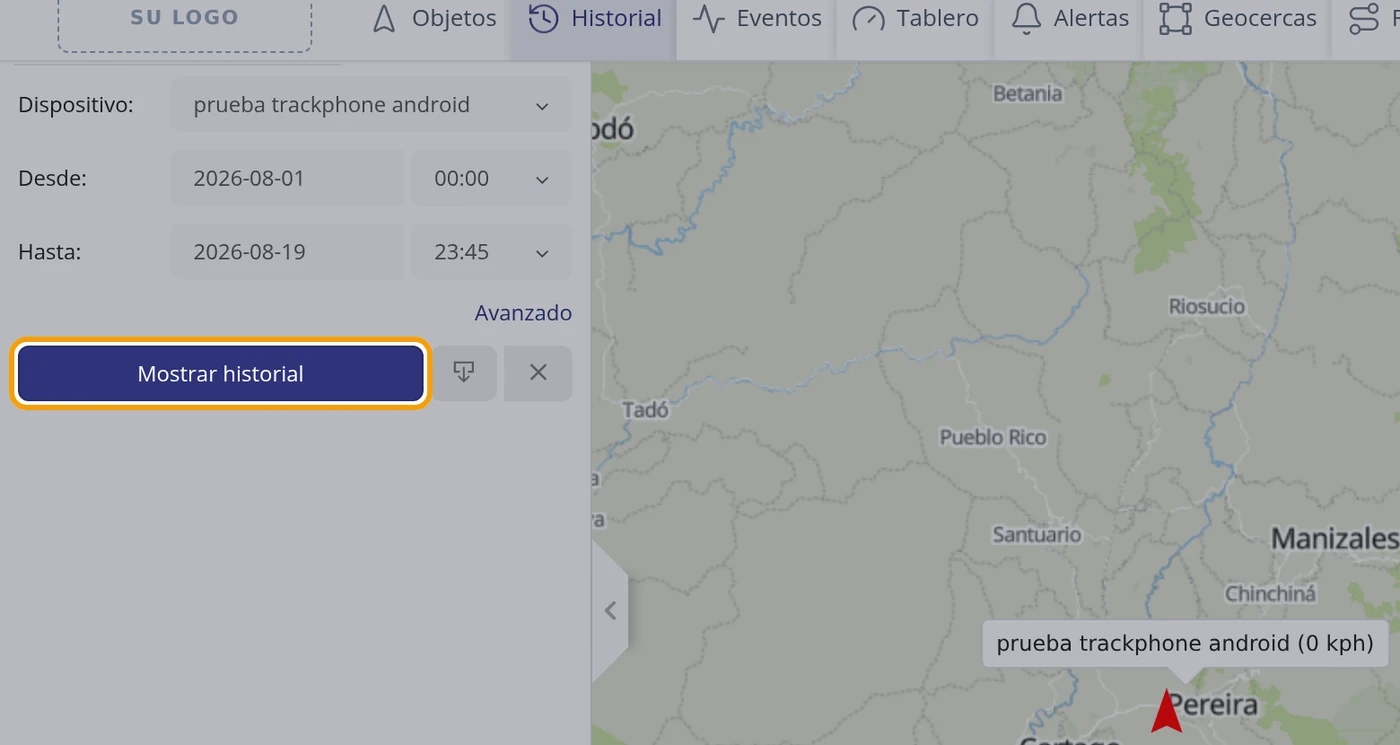
-
Read the route on the map
The path appears drawn on the map. In the left panel the stops and departures are listed with their time and how long each one lasted, and on the map they are numbered so they can be followed.
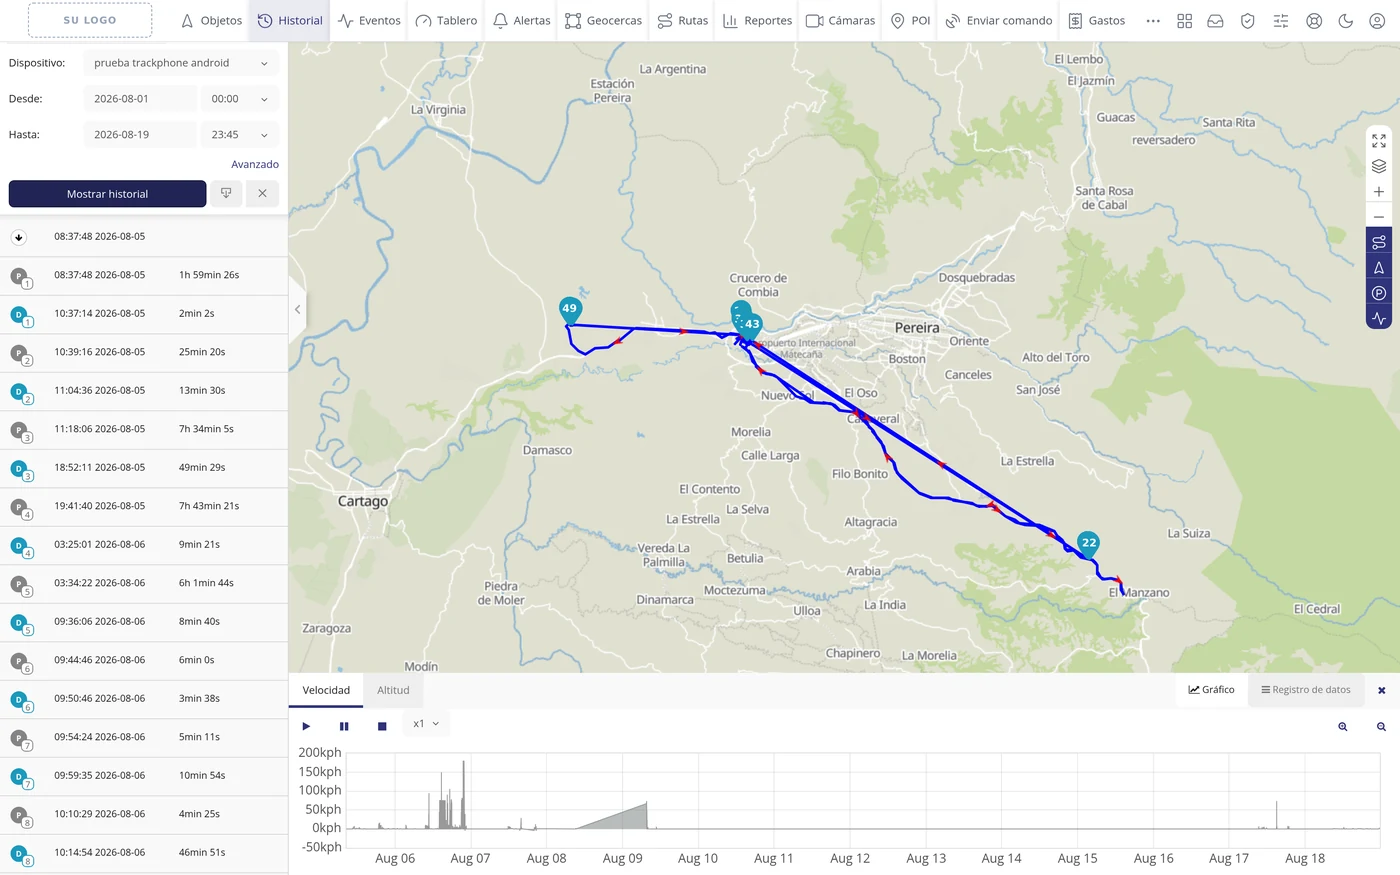
-
Use the bottom bar to see it in detail
At the bottom a Speed chart and an Altitude chart appear, with the play, pause and stop buttons to watch the route moving, and a speed selector from x1 to x6. On the right you can switch between Chart and Data log, which is the list of all the points with their time, latitude, longitude, altitude, speed and angle.
What each field asks for
| As it appears on screen | What it is | |
|---|---|---|
| The «Device:» field | The vehicle you want to review. Only one can be seen at a time. It is required. | Required |
| The «From:» field | Day and time when what you want to see starts. The time comes set to midnight. It is required. | Required |
| The «To:» field | Day and time when it ends. The time comes set to a quarter to midnight. It is required. | Required |
| The «Advanced» button | Opens extra options to fine-tune the route. For normal use there is no need to touch it. It can be left empty. | Can be left empty |
How to know it worked
If the route is drawn on the map and the stops with their times come out in the left-hand panel, the history loaded correctly.
What next
If what you need are figures instead of a drawing (kilometres, stops, speeds) to keep or send them, use Reports instead of History.
The Tracks tool: paint it, measure it and replay the trip
History draws the path a vehicle took. The Tracks tool is what goes on top of that drawing to make it genuinely useful: paint it by speed to see where it sped up, mark stops, speedings, alerts and refuellings on the map, list the trips with their mileage, and replay the journey step by step seeing, at every point, the address, the speed and the value of every sensor. It is all chosen in the same left-hand panel, below the dates.
Where it is Top bar > History. The options appear in the left-hand panel, below the Advanced link.
Before you start
- The vehicle has to have sent position on those dates. If it sent nothing, there is no track to paint and it is not a fault of the program.
- Nothing has to be switched on or requested: the tool appears on its own on the History screen.
- Some options appear only if the unit has something to show. If a vehicle carries no fuel sensor, the refuelling button is not shown; if it had no events, neither is that one.
-
Ask for the track
Pick the vehicle and the dates. Below you have four shortcuts — Today, Yesterday, 7 days and 30 days — that set the dates and fetch the track in one go. One line further down, «Last N …», where you type the number and choose minutes, hours, days, weeks, months or years. The «include the current interval» box decides whether the period now running counts too: with «2 weeks» ticked you get this one and the previous one; unticked, the two complete weeks before. On the right, the «Up to now» link keeps the start date you set and moves the end to this moment.
-
Choose how it is painted
Under «Colour» you have four ways of painting the same path. «Simple» paints it all one colour, the one you pick from the palette below: useful for comparing two vehicles, each with its own. «By speed» splits the track into five colour bands and you decide where each cut goes. «By trips» gives a different colour to each trip, that is, to each run between two stops. And a mode appears for every sensor the unit carries: you can paint the track by engine on, voltage, temperature or whatever that vehicle has.
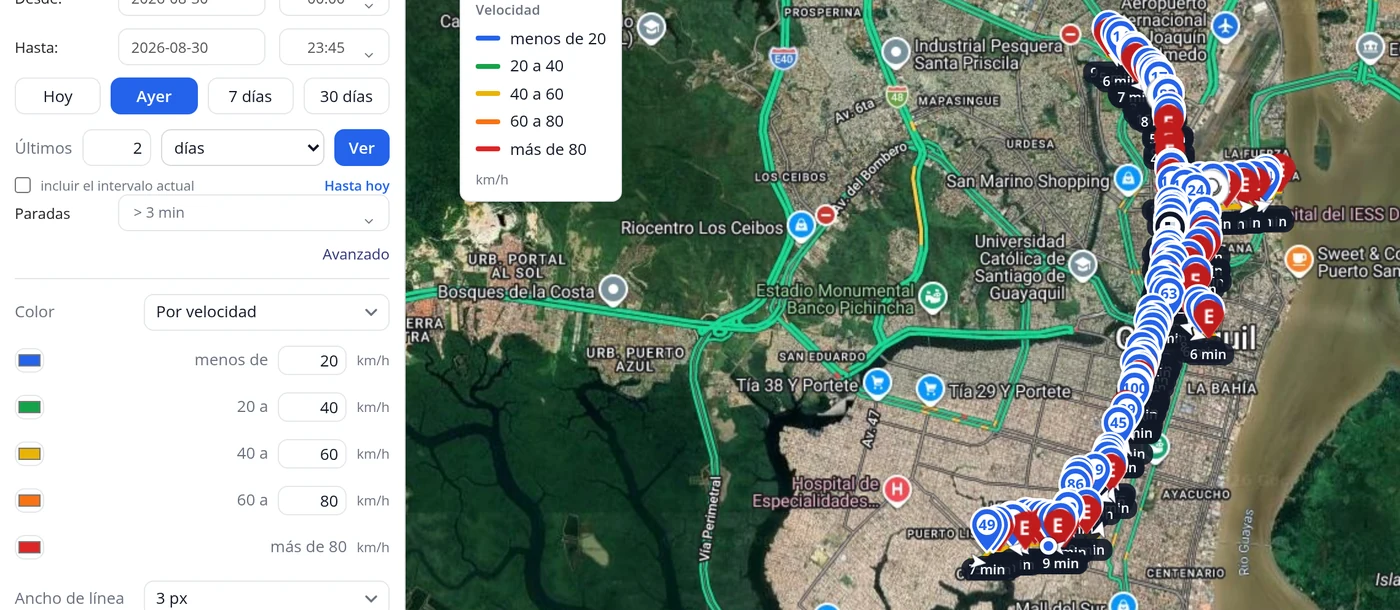
-
Tune the colour bands to your fleet
With «By speed» five rows appear: a colour box and a figure. The numbers are yours: if your trucks never go above 60, set the cuts at 20, 30, 40 and 50 and you will see differences where everything used to come out the same colour. Clicking a colour box opens the picker. The same applies to any sensor: if you paint by temperature, the cuts are degrees.
CarefulA cut cannot overtake the next one: if you type 90 where the one beside it says 80, the program adjusts it so the five bands still make sense.
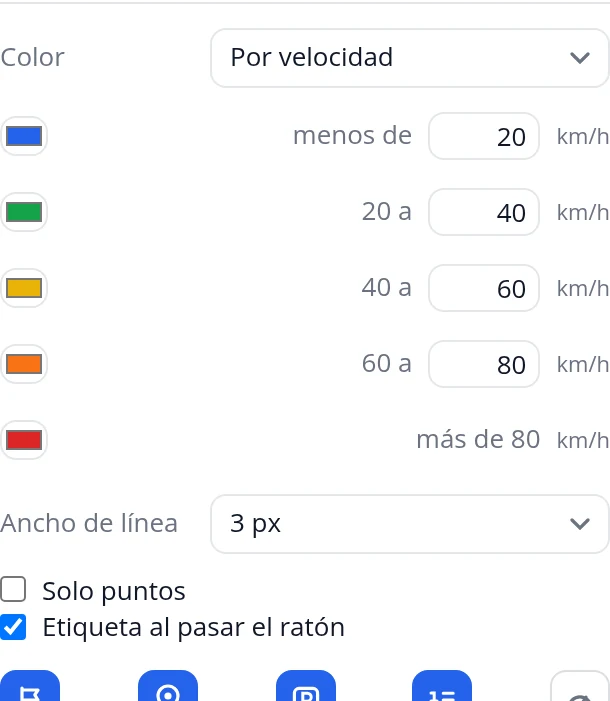
-
Choose what is shown on the track
The row of icons turns on and off what is drawn over the path. From left to right: the flag places the start and the end; the pin, short stops; the P, parkings; the list icon, the number inside each stop; the speedometer, speedings; the speech bubble, time annotations along the line; the three circles, grouping marks that fall on top of each other; the picture, camera photos where they were taken; the fuel pump, refuellings and drains; and the bell, that day's events and alerts. Hover over each one and it tells you what it is.
-
Separate stops from parkings
The program does not tell a short stop from a long parking: you decide that with the «Parking from N min» box. Anything shorter than that number is drawn as a stop, with its number and how long it lasted; anything longer, as a parking, with a P. Changing that number repaints the marks instantly, without fetching the track again.
CarefulThe «Stops» box further up, the one in the form, is a different thing: it tells the server from how many minutes standing still it counts as a stop. That one does require fetching the track again.
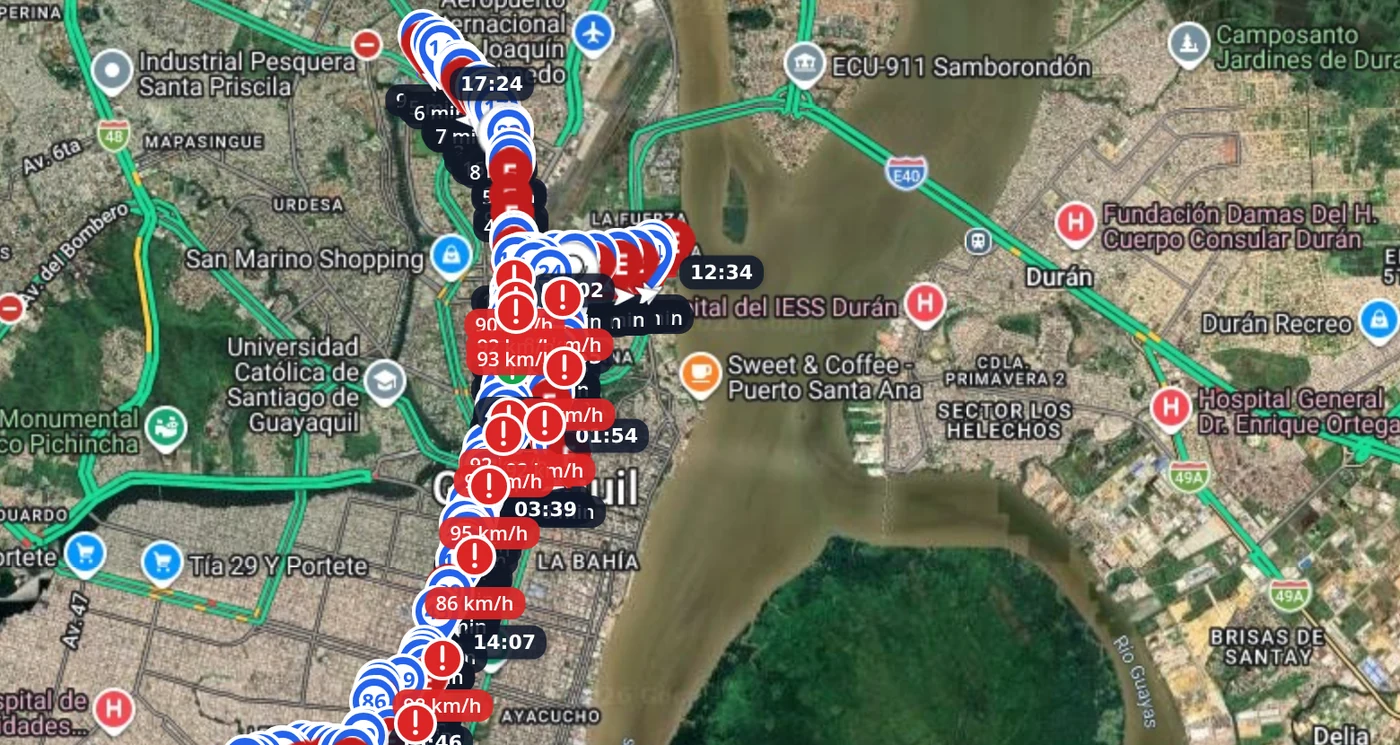
-
Look at the list of trips
Below the buttons «Trips» appears with a number. Opening it gives you one row per run between two stops: its colour, the departure and arrival times, how long it took and how many kilometres it covered. Clicking a trip takes the map to it. The kilometres come from the vehicle's own odometer when the unit carries one; if it does not, they are measured between the GPS points and then the figure is prefixed with ≈, so you know it is a measurement and not the vehicle's own count.
-
Replay the track
Open «Player». The five buttons are: go to start, previous point, play or pause, next point and go to end. Beside them you pick the speed, from ×1 to ×6. Below, for the point you are on, it shows the street address, the time, the speed, the altitude and the value of EVERY sensor on the unit: engine on, moving, engine hours, odometer, voltage, GSM signal… That is: you do not just see where it went, you see how the vehicle was at that instant.
CarefulThe «Keep the vehicle centred» box makes the map follow the vehicle while it plays, instead of staying still.
-
See the street at that point
In the player you have «View on map», which opens that point in Google Maps, and «Show the street», which shows the street photograph inside the panel itself, looking the way the vehicle was going. It is the quick way to answer «what exactly is at that spot?» without leaving History.
-
Click a point on the track
Clicking on the track line opens a window with the address, the time, the speed, the links to Google Maps and to street view, the street photograph and the sensor table for that point. It is the same the player shows, but for the point you pick with the mouse.
-
Pin a track to compare two
The «Pin this track» button leaves the track you are looking at NAILED to the map. From then on you can pick another vehicle, or other dates of the same one, and fetch a new track: the previous one is not erased, it stays drawn in its own colour. Below appears the list of pinned tracks, each with its colour, its date and its mileage, and an × to remove it. It is for comparing two routes of the same day, or today's route against yesterday's, on the same map.
CarefulPinned tracks live as long as the tab is open. If you reload the page, they are gone.
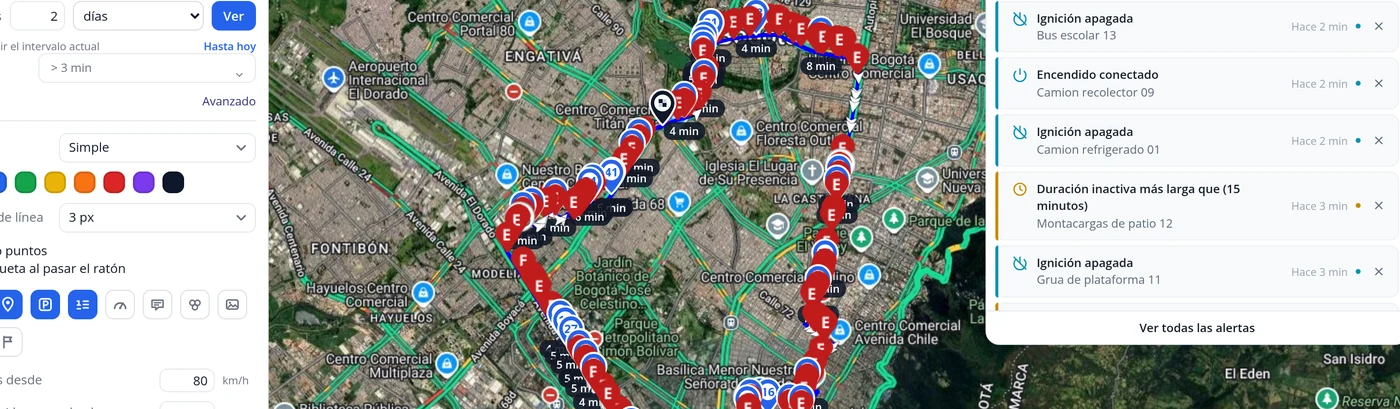
-
Turn the track into a geofence
If that path is a route the vehicle repeats, the «Save as geofence» button creates it for you. First, in «Corridor width», you say how many metres on each side of the path belong to the zone: 100 metres leaves room for overtaking and lane changes; 30 metres is a narrow, strict route. The program asks you to confirm, telling you the name it will create, and when it finishes the geofence sits in Geofences like any other: you can edit it, give it your own name and use it to be alerted when a vehicle leaves the route.
CarefulThe name is filled in automatically with the vehicle and the date. If you are going to use it a lot, go into Geofences and give it a name you will recognise, such as «Bogotá – Melgar route».
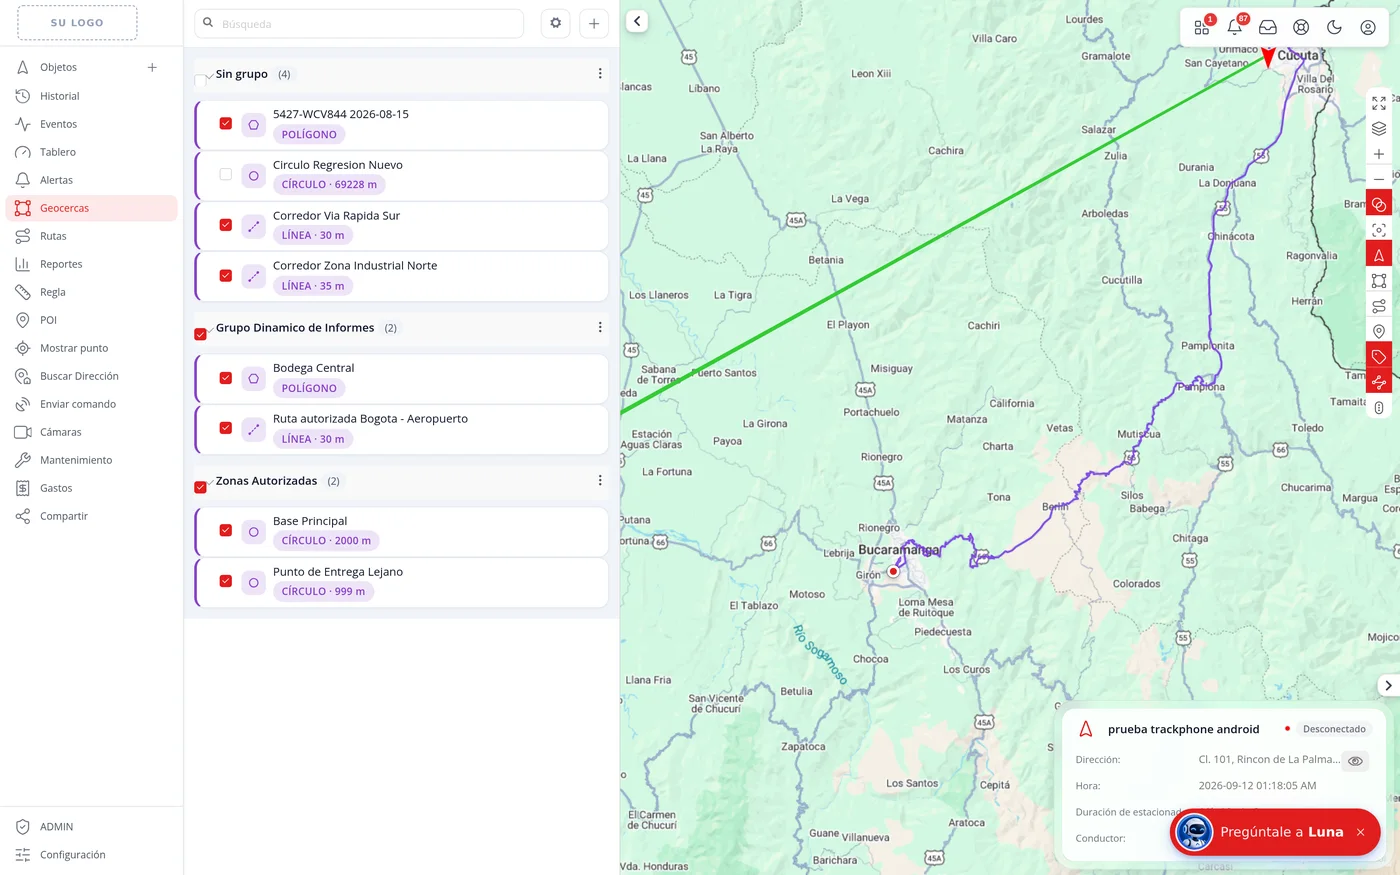
What each field asks for
| As it appears on screen | What it is | |
|---|---|---|
| Colour | How the path is painted: Simple (a single colour), By speed (five bands), By trips (one colour per run) or by any sensor the unit has. | Can be left empty |
| Line width | The thickness of the stroke, from 1 to 15. With many days of data it is worth lowering it; with a single trip, raising it to see it better. | Can be left empty |
| Points only | Instead of a continuous line, it draws the path with separate dots. Useful for seeing how often the unit reported. | Can be left empty |
| Label on hover | Hovering over the track shows the speed, the time and the address of that point, without having to click. | Can be left empty |
| Speeding over | The speed above which a speeding is marked. One mark is placed per stretch where it was exceeded, at the fastest point, not one per point. | Can be left empty |
| Parking from | The minutes above which a stop is treated as a parking and drawn with a P. | Can be left empty |
| Refuel/drain from | How many litres the tank level has to rise or fall for it to be marked. It only appears if the vehicle carries a fuel sensor. | Can be left empty |
| Mark when it turns on | Places a mark at the exact point where a yes/no sensor switches on: harsh braking, harsh acceleration, door, panic button, power cut… It marks the moment it turns on, not every point it stays on. | Can be left empty |
| Corridor width | The metres on each side of the path that belong to the geofence created with «Save as geofence». | Can be left empty |
How to know it worked
If choosing «By speed» makes the path change colours and the legend appears on the map, the tool is working. If you switch on a button in the row and nothing appears, that is not a fault: it means there was none of that on the day — no speedings means no speeding marks, and no photos means no photo pins.
What next
If what you need are figures to save or send (kilometres per day, stops, speeds), use Reports. If you want to be alerted when a vehicle leaves this route, save the track as a geofence and then create an alert on that geofence.
If the history does not break down the stops (the whole day comes out as a single stop)
In the History, each day is split into legs: P1, P2, P3… are the stops and D1, D2, D3… the drives between one stop and the next. With that you can audit stop by stop where the unit was and for how long. Sometimes the map draws the whole route of the day, the speed graph shows that the vehicle drove, and yet the left-hand panel shows a single line: «P1» with the hours of the entire day. This section explains why it happens, how to check it in two minutes and how to put it right. The cause is almost always the same: the platform is deciding whether the vehicle is moving by looking at the ENGINE IGNITION signal sent by the device, and that device does not report it (the wire is not connected, or the model does not send that data). Since for the platform the engine was off all day, it understands that the vehicle never moved and merges the day into a single stop. Where it is: Top bar > Objects > in the list, the vehicle's options button > Edit > Accuracy tab > «Ignition detection by:»
Where it is Top bar > Objects > in the list, the vehicle's options button > Edit > Accuracy tab > «Ignition detection by:»
Before you start
- First confirm that the vehicle DID move that day: in History, check that the map draws the track and that the «Speed» graph below has peaks.
- Also look at the «Stops» field on the History screen. It comes set to «> 3 min»: stops shorter than that do not count as a stop.
- This is changed vehicle by vehicle, not in one go for the whole fleet. If it happens on many units, you will have to repeat it on each one, or ask your provider.
-
Look at what the history shows today
Top bar > History. Choose the vehicle, set the full day (From 00:00, To 23:59) and click «Show history». If this is the fault, in the left-hand panel you will see a single «P1» line lasting almost the whole day, while the map does draw the entire route.
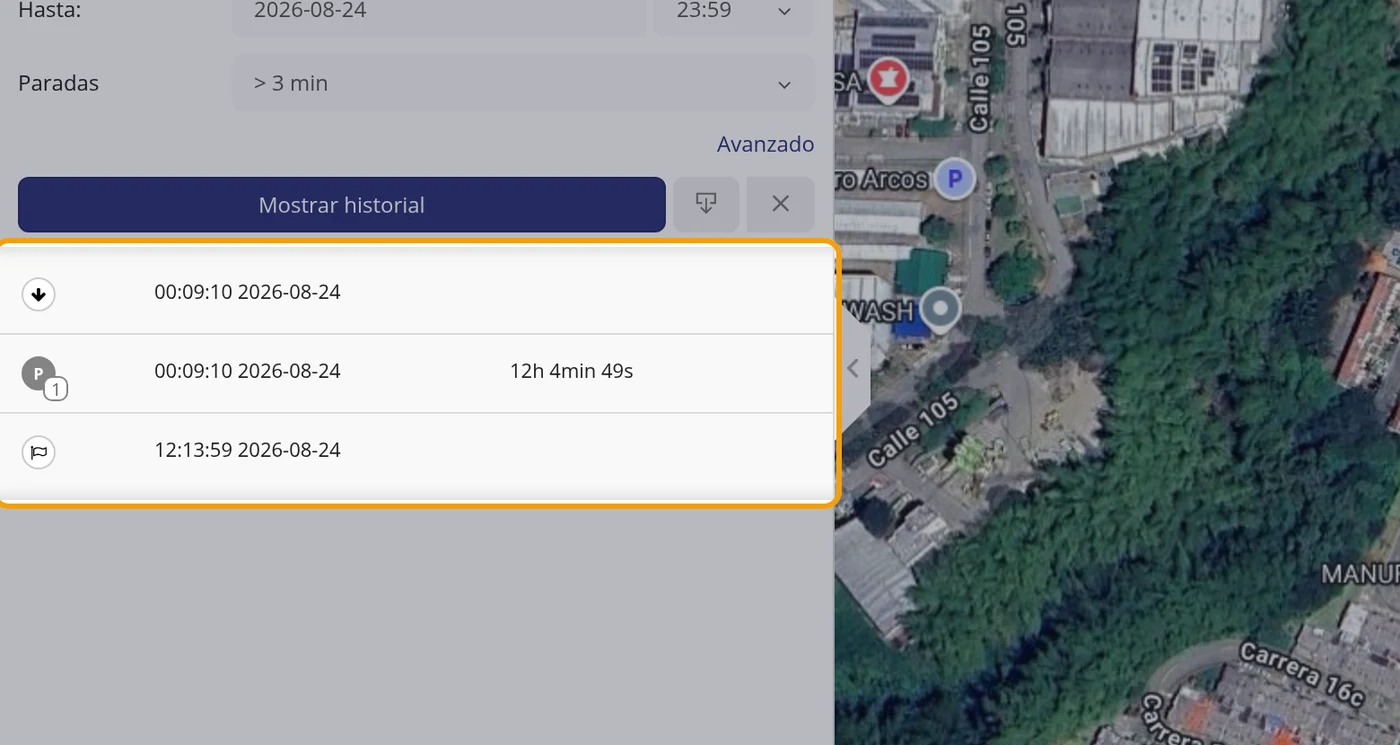
-
Check that the vehicle moved: the «Speed» graph
In the bottom strip, click the «Speed» tab. If there are speed peaks, the vehicle drove and the positions are complete: no data has been lost. The problem is only in the calculation of the stops.
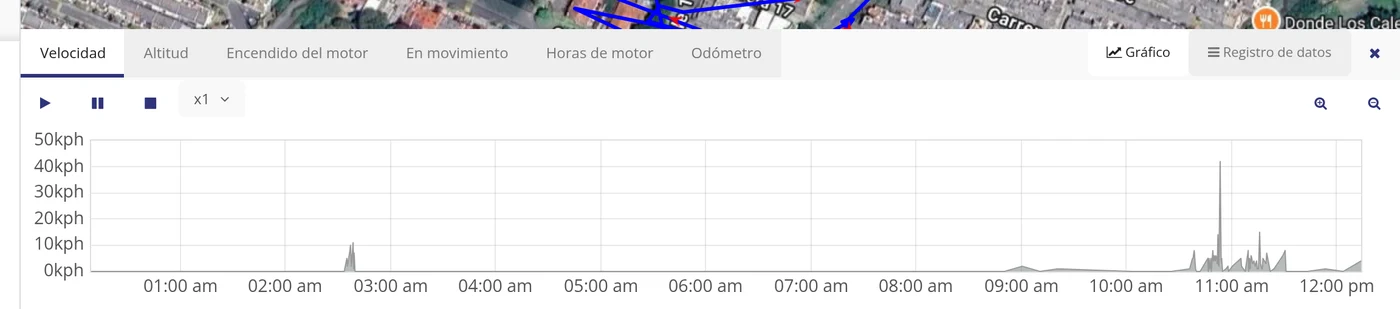
-
The decisive proof: the «Engine ignition» graph
In that same strip, click the «Engine ignition» tab. Compare it with «Speed»: if the speed goes up and down while the ignition comes out EMPTY, or stuck at off all day, the device is not reporting the ignition. That is the reason the stops do not appear. In the example, the ignition graph does not draw a single line: the device never sends that data.
CarefulIf your vehicle does not have the «Engine ignition» tab, it means the device does not have that sensor set: all the more reason for the detection to go by GPS.
-
Open the vehicle's record
Go to «Objects». In the list on the left, find the vehicle and click the options button on its row. The menu opens with «Show history», «Follow», «Send command», «Edit», «Share», «Alerts» and «Cameras». Click «Edit».
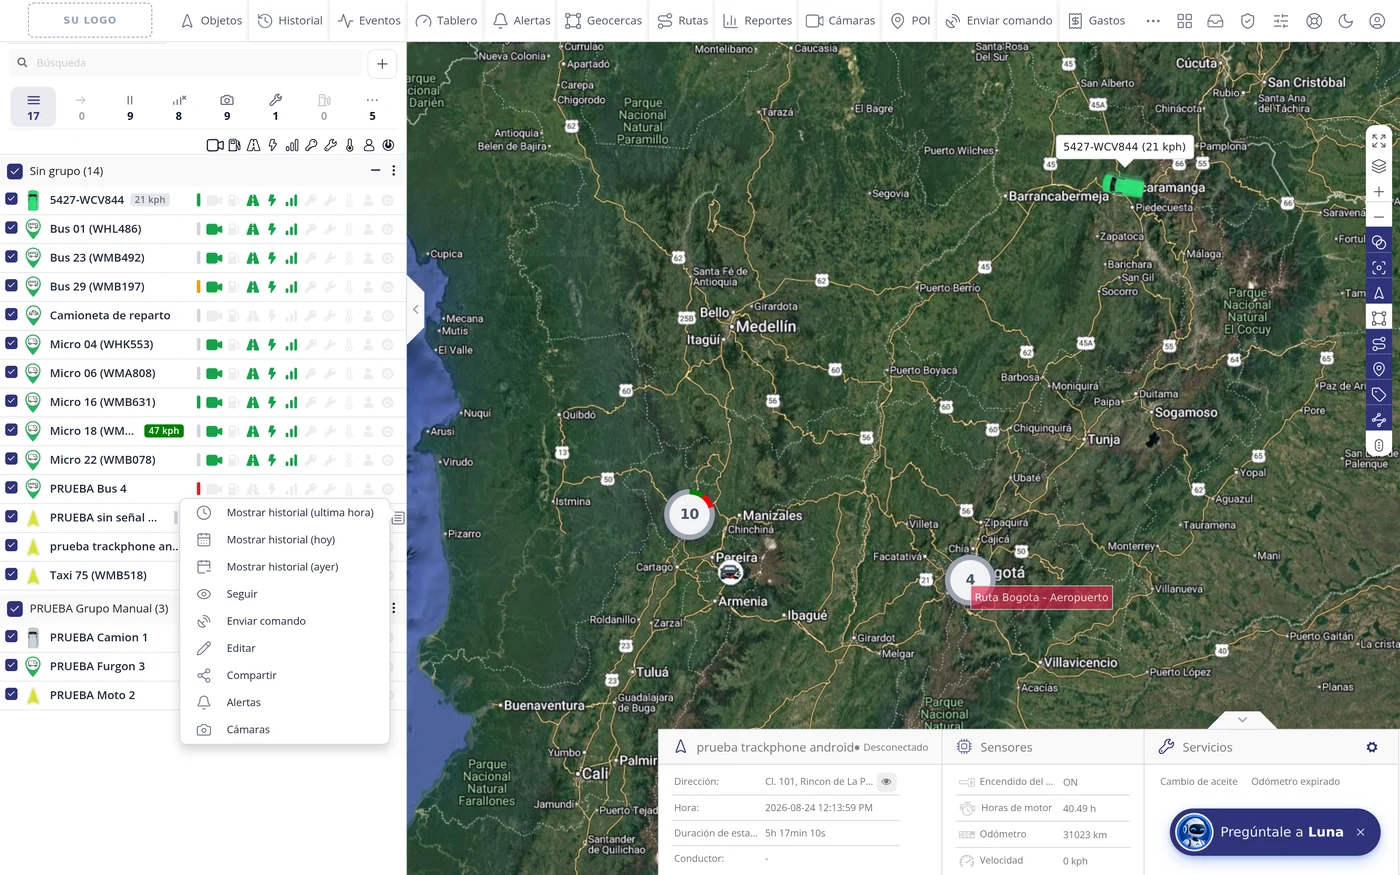
-
Go into the «Accuracy» tab
The record opens with the tabs Main, Users, Icons, Advanced, Sensors, Services, Accuracy, Queue, Expenses and Cameras. Click «Accuracy». The first dropdown in that tab is «Ignition detection by:».
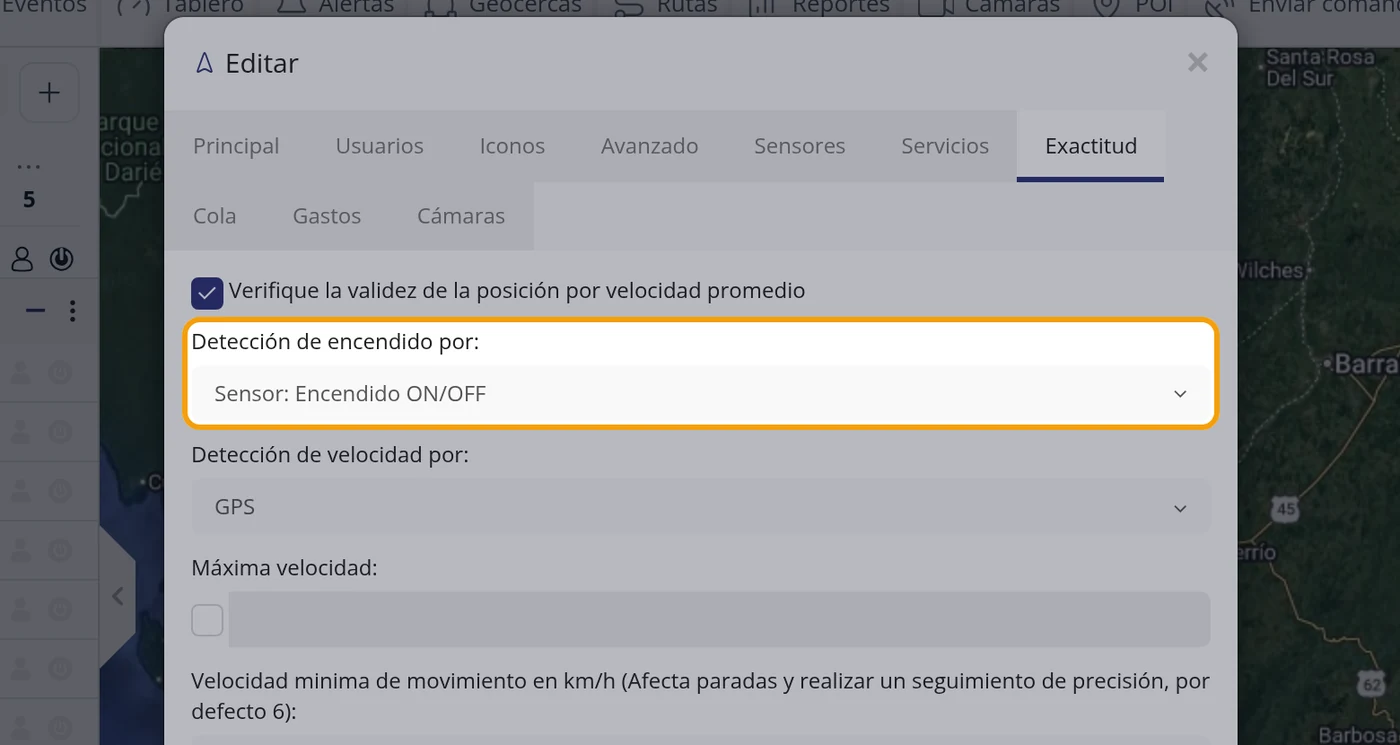
-
See what «Ignition detection by:» says
The dropdown offers three options: «GPS», «Sensor: Ignition ON/OFF» and «Sensor: Engine hours». If it says «Sensor: Ignition ON/OFF» and you have just seen in the graph that the device does not report the ignition, there is the cause.
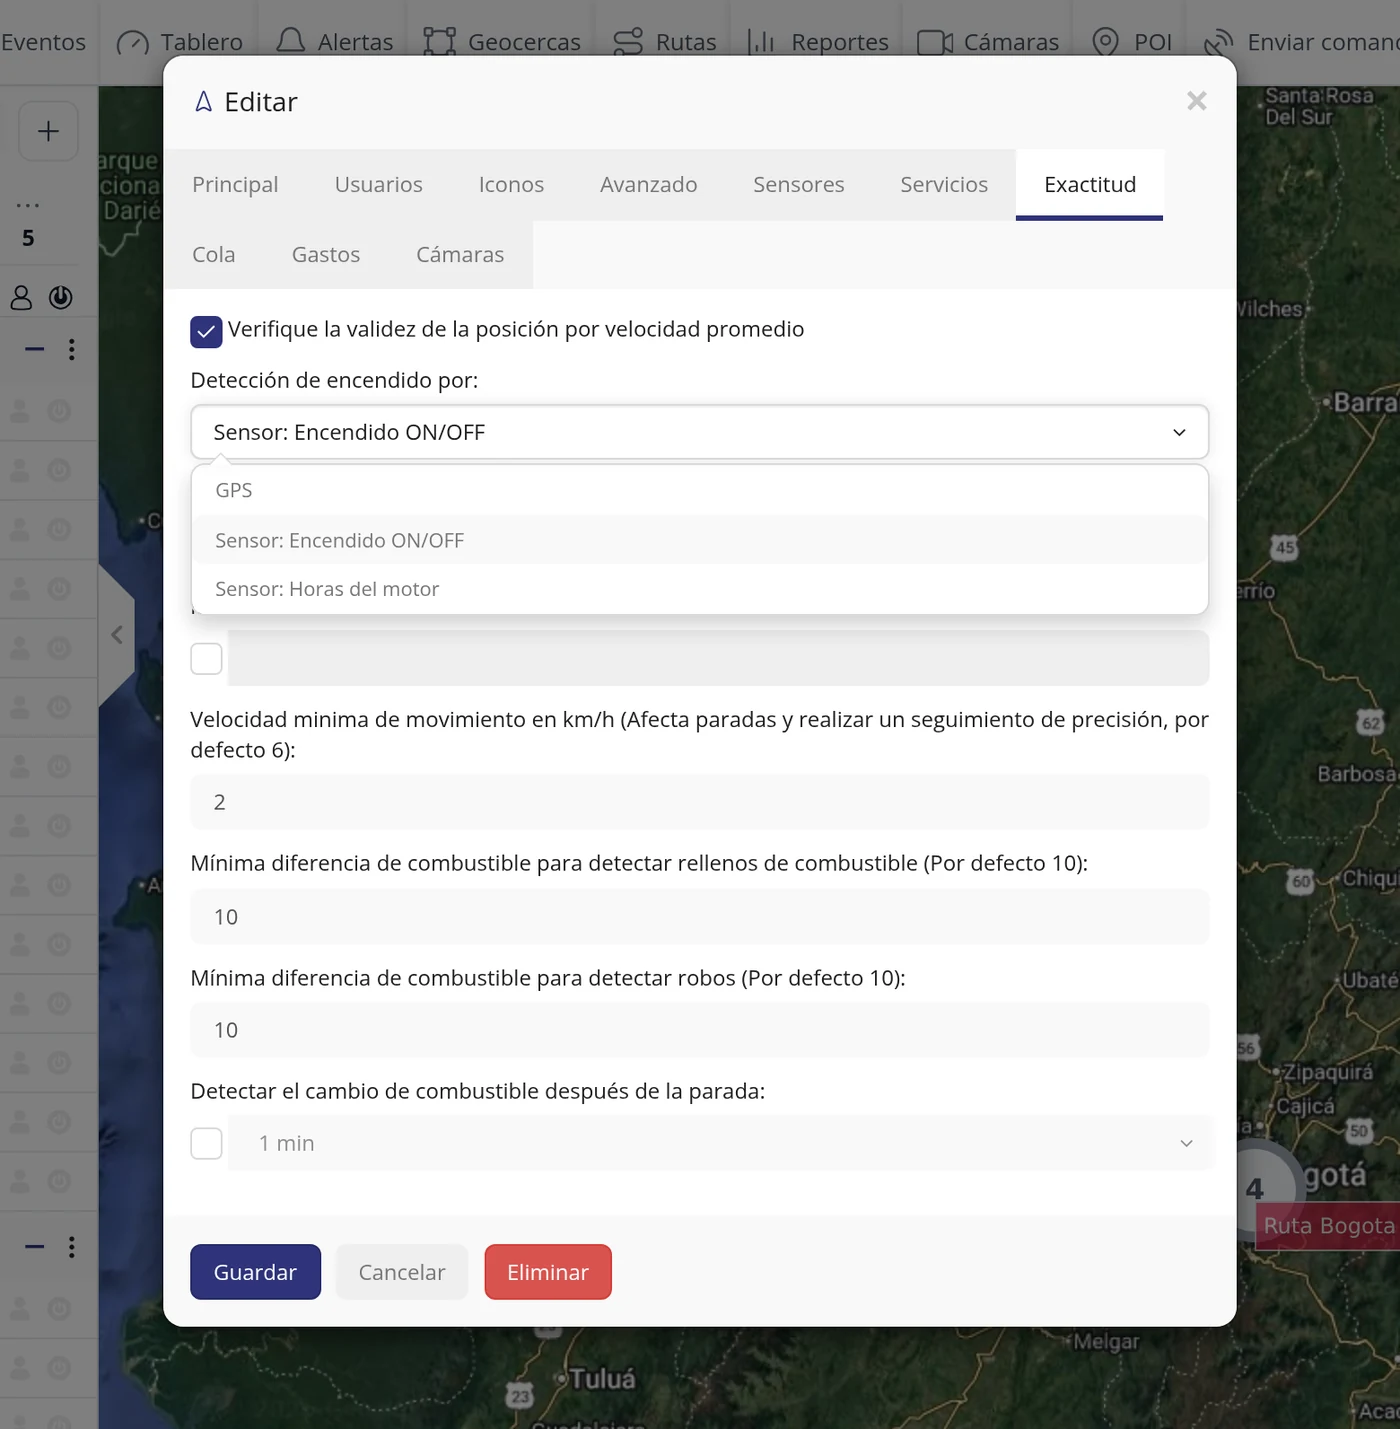
-
Set it to «GPS» and save
Choose «GPS» and click «Save», at the bottom left of the window. With GPS, the platform decides whether the vehicle is moving from the movement measured by the GPS itself, which is what always works, with or without an ignition wire.
CarefulBelow there is another field, «Minimum movement speed in km/h», which comes set to 6. It is the speed from which the vehicle is considered to be moving. If you raise it a lot, slow legs will be counted as a stop again.
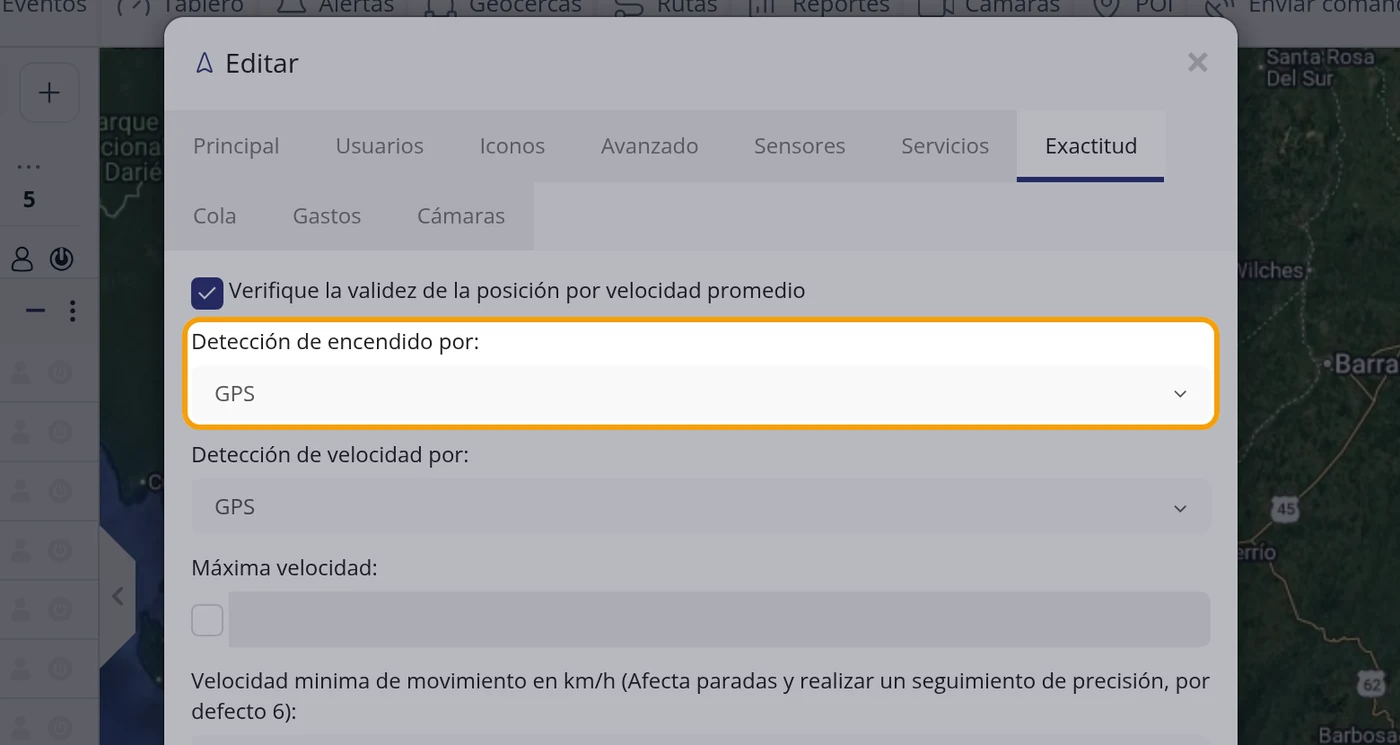
-
Go back to the History and ask for it again
Top bar > History, the same vehicle and the same day, «Show history». Now P1, D1, P2, D2… do appear with their times and durations, and the numbers of each stop show on the map. There is nothing to wait for: the history is calculated at the moment you ask for it, so previous days are also broken down already.
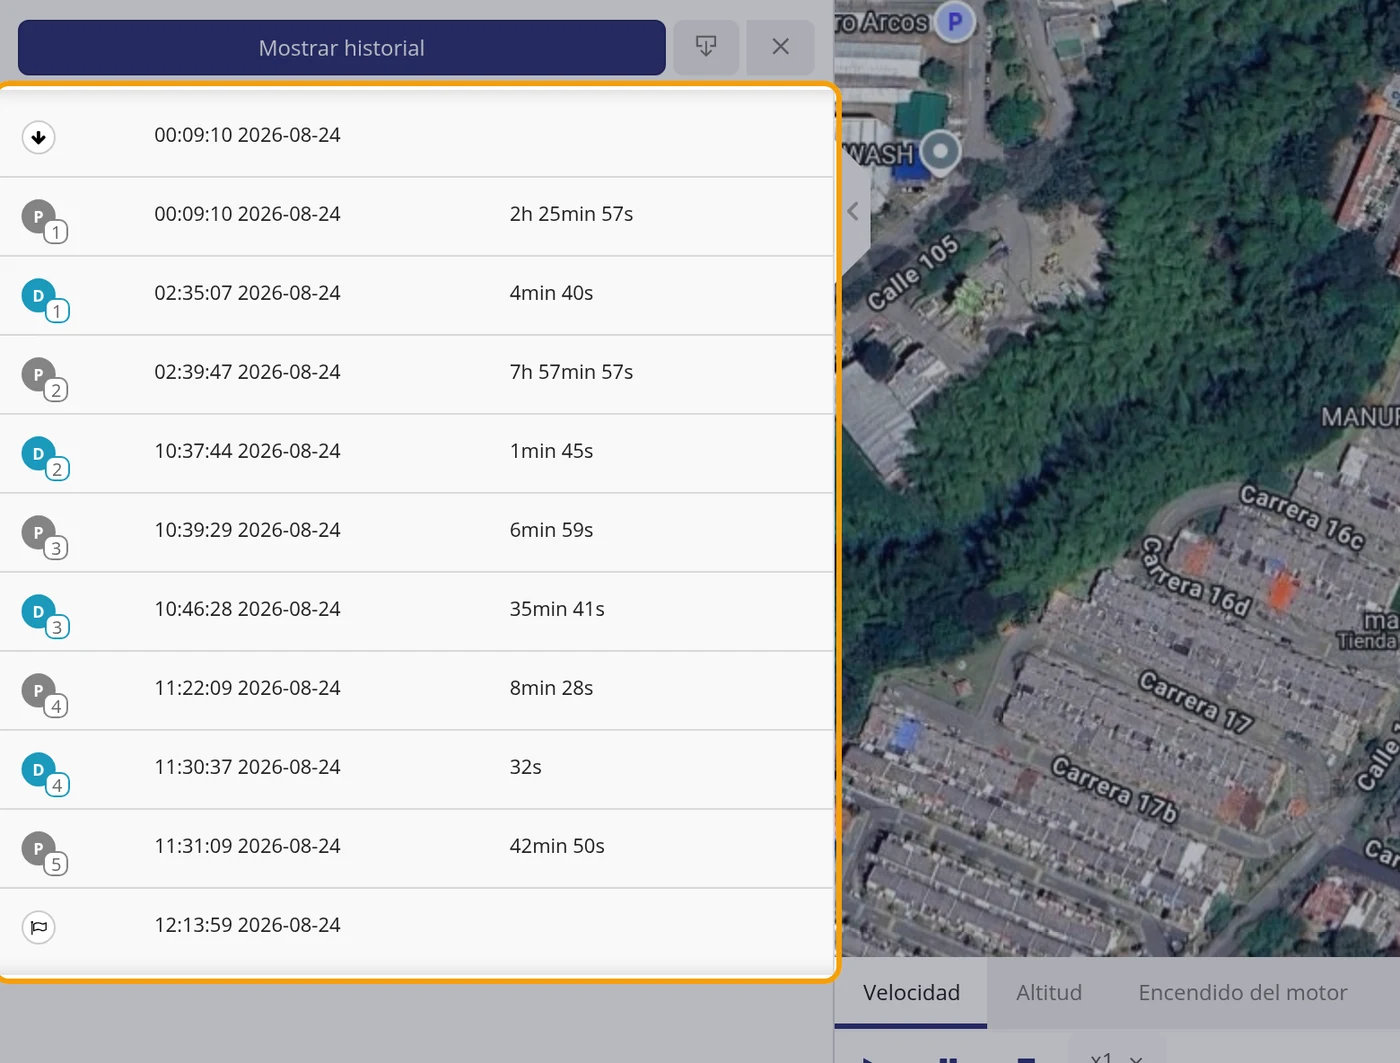
What each field asks for
| As it appears on screen | What it is | |
|---|---|---|
| The «Ignition detection by:» box | Which data the platform uses to decide that the engine is on. «GPS» works it out from the movement and always works. «Sensor: Ignition ON/OFF» uses the signal from the ignition wire: it only works if the device really sends it. «Sensor: Engine hours» uses the device's hour counter. It can be left empty. | Can be left empty |
| The «Speed detection by:» box | Where the speed comes from. The normal setting is «GPS». It can be left empty. | Can be left empty |
| The «Minimum movement speed in km/h:» box | From which speed the vehicle is considered to be moving. 6 by default. It directly affects how the stops are cut. It can be left empty. | Can be left empty |
| The «Stops (on the History screen):» box | How long the vehicle has to stay still for it to count as a stop. «> 3 min» by default: below that, the halt stays inside the driving leg. It can be left empty. | Can be left empty |
How to know it worked
It is right when, with the same vehicle and the same day, the History left-hand panel goes from a single «P1» row to the full list P1, D1, P2, D2… that is, the day is no longer one single stop.
The data log: what each column is
The data log is the list, point by point, of everything the vehicle's device sent to the server on the dates you ask for. It is where you look when something does not add up: whether the vehicle really reported, at what time, from where, at what speed, and what loose data its device sends. It is also where you copy the exact name of a piece of data to be able to create a sensor or an event with it. Where it is: Top bar > History > (choose vehicle and dates) > Show history > Data log tab, on the bottom bar
Where it is Top bar > History > (pick vehicle and dates) > Show history > Data log tab, in the bottom bar
Before you start
- You have to fetch a history first: the data log is not a separate button, it is a tab of the bar that appears at the bottom once a track has been shown.
- The vehicle has to have reported on those dates. If it did not report, the list comes up empty and that is not a fault.
-
Click History in the top bar
It is the second button of the bar. The left panel asks you for the vehicle and the two dates.
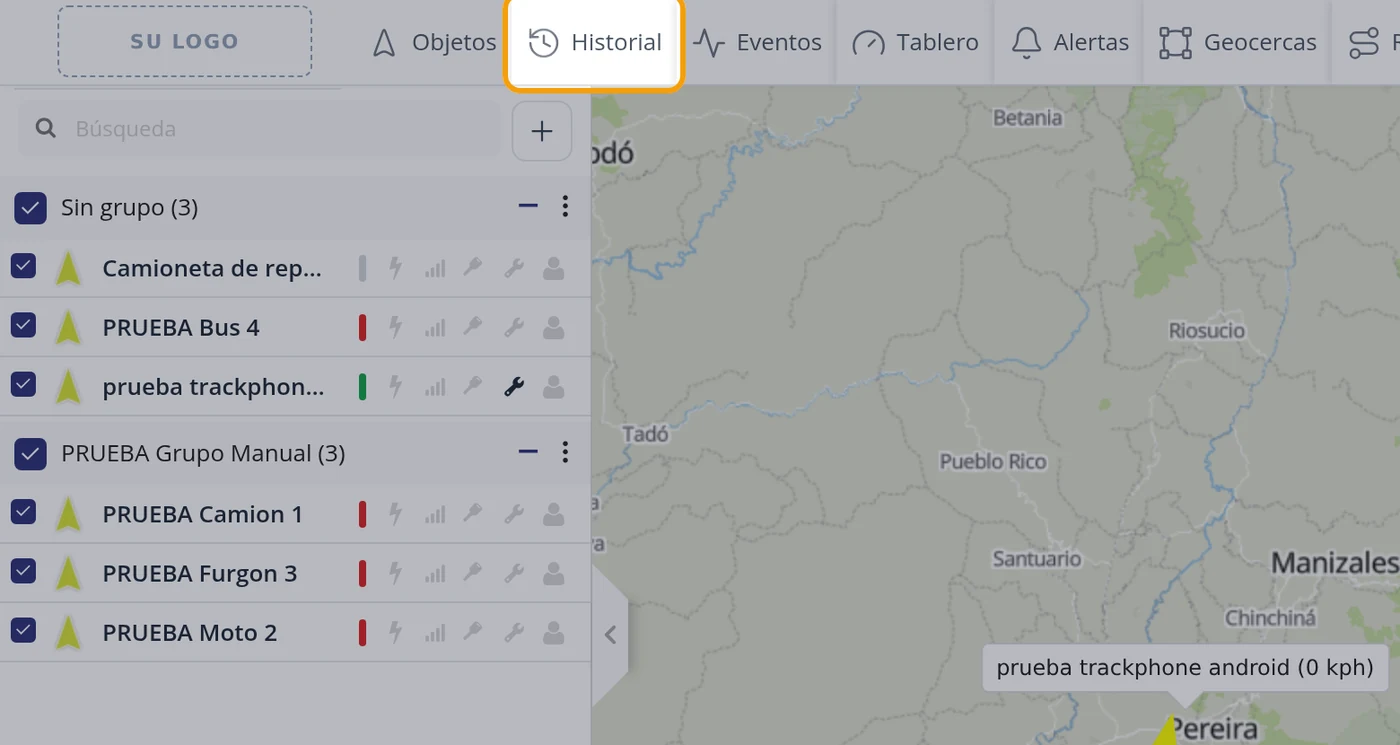
-
Choose the vehicle and the dates
Open the Device field and click the vehicle name. Then click From and pick the day in the calendar, and the same in To.
CarefulClose the calendar before carrying on, by clicking on an empty part of the panel. If it stays open, it covers the button below and it looks as if it did not work.
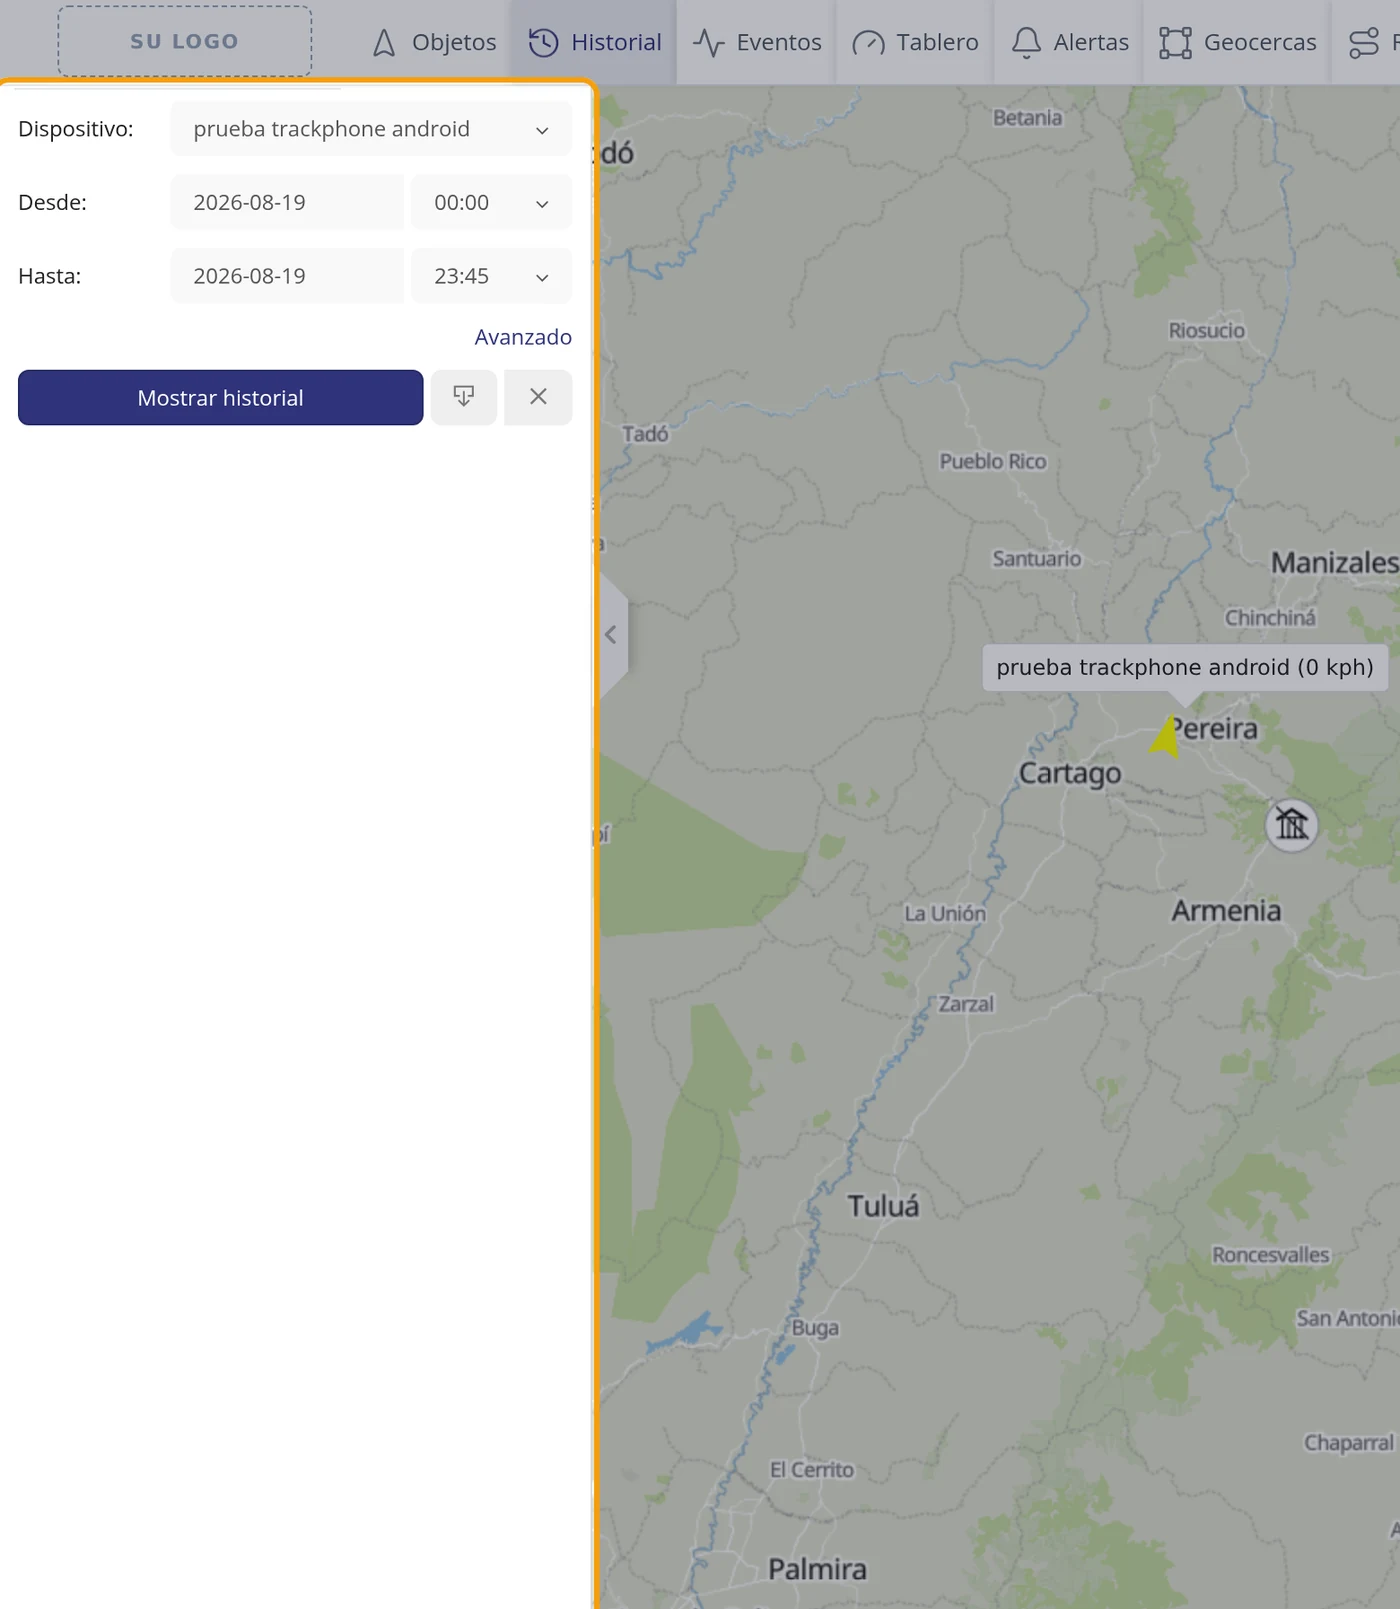
-
Click Show history
The route is drawn on the map and at the bottom a new bar appears with two tabs: Chart and Data log.
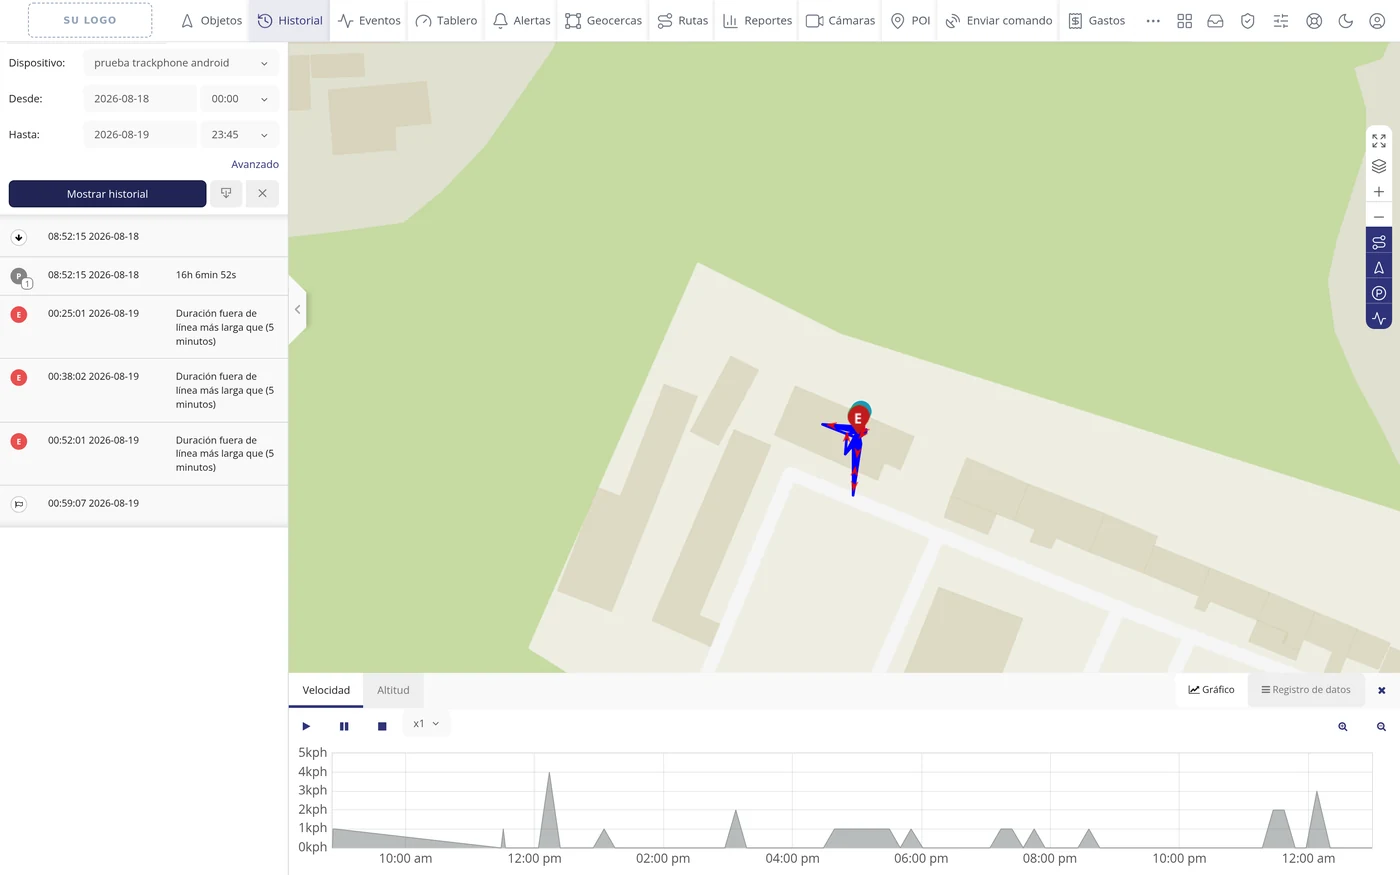
-
Click the Data log tab
It is at the top right of that bottom bar, next to Chart.
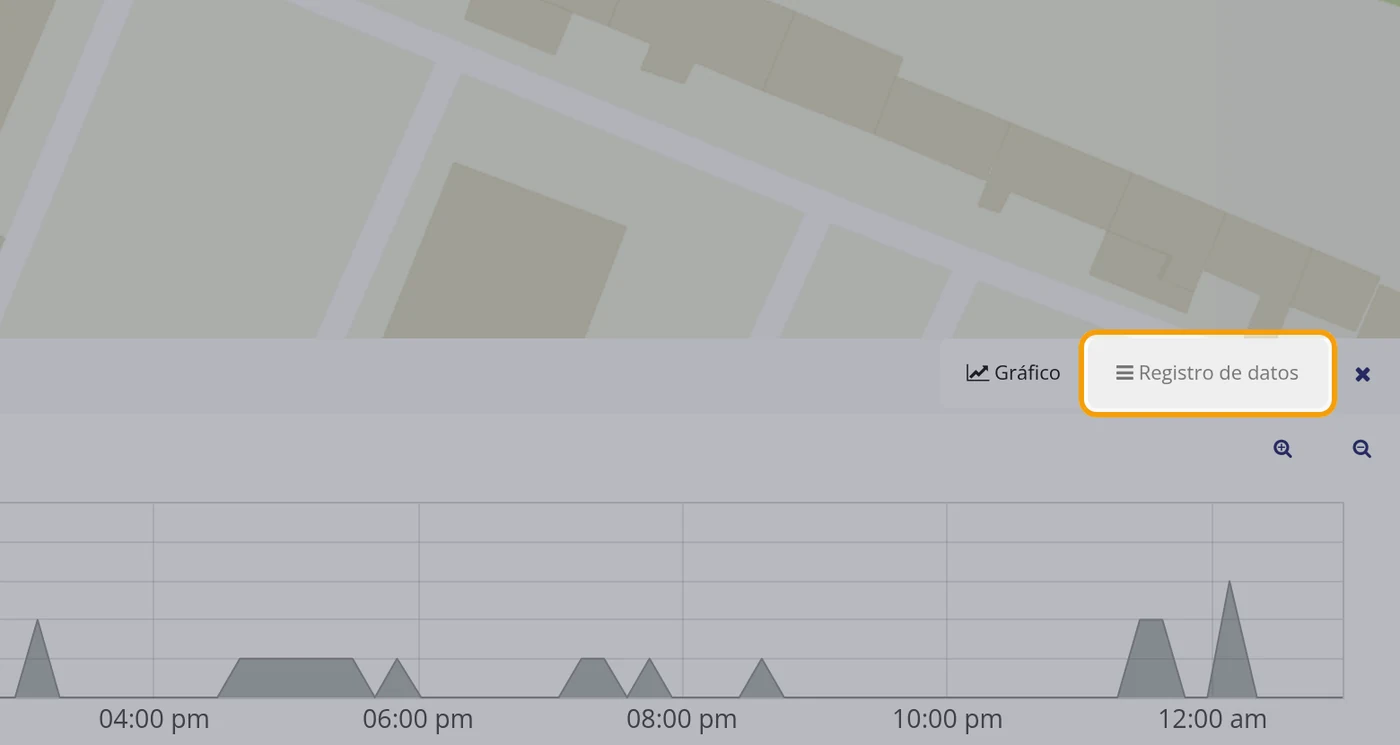
-
Read the list
Each row is a position the device sent. They come from oldest to newest, and are shown 50 rows at a time.
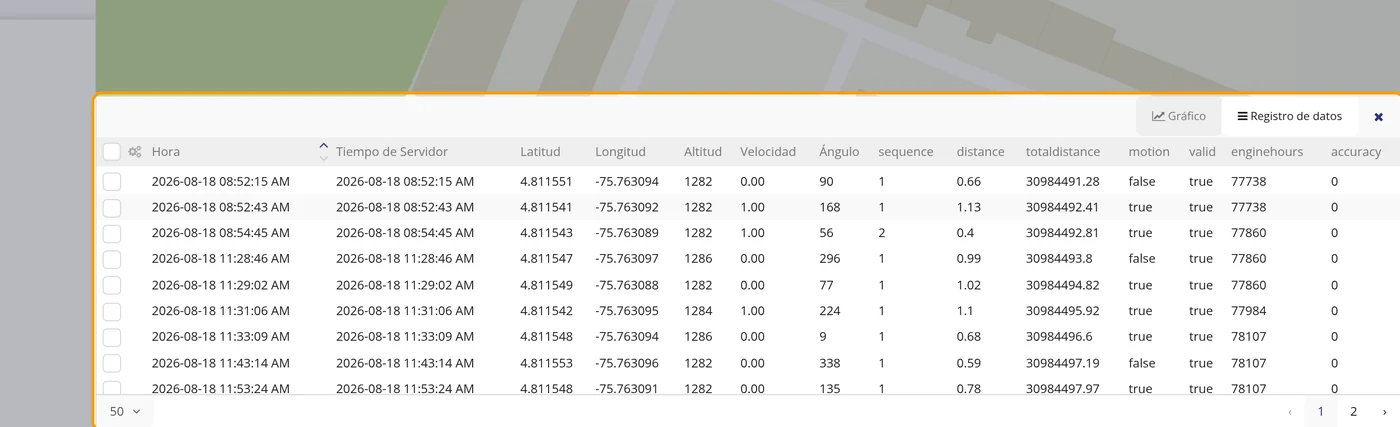
-
Understand the columns
The first seven are always the same: Time, Server time, Latitude, Longitude, Altitude, Speed and Angle. The following ones are not set by the platform: they are the loose fields THAT device sends, and they change with the model. On the test device sequence, distance, totaldistance, motion, valid, enginehours and accuracy appeared.
CarefulThe name of those columns on the right is copied exactly as it appears here when you go to create a sensor or a custom event. If you type it differently, it will not work and the platform will not warn you.
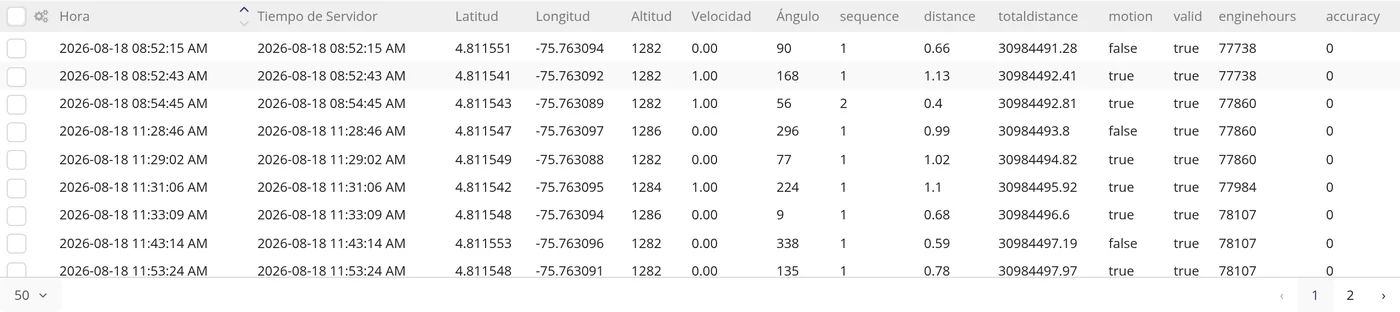
-
Change page if there are many rows
At the bottom there is a selector with the number 50, which is how many rows are shown at once, and the controls to change page.
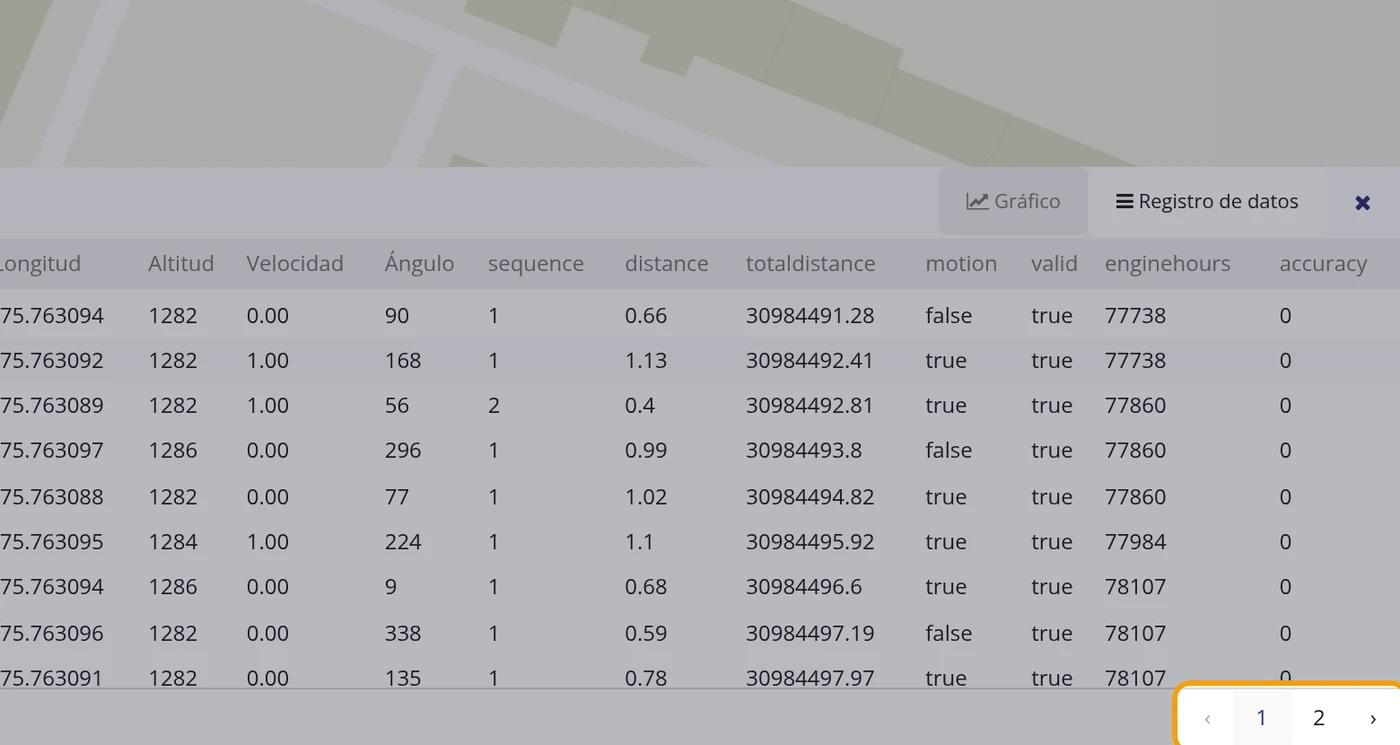
-
Careful with the first column
The left column is called Delete selected and is for deleting positions by ticking them. What is deleted there does not come back.
Cómo saber si la hora del equipo está bien →
CarefulThere is no need to touch it for anything normal. It sits right next to the rest of the table and is the most destructive button on this screen.
What each field asks for
| As it appears on screen | What it is | |
|---|---|---|
| The «Time» column | The time the device itself says it had when it took that position. It can be left empty. | Can be left empty |
| The «Server time» column | The time that position reached the server. Comparing the two is the way to know whether the device clock is right; it is explained in its own section. It can be left empty. | Can be left empty |
| The «Latitude» column | The north-south coordinate of the point. In the measured example, 4.811551. It can be left empty. | Can be left empty |
| The «Longitude» column | The east-west coordinate. In the example, -75.763094. The minus sign means it is to the west. It can be left empty. | Can be left empty |
| The «Altitude» column | How high it was, in metres above sea level. In the example, 1282. It can be left empty. | Can be left empty |
| The «Speed» column | How fast it was going at that point, in the unit set in the account (in the test one, kilometres per hour). It can be left empty. | Can be left empty |
| The «Angle» column | Which way it was pointing, in degrees: 0 is north, 90 east, 180 south and 270 west. It can be left empty. | Can be left empty |
| The «Columns on the right» | The raw device data, with the name the device itself gives them. On the test device: sequence, distance, totaldistance, motion, valid, enginehours and accuracy. Another model will send others. It can be left empty. | Can be left empty |
| The «50» field | How many rows are shown per page. It can be left empty. | Can be left empty |
How to know it worked
If the list brings rows with time, latitude and longitude, the device really is reporting. If the map drew the route but this list comes out empty, something does not add up and the dates need checking.
How to tell if the device's time is right
If the clock of the vehicle's device is wrong, everything else comes out wrong: the route appears at the wrong times, the reports add up wrong and the alerts warn late or do not warn. Here it explains how to check it in two minutes, with no strange tools: the platform itself saves the time the device says and the time its message arrived, and you just compare them. Where it is: Top bar > History > (choose vehicle and dates) > Show history > Data log tab
Where it is Top bar > History > (pick vehicle and dates) > Show history > Data log tab
Before you start
- Know how to read the data log. It is explained in its own section.
- Pick a date range in which the vehicle did report.
-
Open the vehicle data log
History, choose the vehicle, set the dates, click Show history and then the Data log tab.
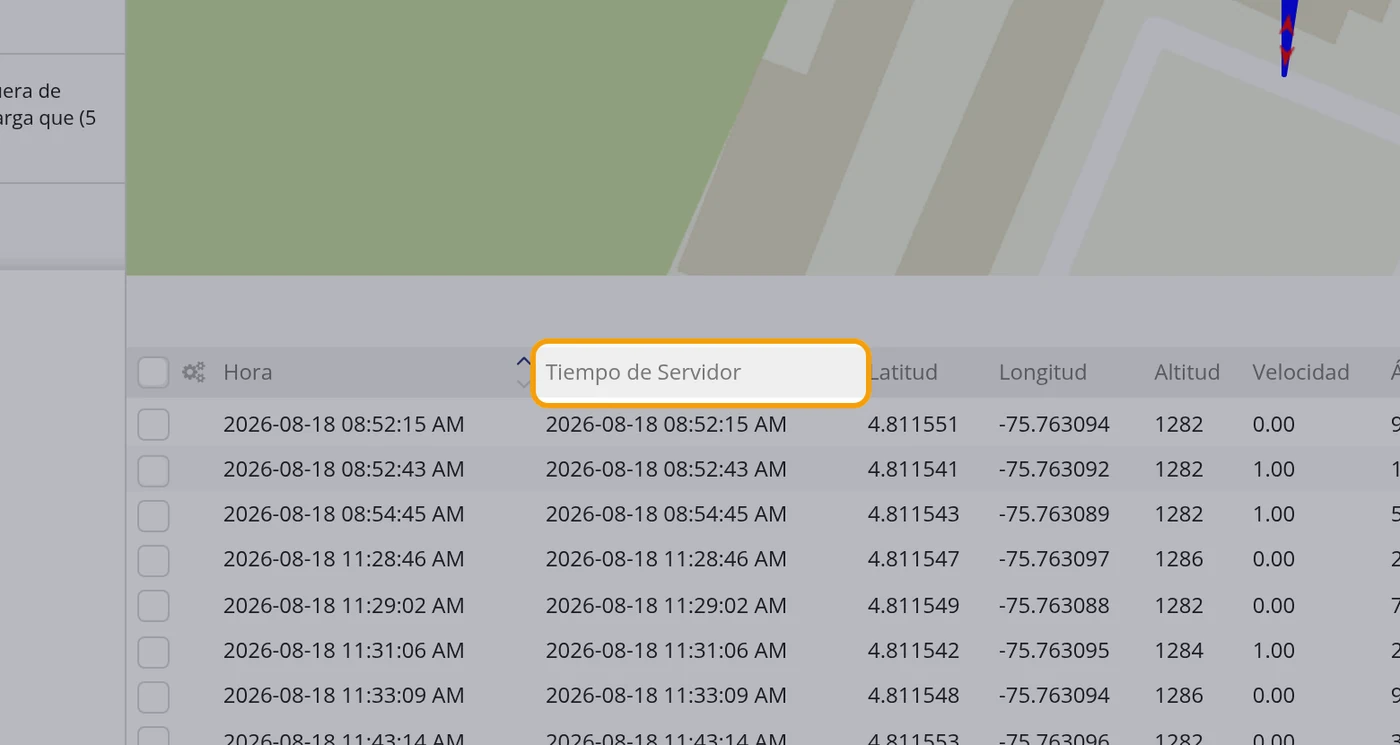
-
Look at the two first time columns
The first is called Time: it is the time the device itself says it had when it took that position. The second is called Server time: it is the time that message reached the server. Both are shown already converted to your account time zone, so they can be compared directly. Your account time zone is chosen in the Settings button of the top bar, Main tab, Time zone field; in the test account it is UTC -5:00, which is Colombia's.
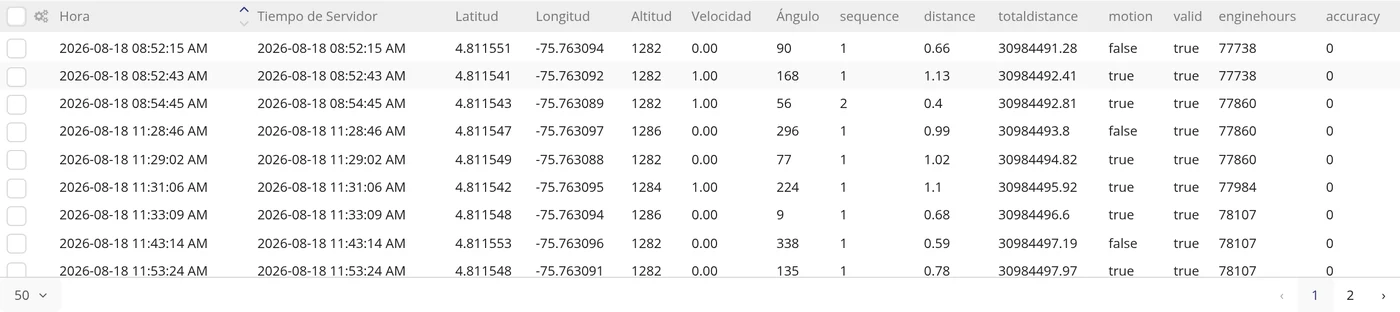
-
Compare row by row
If in every row the two times are equal or differ by one or two seconds, the device clock is fine. That is what came out on the test device: ten rows in a row with a 0-second difference, and one with 1 second.
-
Learn to read the three ways of being wrong
First: the same difference in every row, always equal, and in whole hours (for example exactly five hours). That is the clock or the time zone of the device set wrong. Second: the Time column stays stuck on the same minute while Server time moves on. That means the device keeps connecting but can no longer get a new fix: what you see on the map is an old position, even though the vehicle appears online. Third: large and variable differences that go down until they disappear. That is usually a device that was without signal, stored the points and released them all together on reconnecting.
CarefulThe second way is the most deceptive of all, because the vehicle looks connected and on the map it seems to be standing still.
-
What to do if it is wrong
A clock shifted by whole hours is fixed in the device, not in the platform: you have to send it the time zone command its model asks for, nearly always to leave it in universal time. A frozen position is a matter of the antenna or the device itself. In both cases, what the platform gives you is the proof: the row with the two times.
What each field asks for
| As it appears on screen | What it is | |
|---|---|---|
| The «Time» column | The time the device sends. It can be left empty. | Can be left empty |
| The «Server time» column | The time the message reached the server. It can be left empty. | Can be left empty |
How to know it worked
The two columns the same, or one or two seconds apart, on several rows in a row. One single row settles nothing: you have to look at several.
How to check the events list
Events is your fleet's logbook: every time a warning you set goes off (a speeding, a long stop, an entry into an area, a device that lost signal) a line is recorded here with the time, the vehicle and what happened. It is where you go to look when someone asks what happened and when. Where it is: Top bar > Events
Where it is Top bar > Events
Before you start
- Nothing is created here: this screen only shows what has already happened. For rows to appear there has to be an alert created beforehand, under Top bar > Alerts.
- Careful with this, it is the most frequent confusion: an alert only starts recording events FROM THE MOMENT it is created. It does not look backwards.
- If you are going to empty the list, there is no going back. Download first whatever you want to keep.
-
Click Events in the top bar
It is the third button of the bar, between History and Dashboard. It does not open a new page: it changes the left panel to the event list.
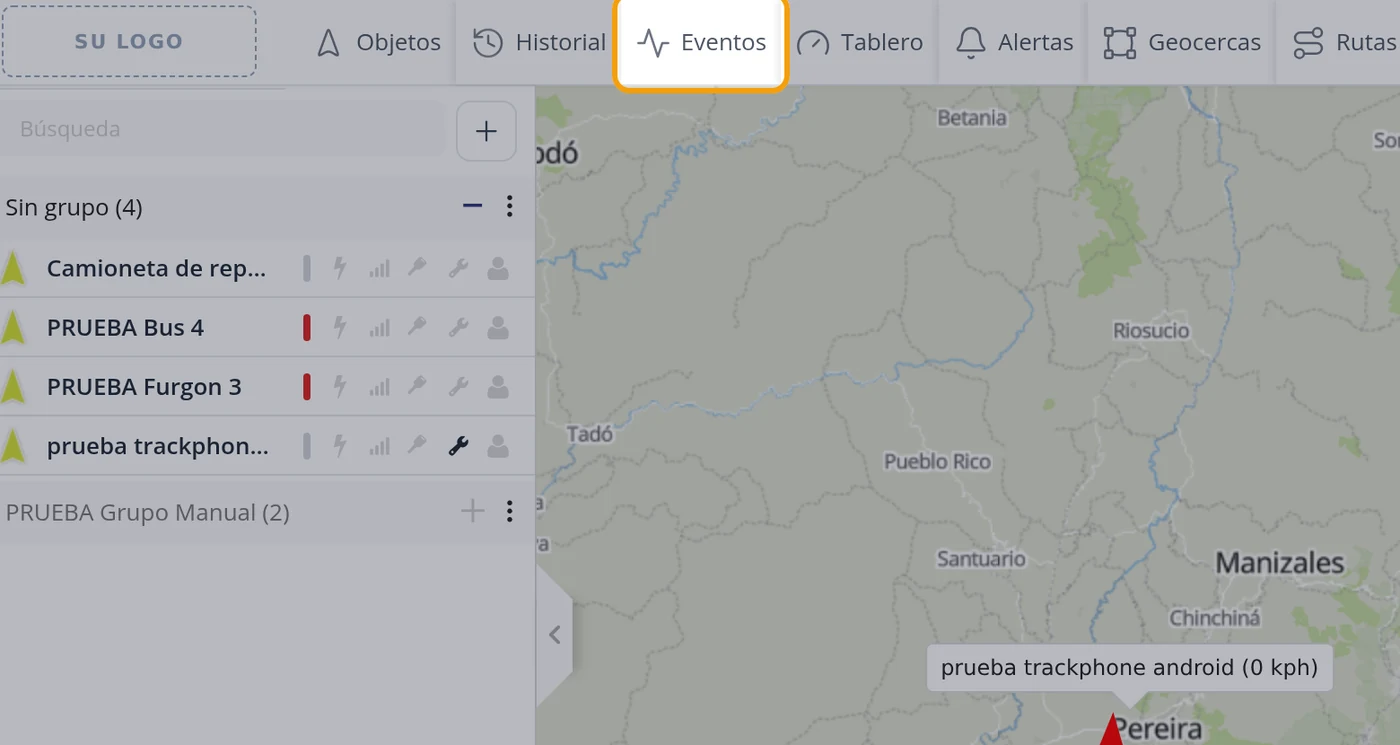
-
Recognise the list
At the top there is a field with the magnifier saying Search and, to its right, two small buttons. Below, the list with the most recent at the very top.
CarefulThe two little buttons next to the field are misleading. The first opens the full list in a large window. The second, which looks like a close cross, is the one for DELETING ALL THE EVENTS. Look twice before clicking it.
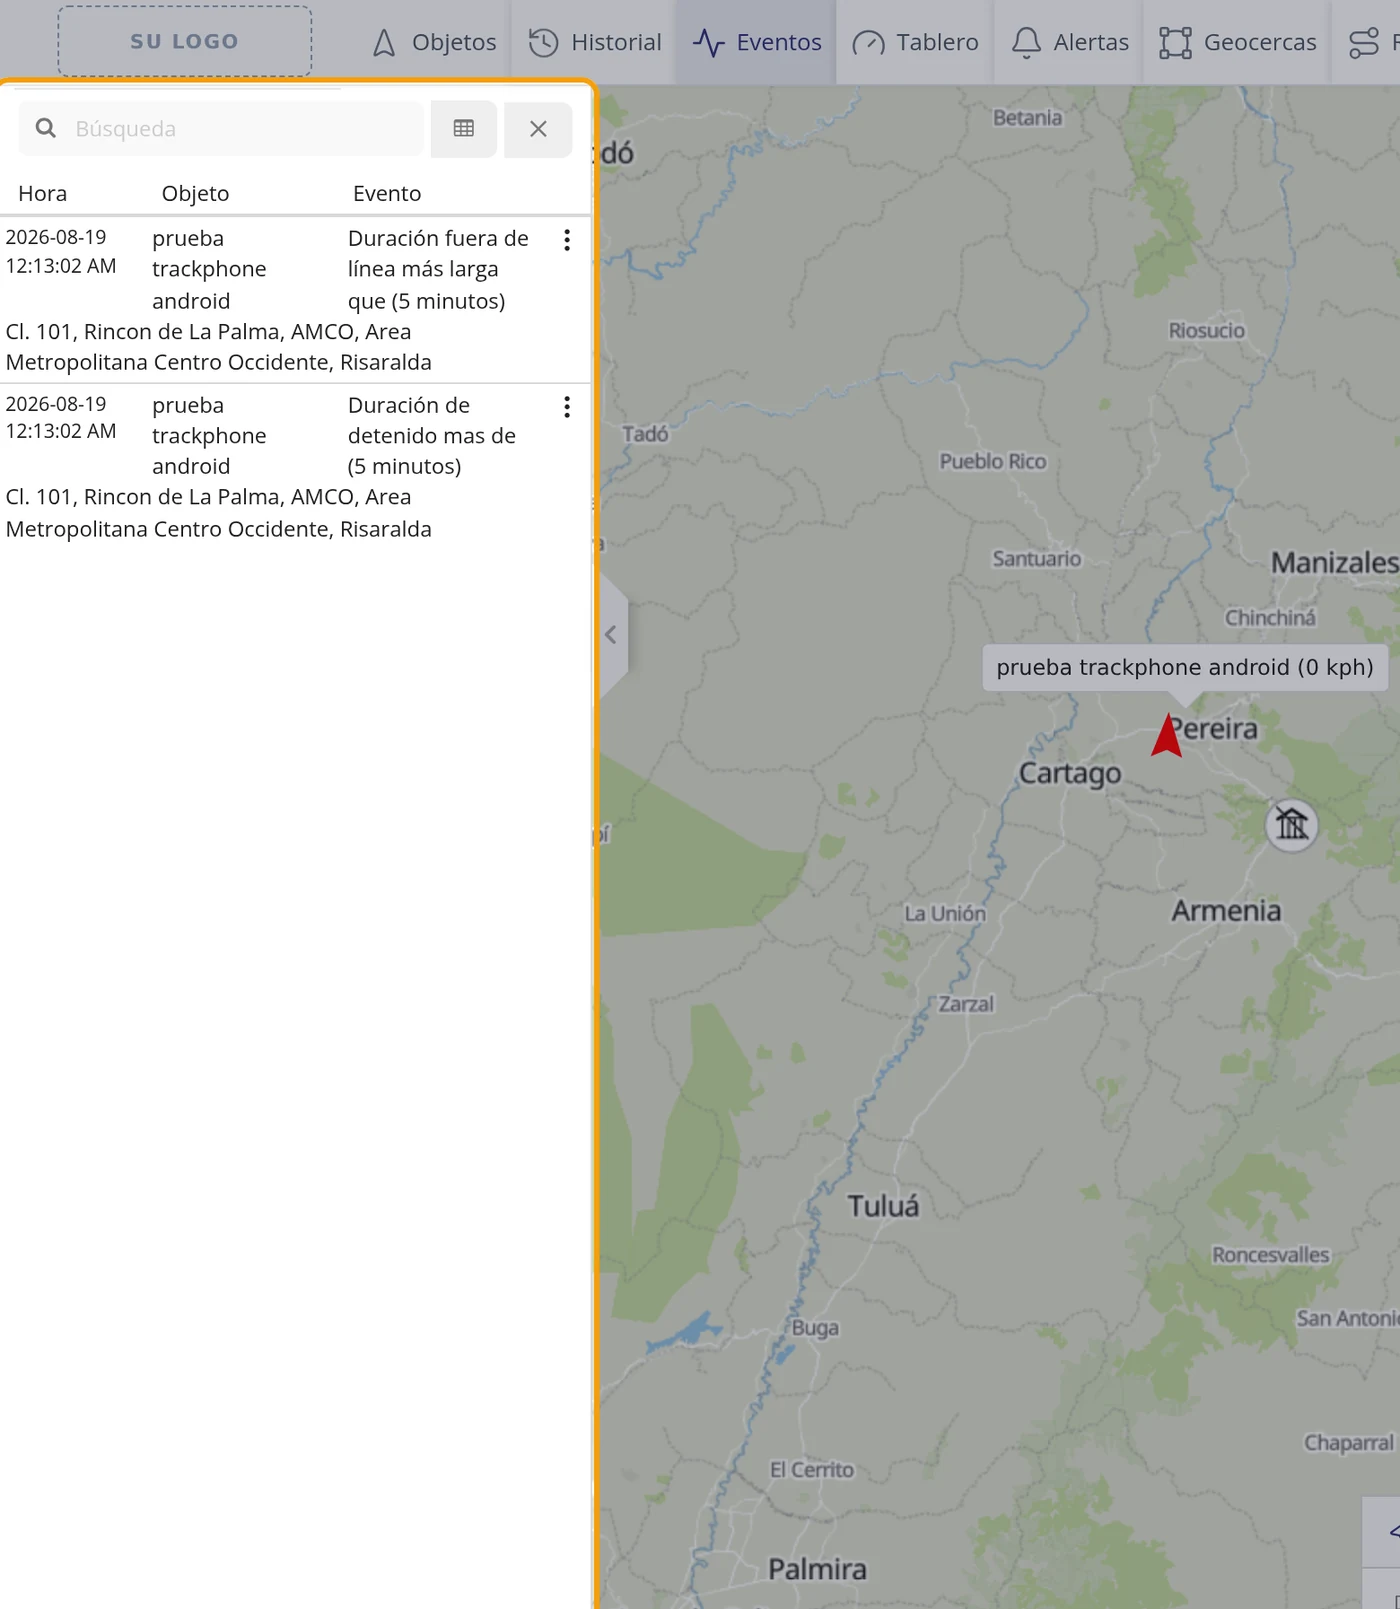
-
Read the three columns
The list has three columns: Time (the date and below the time it happened), Object (the vehicle) and Event (what happened, for example Stopped duration more than (5 minutes)). Below each line, in smaller type, the street address where it happened also appears.
CarefulThe time you see is your country's, the one set in your account, not the server's. An event at eleven at night may be stored with the next day's date when searching by date in the large window of step 8.
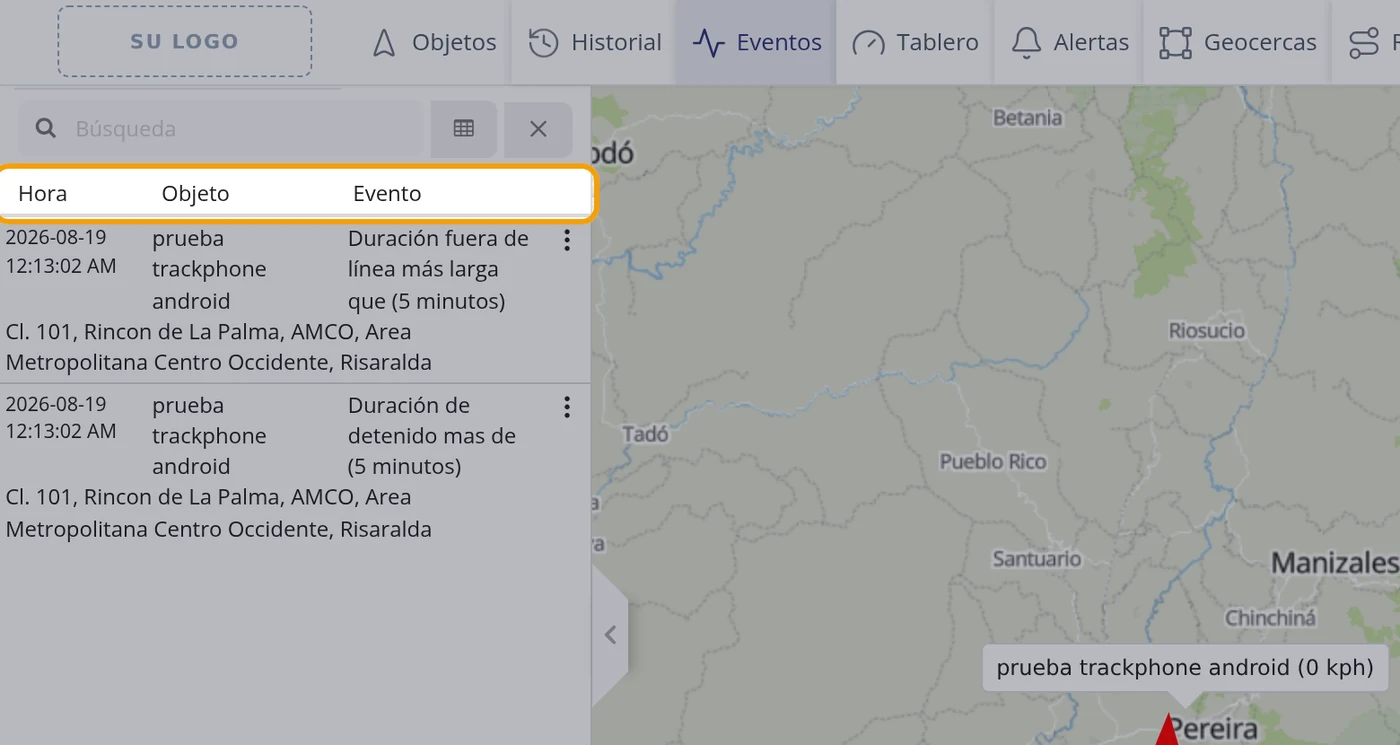
-
Click a line to see where it happened
Clicking a line, the map jumps to the place and a bubble opens with the vehicle name, the Address, a Street view link, the Latitude, the Longitude, the Altitude, the Speed and the exact Time of the event.
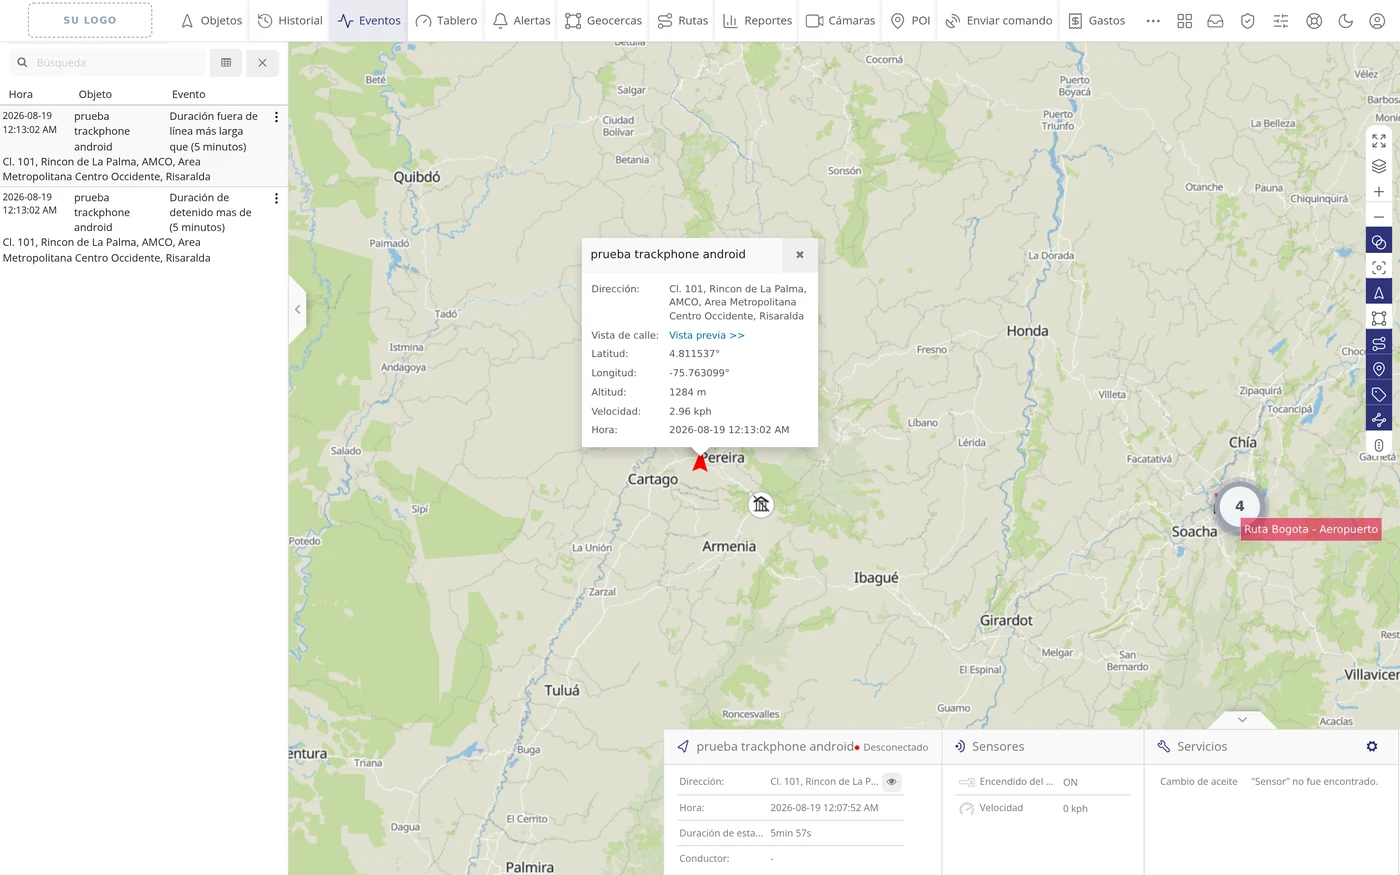
-
Type in the Search field to filter
The field at the top filters the list as you type. It searches by vehicle name and by the event text.
CarefulThis field does NOT search by date. If you type a date here it will filter nothing, because it only looks at the vehicle name and the warning text. For the date use the large window of step 8.
-
Filter by vehicle
Type the vehicle name, for example prueba trackphone android, and the list is left with only that vehicle's events. It happens by itself, without pressing any button.
-
Learn to recognise when there is nothing
If you type something that does not exist, the list goes blank. Delete what you typed and all the events come back.
CarefulWhen there is nothing to show, the panel gives no notice: it just stays empty, with no message saying there are no events. It looks as if it were still loading. It is a fault of the program, not yours.
-
Open the full list with the first little button
The button to the right of the search field opens a large window over the map titled Events, with the same information laid out as a table and with more tools.
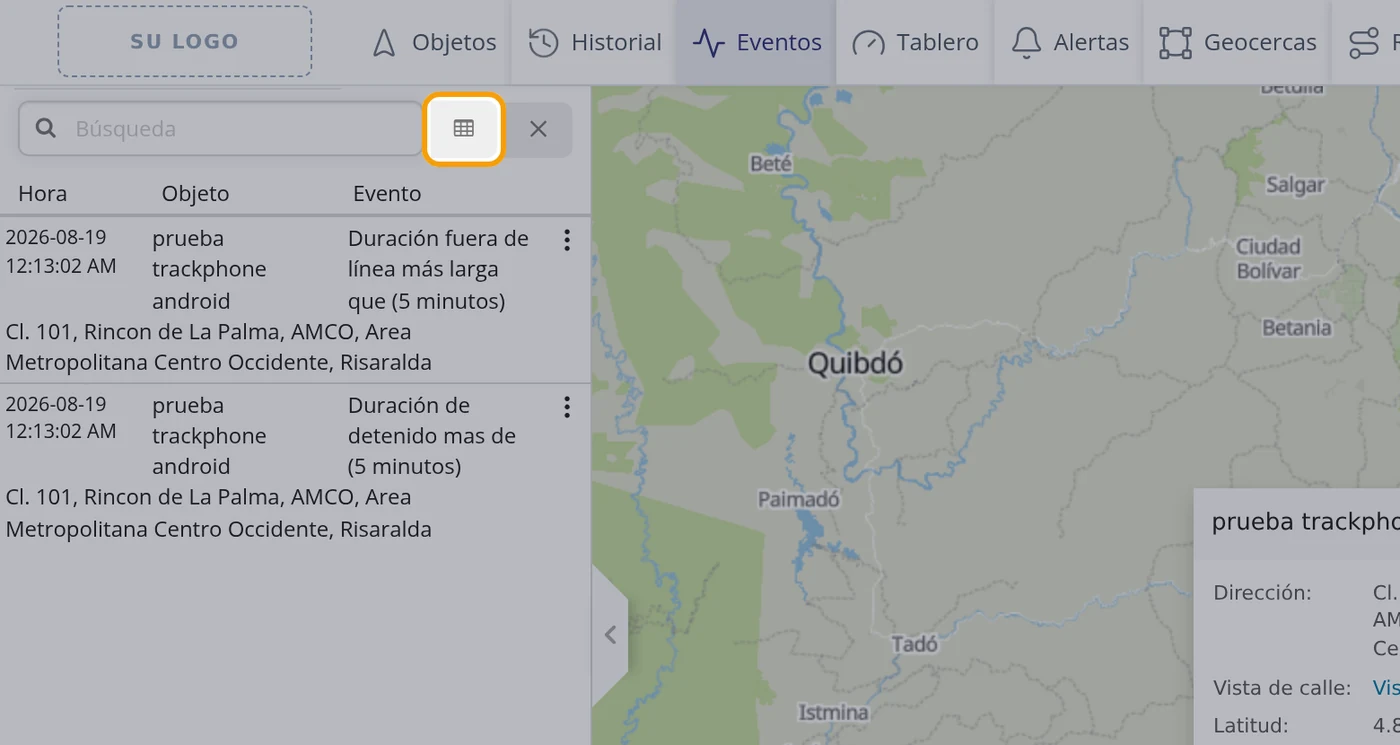
-
Read the table of the large window
It has four columns: Time, Device, Type and Message. Clicking a column name sorts the list by it. At the bottom left is the number of lines per page and at the bottom right the page buttons.
CarefulThe Type column comes untranslated: it says stop_duration or offline_duration instead of the name in your language. The Message column does come translated and says the same thing.
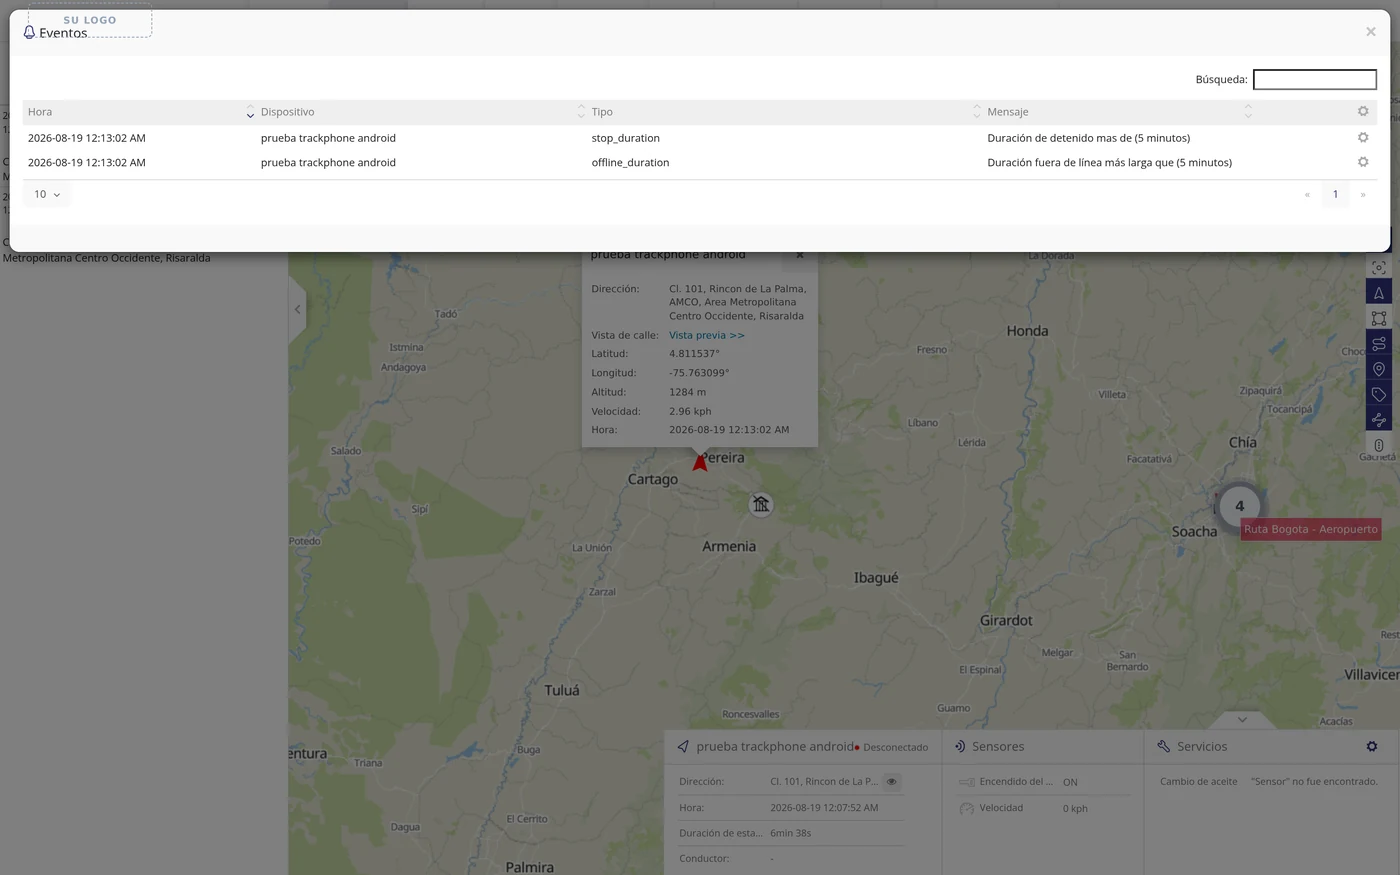
-
Use the window search box
At the top right there is a field saying Search:. It filters the whole table as you type.
-
Filter by date
Type the date in year-month-day format, for example 2026-08-19, and the table is left with only that day's events. For a whole month type just 2026-08.
CarefulThis is the closest thing to a date filter this screen has: there is NO From and To calendar here. If you need a real date range, with its From and its To, it has to be produced through Reports.
-
Check what happens if that date has nothing
If you type a date on which nothing happened, the table is left with a single notice line.
CarefulThat notice comes out in English: No matching records found. It is a defect of the screen, not a mistake of yours.
-
Change how many lines you see at once
At the bottom left of the window there is a dropdown starting at 10. You can choose 10, 25, 50, 100, 500 or 1000 lines per page.
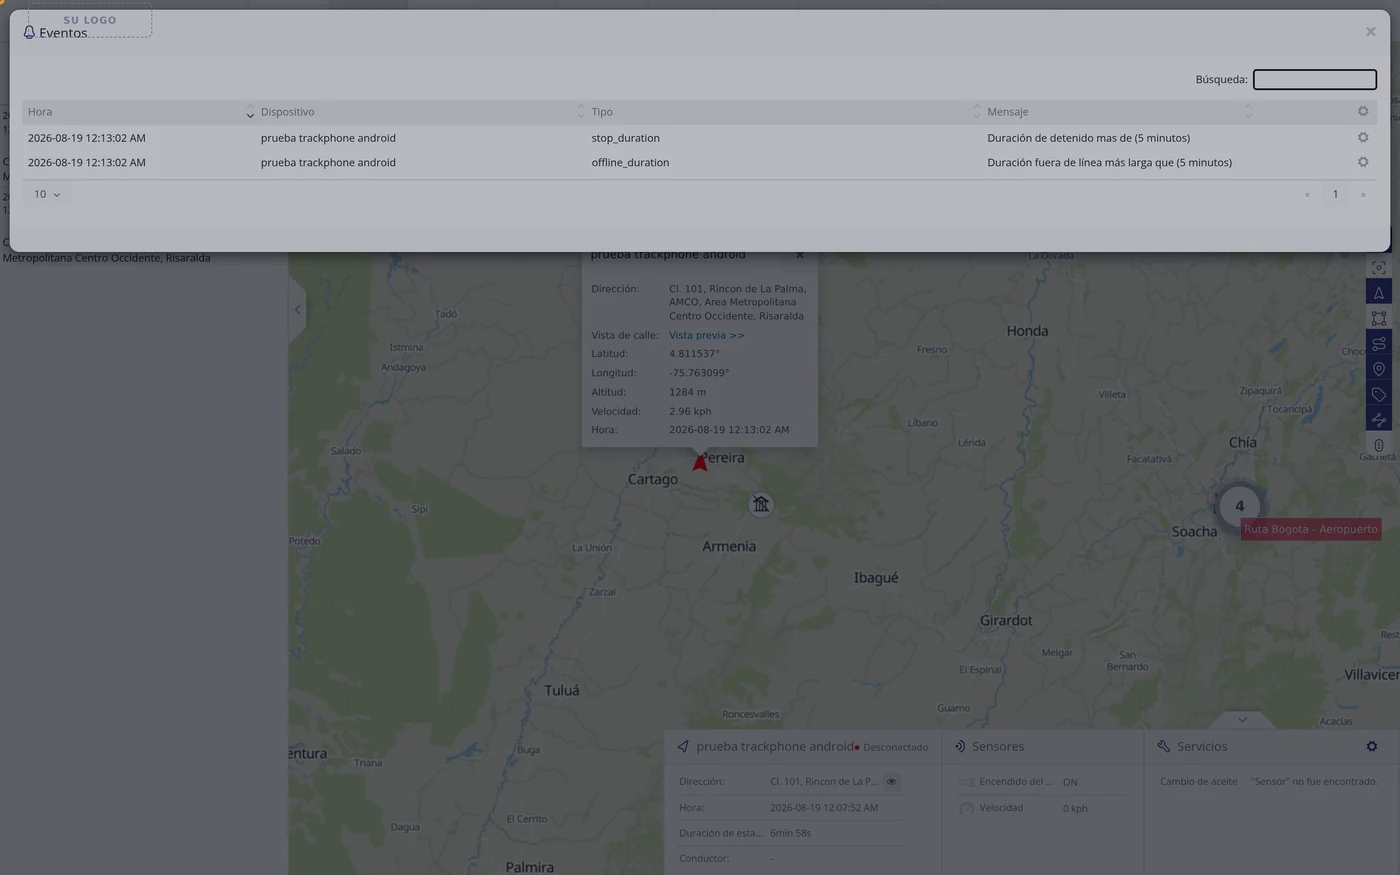
-
Open the corner button of the table
In the right corner of the table title row there is a little button. Clicking it unfolds a short menu.
-
Download the list or change the columns
The menu has four things: Options, CSV, Excel and PDF. The last three download the list exactly as you have it filtered at that moment.
CarefulIt downloads what is filtered, not everything. If you left a search set, the file comes out with that search applied.
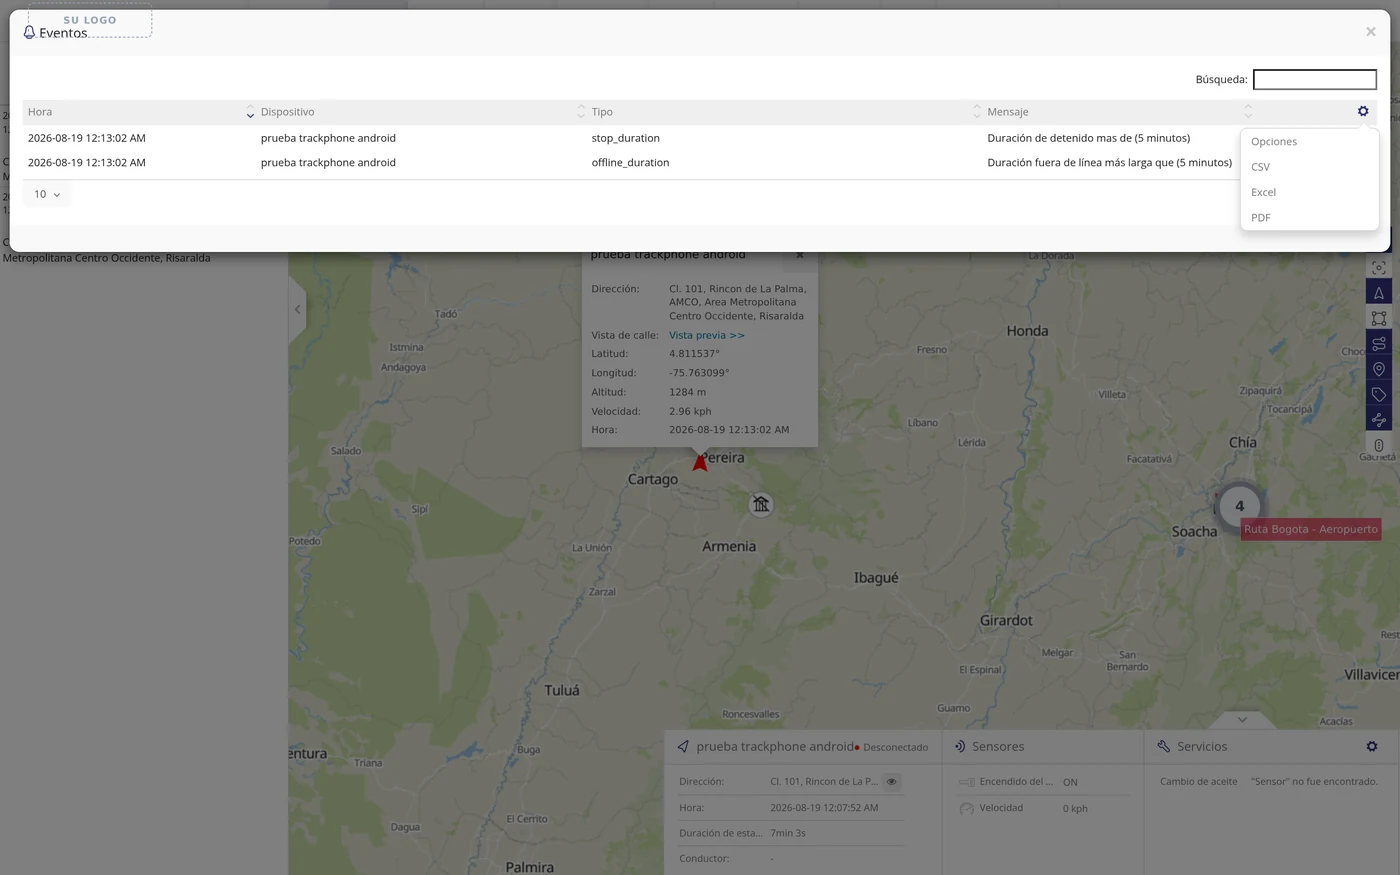
-
Choose which columns you want to see
Clicking Options opens a window with the Columns*: field and the list of available columns. By default Time, Device, Type and Message come ticked, and you can add Alert, Address, Position and Speed. There are two shortcuts, Select all and Deselect all, and at the bottom the Save and Cancel buttons.
CarefulIn that list a column called ID CARD appears. It has nothing to do with identity documents: it is the internal number of the event, badly translated from English. There is no point ticking it.
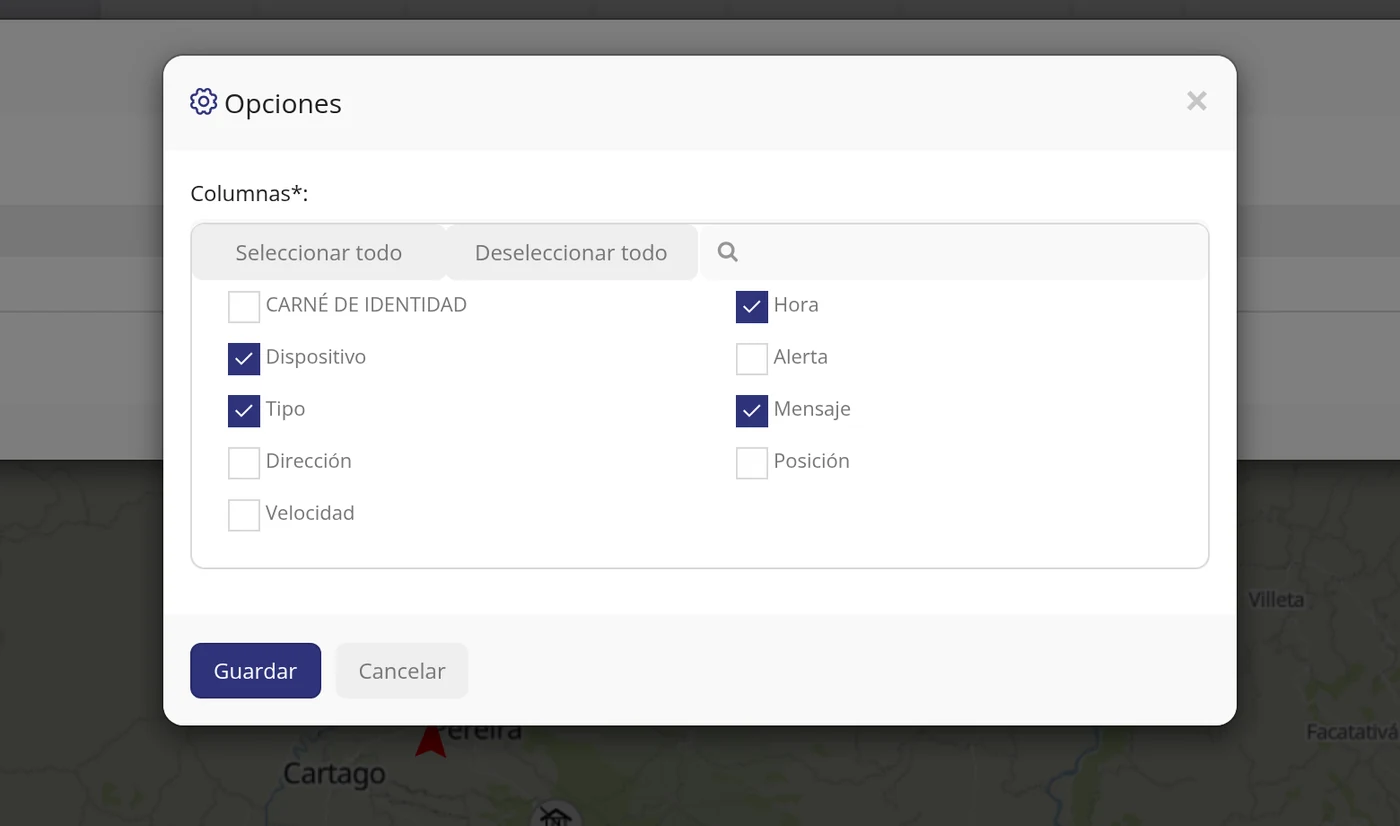
-
Open the menu of a line to delete it
Go back to the list on the left. Each line has a three dots button on its right.
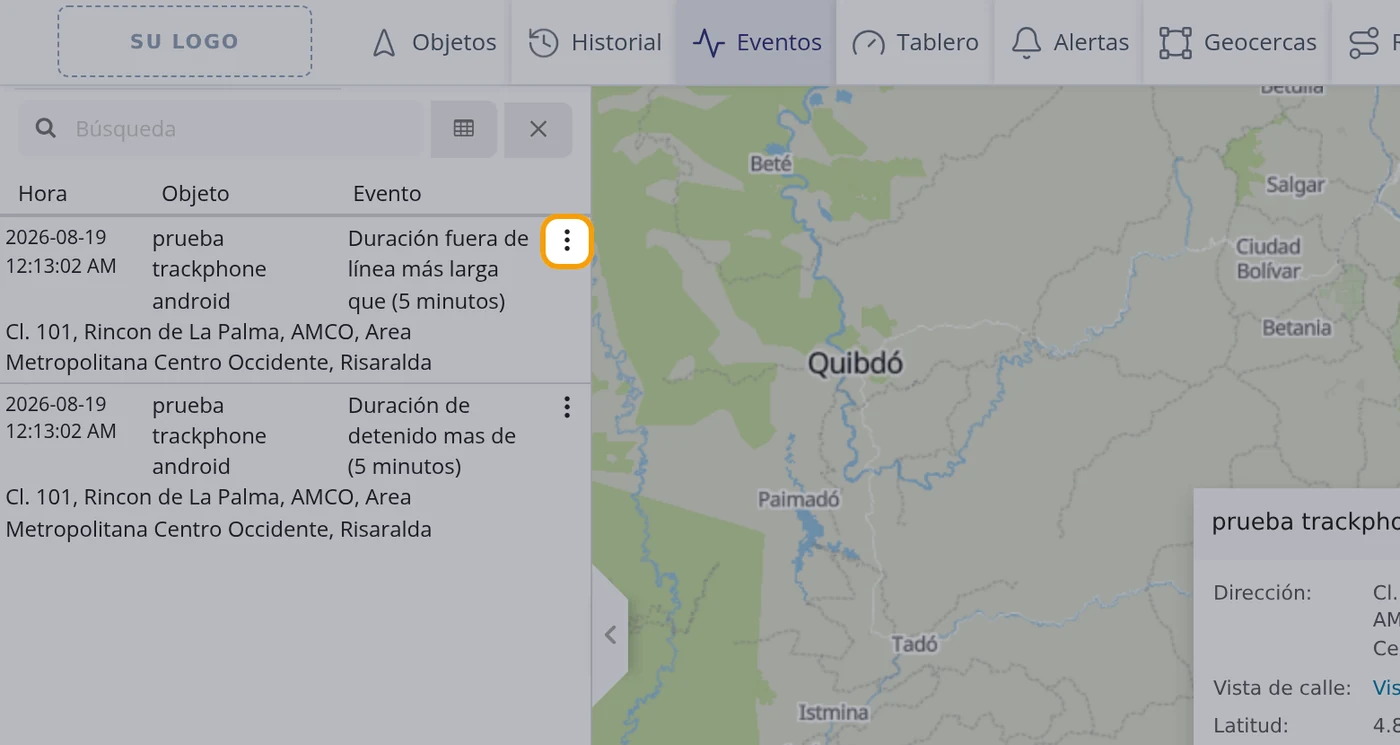
-
Choose Delete
The menu offers two things: Alert, which opens the alert that caused that event in case you want to change it, and Delete, which removes that line.
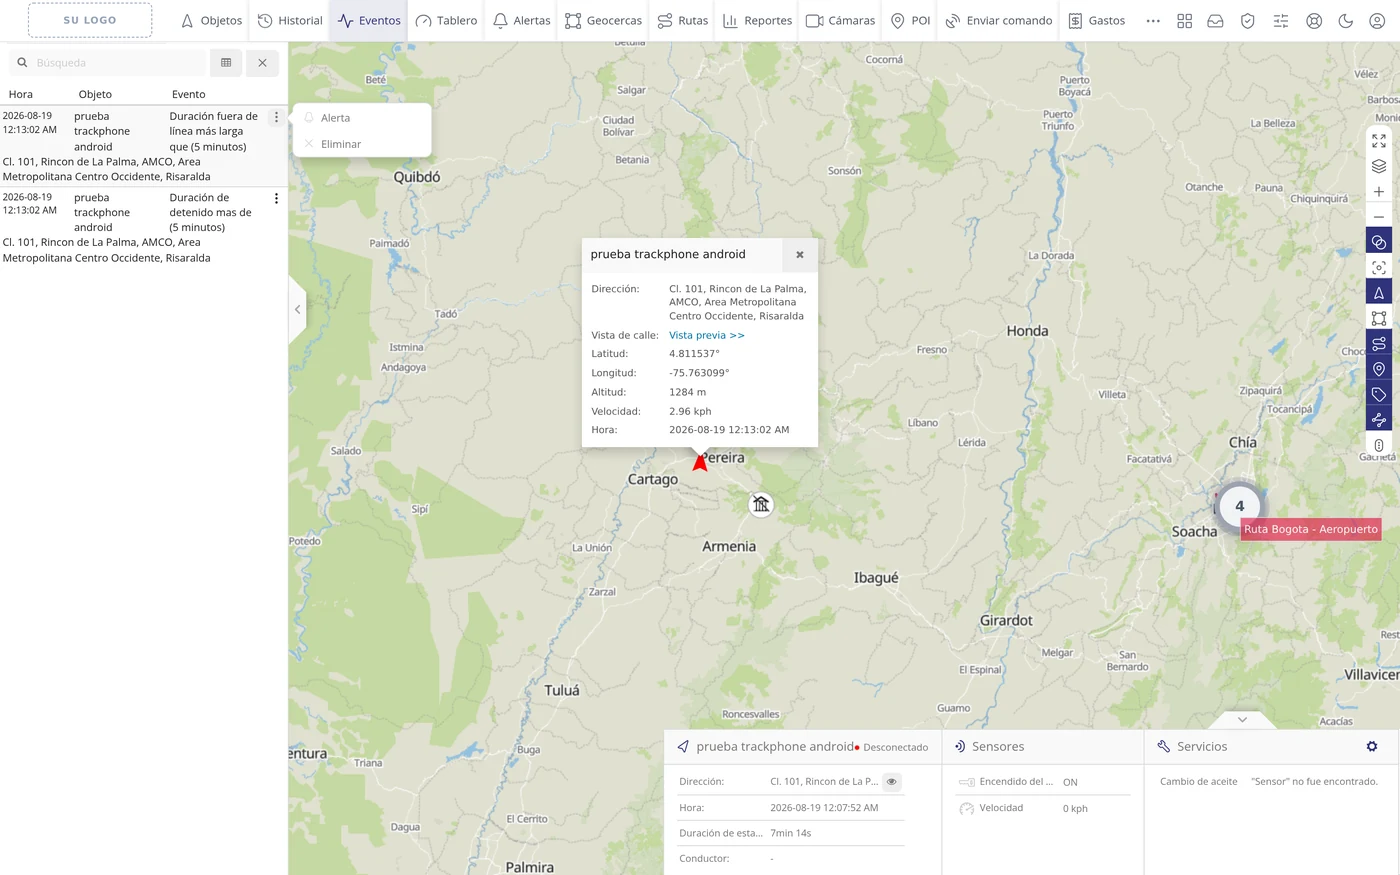
-
Confirm the deletion of that line
A window titled Delete opens asking Are you sure you want to delete it? with the Yes and No buttons. Click Yes.
CarefulThe button says Si without the accent in Spanish; it should say Sí. And there is no way to undo it afterwards.
-
See that the line is gone
The list reloads by itself and that line disappears. The others stay as they were.
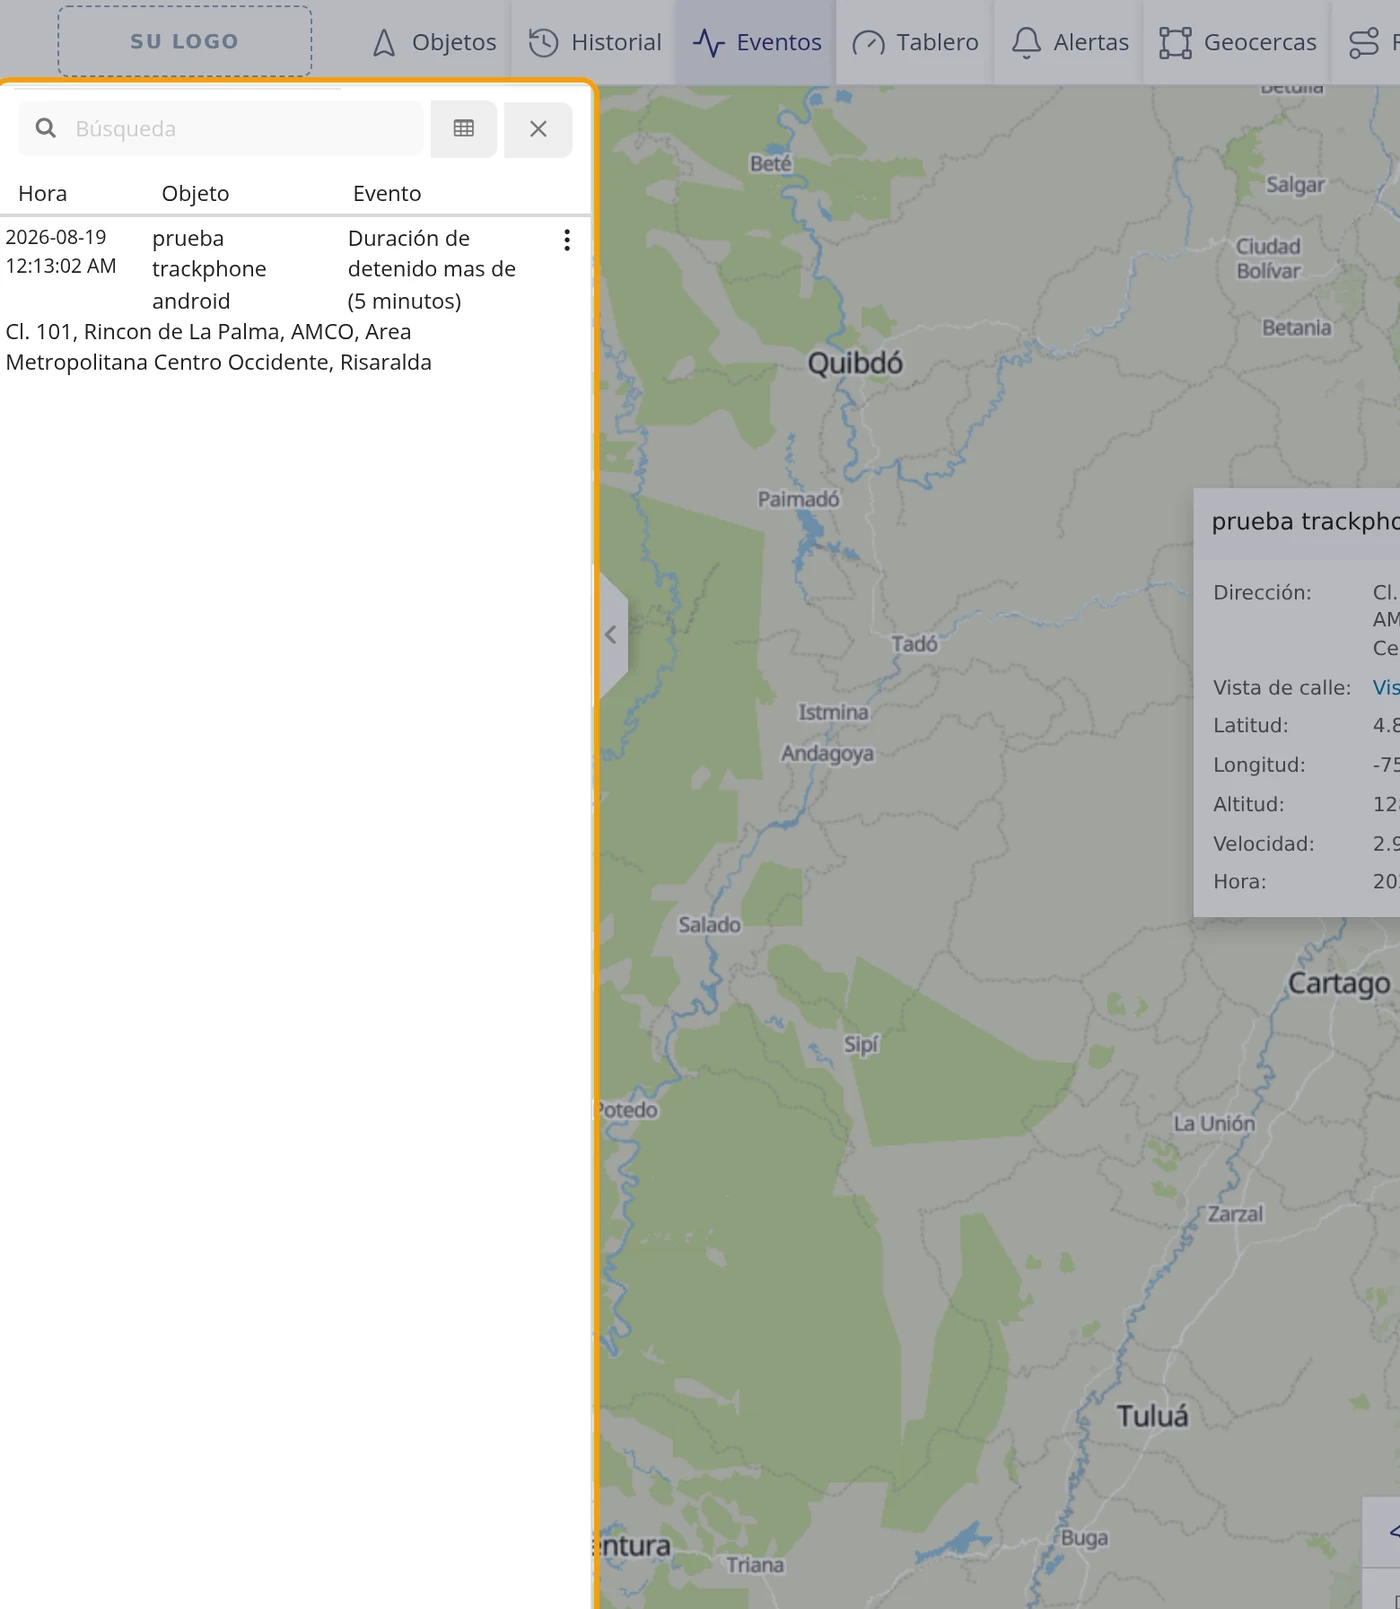
-
Empty the whole list (carefully)
The second little button at the top, the one next to the search field, deletes ALL your events at once.
CarefulThis is the dangerous button of the screen and it sits right next to the search one, with a shape that looks like a close cross. It deletes everything of yours, not just what you have filtered in the list.
-
Confirm that you want to empty it
The Delete window opens with the notice Are you sure you want to delete all your events? All the data will be lost. and the Yes and No buttons.
CarefulBefore clicking Yes, download whatever you need to keep from the menu of step 15. Afterwards there is no way to recover it.
-
Check that it is empty
The list reloads and no line is left; only the column titles stay.
CarefulHere too no message appears saying there are no events: the list just goes blank.
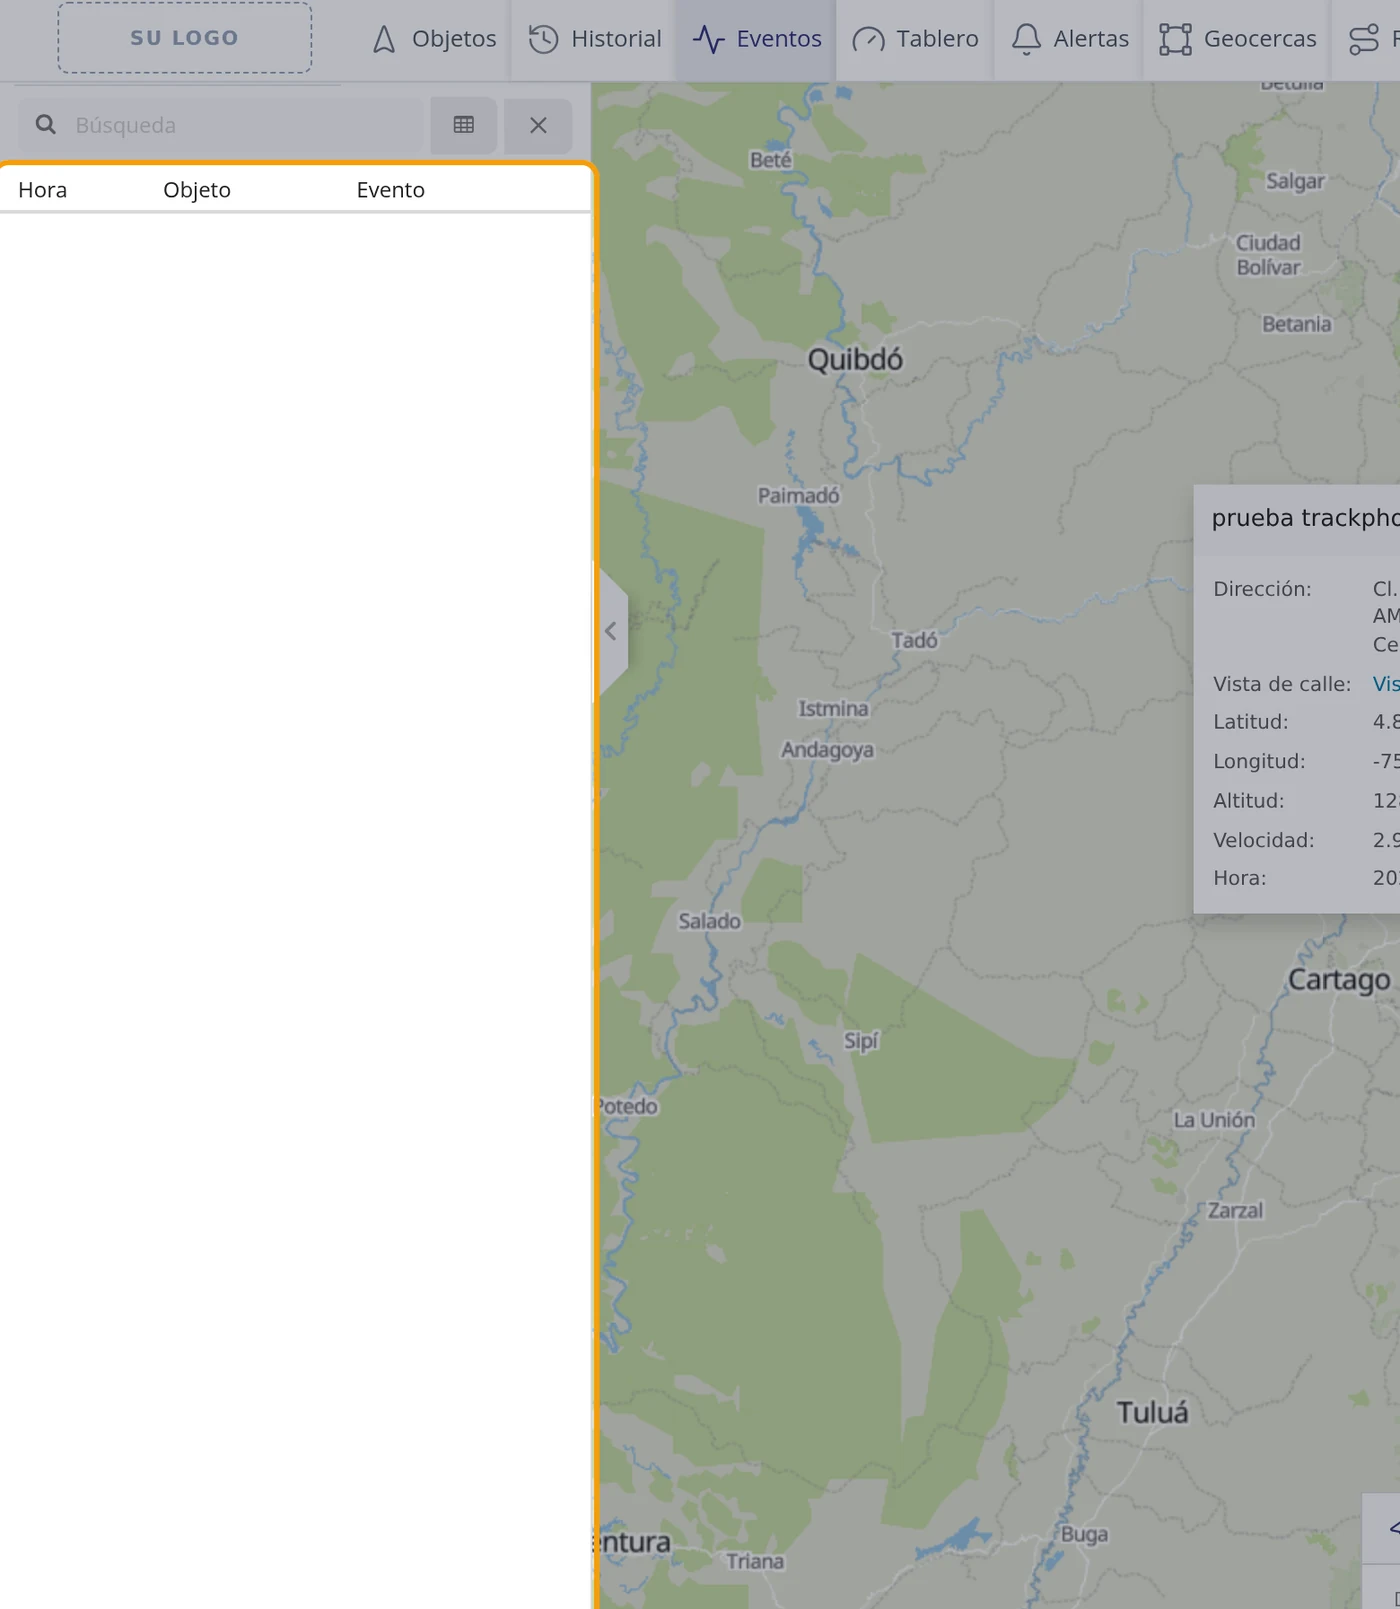
What each field asks for
| As it appears on screen | What it is | |
|---|---|---|
| The «Search» field | The field in the left panel. It filters by vehicle name and by the event text. It does not filter by date. It can be left empty. | Can be left empty |
| The «Time» column | When it happened, with the date and the time below, in your country time. It can be left empty. | Can be left empty |
| The «Object» column | The vehicle it happened to. In the large window this same column is called Device. It can be left empty. | Can be left empty |
| The «Event» column | What happened, written in plain words. In the large window it is called Message. It can be left empty. | Can be left empty |
| The «Type» column | Only in the large window. It is the kind of warning, written in code and in English. It can be left empty. | Can be left empty |
| The «Search:» field | The field of the large window. This one does also filter by date if you type it as year-month-day. It can be left empty. | Can be left empty |
| The «Columns*:» field | Inside Options. It ticks which columns are shown in the large window. It is required. | Required |
How to know it worked
Open the list and look at the first line: it has to match the last warning that fired for you. To make sure, type the name of one of your vehicles in the search box: if the list is left with only that vehicle's events, the screen is working.
What next
If what you need is a list by dates to keep or send, produce the events report from Reports. And if a warning fires too much or never fires, the fix is not here but in Top bar > Alerts.
How to read the summary Dashboard
The Dashboard is the quick picture of your whole fleet on a single screen: how many vehicles you have, how many are connected right now, how many times each warning went off and how many kilometres each vehicle did in the last few days. It is for starting the day knowing where to look, without going vehicle by vehicle. Where it is: Top bar > Dashboard
Where it is Top bar > Dashboard
Before you start
- Nothing needs preparing or creating. The Dashboard only looks at what is already stored.
- The figures come from your vehicles and your notices. If you have just opened the account and there are no tracks or notices yet, almost everything will come up as zero.
-
Click Dashboard in the top bar
It is the fourth button of the bar, after Events. It does not change page: a large window opens over the map.
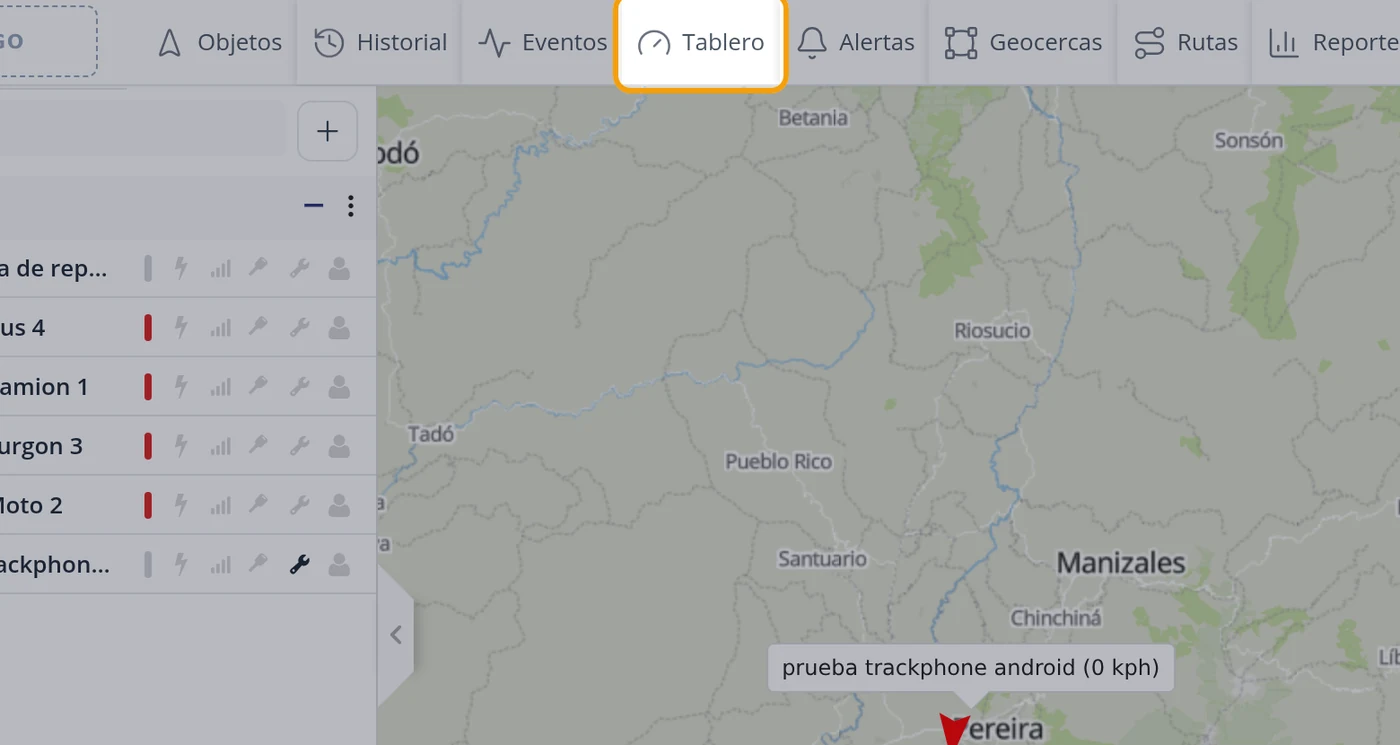
-
Recognise the window and its five boxes
At the top, four boxes in a row: Devices (percentages), Alert count, Devices and Tasks. Below, filling the whole width, Distance covered. At the top right is the cross to close.
CarefulThe boxes take a moment to fill: each one asks for its data separately. If you see a blank box, wait a few seconds before assuming it is empty.
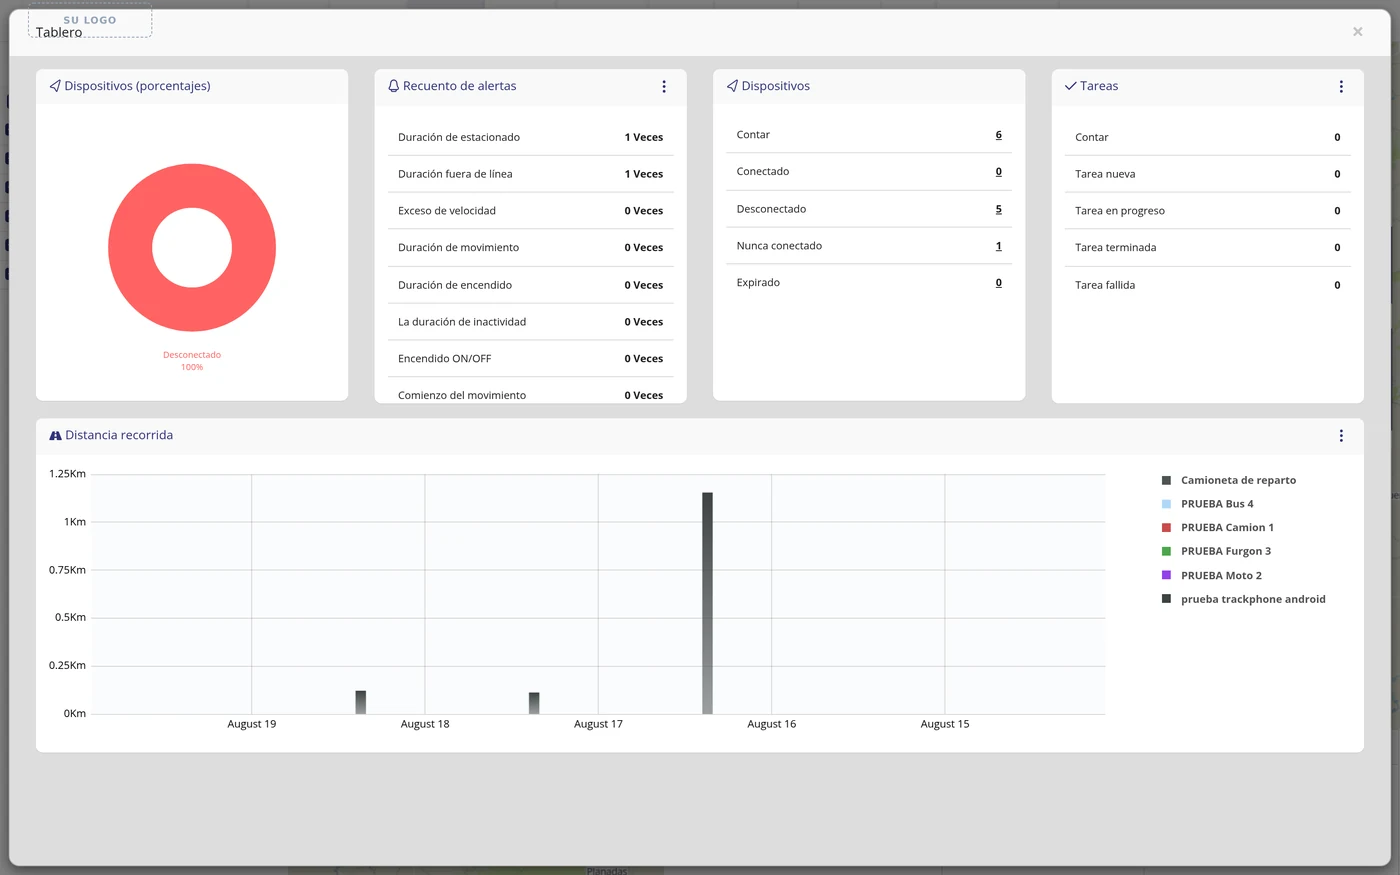
-
Look at the split between connected and disconnected
The Devices (percentages) box draws a wheel with two slices: Connected and Disconnected, as a percentage of your total vehicles. In the test it came out Disconnected 100%, because at that moment none had reported in the last five minutes.
CarefulA vehicle counts as connected only if it sent a position in the last 5 minutes. A device reporting every 10 minutes appears as disconnected most of the time, even though it is working perfectly.
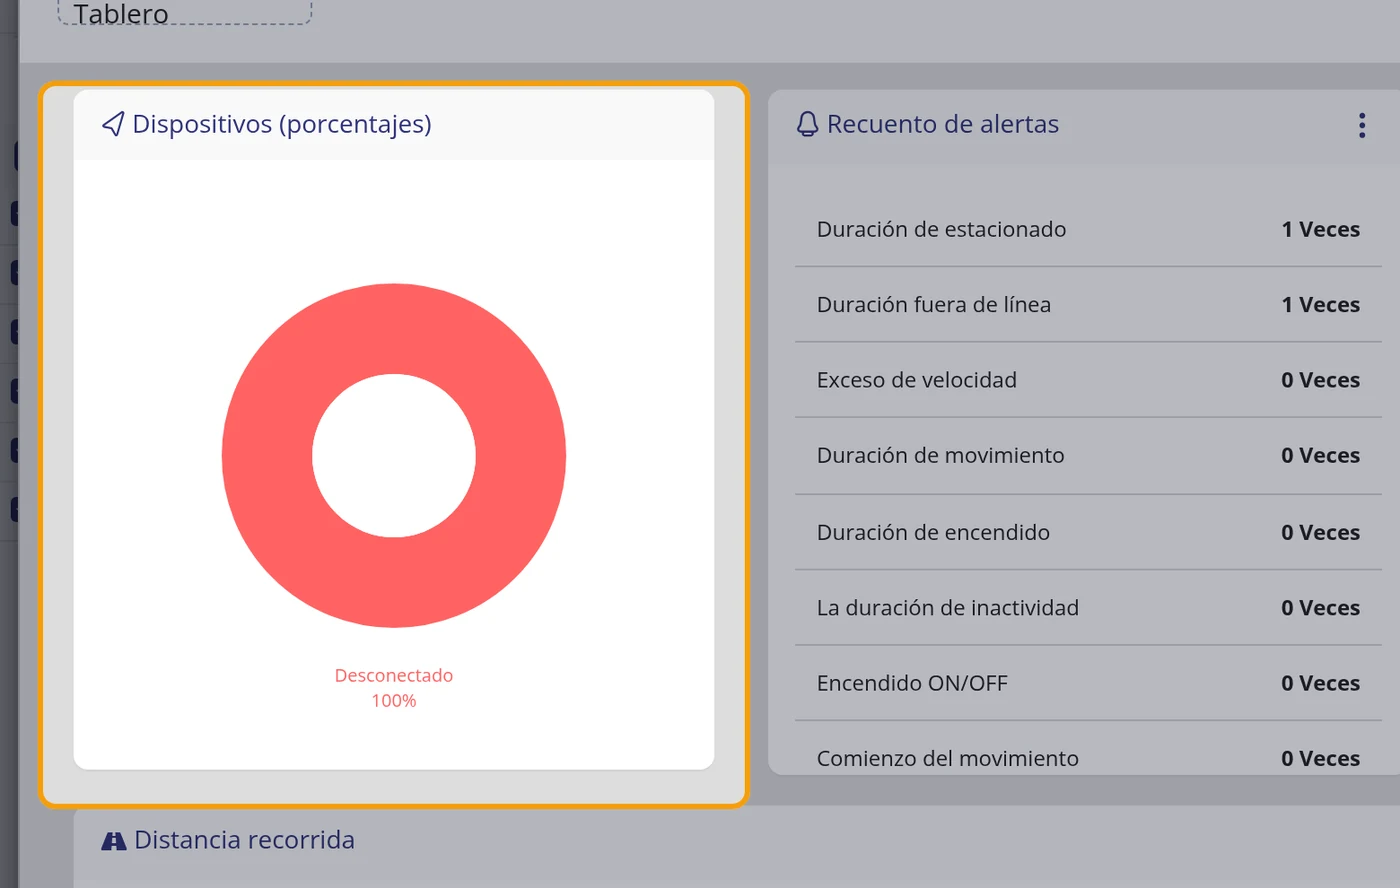
-
Count how many times each warning fired
The Alert count box lists every type of warning that exists and, next to each one, how many times it fired in the chosen period, with the word Times. The types that fired most appear at the top. In the test: Parking duration 1 Times and Offline duration 1 Times; the rest at zero.
CarefulThe list shows the twenty types even if they are all at zero, so you have to scroll down to see it all.
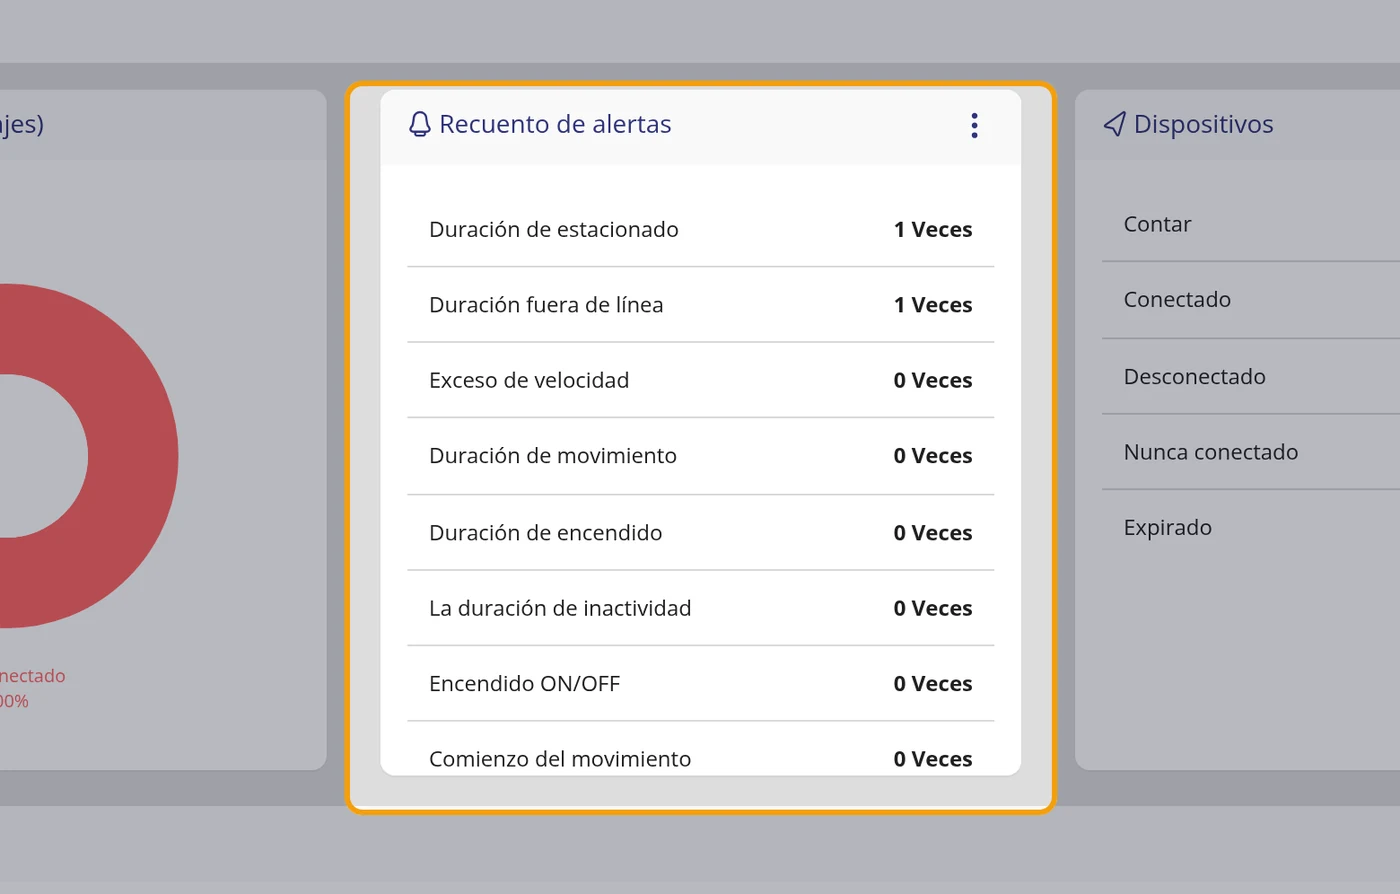
-
See the state of your fleet in numbers
The Devices box gives five figures: Count (the total vehicles), Connected, Disconnected, Never connected and Expired. In the test: 6, 0, 5, 1 and 0. Each figure is underlined because it is a link leading to the list of those particular vehicles, and that list opens in a new tab.
CarefulNever connected are the registered devices that never sent a single position. It is the figure to watch after installing new devices.
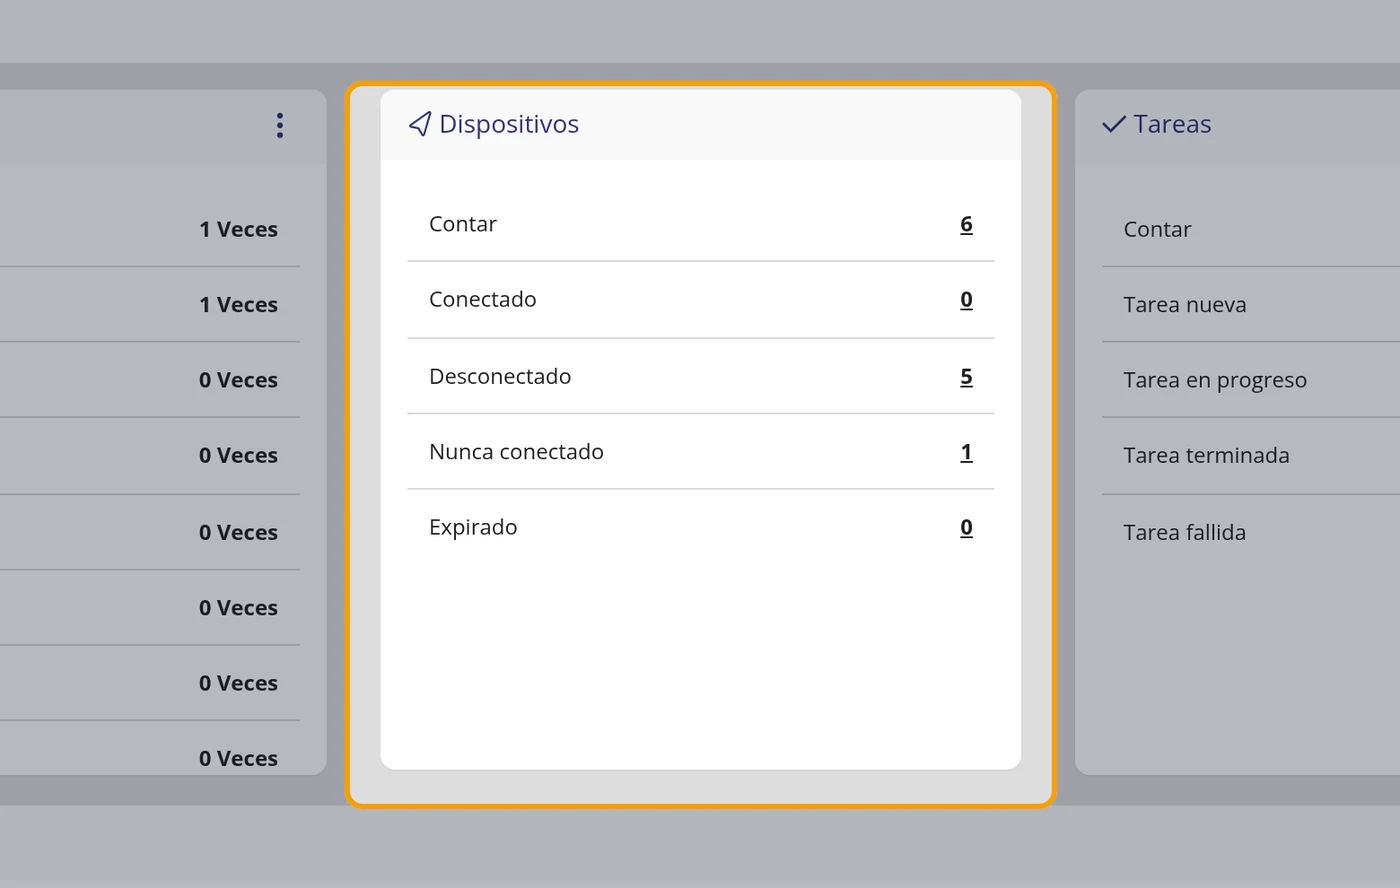
-
Check the tasks
The Tasks box counts how many tasks were created in the period and how they stand: New task, Task in progress, Task finished and Task failed. If there are any, the last five appear below with their state.
CarefulIf you do not use the tasks module, this box stays all at zero. It is not an error.
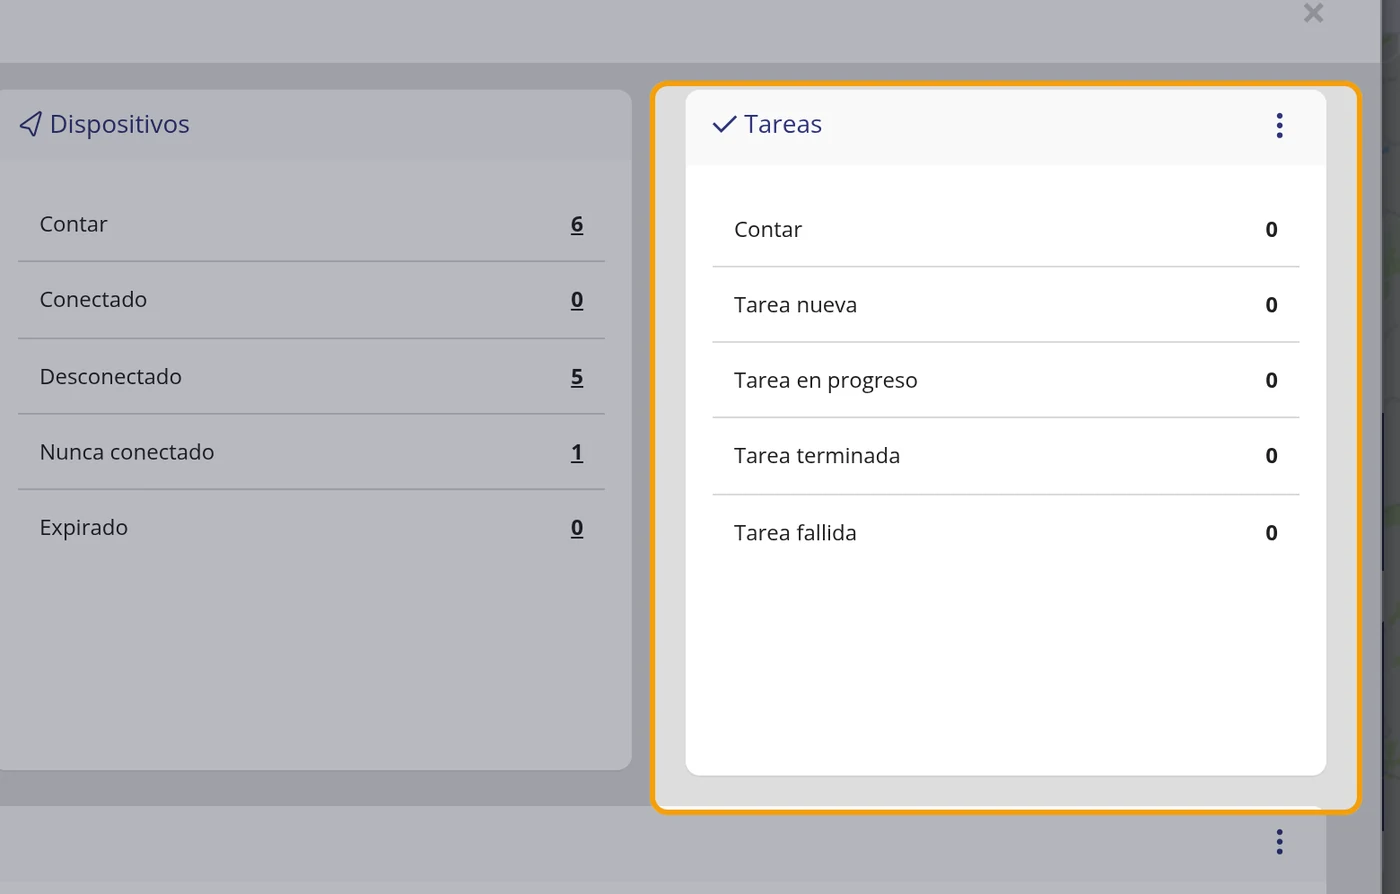
-
Compare the kilometres of each vehicle
The Distance covered box is a bar chart with five periods and one bar per vehicle in each period. The scale on the left is in kilometres and on the right is the legend with each vehicle colour.
CarefulThis chart shows at most 10 vehicles, the ten that have moved most recently. With a large fleet you will not see them all: that is what reports are for.
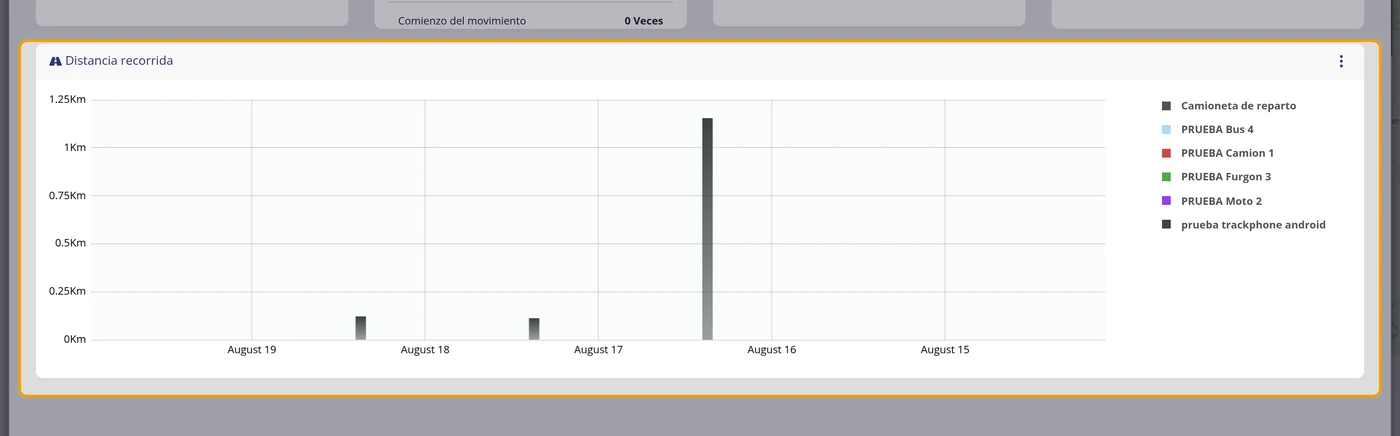
-
Open the box options
The Alert count, Tasks and Distance covered boxes have a three dots button at the top right. Clicking it opens a small box saying Options.
CarefulThe Devices (percentages) and Devices boxes do NOT have that button: they always show the picture of this moment and their period cannot be changed.
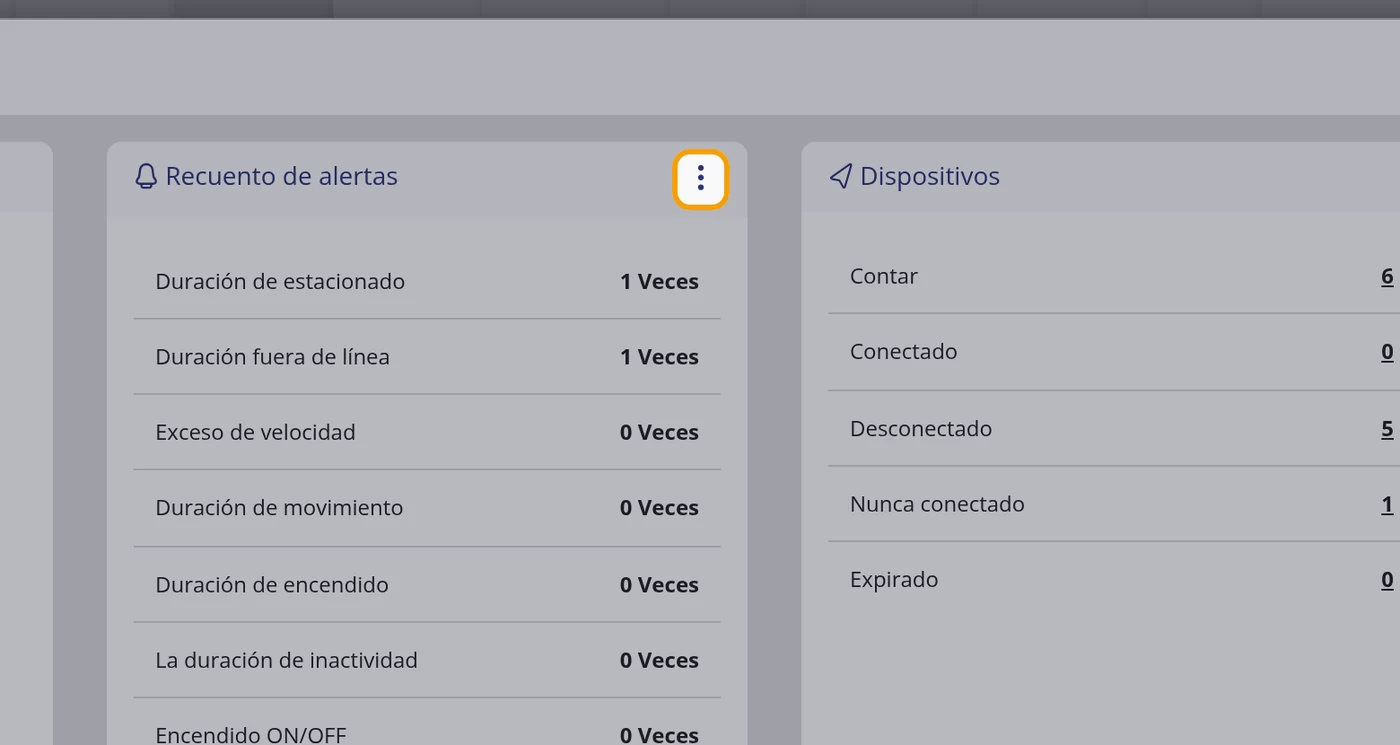
-
Choose the time period
Below Options appears Time period with three radio buttons: Day, Week and Month. By default Day is ticked, which means the last twenty-four hours.
CarefulIn the Distance covered box there are only two options, Day and Week. Month does not exist there.
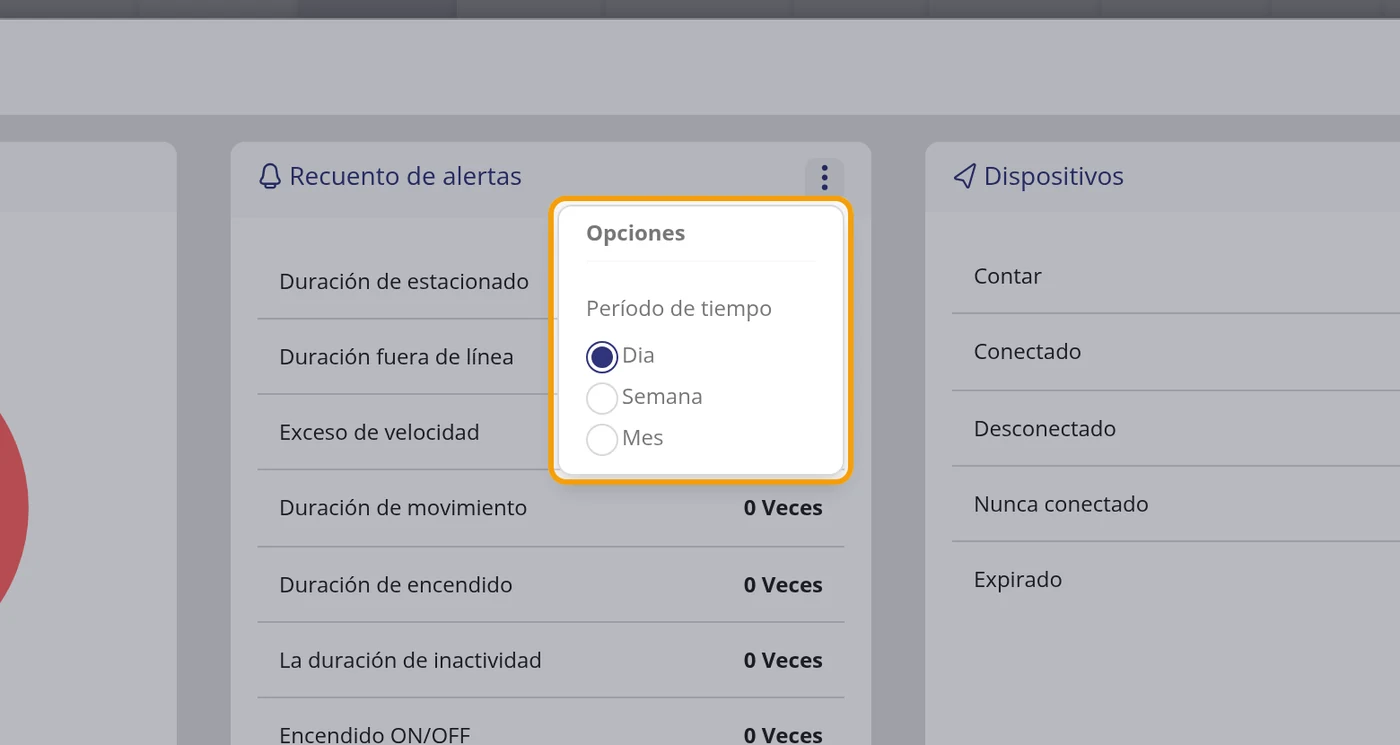
-
Tick the new period and see it recalculate
On ticking the radio button, the box loads for a moment and comes back with the numbers of the new period. There is no save button to press: it is stored by itself, and the next time you open the Dashboard it will still be as you left it.
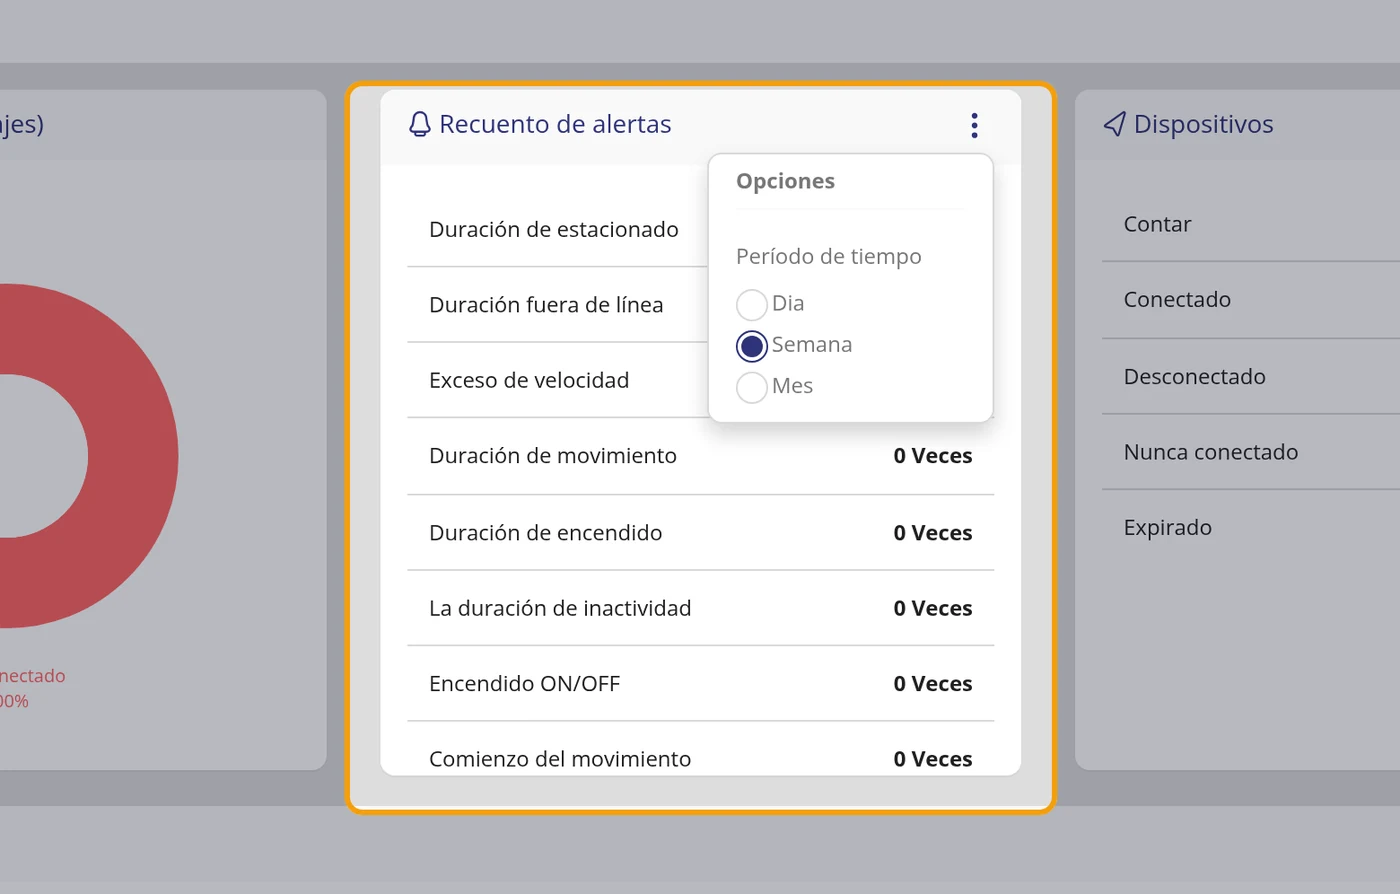
-
Close the Dashboard
Click the cross at the top right and you go back to the map just as you left it.
What each field asks for
| As it appears on screen | What it is | |
|---|---|---|
| The «Time period» field | How far back the box looks. Day is the last twenty-four hours, Week the last seven days and Month the last month. It can be left empty. | Can be left empty |
| The «Count» field | It is the total. In the Devices box, the total vehicles in the account; in Tasks, the total tasks in the period. It can be left empty. | Can be left empty |
| The «Connected» field | Vehicles that sent a position in the last five minutes. It can be left empty. | Can be left empty |
| The «Disconnected» field | Vehicles that have reported at some point, but have sent nothing for more than five minutes. It can be left empty. | Can be left empty |
| The «Never connected» field | Registered devices that have not sent a single position since they were created. It can be left empty. | Can be left empty |
| The «Expired» field | Vehicles whose expiry date has passed. The ones with no date set do not count here. It can be left empty. | Can be left empty |
| The «Times» field | How many times that kind of warning fired within the chosen period. It can be left empty. | Can be left empty |
How to know it worked
Compare the Count figure of the Devices box with the vehicles you get in the Objects tab: it has to be the same number. And click any of the underlined figures: the list of those vehicles opens and you can count them one by one.
What next
The Dashboard is for spotting the problem, not for investigating it. When a figure catches your eye, carry on with Events if you want to see what happened, or with Reports if you need the figures in writing.
How to run a report
A report is a written summary of what a vehicle did between two dates: how many kilometres it covered, when it was stopped, where and for how long, and how fast it went. It is used to review the day's work, to charge by route or to settle an argument about where the car was. On this platform reports are called Reports: it is the same thing, so on the screen look for the word Reports. Where it is: Top bar > Reports (a window opens over the map, not the left panel) > Main tab
Where it is Top bar > Reports (a window opens over the map, not the left-hand panel) > Main tab
Before you start
- Be clear which vehicle you want the report on and between which two dates.
- The vehicle has to have been sending its position on those dates. If the unit was off or without signal on those days, there is nothing to count.
- Nothing needs creating first. A report is produced directly.
-
Click Reports in the top bar
In the bar across the top of the screen, click where it says Reports.
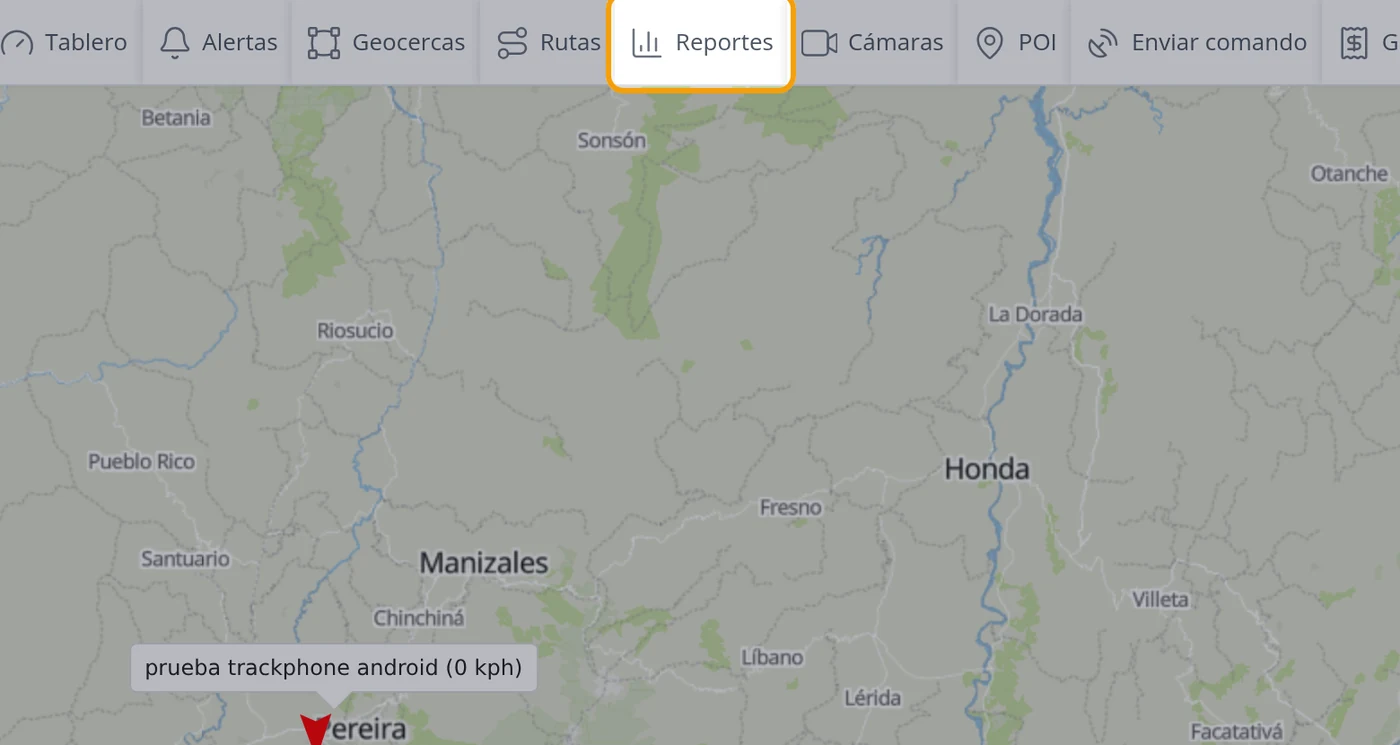
-
Look at the window that opens over the map
It does not change the left panel: a window opens in the centre of the screen, over the map, titled Reports. At the top it has three tabs: Main, Generated reports and Scheduled reports log. You work in Main, which is the one that opens. At the very bottom are the four buttons: Generate, Save, New and Cancel.
CarefulTo close the window there is the cross at the top right corner, or the Cancel button at the bottom.
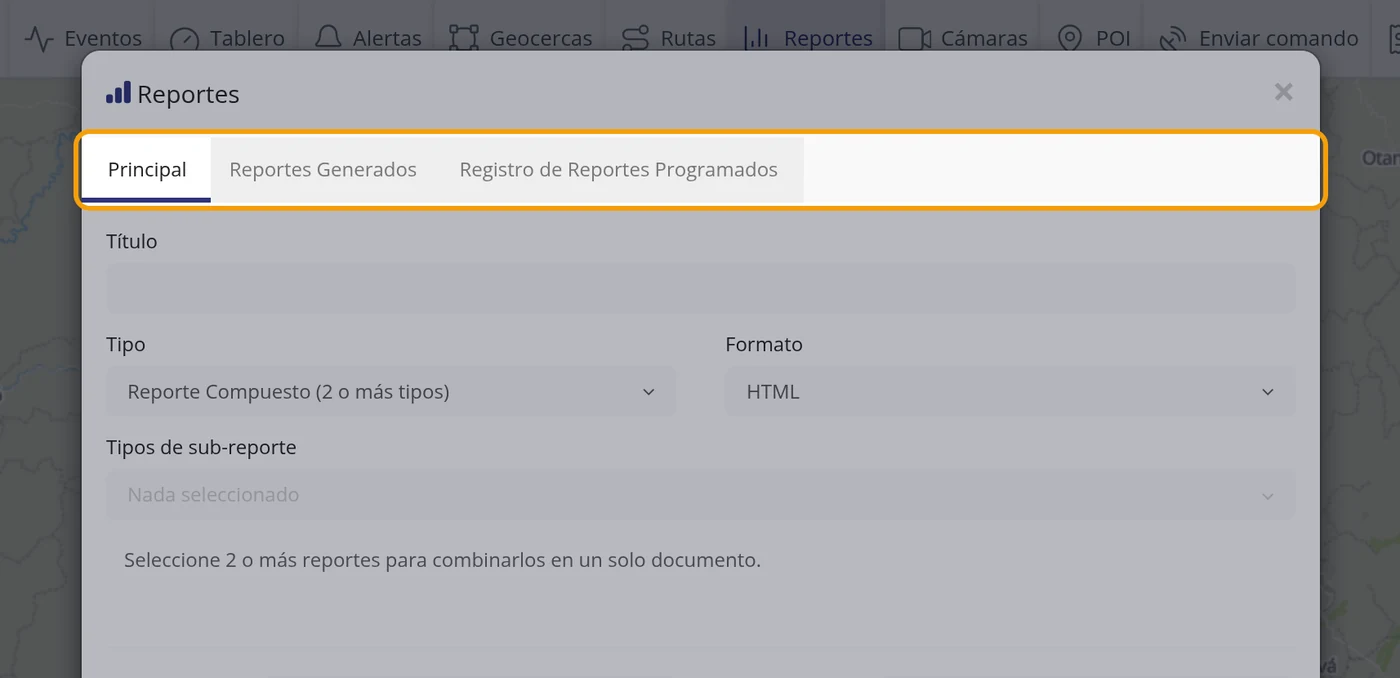
-
Type a Title
In the first field, Title, type a name you understand, for example August route. That name helps you recognise the report later.
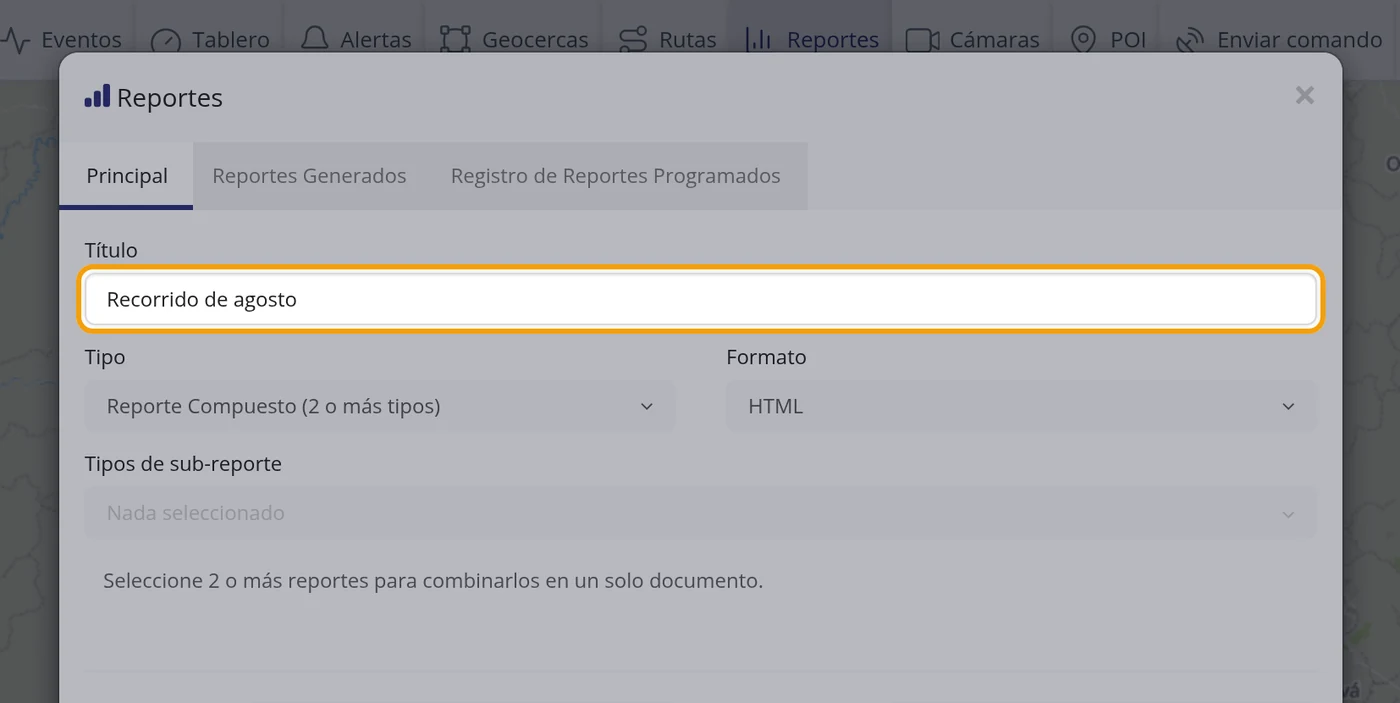
-
Open the Type dropdown and find the report you want
Below the title, on the left, is Type. Click it and a very long list unfolds: there are 76 different kinds of report. The list does not fit on the screen, so scroll with the mouse wheel. For kilometres and stops, the one that works is Trips and stops.
CarefulBy default it comes set to Composite report (2 or more types), which produces nothing on its own: that one is for joining two or more reports into one document and forces you to choose which in the Sub-report types field. If you do not change it, you will not get the kilometres report.
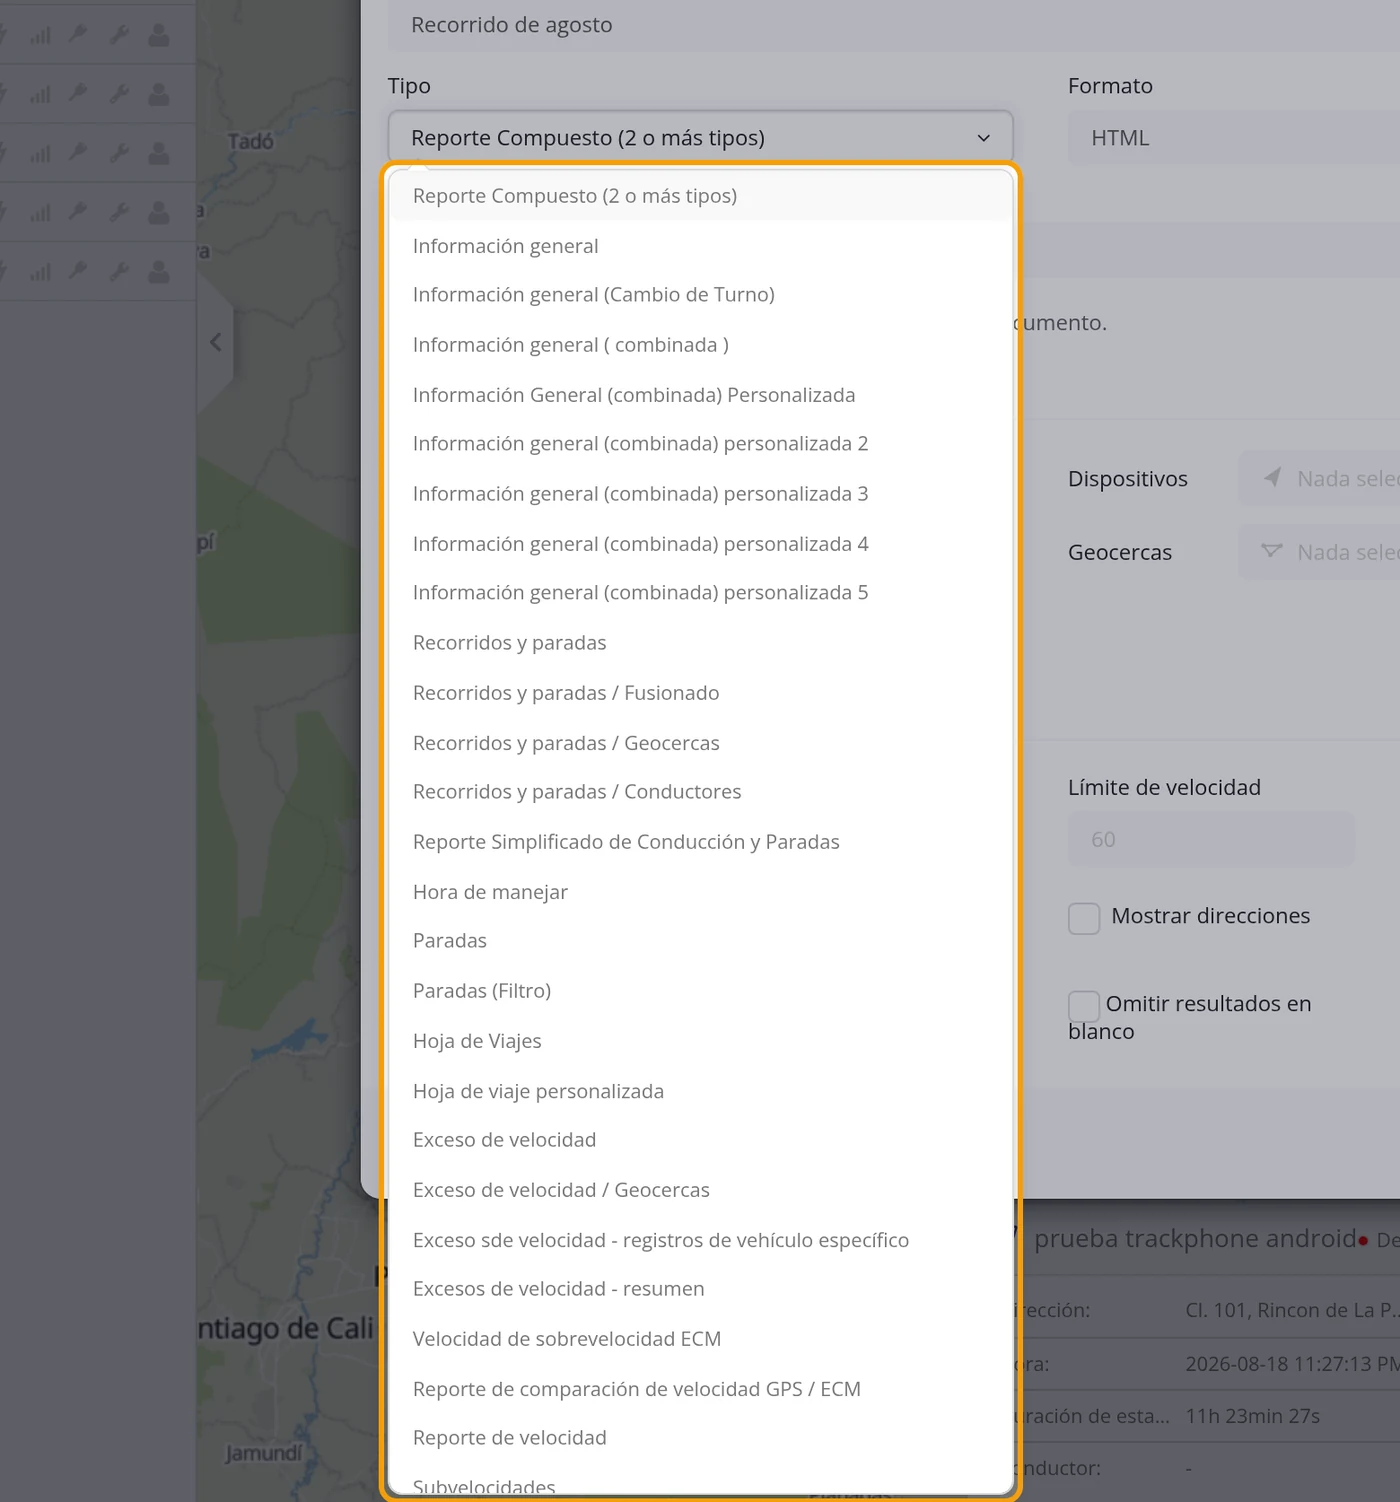
-
Choose Trips and stops
Click the line that says exactly Trips and stops. The list closes and the Type field now shows that name. The Sub-report types field also disappears, as it is no longer needed.
CarefulRight below there are very similar ones: Trips and stops / Merged, Trips and stops / Geofences and Trips and stops / Drivers. They are not the same. Choose the one that stands alone, with no slash or additions.
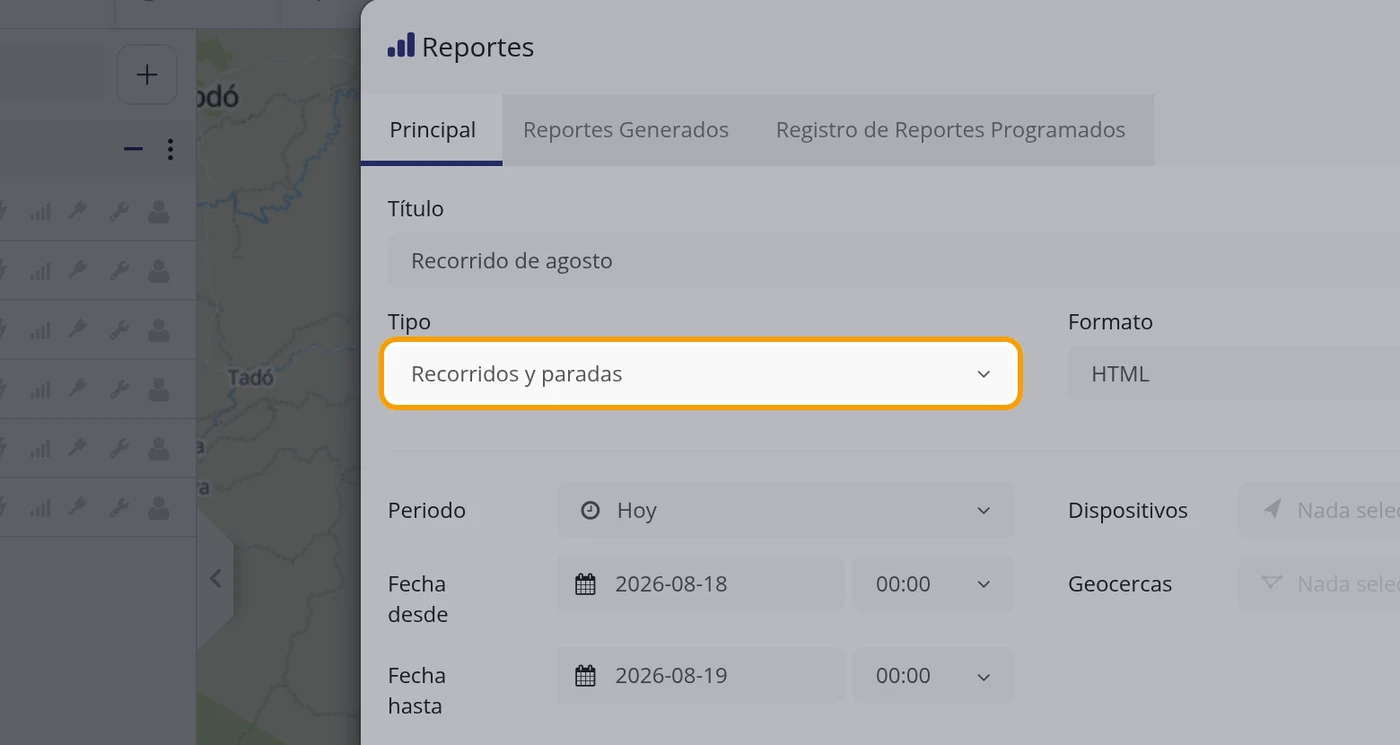
-
Leave or change the Format
To the right of Type is Format: it is the kind of file you will get. It offers seven: HTML, JSON, XLS, XLSX, PDF, PDF (Landscape) and CSV. It comes set to HTML, which is a page opened with the internet browser and looks like a web page. If you want it to print, choose PDF; if you want it to do sums in a spreadsheet, choose XLSX.
CarefulJSON is a format for programs, not for a person to read. Do not choose it.
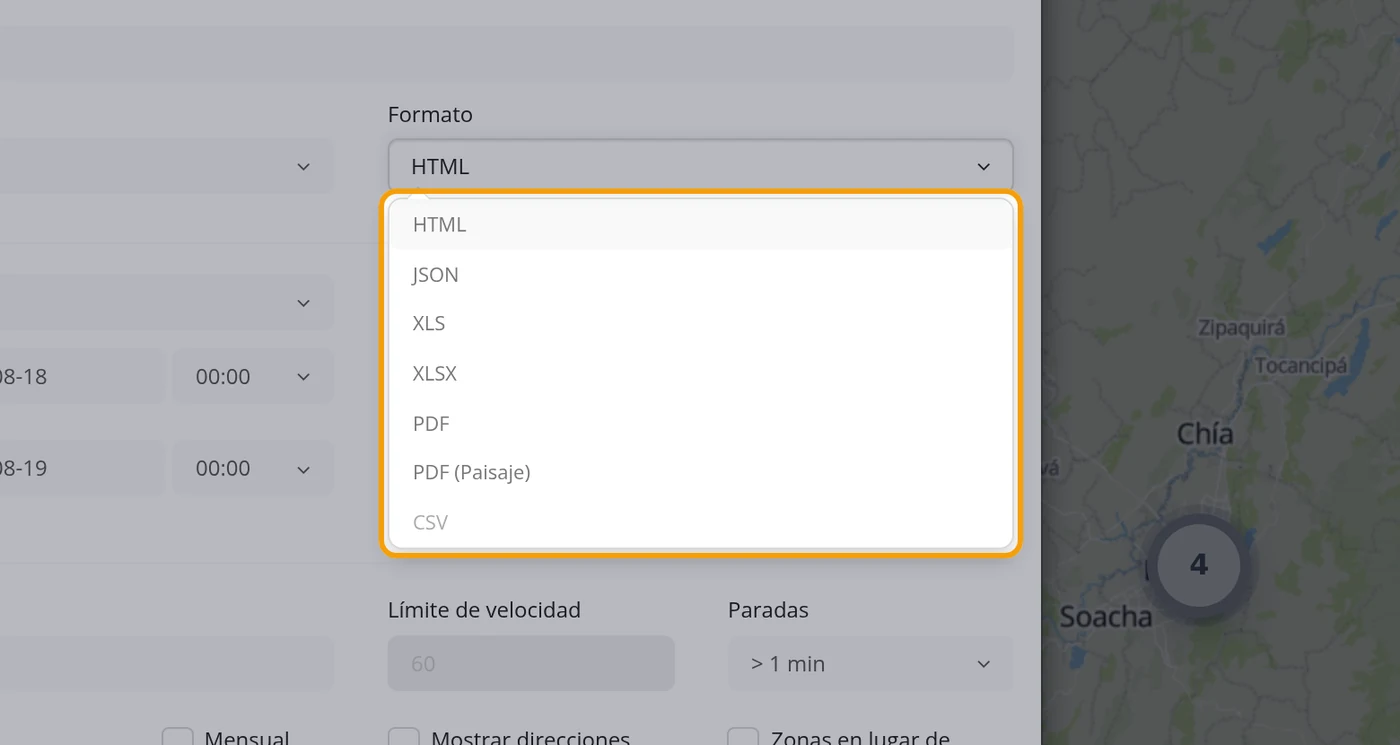
-
Look at the Period dropdown
Period is a shortcut so you do not have to look up the dates by hand. It offers: Today, Yesterday, 2 days ago, 3 days ago, This week, Last week, This month and Last month. If you choose one, the two date fields fill in by themselves. You can also close it without choosing anything and set the dates yourself, which is what is done in the next step.
CarefulBy default it comes set to Today. That means that, if you touch nothing, the report will only cover today. That is the most common mistake: the report comes out almost empty and it looks as if the program did not work, when what happens is that the vehicle did not move today.
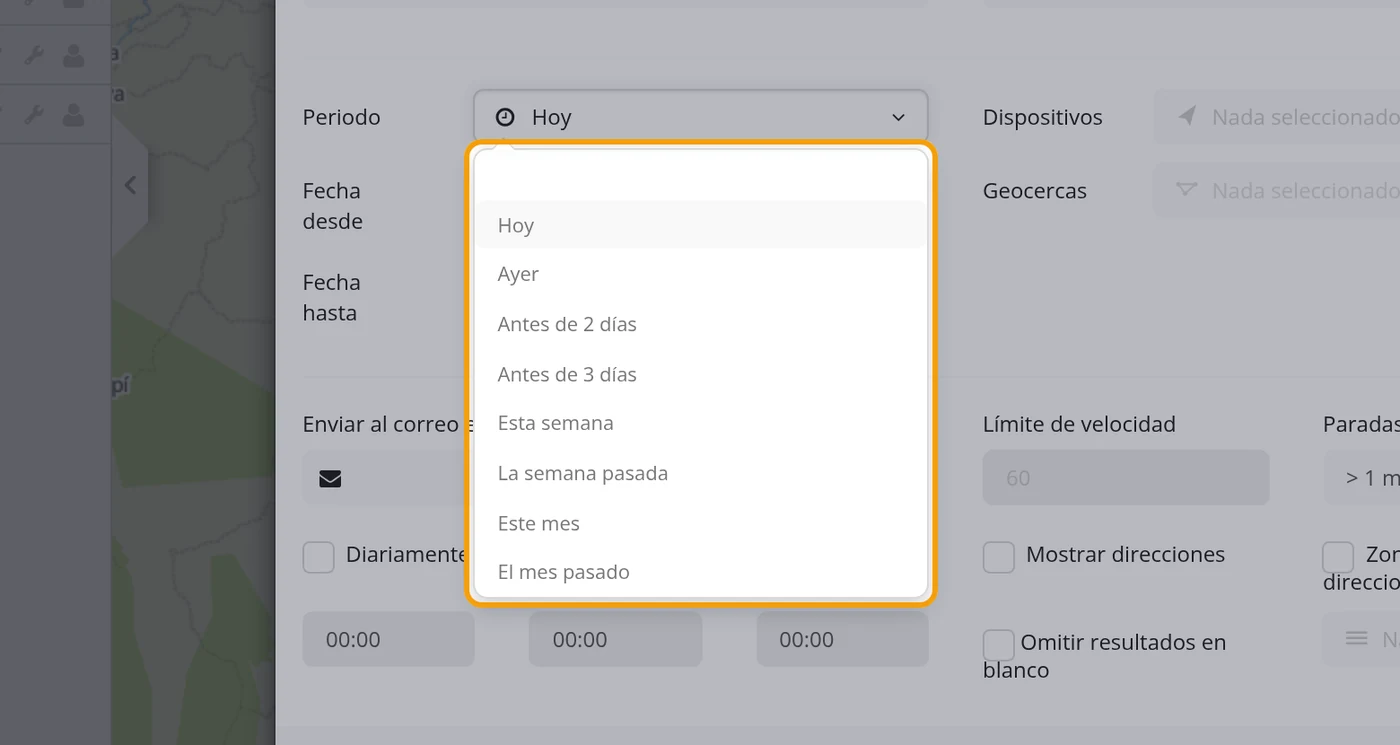
-
Click the Date from field and pick the day in the calendar
Click on the Date from field. A calendar of the current month opens, with the month name at the top and the « and » arrows to go to the previous or next month. Click the day you want the report to start on. Here 1 August 2026 was clicked.
CarefulThe days of another month appear in light grey at the sides. If you click one of those, the report will start in a different month from the one you think.
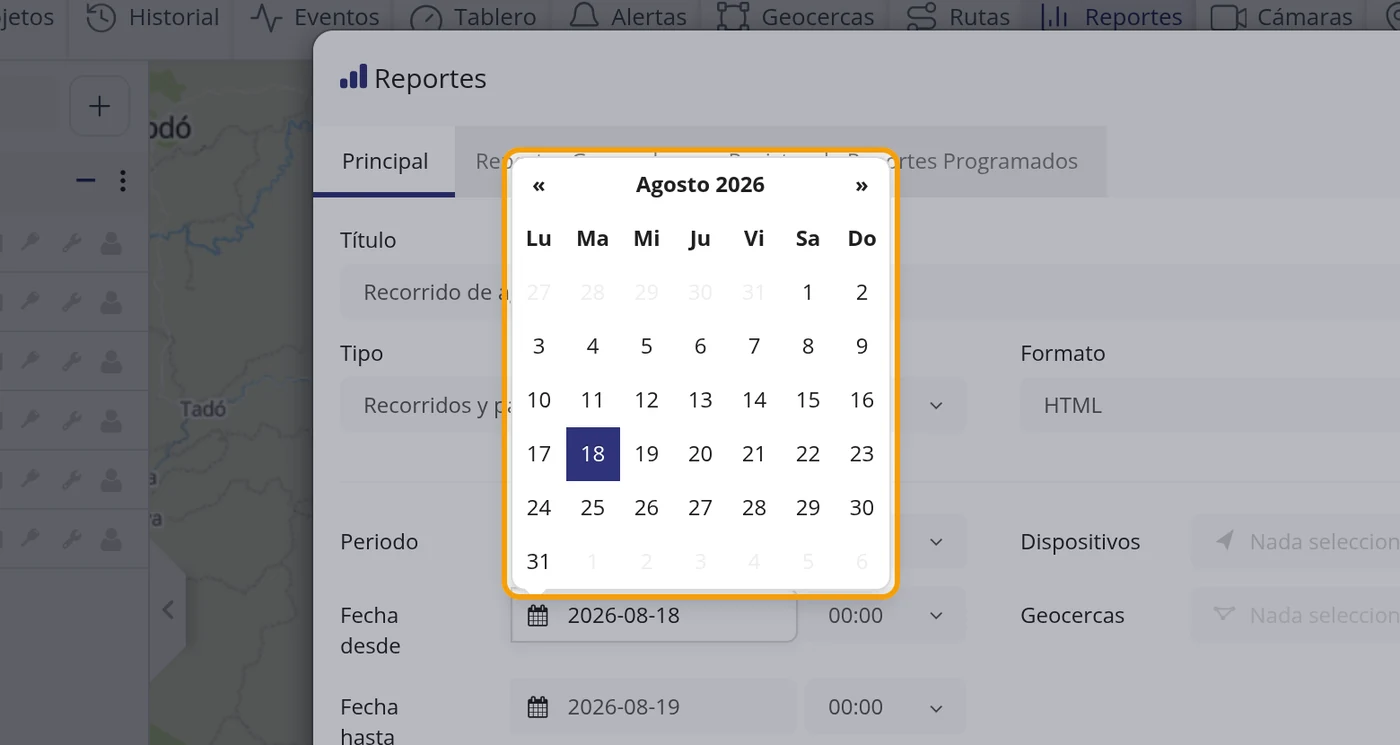
-
Or type the date by hand, if you prefer
There is no need to look for the day in the calendar: you can type the date directly into the field, in year-month-day form, for example 2026-08-01. Select what is written, delete it and type over. As you type, the open calendar moves by itself and marks in blue the day you are typing, so you see at once if you got it wrong. It was checked that the typed date holds: on pressing Enter and on clicking outside the field, it stays set.
CarefulType it in the same form already set in the field: year, month and day separated by dashes (2026-08-01). Watch the calendar as you type: if it does not jump to the day you want, the date is not set right.
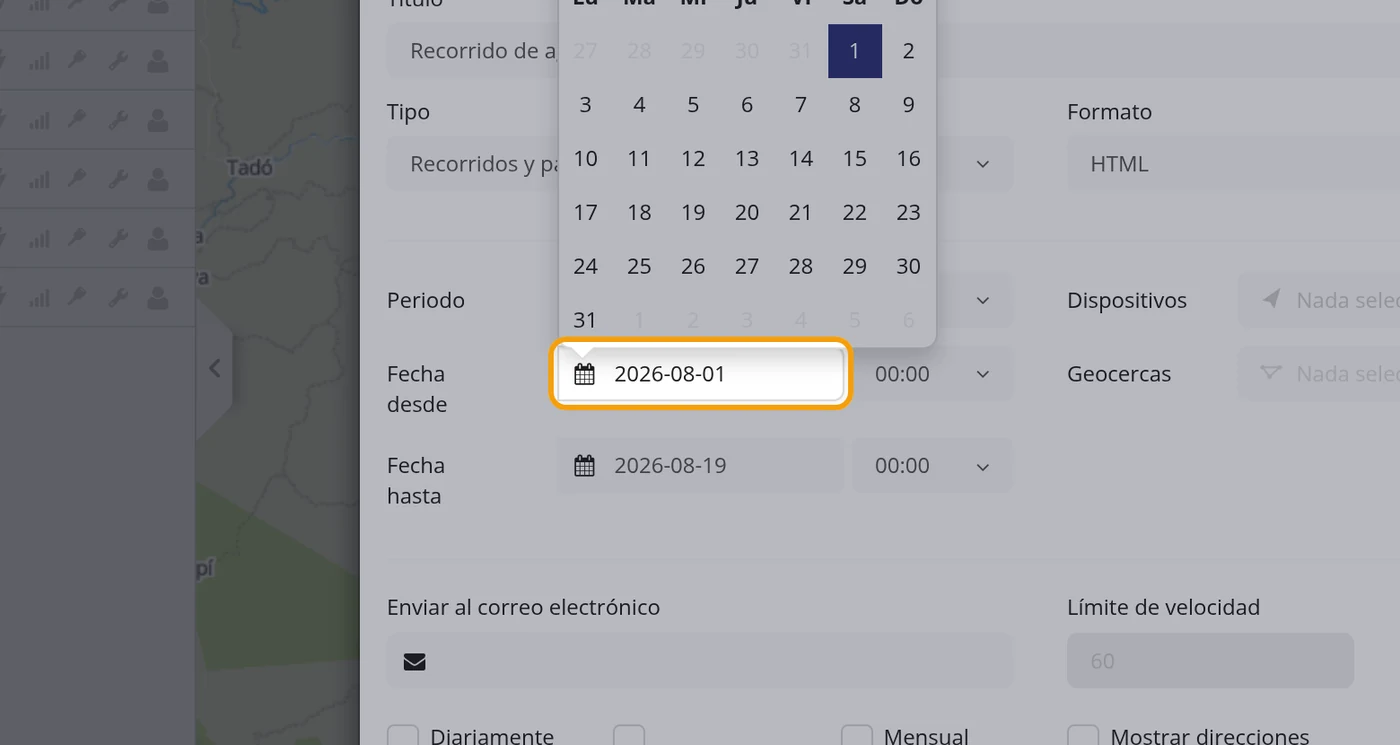
-
Check the two dates before carrying on
In Date from the date you chose is written, in year-month-day form. Date to already comes set to today; if you want another, it is changed the same way, clicking on it and picking the day. Next to each date there is a time, which comes as 00:00. In this test it was left from 2026-08-01 to 2026-08-19.
CarefulWhen setting the dates with the calendar, the Period dropdown keeps saying Today even though the report is no longer today's. It is a defect of the screen: go by what the two date fields say, not by what Period says.
-
Open Devices and choose the vehicle
On the right are the Devices and Geofences fields. Click Devices: the list of your vehicles unfolds with a tick box in front of each one. Tick the one you want. You can tick several and they all come out in the same report.
CarefulWhile this field says Nothing selected, the report has nothing to talk about. Ticking at least one vehicle is compulsory.
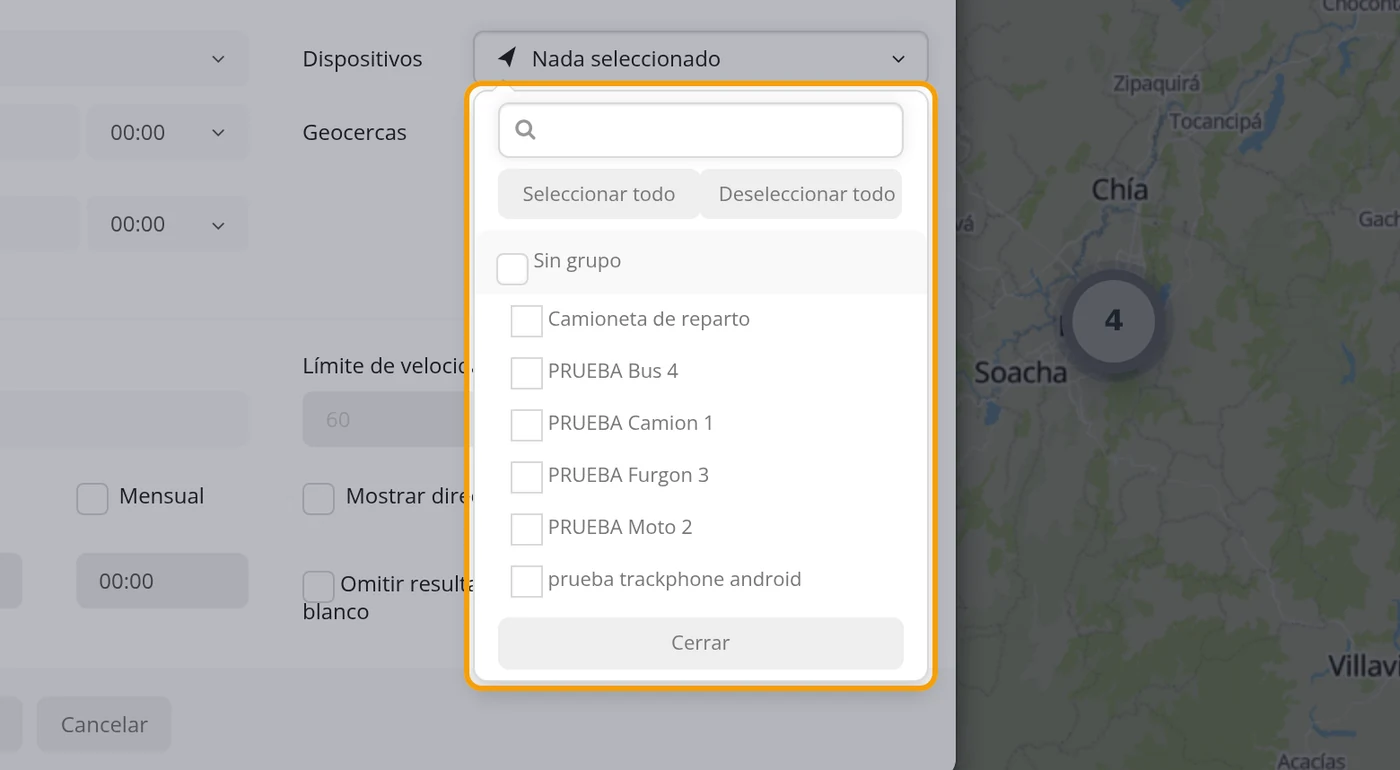
-
Close the list and check that the vehicle is set
The list does not close by itself when you tick, because it lets you tick several. Click on the field again to close it. Where it said Nothing selected, the vehicle name must now appear.
-
Click Generate
At the bottom left, click the blue Generate button. It takes a few seconds while the program goes through all the vehicle positions on those dates.
CarefulThe report does NOT open inside the window. It is downloaded to your computer, like when you download a file from the internet. Look for it at the bottom of the browser or in your Downloads folder: it is a file with a long name starting with drives_stops_report and ending with the two dates. Open it with a double click.
-
Open the downloaded file and read the report
A page opens with your logo at the top, and below it says Report type: Trips and stops, the two dates you chose and the vehicle name. Then comes a long table with one line per stretch, with these columns: State, Start, End, Duration, Engine idling, Driver, Stop position, Fuel consumption, Route length, Maximum speed and Average speed. In State, each line says Stopped or Moving. In this report 313 lines came out.
CarefulThe coordinates in the Stop position column are in blue: if you click them, they open on a map and show you the exact place where it was stopped.
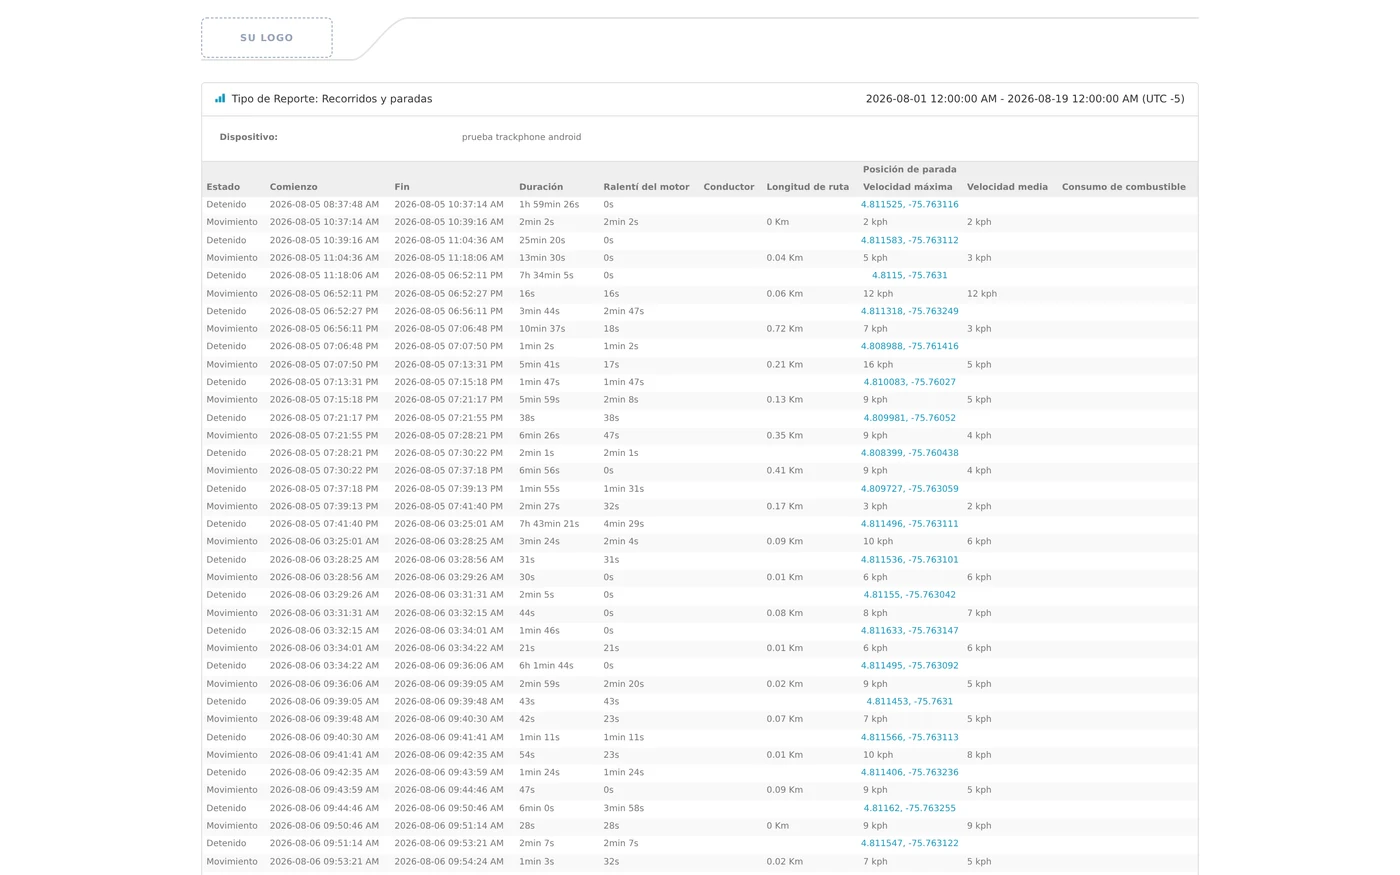
-
Look at the summary at the end
Scroll to the end of the page. There is the summary with the figures that are usually what you are looking for. In this report it came out: Route length: 147.3 Km, Moving duration: 4h 13min 41s, Parking duration: 322h 43min 55s, Maximum speed: 180 kph, Average speed: 18 kph, Engine hours: 7h 8min 44s, Engine work: 3h 13min 58s and Engine idling: 3h 52min 45s.
CarefulIf the summary comes out at zero or the table has a single line, nothing is broken: the vehicle sent no positions on those dates. Change the dates to a few days when it was working and click Generate again. Checked: with the dates from 1 to 19 August 313 lines and 147.3 Km came out; with the dates from 18 to 19 August, the same vehicle, a single line and 0.21 Km came out.

-
If you are going to repeat this report, click Save
Generate gives you the file but leaves nothing recorded. If you are going to ask for this report often, also click the Save button: the platform keeps everything you filled in and you do not have to choose it again next time.
CarefulSave stores the recipe of the report, not the report. To have the file you have to click Generate.
-
Check in the Generated reports tab
At the top of the window click the Generated reports tab. There a line appears with what you saved, with these columns: Title, Type, Format, Devices, Geofences and Schedule. In this test it came out: August route, Trips and stops, HTML, 1, 0, No. At the end of the line there is a gear wheel to open it again and a cross to delete it.
CarefulThe tab name is misleading: it does not store the files you already produced, but the reports you saved with the Save button. If you only clicked Generate, this tab will keep saying There are no reports.
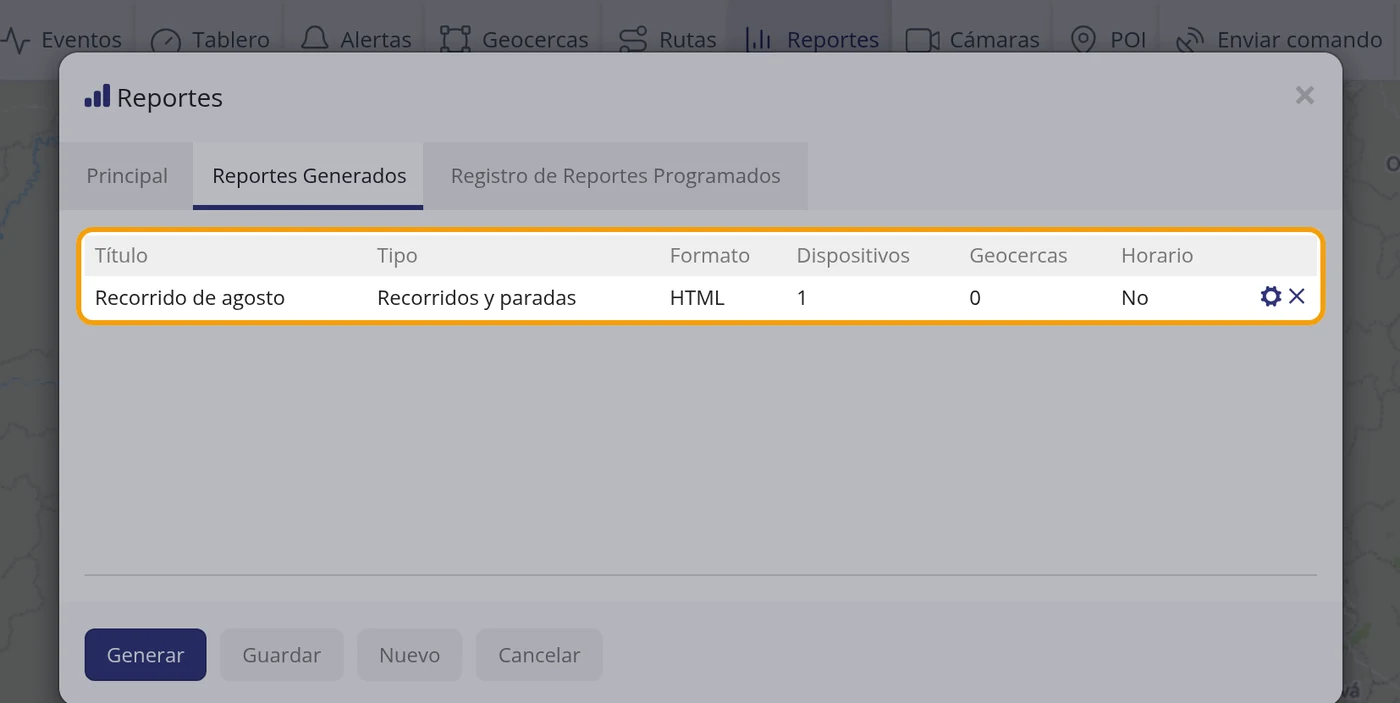
-
If you want it as PDF, change the Format and click Generate again
There is no need to fill in the form again. With everything else set, open the Format dropdown, choose PDF and click Generate. A file with the same long name but ending in .pdf is downloaded. Checked with the same vehicle and the same dates: a 9-page, 225,010-byte PDF came out, with the same table and the same 147.3 Km summary. It is the one that suits printing or sending to a customer.
CarefulBelow PDF there is another option, PDF (Landscape), which produces the pages sideways. It is useful when the table is very wide and the columns get squeezed.
-
If you want it in Excel, choose XLSX
Same as the previous one: open Format, choose XLSX and click Generate. A file ending in .xlsx is downloaded that opens with any spreadsheet. Checked with the same vehicle and the same dates: a sheet called Report with 327 rows and 10 columns came out, with the same Stopped and Moving lines and the same summary at the end (Route length: 147.3 Km). It is the one for doing sums or charging by the kilometre.
CarefulThere are two similar ones in the list: XLS is the old Excel format and XLSX the current one. Choose XLSX unless you are expressly asked for the other.
-
What the third tab is for
The Scheduled reports log tab is only a history of the reports the platform sent by itself, by email, when you leave one of the Daily, Weekly or Monthly boxes ticked. Its columns are: Name, Type, Format, Size, Send to email and Sent. If you have never scheduled any, it says: No data.
Para ver el recorrido en el mapa: Historial →
What each field asks for
| As it appears on screen | What it is | |
|---|---|---|
| The «Title» field | The name you recognise the report by. It can be left empty, but then you will not tell it apart from the others if you save several. It can be left empty. | Can be left empty |
| The «Type» field | Which kind of report you want. There are 76. The one for kilometres and stops is Trips and stops. Others in common use: General information (a summary per vehicle), Stops (only where and how long it was stopped), Overspeed, Trip sheet, Odometer, Ignition ON/OFF, Geofences in/out and Last location. It comes set to Composite report (2 or more types), which has to be changed. It is required. | Required |
| The «Format» field | The kind of file you get. It offers HTML, JSON, XLS, XLSX, PDF, PDF (Landscape) and CSV. It comes set to HTML, which is read in the browser. The three people use were checked and all three work: HTML, PDF and XLSX (Excel). It is required. | Required |
| The «Sub-report types» field | It only appears when the Type is Composite report (2 or more types). There you tick the two or more reports you want to join in one document. Below, the screen itself explains: Select 2 or more reports to combine them into a single document. It can be left empty. | Can be left empty |
| The «Period» field | A shortcut to fill in the dates: Today, Yesterday, 2 days ago, 3 days ago, This week, Last week, This month and Last month. It comes set to Today. It can be left empty. | Can be left empty |
| The «Date from» field | The day the report starts, with its time next to it. It is chosen by clicking on it and picking the day in the calendar. It can be set in two ways: clicking the day in the calendar or typing it by hand in year-month-day form. It is required. | Required |
| The «Date to» field | The day the report ends, with its time next to it. It comes set to today. It can be set in two ways: clicking the day in the calendar or typing it by hand in year-month-day form. It is required. | Required |
| The «Devices» field | The vehicles included in the report. Several can be ticked. While it says Nothing selected, the report is useless. It is required. | Required |
| The «Geofences» field | It is only needed in the area reports, to tell it which ones to look at. For the kilometres and stops one it is left at Nothing selected. It can be left empty. | Can be left empty |
| The «Send to email» field | If you type an email here, the report also reaches you by email. If you leave it empty, it is only downloaded to the computer. It can be left empty. | Can be left empty |
| The «Speed limit» field | The speed above which it counts as speeding. It is only used in the speed reports. It comes empty and in light grey it suggests 60. It can be left empty. | Can be left empty |
| The «Stops» field | From how long standing still it counts as a stop. It runs from > 5 s to > 5 h and comes set to > 1 min. If you set it too short, the report fills with traffic-light stops; if you set it too long, you lose the short stops. It can be left empty. | Can be left empty |
| The «Daily» box | A tick box so the report is produced by itself every day at the time set in the field below. It is not needed to produce it once. It can be left empty. | Can be left empty |
| The «Weekly» box | The same, but once a week. It can be left empty. | Can be left empty |
| The «Monthly» box | The same, but once a month. It can be left empty. | Can be left empty |
| The «Show addresses» box | If you tick it, instead of coordinate numbers the report writes the street name. It reads much better, but the report takes longer to come out. It can be left empty. | Can be left empty |
| The «Zones instead of addresses» box | If you tick it, and the place falls inside an area you drew, it writes the name of that area instead of the address. It can be left empty. | Can be left empty |
| The «Skip blank results» box | If you tick it, the vehicles with nothing to report on those dates are left out. Useful when you ask for the report of many vehicles at once. It can be left empty. | Can be left empty |
How to know it worked
On clicking Generate the computer downloads a file whose name starts with drives_stops_report and carries the two dates inside. On opening it you have to see the header with the report type, the dates and the vehicle, a table with Stopped and Moving lines, and at the end the summary with Route length. The three formats give the same thing: the HTML page, the PDF and the Excel sheet bring the same table and the same summary. And if you also clicked Save, the report appears by its title in the Generated reports tab.
Two reports people ask for a lot: how long a vehicle stayed inside an area, and how long it took to go from one area to another
These two are not among the "common" ones in the table above because hardly anyone searches for them by name, but they DO exist on the platform and give exactly those two figures, with real dates and times:
Geofences, entries/exits: row by row, the time a vehicle entered and left each area, how long it stayed inside (Duration column) and how many kilometres it covered meanwhile.
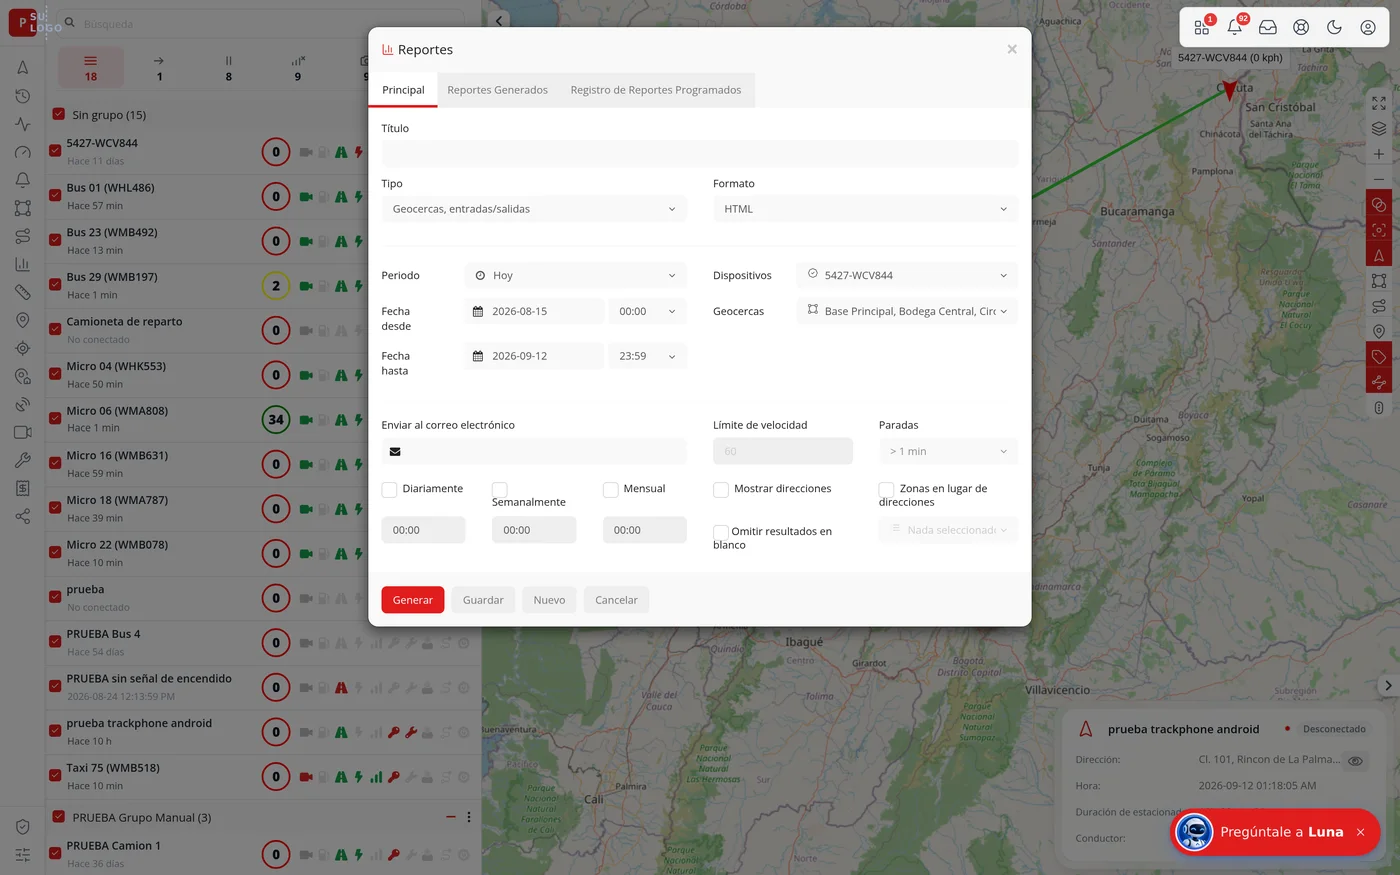
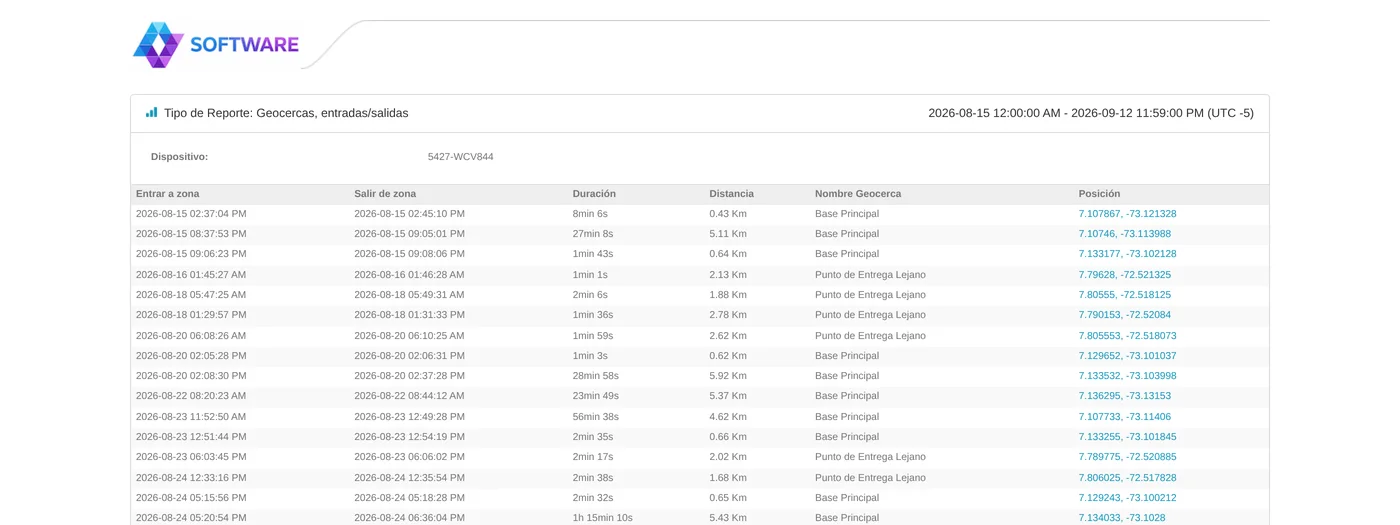
Trips between geofences: row by row, which area the vehicle left, which one it entered afterwards, the departure and arrival time, how long the trip took (Duration column) and how many kilometres it covered between the two areas.
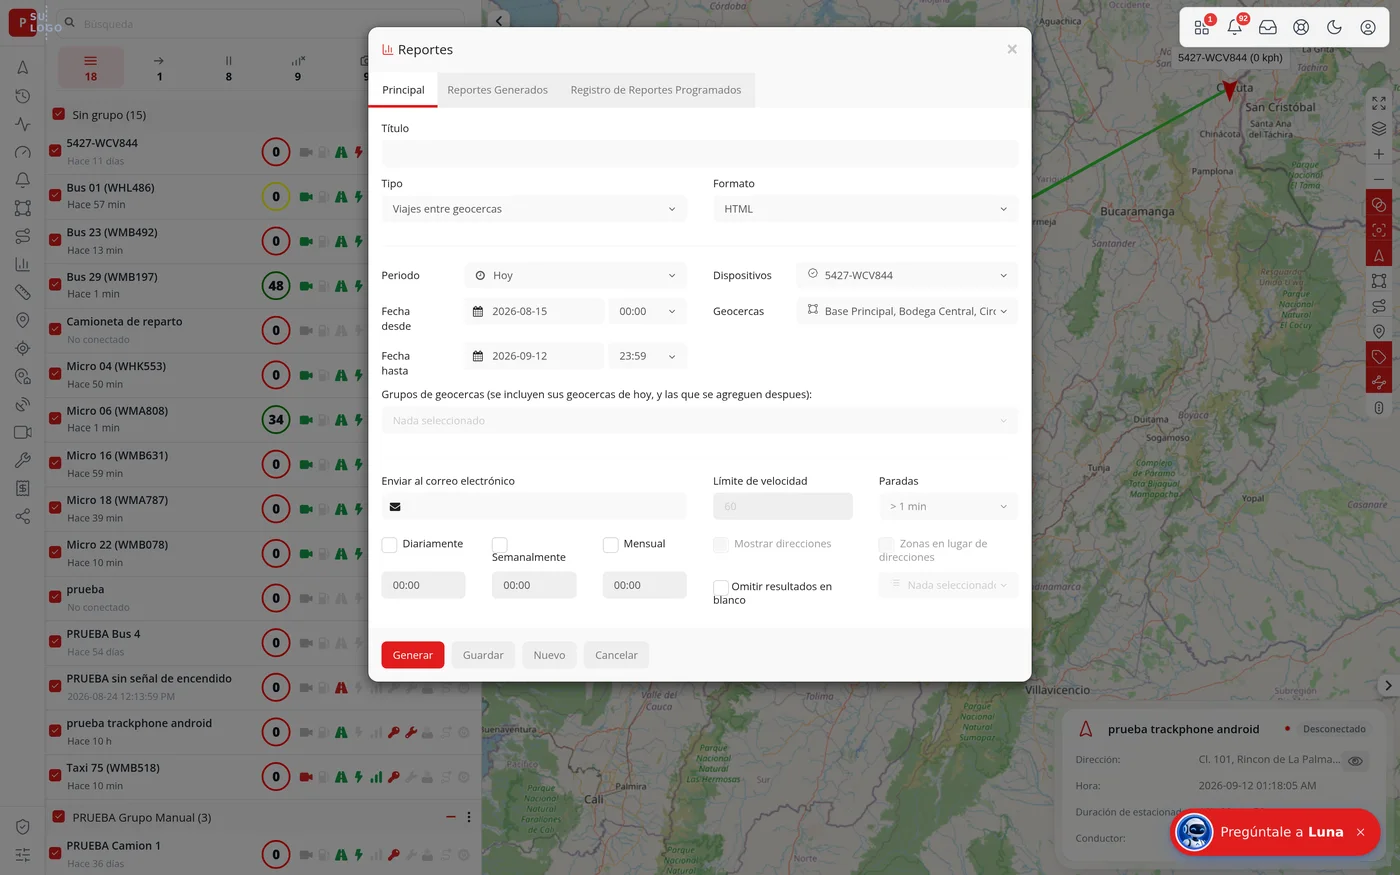

For "Trips between geofences" to find anything, the vehicle has to have left one of the marked areas and afterwards entered ANOTHER of those same marked areas, within the chosen date range. If there was no such trip, the row comes out empty — that does not mean the report is broken.
What next
If you are going to need this report every week, save it, tick the Weekly box and type your address in Send to email: that way it reaches you by itself, without asking for it.
Day-to-day tools
The map's three hidden tools: Ruler, Show point and Search Address
They are three aids used on the map: the Ruler measures how many kilometres there are from one spot to another, Show point takes the map to exact coordinates you type, and Search Address takes the map to a street address. They come switched off out of the box: they do not show on the top bar until you switch them on. Where it is: Top bar > three-dots button (···, the one after Expenses) > tick the box for Ruler, Show point and Search Address. From then on they appear as three more buttons on the top bar.
Where it is Top bar > three-dots button (···, the one after Expenses) > tick the box for Ruler, Show point and Search address.
Before you start
- Nothing special: it is done from the map screen, with the vehicle list on the left.
- To try Show point it helps to have some coordinates to hand. This manual uses those of the test vehicle 'prueba trackphone android', which is in Pereira (Colombia): 4.811557 and -75.763094.
-
Notice that the three are NOT in the bar
On signing in, the top bar has twelve buttons: Objects, History, Events, Dashboard, Alerts, Geofences, Routes, Reports, Cameras, POI, Send command and Expenses. Ruler, Show point and Search Address appear nowhere. It is not that they are missing: they come switched off.
CarefulThis is where everybody gets lost. If you look for these three tools in the bar you will never find them, because they have to be switched on first.
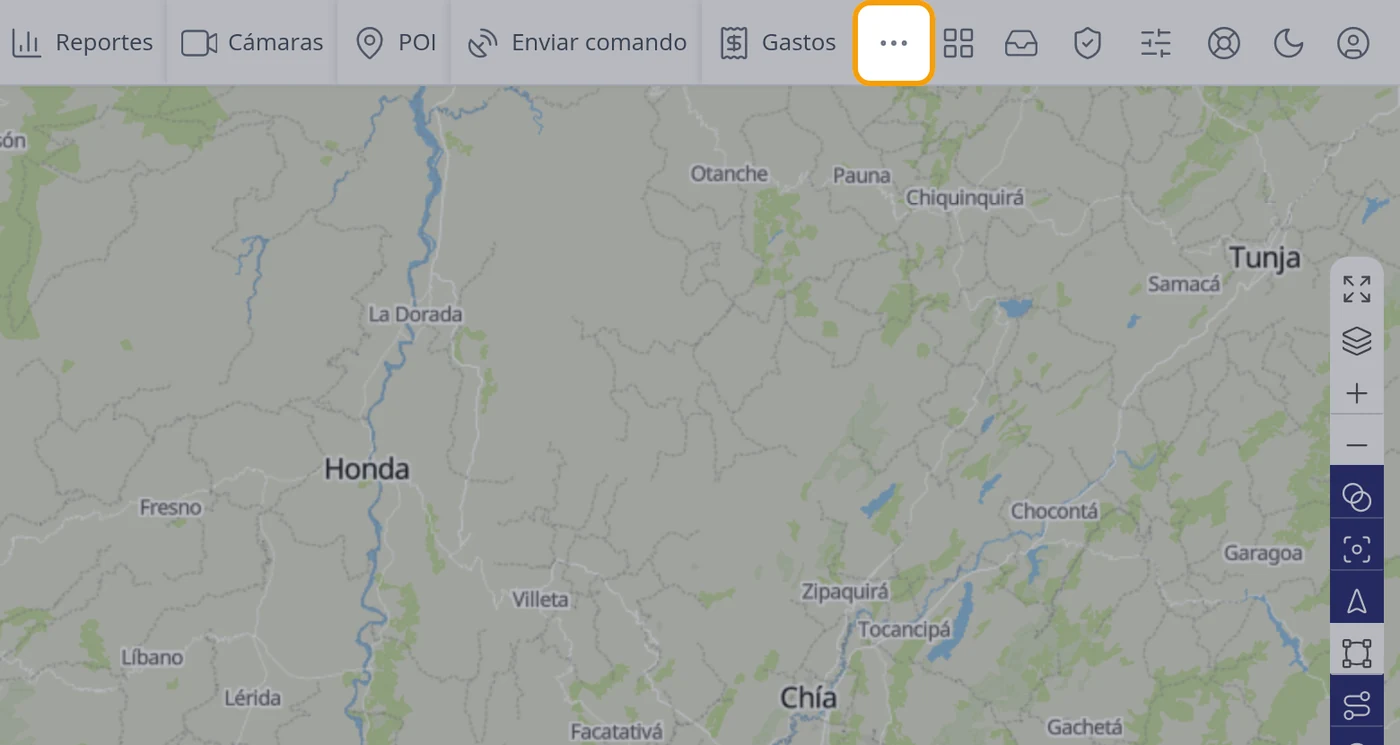
-
Click the three dots button
In the top bar, right after Expenses, there is a button with three dots (···). Clicking it unfolds a list with ALL the buttons the bar can have, each with a little square on the left. The ones already in the bar have the square ticked; Ruler, Show point, Search Address, Maintenance and Share have it empty.
CarefulThis is not an options menu: it is the list of which buttons you want to see in the bar.
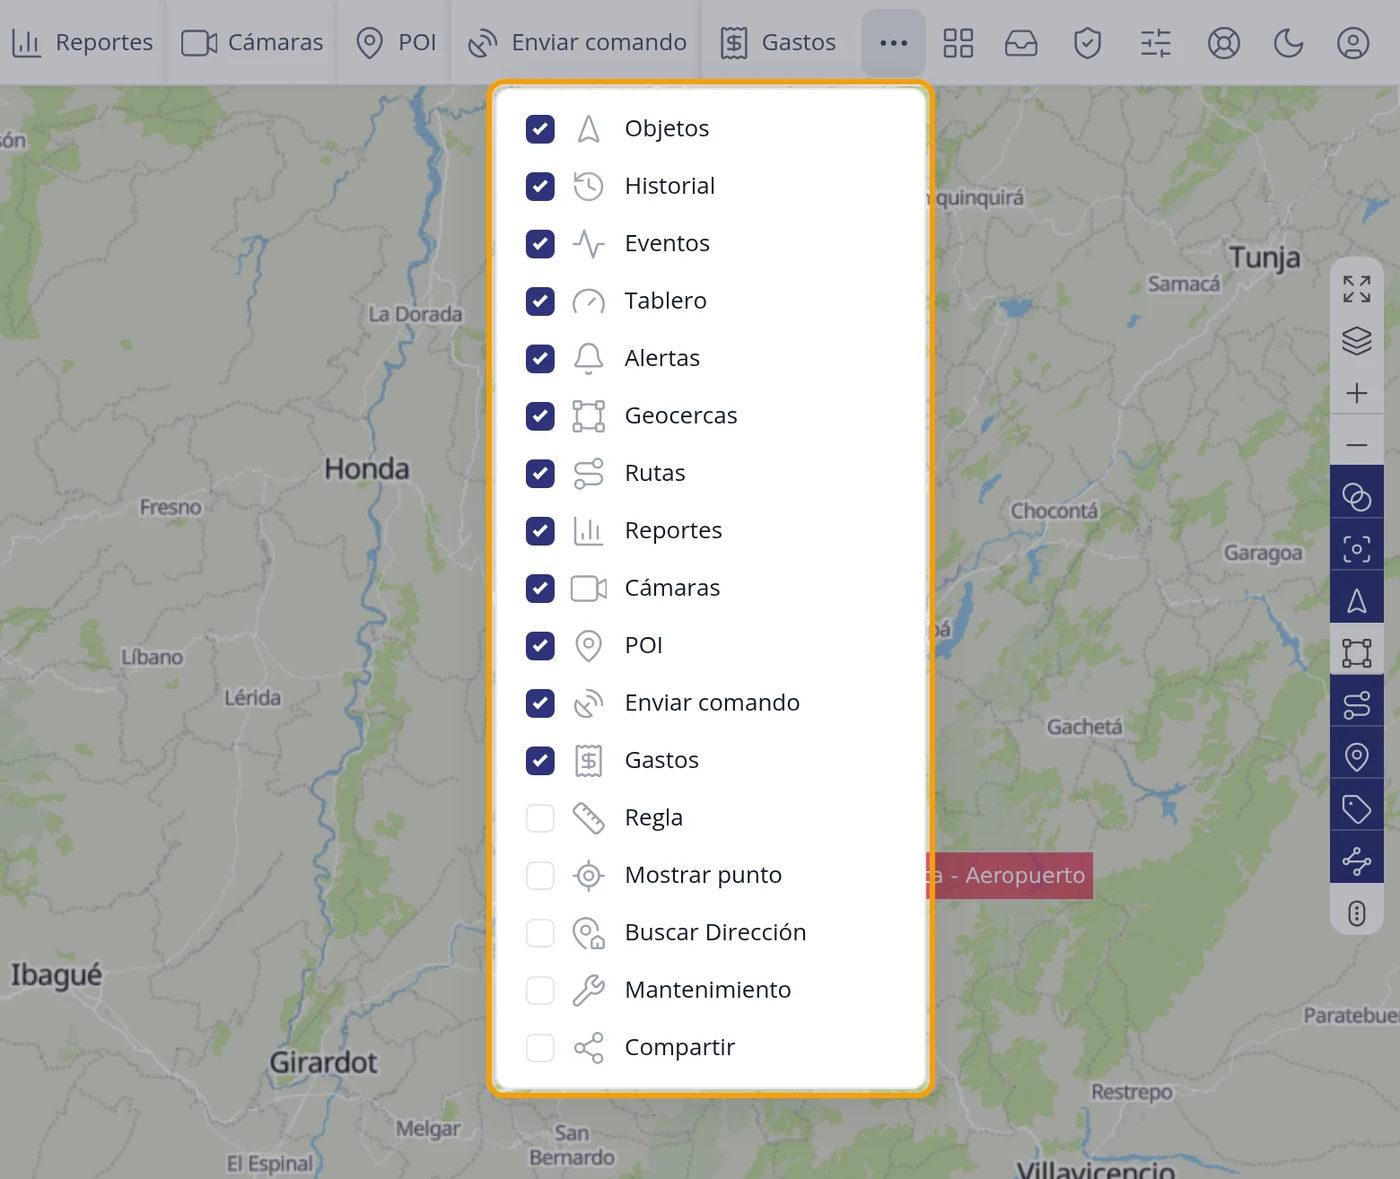
-
Tick the SQUARE of Ruler, not the name
Click the square to the left of the word Ruler. On ticking it, the Ruler is added to the top bar and the list stays open.
CarefulIf you click the NAME instead of the square, the tool opens and the list closes, but the button does NOT stay in the bar. You have to click the square.
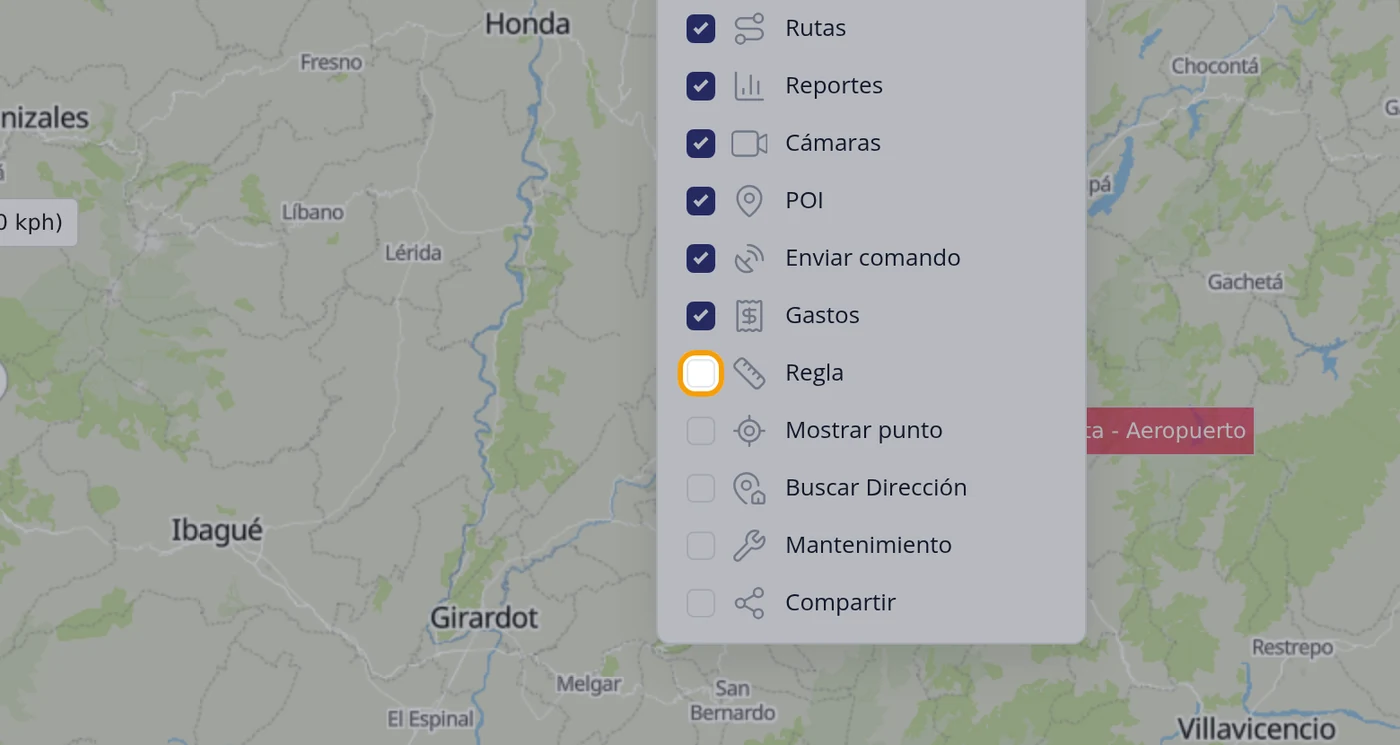
-
Tick Show point and Search Address as well
Without closing the list, tick the square of Show point and that of Search Address. The three are left ticked like the others.
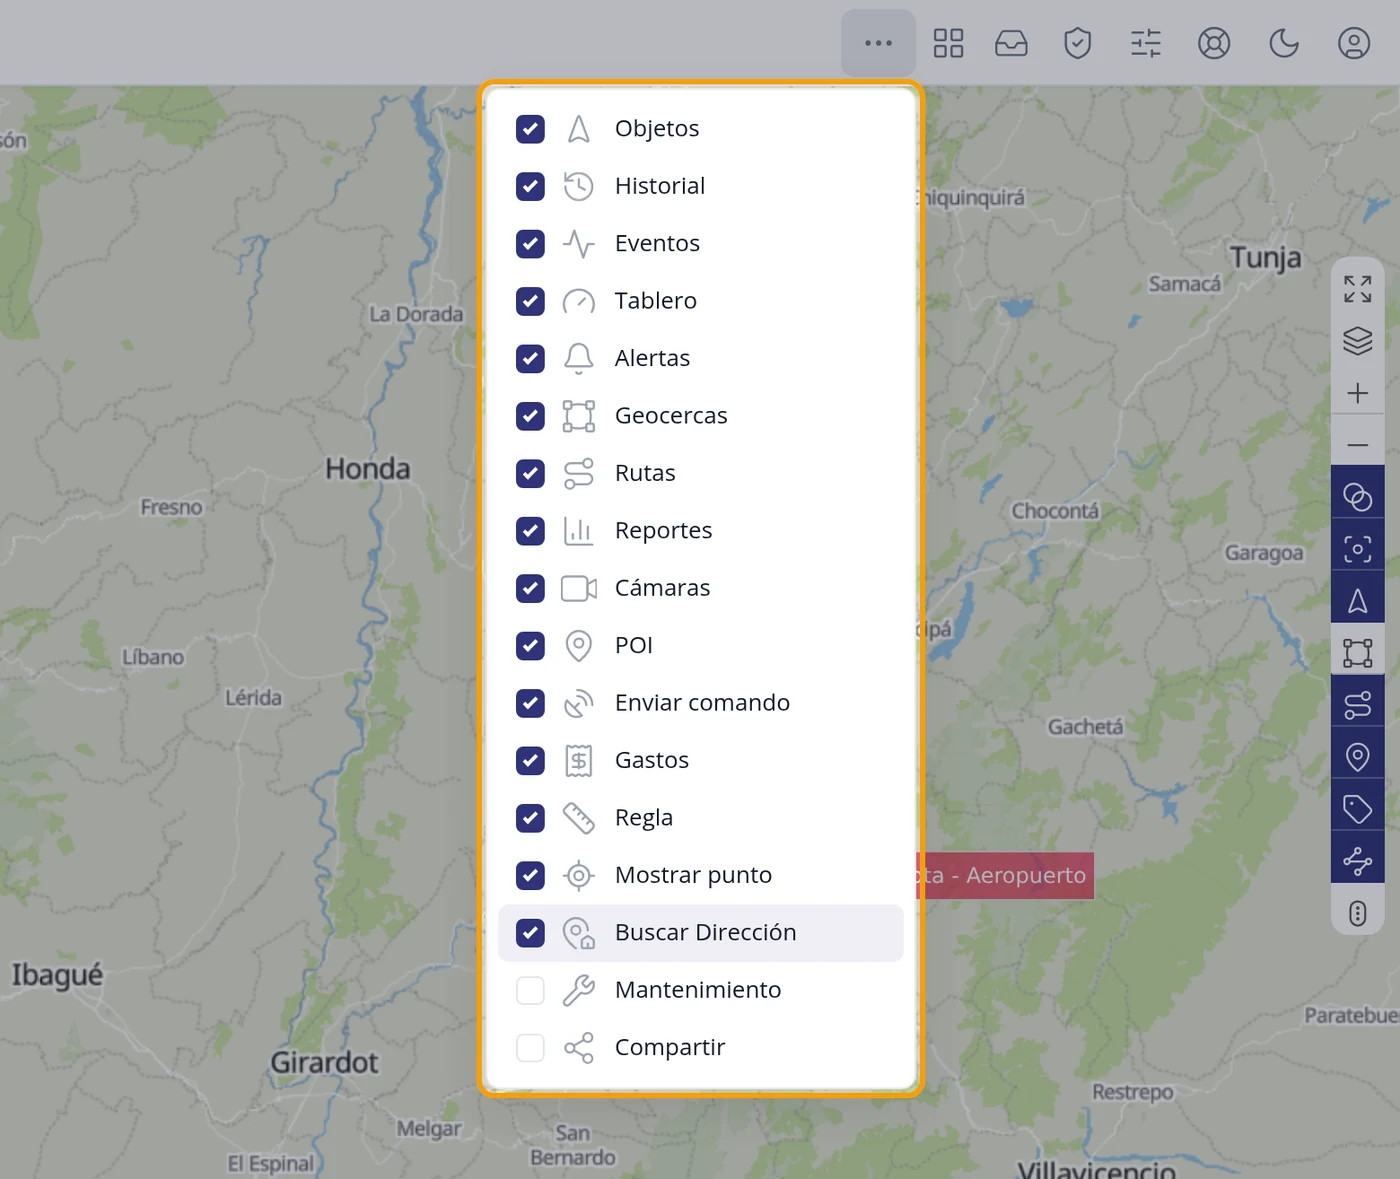
-
Close the list and check they are now in the bar
Click the three dots again (or click anywhere on the map) to close the list. The top bar goes from twelve to fifteen buttons: the three new ones are at the end, just before the three dots.
CarefulWith fifteen buttons the names no longer fit, so the whole bar is left with icons only. To know which is which, hover over one and the name appears in a bubble. If this bothers you, take out of the bar the buttons you do not use.
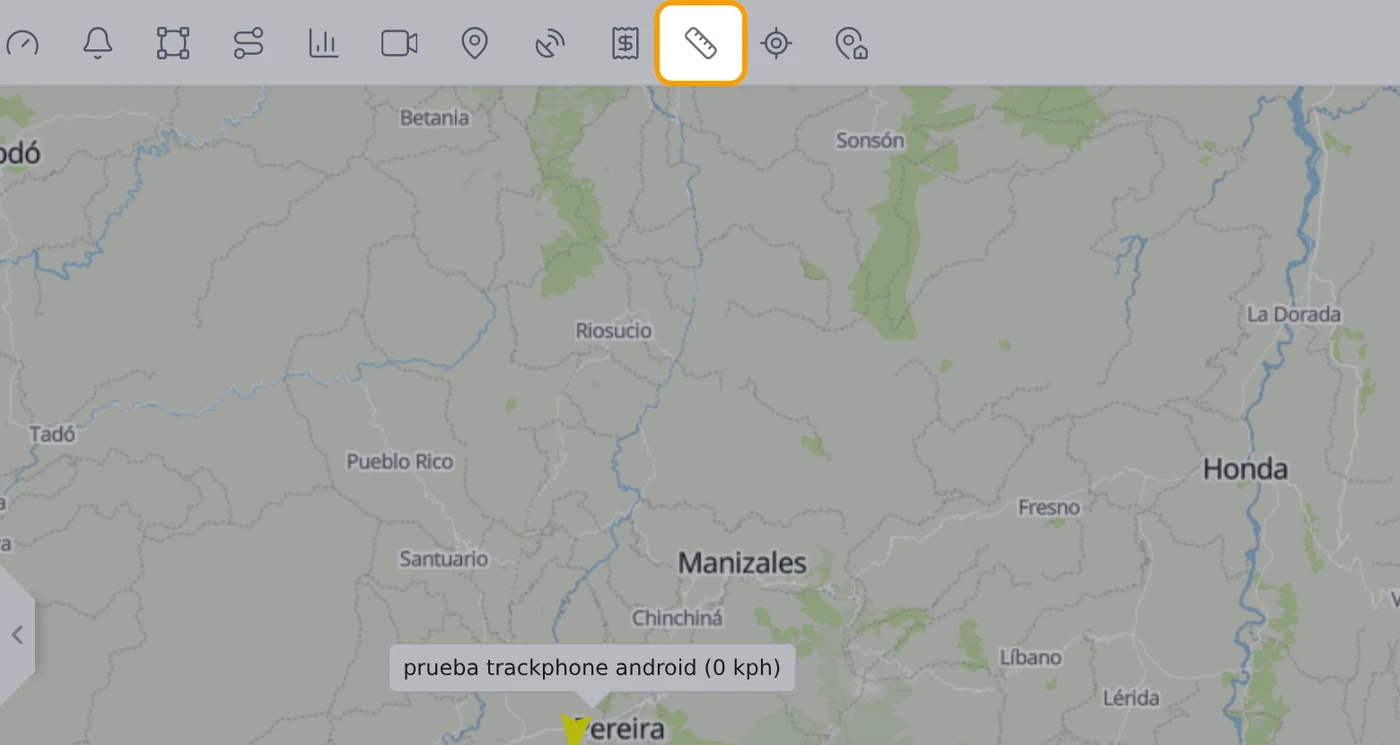
-
RULER — Click the Ruler button
It is the little ruler icon. On clicking it, the button stays highlighted and the mouse pointer turns into a cross over the map: the tool is ready to measure.
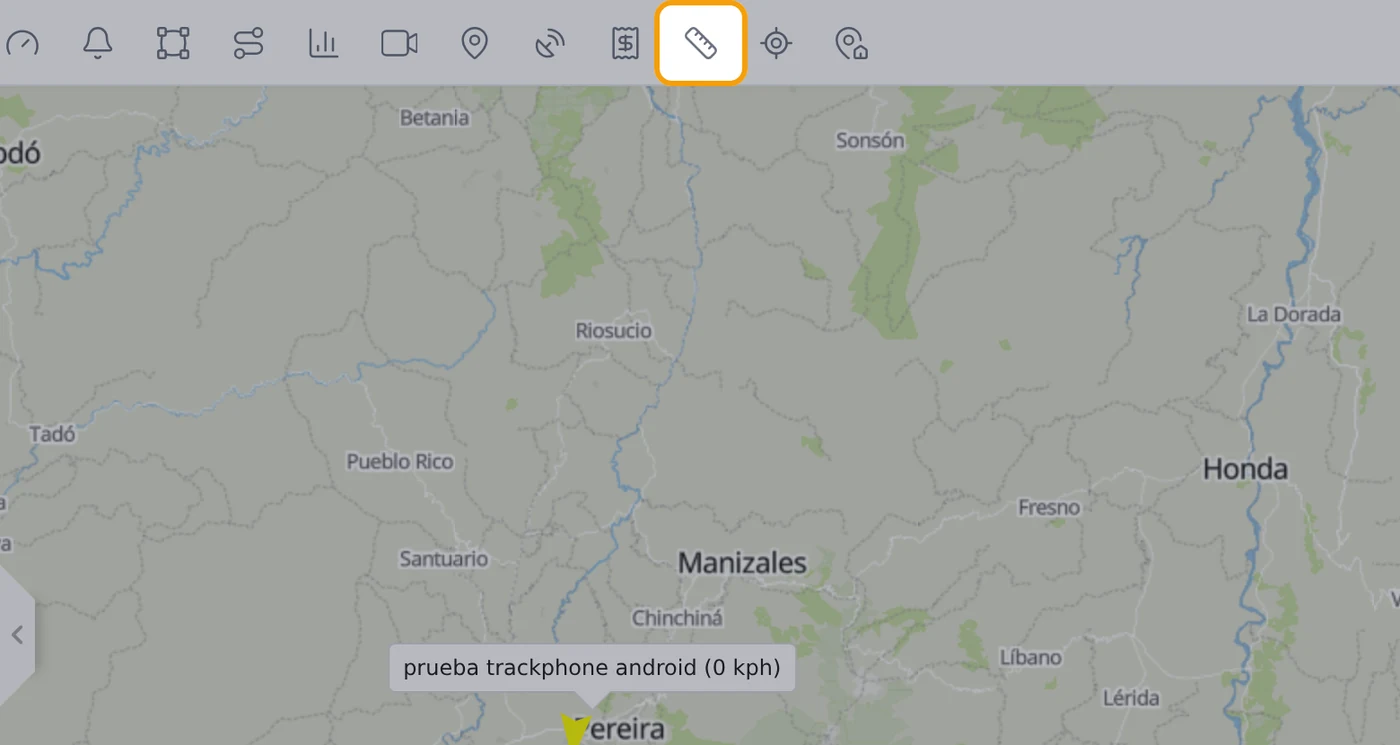
-
Check that the Ruler is switched on
The Ruler button is left with a lighter background, as if pressed in, and the mouse pointer becomes a cross when placed over the map. That means you can start measuring.
CarefulOn switching it on an empty box also appears in the top right corner of the map (the orange frame in the screenshot). Ignore it: the Ruler is switched off from its button in the bar.
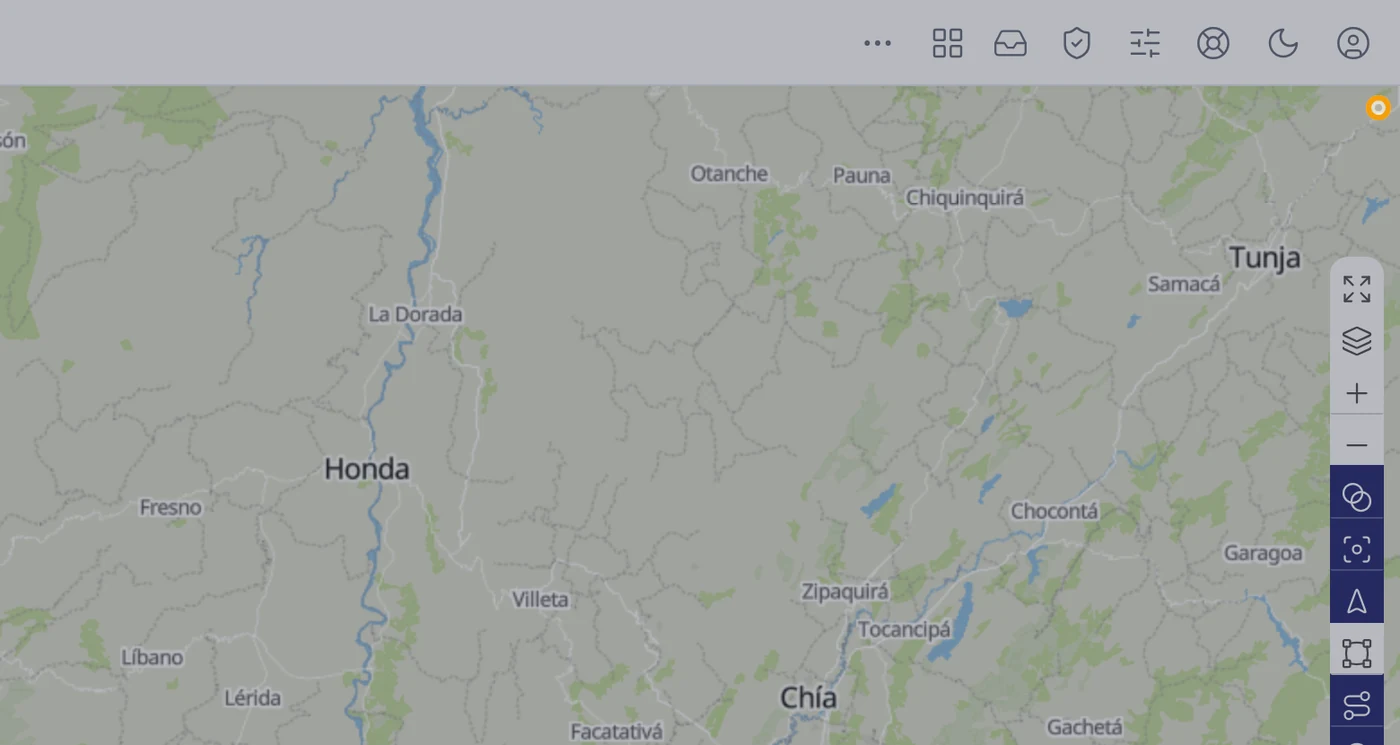
-
Click the first point of what you want to measure
Click on the map at the place where the measurement starts. It is marked with a dot. As you move the mouse a line appears with a label showing the distance it would be to where the pointer is.
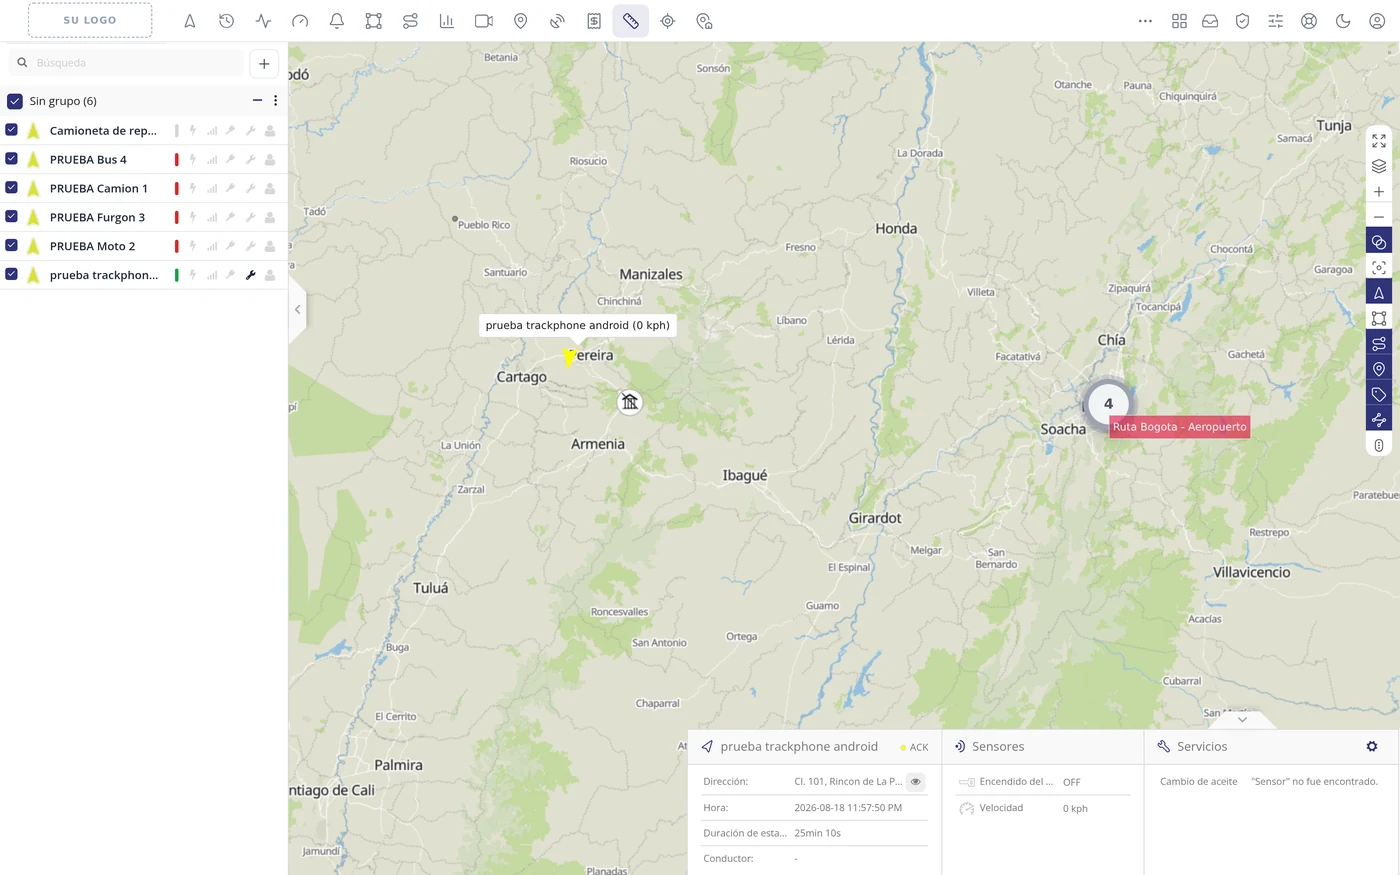
-
Click the second point and read the distance
On clicking the second place a dotted line is drawn between the two, and over the second point the distance appears. In the real test it gave '150.29 Km' in a straight line between a point near Pueblo Rico and another near Ibagué.
CarefulThe distance is ALWAYS in a straight line, as the crow flies. It is not what the road shows.
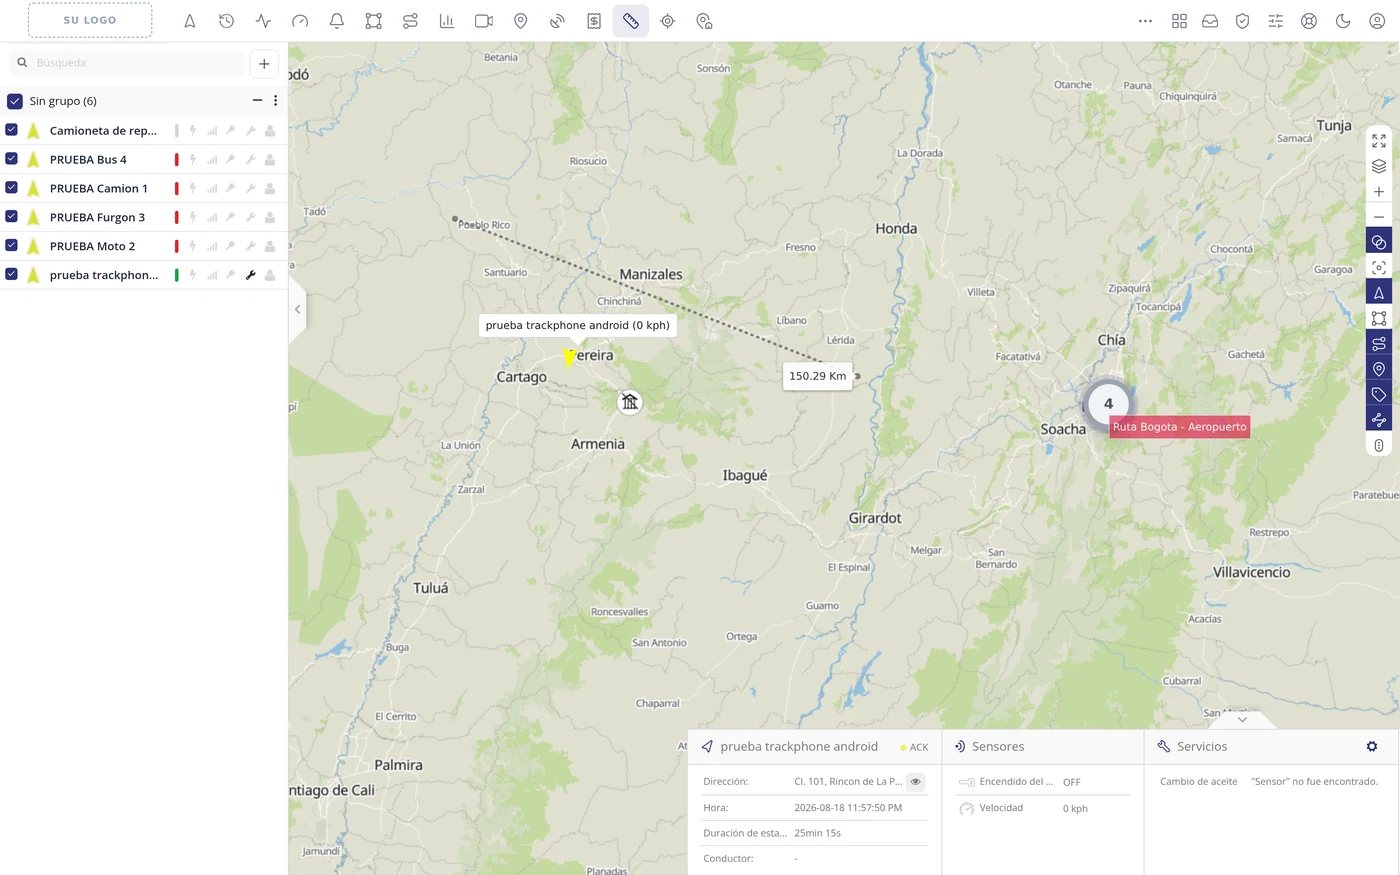
-
Keep clicking to measure several stretches in a row
You can keep clicking and the ruler adds up. In the test, on clicking a third point the label went to '294.92 Km', which is the sum of the first stretch (150.29 Km) plus the second (144.64 Km). As you move the mouse, the label shows the total and below, in brackets, what the new stretch has.
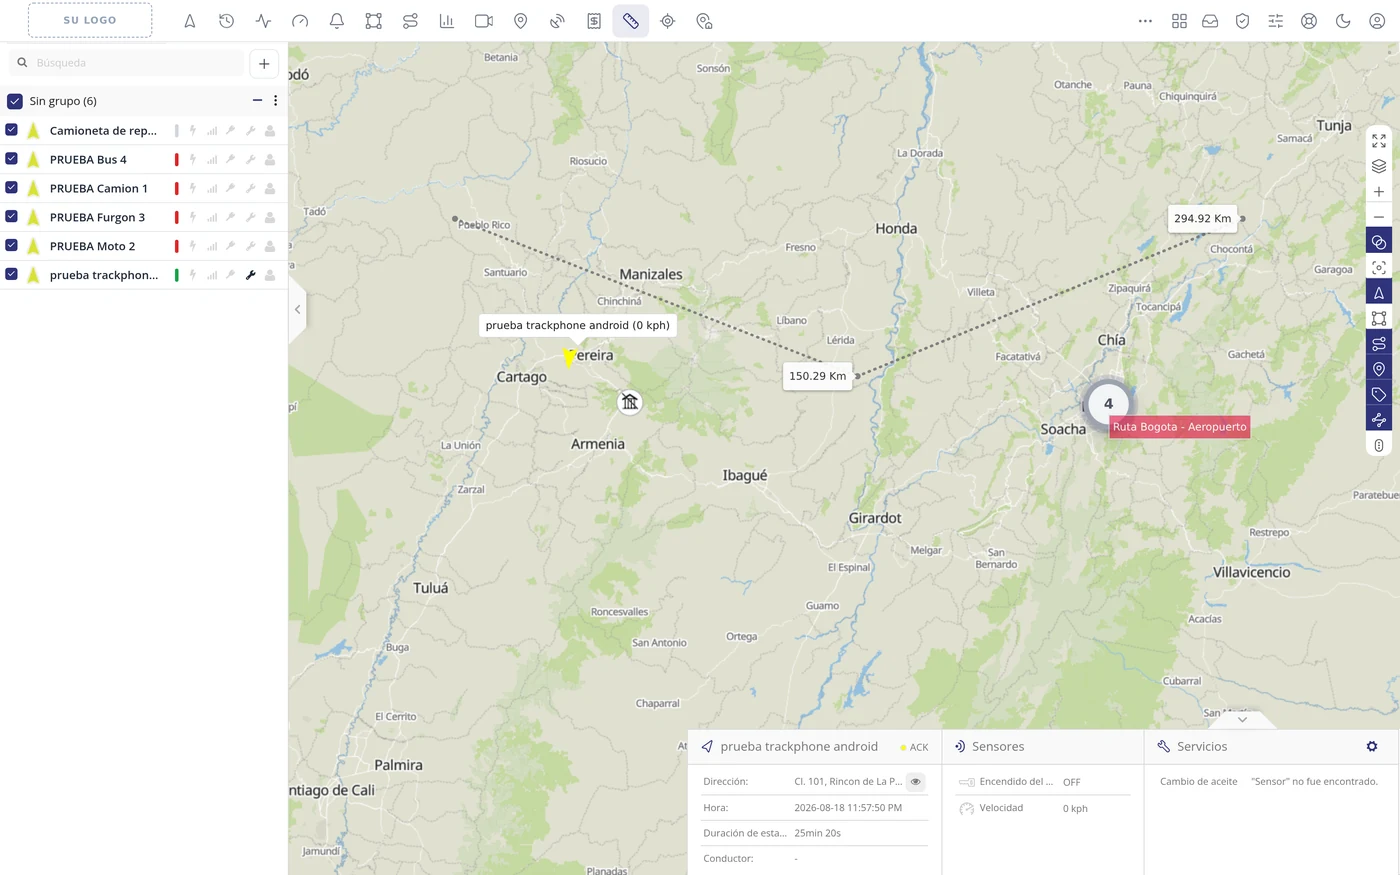
-
Double click to finish that measurement
A double click closes the measurement: what is drawn stays on the map and the ruler is ready to start another, different measurement from scratch.
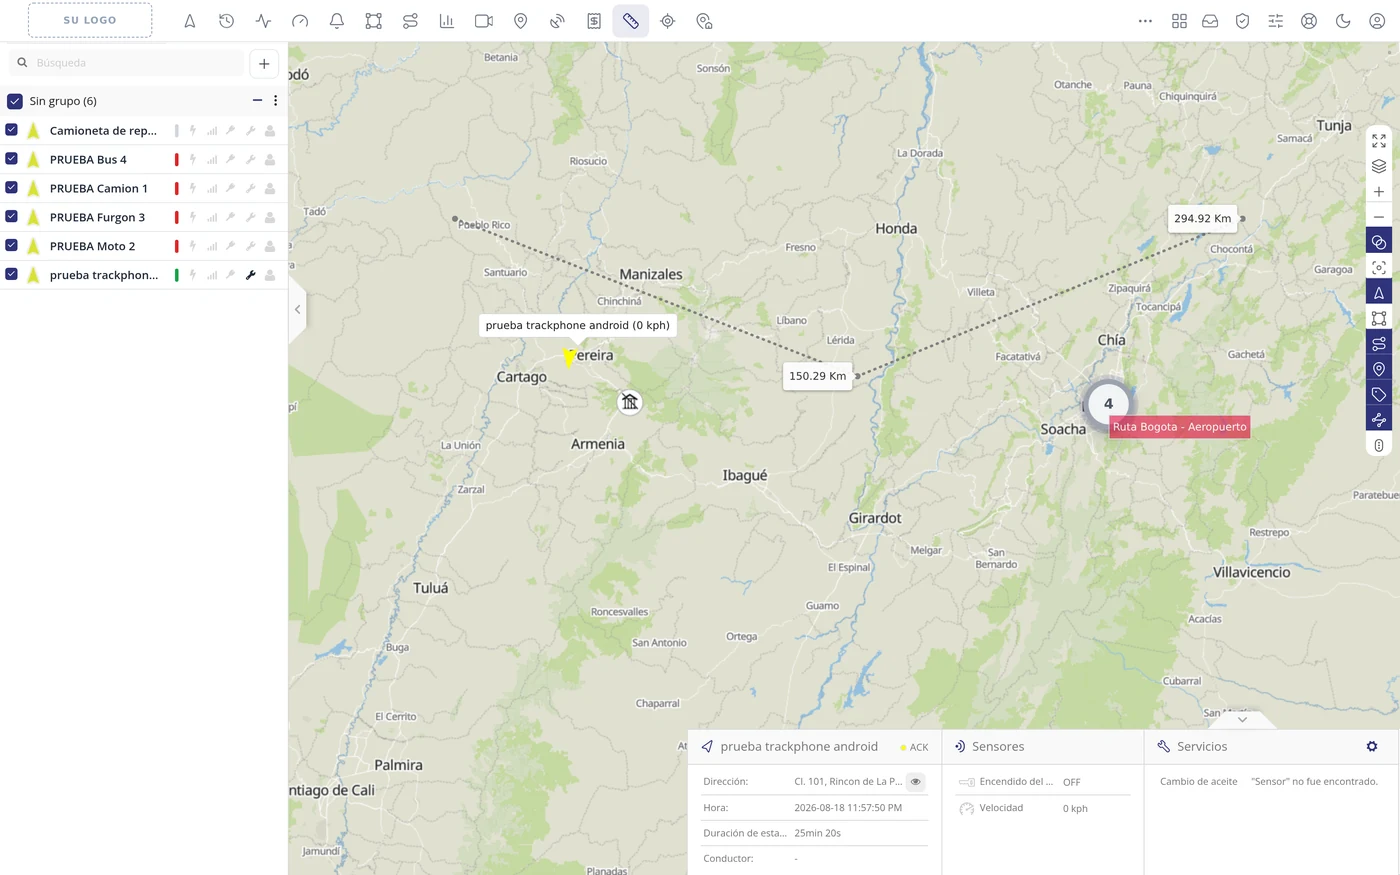
-
Click Ruler again to erase and leave
When you no longer need it, click the Ruler button in the bar again. All the lines and labels are erased from the map and the mouse goes back to normal.
CarefulThere is no 'erase' button. The only way to clean the map is to switch the Ruler off from its button.
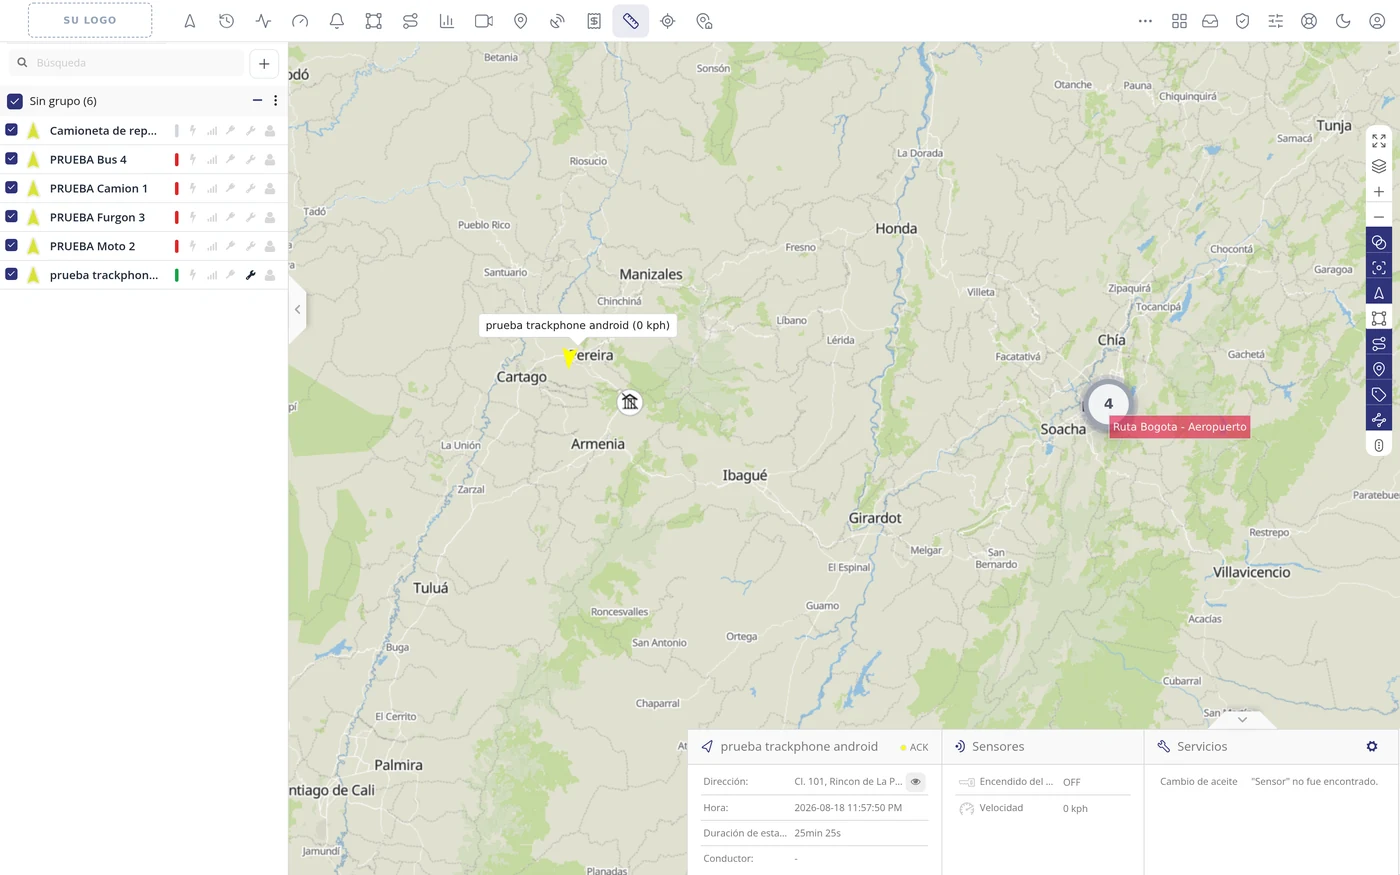
-
SHOW POINT — Click the Show point button
It is the target icon. A small window opens over the map called 'Show point'.
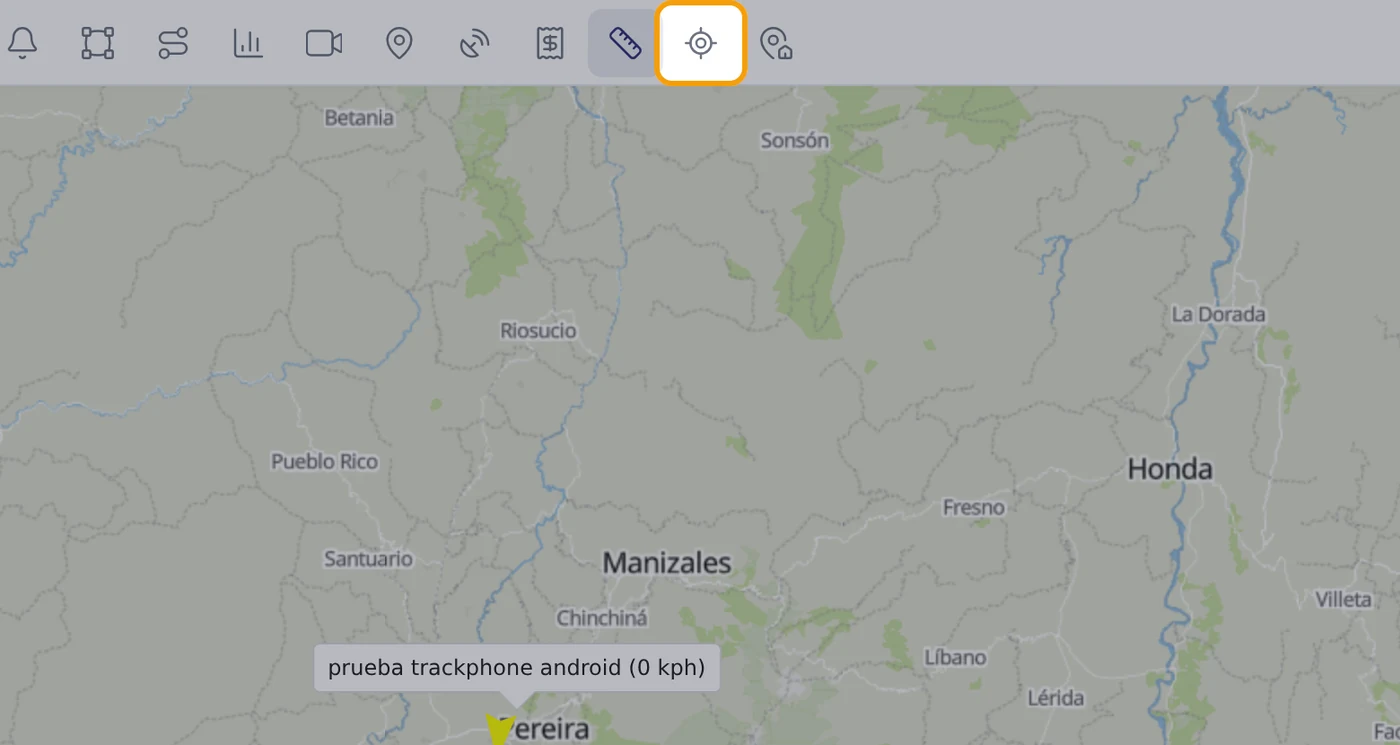
-
See how the coordinates have to be typed
The window offers two ways of writing the position: 'Degrees, minutes and seconds' (ticked by default and written with colons, like this: 4:48:41.6) and 'Decimal degrees' (written with a decimal point, like this: 4.811557). Below are the two fields: 'Latitude:' and 'Longitude:'.
CarefulBoth ways work, but the easy one is 'Decimal degrees', because it is how the software shows you the position of your vehicles.
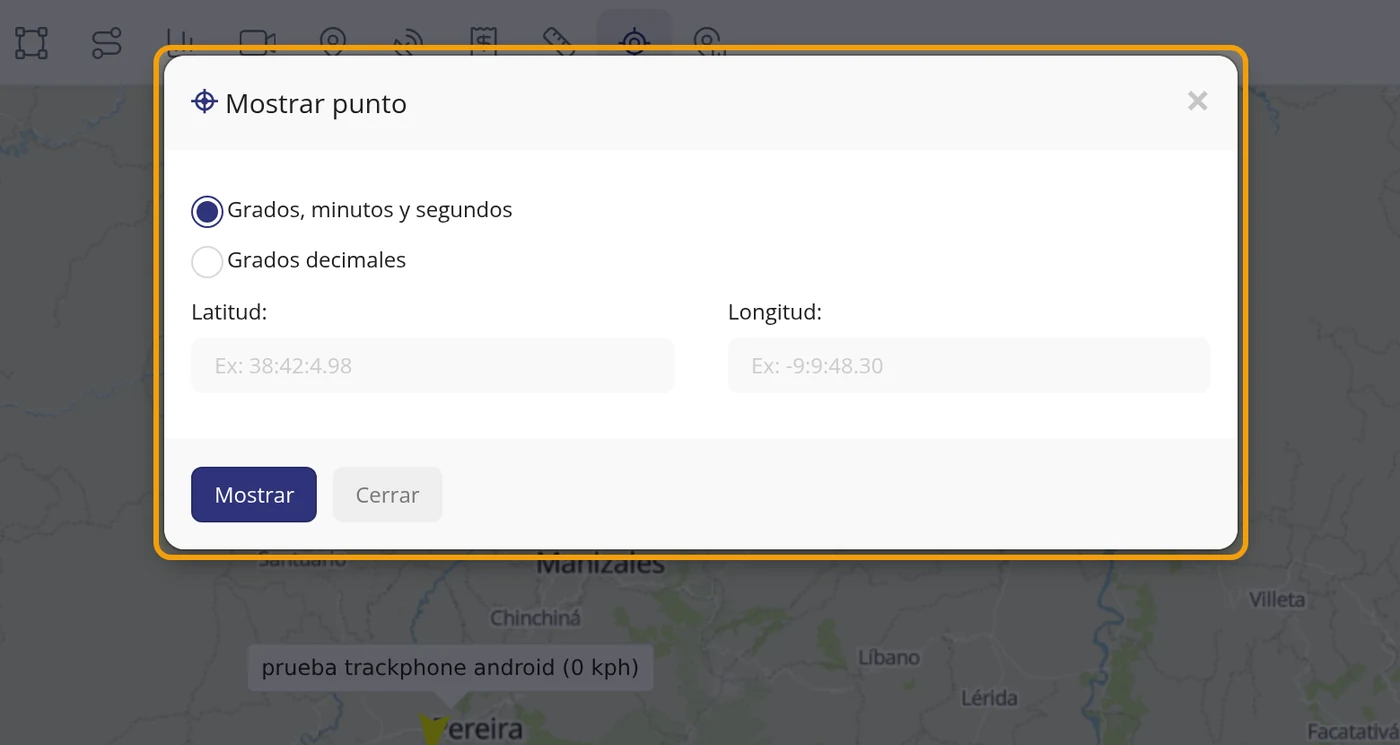
-
Choose 'Decimal degrees'
Click the radio button of 'Decimal degrees'. The two fields change and the example hints become numbers with a decimal point.
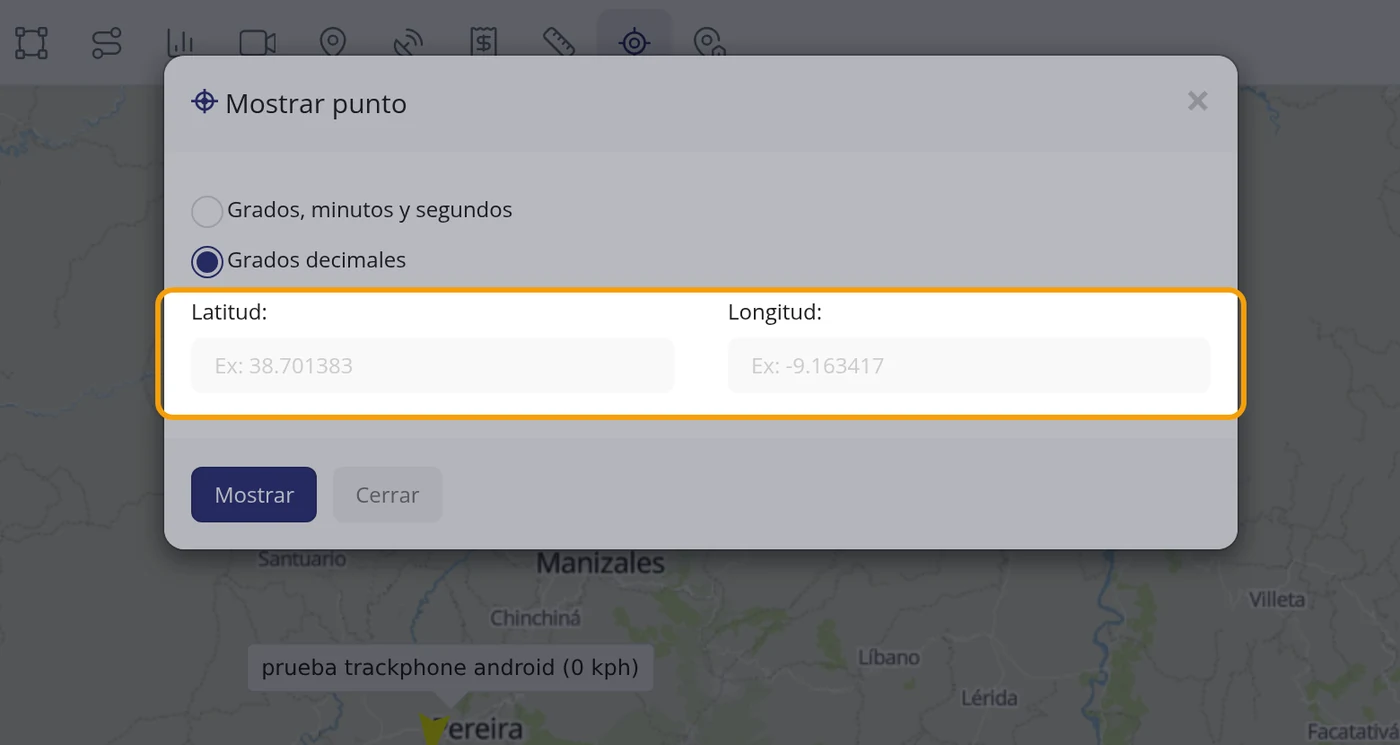
-
Type the latitude and the longitude
In 'Latitude:' type 4.811557 and in 'Longitude:' type -75.763094 (they are those of the test vehicle, which is in Pereira). The minus sign in front of the longitude is compulsory in Colombia: without it the map goes to the other side of the world.
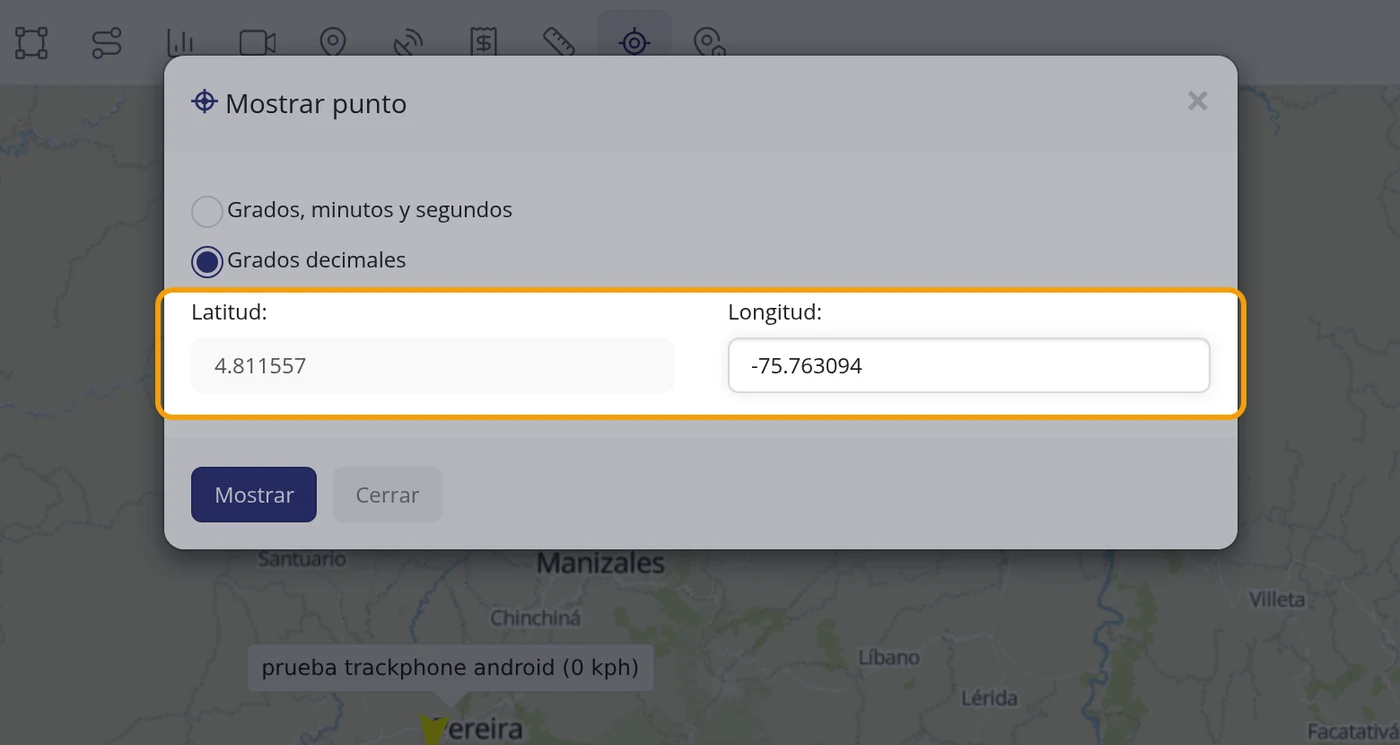
-
Click Show
The blue button at the bottom is called 'Show'. On clicking it the window closes by itself.
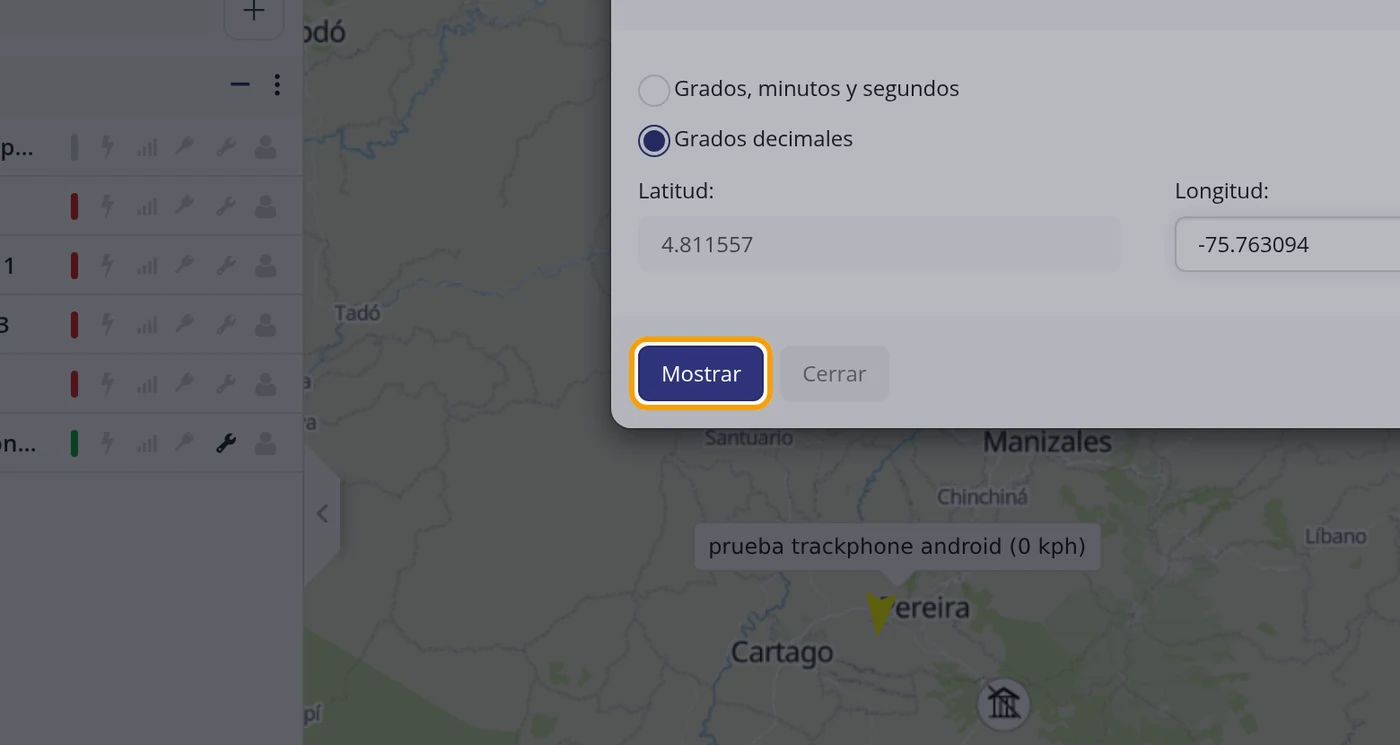
-
Check that the map went to the point
The map centres on those coordinates and leaves a blue pin there. In the test the pin landed exactly on Pereira, over the test vehicle.
CarefulThe map centres but does NOT zoom in: it stays at the same zoom level it had. If you were looking at half the country, the pin comes out very small; zoom in with the + button of the controls on the right.
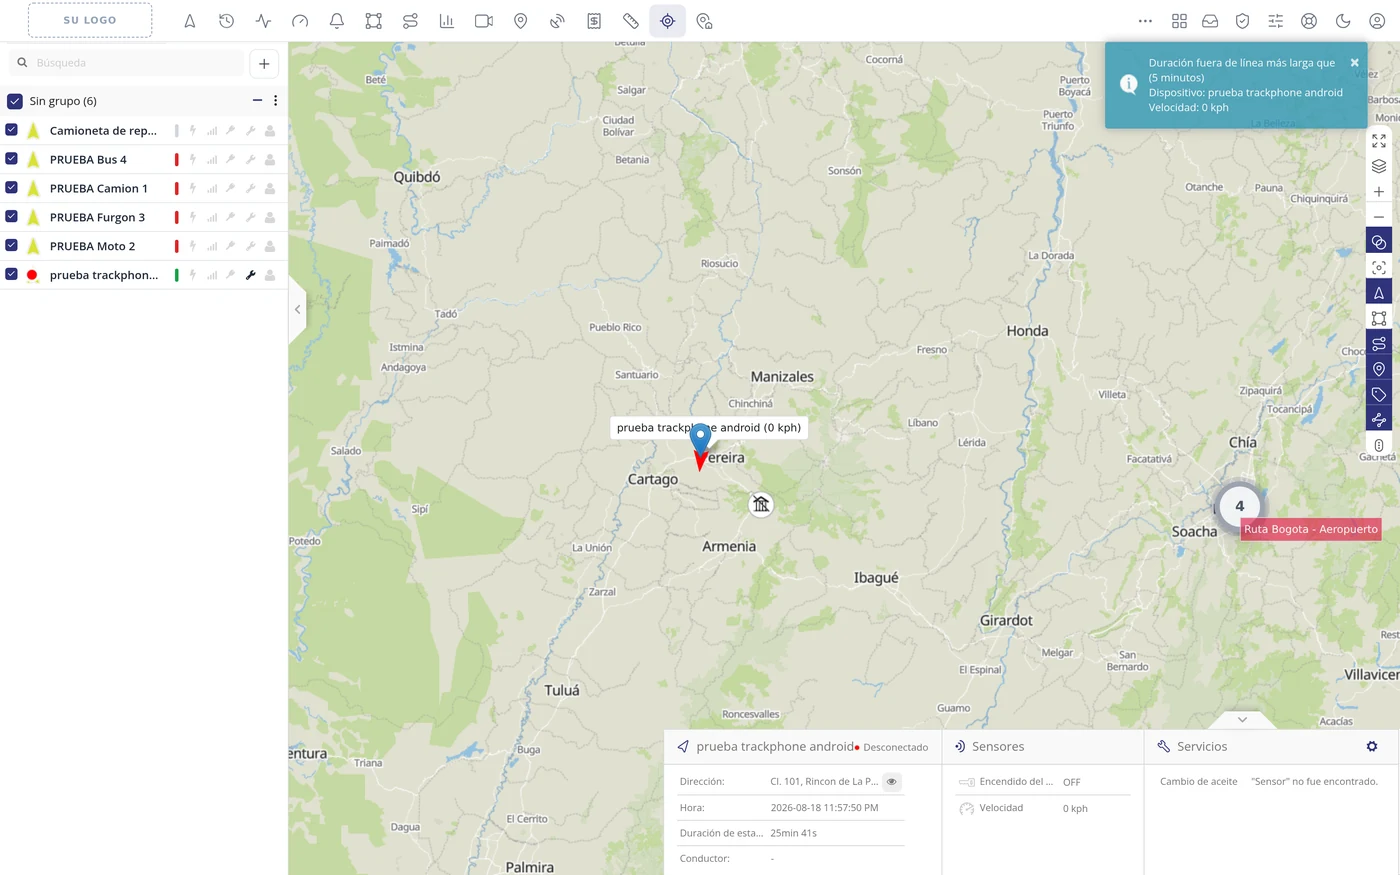
-
If you prefer degrees, minutes and seconds
With the option ticked by default, the same position is written 4:48:41.6 in 'Latitude:' and -75:45:47.1 in 'Longitude:', separating with colons. Checked: the pin landed in the same place (4.811556 and -75.763083).
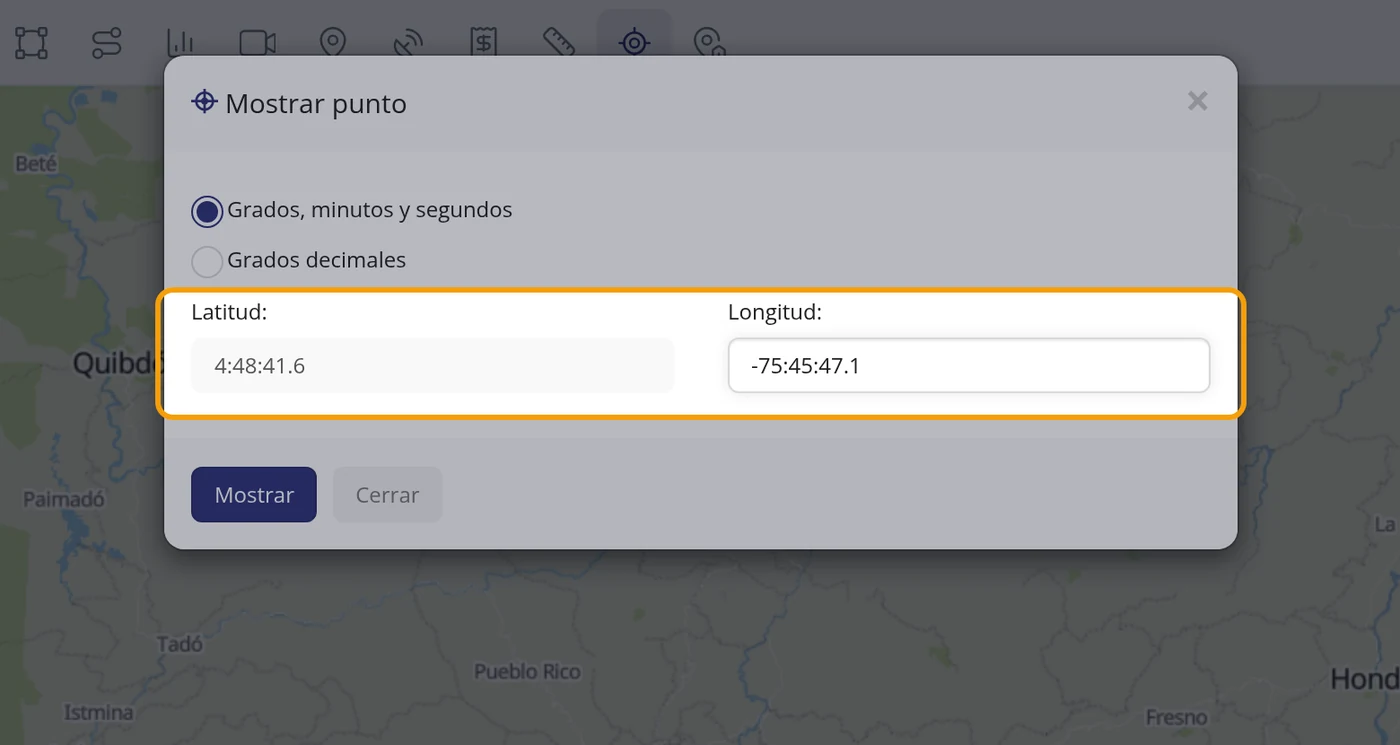
-
SEARCH ADDRESS — Click the Search Address button
It is the little house with a magnifier icon. A small window called 'Search Address' opens.
-
Look at the window
It has a single field, 'Address:', and two buttons at the bottom: 'Show' and 'Cancel'.
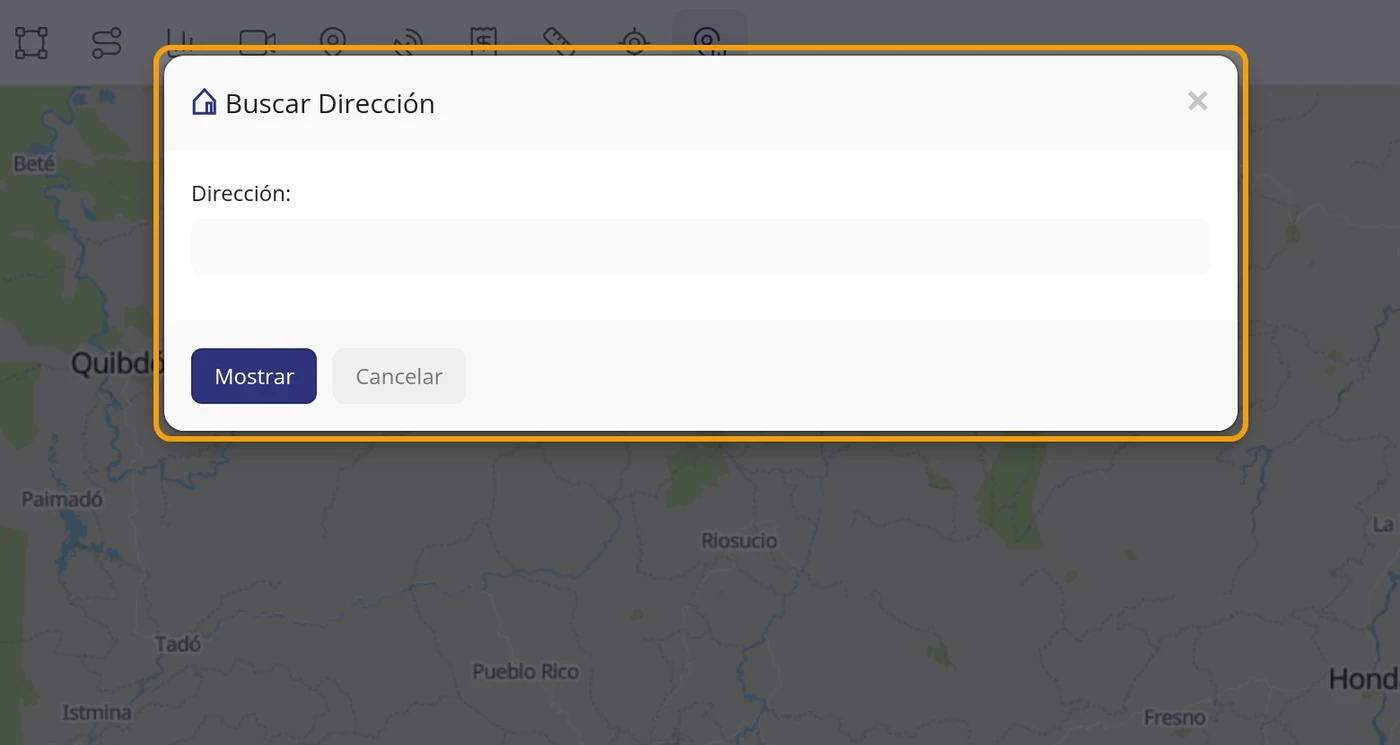
-
Type the full address
Type the address with the city and the country, for example 'Carrera 7 # 32-16, Bogotá, Colombia'. The more complete, the better it finds it.
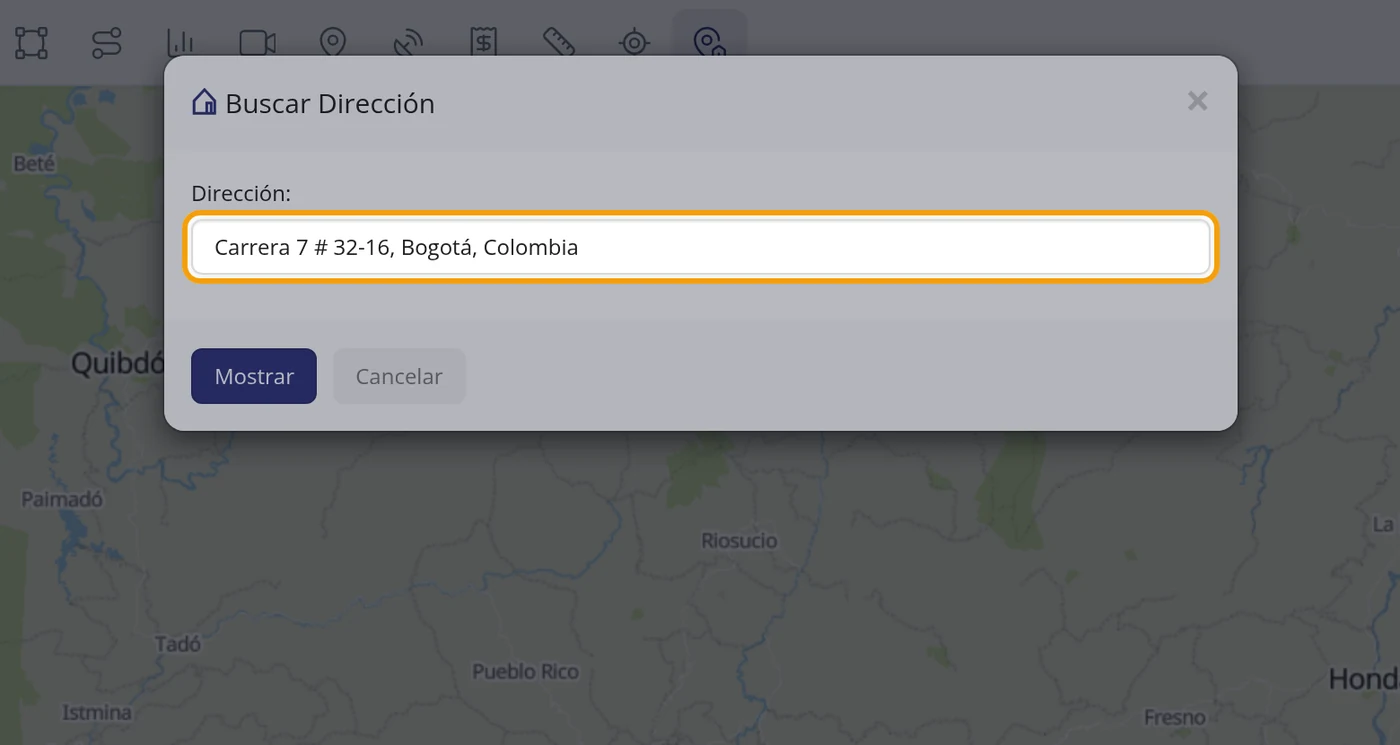
-
Click Show
Click the blue 'Show' button and wait a few seconds.
CarefulIt has five seconds to answer. If the address finder takes longer, instead of the address a red notice comes out in English with odd characters. Click Show again: it usually comes out the second time.
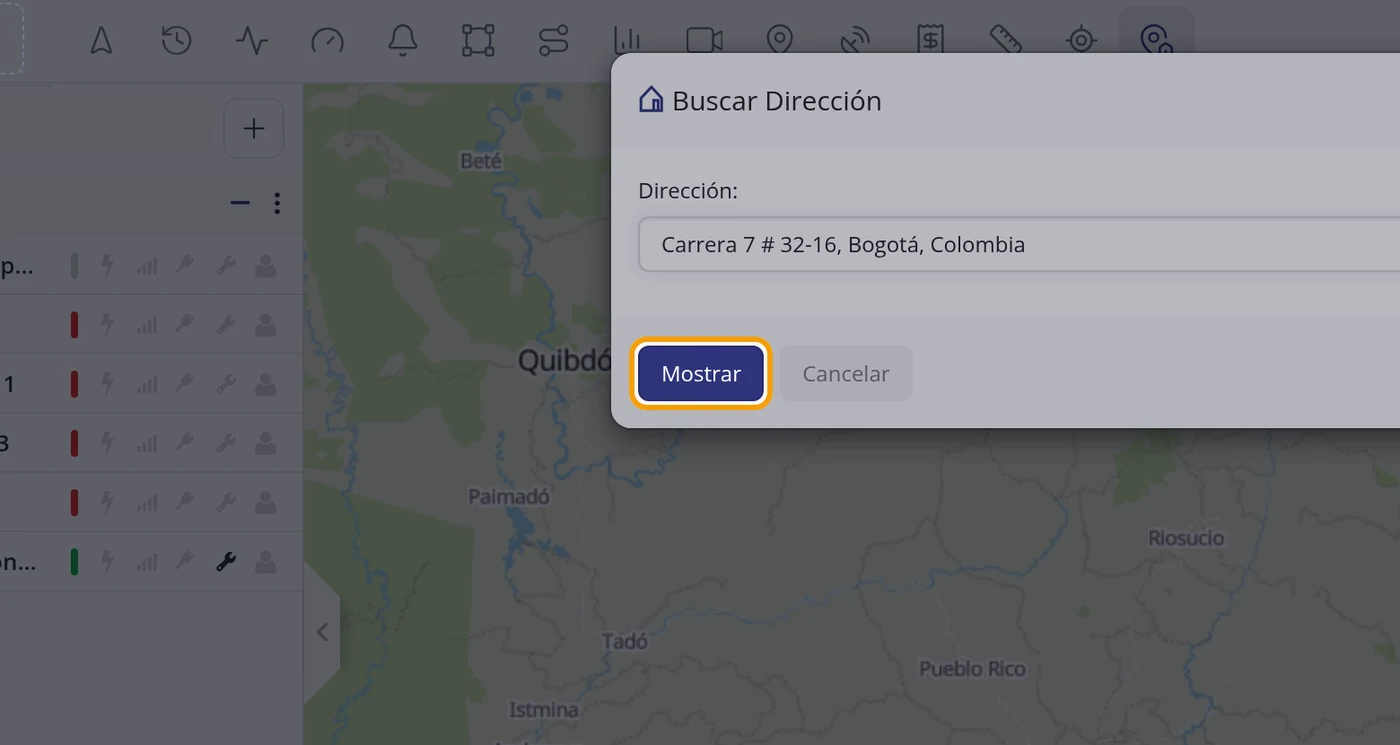
-
Check that it found it
If it finds it, the window closes by itself and the map centres on the address with a blue pin. In the test it went to Bogotá, to Carrera 7 with Calle 6, in La Candelaria.
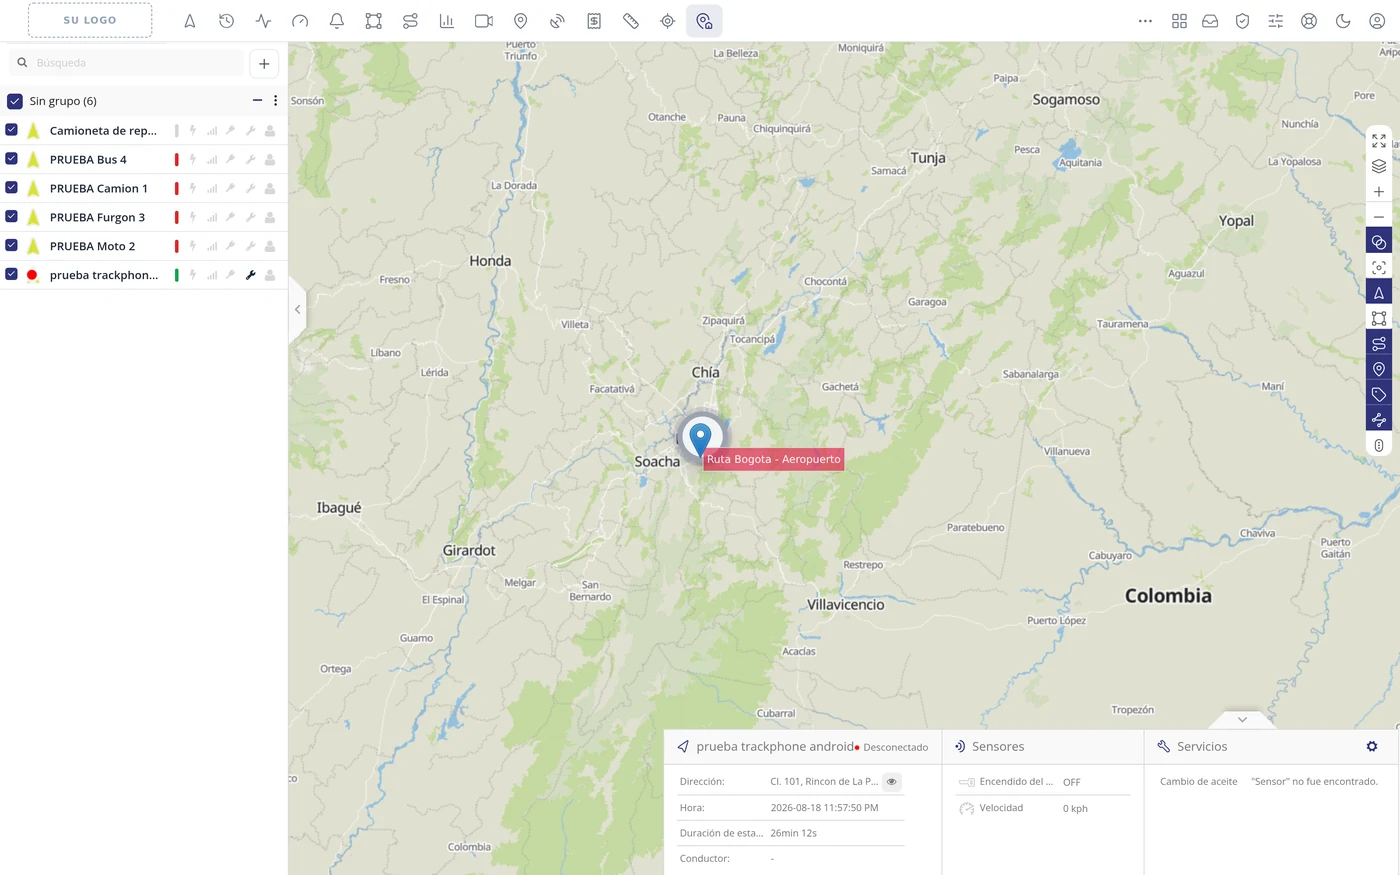
-
Zoom in to see the street
Just as with Show point, the map centres but does not zoom in. Click the + button of the map controls on the right several times until you see the street names and check that the pin is where it should be.
-
This is how the address looks close up
Close up you can read that the pin is on Carrera 7, in the La Candelaria neighbourhood of Bogotá: the address that was searched for.
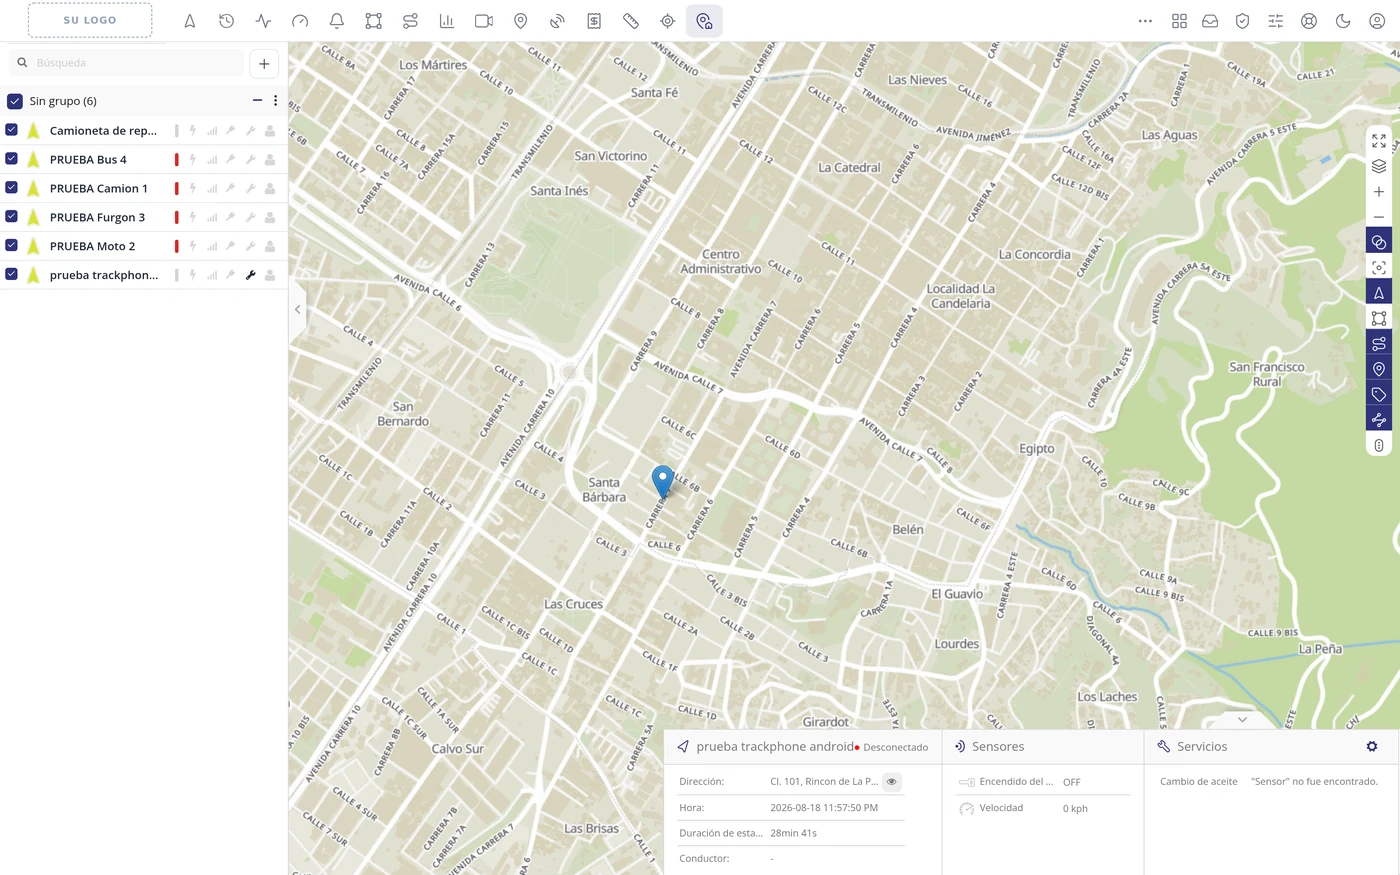
-
What happens if the address does not exist
If you type an address that does not exist, the window does NOT close: it stays open and above the field a notice appears in a red box. The map does not move and the previous pin stays where it was.
CarefulThe notice comes out in English: it says 'Unable to geocode'. It is untranslated. It means the address could not be found.
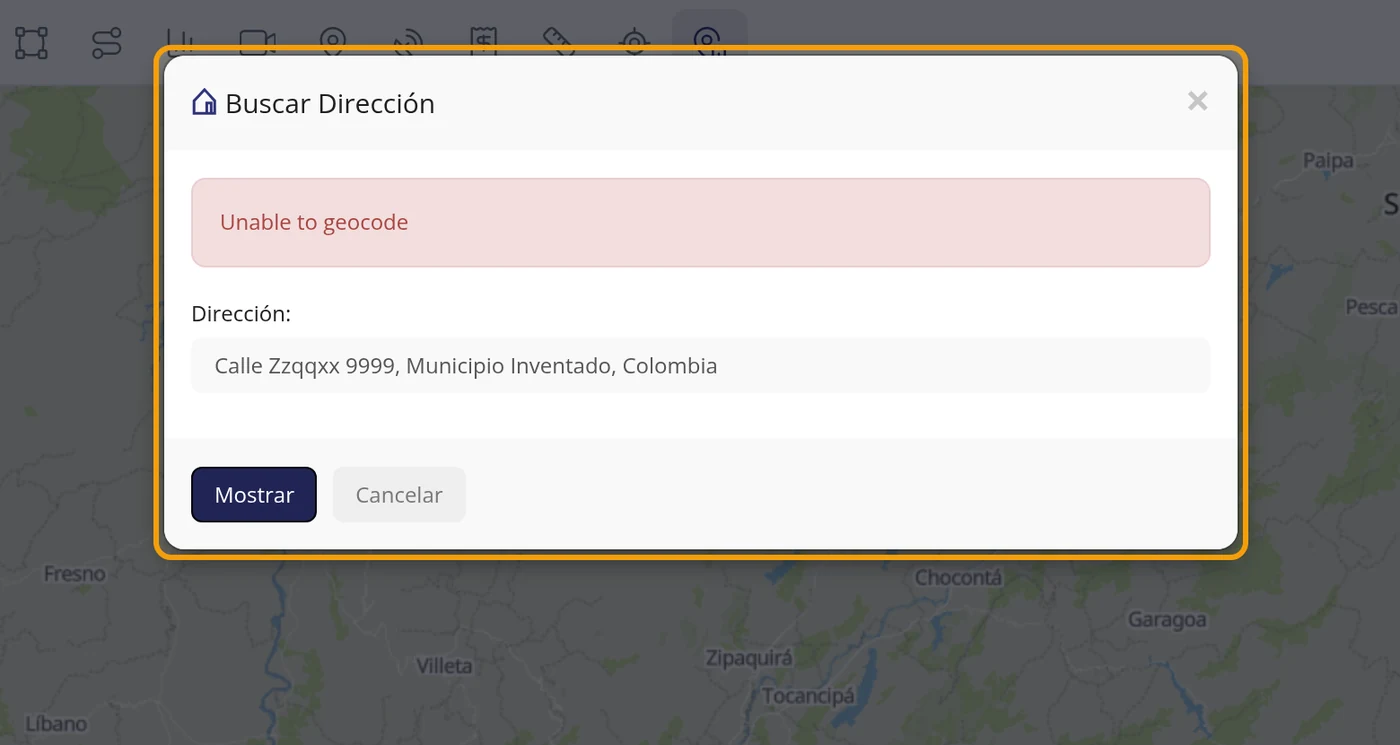
-
Your choice is stored on that computer
On reloading the page, the three buttons are still in the bar: there is no need to tick them again every day.
CarefulIt is stored in that computer's browser, not in your account. If you sign in from another computer, from another browser or clear the browsing data, the three are switched off again and have to be ticked once more.
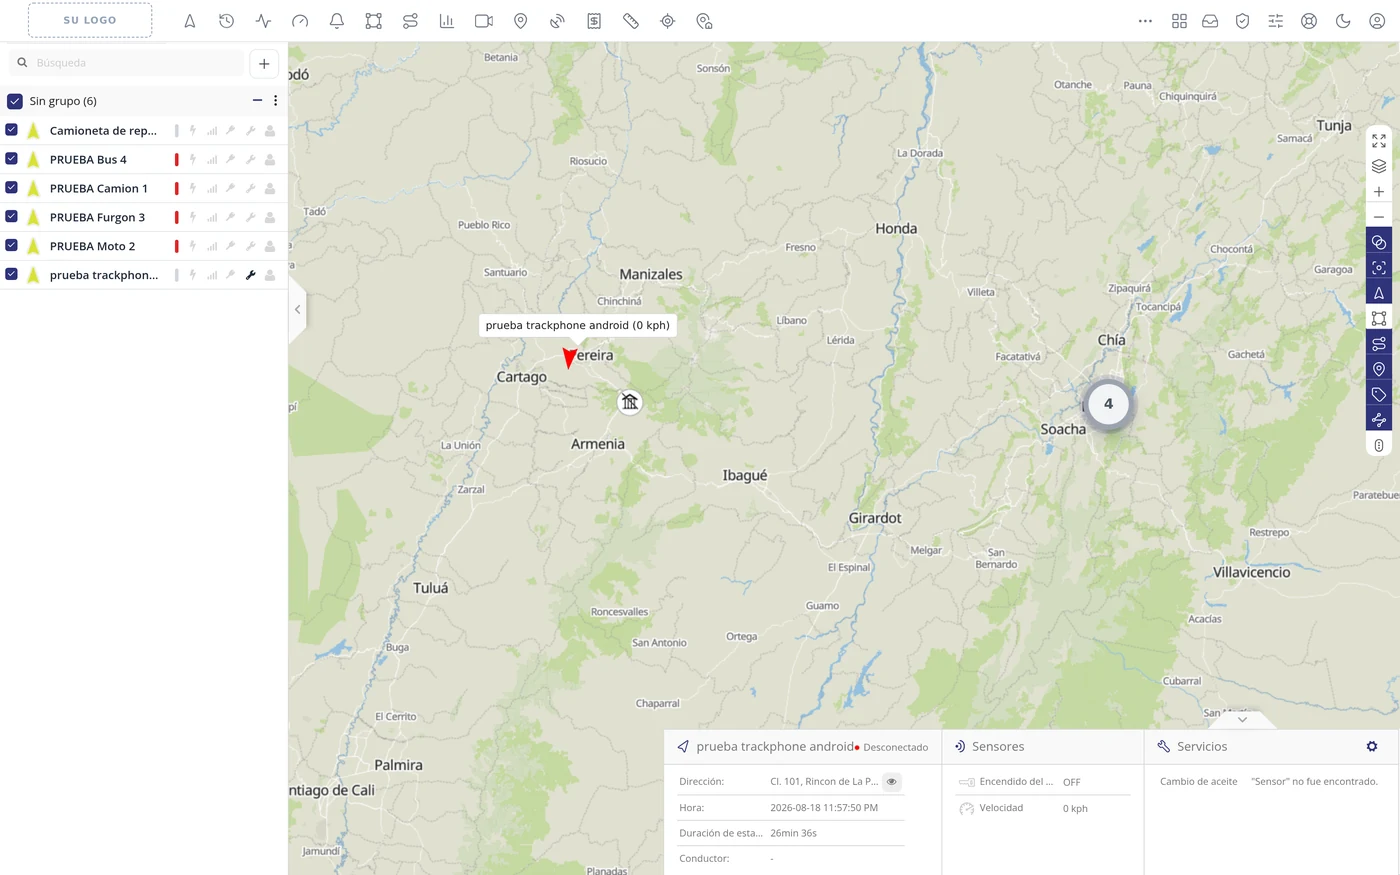
What each field asks for
| As it appears on screen | What it is | |
|---|---|---|
| The «Degrees, minutes and seconds» option | A way of writing the position separating with colons: 4:48:41.6. It is the one ticked by default in the Show point window. It can be left empty. | Can be left empty |
| The «Decimal degrees» option | A way of writing the position as a plain number: 4.811557. It is the handiest, because it is how the software shows vehicle positions. It can be left empty. | Can be left empty |
| The «Latitude:» field | How far north or south the point is. In Colombia it is a small positive number (example: 4.811557). In the window the example hint says 'Ex: 38.701383'. It is required. | Required |
| The «Longitude:» field | How far east or west the point is. In Colombia it ALWAYS has the minus sign in front (example: -75.763094). In the window the example hint says 'Ex: -9.163417'. It is required. | Required |
| The «Address:» field | The street address you want to see, with city and country. Example: 'Carrera 7 # 32-16, Bogotá, Colombia'. It is required. | Required |
| The «Show» button | Blue button that takes the map to the point or to the address. It is in both windows. It can be left empty. | Can be left empty |
| The «Close» button | Button that closes the Show point window without doing anything. It can be left empty. | Can be left empty |
| The «Cancel» button | Button that closes the Search Address window without doing anything. It can be left empty. | Can be left empty |
How to know it worked
After ticking the three little boxes, the top bar has to go from twelve to fifteen buttons and be left with icons only. The Ruler is right if, on clicking two places on the map, a label comes out with a number and the letters Km. Show point is right if a blue pin appears and the map centres on it. Search Address is right if the window closes by itself and the pin lands on the street you typed (zoom in with the map's + to see it). If the window stays open with a red box, it did not find it.
How to send an order to the device
It is for speaking directly to the device installed in the vehicle: asking it to report, changing how often it sends its position, or any other order its model accepts. The platform only carries the message; what can be asked is decided by the device's manufacturer. Where it is: Top bar > Send command
Where it is Top bar > Send command
Before you start
- The unit has to be connected. If it is not, the order is recorded but does not go out, and the platform will tell you so.
- You have to know what text that model understands. The unit's manual has it; the platform does not guess.
-
Click Send command in the top bar
A window opens over the map with four tabs: GPRS, SMS, Schedule and Logs.
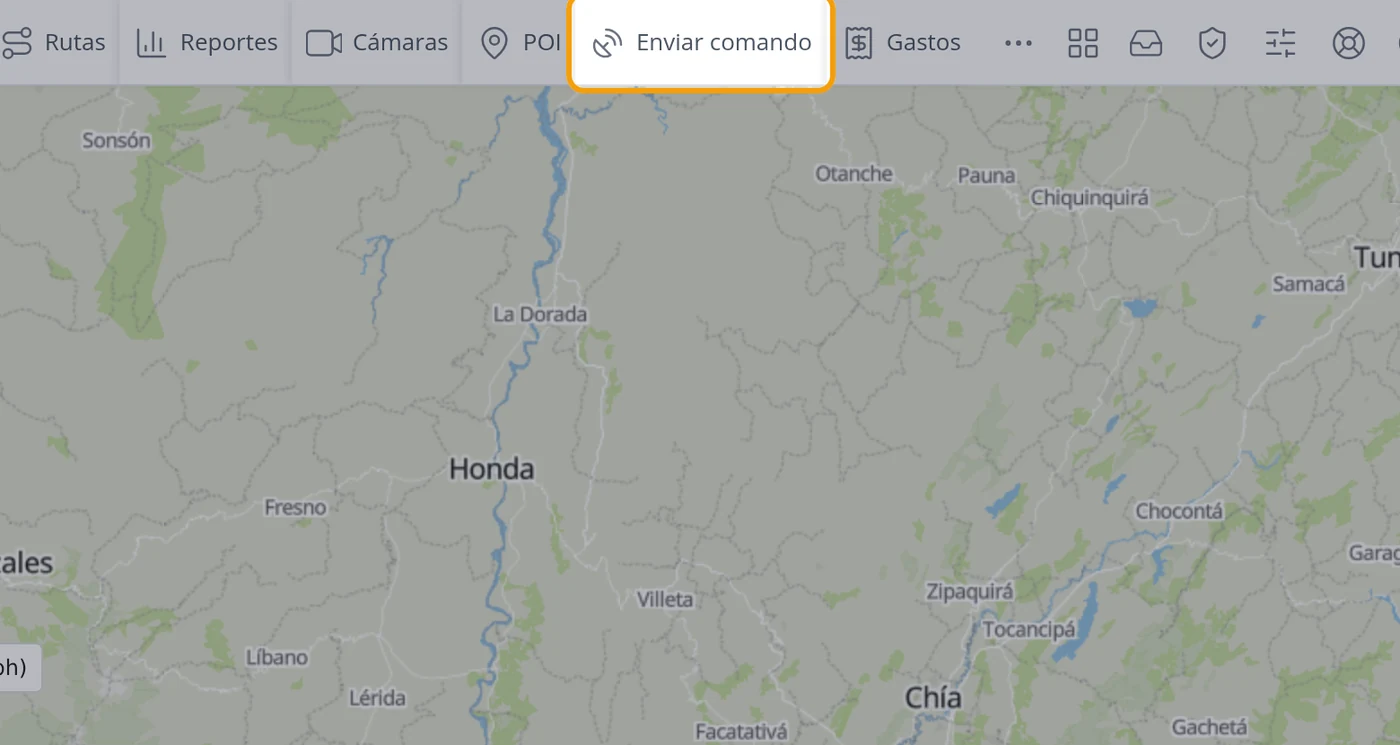
-
What GPRS is and what SMS is (and why there is no WhatsApp here)
They are the two ways of talking to the vehicle device, and they have nothing to do with the warnings that reach you. GPRS is the data connection of the device itself: the order travels over the internet, by the same route the device uses to send its positions. It is the normal way, it is immediate and costs no messages. SMS is a text message to the SIM card inside the device: it is used when the device has no data or is off the network, and for it to go out you need a message gateway contracted. A GPS device only understands these two ways: you cannot send it an order over WhatsApp or by email. WhatsApp and email are for telling a PERSON.
CarefulThat is why, in the command screens, you will always see SMS and GPRS. Where the name was changed to WhatsApp is in the warnings people receive.
-
Understand the four tabs
GPRS sends the order over the internet, which is the normal way. SMS sends it by text message, and for that you need an SMS gateway contracted. Schedule is for leaving orders scheduled. Logs is the list of everything that has been sent.
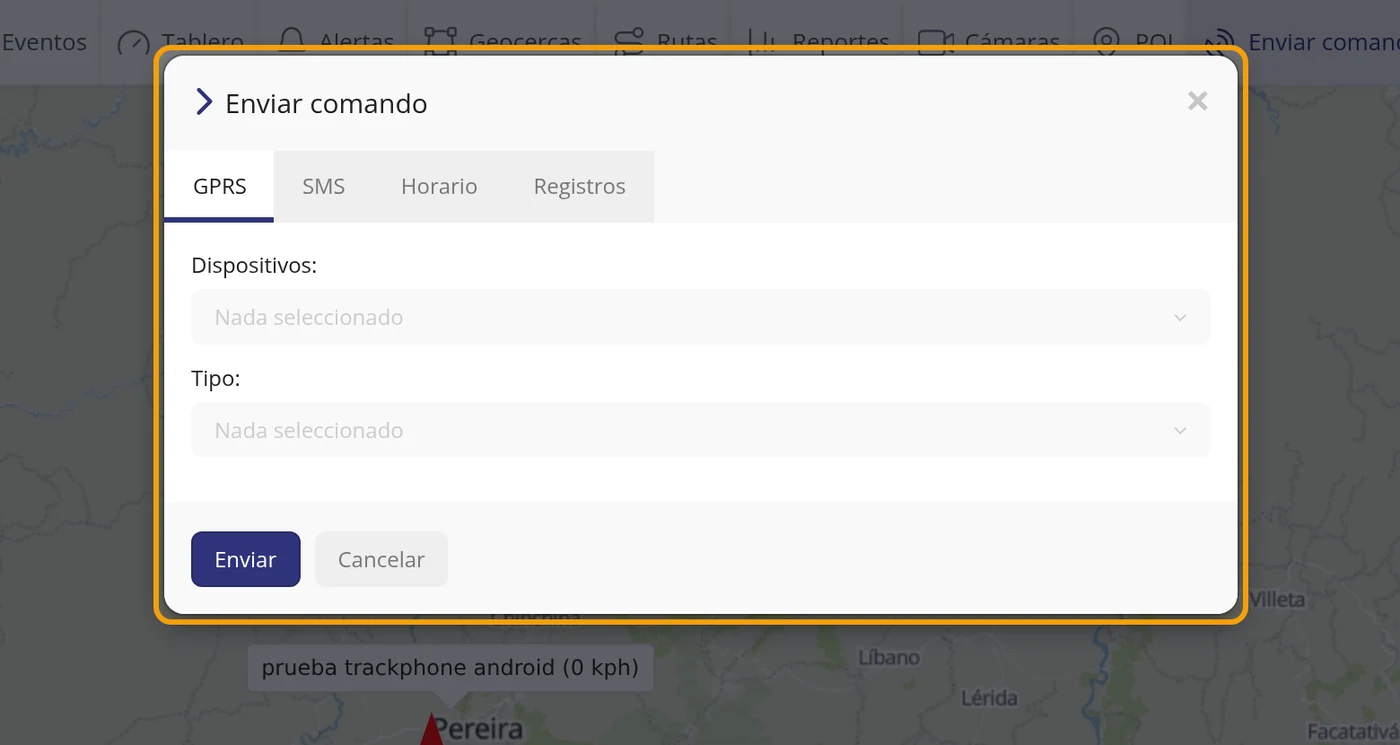
-
Choose the vehicle
Open the Devices field and click the name. Several can be chosen at once, or all with Select all.
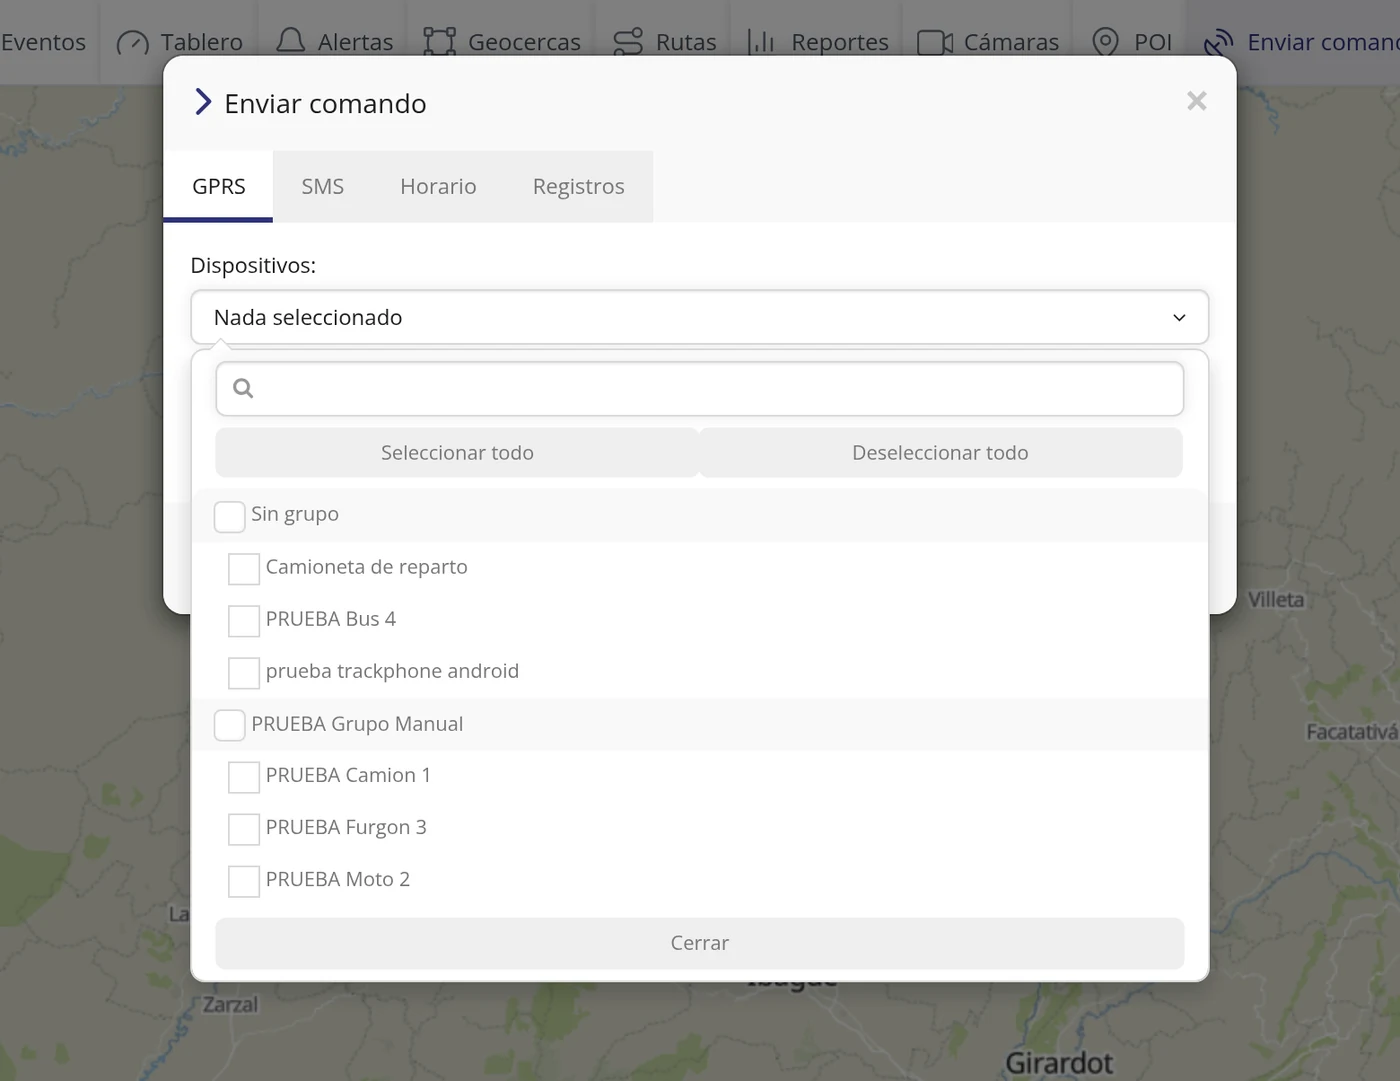
-
Check that it is chosen
The field stops saying Nothing selected and shows the vehicle name.
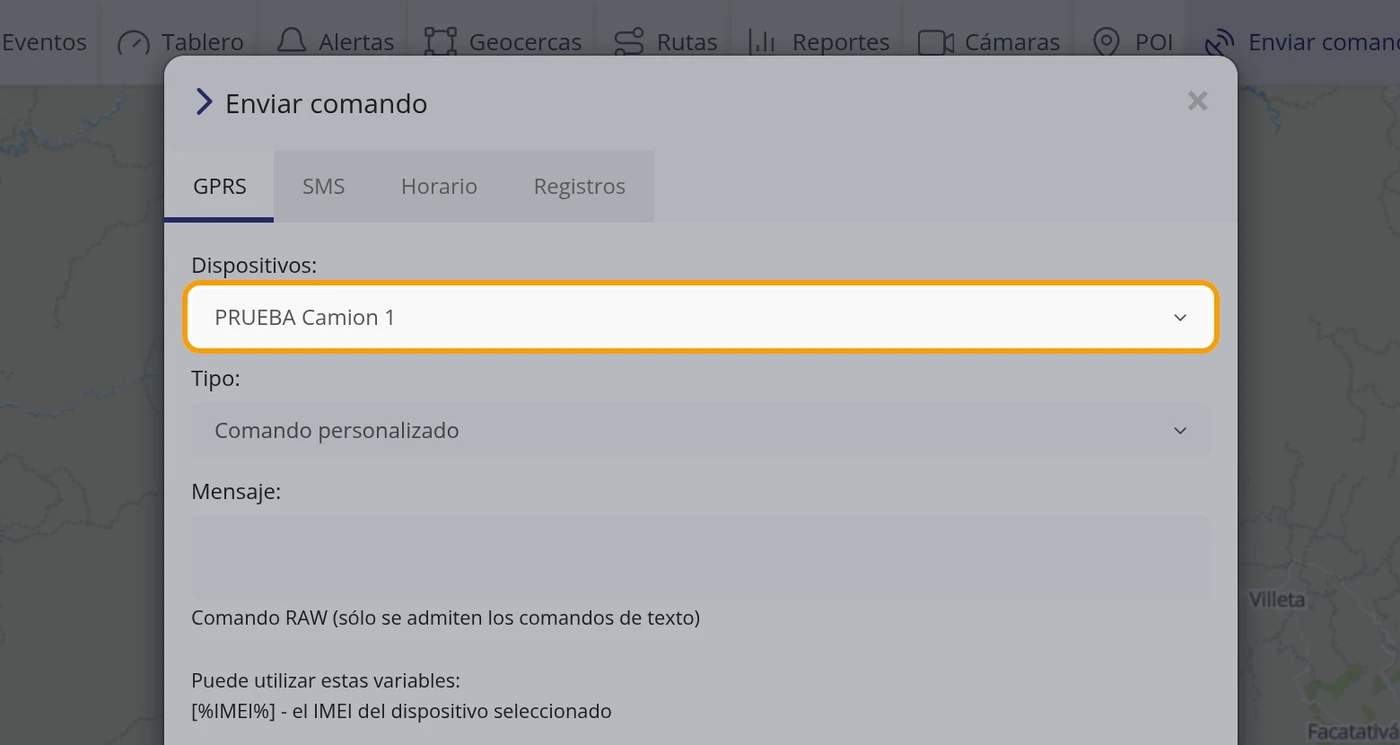
-
Leave the Type as it is
The Type field only offers Custom command, which means you type the text.
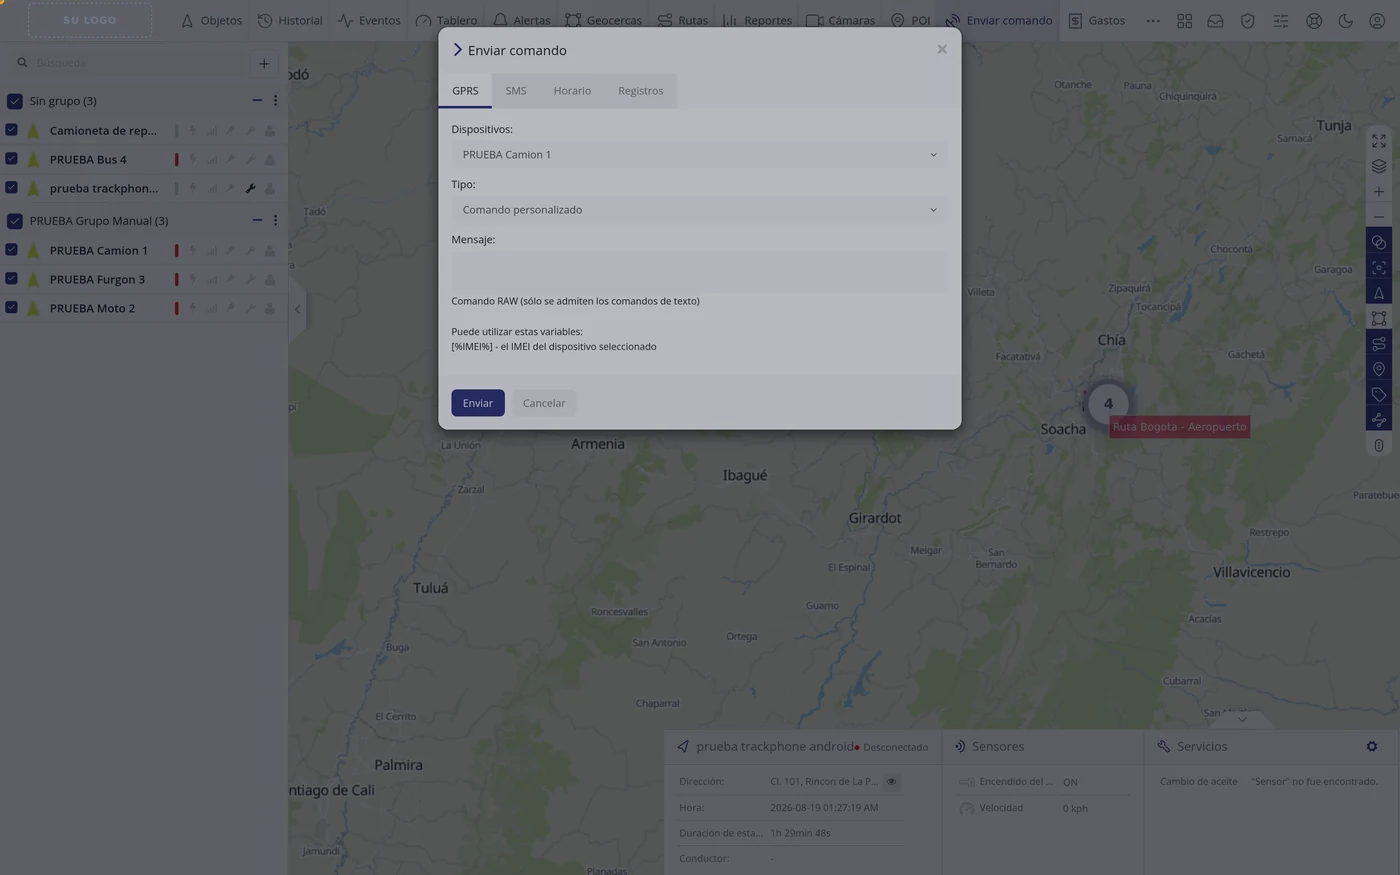
-
Type the order
In Message goes the text exactly as the device understands it. Below, the screen itself warns: RAW command (only text commands are accepted), and that you can use [%IMEI%] so the platform fills in the device identifier by itself.
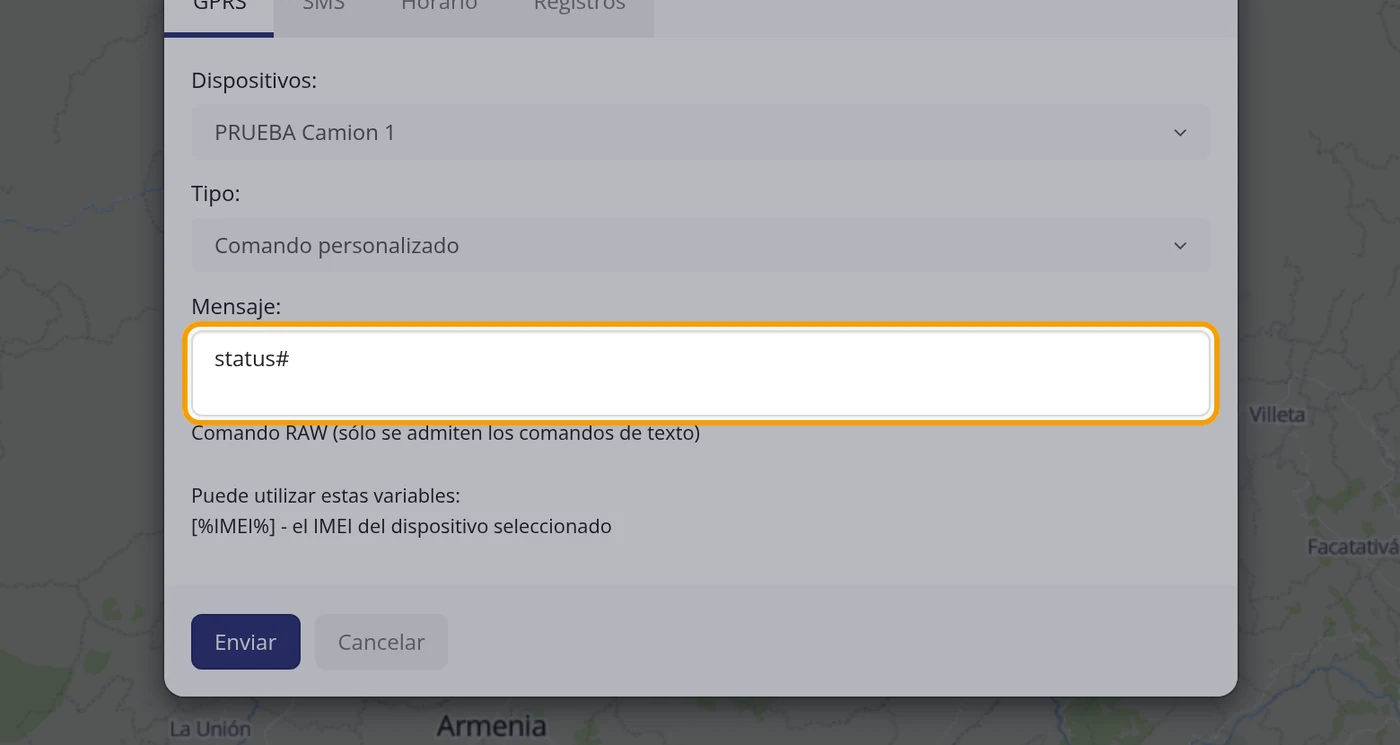
-
Click Send
The button is at the bottom left.
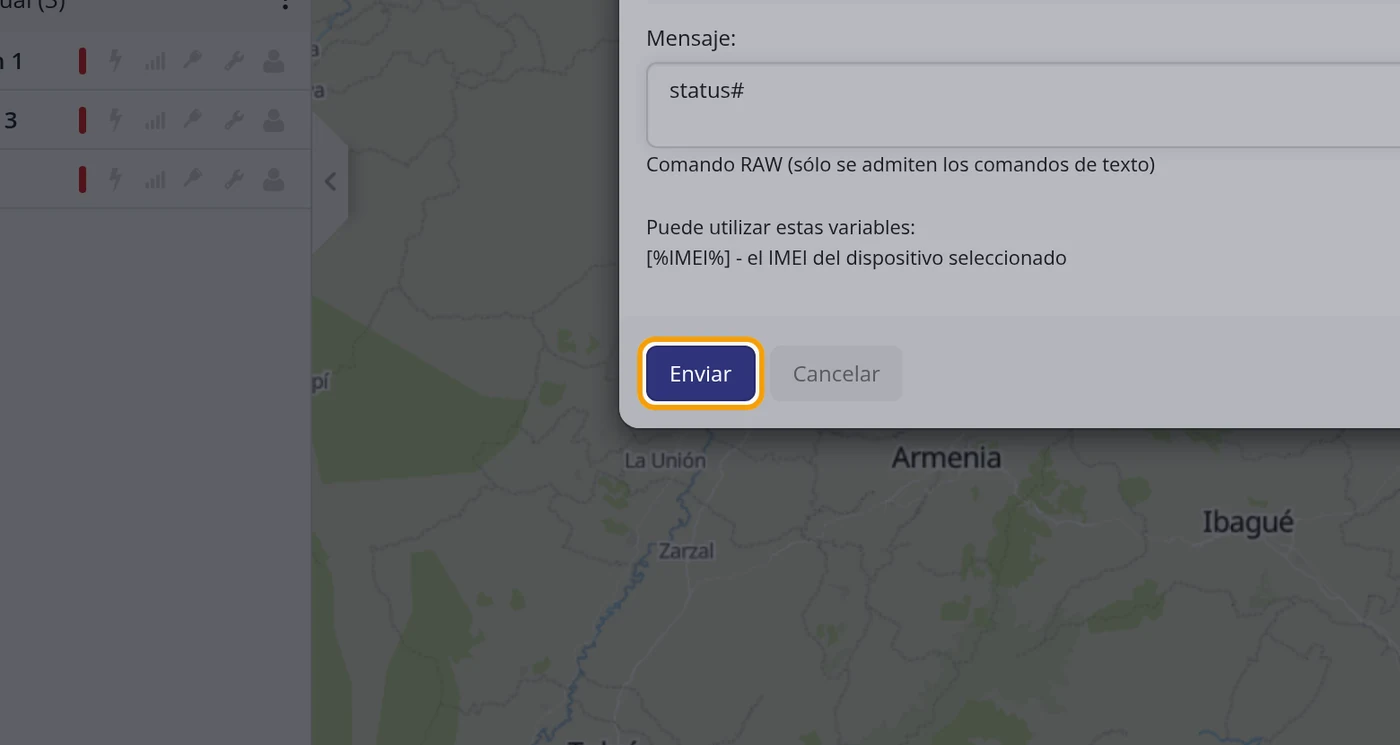
-
Confirm
The question Are you sure you want to perform this action? appears with the Confirm and Cancel buttons. Until you click Confirm nothing is sent.
CarefulThis step is easily skipped. If you close the window there, the order does not go out and nothing is recorded.
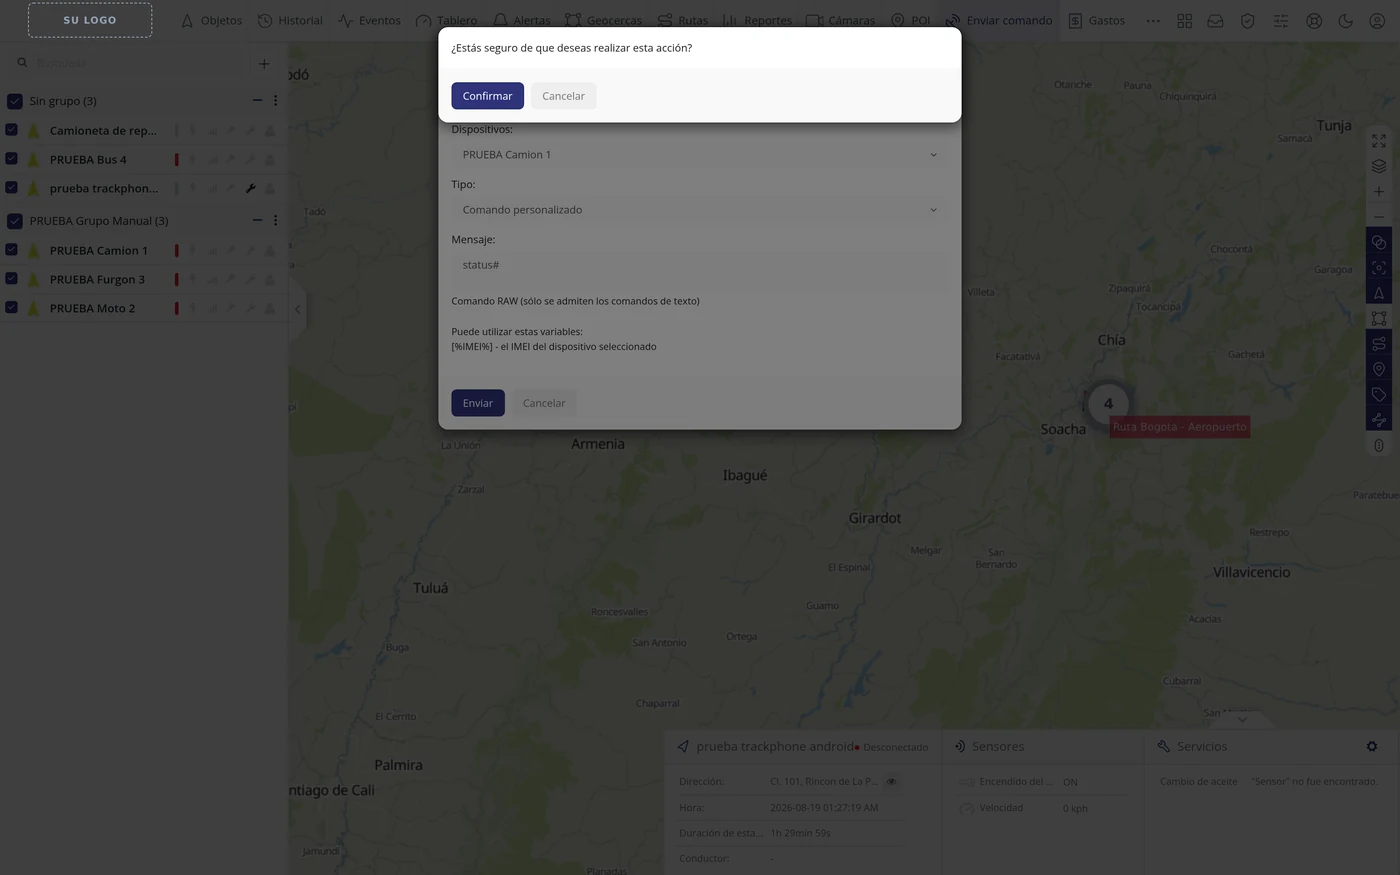
-
Read the answer
At the top of the window the result appears. In the test, with a switched-off device, it came out PRUEBA Camion 1: No GPRS connection.
CarefulThe notice that it went out fine is written in the program but never actually shows. Rely on the Logs tab, not on whether a green message appears or not.
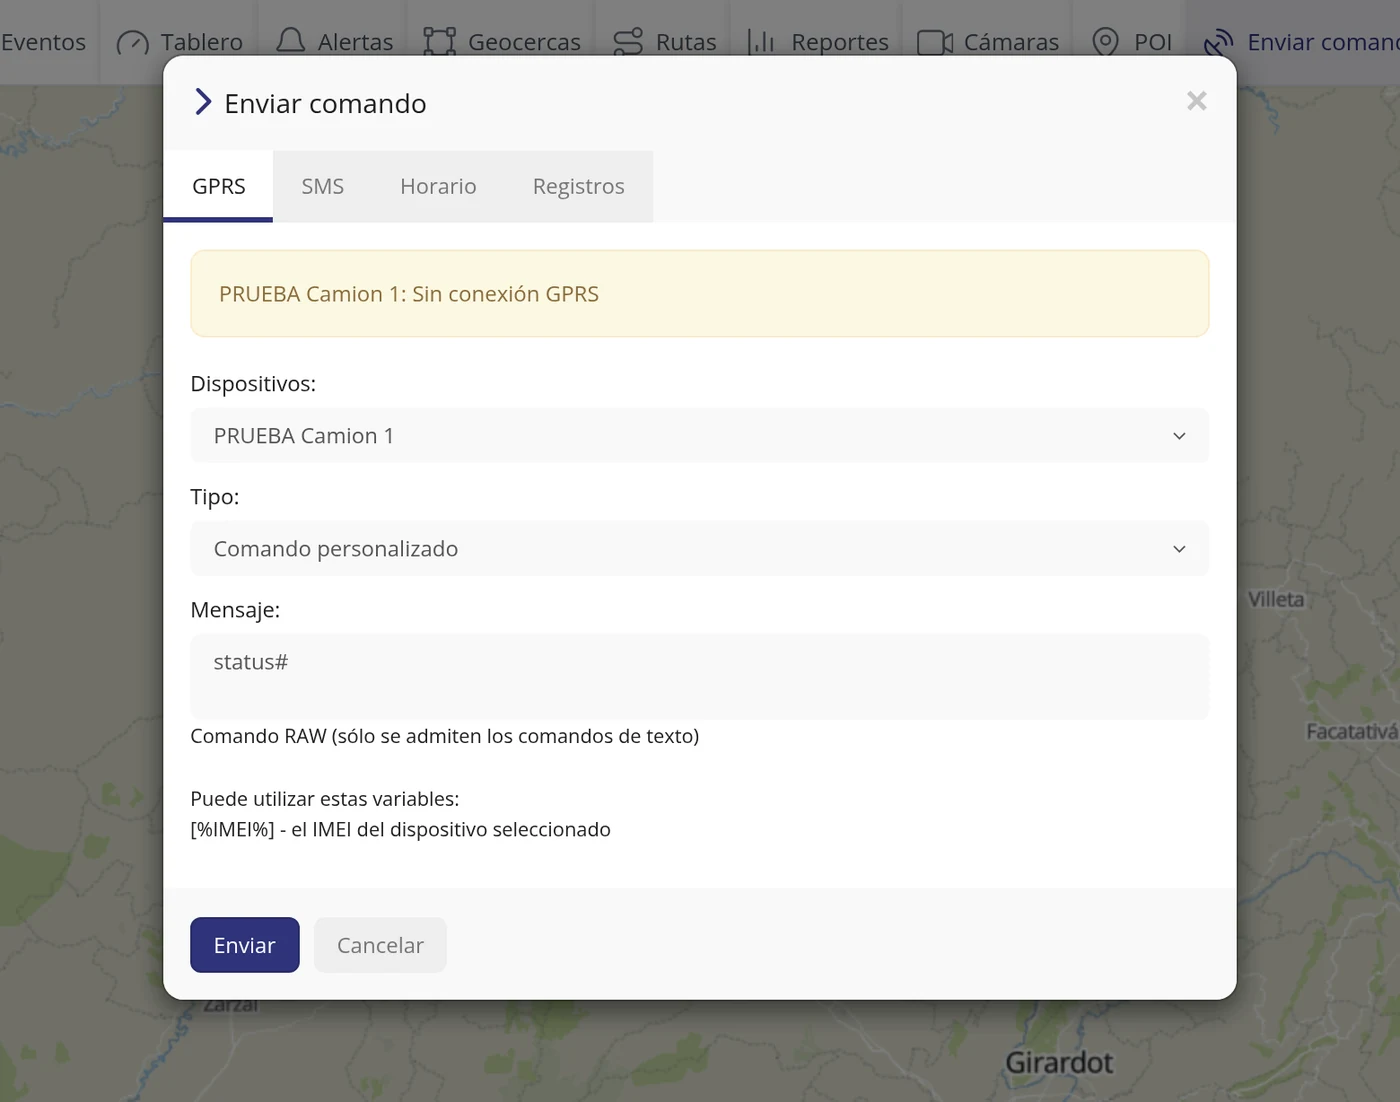
-
Check in Logs
The Logs tab lists what was sent with six columns: Device, Connection, Command, Status, User and Date. In the test the row PRUEBA Camion 1, gprs, custom, Status No was left, with the email of whoever sent it and the date.
CarefulThe Status is what matters: it says whether the order reached the device or not.
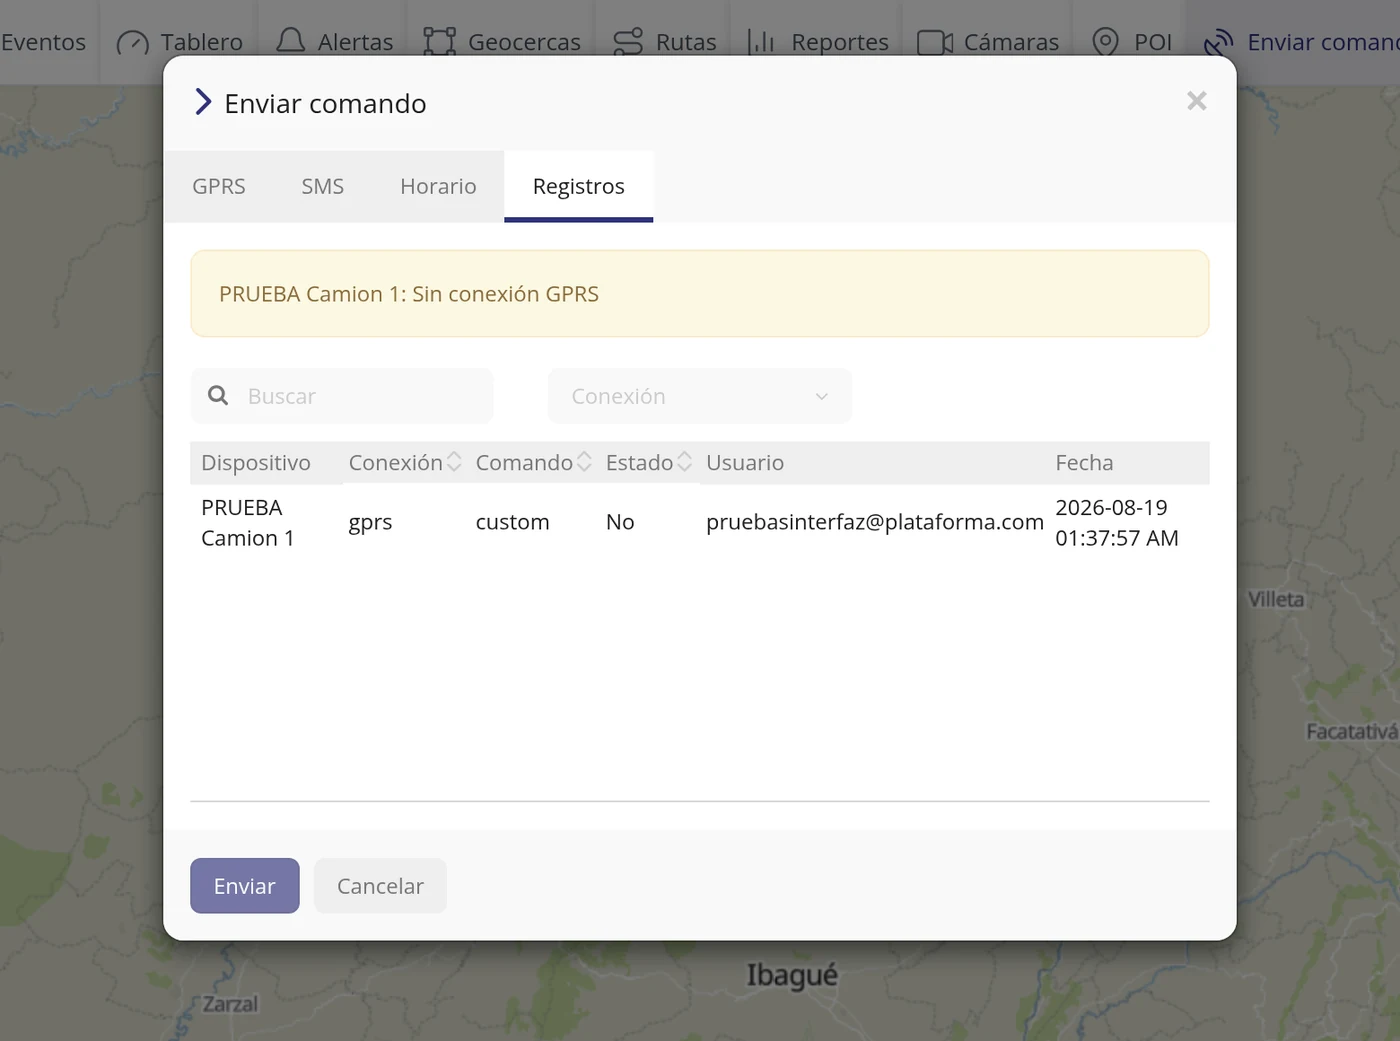
-
Scheduled orders
The Schedule tab stores orders that repeat, with the columns Connection, Command, Parameters, Scheduled at and Type. They are added with the + button on the right.
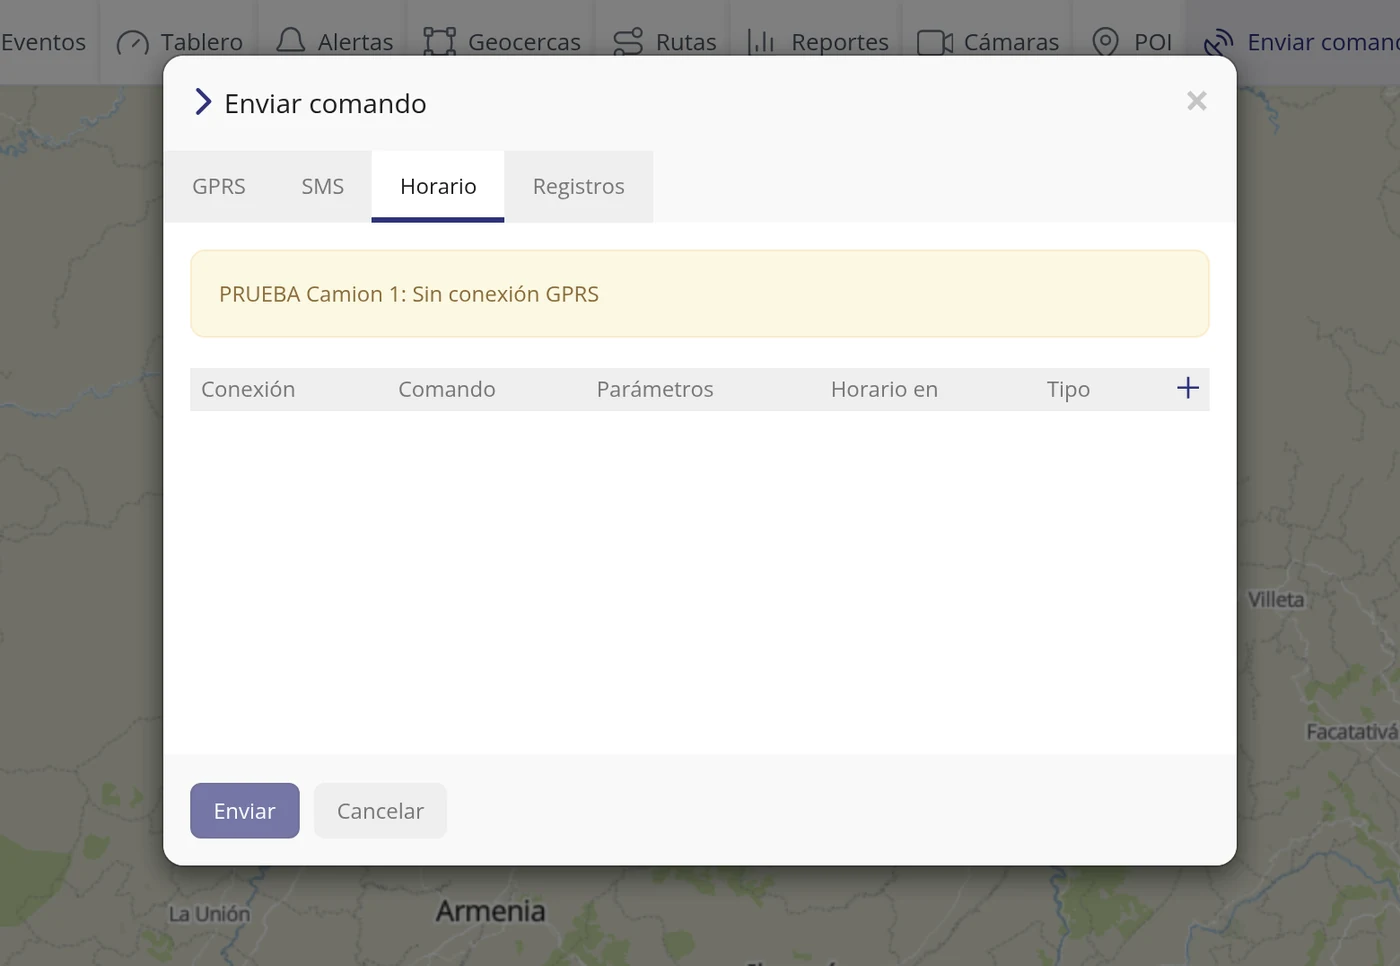
What each field asks for
| As it appears on screen | What it is | |
|---|---|---|
| The «Devices:» field | Which vehicles it is sent to. It accepts several. It is required. | Required |
| The «Type:» field | Today it only offers Custom command. It is required. | Required |
| The «Message:» field | The text of the order, exactly as that device model understands it. It is required. | Required |
How to know it worked
In the Logs tab the row has to appear with today's date and time, and the Status column says whether it reached the device.
How to schedule a command to go out on its own
So you do not have to remember to send the same order every day. The platform sends it on its own at the time you say: every hour, every day, once a week, once a month or at an exact time. You can also make an order go out on its own when something happens, by hooking it to an alert. Where it is: Top bar > Send command > Schedule tab. And to make it go out on a warning: Top bar > Alerts > + button > Command tab
Where it is Top bar > Send command > Schedule tab. And to have it triggered by an alert: Top bar > Alerts > + button > Command tab
Before you start
- Know what text the device understands: its manual has it.
- Be clear whether it goes by GPRS (over the internet) or by SMS (a message to the device's SIM).
-
Open Send command and go to Schedule
It is the third of the four tabs of that window. There is the list of the orders already scheduled, with five columns: Connection, Command, Parameters, Scheduled at and Type.
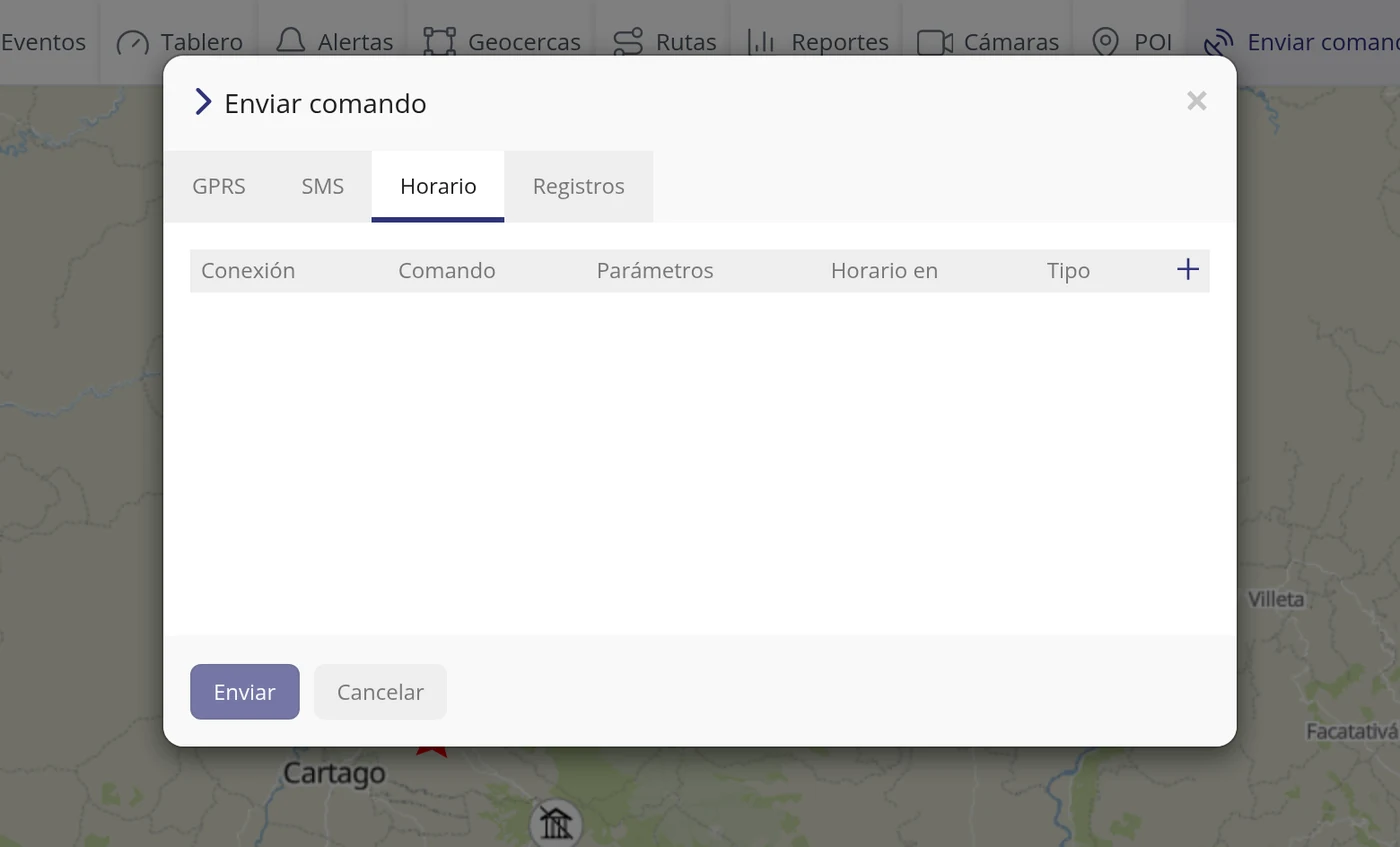
-
Click the add button
The Command schedule window opens.
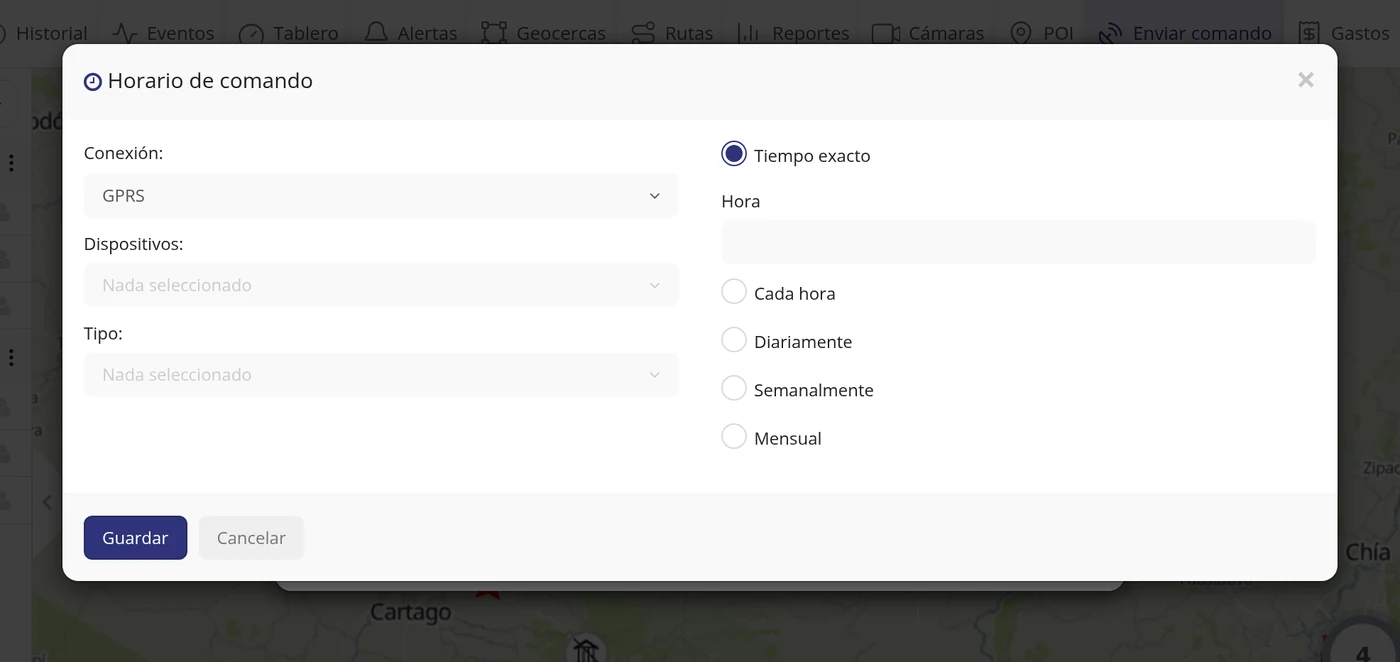
-
Choose how it goes out: Connection
There are only two ways, GPRS and SMS. GPRS is over the internet, which is the normal one; SMS is a text message to the device card and needs a gateway contracted.
CarefulThere is no WhatsApp or email here: the device is only spoken to over GPRS or SMS.
-
Choose the vehicle
In Devices tick which one or ones the order is going to be sent to.
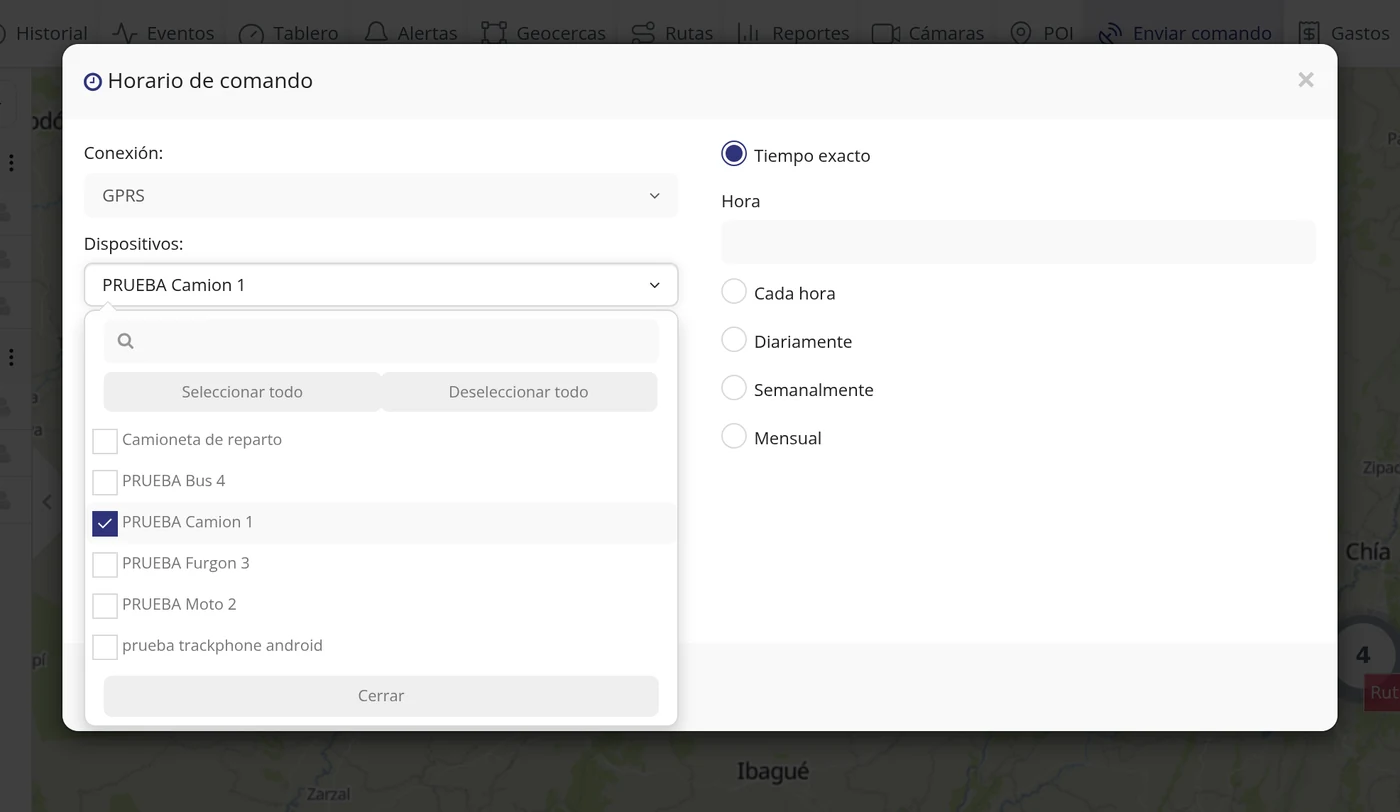
-
Choose the order type
In Type the command templates you have prepared for that kind of device appear. If you have none, Custom command appears, which means you type the text.
Dejar las órdenes preparadas: plantillas de comandos →
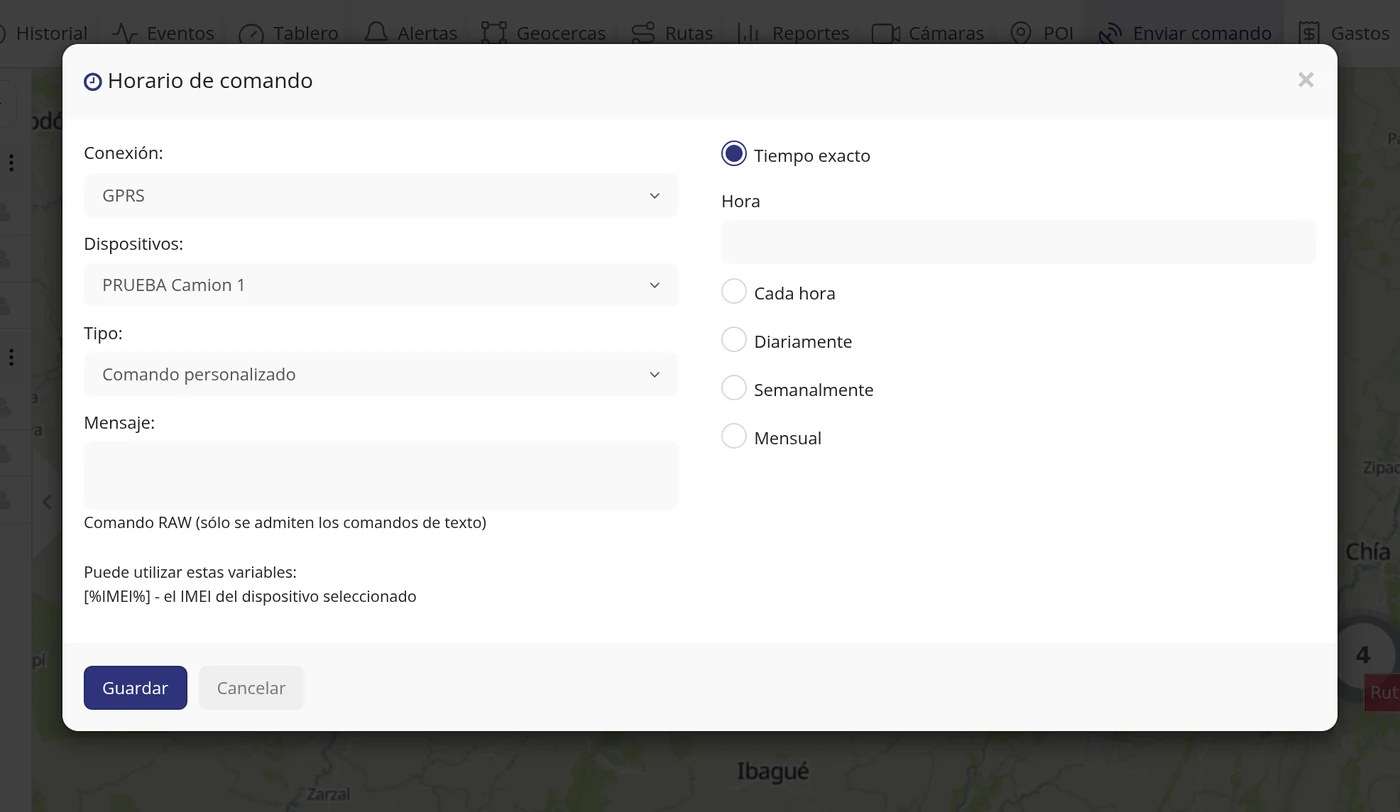
-
Type the order
With Custom command you type the text exactly as the device understands it. In the test status# was used.
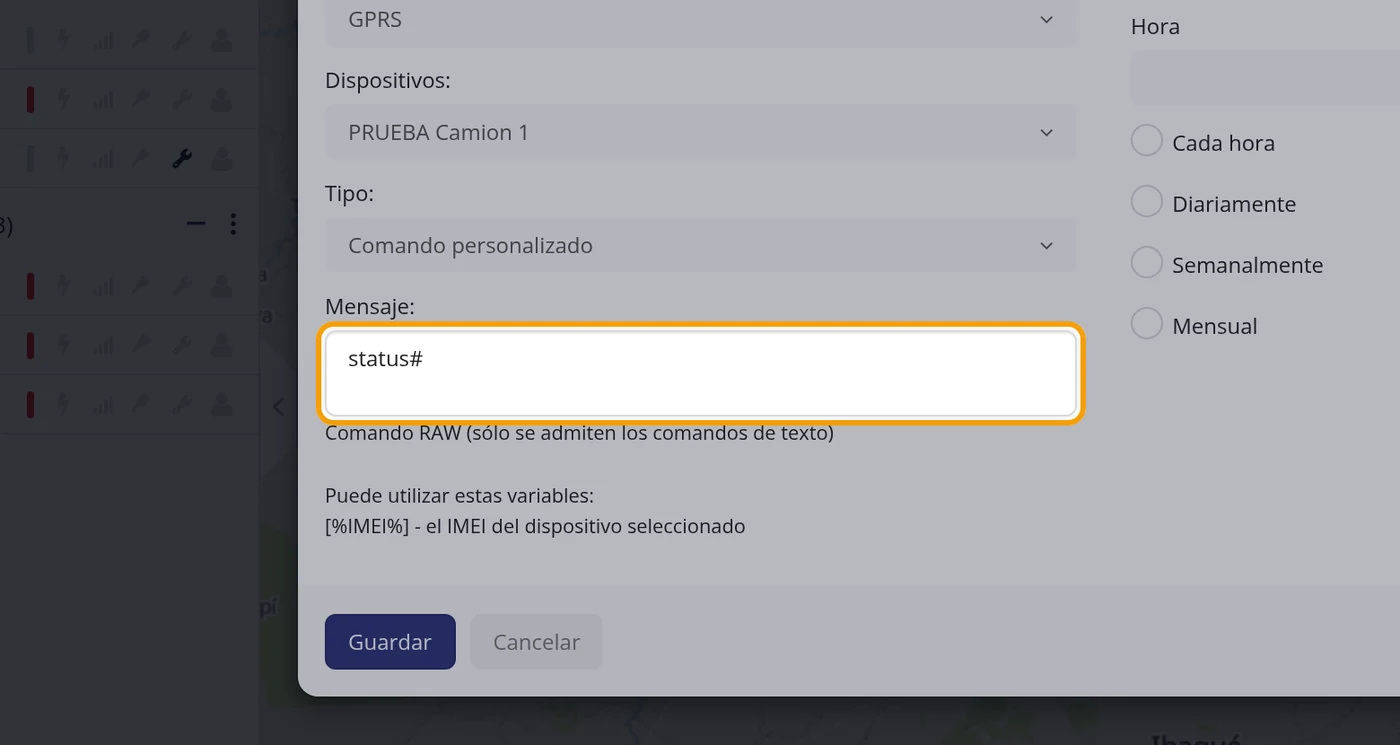
-
Say how often
There are five ways: Exact time (a specific day and time), Hourly (and at which minute), Daily (at what time), Weekly and Monthly.
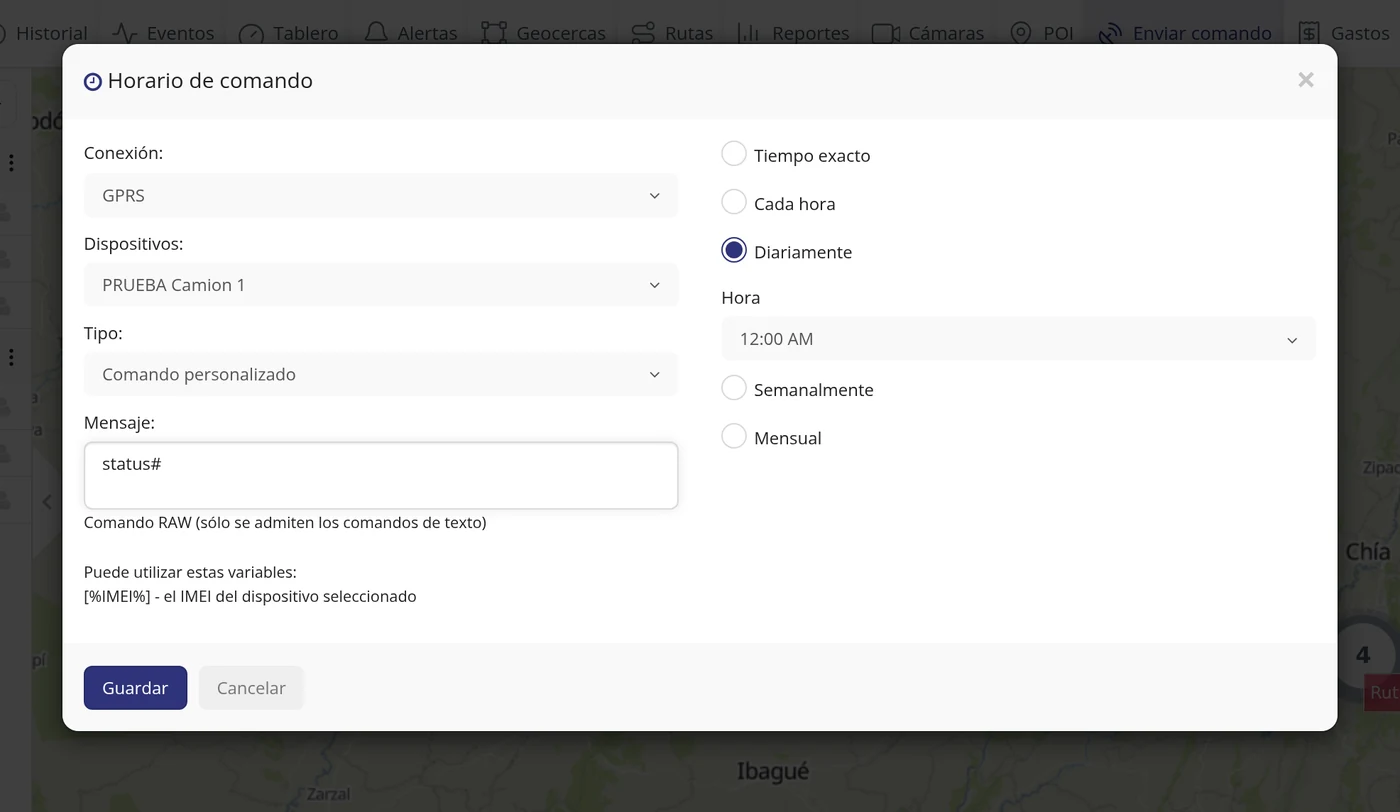
-
Choose the time
With Daily ticked, the hours list goes in quarters of an hour. In the test it was set to 06:00 AM.
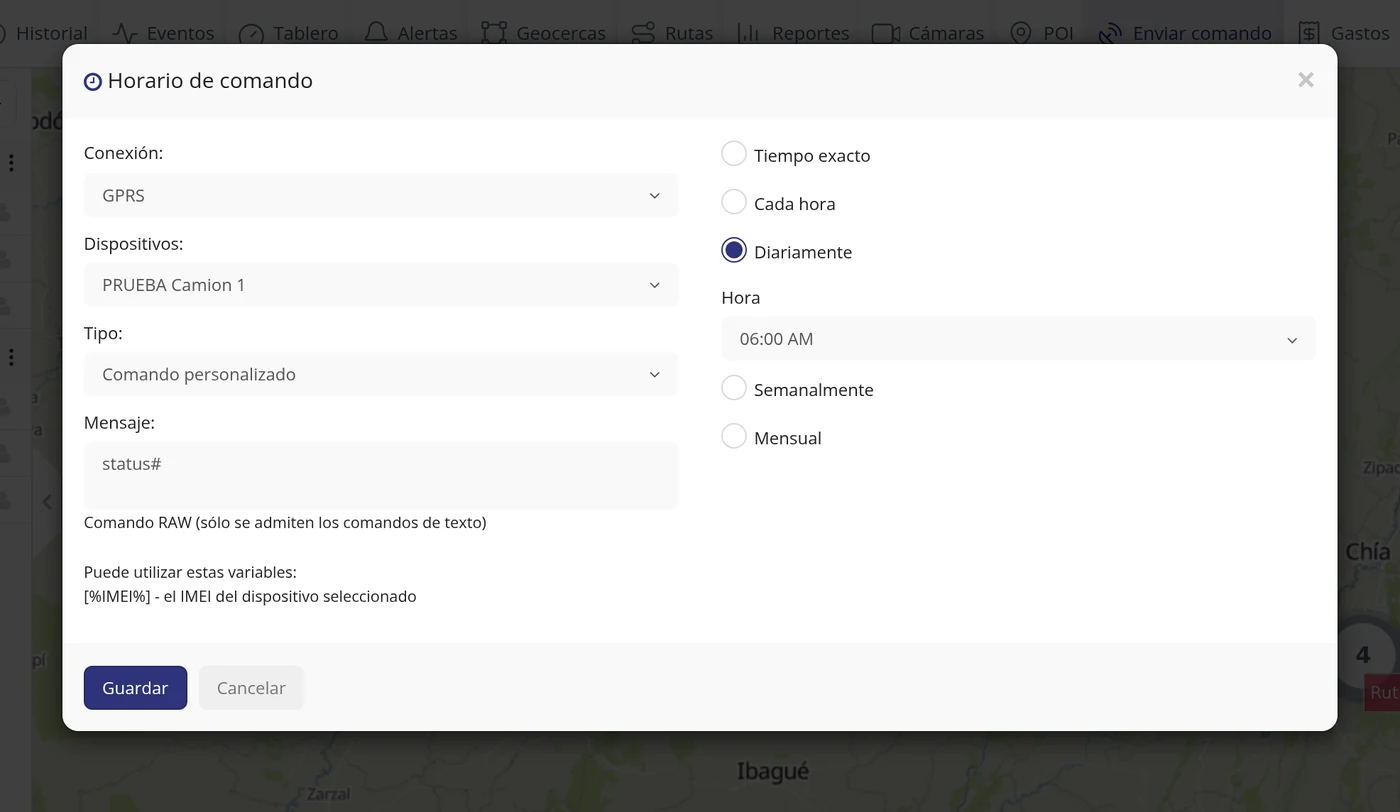
-
Save
The button is at the bottom of the window.
-
Check that it is scheduled
The row appears in the list with everything: the connection (gprs), the command (custom), the parameters (data: status#), the next time it will go out (2026-08-20 06:00:00) and the type (Daily). On the right are Edit, Logs and Delete.
CarefulThe Logs column is the one that says whether the order really reached the device each time it went out.
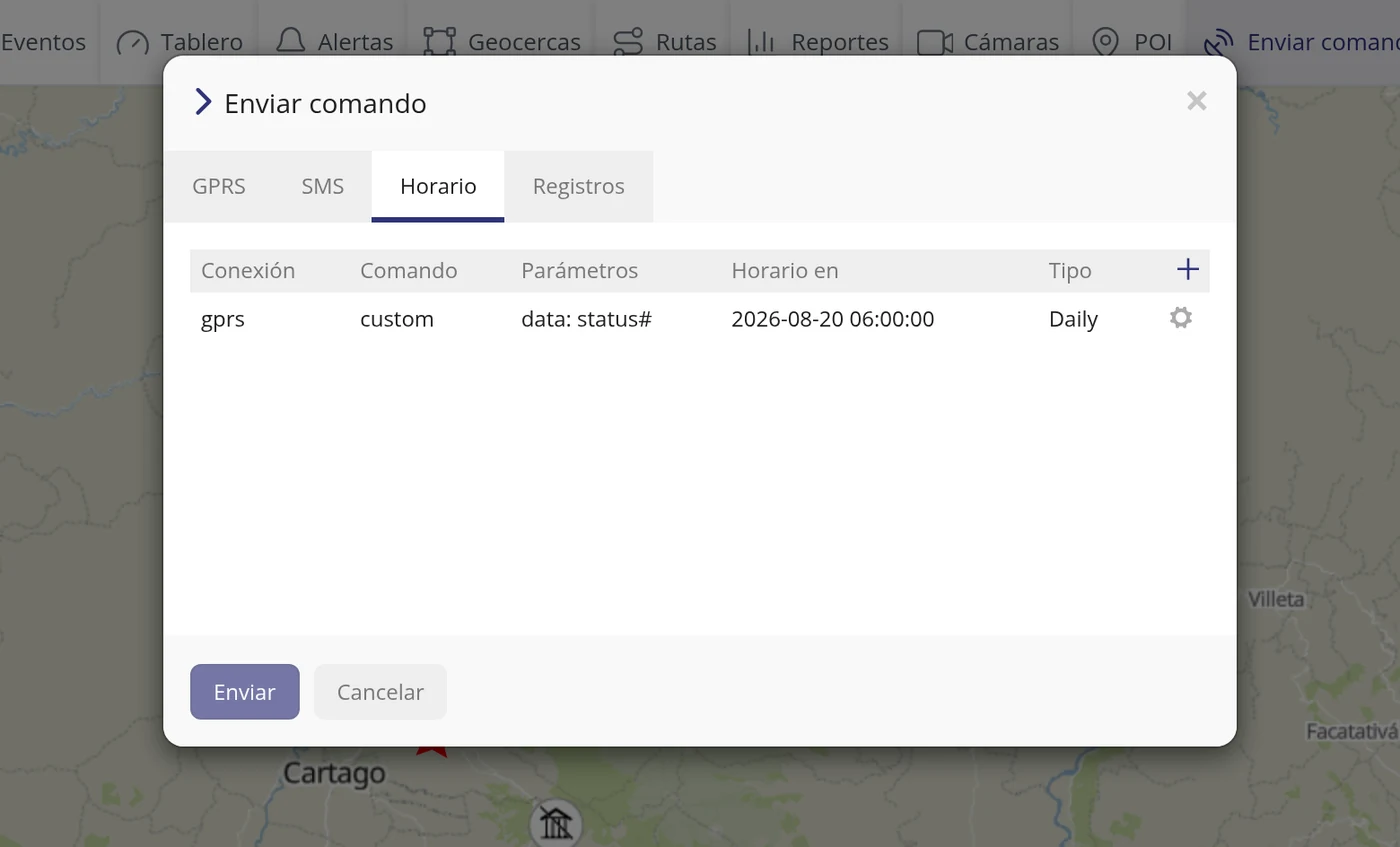
-
And if you want it to go out when something happens
Instead of a time, it is hooked to a warning: in the alert form, Command tab, tick Active and choose the order Type. From then on, every time the alert fires, the order is sent to the vehicle by itself.
CarefulThe Type list is empty until the alert has a vehicle chosen: the platform needs to know which device it is in order to offer its orders.
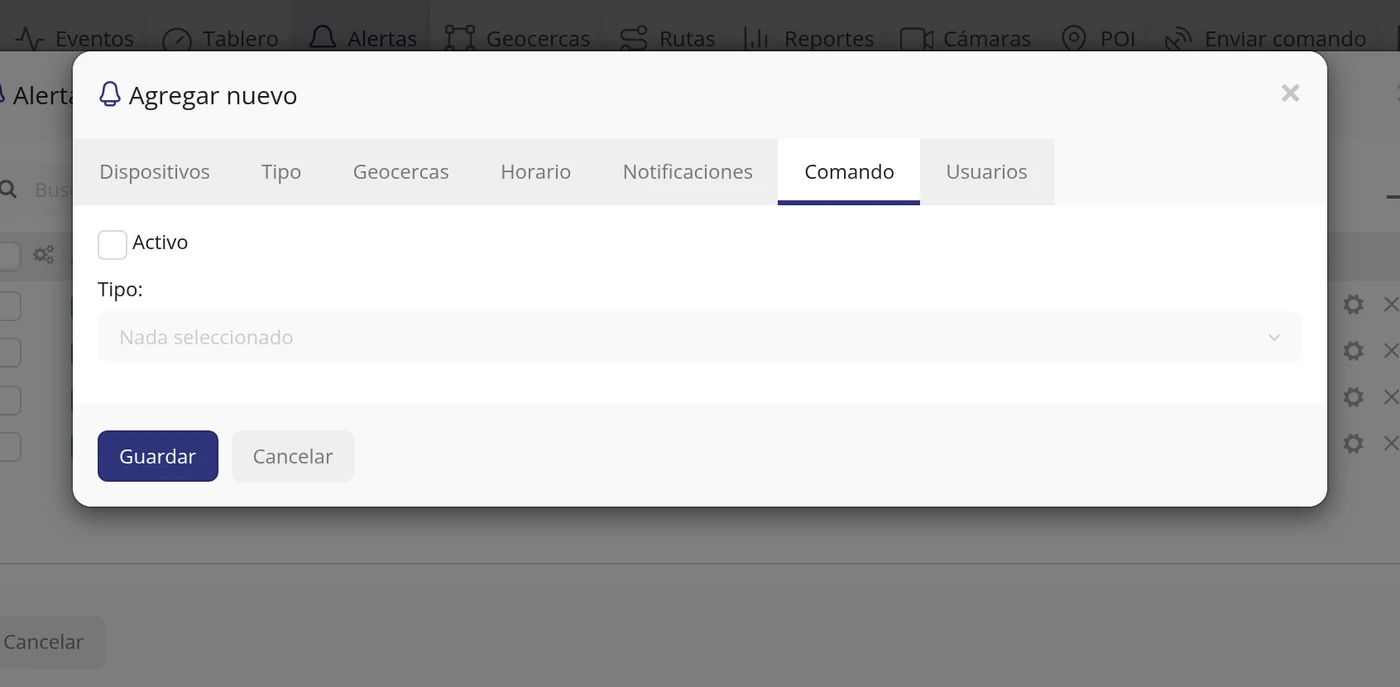
What each field asks for
| As it appears on screen | What it is | |
|---|---|---|
| The «Connection:» field | GPRS (over the internet) or SMS (a message to the device SIM). It is required. | Required |
| The «Devices:» field | Which vehicles they are sent to. It is required. | Required |
| The «Type:» field | The order template, or Custom command to write it yourself. It is required. | Required |
| The «Exact time» option | Once only, on the day and time you set. It can be left empty. | Can be left empty |
| The «Hourly» option | Every hour, at the minute you choose. It can be left empty. | Can be left empty |
| The «Daily» option | Every day at the time you choose. It can be left empty. | Can be left empty |
| The «Weekly» option | Once a week. It can be left empty. | Can be left empty |
| The «Monthly» option | Once a month. It can be left empty. | Can be left empty |
How to know it worked
The scheduled order stays in the list of the Schedule tab, with the date and time of the next time it will go out. And in Logs you can see whether it arrived.
How to record a vehicle expense
It is for keeping track of what each vehicle costs: fuel, insurance, spare parts, the oil change. Afterwards it is all together, by vehicle and by date, to know how much is really being spent. Where it is: Top bar > Expenses > Add expenses
Where it is Top bar > Expenses > Add expenses
Before you start
- Nothing. The expense is entered by hand, it does not depend on the unit being connected.
-
Click Expenses in the top bar
A window opens with the list of expenses already recorded.
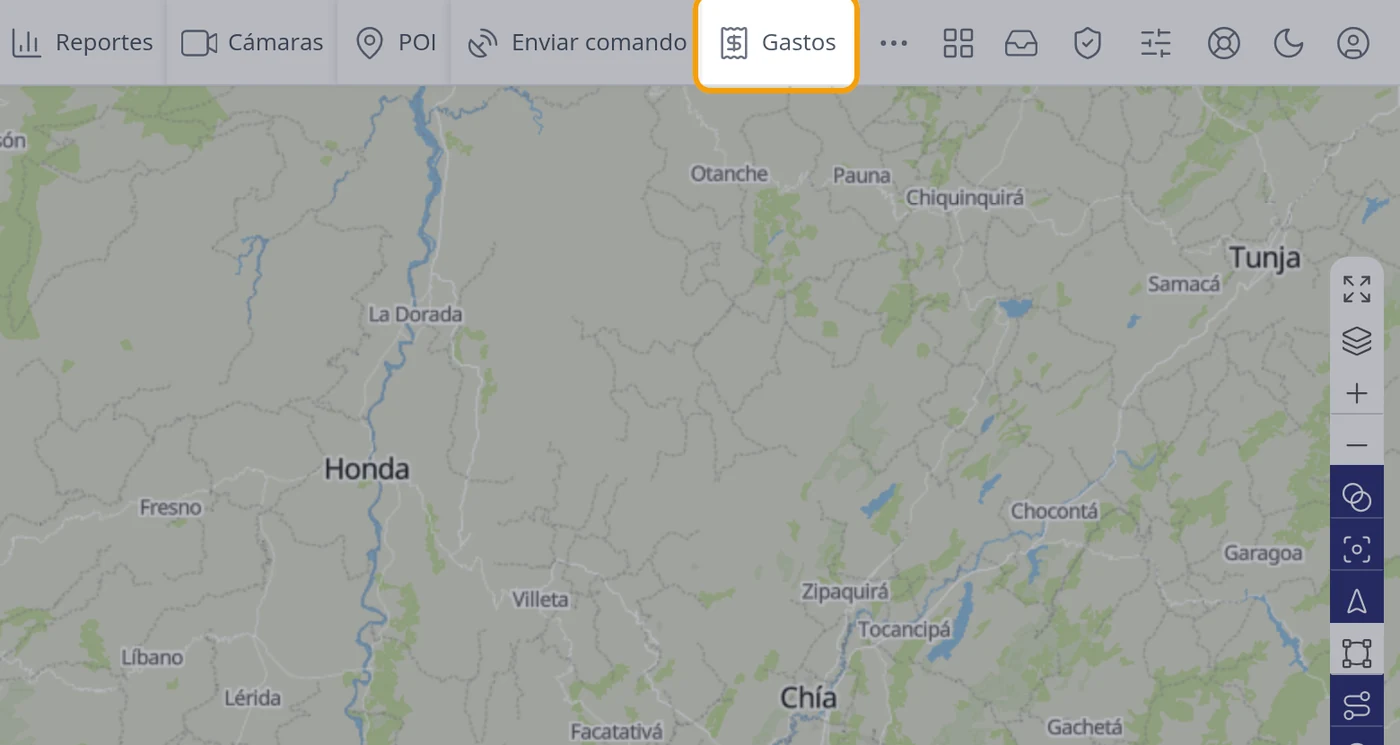
-
Recognise the list
It has seven columns: Device, Name, Type, Quantity, Unit cost, Total and Date. If there is nothing yet, it says Nothing was found for your request .
CarefulThat notice has an extra space before the full stop. That is how it appears on screen.
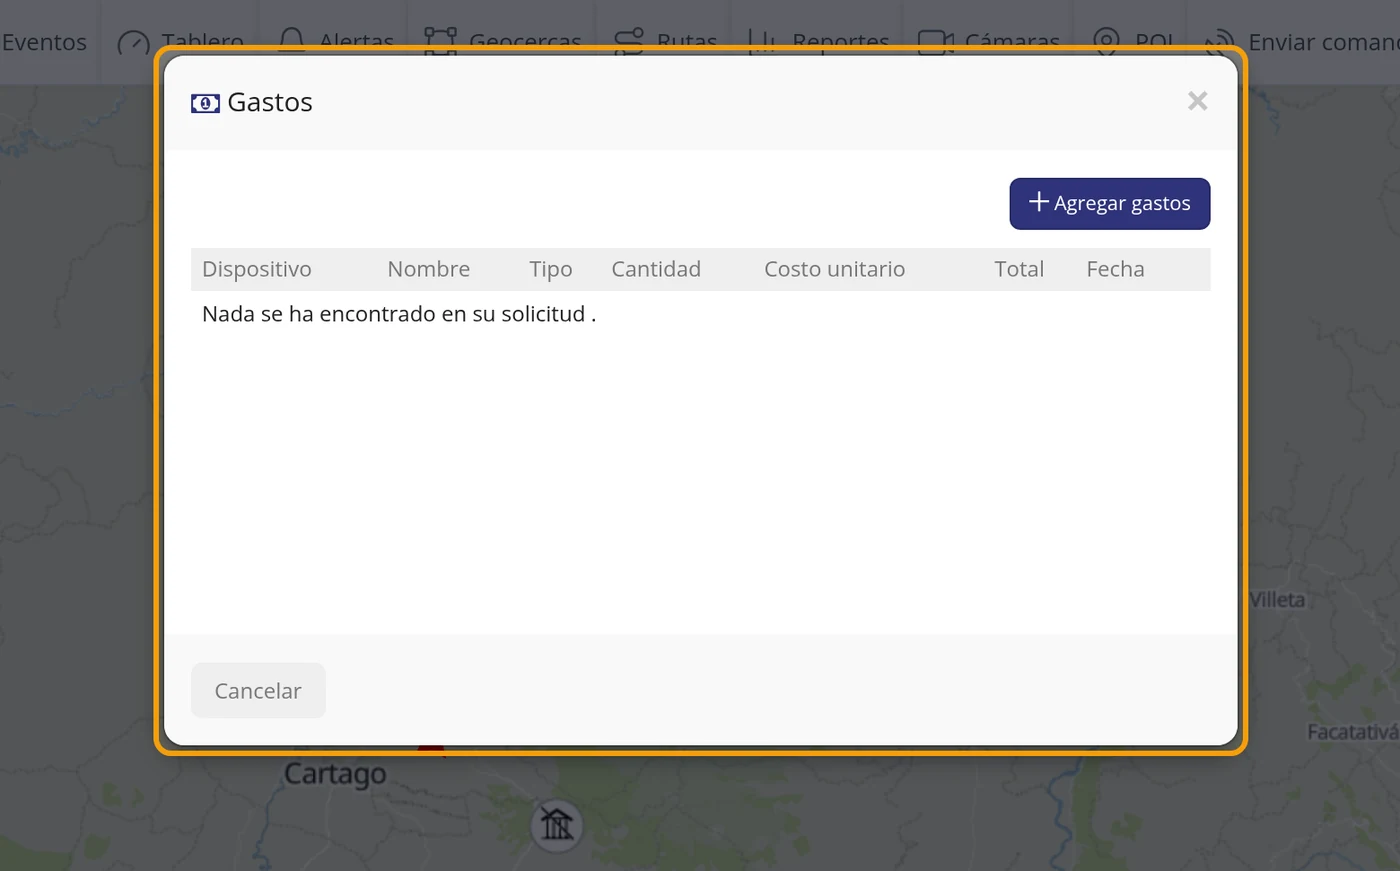
-
Click Add expenses
The Add window opens with the form.
-
See the form
It asks for: Device, Name, Date, Type, Quantity, Unit cost, Supplier, Buyer and Additional notes.
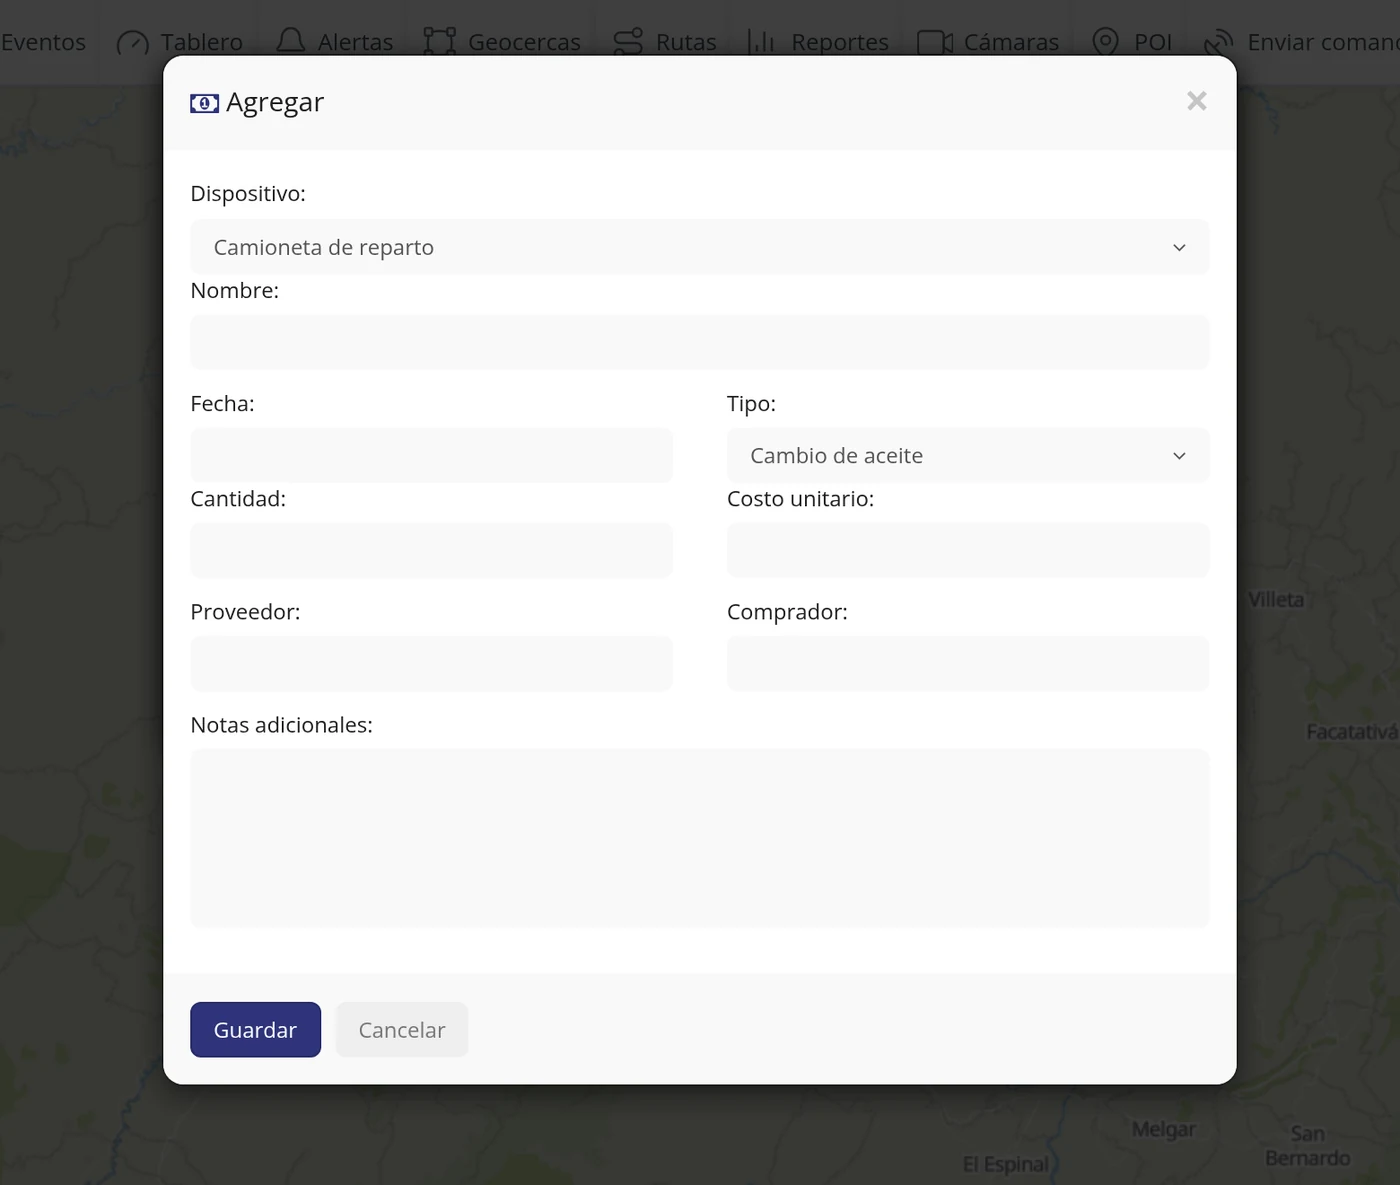
-
Choose the vehicle
Open the Device field and click the vehicle name.
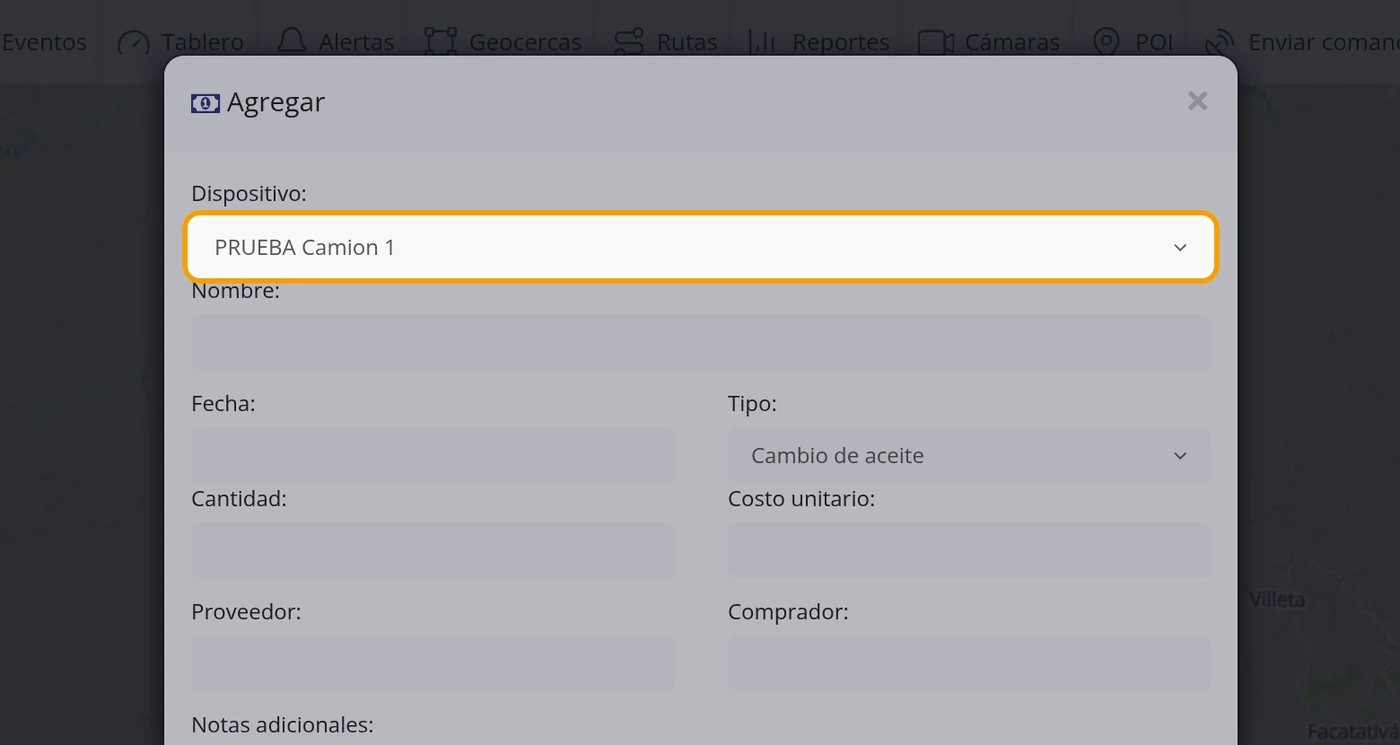
-
Give the expense a name
Type in Name something you will recognise later, for example August oil change.
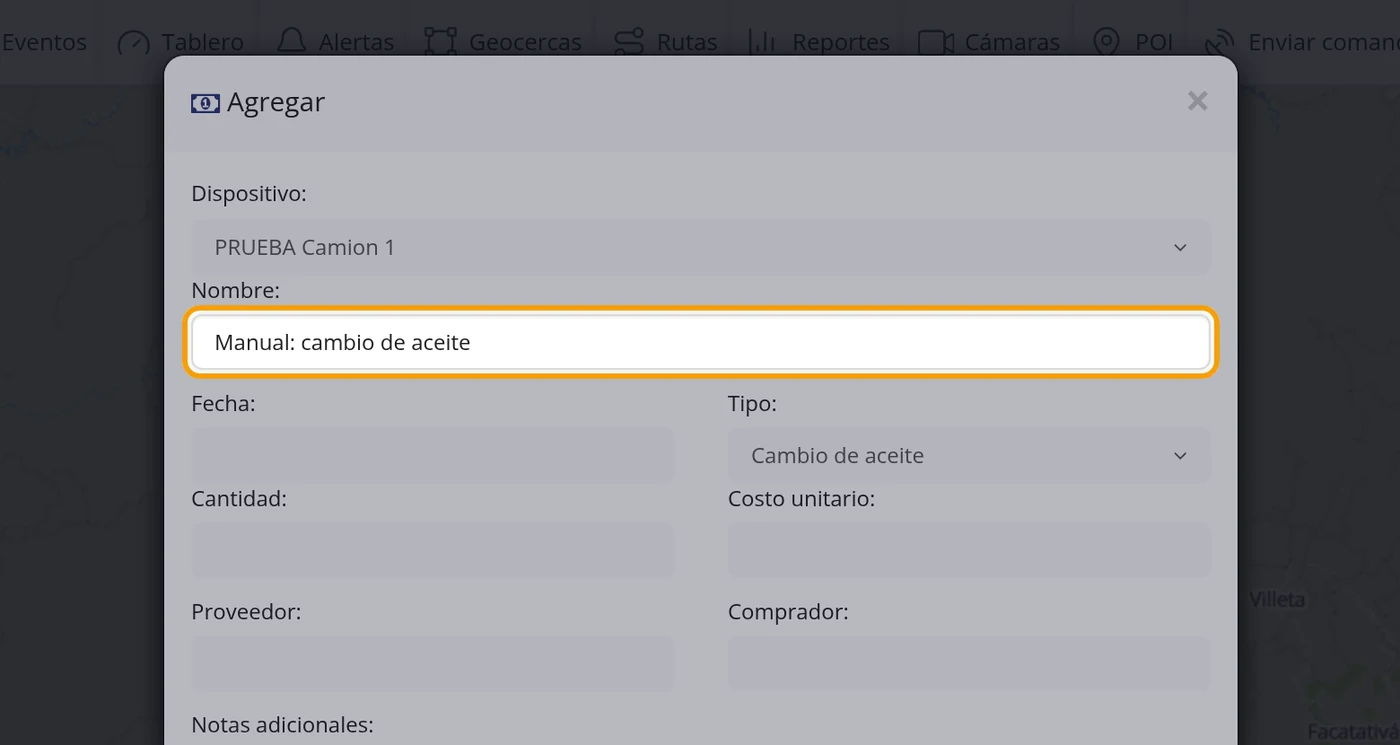
-
Set the date
On clicking the Date field a calendar opens. Type the date in year-month-day format, for example 2026-08-19.
CarefulClicking the day in the calendar does not always leave the date set: in the test the field was left empty and the expense was not saved, with no notice at all. Typing it by hand does work; afterwards check that the field has the date before saving.
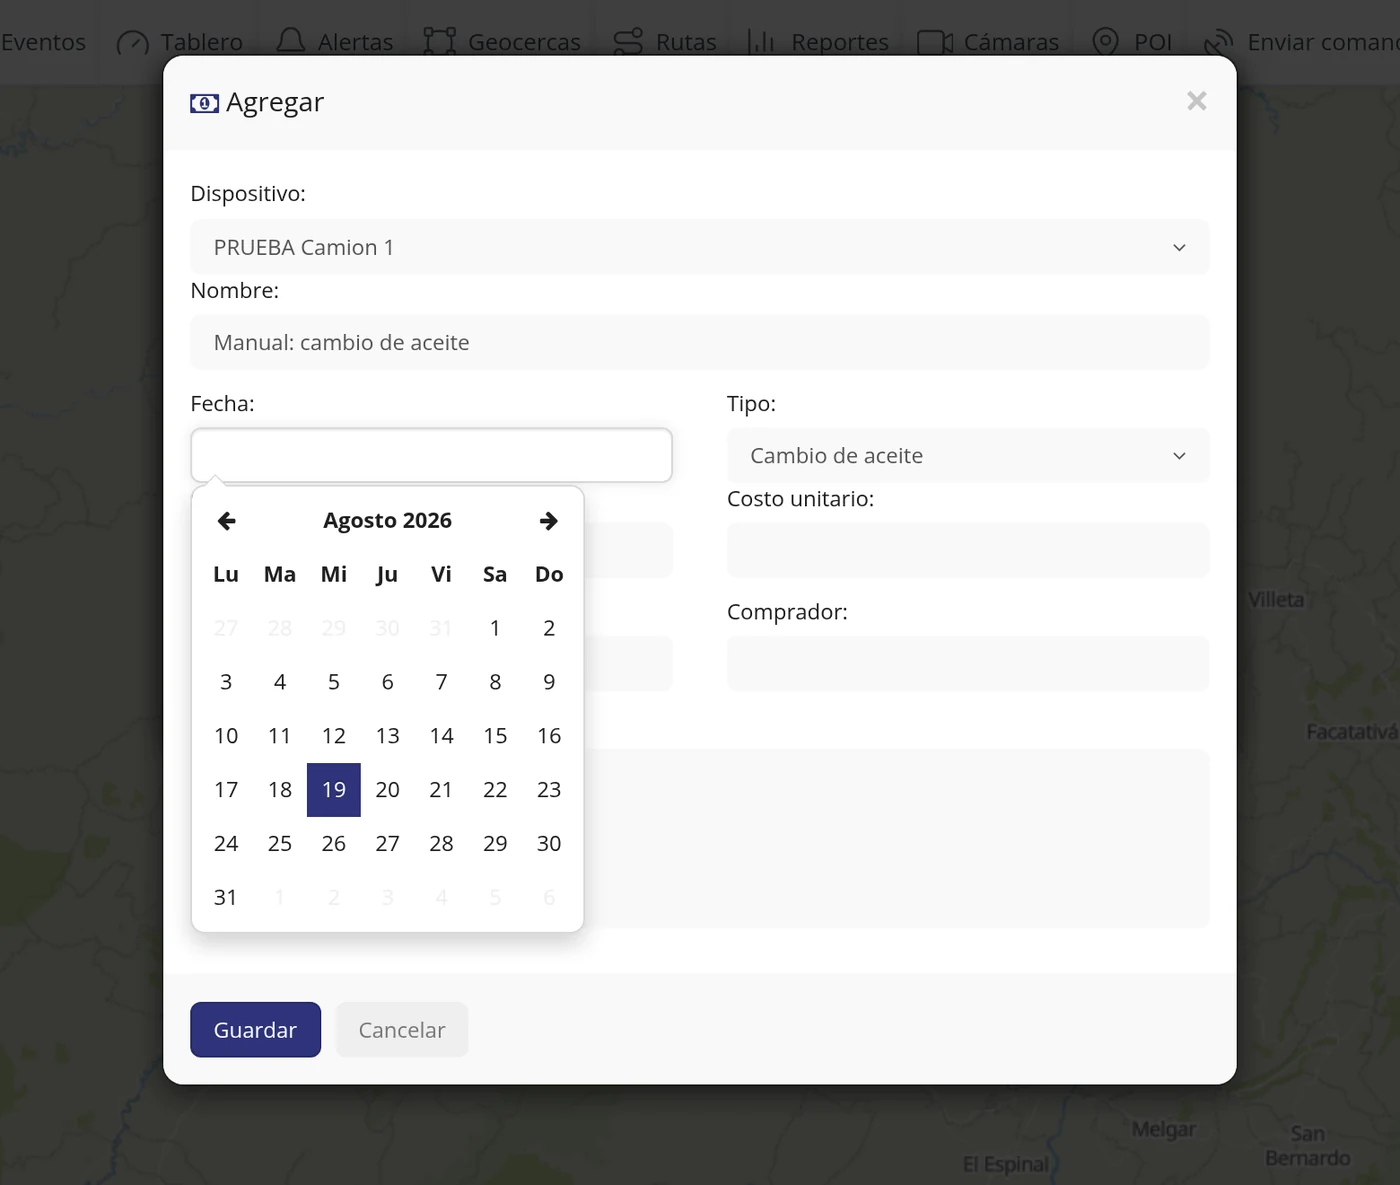
-
Check that the date is set
The field must show the date and the time, for example 2026-08-19 00:00.
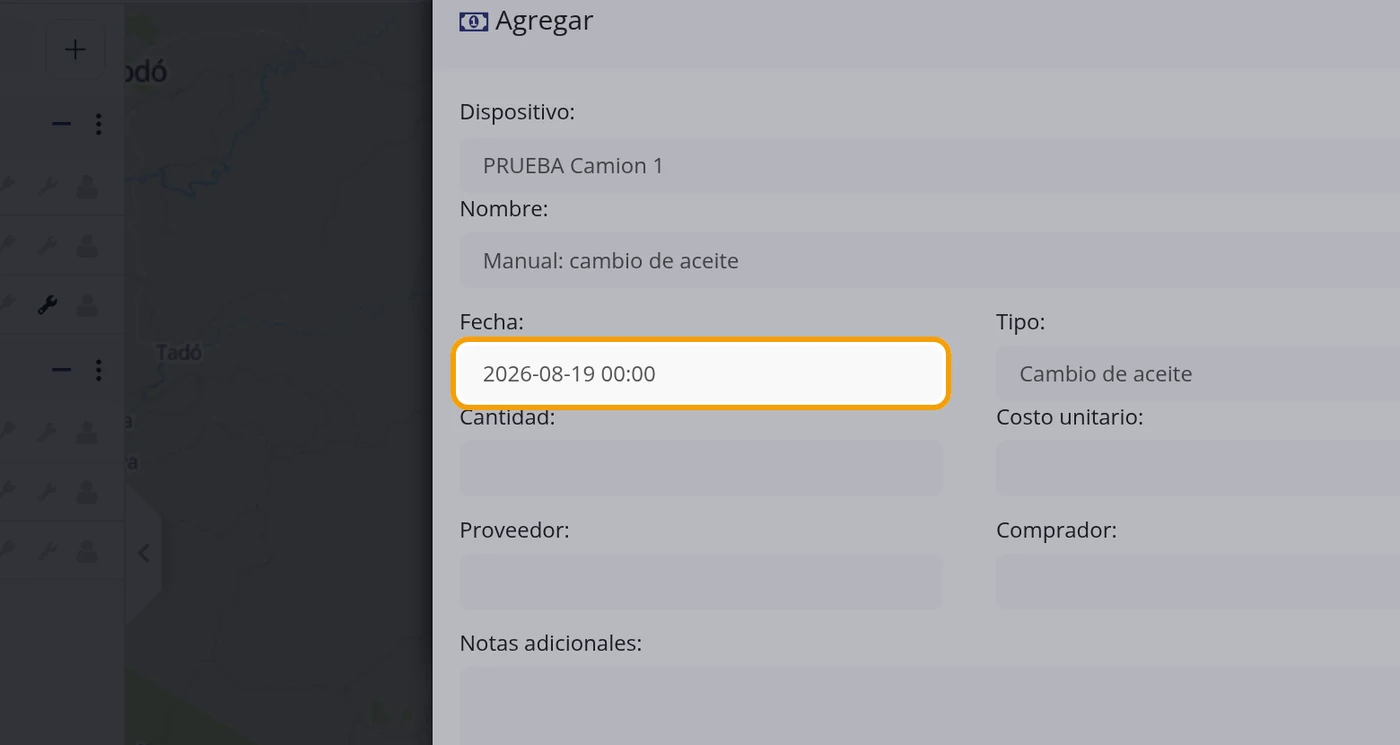
-
Choose the type of expense
The list has ten types: Oil change, Compulsory insurance (SOAT), Compulsory insurance, Preventive maintenance, Corrective maintenance, Fuel, Lubricant, Major spare parts, Minor spare parts and Out-of-town services.
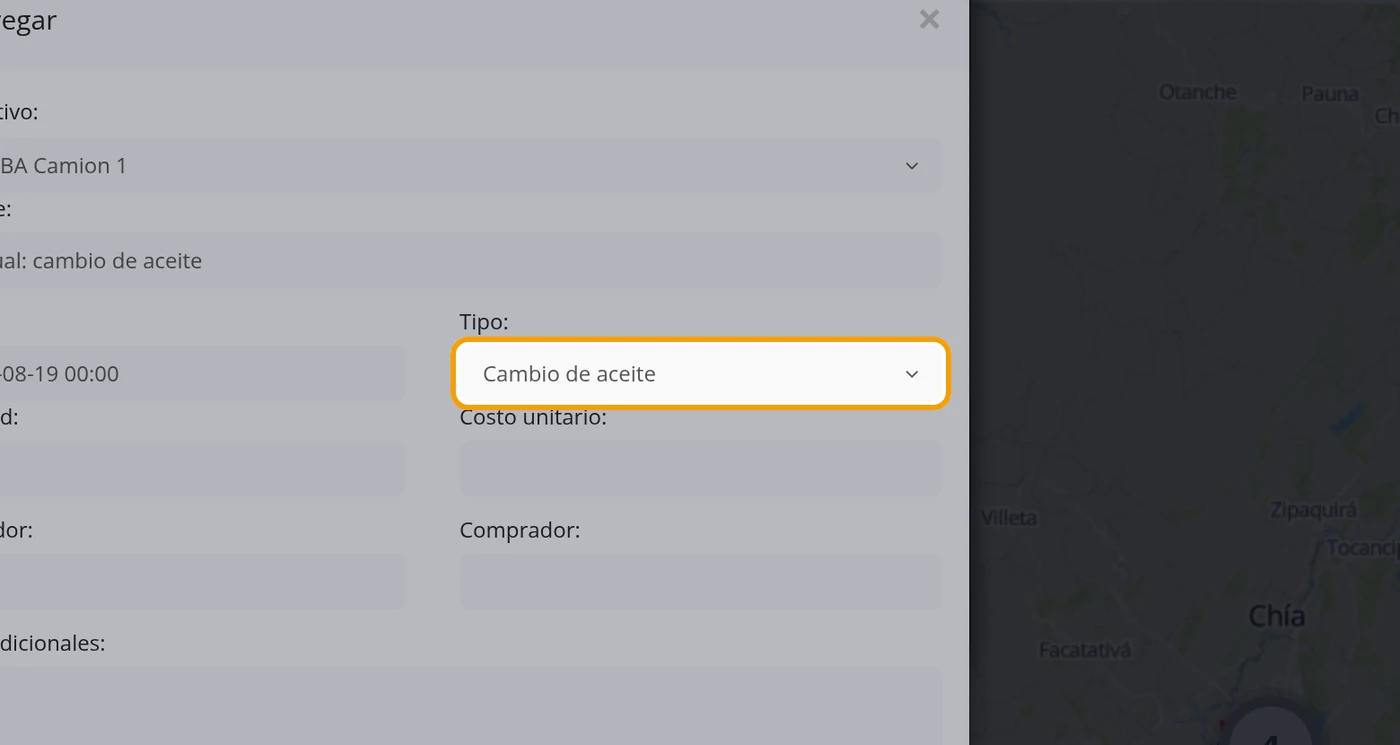
-
Set quantity and cost
Quantity is how many units and Unit cost what each one is worth. The platform multiplies the two and stores the Total.
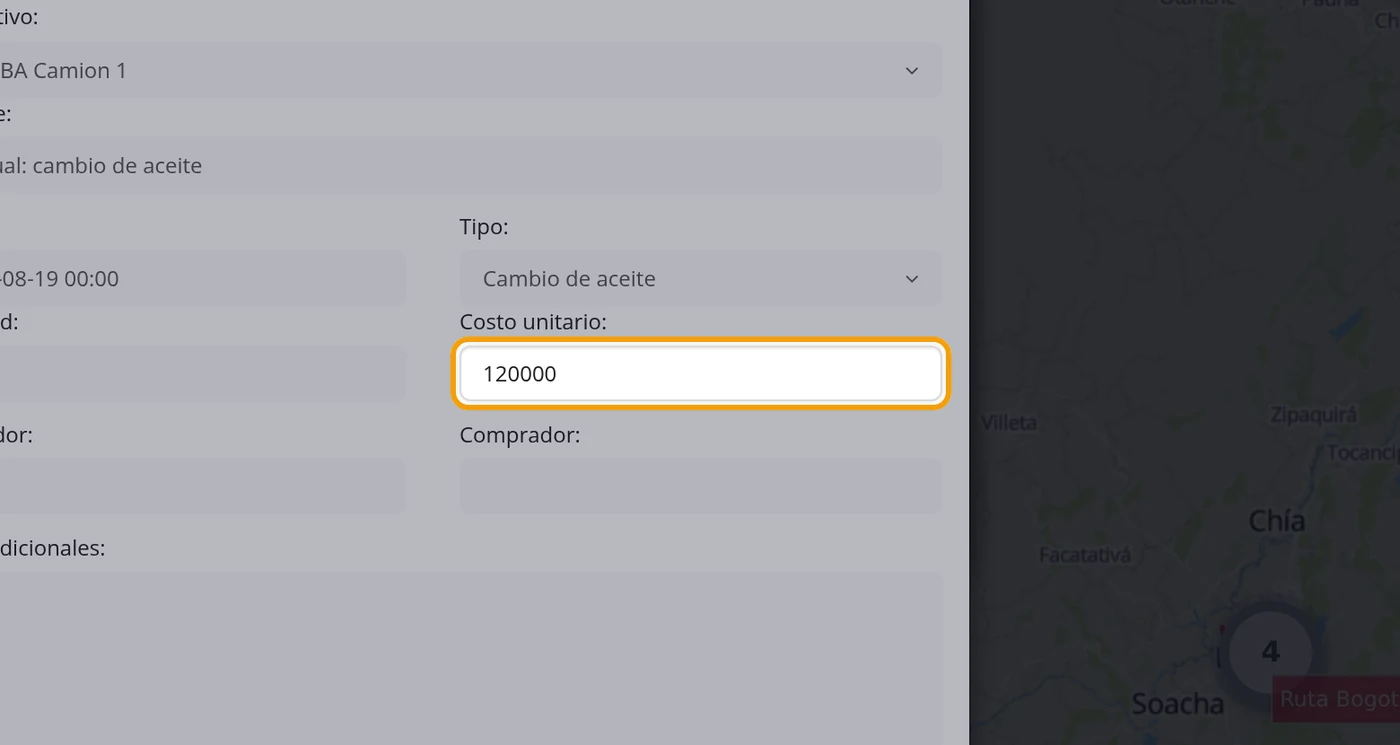
-
Click Save
The Supplier, Buyer and Additional notes fields can be left empty.
-
Check that it is in the list
The row appears with the vehicle, the name, the type, the quantity, the cost, the total and the date.
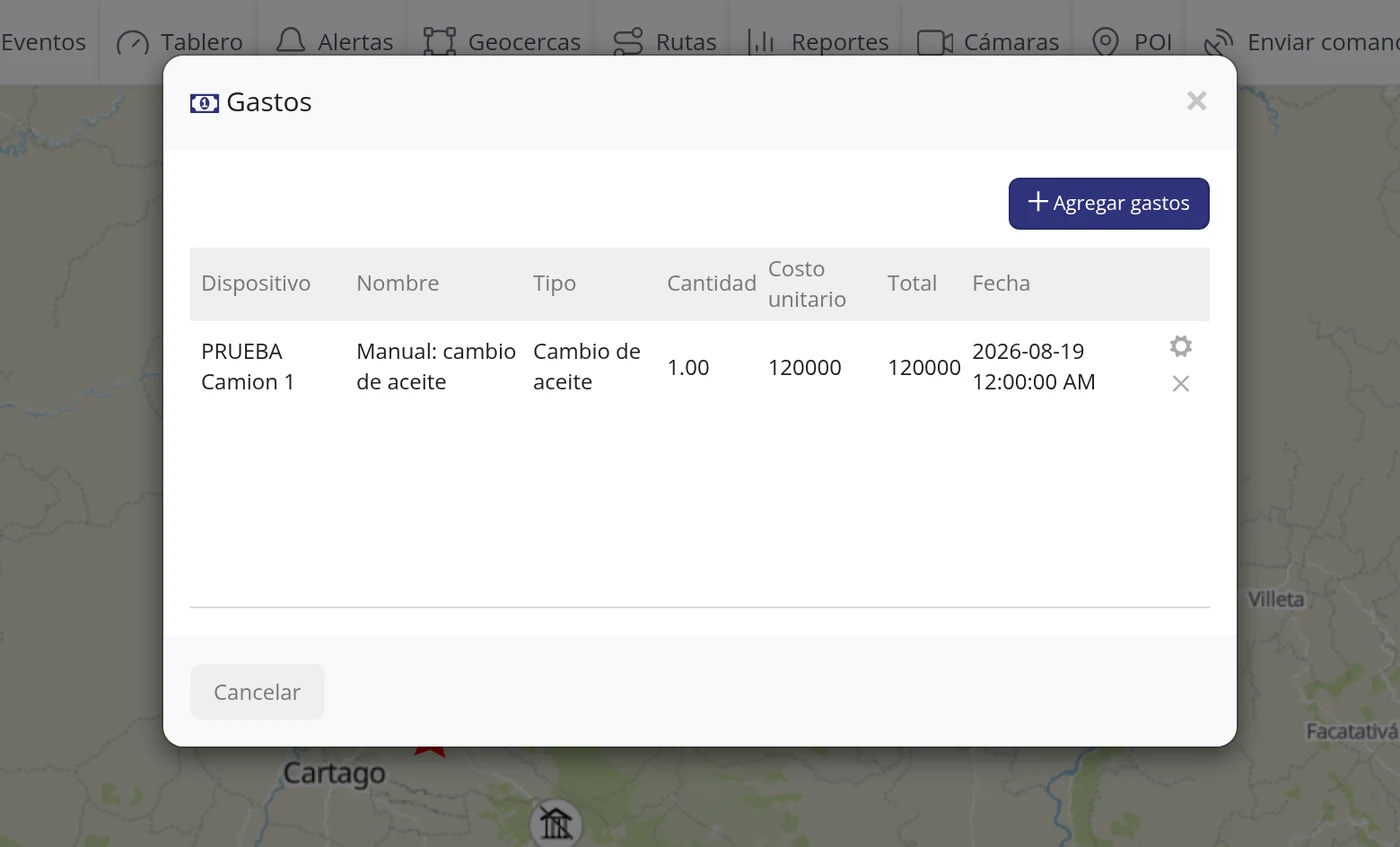
What each field asks for
| As it appears on screen | What it is | |
|---|---|---|
| The «Device:» field | Which vehicle the expense belongs to. It is required. | Required |
| The «Name:» field | How you are going to recognise it later. It is required. | Required |
| The «Date:» field | When the expense was. Year-month-day format. It is required. | Required |
| The «Type:» field | What kind it is. There are ten types already set. It is required. | Required |
| The «Quantity:» field | How many units. It is required. | Required |
| The «Unit cost:» field | How much each one costs. The total is worked out by the platform. It is required. | Required |
| The «Supplier:» field | Who it was bought from. It can be left empty. | Can be left empty |
| The «Buyer:» field | Who bought it. It can be left empty. | Can be left empty |
| The «Additional notes:» field | Whatever you want to note down. It can be left empty. | Can be left empty |
How to know it worked
The row has to stay in the Expenses list with the Total already worked out.
How to share a vehicle with someone who has no account
It creates a web address that shows that vehicle on a map, without the other person having to sign in with a username or password. It is for a customer to see their cargo on the way, or to show someone where the vehicle is going, and you can set an expiry date so it stops working on its own. Where it is: Left panel > the vehicle > its row options icon > Share
Where it is Left-hand panel > the vehicle > options icon in its row > Share
Before you start
- Nothing. You only need to have the vehicle in the list.
-
Find the vehicle in the left list
It is the list where all your vehicles are, in groups.
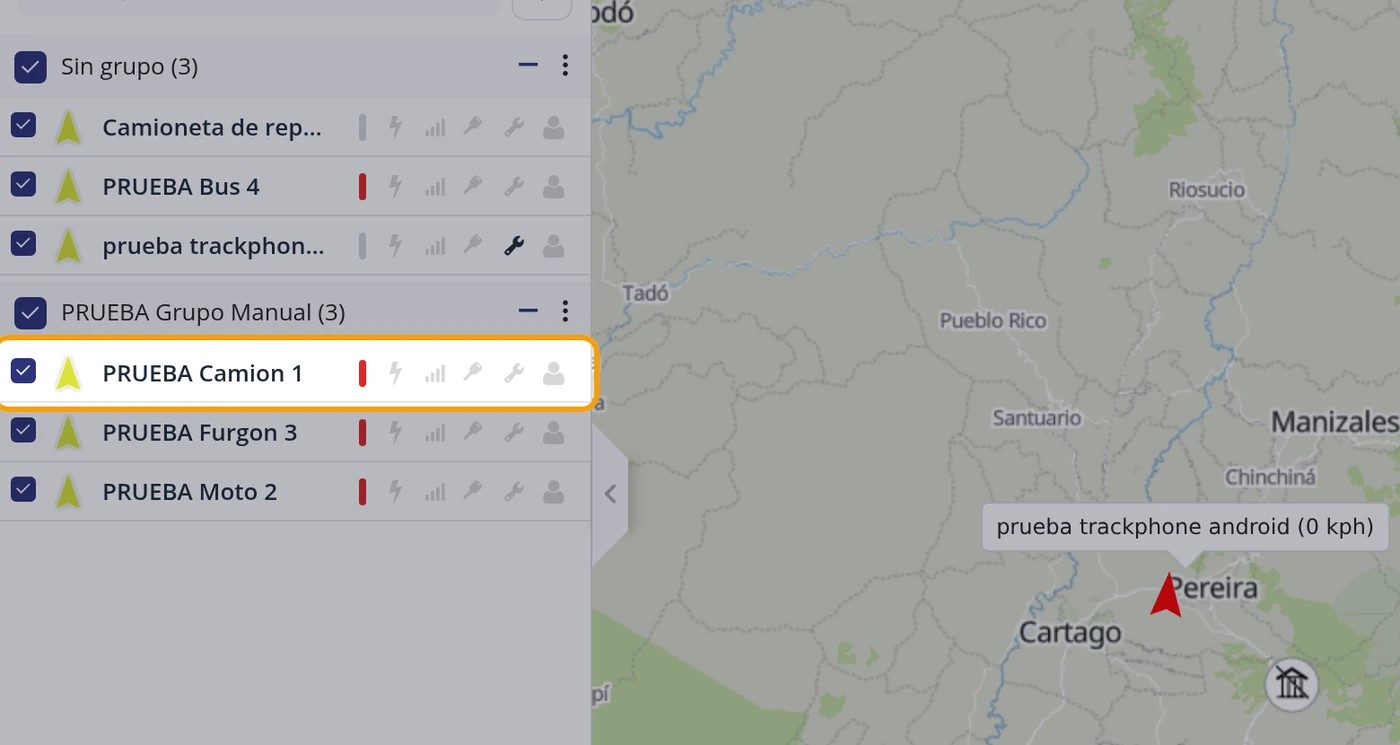
-
Open that vehicle's menu
At the end of its row there is an options icon. Clicking it opens a menu with: Show history (last hour), Show history (today), Show history (yesterday), Follow, Send command, Edit, Share, Alerts and Cameras.
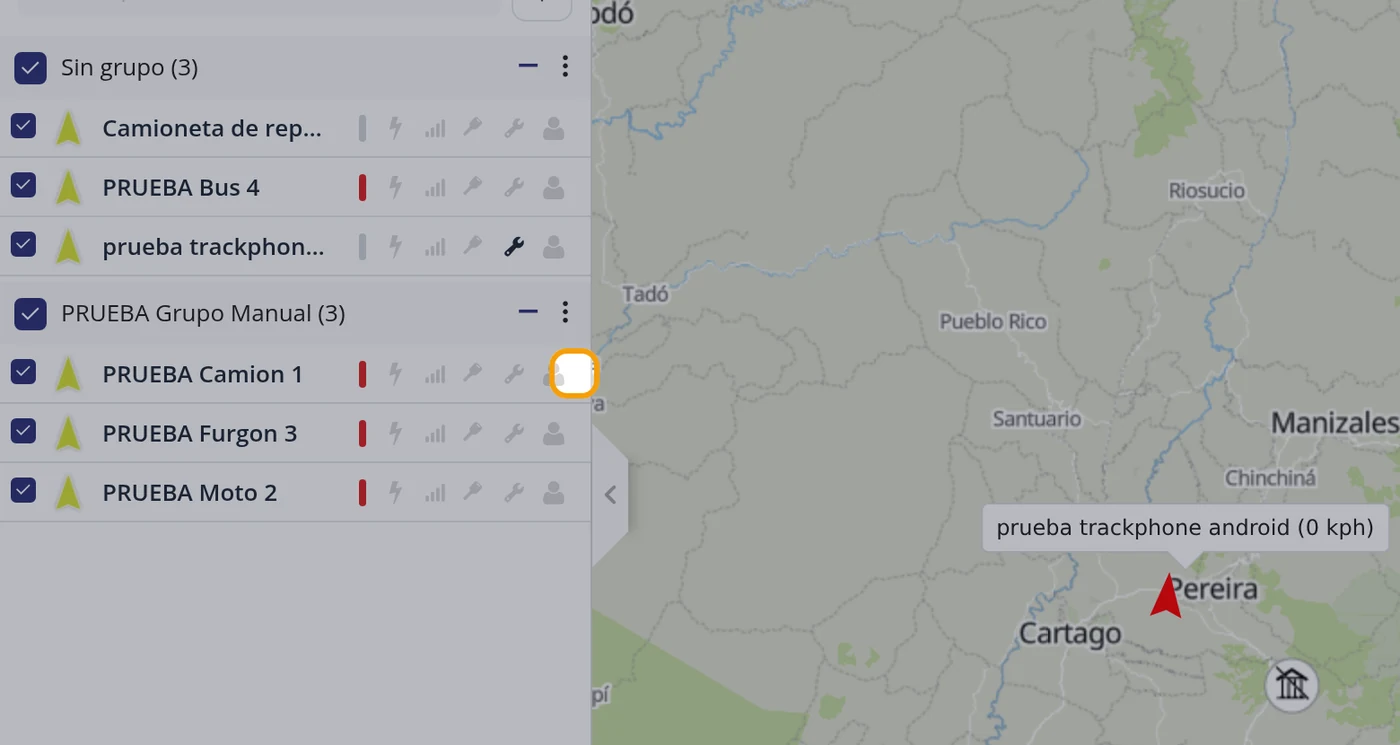
-
Click Share
It is the sixth option of the menu.
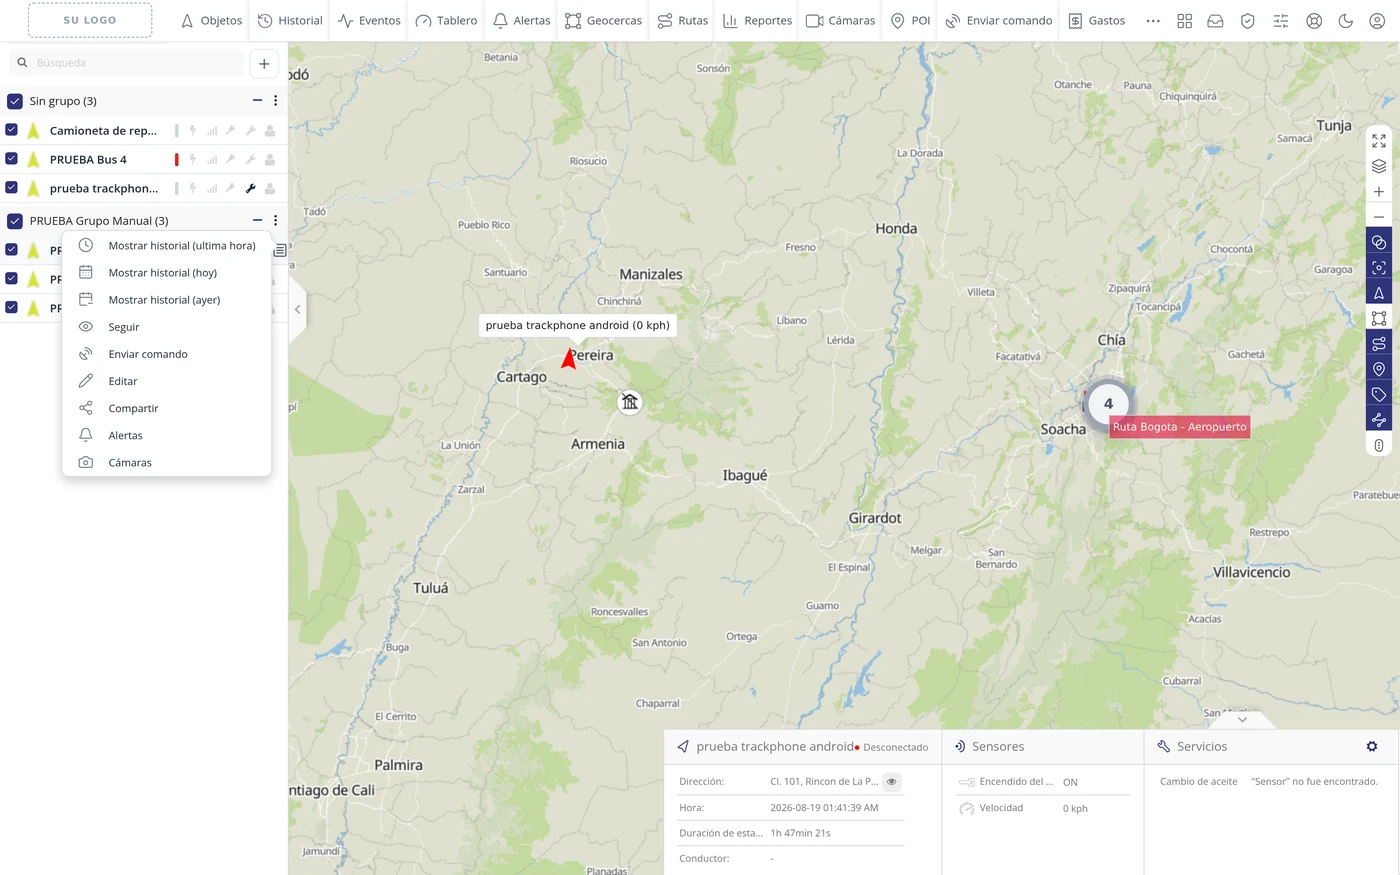
-
Recognise the window
The Share window has two parts at the top: New, to create a link, and Sharings, which is the list of the ones you already created. Below it asks how long the link is valid, which vehicles it includes and, if you want, an email to send it to.
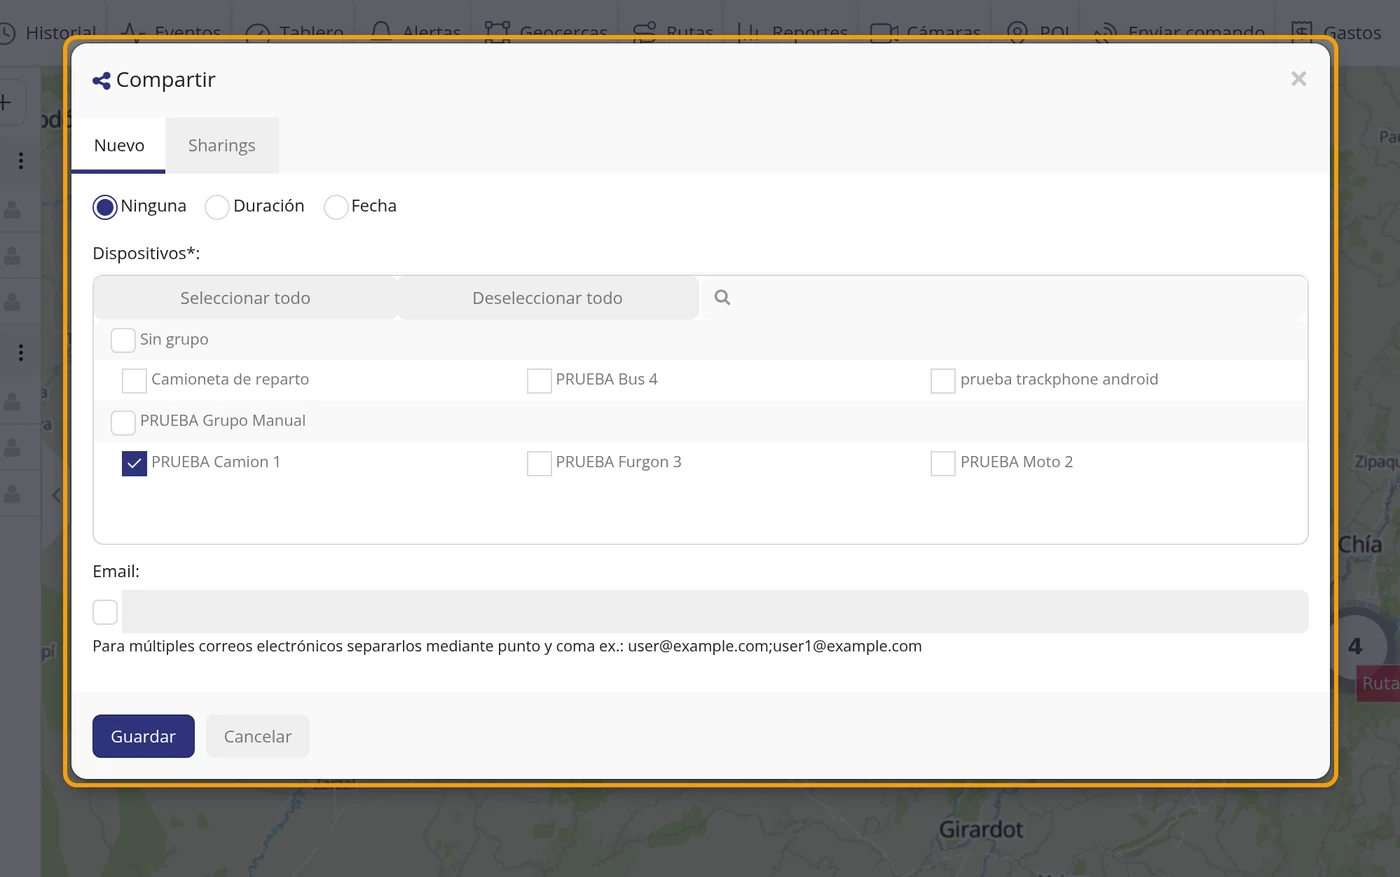
-
Decide how long it lasts
There are three options: None, which never expires; Duration, so it is valid for a while; and Date, so it expires on a specific day.
CarefulNone means that link will keep working forever and for anyone who has it. Think it over before choosing it.
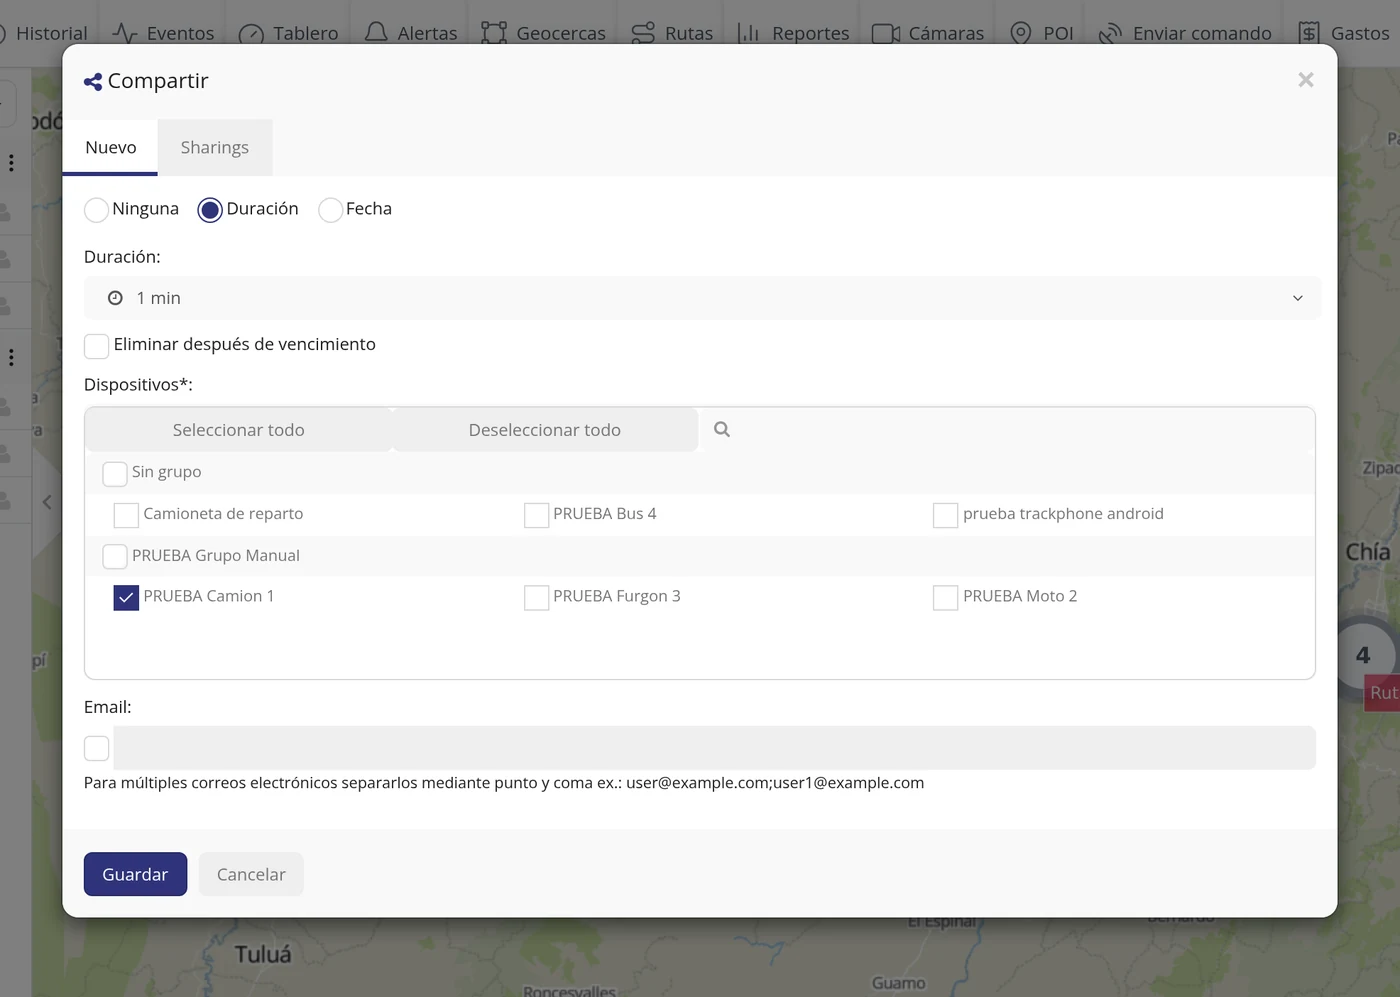
-
Choose the time
The list goes from 1 minute to 24 hours: 1, 2, 3, 5, 6, 7, 8, 9, 10, 15, 30 and 45 minutes, and 1, 2, 3, 4, 5, 6, 7, 8, 9, 10, 11, 12, 15, 18, 21 and 24 hours.
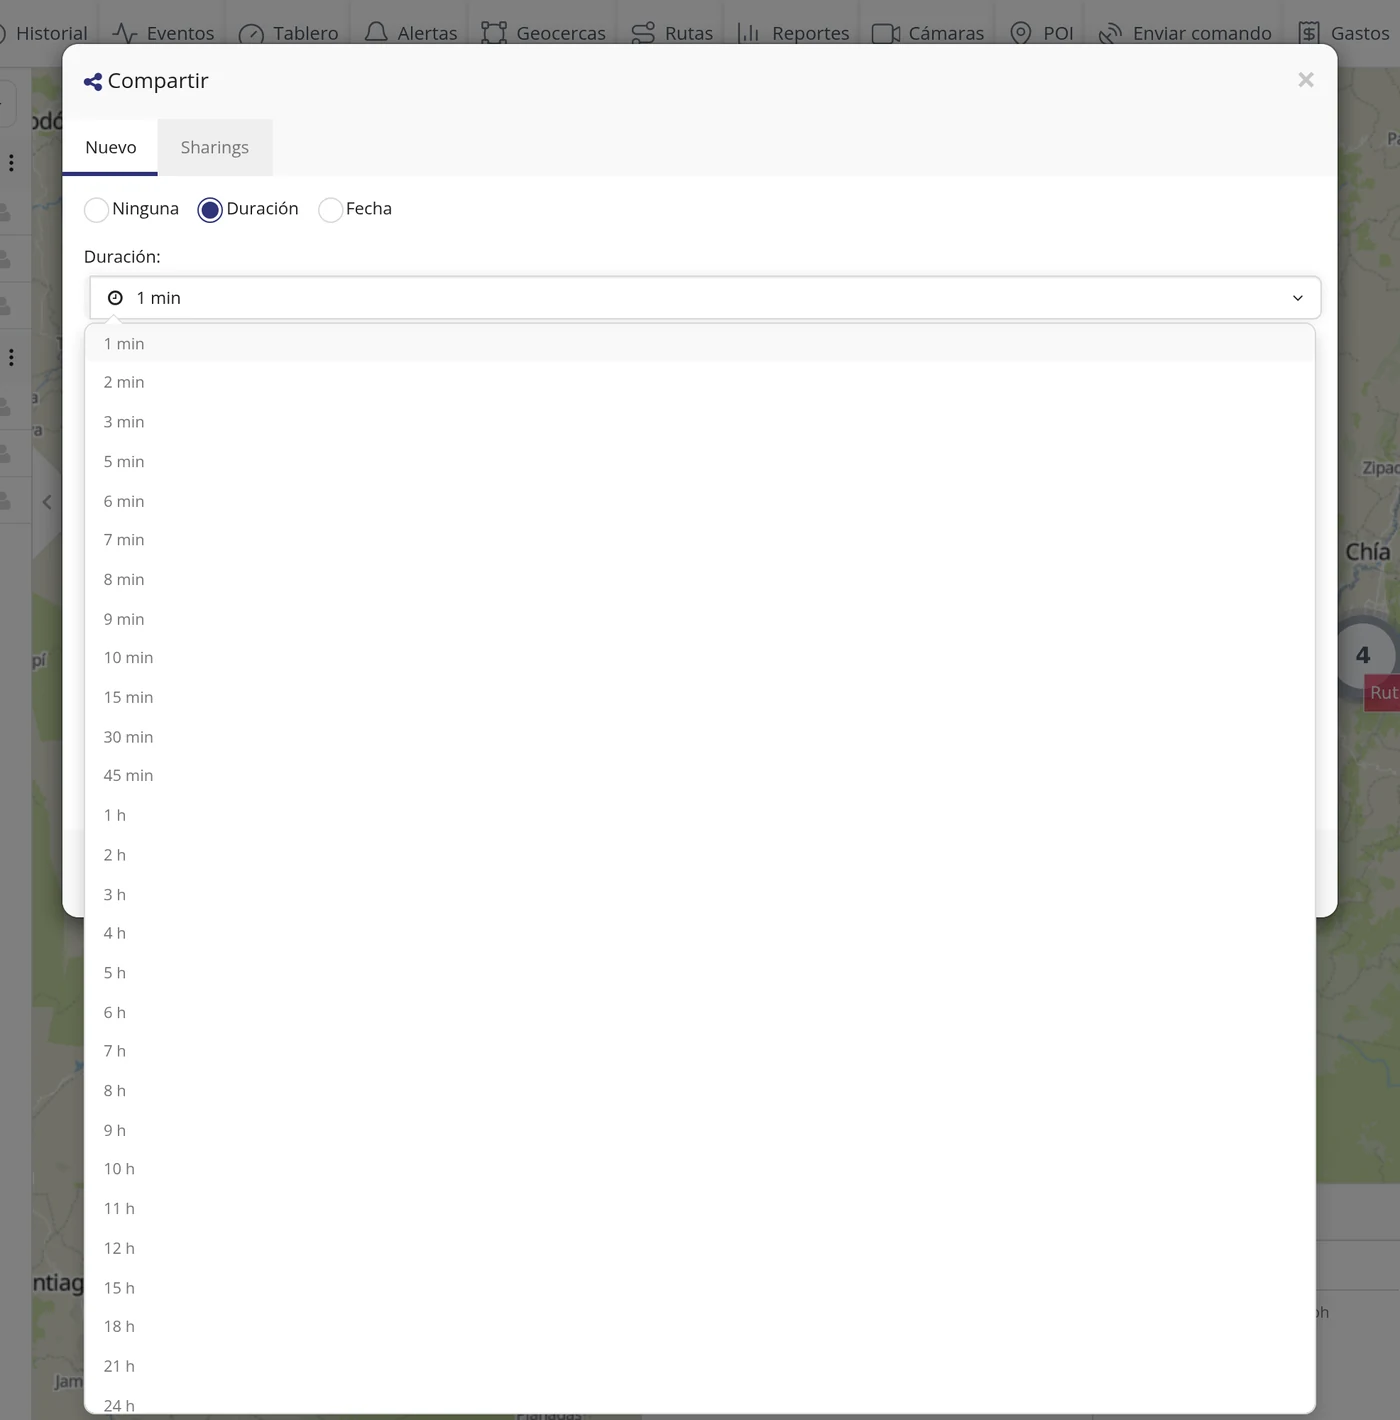
-
Check what you chose
The field is left with the time you set. In the test, 24 h.
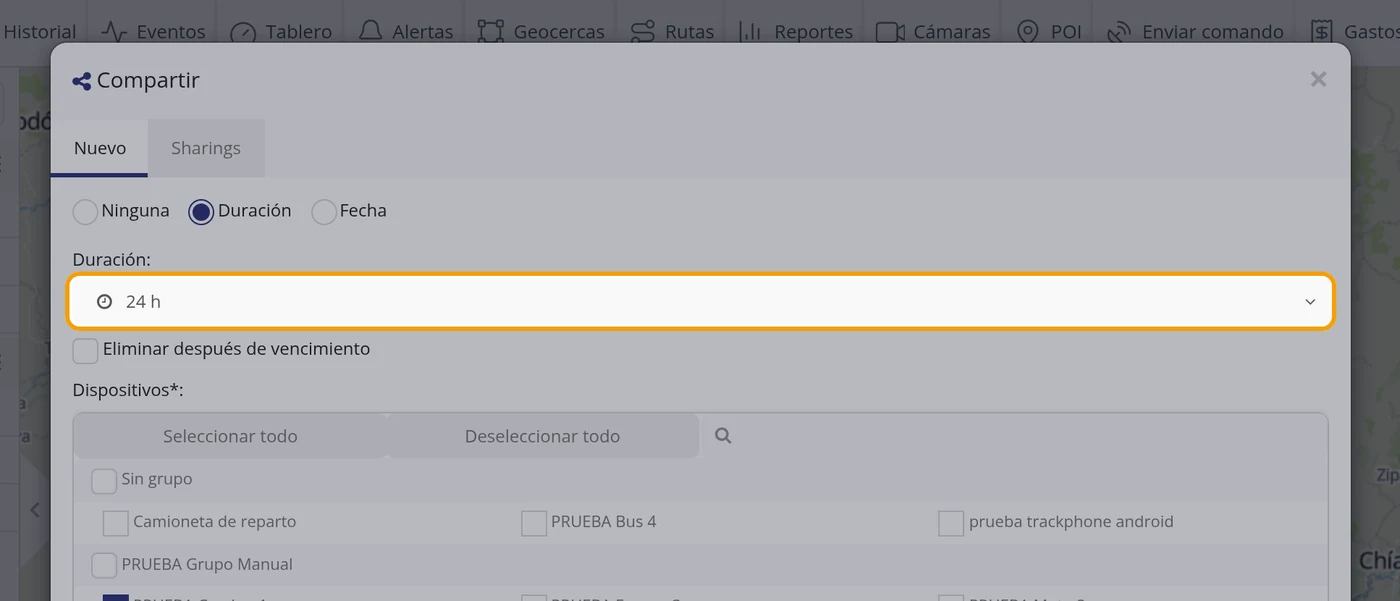
-
Check the rest of the fields
Delete after expiry removes the link when it expires. In Devices the vehicle you opened the window from is already set, and you can add more. In Email you can type an address so the platform sends the link to that person.
-
Click Save
The link is created at that moment and the window closes by itself.
CarefulMeasured on 19 August 2026: on clicking Save, the Share window CLOSES. The link was indeed created, but to see it you have to open Share again on that vehicle and go into the Sharings part.
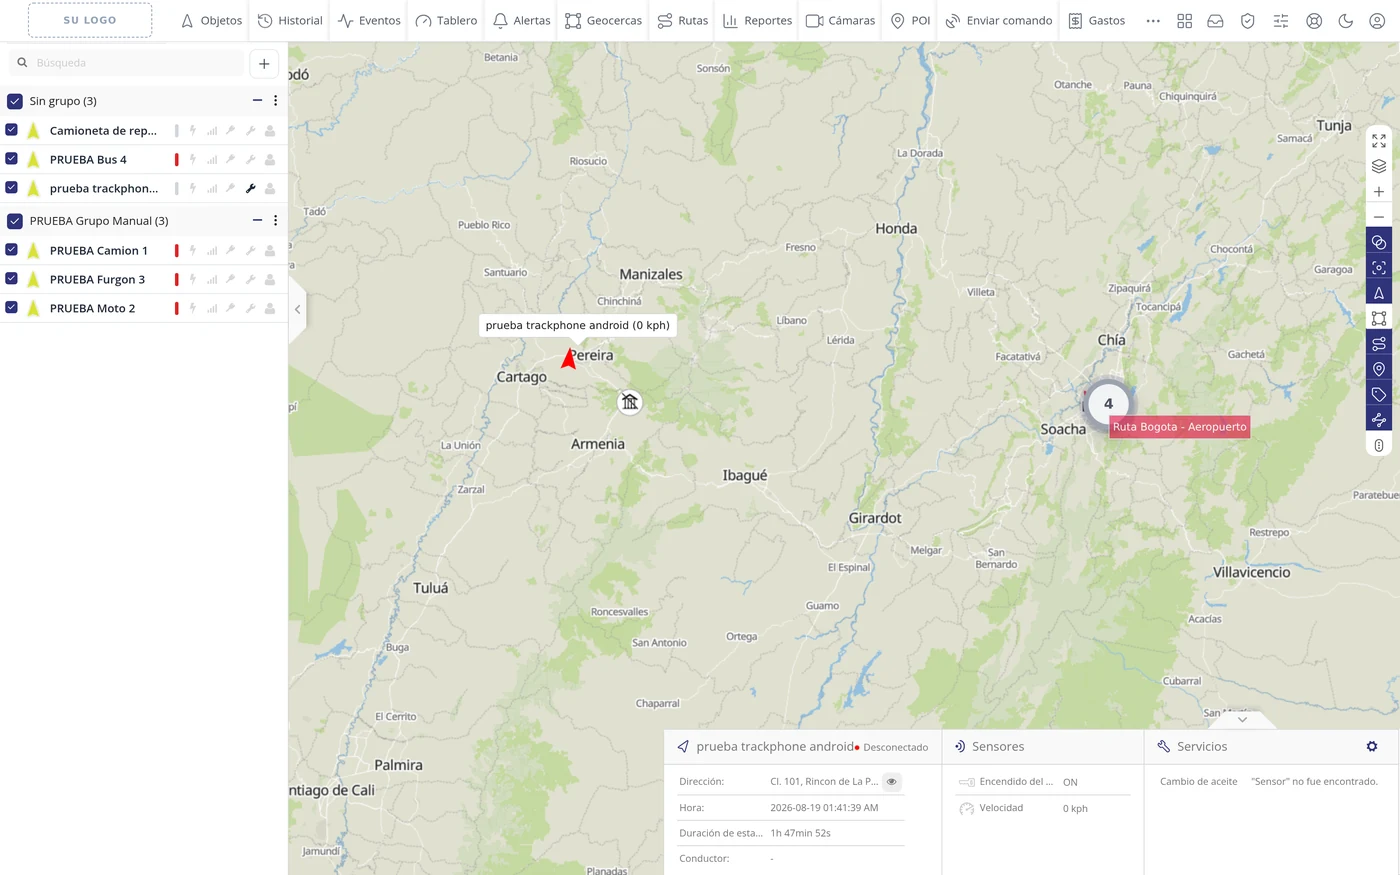
-
Open Share again and go to Sharings
In the vehicle menu, Share again, and at the top click Sharings: there is the list of the links you have created.
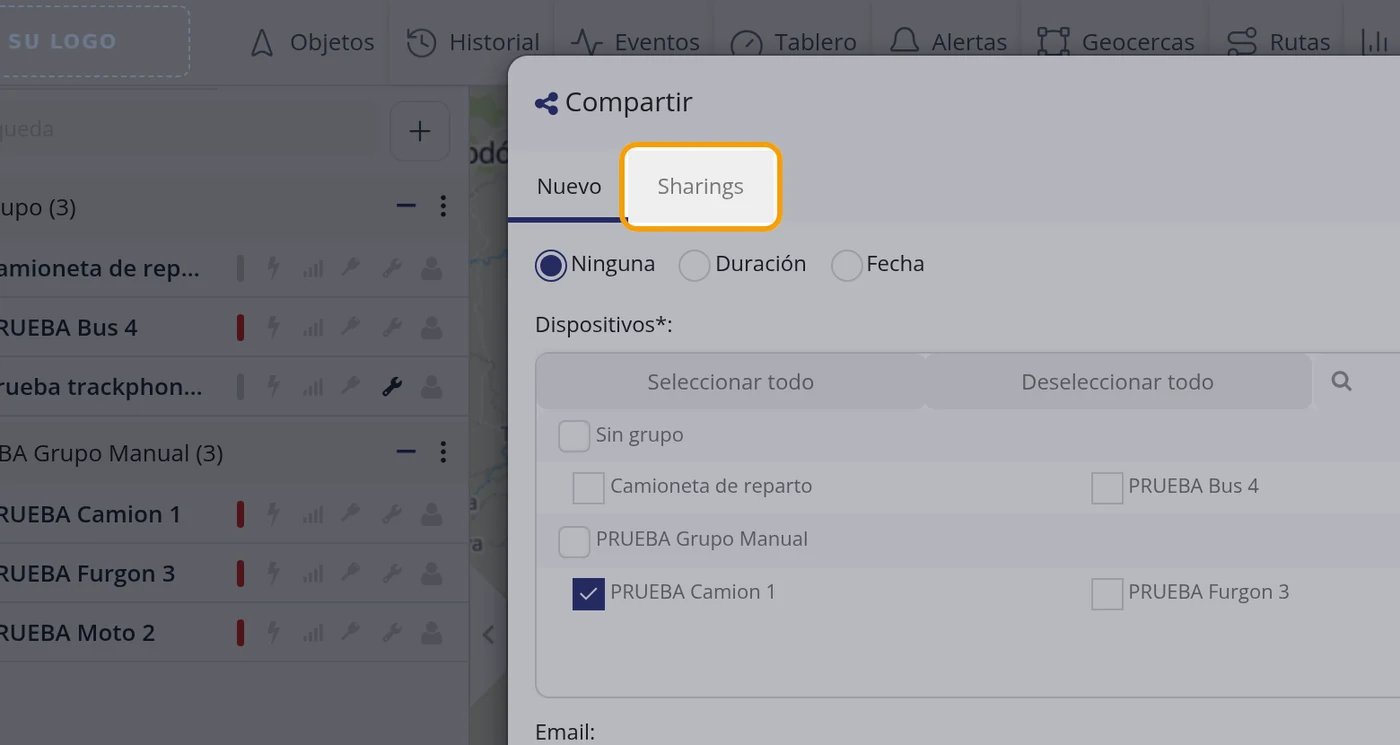
-
Copy the address
The list has four columns: Name, Link, Expiry date and Active. In Link is the address to pass to the other person; it ends in a long string of letters and numbers that is the key of that link.
CarefulIn the picture the domain is deliberately covered as [YOUR DOMAIN]: each platform is delivered with its own, and yours will be the one that appears.
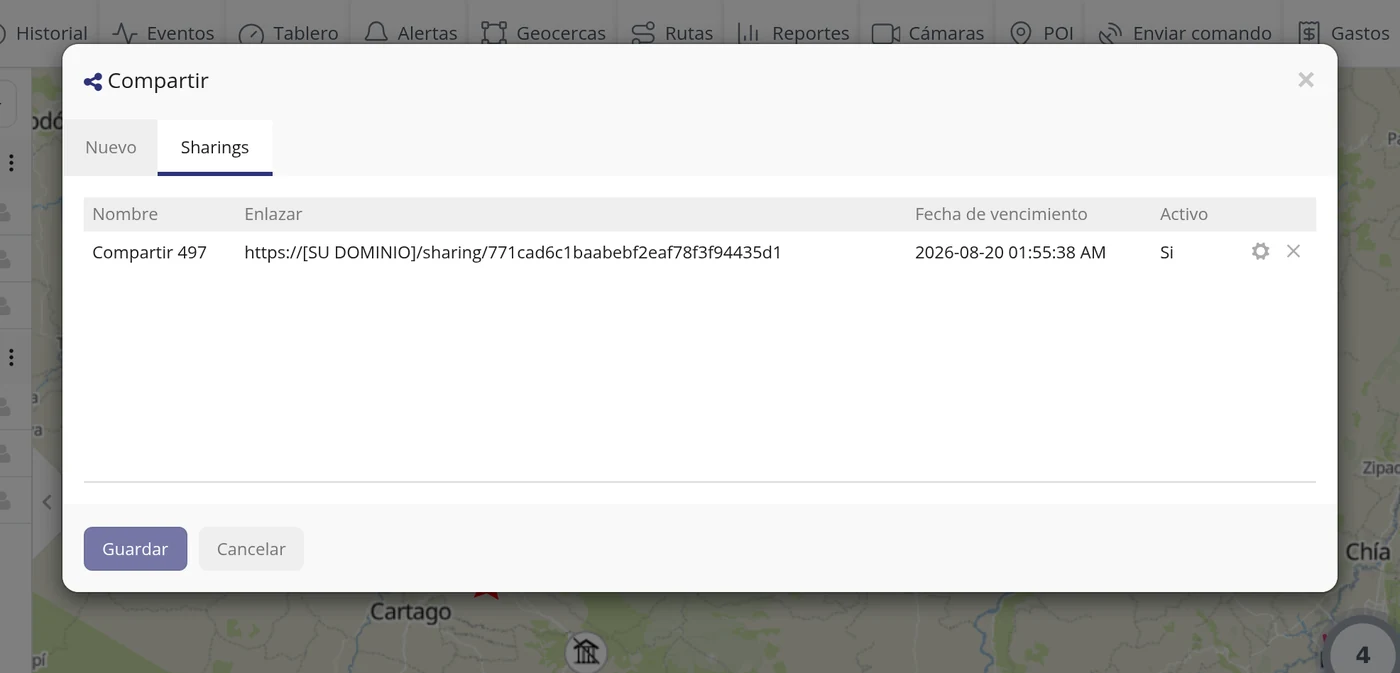
-
Check what the other person sees
That same address was opened in a browser without signing in to the platform, as a stranger would: a clean map is shown with the vehicle and its speed, and nothing else. It does not ask for a username or password, and no menus or the rest of the fleet appear.
CarefulAnyone holding that address sees the vehicle while the link is valid. No password is needed, so treat it like a key.
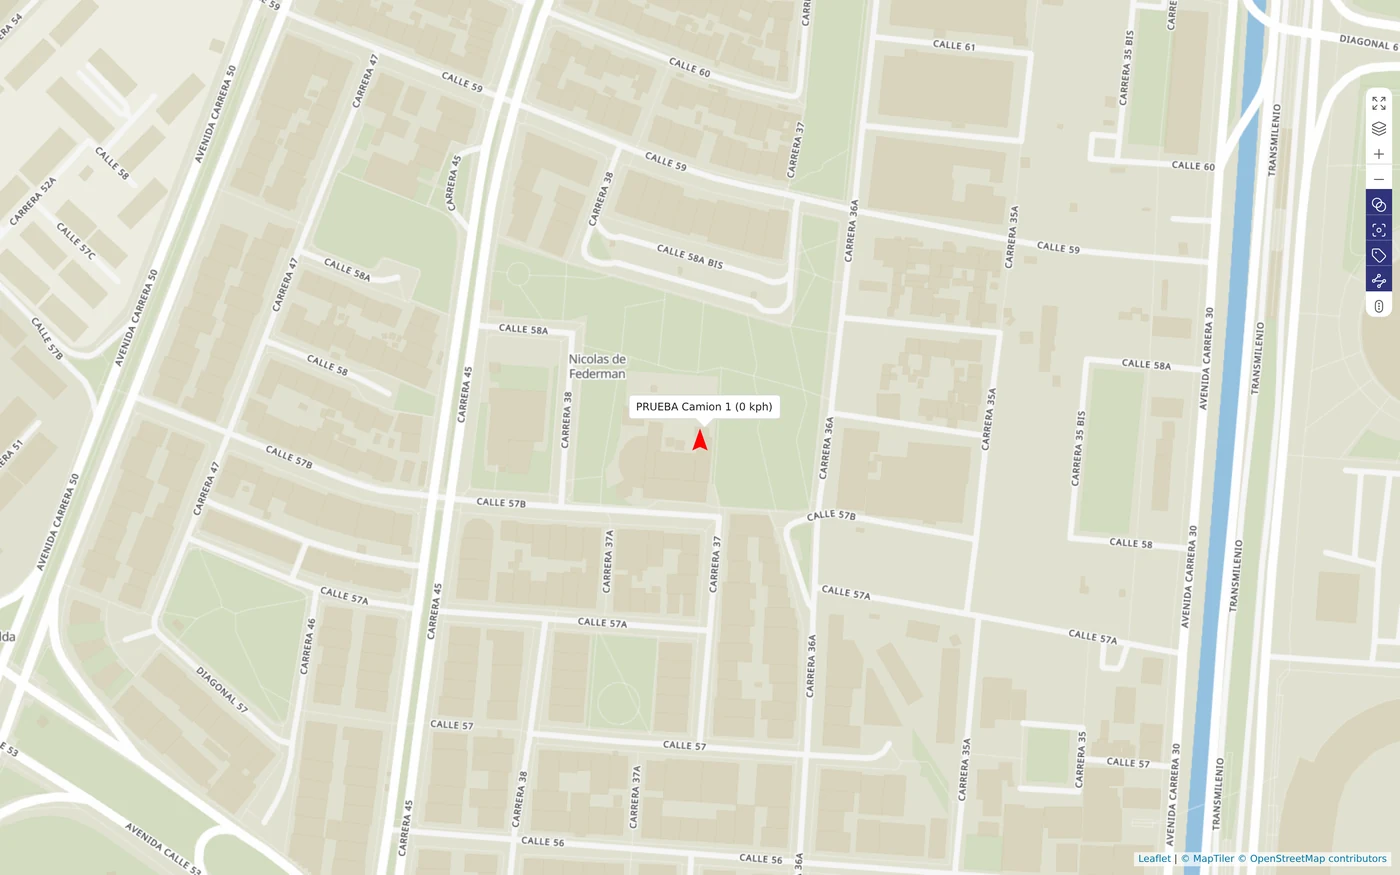
What each field asks for
| As it appears on screen | What it is | |
|---|---|---|
| The «None» option | The link never expires. It can be left empty. | Can be left empty |
| The «Duration» option | The link is valid for a time counted from now, from 1 minute to 24 hours. It can be left empty. | Can be left empty |
| The «Date» option | The link is valid until the day and time you set. It can be left empty. | Can be left empty |
| The «Delete after expiry» box | Deletes the link when it expires, instead of leaving it switched off in the list. It can be left empty. | Can be left empty |
| The «Devices*:» field | Which vehicles will be seen in that link. It can be more than one. It is required. | Required |
| The «Email:» field | Address the platform sends the link to. It can be left empty. | Can be left empty |
How to know it worked
Under Sharings a new row has to appear with the address, its expiry date and the Active column saying Yes. And the real test is to open that address in a browser where you have not signed in to the platform.
Cameras: viewing a vehicle's images
If the vehicle has a camera, here you see the photos it has sent, with the timeline of the trip and the driving events (hard braking, hard acceleration and hard turns). It is used to check what is happening in the vehicle without calling the driver. Where it is: Top bar > Cameras. Also from a vehicle: left panel > the camera icon on its row.
Where it is Top bar > Cameras. Also from a vehicle: left-hand panel > camera icon in its row.
Before you start
- The vehicle has to have a camera fitted and be connected. Without a camera the screen opens all the same but there will be no image to show.
-
Click Cameras in the top bar
In the top bar, click Cameras. A large window opens that takes up almost the whole screen.

-
Get to know the parts of the screen
On the left, under Objects, is the list of your vehicles with a search box and a coloured dot for each: green if moving, yellow if stopped with the engine reporting, red if switched off. In the centre is the camera photo. On the right, at the top, Other cameras (if the vehicle has more than one) and below it Photo details: address, time, speed and heading of the moment the photo was taken.
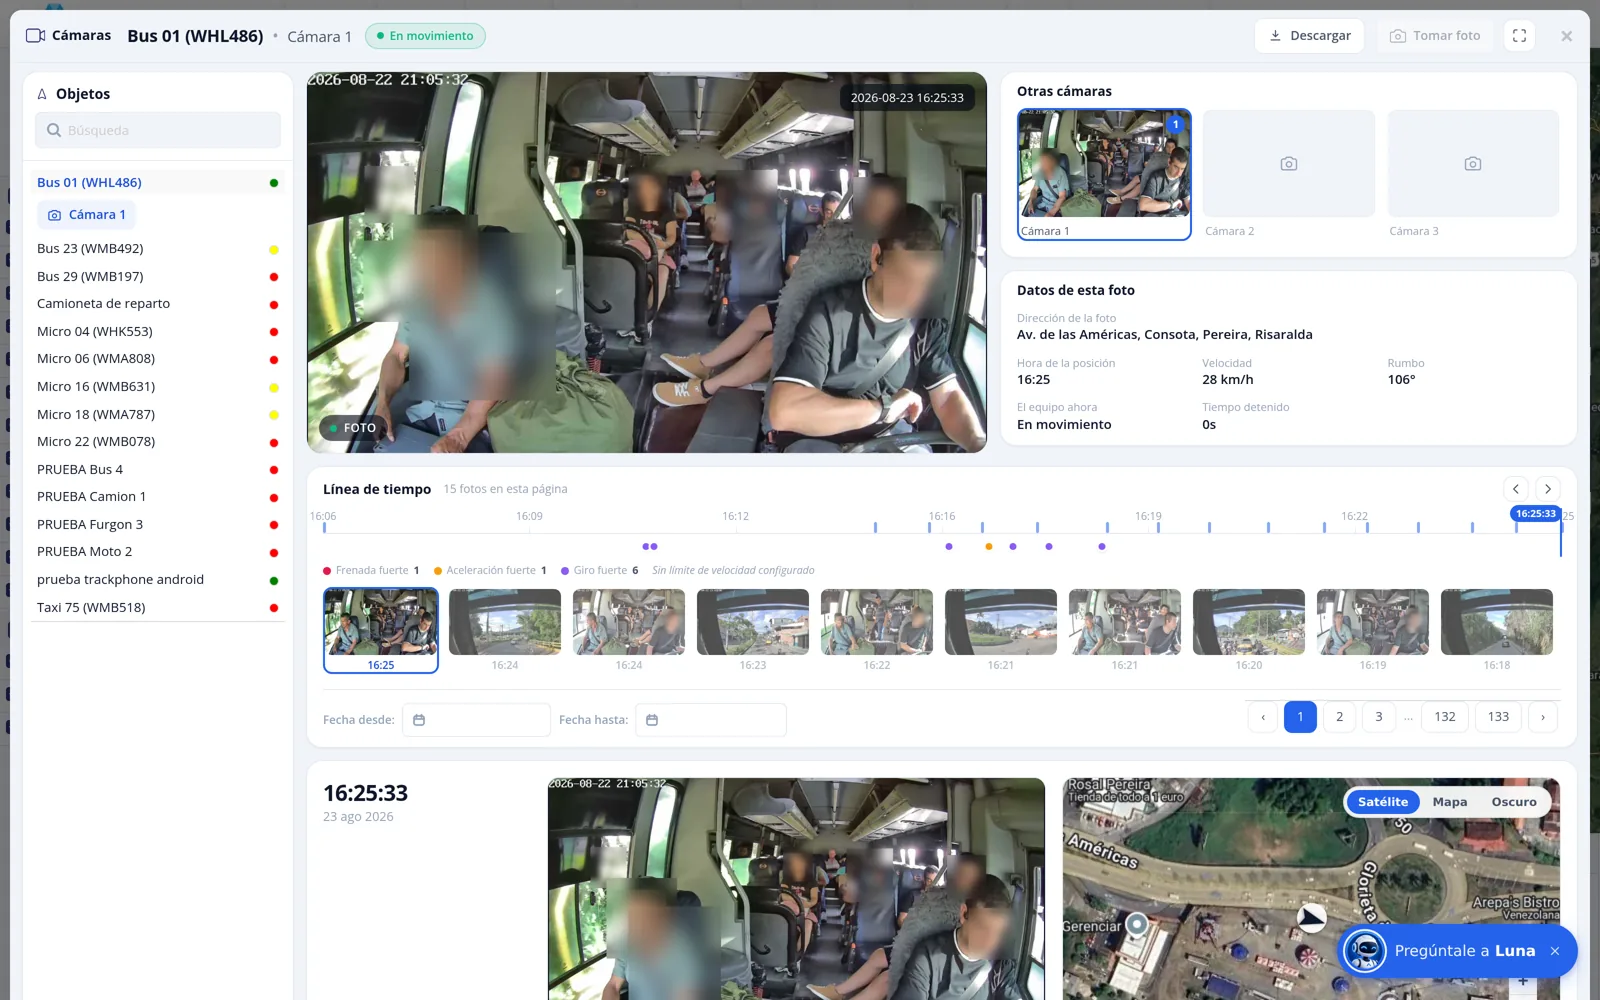
-
Choose the vehicle
Click the vehicle's name in the left list. Its latest photo loads in the centre and, below it, the timeline with all the photos of the stretch.
CarefulIf the vehicle has no camera, the photo area stays empty with the notice "This device does not have a camera connected yet". It is not a fault: there is simply nothing to show.
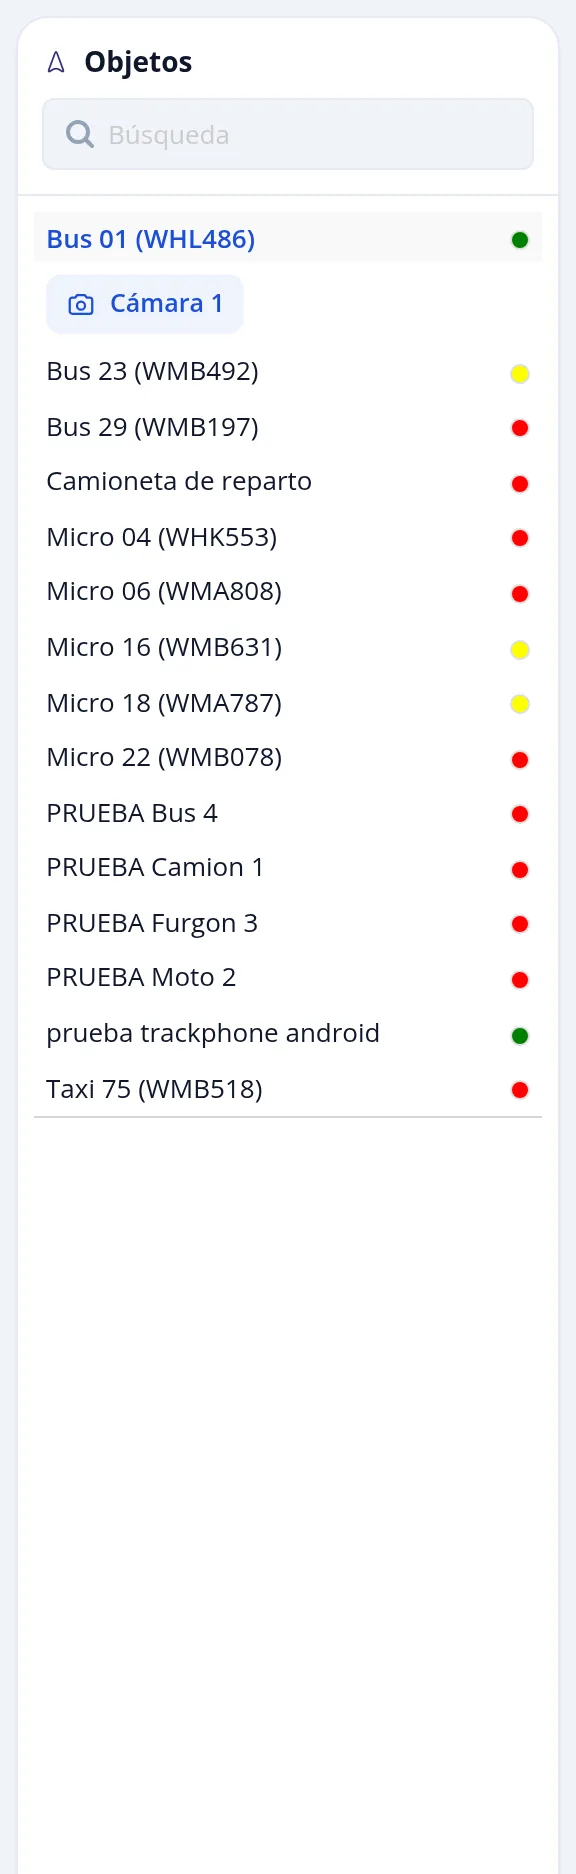
-
Read the timeline and the events
Below the photo is the Timeline: a ruler with the time and a mark for each photo. The coloured dots are the vehicle's driving events, and the legend below says how many there were and of what kind: Hard braking (red), Hard acceleration (orange), Hard turn (purple) and Overspeed (if the vehicle has a speed limit set).
CarefulIf the vehicle has no speed limit set, the legend says so and marks no overspeed: without a limit there is no way to know when it is exceeded.

-
Move from one photo to another
Click a thumbnail on the strip to see it large, or use the arrows in the corner of the timeline to go to the previous or next photo. When you pick a photo, it is shown enlarged below next to the map of the spot where it was taken.
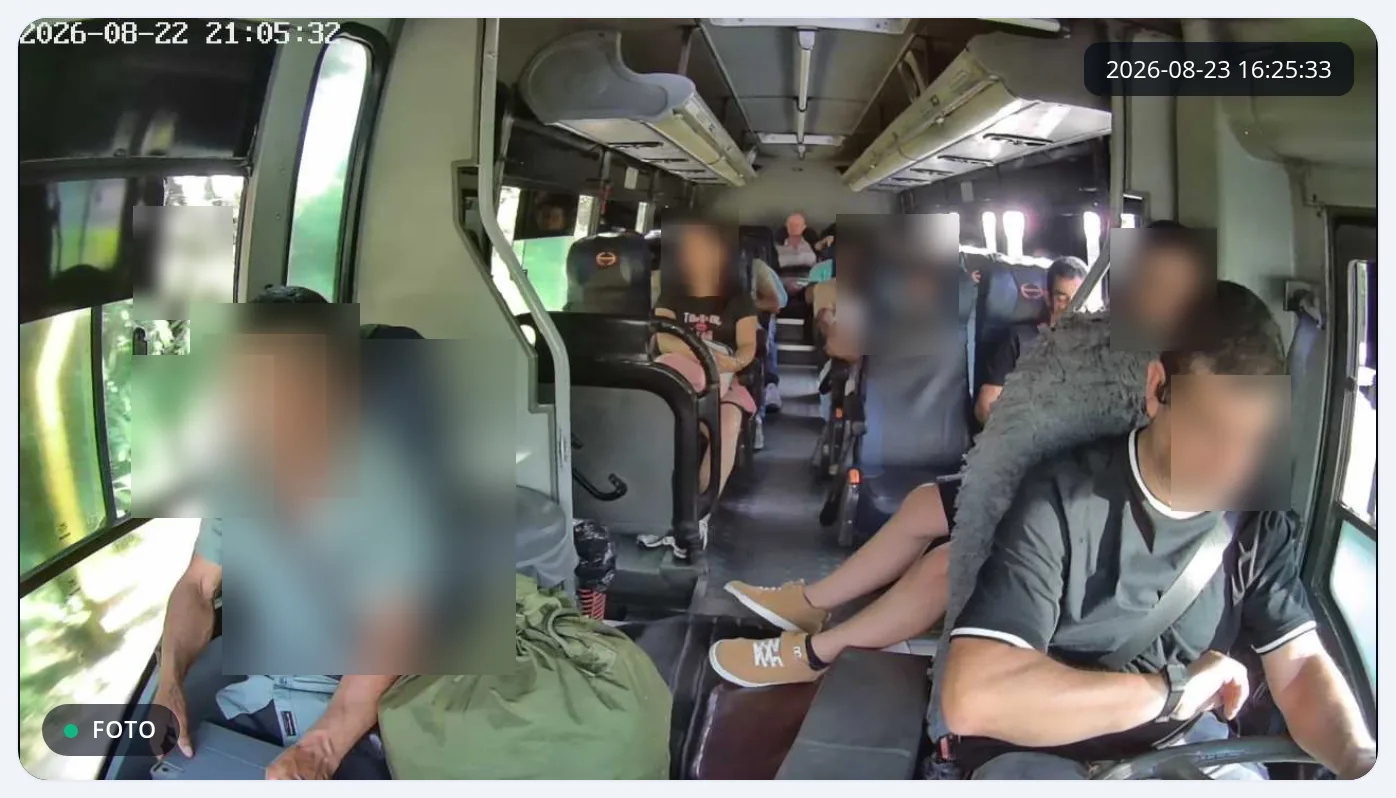
-
Switch between the vehicle's cameras
If the vehicle has more than one camera, they appear under Other cameras, top right. Click one to see its photos. Use the arrows to reach more cameras if there are many.
-
Look at the photo's map
Next to the enlarged photo is the map of the spot where it was taken, with the heading arrow. Above the map you can switch the view between Satellite, Map and Dark.
-
Filter by dates
With Date from and Date to you can narrow the stretch to a specific day or a few hours. If there are many photos, use the paging on the right to move between pages.
-
Ask for a photo right now
The Take photo button, top right, sends the device the order to fire the camera now. The photo takes as long as the device needs to send it and appears in the list.
CarefulIf the vehicle is disconnected, the order does not go out. It is the same as with any order sent to the device.

-
Download the photo or open it full screen
The Download button saves the photo you are viewing. The corner button, with the four arrows, opens it full screen; you leave with Esc or the close cross. The cross at the top closes the cameras screen.
Snapshots: watching several cameras at once on the map
A snapshot is a small window with a vehicle's camera, on top of the map. They open from each vehicle's camera icon and you can have several at once, to watch the fleet without leaving the map. Where it is: Map screen (Objects) > the camera icon on each vehicle's row.
Where it is Map screen (Objects) > camera icon in each vehicle's row.
Before you start
- The vehicle has to carry a camera. Vehicles with a camera show a camera icon in their row, green if it is on and red if it is off.
-
Click the vehicle's camera icon
In the left list, each vehicle with a camera has a camera icon on its row. Click it: its snapshot opens in the right corner of the map, with the latest photo or the live video.

-
Open several at once
Click another vehicle's camera icon and another snapshot opens, without closing the previous one. They arrange themselves, top to bottom down the right edge, and when a column fills up a new one starts to the left.
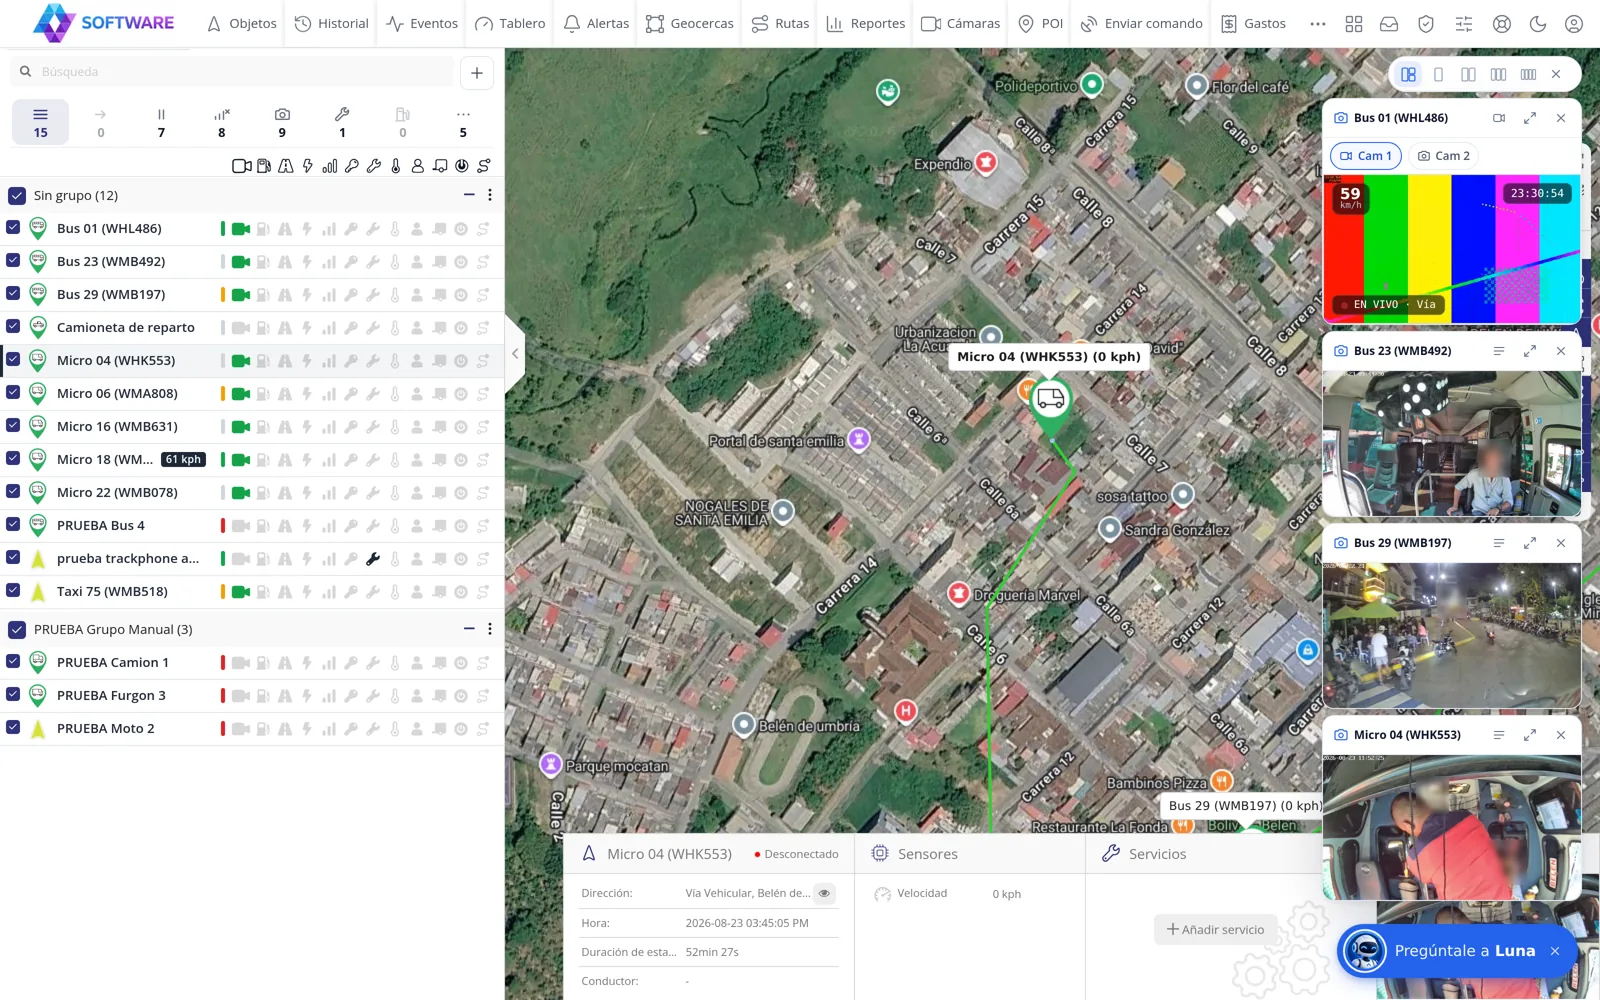
-
Choose how to view them
When there are two or more, a selector appears at the top with several ways to arrange them: let them arrange themselves, one by one, two by two, three by three or four by four. Pick the one you prefer; it is remembered for next time.
-
Move them wherever you want
Drag a snapshot by its bar (the one with the name) and drop it anywhere on the map. The rest rearrange themselves to fill the gap. Double-click the bar to send it back to its place in the row.
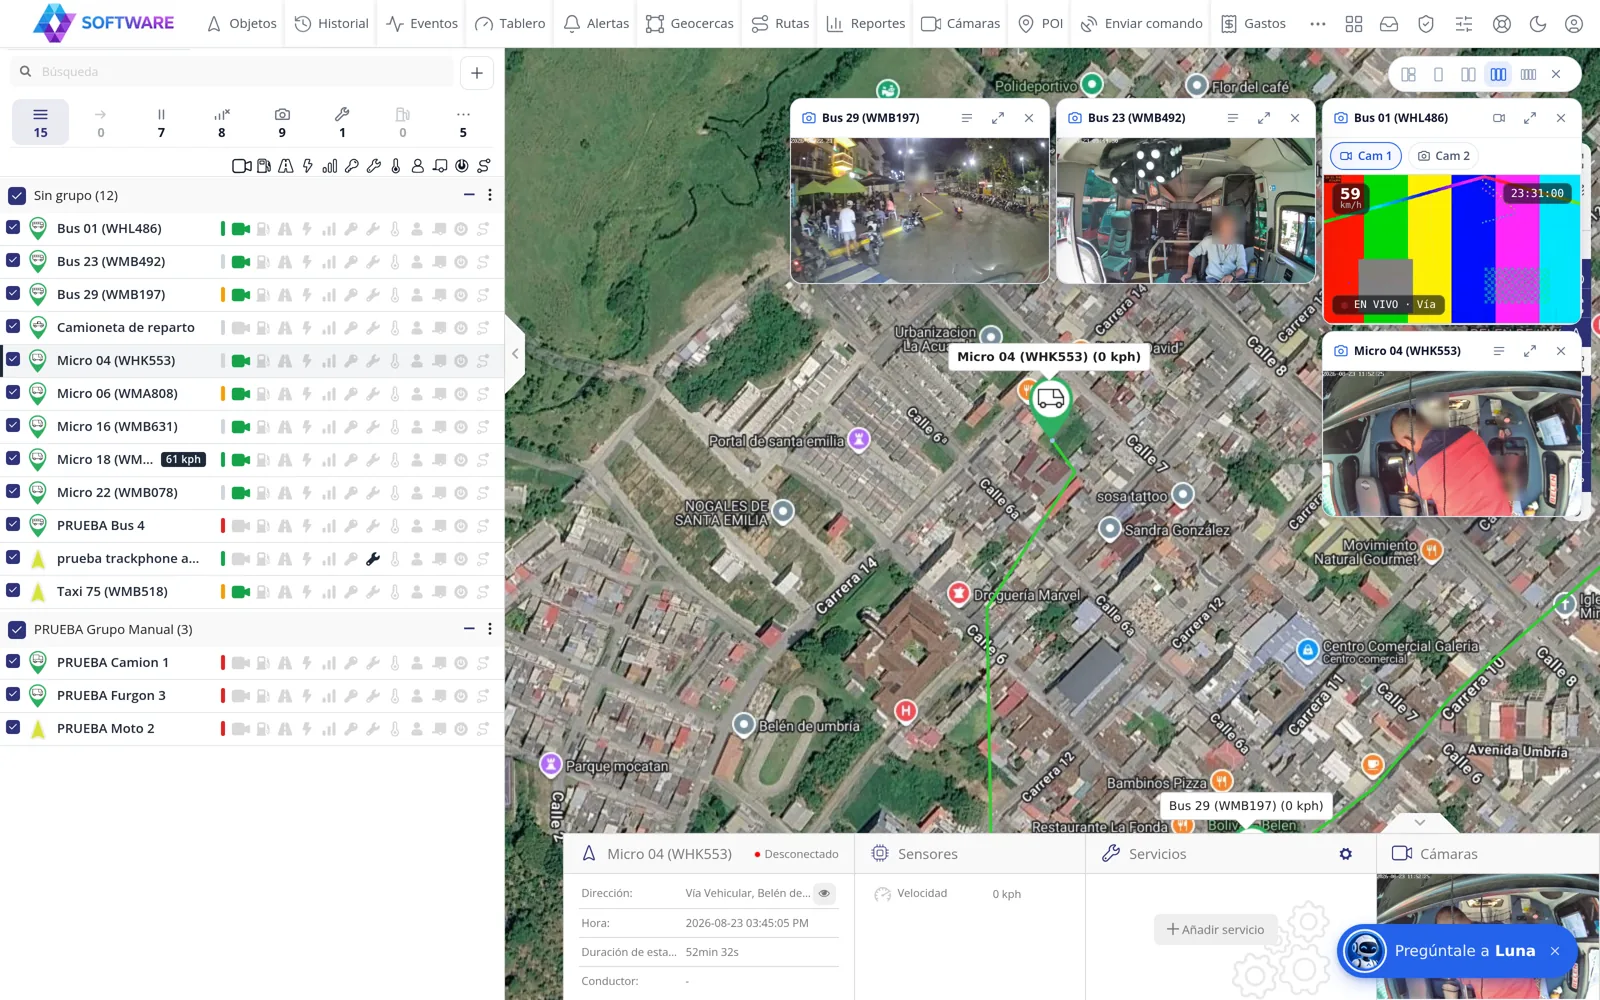
-
Switch camera, watch live or all the photos
Inside the snapshot, if the vehicle has several cameras, choose which to view. Watch live opens the video of the moment; All photos opens that vehicle's cameras screen. With many snapshots open, those buttons tuck into the top bar to save room.
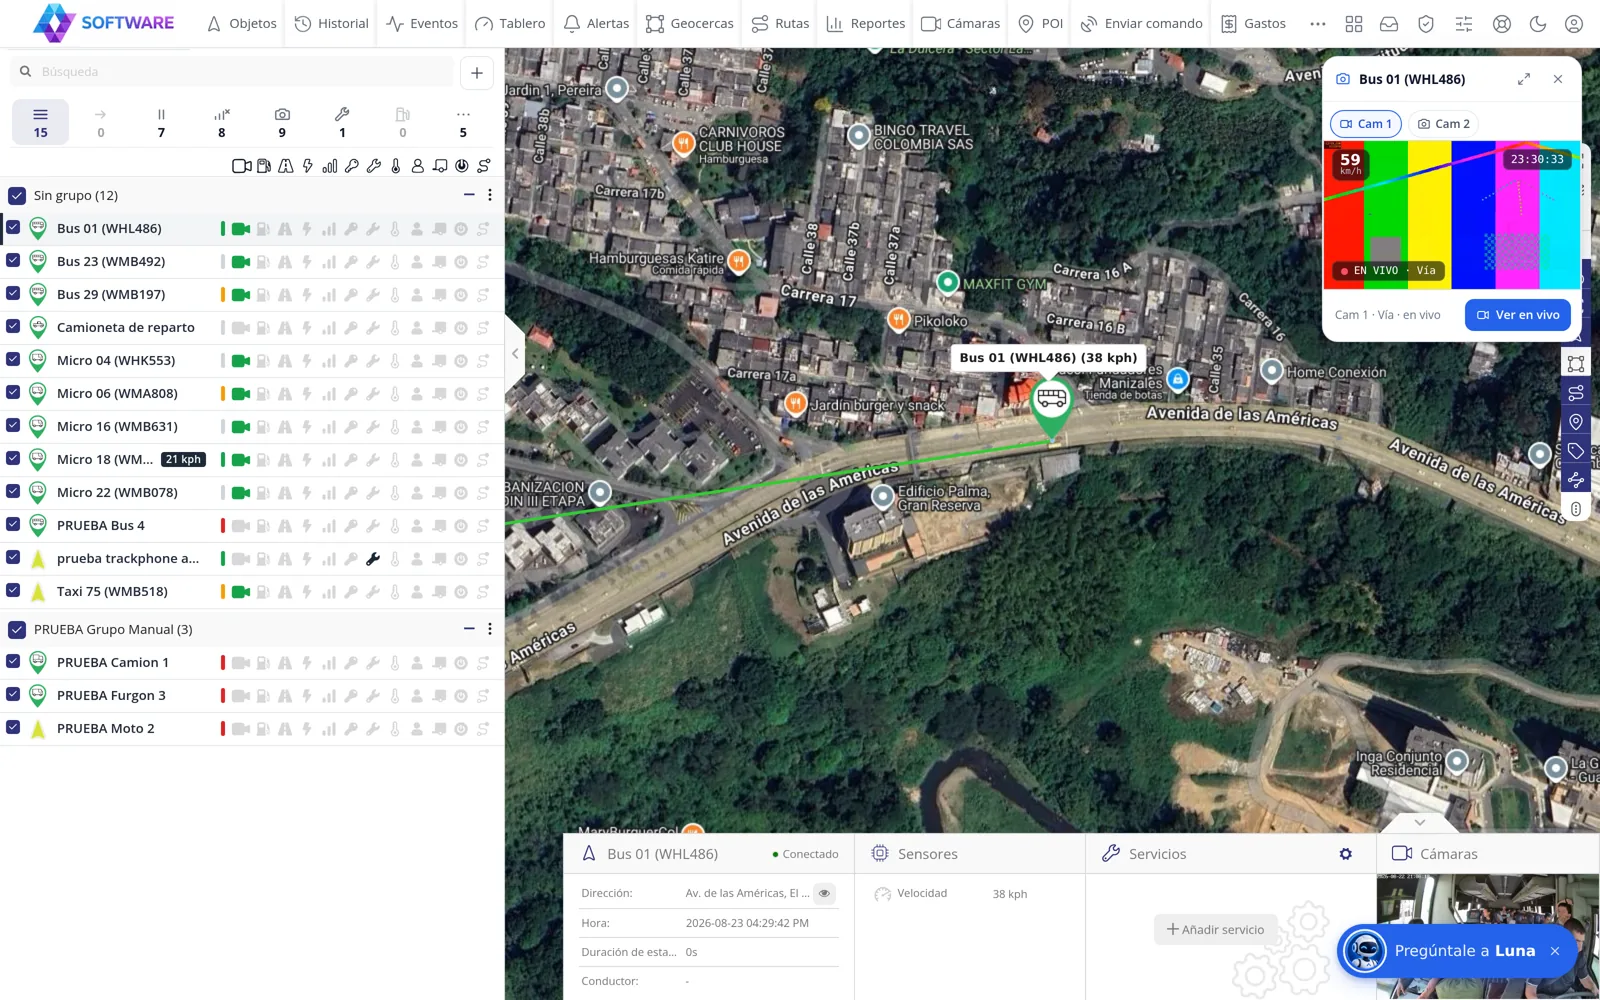
-
How far it goes
You can have several snapshots open at once to watch the fleet. Here nine are open. Each one carries its vehicle's name, so you always know whose camera it is.
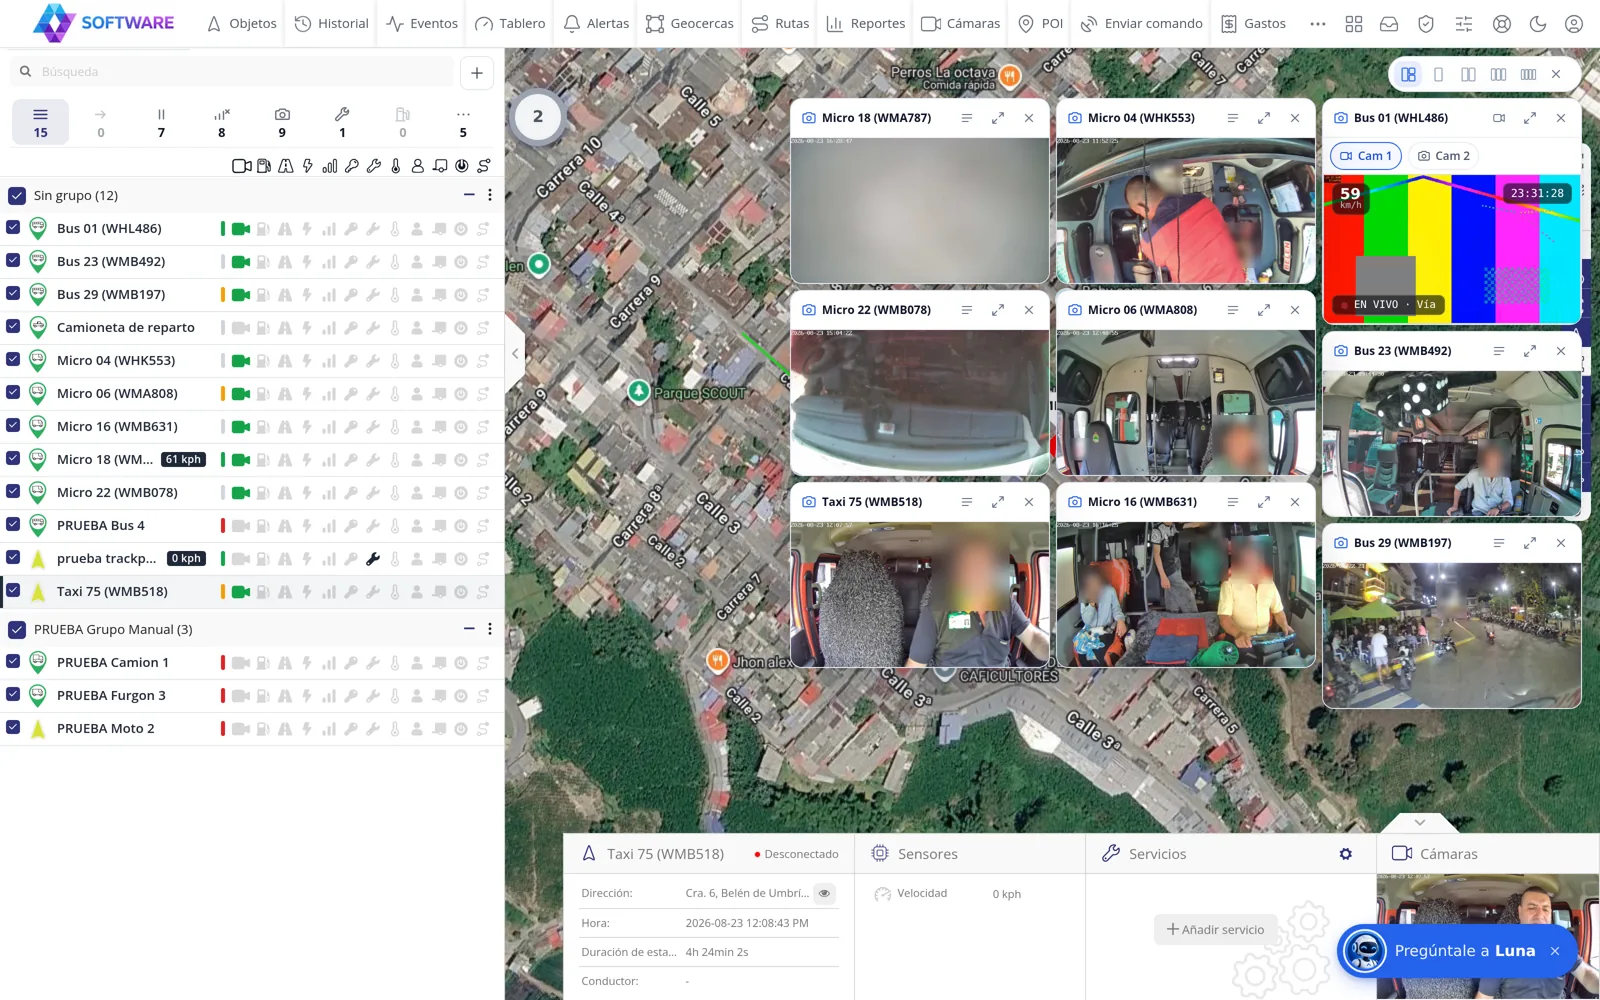
-
Close them
The cross on each snapshot closes it. When there are two or more, Close all at the top removes them all at once. Snapshots you leave open come back when you reload the page, in the same spot.
CarefulSnapshots only show on the map screen. If you open another screen (for example Cameras or Reports) they hide, and come back when you return to Objects.
The applications
The applications: what is in each one
The platform is not just the map: around it there are more than twenty applications for specific things (inspections, cameras, maintenance, routes, cold chain, school transport...). Here is the list, what each one does in the words of its own manual, and what you see when you open it from a real customer account. Where it is: Top bar, on the right > the grid icon (application launcher)
Where it is Top bar, on the right > the grid icon (app launcher)
Before you start
- The applications you see depend on how your account is set up. The ones that are not set up will ask you for a username and password.
-
Open the application launcher
In the top bar, on the right, the grid icon unfolds all the applications you have. Each one opens in a new tab and the panel sends it your key so you get in without typing a password.
CarefulChecked on 19 August 2026 signing in with a real account: the key the panel sends is the customer's own (it matches, letter by letter, the one stored) and 22 of the 23 applications opened already inside, asking for nothing. The only one that asked for a username and password was FUEC.
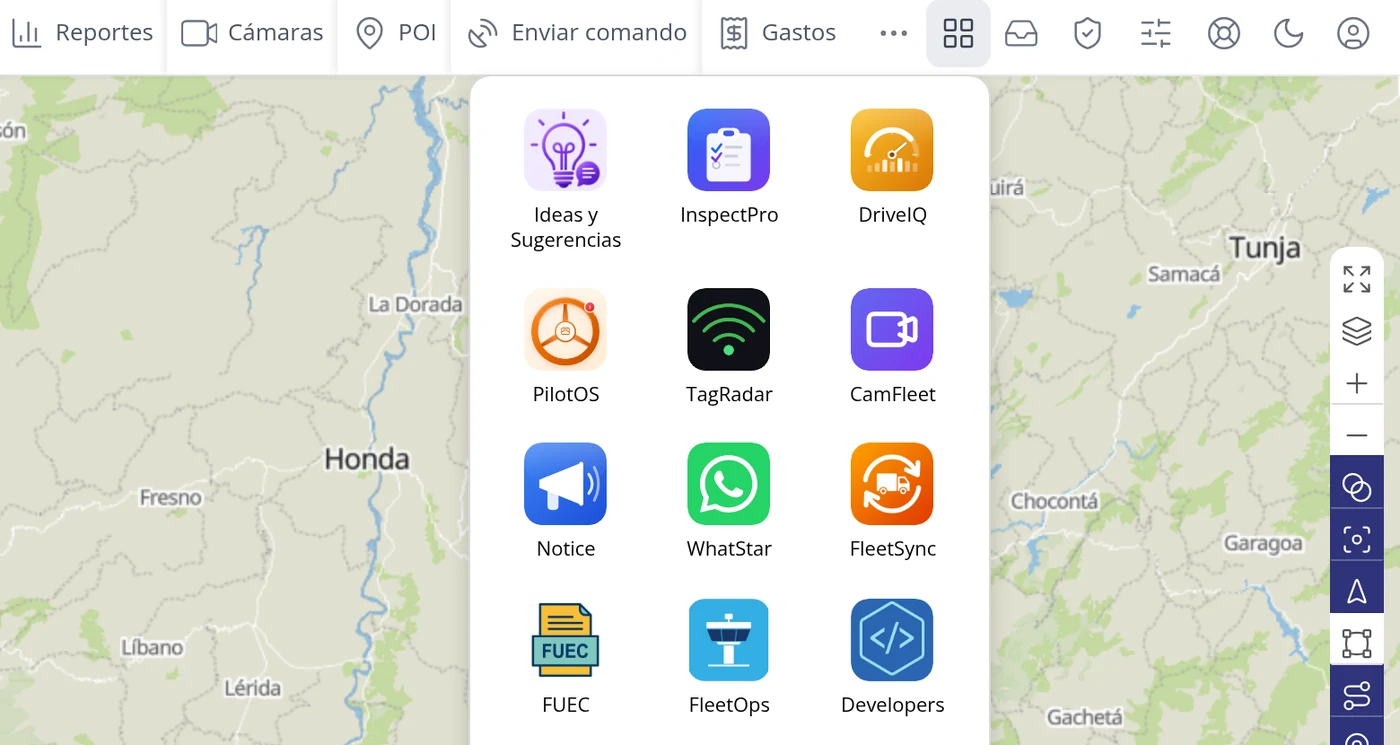
-
InspectPro
On clicking its icon it went straight in, with the customer's session.
-
DriveIQ
On clicking its icon it went straight in, with the customer's session.
-
PilotOS
PilotOS is the platform driver management tool. It centralises the driver register, shift control by QR, the digital file and pre-trip inspections. On clicking its icon it went straight in, with the customer's session. It has its own manual inside, in the Manual option of its menu.
-
TagRadar
TagRadar is the platform Bluetooth (BLE) asset tracking tool. It locates tools, equipment, containers and assets without GPS, using BLE tags detected by a network of antennas. On clicking its icon it went straight in, with the customer's session. It has its own manual inside, in the Manual option of its menu.
-
CamFleet
CamFleet is the platform vehicle video surveillance system. It receives video from the cameras (dashcam/MDVR), streams it live, records it and matches the events with the GPS position. On opening it you see: Dashboard, Live view, Recent recordings, Quick access. On clicking its icon it went straight in, with the customer's session. It has its own manual inside, in the Manual option of its menu.
-
Notice
Notice is the platform communications and notifications tool. It sends announcements, popup notices and segmented push notifications to customers and teams from one central panel. On clicking its icon it went straight in, with the customer's session. It has its own manual inside, in the Manual option of its menu.
-
WhatStar
On opening it you see: Total devices, Total messages, Pending schedules, Total contacts. On clicking its icon it went straight in, with the customer's session.
-
FleetSync
FleetSync is the platform GPS integration hub. It connects devices and platforms from different providers into a single normalised data flow for the whole ecosystem. On clicking its icon it went straight in, with the customer's session. It has its own manual inside, in the Manual option of its menu.
-
FUEC
FUEC is the tool to issue and keep the Colombian special transport contract form: the documents are created, looked up and reported on. On clicking its icon it asked for its own username and password: that account is not registered in FUEC yet. It has its own manual inside, in the Manual option of its menu.
-
FleetOps
FleetOps is the tool to run your vehicle fleet day to day. It lets you see where each vehicle is in real time, plan and follow trips, manage overnight stays (when a vehicle spends the night away from its base), define areas on the map and measure driver performance. All from the browser, with nothing to install. On clicking its icon it went straight in, with the customer's session. It has its own manual inside, in the Manual option of its menu.
-
Developers
On clicking its icon it went straight in, with the customer's session.
-
RouteOS
RouteOS is the platform public transport route management tool. It does GPS tracking of buses and controls timetables, headways, geofences and trips from a control centre. On clicking its icon it went straight in, with the customer's session. It has its own manual inside, in the Manual option of its menu.
-
FleetCare
FleetCare is the platform fleet maintenance tool. It prevents breakdowns and downtime with preventive maintenance by mileage, time or engine hours, service records with costs, document control and the odometer read automatically from the GPS. On opening it you see: Dashboard, Alerts (2330). On clicking its icon it went straight in, with the customer's session. It has its own manual inside, in the Manual option of its menu.
-
WorkOrders
WorkOrders is the platform work order tool. It lets you create, assign and follow field jobs with GPS, from the request to the closing, with a customer portal and a price catalogue. On opening it you see: Orders. On clicking its icon it went straight in, with the customer's session. It has its own manual inside, in the Manual option of its menu.
-
GuardCheck
GuardCheck is the platform guard tour and patrol tool, for private security companies. It controls patrols with QR checkpoints, shifts with anti-fraud checks and a visitor register. On opening it you see: Dashboard, Today's compliance (0/1 points). On clicking its icon it went straight in, with the customer's session. It has its own manual inside, in the Manual option of its menu.
-
SatLink
SatLink is the platform satellite connectivity tool. It receives the positions devices send over satellite networks (Iridium/RockBLOCK, Globalstar and others) and feeds them automatically into your GPS software, so your vehicles and assets keep reporting even where there is no mobile coverage. On clicking its icon it went straight in, with the customer's session. It has its own manual inside, in the Manual option of its menu.
-
PESV
PESV is the platform tool to build, run and prove your Road Safety Strategic Plan. It gathers in one place the legal requirements, the drivers, the vehicles, the incidents and the evidence, and delivers them ready for an audit. It feeds on the GPS software and on your records, so you build the plan with almost no manual work. On clicking its icon it went straight in, with the customer's session. It has its own manual inside, in the Manual option of its menu.
-
TrackPhone
TrackPhone turns a phone into one more tracking unit: the unit is created in the platform with its own identifier and the app is installed on the phone. On opening it you see: TrackPhone — Phone tracking., One phone, one more tracking unit, For people you need to see on the map, This is how TrackPhone looks. On clicking its icon it went straight in, with the customer's session. It has its own manual inside, in the Manual option of its menu.
-
ColdChain
ColdChain is the tool to monitor the temperature of refrigerated transport and storage on top of your GPS software. It reads the temperature from the sensors linked to each GPS device, watches the thresholds you set, detects excursions (when the temperature leaves the allowed range) and keeps an exportable history for audit and traceability. On clicking its icon it went straight in, with the customer's session. It has its own manual inside, in the Manual option of its menu.
-
AssetTrack
AssetTrack is the tool to track non-motorised assets (trailers, containers, machinery) on top of your GPS software. It shows the position and state of each asset, manages the hitching of trailers to vehicles, defines geofences and raises alerts (theft, inactivity, low battery, no signal) from the GPS data. On clicking its icon it went straight in, with the customer's session. It has its own manual inside, in the Manual option of its menu.
-
SchoolTrack
SchoolTrack is the tool to manage student transport on top of your GPS software. It organises routes and stops, keeps the list of students with their guardian, records each child boarding and getting off, confirms that no child is left behind on the bus, shows the bus live and keeps parents informed with the estimated arrival time and notifications. On clicking its icon it went straight in, with the customer's session. It has its own manual inside, in the Manual option of its menu.
-
Remindo
Remindo is the task and reminder tool of your GPS software. It is there so nothing important is forgotten: renewals, expiry dates, payments, contracts, policies, insurance, roadworthiness tests, licences, maintenance, documents or any pending item. It creates lists and tasks with date, time, priority and reminders that reach your phone even with the app closed. Each account sees only its own data. On clicking its icon it went straight in, with the customer's session. It has its own manual inside, in the Manual option of its menu.
-
What an application looks like inside (example with the routes one)
On opening the transport routes one you go straight into its dashboard: active routes, active vehicles, stops, incidents and services on route, with the punctuality of the last fourteen days and today's trips hour by hour. In the left column are its screens: Dashboard, Routes, Stops, Vehicles, Timetables, Trips, Services, Control centre, Tracking, Analytics, Incidents, Users, Config and User manual.
CarefulNote the last option of that column: User manual. Nearly all the applications carry their own inside, and there the detail of that application is explained.
-
Its working screens
The routes with their code, colour and stops; the day's services; the vehicles; and the incidents. The data in these pictures is from a demonstration account.
How to know it worked
Each application opens in a new tab. If it opens and you are already inside, that application is enabled for your account.
What the applications share with the GPS software
The applications are not islands: they work on the same vehicles and the same drivers as the GPS software. Here is what is shared, what is not, and how to check it yourself when something does not add up. Where it is: Top bar > the application launcher · and Settings > Drivers tab
Where it is Top bar > the app launcher · and Settings > Drivers tab
-
The vehicles are the same ones
The applications read the vehicles of your GPS software account: they do not have to be registered again in each one. That is why, when you create a unit here, it appears there.
-
Drivers live in two places
The GPS software has its own driver list, in Settings > Drivers. The driver management application has its own, with more things: access user, assigned vehicle, which applications each one enters and their score.
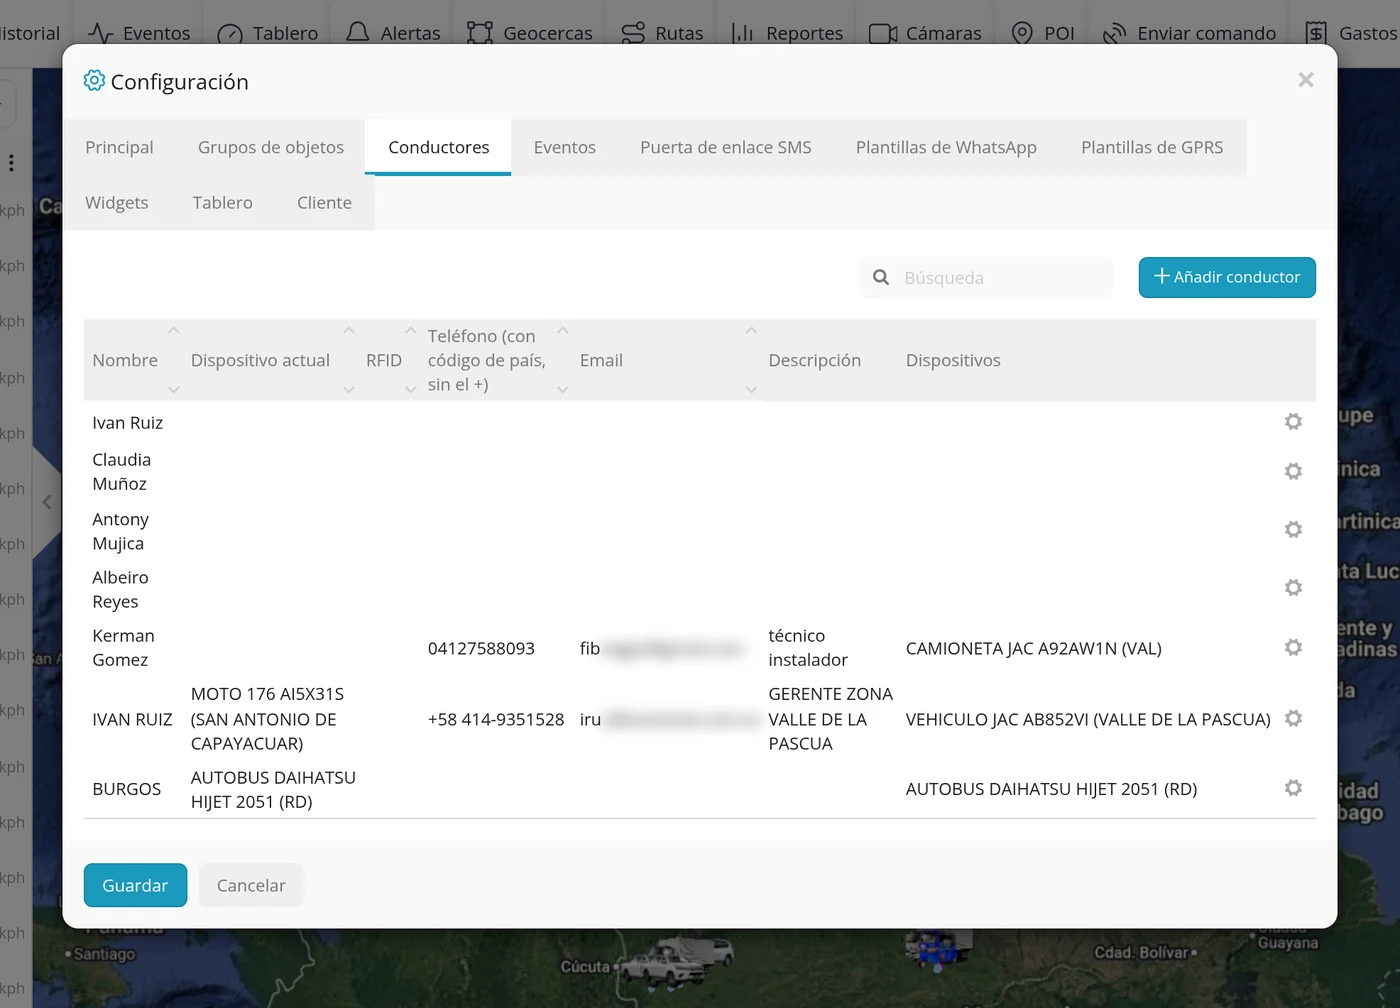
-
And they are not always the same: check it
Measured on a real account on 19 August 2026: the driver application showed 9 and the GPS software 7, and only 5 names were in both lists. That is, there are drivers created in the application that the GPS software does not have, and one in the GPS software that the application does not have.
CarefulIf you create a driver in the application and do not see it in the GPS software (or the other way round), it is not your doing: today the two lists do not copy themselves. Create it in both places or ask support to connect them.
-
How to check it yourself
Open Settings > Drivers and count the ones there. Then open the driver application and count its own. If the numbers do not match, you already know where the gap is.
How to know it worked
Both lists, the GPS software one and the application one, should hold the same people. If not, the driver is missing from one of the two.
Your account and settings
Your account: password, language and signing out
It is the last button on the bar, the person one. From there you see which email you signed in with and how many vehicles you can have, you change the password, you change the platform's language and you sign out. Where it is: Top bar, far right > the person icon
Where it is Top bar, far right > the person icon
-
Click the person icon
It is at the end of the top bar, on the right.
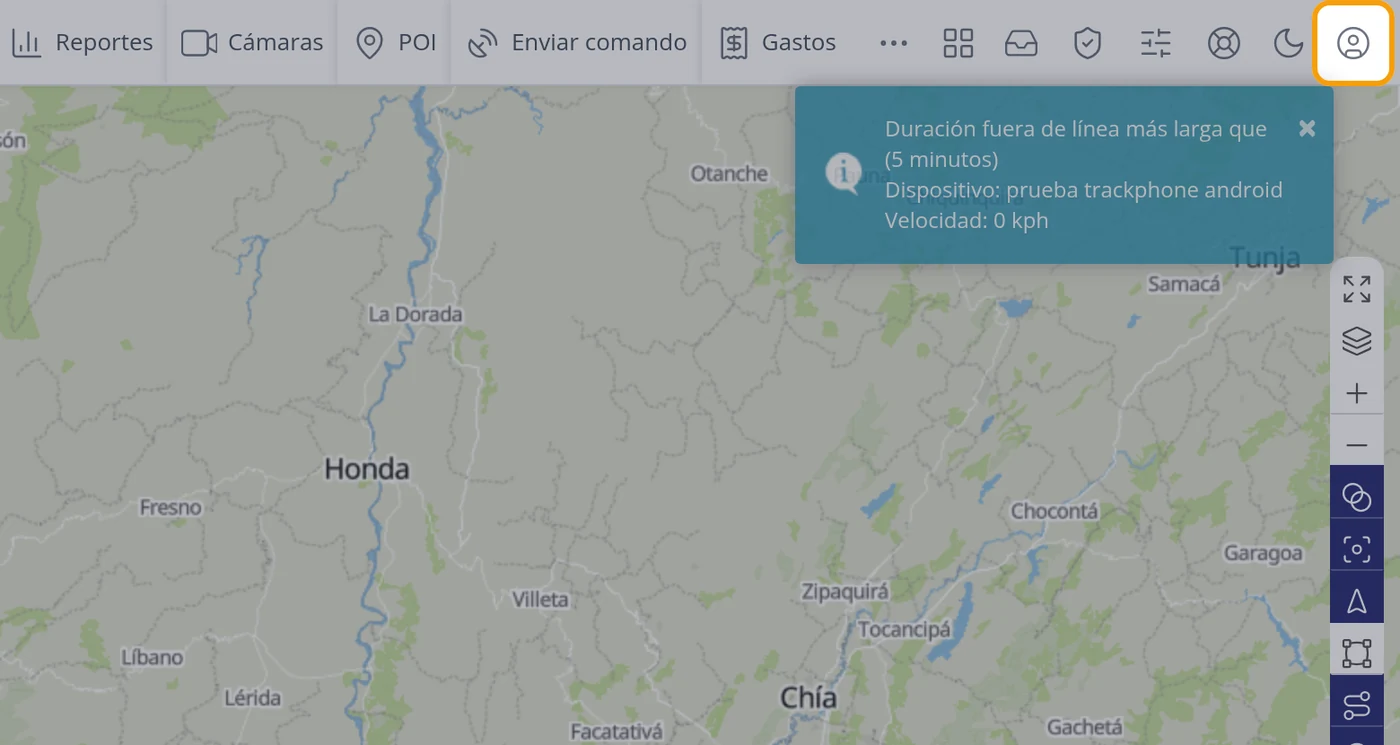
-
See the four options
The menu offers: Subscription, Change password, Language and Sign out.
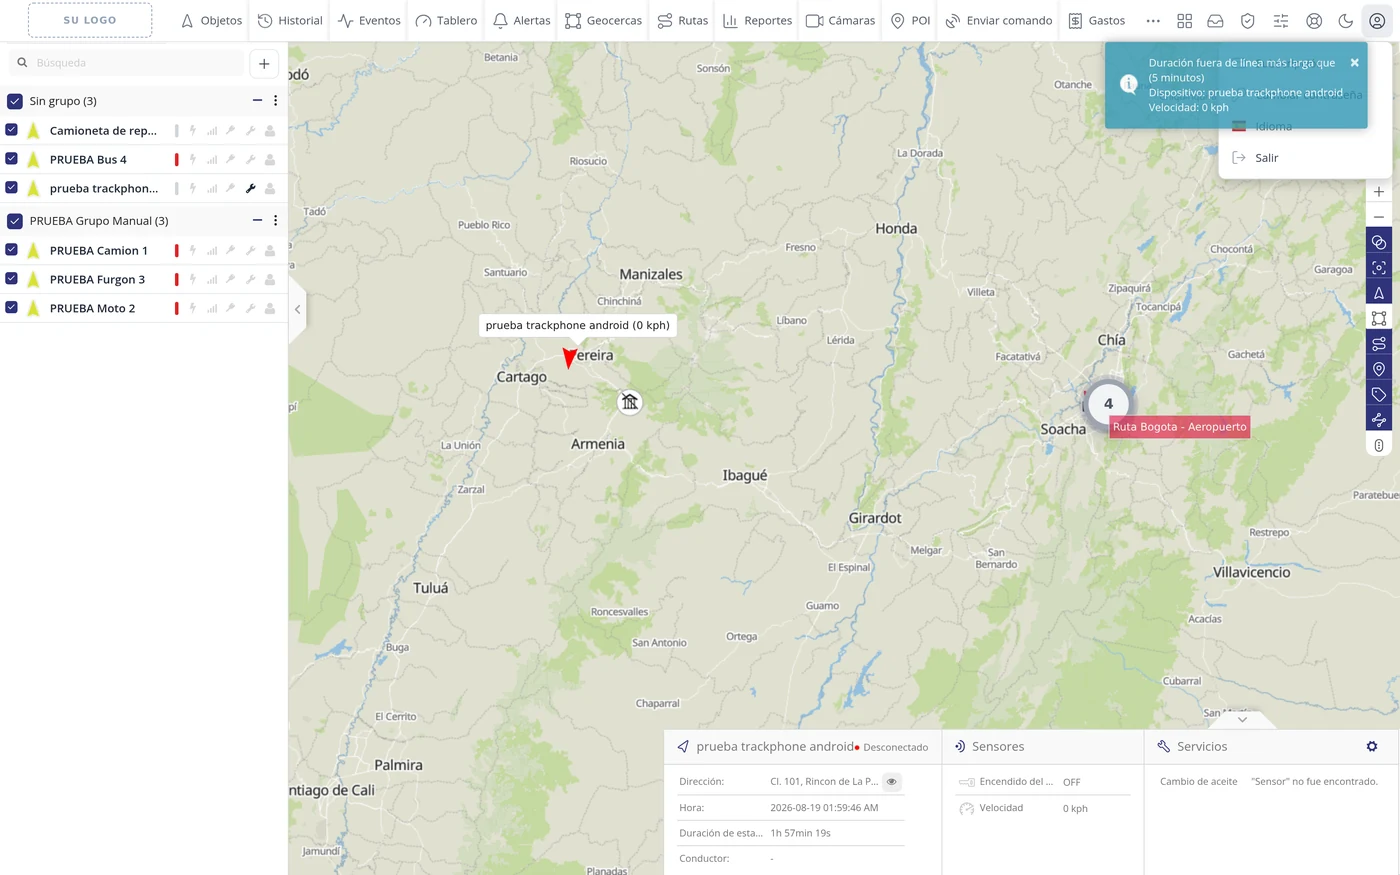
-
Subscription
It shows which email you signed in with and your Device limit, that is how many vehicles you can have. In the test account it says Unlimited. It is only for looking: nothing is changed here.
-
Change password
A window opens with two fields: Password and Confirm password. You have to type the same one in both and click Save.
CarefulIt does not ask for the old password: anyone in front of an open session can change it. Do not leave the session open on someone else's computer.
-
Language
The Choose language window opens with about fifty languages, each with its flag. You click the one you want and the platform reloads in that language. At the bottom there is a Close button to leave without changing anything.
CarefulThe language names are written in English, not in your language: Spanish appears as Spanish and Brazilian Portuguese as Brazilian.
-
Sign out
It closes the session and returns to the sign-in screen. It is what to click when you finish on a computer that is not yours.
-
What is NOT here: the time zone
The time everything is shown in is not changed in this menu, but in the Settings button of the top bar, in its first tab. It has its own section in this manual.
What each field asks for
| As it appears on screen | What it is | |
|---|---|---|
| The «Email:» field | The email you signed in with. It can be left empty. | Can be left empty |
| The «Device limit:» field | How many vehicles your account allows. It can be left empty. | Can be left empty |
| The «Password*:» field | The new password. It is required. | Required |
| The «Confirm password*:» field | The same again, so as not to make a mistake. It is required. | Required |
How to know it worked
On changing the language, the platform's texts change straight away. On signing out, the sign-in screen comes back.
Settings: your account's preferences
It is where you decide how things look for you: whether distances go in kilometres or miles, in what time the data is shown, how the date looks, which boxes appear on the vehicle form and on the dashboard. It is also where the drivers, the vehicle groups, the custom events and the message templates live. Where it is: Top bar, on the right > Settings (the sliders icon)
Where it is Top bar, on the right > Settings (the sliders icon)
-
Click Settings in the top bar
It is on the right, between ADMIN and Help.
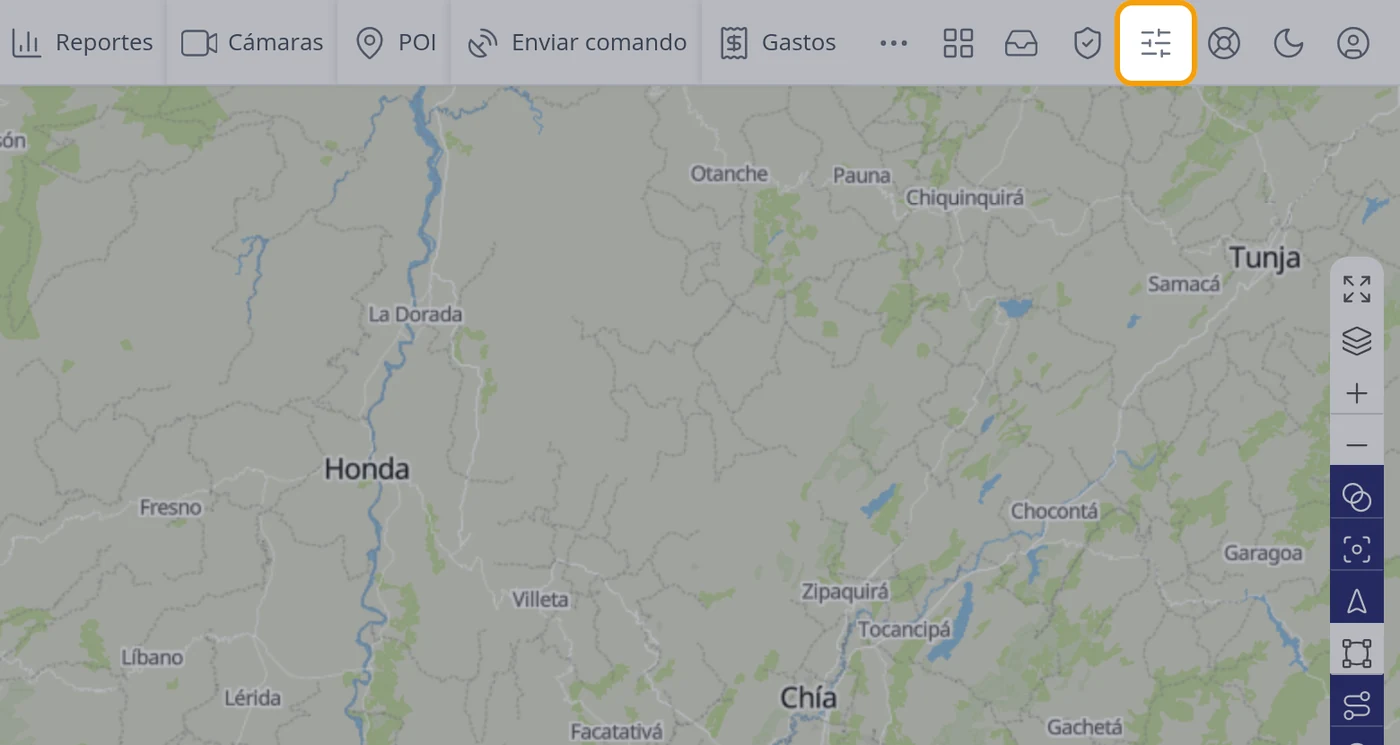
-
Recognise the ten parts
The window has ten tabs: Main, Object groups, Drivers, Events, SMS Gateway, WhatsApp templates, GPRS templates, Widgets, Dashboard and Customer. They are the same for any account that administers: checked by opening the window with both accounts and comparing field by field.
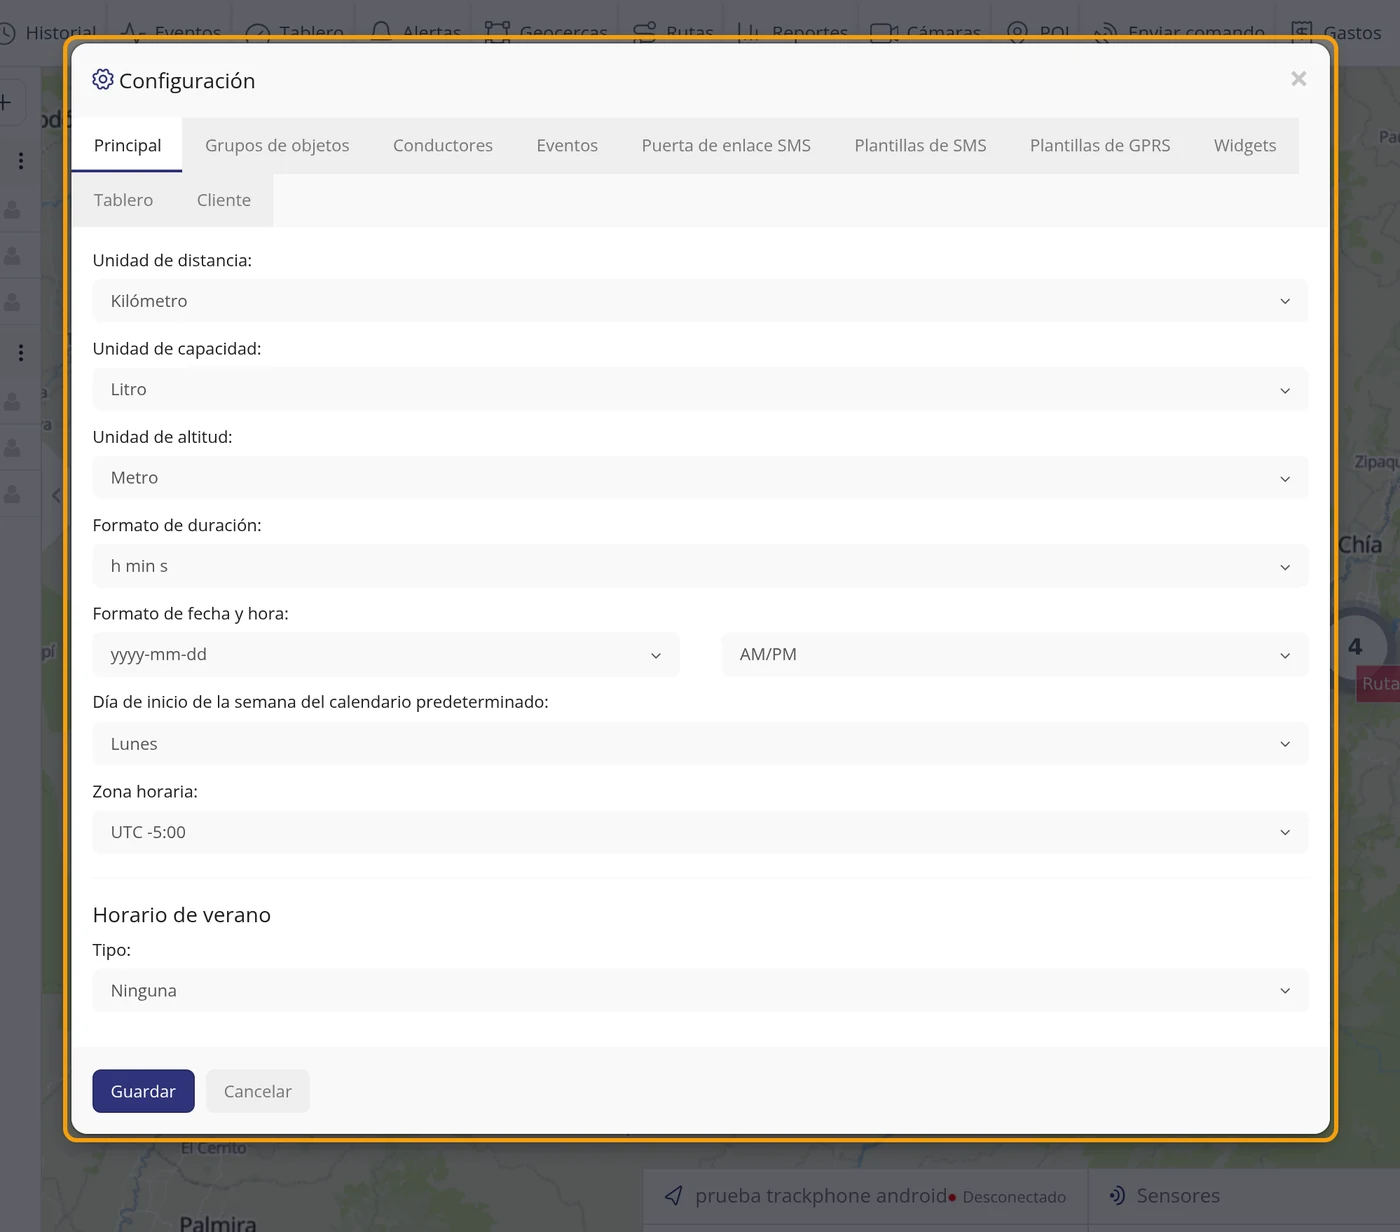
-
Main: units, date and time
Here you choose the Distance unit, the Capacity unit, the Altitude unit, the Duration format, the Date and time format, the week start day and, most importantly, the Time zone. In the test account it is set to Kilometre, Litre, Metre, h min s, yyyy-mm-dd, AM/PM, Monday and UTC -5:00. The Time zone rules over the WHOLE account: if it is wrong, all the vehicles are shown at the wrong time.
CarefulThe Time zone rules EVERYTHING you see: the routes, the reports and the warnings come out with that time. If it is set wrong, everything will look shifted even though the devices are fine.
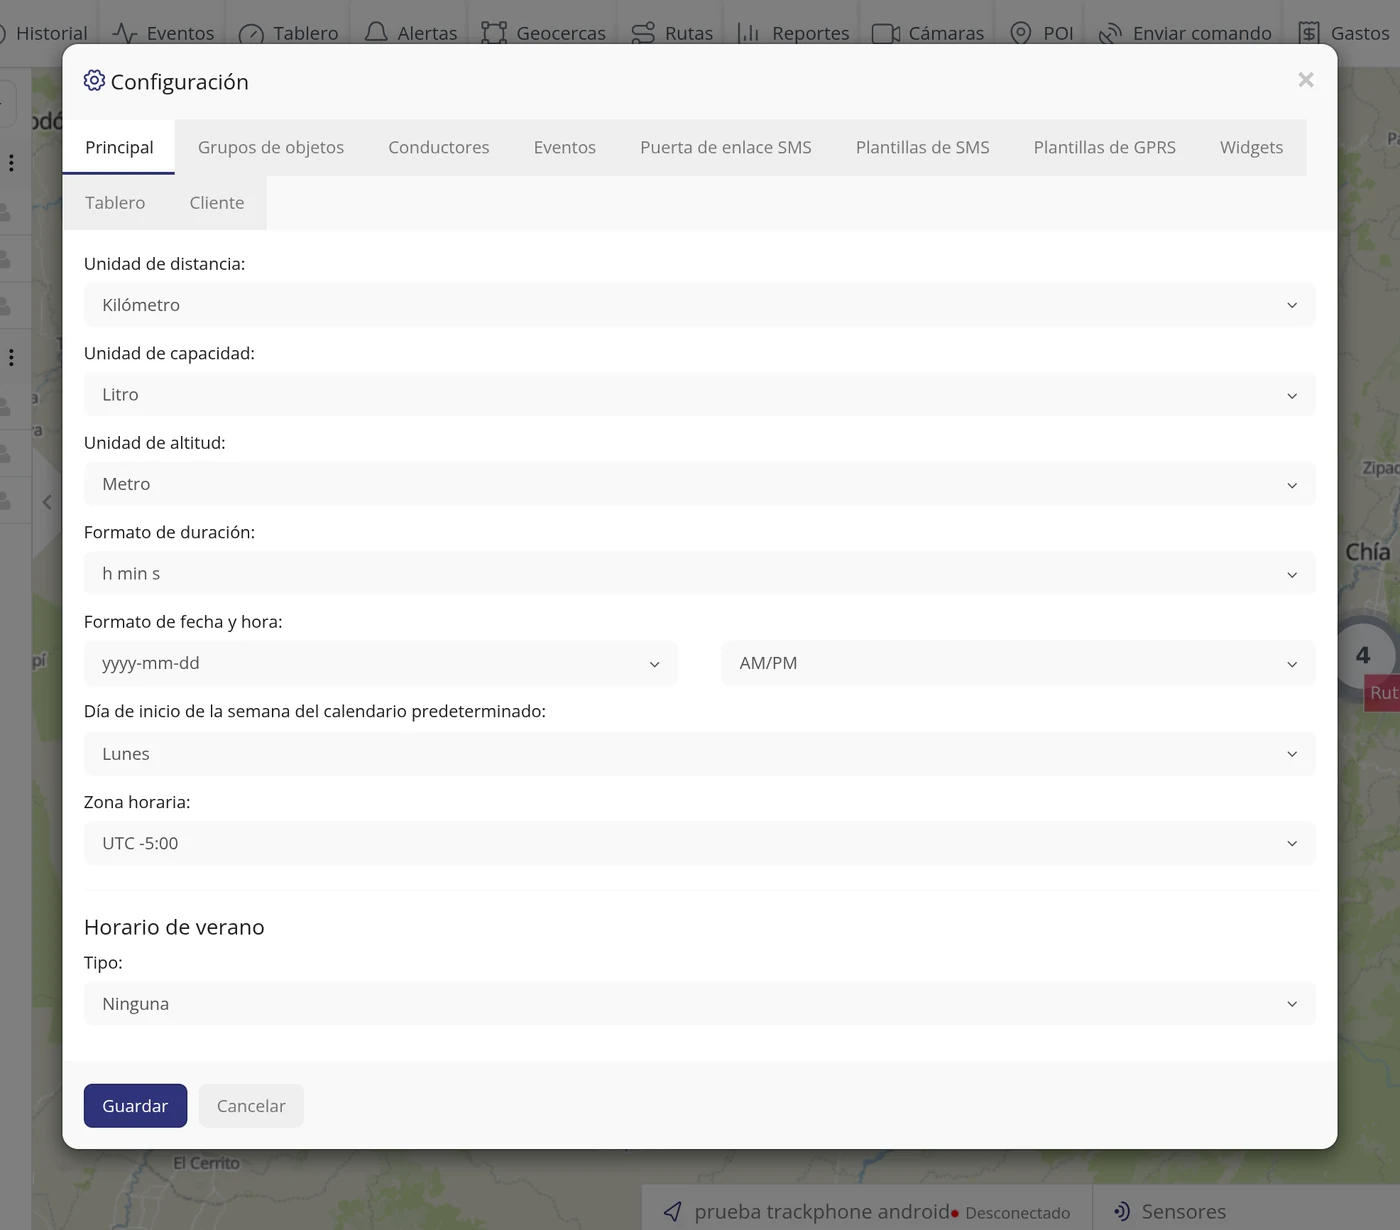
-
Main, at the bottom: daylight saving
Below the time zone there is a block for daylight saving, which in Colombia and in almost all of Latin America is not used. The Type field offers four things: None (the usual), Exact date, Automatic and Other. If you choose Exact date it asks for Date from and Date to; if you choose Automatic it asks for a Country from a list of 74 and it applies that country's dates; and with Other you state the month, the week and the day when it starts and ends.
CarefulLeave it at None unless your country changes the clock twice a year. Set by mistake, the routes and the reports shift by an hour on certain dates.
-
Object groups
The list of groups the vehicles are sorted into in the left panel, and the Add new button to create another.
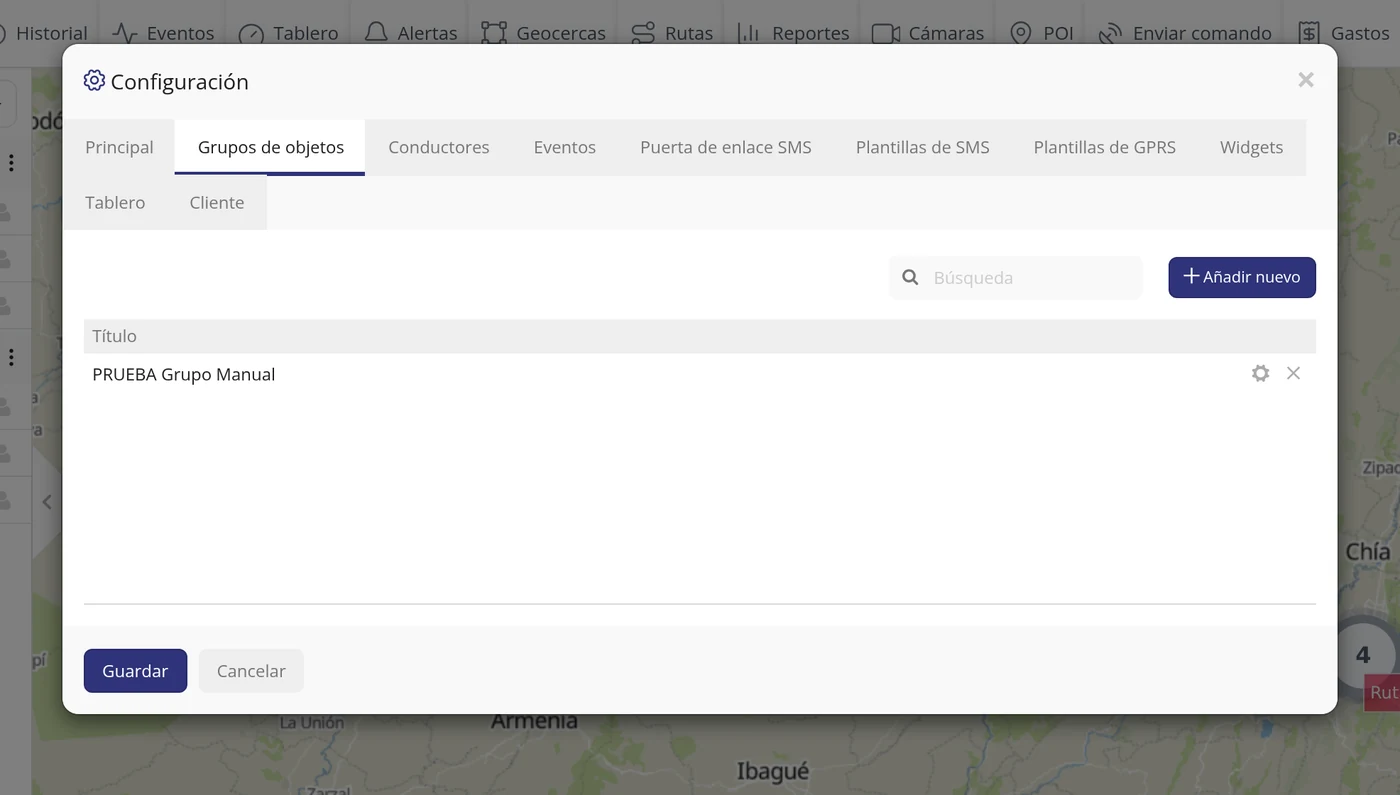
-
Drivers
The driver list, with Name, Current device, RFID, Phone, Email, Description and Devices, and the Add driver button. It is for knowing who was driving.
-
Events
The custom events you have created, with their Title, Parameters and Message. It has its own section in this manual.
CarefulThe blue notice of this tab points to a menu that no longer exists: it says Tools -> Alerts -> Events. Today Alerts is a button of the top bar.
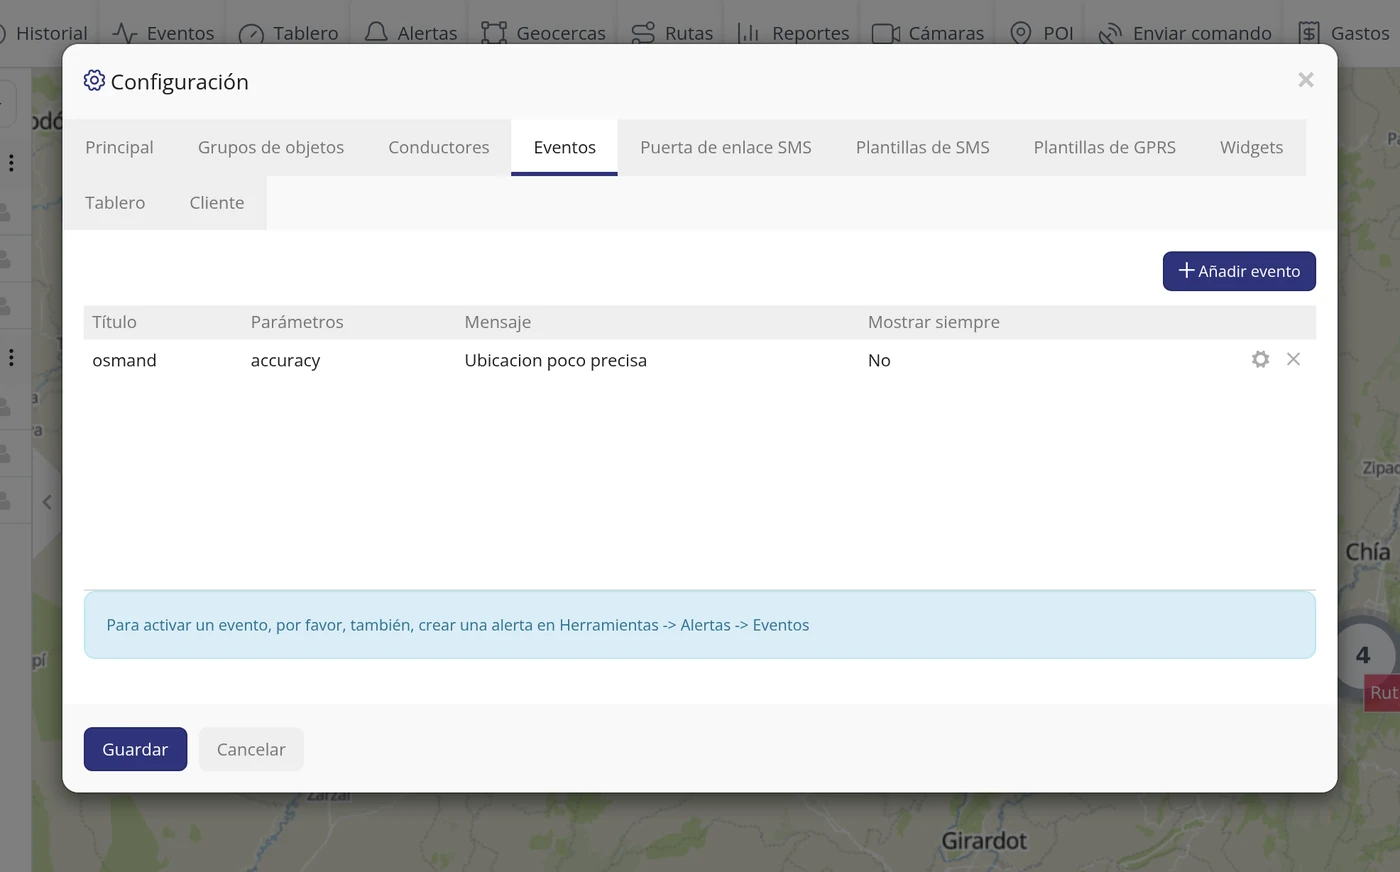
-
SMS Gateway
To connect your own text message service, with its address, username, password and sender number. Without this, orders by SMS do not go out.
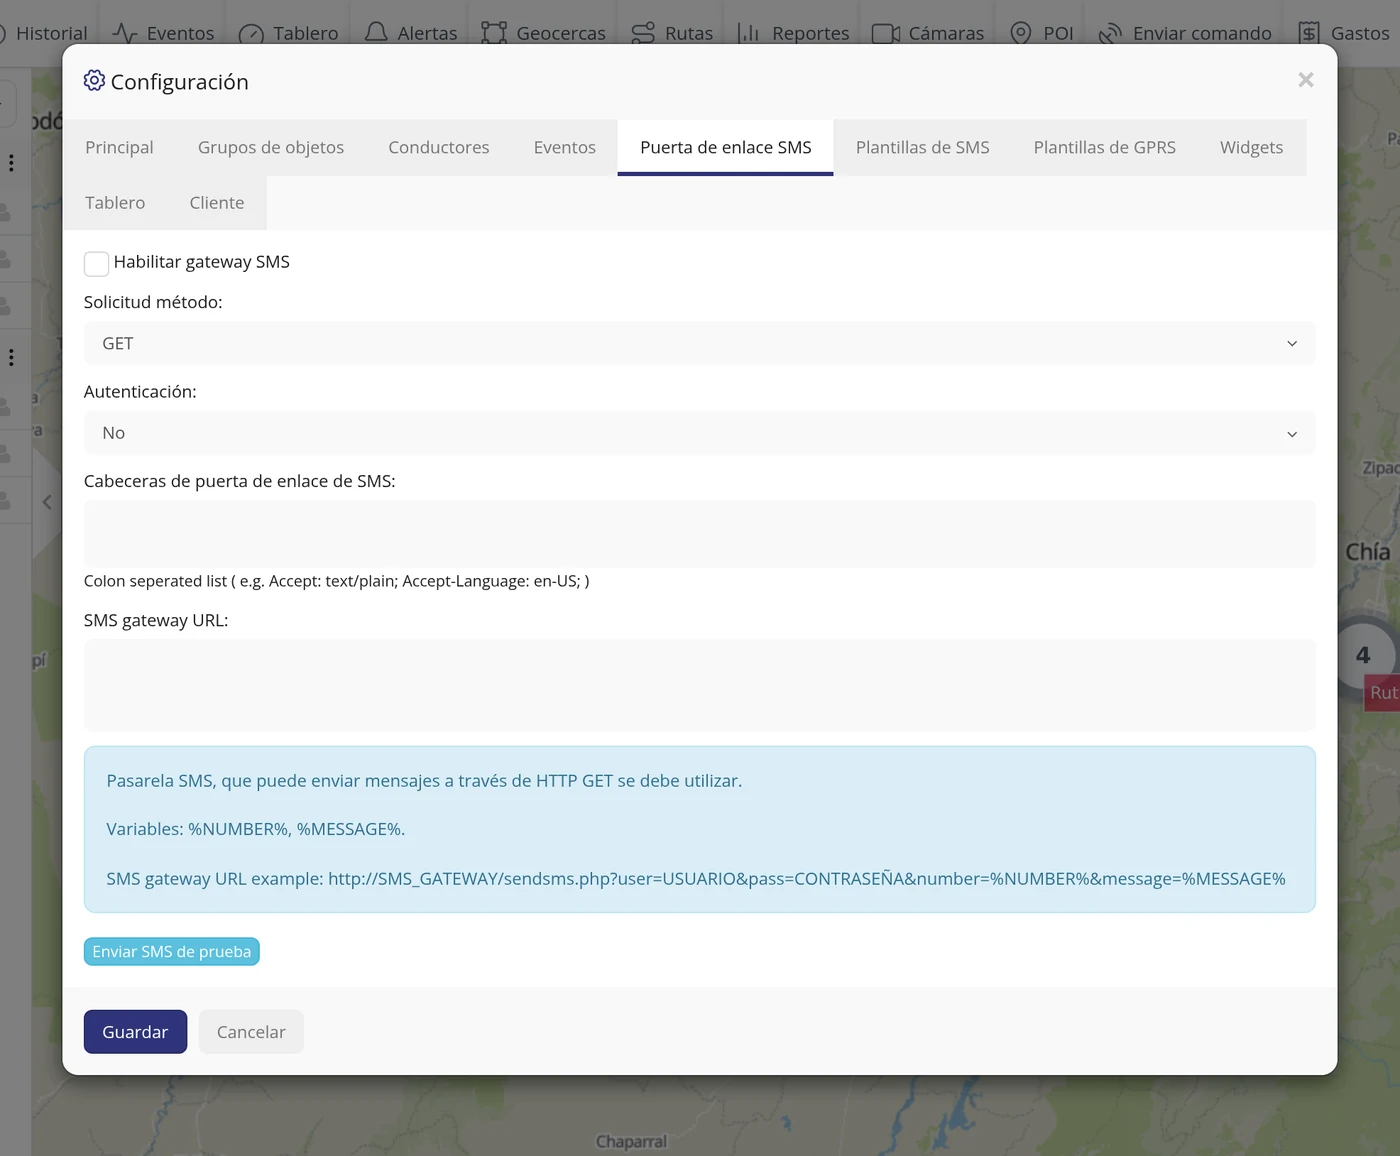
-
WhatsApp and GPRS templates
Orders and messages you write once so you do not have to type them each time. The tab formerly called «SMS templates» is now called «WhatsApp templates»: it is the text that goes out over WhatsApp when a warning fires.
-
Widgets
It decides which boxes appear at the bottom right when you open a vehicle: Object, Sensors, Services, Device camera, Street view, Location, Image, Fuel, GPRS command, Recent events and Driver.
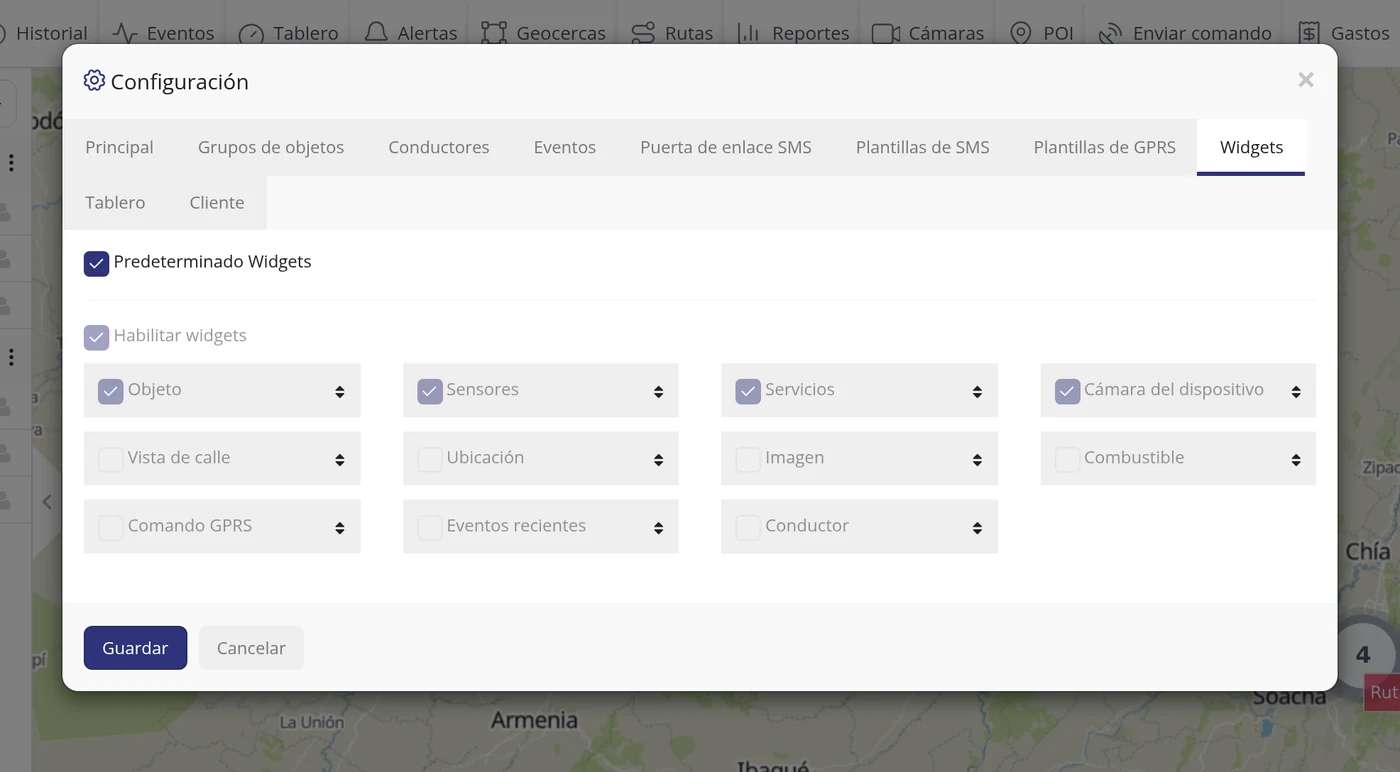
-
Dashboard
It decides which charts appear in the Dashboard: Device activity, Latest events, Device status count, Latest tasks, Device distance and Device summary. It can also be switched off entirely.
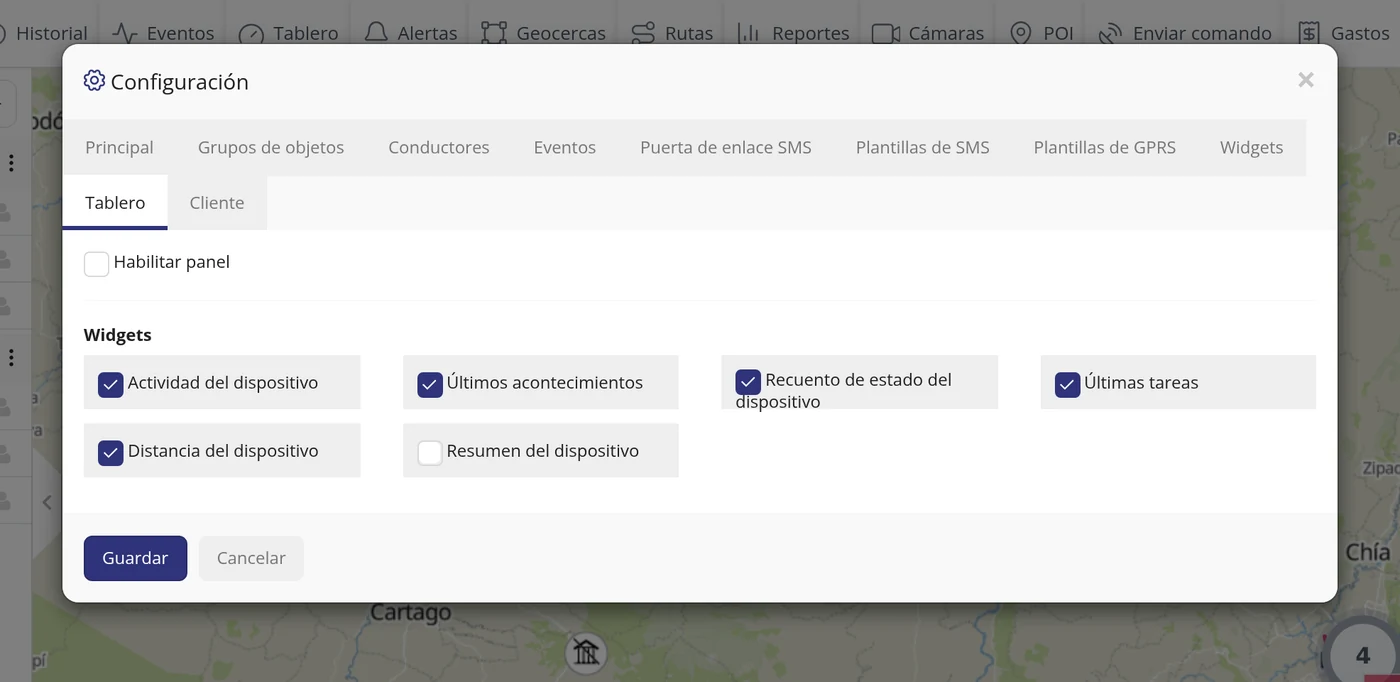
-
Customer
Your data: First name, Surname, Personal code, Date of birth and Address, and the company's: Name, Registration code, VAT number and Address.
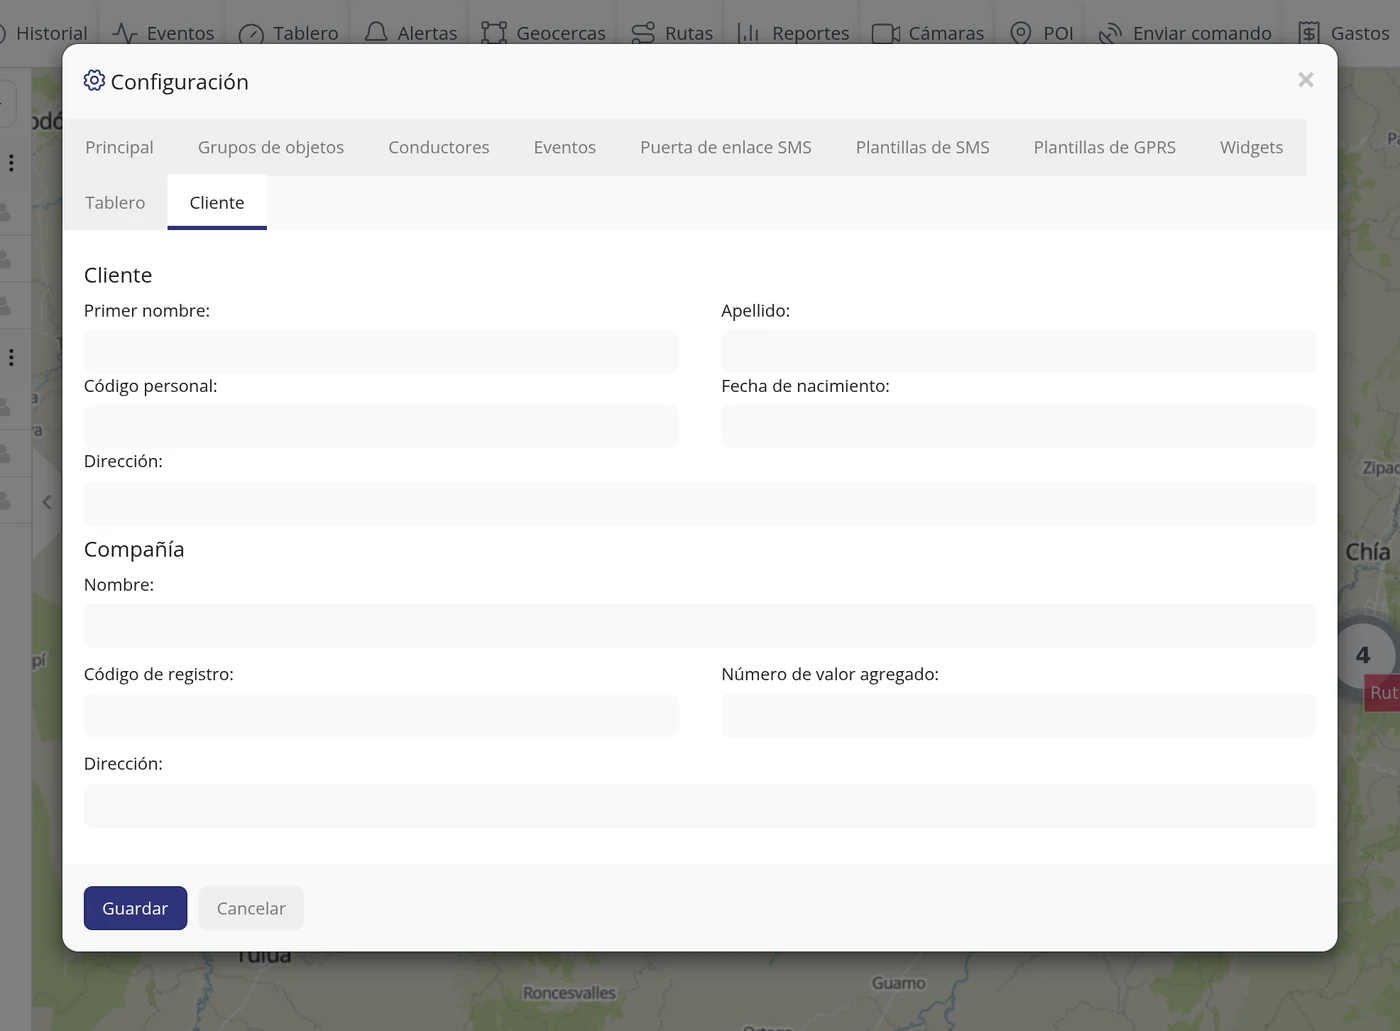
What each field asks for
| As it appears on screen | What it is | |
|---|---|---|
| The «Distance unit:» field | Kilometres or miles. It can be left empty. | Can be left empty |
| The «Capacity unit:» field | Litres or gallons, for the fuel. It can be left empty. | Can be left empty |
| The «Altitude unit:» field | Metres or feet. It can be left empty. | Can be left empty |
| The «Duration format:» field | How times are written, for example h min s. It can be left empty. | Can be left empty |
| The «Date and time format:» field | The order of the date (for example yyyy-mm-dd) and whether the time goes with AM/PM or from 0 to 24. It can be left empty. | Can be left empty |
| The «Time zone:» field | Which time everything is shown in. For Colombia it is UTC -5:00. It is required. | Required |
| The «Enable SMS gateway» box | Switches on sending orders by text message. It can be left empty. | Can be left empty |
| The «Enable widgets» box | Switches the boxes of the vehicle file on or off. It can be left empty. | Can be left empty |
| The «Enable dashboard» box | Switches the Dashboard on or off. It can be left empty. | Can be left empty |
| The «Default calendar week start day:» field | Which day the week starts on in the calendars: Monday, Sunday, Saturday or Friday. It can be left empty. | Can be left empty |
| The «Type: (daylight saving)» field | Whether your country changes the clock twice a year. None, Exact date, Automatic (choose the country) or Other. The usual thing here is None. It can be left empty. | Can be left empty |
| The «Country: (daylight saving)» field | Only if daylight saving is set to Automatic: which country the clock change dates are taken from. The list has 74. It can be left empty. | Can be left empty |
How to know it worked
Change the distance unit or the date format, save, and look at any screen with data: it has to come out the way you chose. And for the time zone: look at the time of any vehicle before and after changing it; the whole account moves with it.
The notification centre
It brings together on a single screen everything that needs your attention: what has already expired, what expires in the next thirty days and the warnings sent by the applications you have contracted. It is so you do not have to go looking application by application. Where it is: Top bar, on the right > Notification centre (the envelope icon)
Where it is Top bar, on the right > Notification centre (the envelope icon)
-
Click the notification centre icon
It is on the right of the bar. When there are unread warnings, it carries a small bubble with the number.
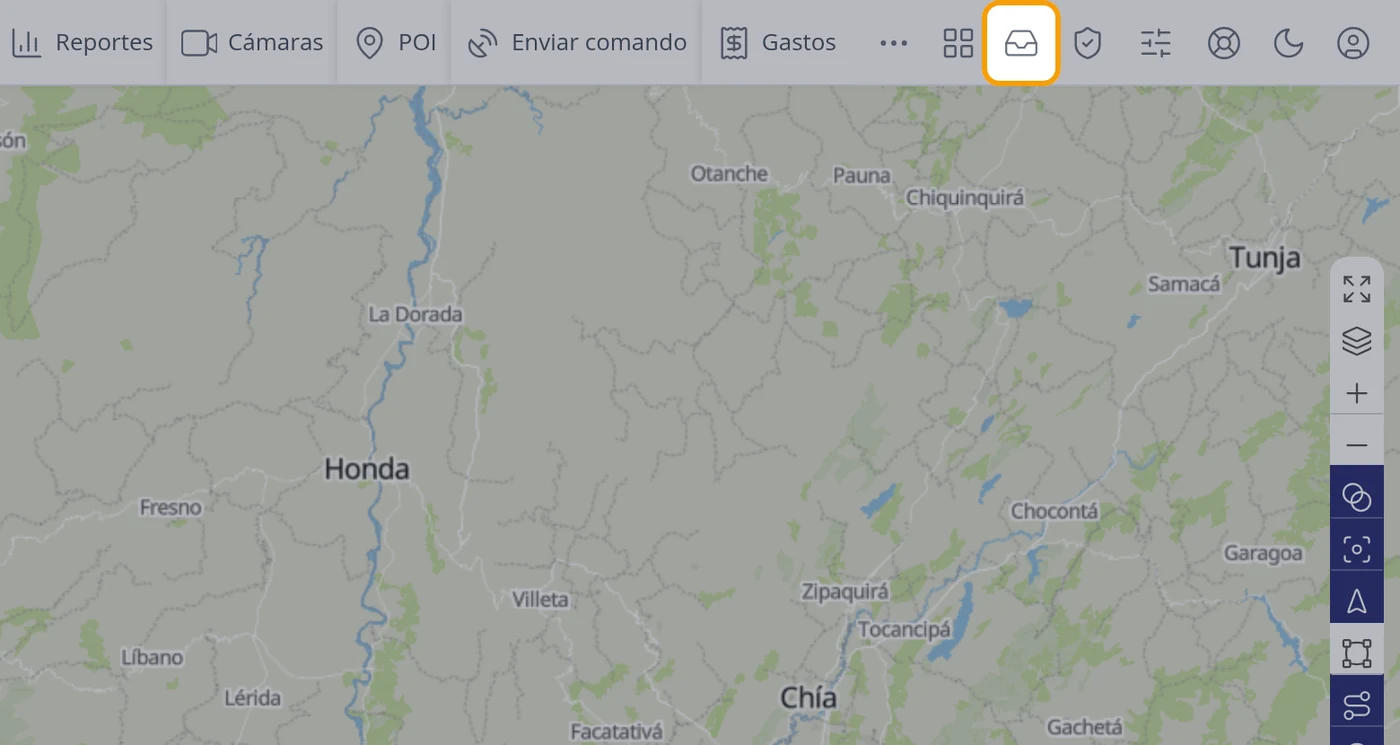
-
Read the screen
At the top four counters appear: Already expired, Expiring in 30 days, Unread and From the applications. Below are the filters and, further down, the warning list. When there is nothing, it says: Nothing pending. Everything is up to date.
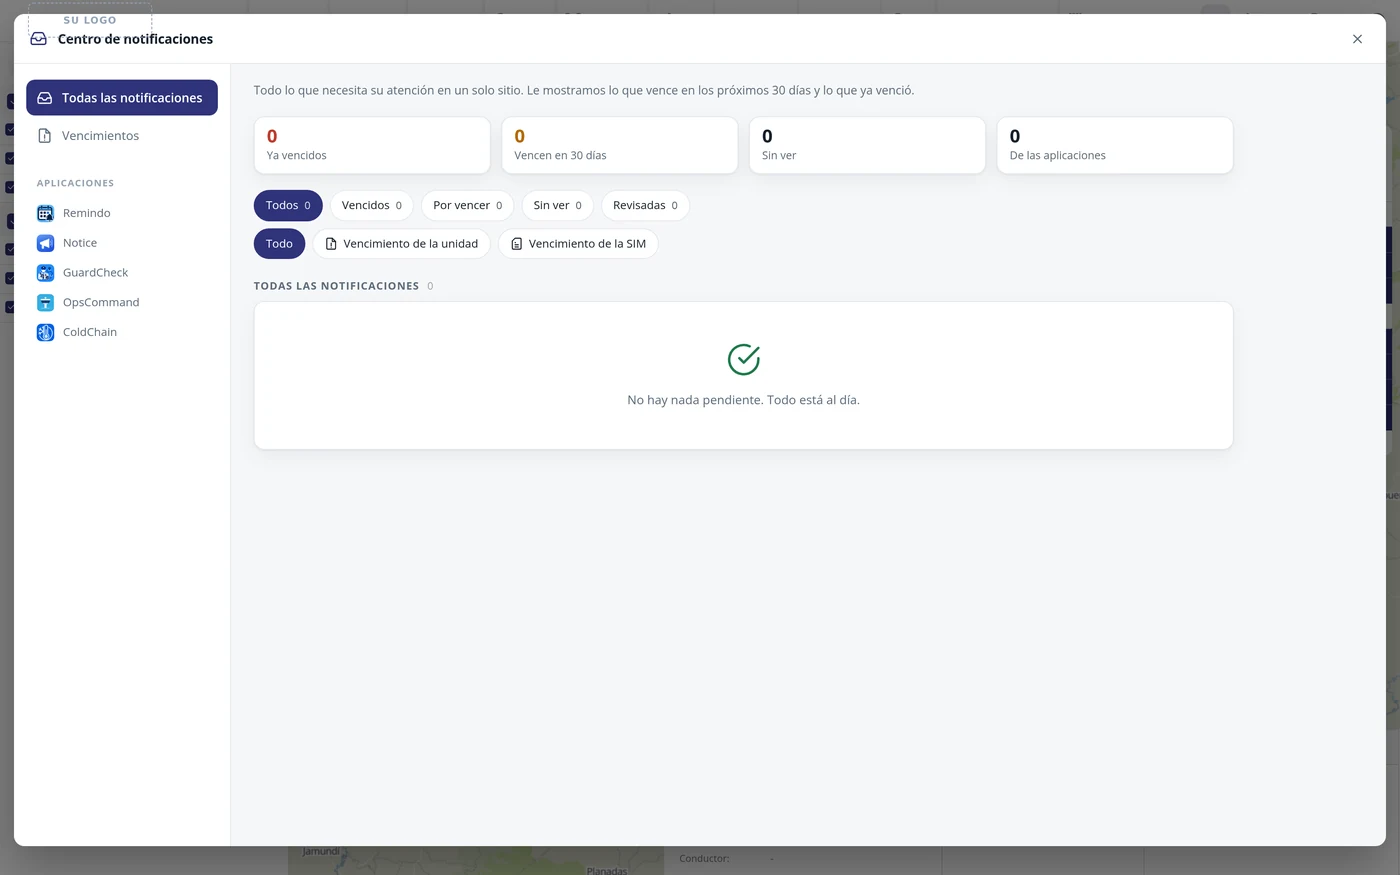
-
Use the left column
All notifications shows everything together; Expiries, only what is expiring. Below, under the APPLICATIONS heading, is each application you have, to see only its warnings.
-
Filter by what matters to you
The first row of buttons filters by state: All, Expired, Expiring, Unread and Reviewed, each with its number. The second filters by kind: All, Unit expiry and SIM expiry.
-
Where each warning comes from
The platform ones come from the dates: the «Unit expiry» warning appears when the expiry date set on that vehicle approaches, and «SIM expiry» when the one ending is the data plan. The application ones are sent by each application on its own: that is why the left column lists them one by one, and the «From the applications» counter counts them separately.
CarefulIf a warning does not appear, first check that the vehicle has its expiry date set: with no date there is nothing to warn about.
-
What to do with a warning
Warnings stay in «Unread» until you open them; on opening them they move to «Reviewed». That way the team knows what has been dealt with and what has not.
What each field asks for
| As it appears on screen | What it is | |
|---|---|---|
| The «Already expired» box | How many things are past their date. It can be left empty. | Can be left empty |
| The «Expiring in 30 days» box | What expires in the next month. It can be left empty. | Can be left empty |
| The «Unread» box | Warnings you have not opened yet. It can be left empty. | Can be left empty |
| The «From the applications» box | Warnings that do not come from the platform but from the applications. It can be left empty. | Can be left empty |
| The «Unit expiry» warning | The service of that vehicle is ending. It can be left empty. | Can be left empty |
| The «SIM expiry» warning | The data plan of the device card is ending. It can be left empty. | Can be left empty |
How to know it worked
The counters at the top and the numbers on the filters have to match what the list shows.
The administration screen
It is the engine room of your account: from here users are created and edited, vehicles are managed, the logo and the colours are changed, and what the platform records is looked up. Only accounts that are authorised to administer see it; a normal user account does not. Where it is: Top bar, on the right > ADMIN (the shield icon)
Where it is Top bar, on the right > ADMIN (the shield icon)
Before you start
- You have to sign in with an account authorised to administer. A normal user does not see this button.
-
Click ADMIN in the top bar
The whole screen changes: the map disappears and a column of sections appears on the left.
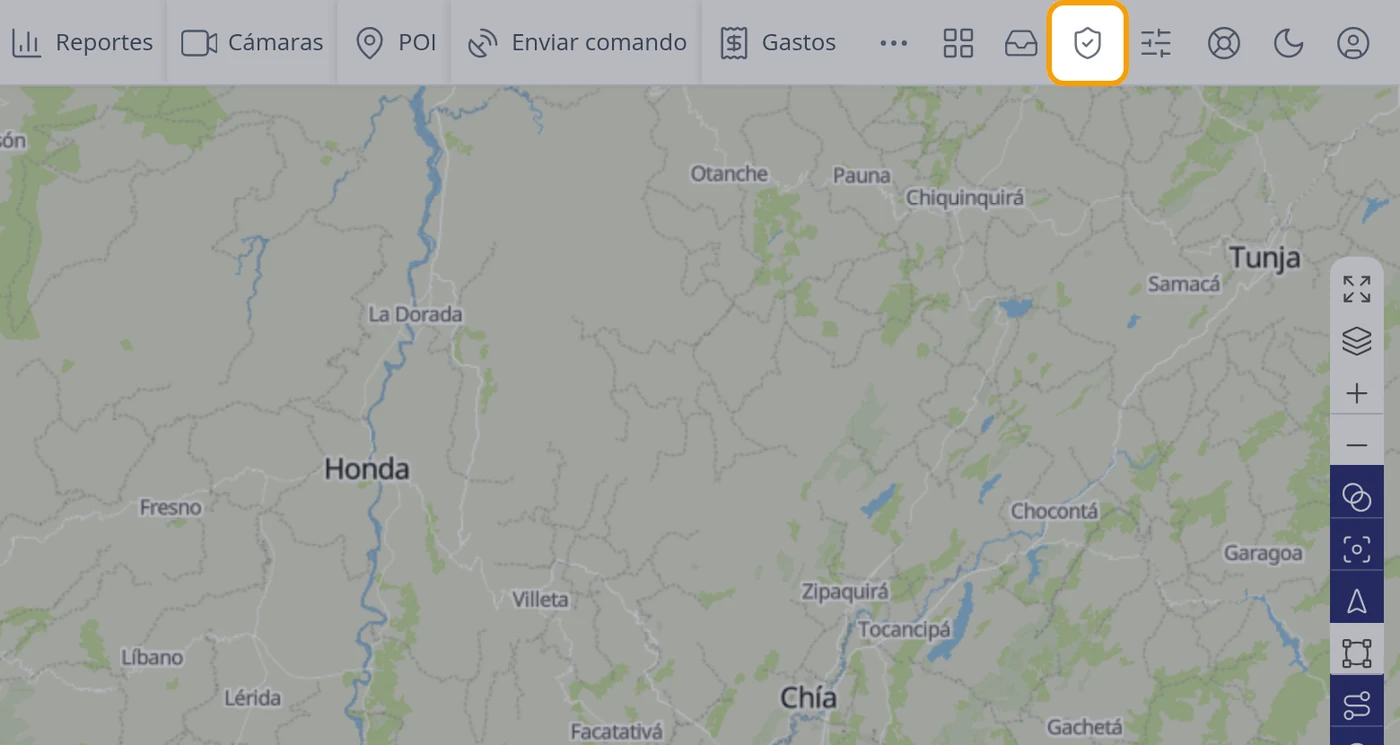
-
Recognise the left column
It has, in this order: Map (which is the way back to the usual panel), Users with the number you have, Objects with how many vehicles, Ideas and Suggestions, Content, Email templates, SMS templates, Companies, Customization, Logs, Scheduled reports log, your own email with the account type, and Sign out.
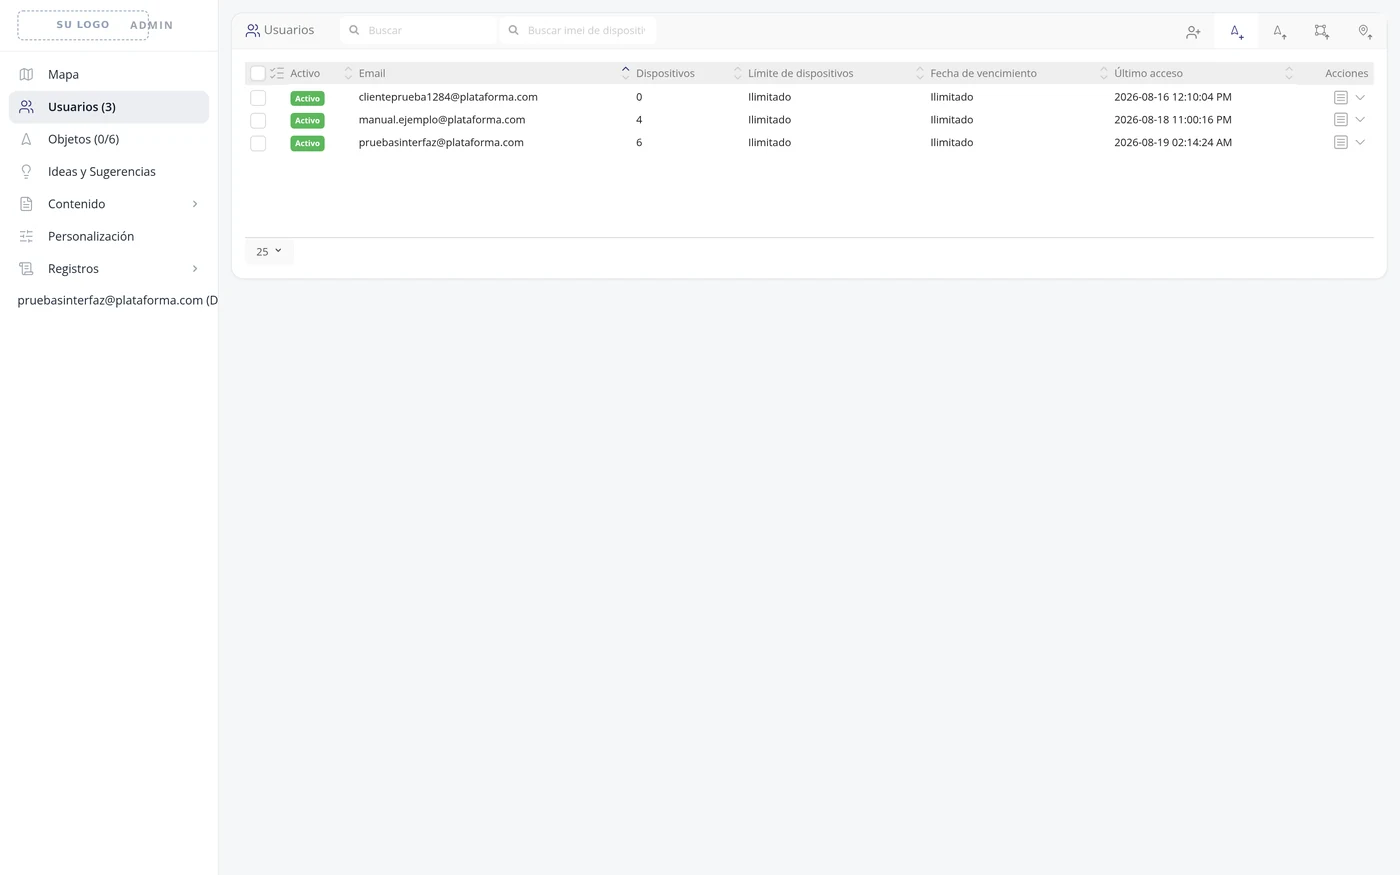
-
Users
The list of the people who depend on you, with Active, Email, Devices, Device limit, Expiry date, Last access and Actions. From here come creating a user and handing them vehicles, which have their own section.
-
Objects
The list of all your vehicles, with Active, Name, IMEI, Connected, Last connection, Expiry date, User and Actions. At the top, in the tick box column, are the group actions: Delete, Assign, Activate and Deactivate the selected ones.
CarefulDelete selected is in that same menu, next to Assign. What is deleted there does not come back.
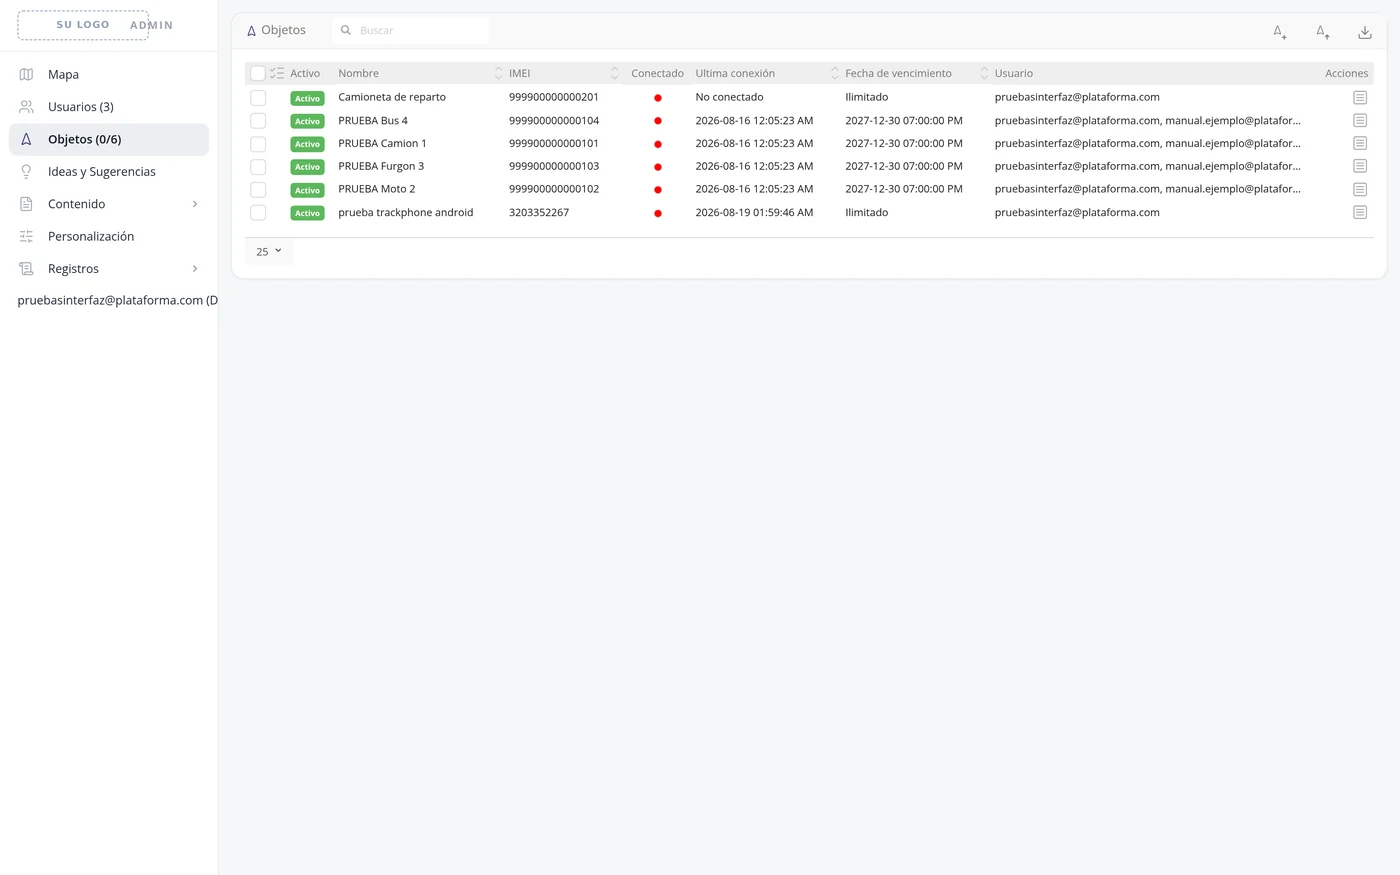
-
Ideas and Suggestions
The ideas that have been sent, with their State, Type, Title, User, Company, Distributor, Country, Priority, Date, Owner and Files. It is marked as Read only.
-
Email and SMS templates
The texts the platform writes to your customers with. Each one is opened from the Actions column.
-
Companies
The company data that can be linked to the accounts: Name, Registration code and VAT number.
-
Customization
It is the brand and defaults screen: Server name, Description, Default language, date, time and duration formats, default units of distance, capacity and altitude, the map zoom and centre, the reply email, and the logos: Frontpage logo, Icon logo (collapsed menu), Login page logo and Background.
CarefulBefore saving here, bear in mind that this screen also contains settings of the email and message warnings. Saving it without reviewing it can leave switched off warnings that were on. Touch only what you are going to change and review the rest before saving.
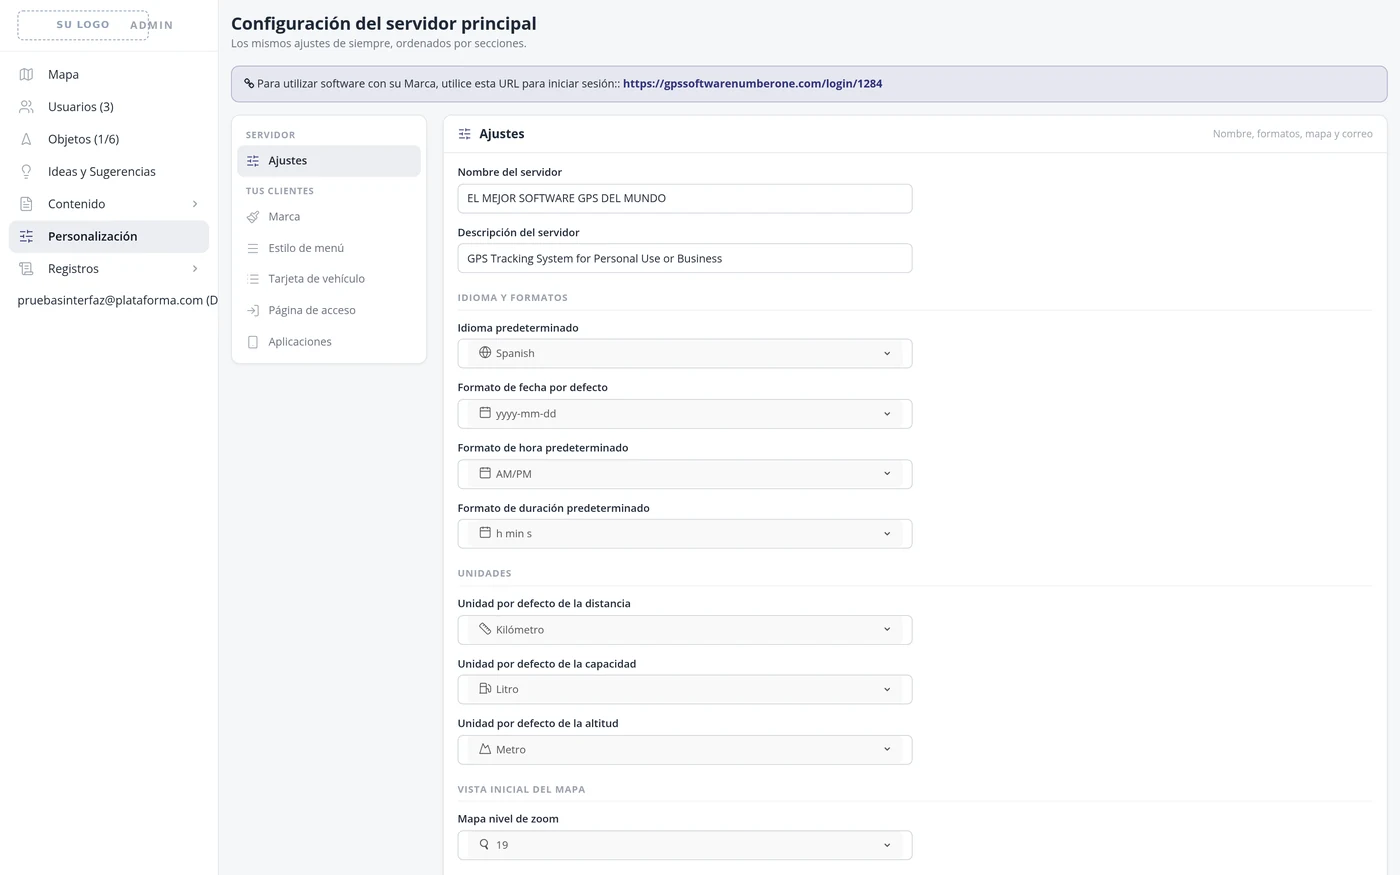
-
Scheduled reports log
The history of the reports the platform generates by itself, with Name, Type, Format, Size, User, which email it was sent to and whether it was sent.
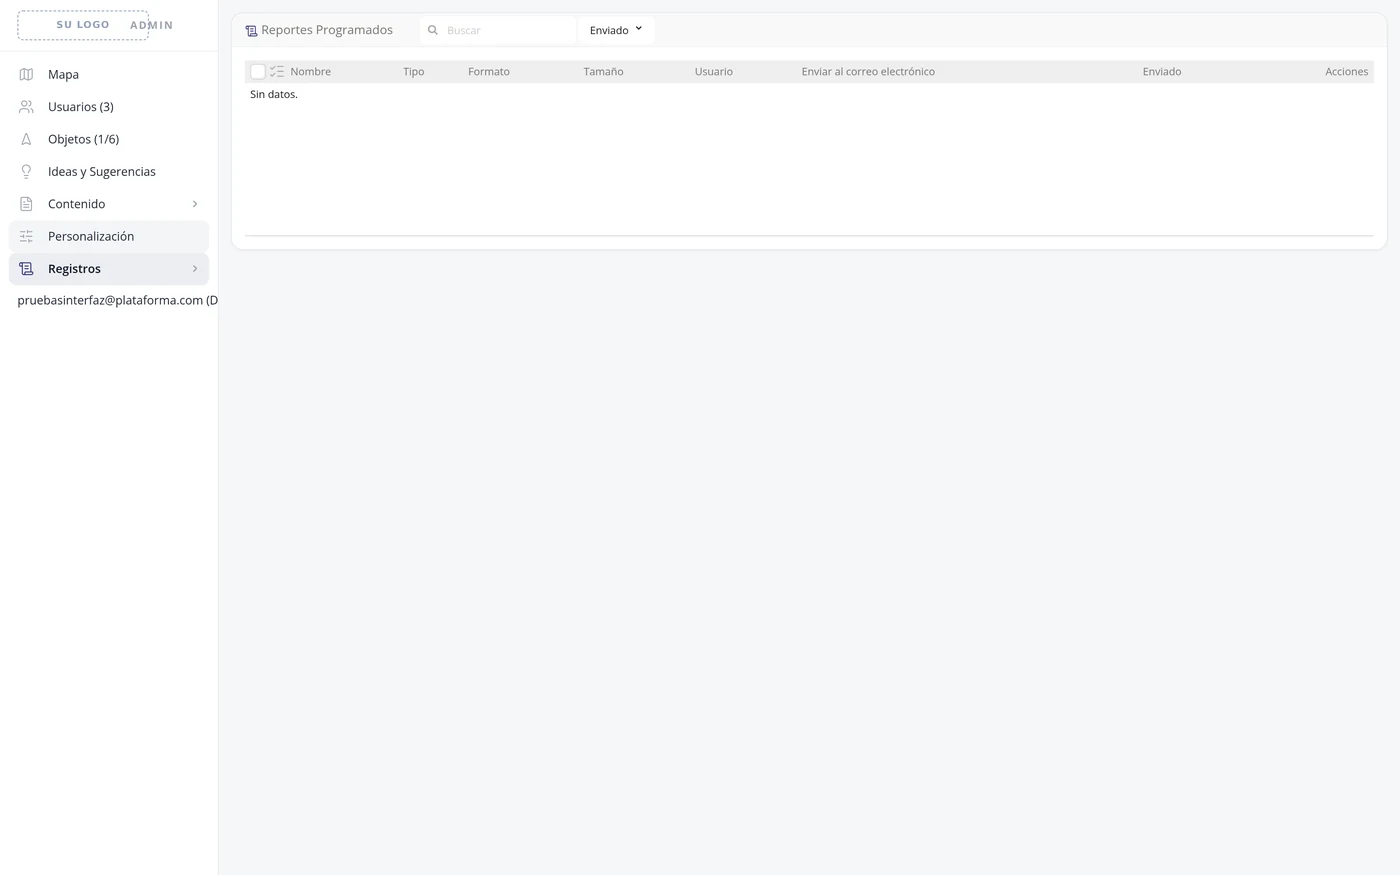
-
Back to the map
The first option of the column, Map, returns to the usual panel.
What each field asks for
| As it appears on screen | What it is | |
|---|---|---|
| The «Users (n)» item | In brackets, how many accounts depend on you. It can be left empty. | Can be left empty |
| The «Objects (n/m)» item | How many vehicles there are and how many are active. It can be left empty. | Can be left empty |
| The «Server name» field | The name your platform introduces itself with. It can be left empty. | Can be left empty |
| The «Frontpage logo» field | The large logo. It can be left empty. | Can be left empty |
| The «Icon logo (collapsed menu)» field | The small logo, the one seen when the menu is collapsed. It can be left empty. | Can be left empty |
| The «Login page logo.» field | The one seen on the sign-in screen. That is how it is written, with the full stop. It can be left empty. | Can be left empty |
| The «Background» field | The background image of the sign-in screen. It can be left empty. | Can be left empty |
How to know it worked
Each section opens its own list. The number shown in brackets next to Users and next to Objects has to match the rows of the list.
What reaches the customer and how to change the text
When an alert goes off, when a vehicle is about to expire or when a link is shared, the platform writes to the customer. That text is not fixed: it can be changed. Here is where you change the email one and where the WhatsApp one, and what data can be put inside them. Where it is: Top bar > ADMIN > Email templates · and ADMIN > SMS templates (that is the text that goes out over WhatsApp)
Where it is Top bar > ADMIN > Email templates · and ADMIN > SMS templates (that is the text that goes out over WhatsApp)
Before you start
- You have to sign in with the account that administers the platform. A normal user does not see these screens.
-
Enter the administration
Click ADMIN in the top bar.
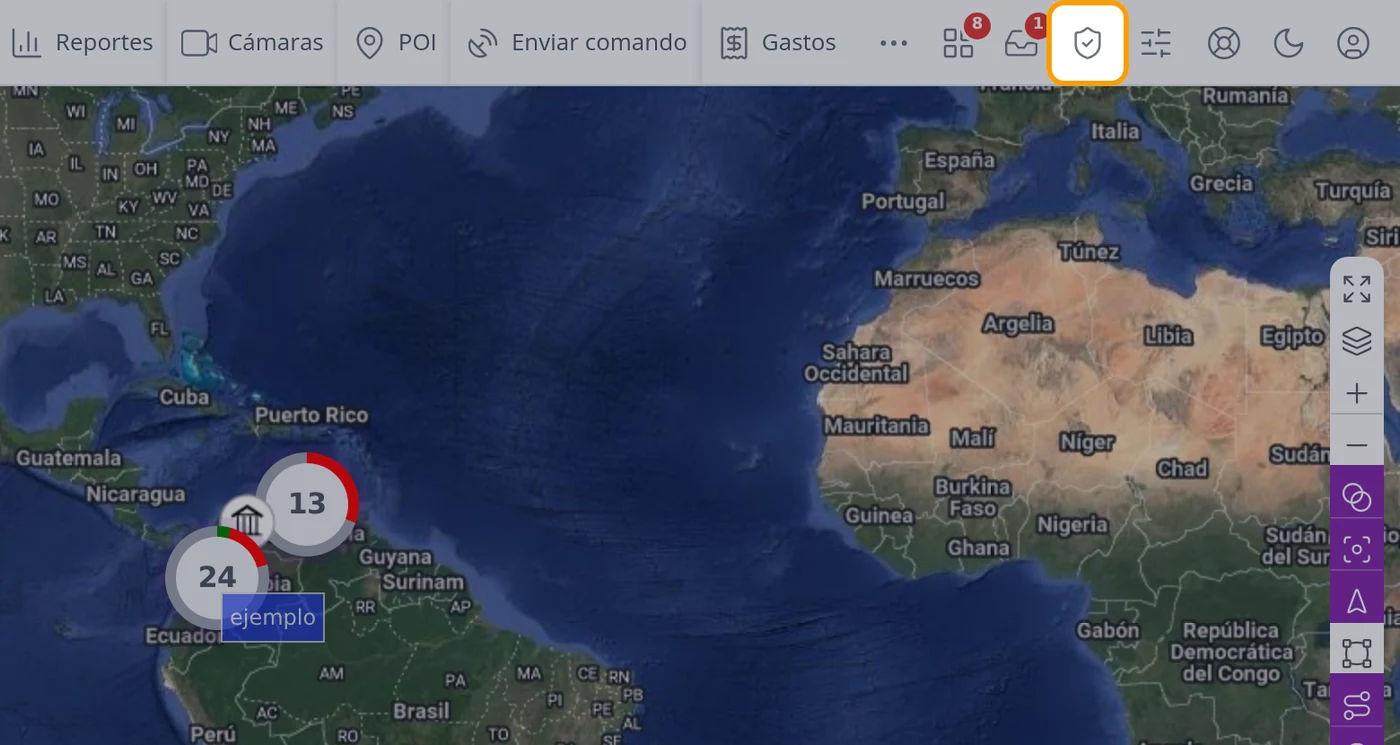
-
Open Email templates
It is the list of the emails the platform sends. There are 17, each with its short name and its title: account created, password changed, email verification, new event, device expired, SIM expired, user expired, the three «expiring» warnings, registration confirmation, report, recover password, recovery code, service expiring, service expired and shared link.
-
Open the event one to see what the customer receives
The template is called event, «New event». It is the one sent when an alert fires. Its default content is: Hello, Event: [event], Geofence: [geofence], Device: [device.name], Address: [address], Position: [position], Altitude: [altitude], Speed: [speed], Time: [time].
CarefulThat email comes out in ENGLISH exactly as it comes by default. If your customers speak another language, it has to be translated here.
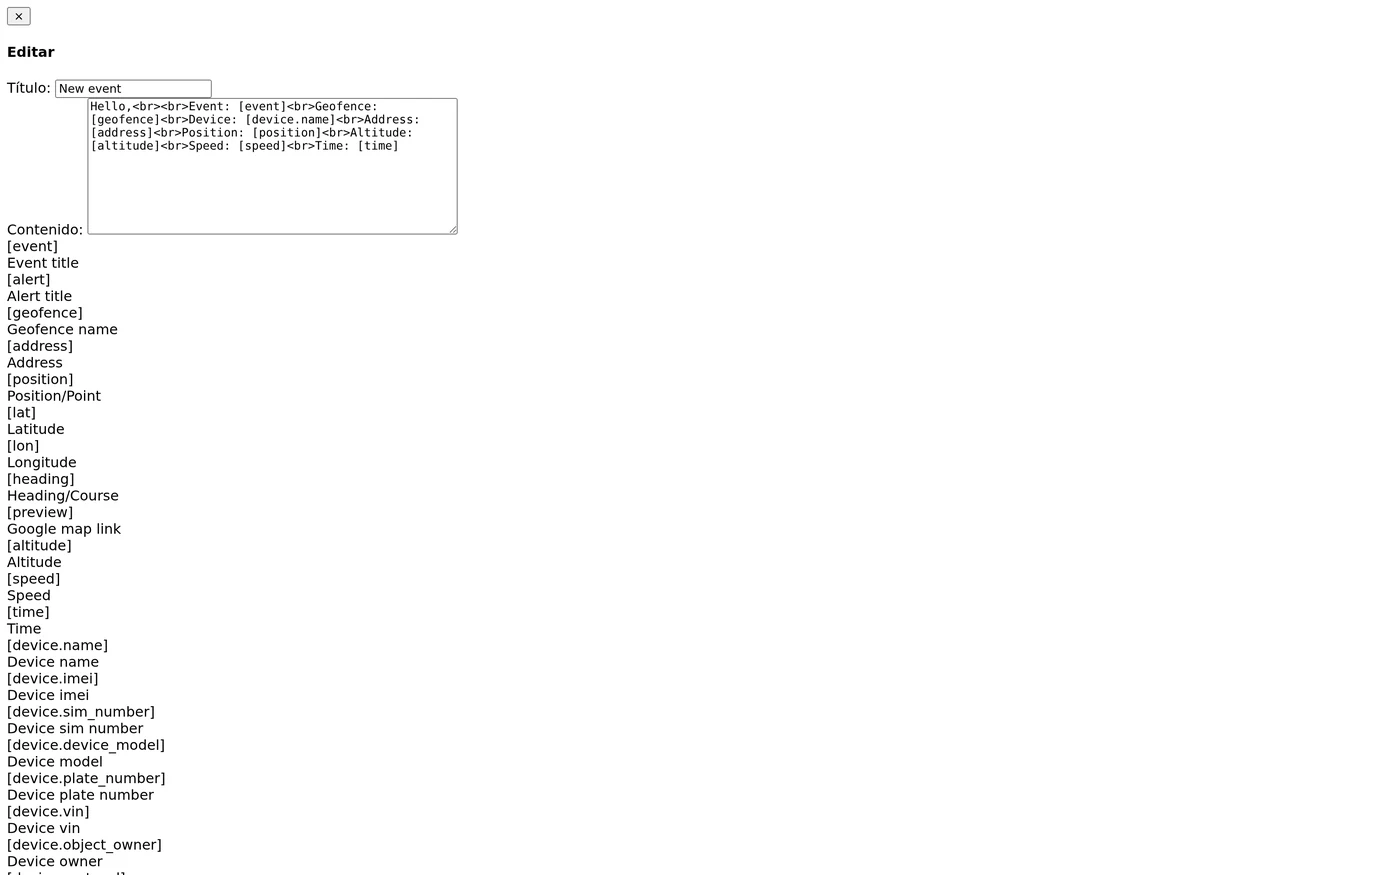
-
Open SMS templates: that is the WhatsApp text
There are 10 templates: new event, device expired, user expired, device expiring, user expiring, phone verification, report, service expiring, service expired and shared link.
CarefulThe screen is called «SMS templates» because that is how the program comes, but it is the text your customers receive over WhatsApp: the warnings go out through the same gateway.
-
See the event message
The WhatsApp one is in Spanish: Hola, Evento: [event], Geocerca: [geofence], Dispositivo: [device.name], Hora: [time]. That is exactly what reaches your customer when an alert fires.
-
Change the text
The window has only two fields: Title and Content. Write the message as you want it to reach the customer and click Save. What is in square brackets are data the platform fills in by itself.
-
Data you can put in the message
The ones the screen itself lists below the content. For an alert warning: [event] the warning name, [geofence] the zone, [device.name] the vehicle, [address] the address, [position] the coordinates, [altitude] the height, [speed] the speed and [time] the time. For the expiry warnings there are also [days] the days left, [days_left], [device.imei], [device.sim_number], [device.device_model], [device.plate_number], [device.vin], [device.object_owner], [device.protocol], [device.expiration_date], [device.registration_number] and [device.additional_notes].
CarefulCopy the name in brackets exactly. If you type it differently, the message comes out with the bracket as it is, without the data.
What each field asks for
| As it appears on screen | What it is | |
|---|---|---|
| The «Title:» field | The subject of the email. In WhatsApp it is not seen: it only serves to recognise the template. It is required. | Required |
| The «Content:» field | The message. It is what the customer will read. It is required. | Required |
How to know it worked
Save and open the template again: the text has to be the new one. To really see it, make a test alert fire and look at the message that arrives.
Command templates: leaving orders ready
So you do not have to type the order sent to the device every time. It is written once, with its plain-language name ("Lock engine"), and afterwards you just pick it from a list. Each template is for one type of device, because each model understands its own language. Where it is: Top bar > ADMIN > Command templates. Each user also has their own in Settings > SMS templates and GPRS templates
Where it is Top bar > ADMIN > Command templates. Each user also has their own under Settings > SMS templates and GPRS templates
Before you start
- Know what text that model of unit understands: it comes in the device's manual.
- Know which way it is sent: over the internet (GPRS) or by text message to its SIM.
-
Open ADMIN > Command templates
The list has five columns: Type, Title, Protocol, Adapted and Actions. The Type says whether the order goes by GPRS or by text message, and the Protocol says which family of devices it works for, with its port.
-
Read a real example
On this platform there are 14 ready-made templates, for example: «Cut COBAN engine» for the gps103 protocol (port 6001), «Engine block» for teltonika (port 6027), and several for opening and closing doors for the h02 protocol (port 6013).
-
What the protocol and the port are
Each family of devices speaks a language (the protocol) and enters the server through a different door (the port). The full list is in ADMIN > Tracking ports: there are 244 ports, from 6000 onwards, each with the name of its protocol: 6001 gps103, 6002 tk103, 6013 h02, 6020 meitrack and so on.
CarefulThat is the port to set on the device when configuring it. If you set another, the device connects and nobody understands it.
-
Using a template
When you send an order from Send command, instead of typing the text you can choose a ready-made template. The ones each user creates are stored in Settings, in the SMS templates and GPRS templates tabs.
What each field asks for
| As it appears on screen | What it is | |
|---|---|---|
| The «Type» field | Which way the order goes out: GPRS (over the internet) or a text message to the device SIM. It is required. | Required |
| The «Title» field | The name you will recognise it by. It is required. | Required |
| The «Protocol» field | Which family of devices it works for, with its port. It is required. | Required |
| The «Adapted» field | Whether the template was made to measure for that protocol. It can be left empty. | Can be left empty |
How to know it worked
The template appears in the list, and when sending an order from Send command it can be chosen.